In Animal Crossing: New Horizons, you will be given an island to decorate and shape how you want it to be.
There will be some parts of the island that are higher than others, which typically requires a ladder to access.
Another way to make things easier is to create inclines where you can just walk up the higher grounds.
Here’s how you can make inclines in Animal Crossing: New Horizons (ACNH).
Wait for the Resident Services building to be upgraded
You can only build inclines after a certain point in the game, and that’s after the renovation of the Resident Services building.
This is also the time when Isabelle comes to the island to join Tom Nook.
To get the building renovated, you’ll have to complete many things like the construction of the initial three villagers’ houses and the construction of Nook’s Cranny.
Speak to Tom Nook
Next, talk to Tom Nook and ask him about bridges/inclines.
He will give you a catalog to look at, and there will be different designs for the incline.
The incline can cost a lot, from 98,000 bells up to over 200,000 bells.
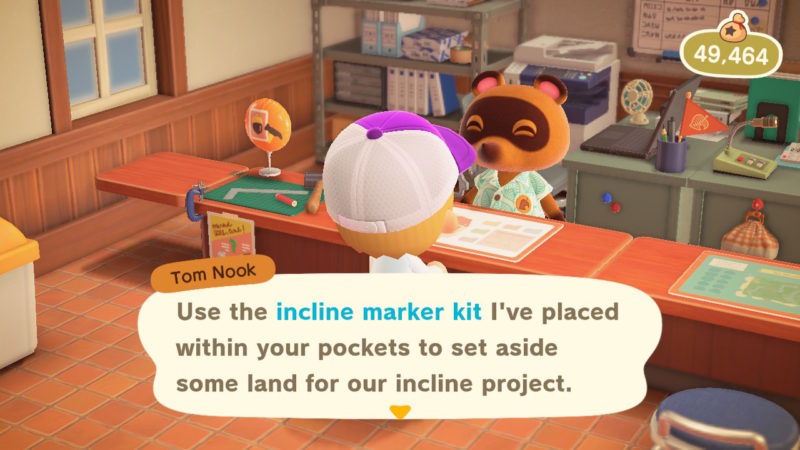
Place the incline kit
Nook will give you the kit and you just have to find the right location for the incline.
Once you’ve placed the kit, you’ll need to pay the bells to the construction worker.
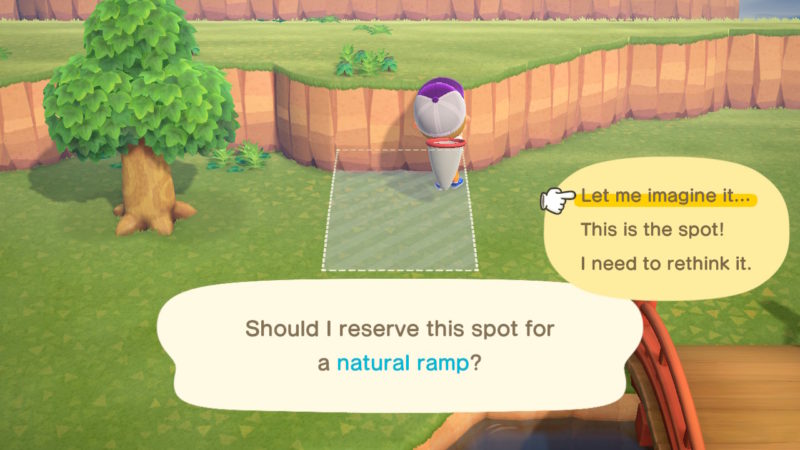
After payment is complete, just wait a day or so for the incline to be made.
Related articles:
How To Raise Star Rating Of Island – Animal Crossing New Horizons
Helping Wisp (Find Spirit Pieces) – Animal Crossing New Horizons
Flick | Selling Bugs | Bug Collectibles – Animal Crossing New Horizons
How To Relocate Buildings In Animal Crossing: New Horizons
CJ & Fishing Tournament Guide – Animal Crossing New Horizons