The Tombs is one of the four locations to get rid of the Fog of War in the Civic Center of Warlords of New York.
It is also the location where Theo Parnell is and your task is to eliminate him.
Here’s a walkthrough of The Tombs | Locate Theo Parnell in Division 2.
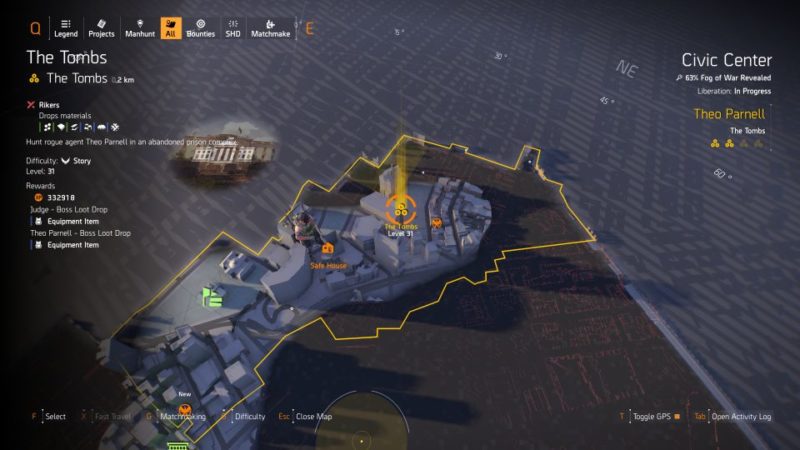
Head to The Tombs
To begin the mission, head to The Tombs, which is towards the other end of the map. The location is shown below.
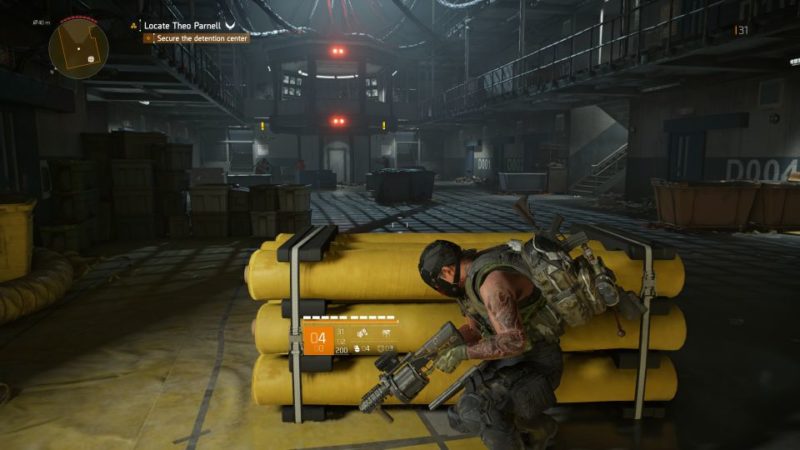
To enter the area, you’ll need to get rid of the enemies first.
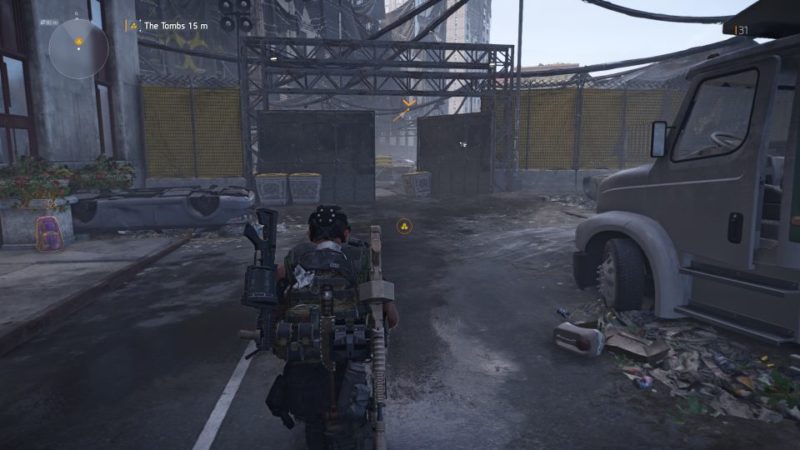
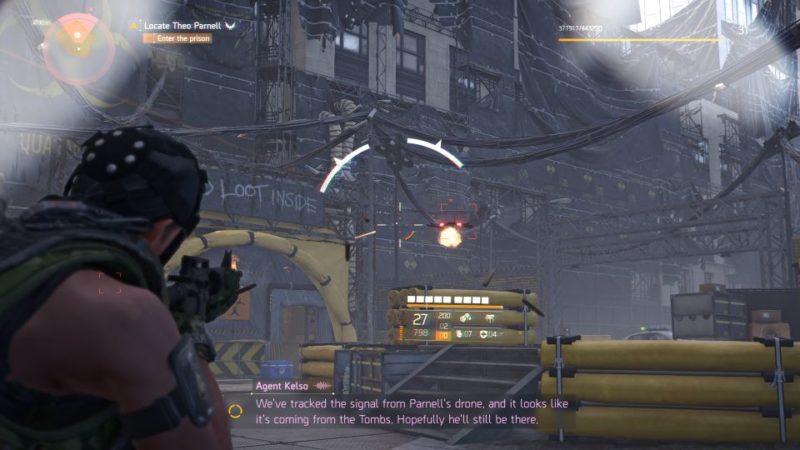
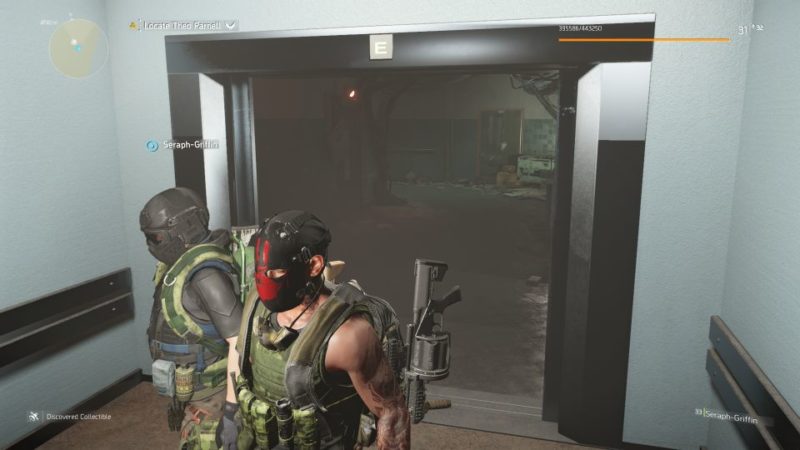
Your first obstacle are some killer drones. Destroy all the drones first, and enter the prison.
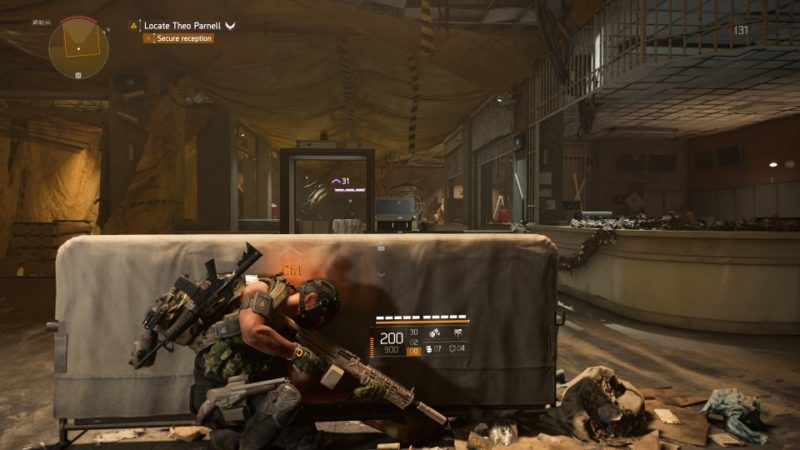
Secure the reception
More enemies await at the reception area. Take them out.
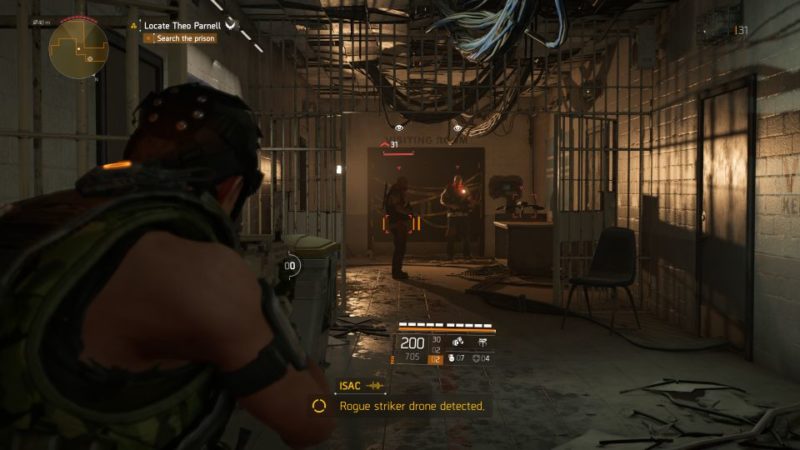
Search the prison
Once the enemies are down, continue going ahead to search the prison.
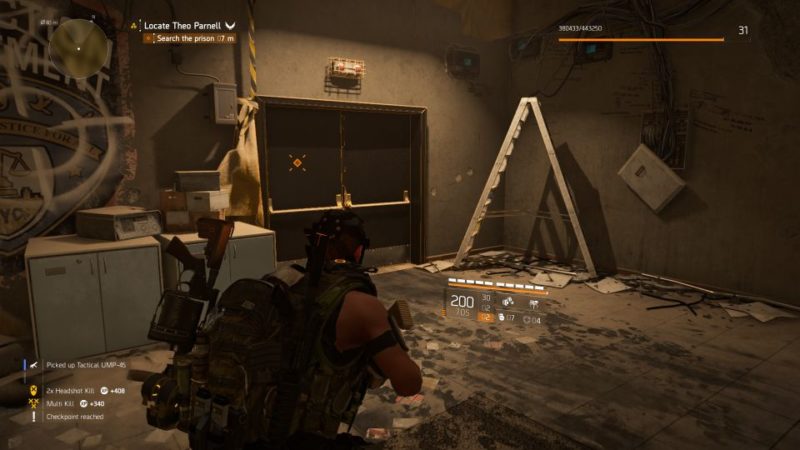
There’ll be some soldiers along the way. Take them out.
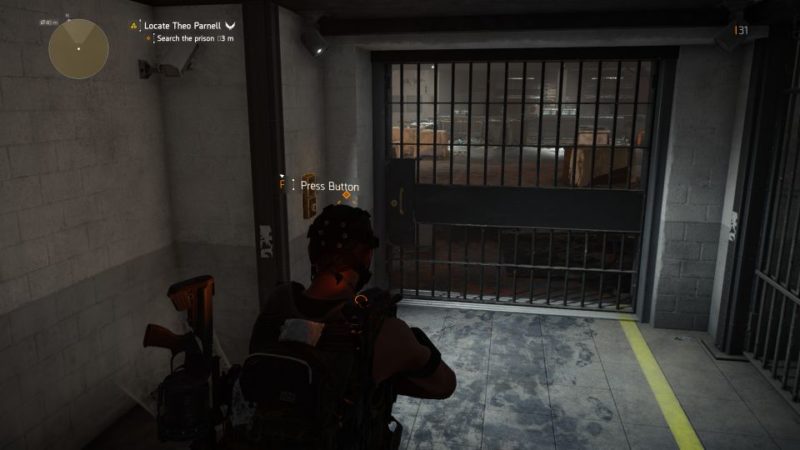
Keep going until you reach this cell gate. Press the button to open it.
Investigate the cafeteria
You will now reach the cafeteria area. You have to investigate it, meaning you need to search for this dead body.
Investigate the body to proceed.

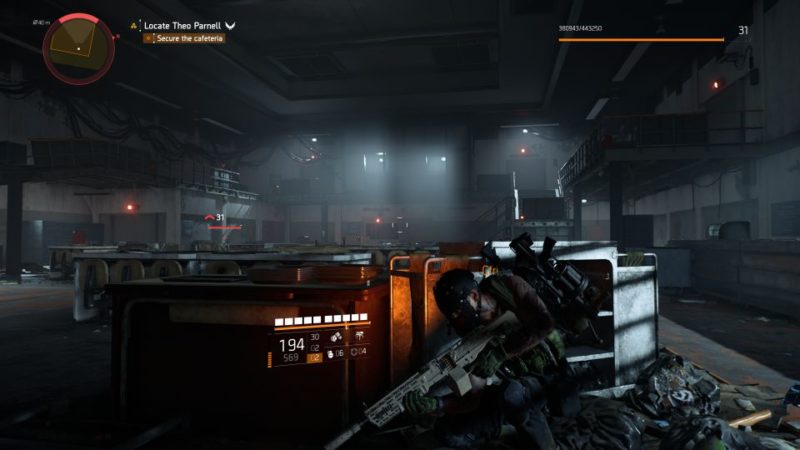
Secure the area
It will be an ambush and you need to secure the cafeteria.
Once you’re done, continue searching the cafeteria. Head towards the door and open it.

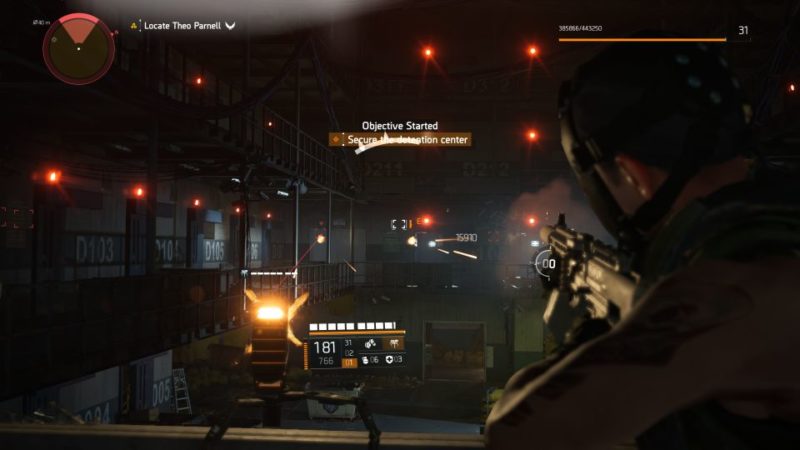
Secure the detention center
You will now reach the detention center. More enemies await here.
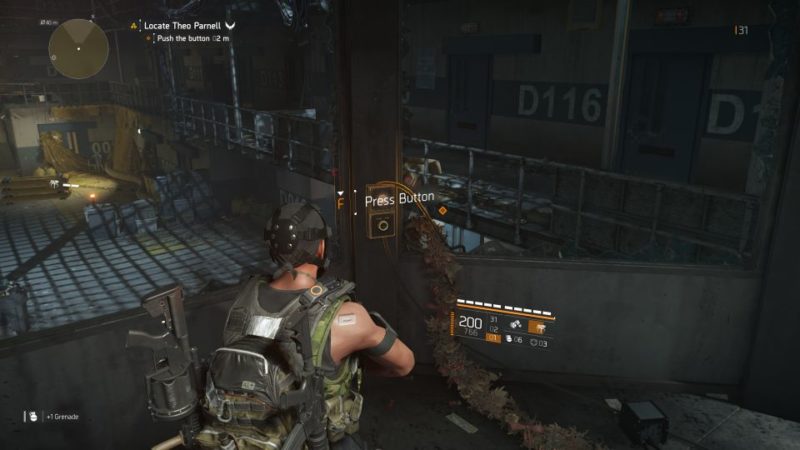
Push the button
After securing the area, Theo Parnell will ask you to push the button for a challenge. Be prepared first.
After pushing the button, killer drones will appear, together with a few foot soldiers.
Take them all out. The drones will come from left and right and it’s better to take them out earlier before they reach you.
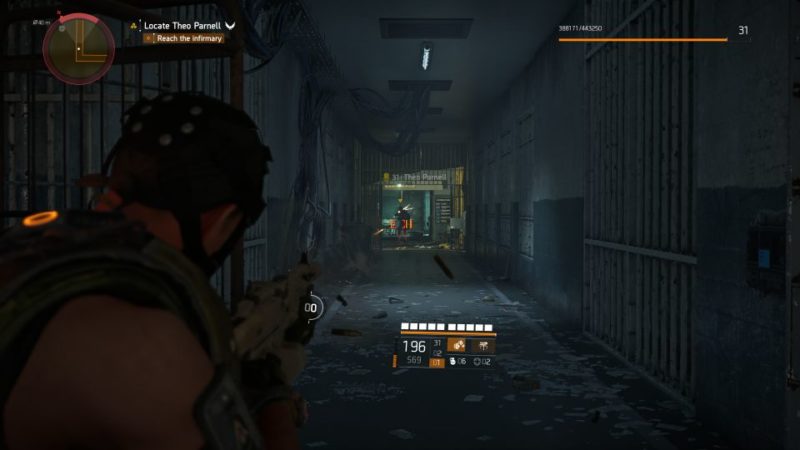
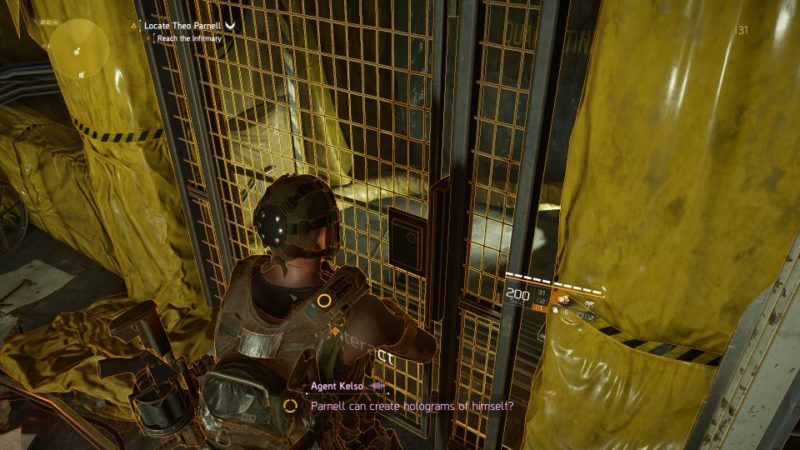
Reach the infirmary
Next, head towards the infirmary. You’ll come across Theo Parnell’s holograms. You can just proceed ahead, as they’re fake.
Keep going until you reach this door. Open it to proceed.
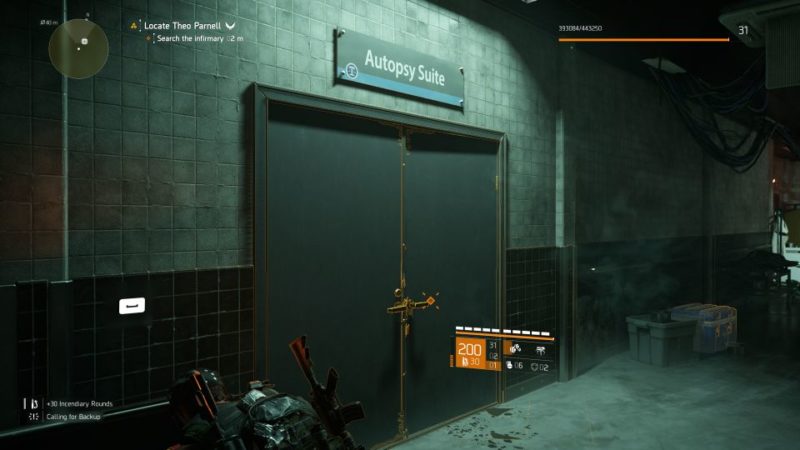
Search the infirmary
Keep going until you see the door to the Autopsy Suite.
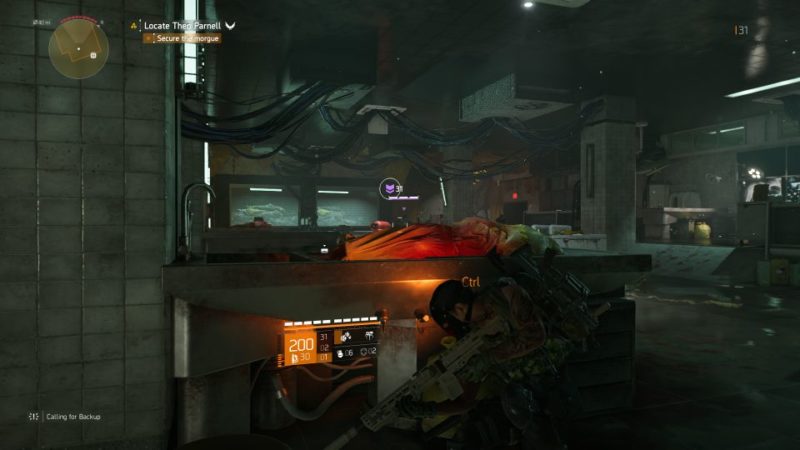
Inside, more enemies await. Secure the morgue.
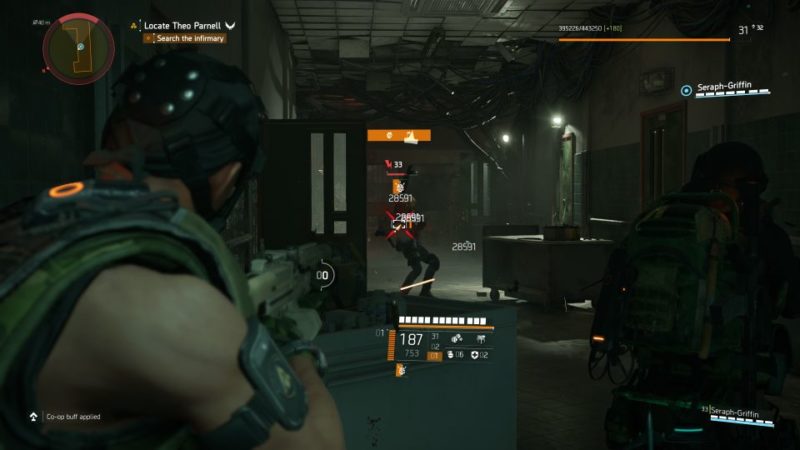
Continue on your route. More holograms will appear but you can ignore them.

Take out the enemies along the way as well.
You will then reach an elevator. Use it to proceed to the next floor.
Secure the area
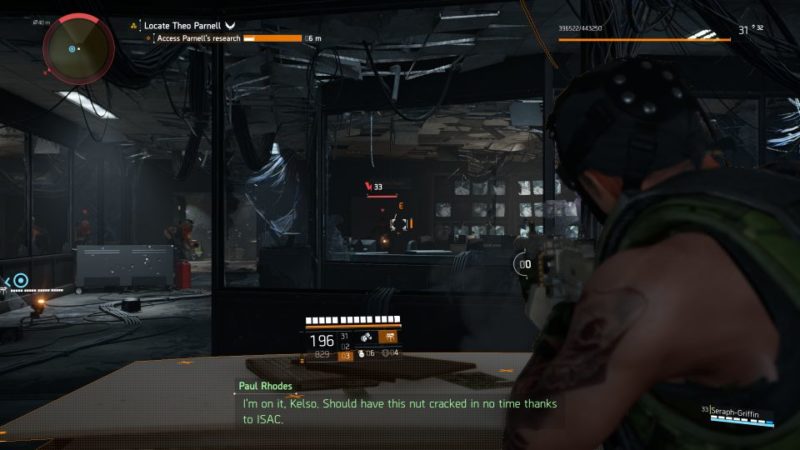
You should reach Parnell’s research room. Secure the area first.
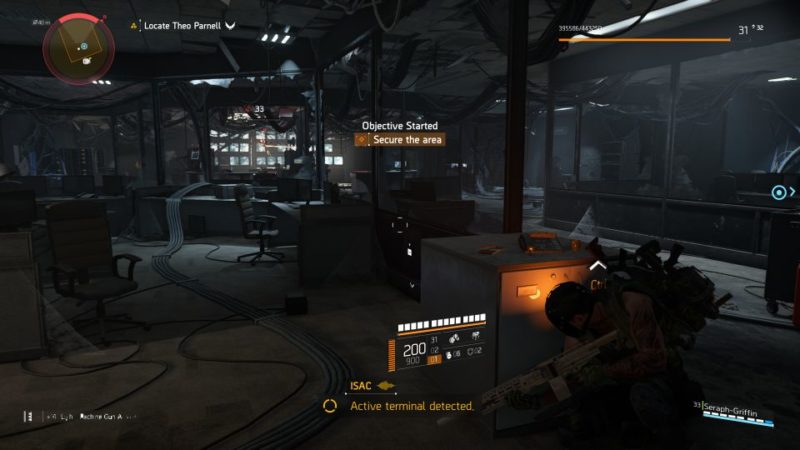
Then, use the computer to access his research.

While accessing, you need to survive the ambush.
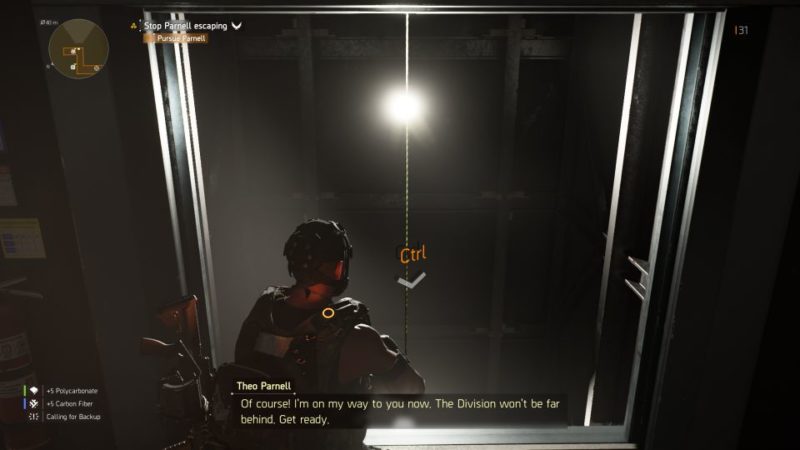
Pursue Parnell
After securing the area, continue looking for Theo Parnell. Use the elevator cable to slide down.
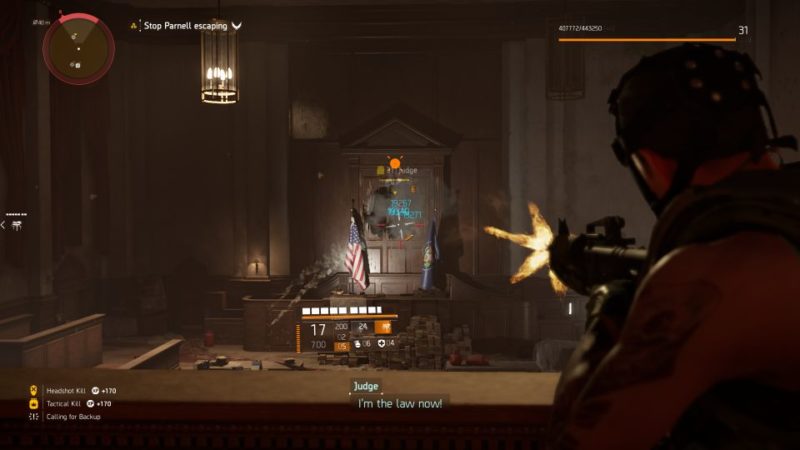
Secure the courtroom
You will reach the courtroom. Take them out first.
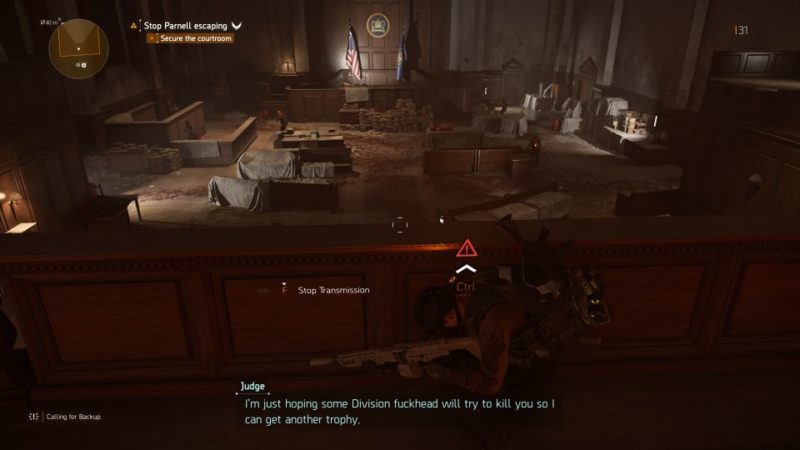
This is where a higher officer named Judge will appear. He is heavily armored but not that tough.
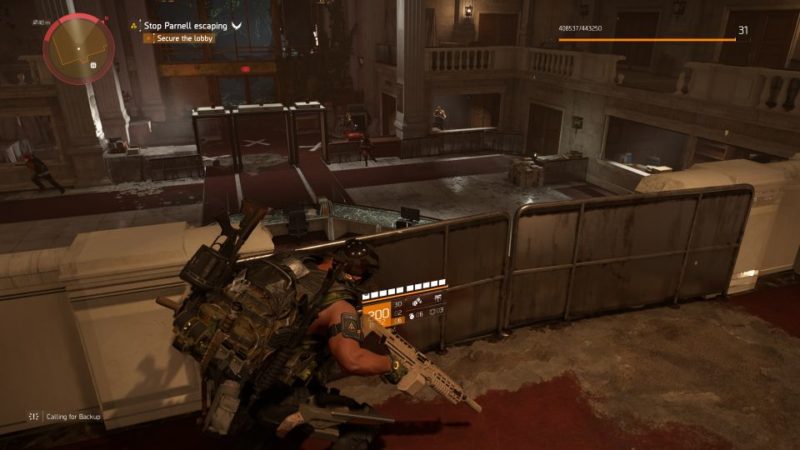
Secure the lobby
After the courtroom, continue going until you reach the lobby.
Secure the lobby first.
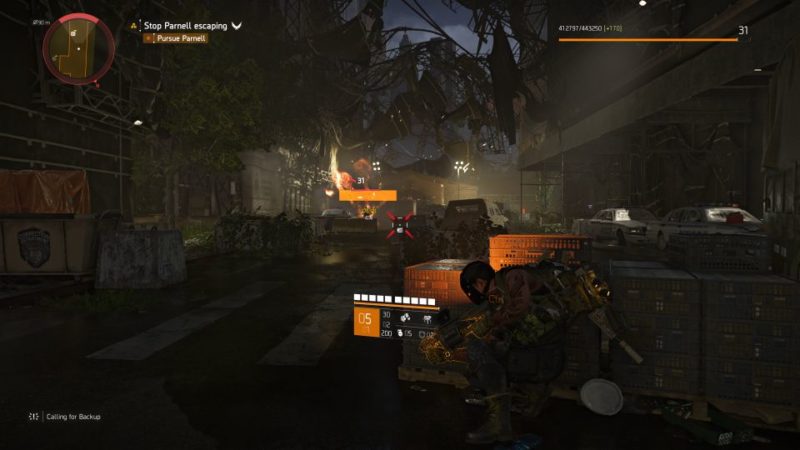
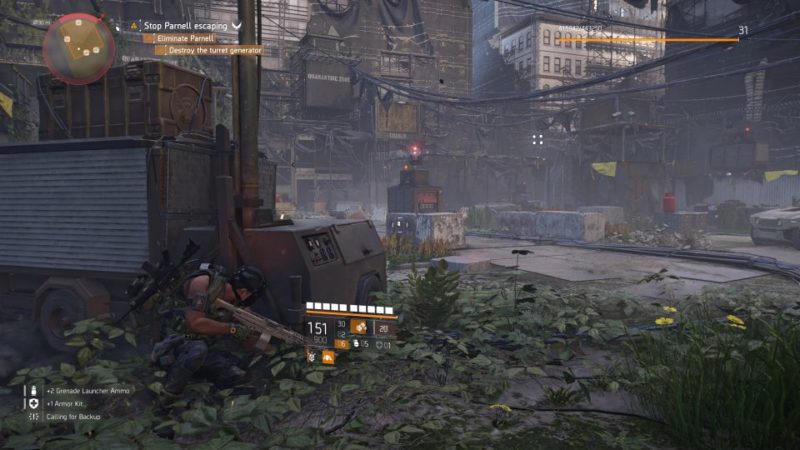
Continue pursuing Parnell
Get out of the building and follow the route to find Parnell.
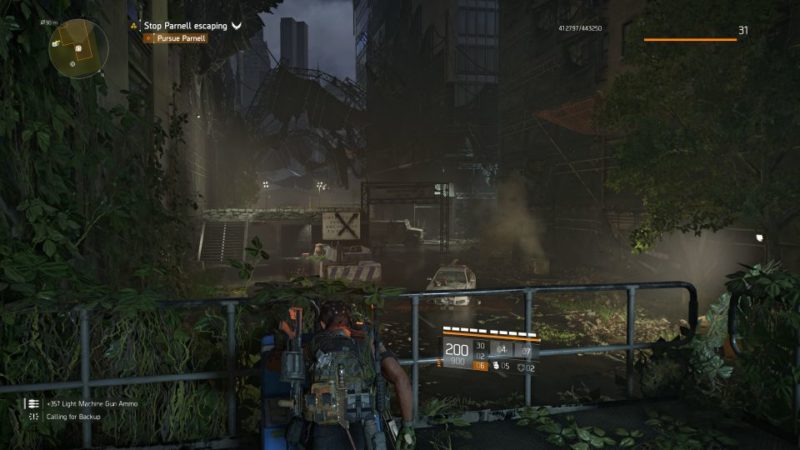
More enemies await along the way. Take them all out.
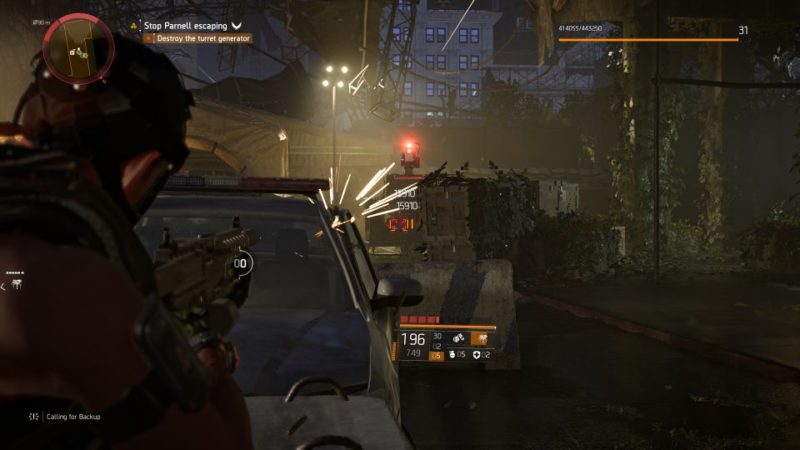
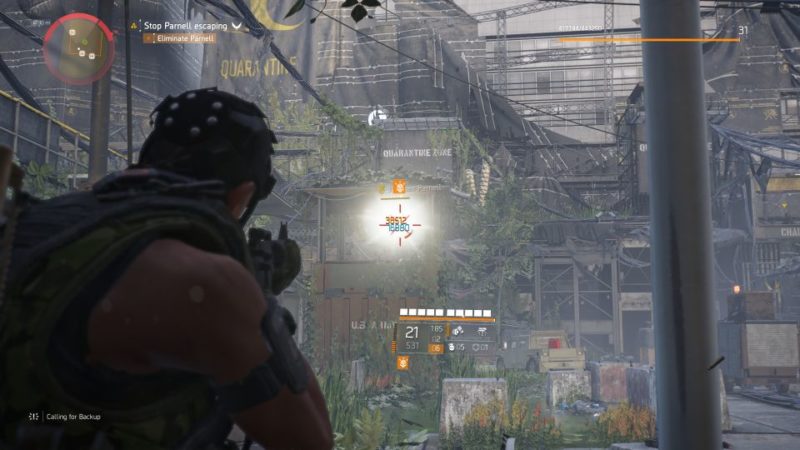
Destroy the turret generator
At one point, you will encounter a turret. To destroy it, shoot at the generator right below the turret.
Once the area is secure, head to the next area to meet Parnell.
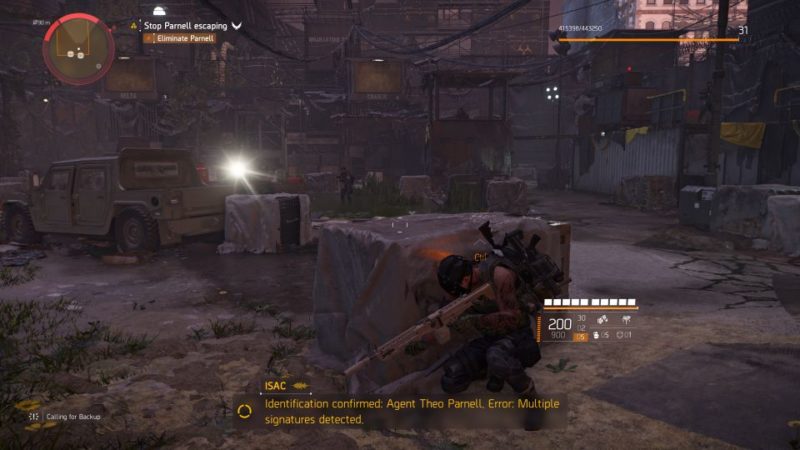
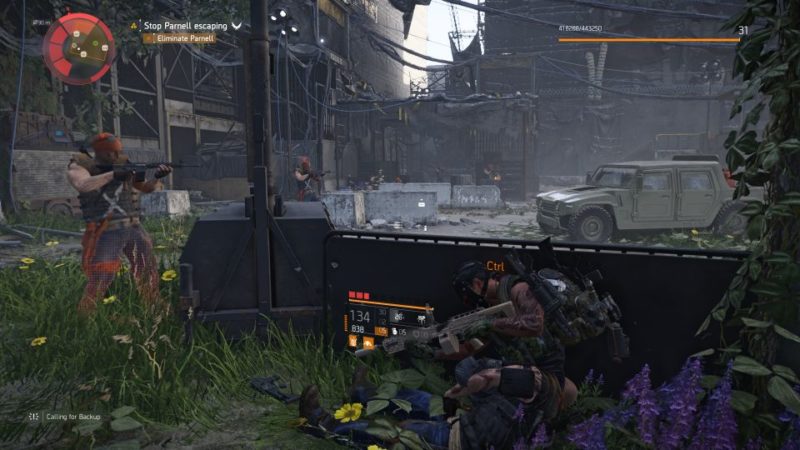
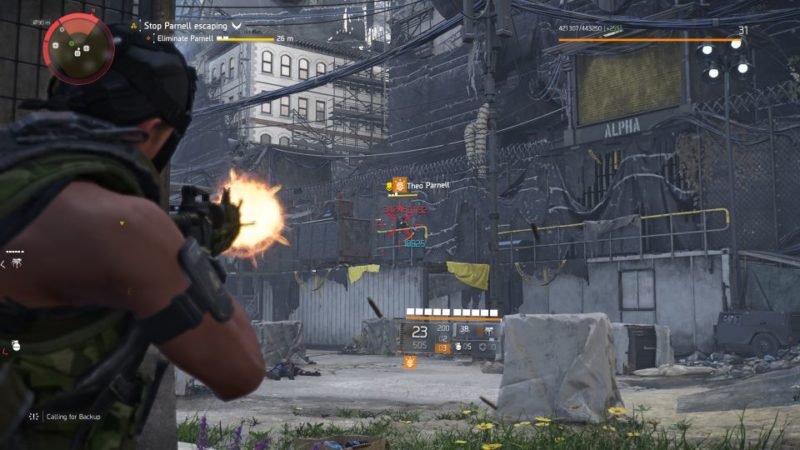
Eliminate Parnell
Finally, you’ll encounter Theo Parnell. Take out his subordinates first.
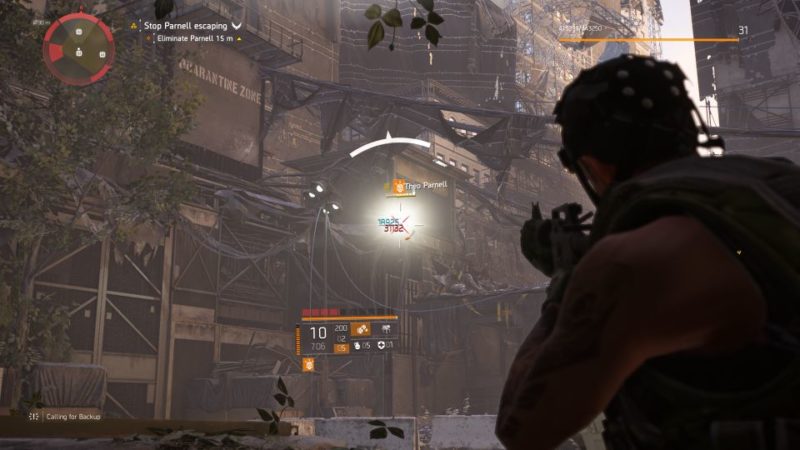
He will then appear but also use holograms. To find him, you’ll have to manually shoot at each of them.
See which one takes damage and you’ll know where the real Parnell is.
After some time, he will hide and you need to destroy the turret generator. Also, some subordinates will start coming in. Take them out and destroy the generator as well.
Theo Parnell will appear again and you’ll have to find where he is, because he changes his location all the time.
After awhile, more soldiers come out again. Take them out.
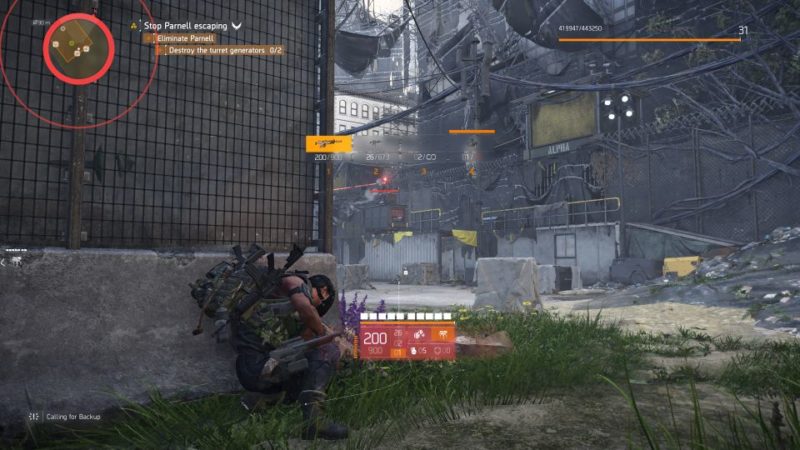
At one point, two turret generators will appear alongside the soldiers, and you have to destroy both generators.
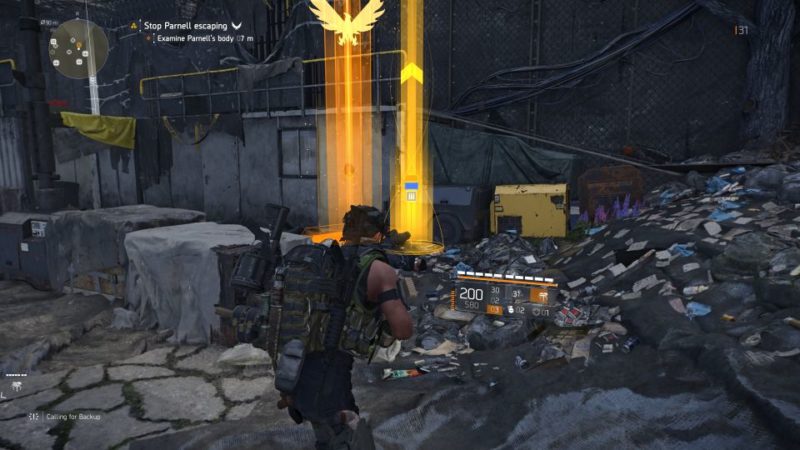
Theo Parnell will finally come out in person and he’ll be running towards you, alongside a few heavily armored guys.
Kill him and secure the area. Next, examine his body to find the next lead. You will also gain a lot of items.
The Tombs mission ends here.
Related articles:
Quarantined Skyscraper – The Division 2 Walkthrough
Police Plaza (Locate Theo Parnell’s Server): Division 2 Walkthrough
Contaminated Alley – Division 2 Warlords of New York Walkthrough
How To Begin Playing Warlords Of New York (Division 2)
Courthouse Subway – The Division 2 Walkthrough (And Possible Bug)
Coney Island Ballpark Mission: The Division 2 Walkthrough