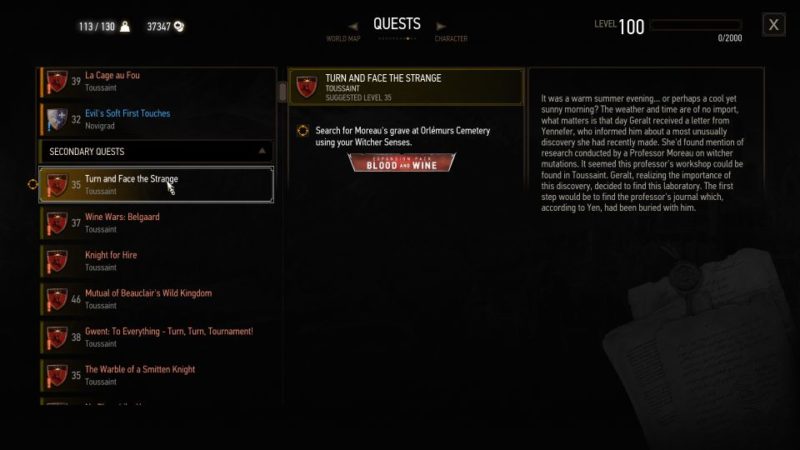
Turn and Face the Strange is a special quest in Blood and Wine (Witcher 3) where you can unlock mutations.
Your task is to look for the secret lab by Professor Moreau.
Here’s a walkthrough of Turn And Face The Strange in The Witcher 3.
Suggested level: 35 and above.
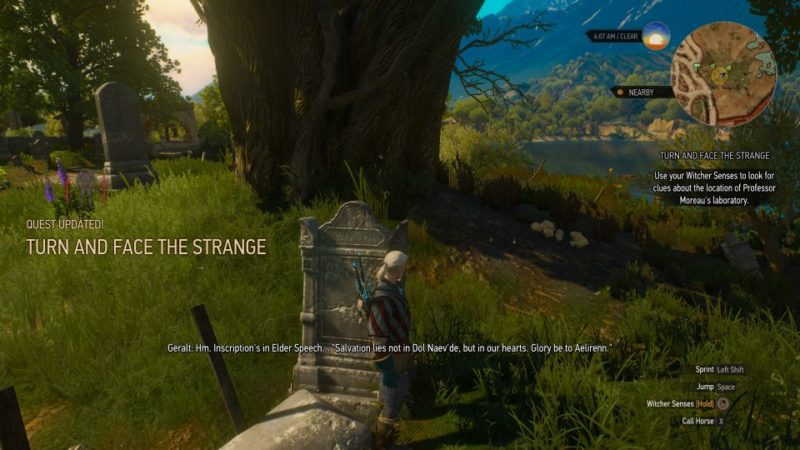
Search for Moreau’s grave
Head towards the cemetery in town to look for the grave.

Use your witcher senses and you’ll see which tombs you can interact with.
Moreau’s grave is the one in the image below.
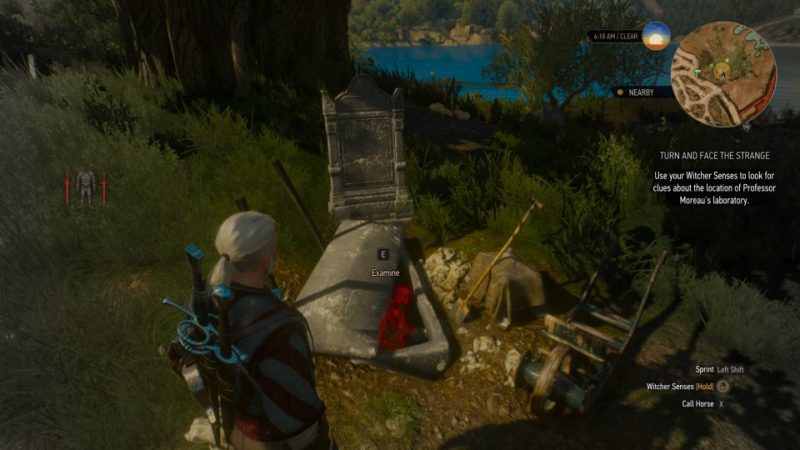
Search for more clues in the area. The grave robber’s trail will disappear.
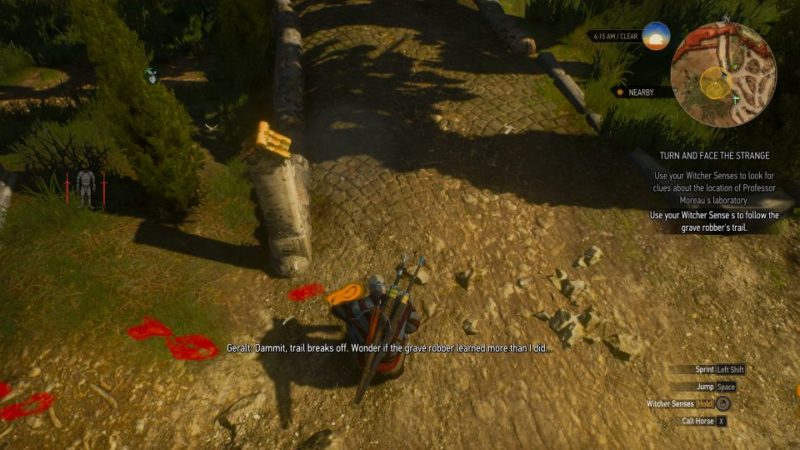
Continue searching the body for more clues.
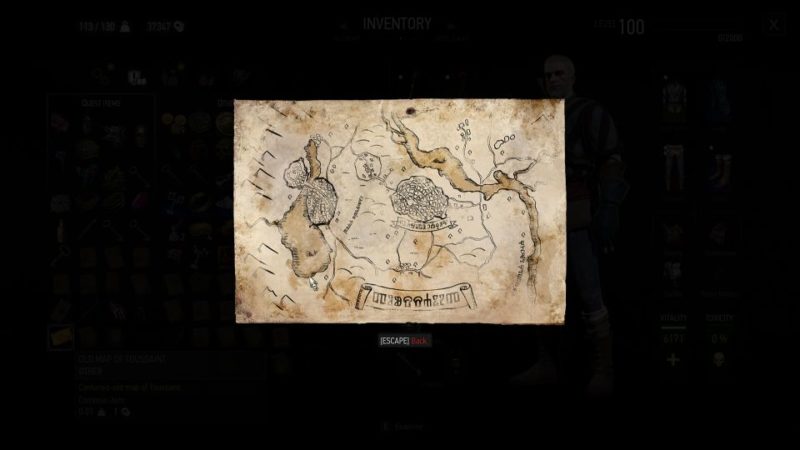
You’ll then find a map.
Enter your inventory and open the map.
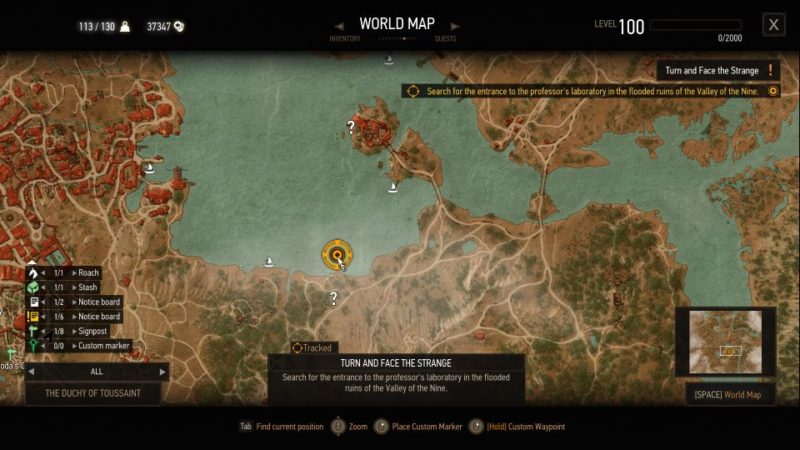
Look for the entrance to the lab
The lab is now submerged underwater. Look for the entrance as shown in the map.
You’ll need to dive underwater.
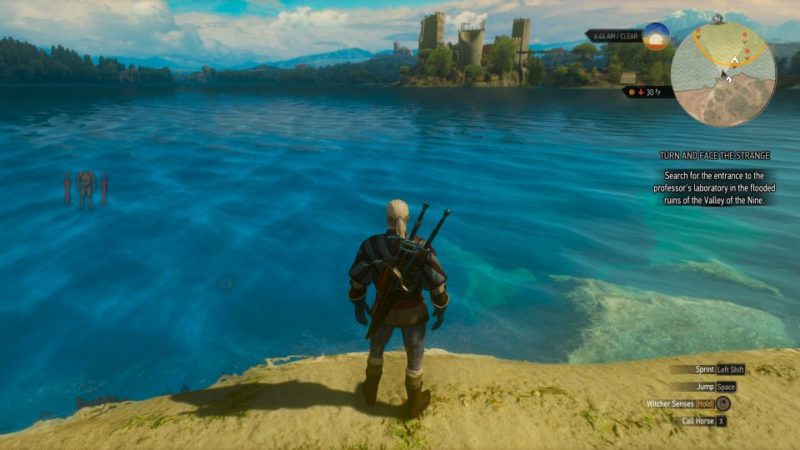
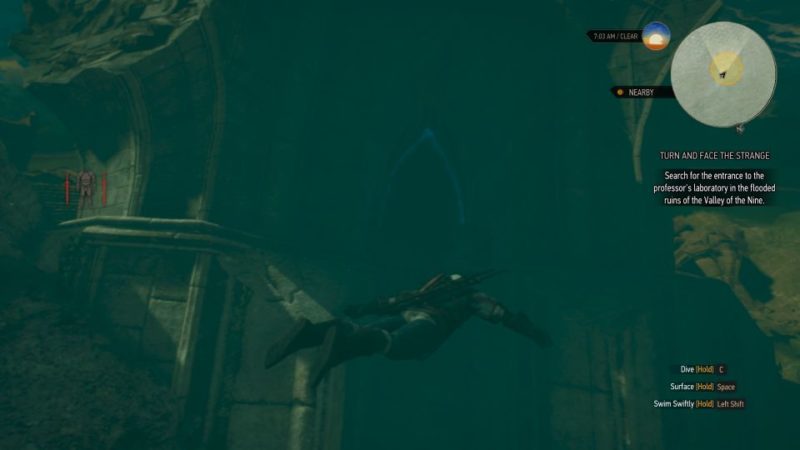
Equip your crossbow to kill the monsters near the flooded ruins of the Valley of the Nine.

You should see a portal at the ruins. Enter the portal.
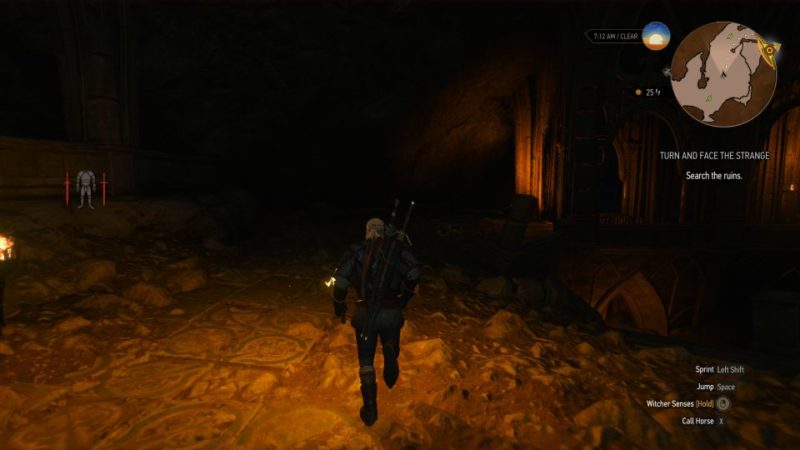
Search the ruins
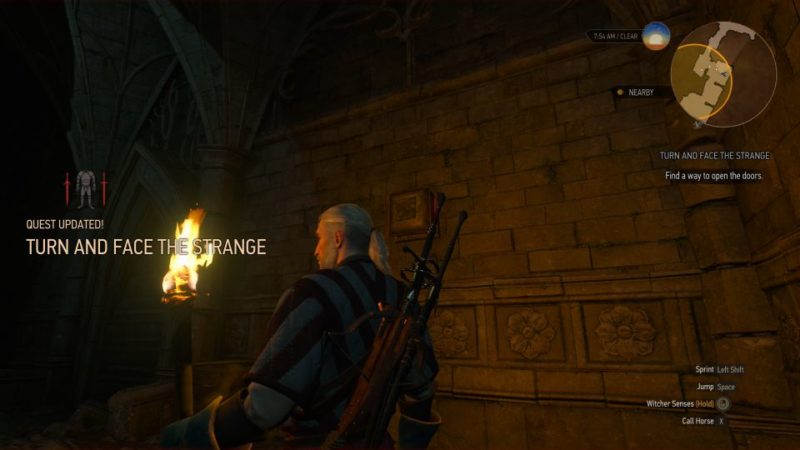
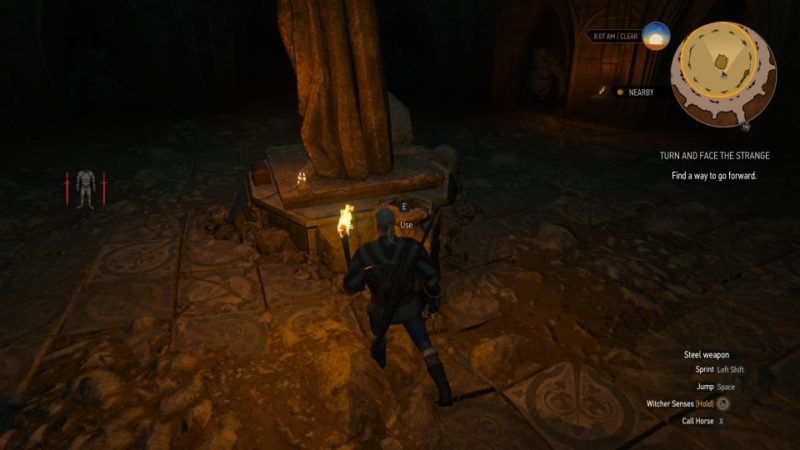
Grab a torch to illuminate the room.
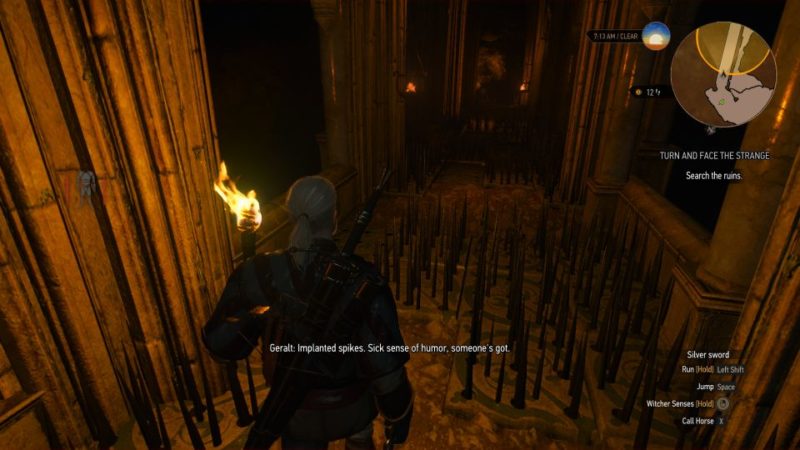
You’ll need to watch out for some traps first. They are spikes from the ground.
Go until you reach a room with panther statues. They will come to life and you need to defeat them.
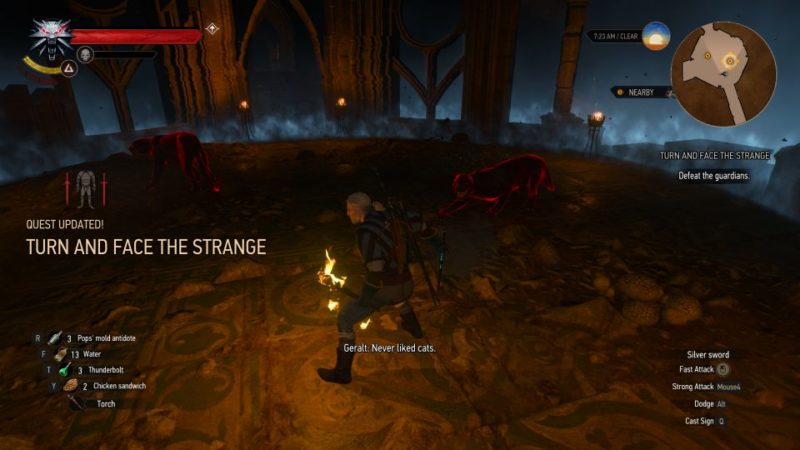
After beating the panthers, continue ahead.
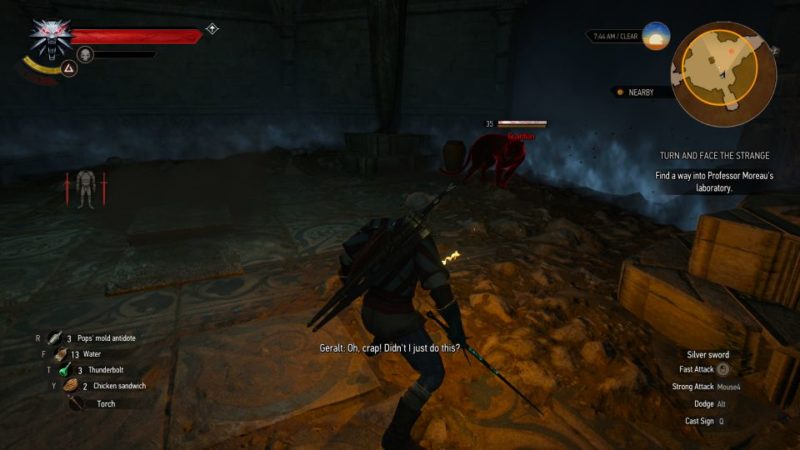
The correct way is to go downwards.

Once again, another panther fight.
How to unlock the door
You should then reach a door which is locked with four bars.

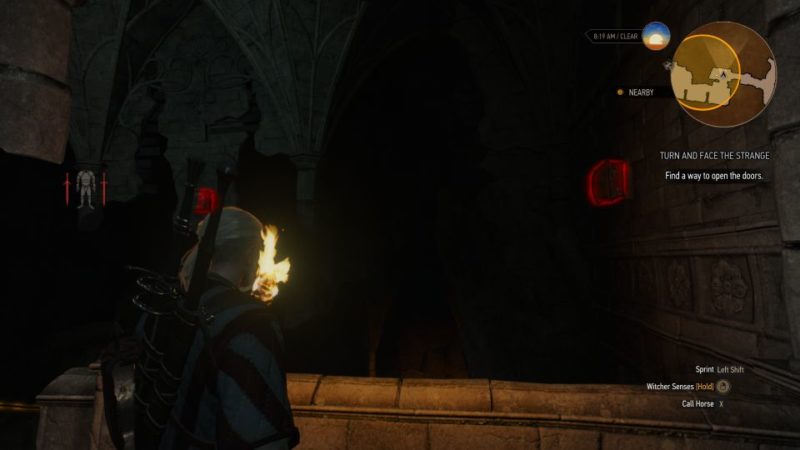
To open the door, you need to look for the four ‘buttons’ on the wall. Two of the buttons are on the wall near you.
To press it, use Aard.
After pushing the two buttons, there are two more.
One is at the side of the wall but you can’t walk there. Just use Aard and you’ll be able to push it.
The last button is further away at the middle (above the dark pit). To push it, you need to equip your crossbow.
Look for the closest platform to stand on and shoot at it.
The door should now be open. Head to the next room.
Defeat the gargoyle
In the circular room, you will see many statues. One gargoyle will spawn. Defeat it.
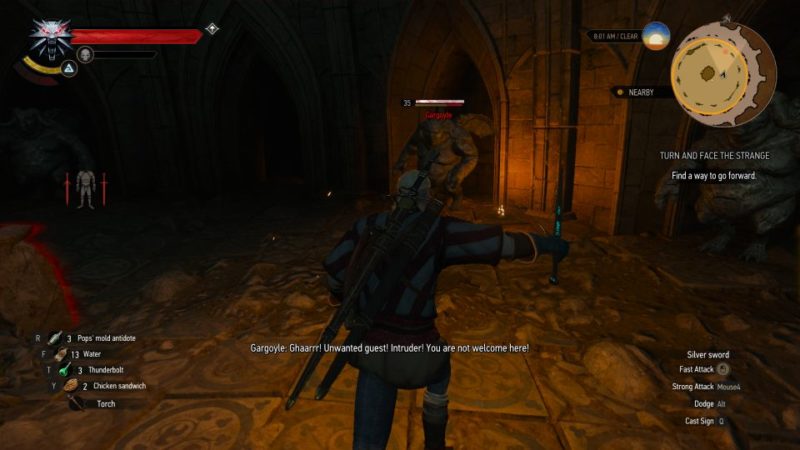
This gargoyle will drop the claw.
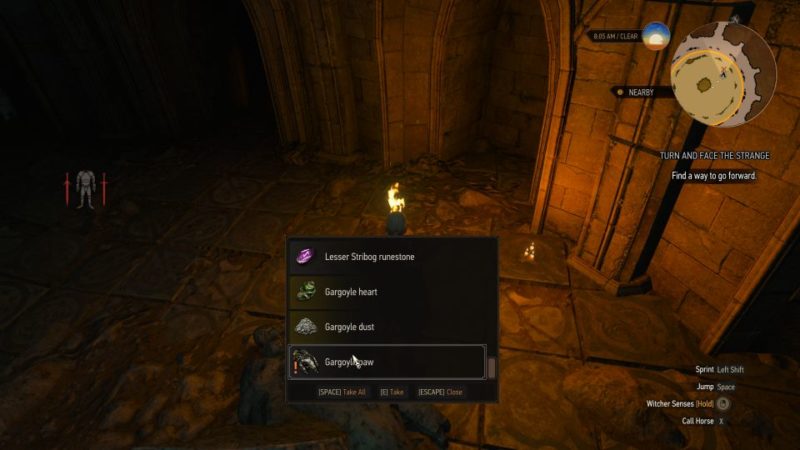
Place the claw on the platform near the middle statue. It will unlock the portal.
Which is the right portal?
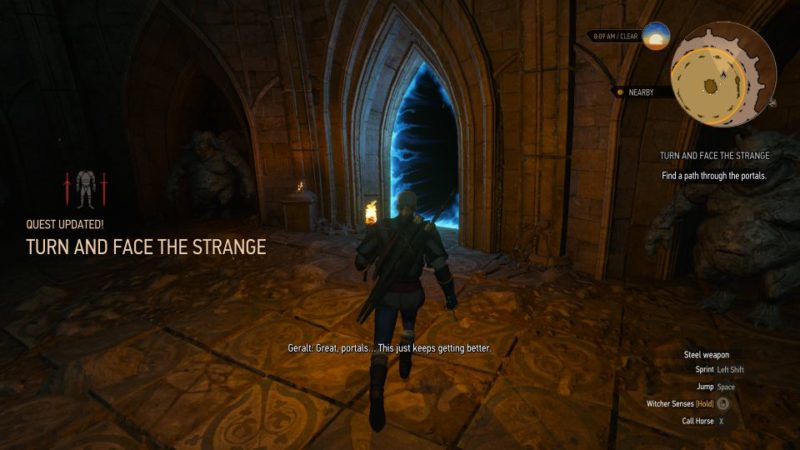
Once the first portal is open, go through it.
You will be back in the same room, but there are more portals now.
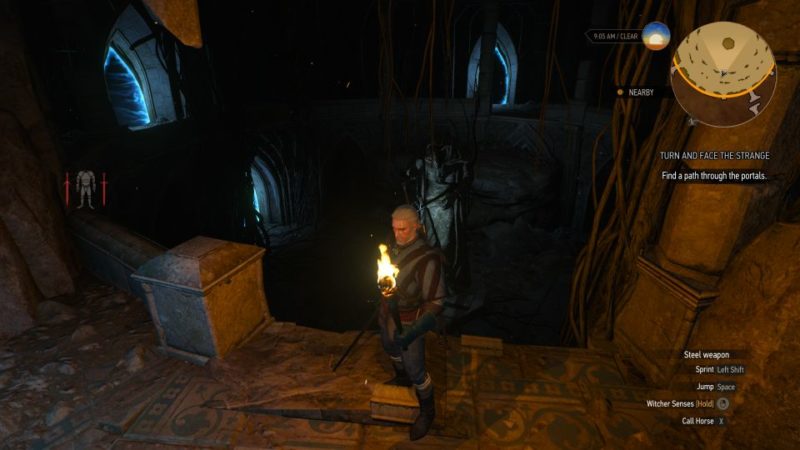
The correct way is to follow the direction where the tall middle statue is looking at. Portals at the bottom floor are all false.
The correct portal is on the floor above. You can just climb up onto the floor.
After going through the portal, you’ll be on a higher floor.
The next portal should also follow the direction of where the statue is looking at.
You will then reach the laboratory.
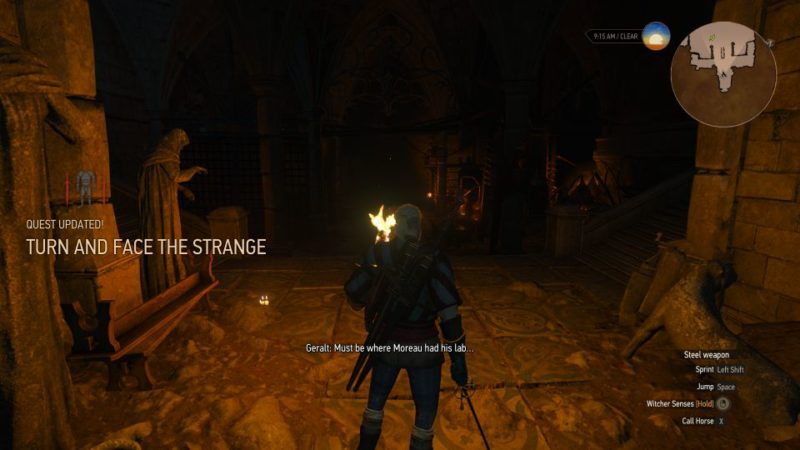
Investigate the lab
Use your witcher senses to examine the items in the lab.
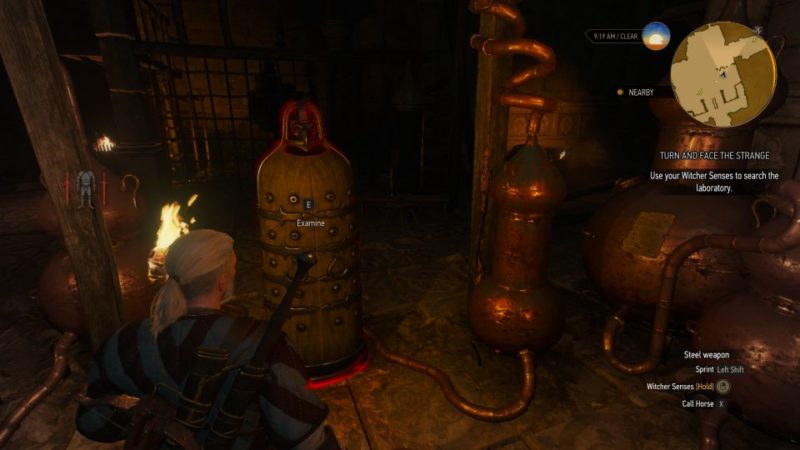
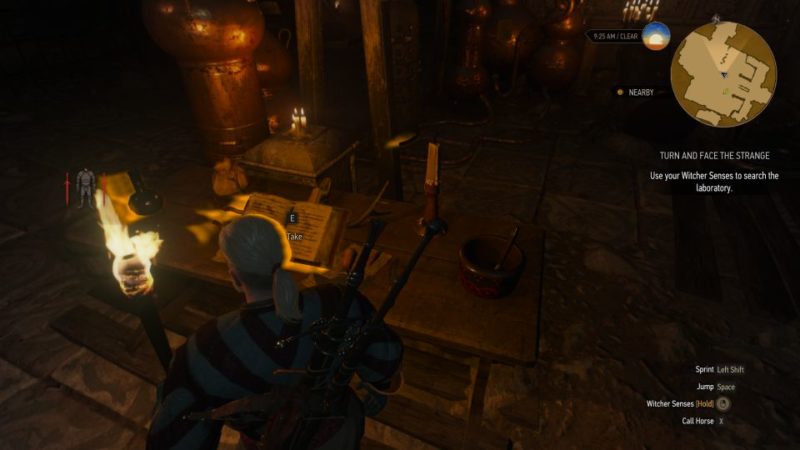
There are books that you can take to read as well.
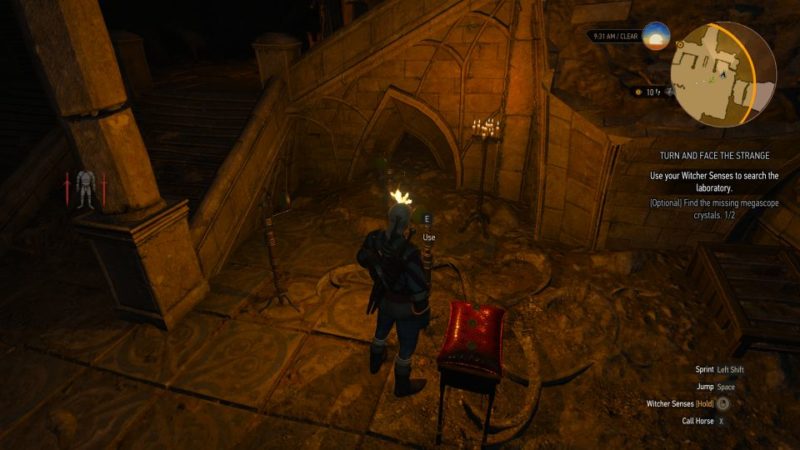
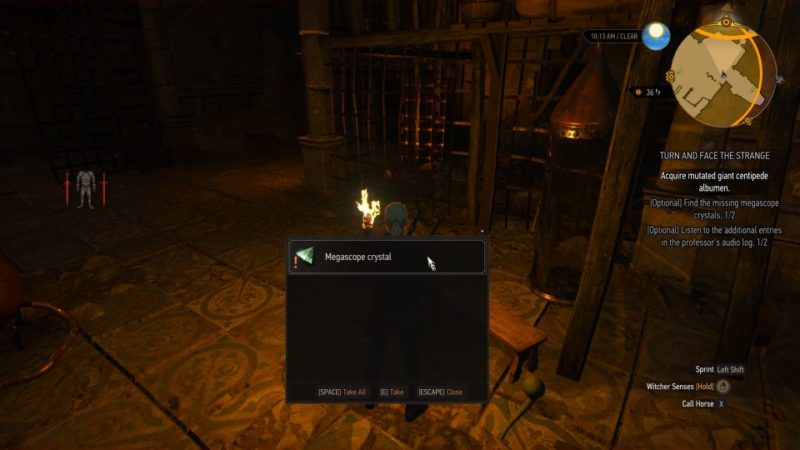
(Optional) find missing megascope crystals
There’s an optional objective. You can find the crystals around the lab.
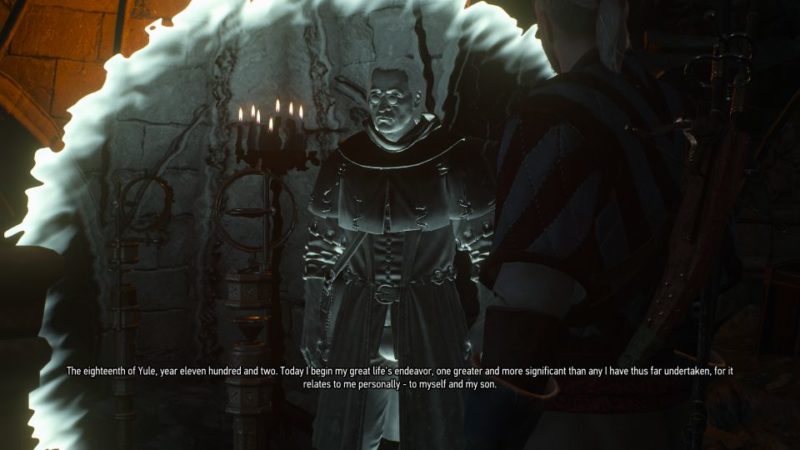
Listen to the entries
With or without the crystals, you can go to the megascope and check out the journal entries.
If you have the crystals, you will unlock the fourth entry as well.
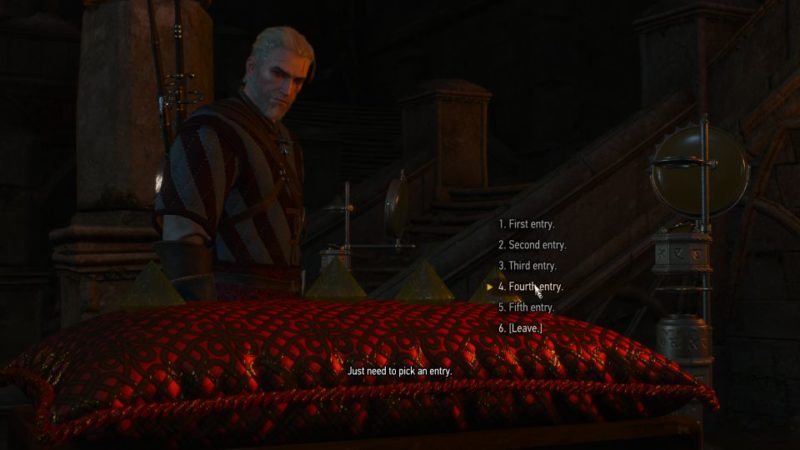
You should then see what the professor was doing here.
Acquire mutated giant centipede albumen
To unlock additional mutation, you need to first acquire albumen from the giant centipede.
They are nearby the laboratory. There will be giant centipedes though.
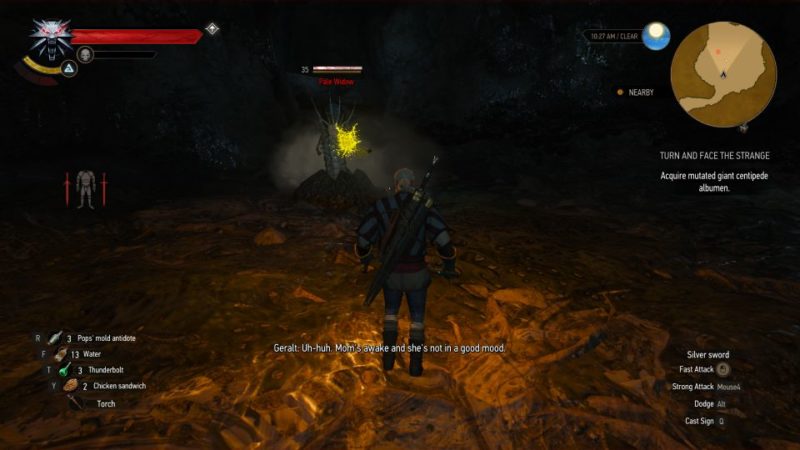
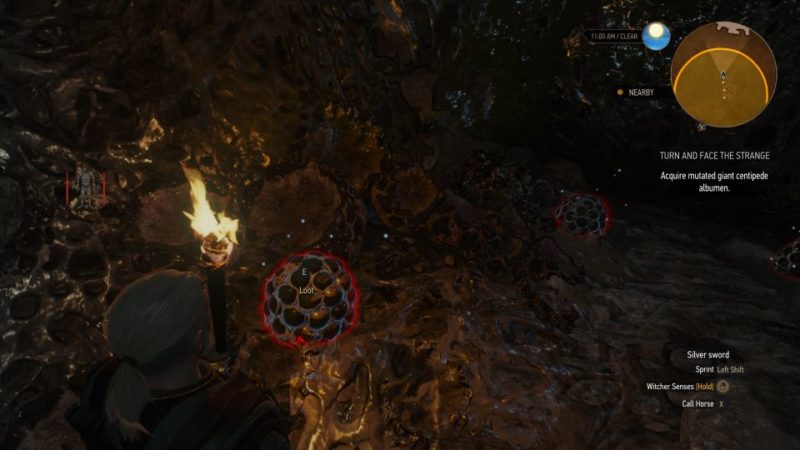
After the first area, you need to go further in.
Another giant centipede will spawn. After killing it, you should see the albumen nearby. Pick them up.
Use the machine
Place the albumen in the contraption first.
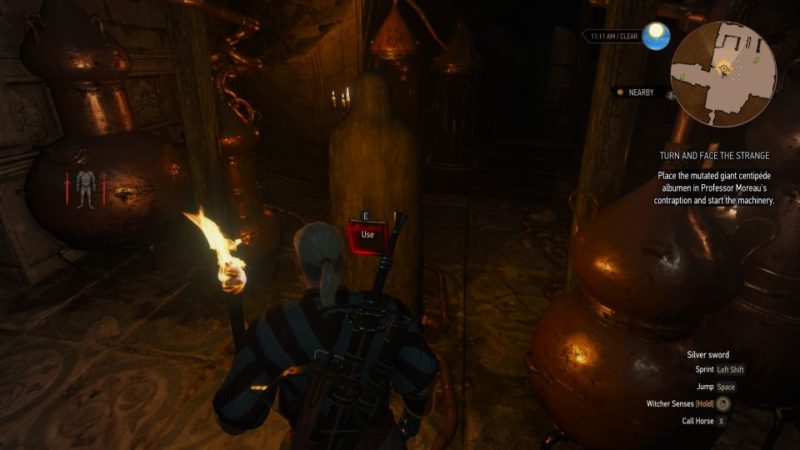
Next, unequip all your clothing including swords.
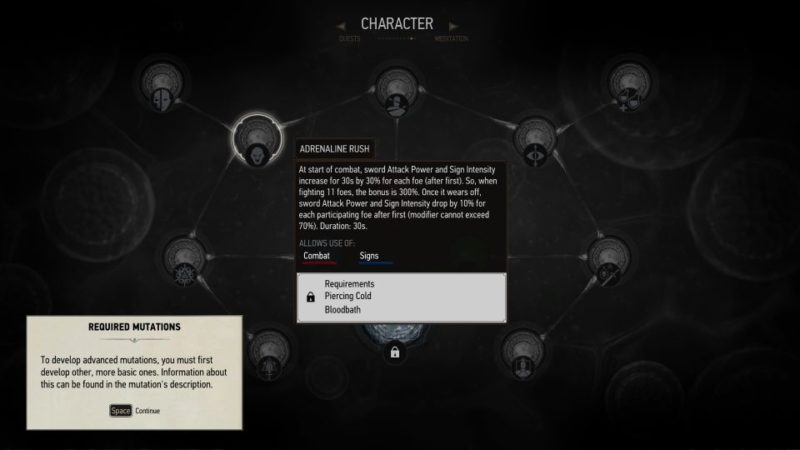
Use the machine to unlock your mutation.

You will then be given a tutorial on how it works.
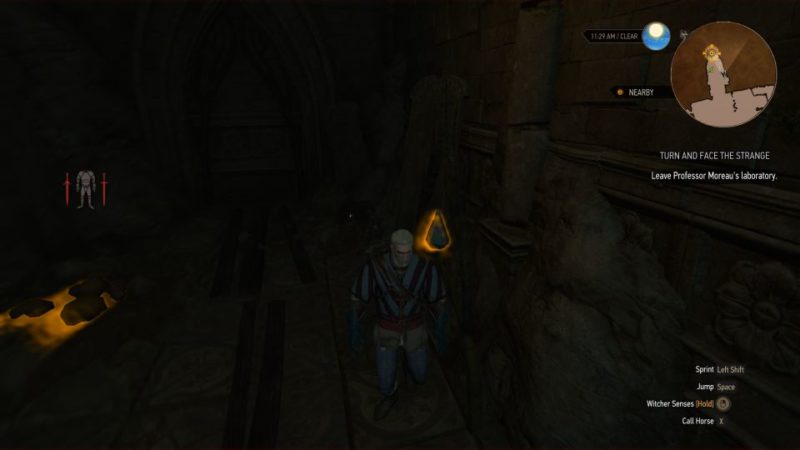
Leave the lab
To leave the lab, just use Aard on the orb and a portal will open.
You will spawn underwater and the quest ends.
Related articles:
Where Children Toil, Toys Waste Away: The Witcher 3 Guide
La Cage Au Fou: The Witcher 3 Quest Walkthrough
Va Fail, Elaine: The Witcher 3 Walkthrough And Guide
The Beast Of Toussaint: The Witcher 3 Walkthrough
Envoys, Wineboys: The Witcher 3 Quest Walkthrough
An Elusive Thief: The Witcher 3 Contract Walkthrough
The White Lady: The Witcher 3 Contract Walkthrough