Liberty Island is a main mission in the Warlords of New York DLC in Division 2.
Your task is to locate Aaron Keener at Liberty Island and eliminate him.
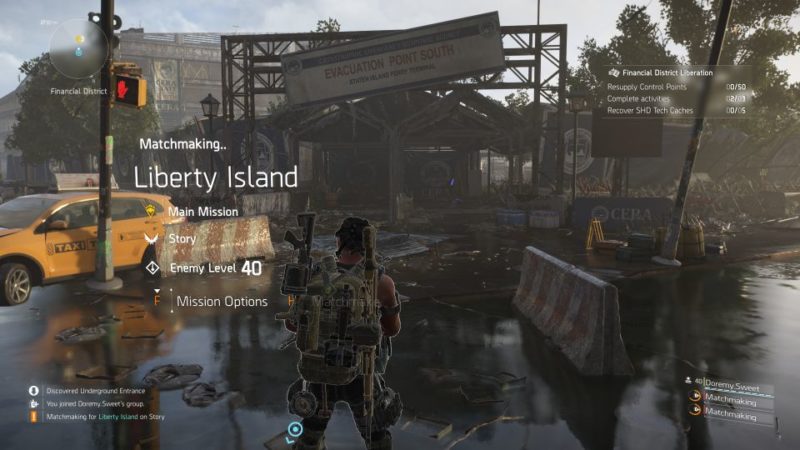
Here’s a walkthrough of Liberty Island in Division 2.
You will unlock the mission after finding enough leads from the various areas.

Head to the marked area on the map.
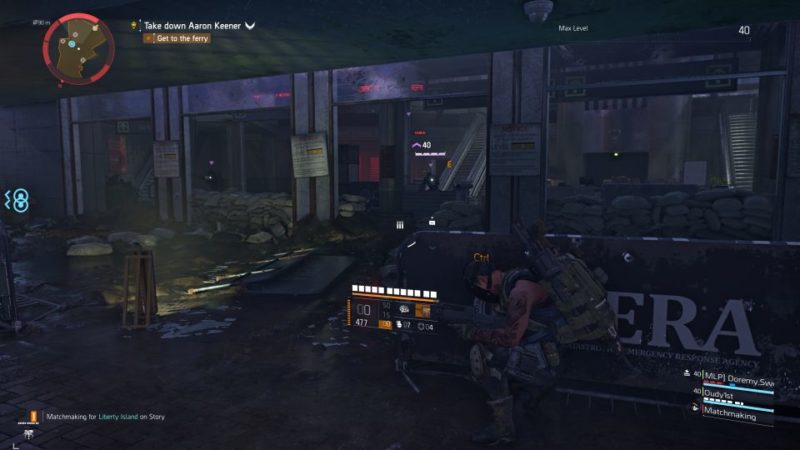
Get to the ferry
Your aim is to get to the ferry but there’ll be plenty of Black Tusk operatives along the way.

Take them out and continue heading to the building. Kill the enemies here.
Go upstairs to proceed further.
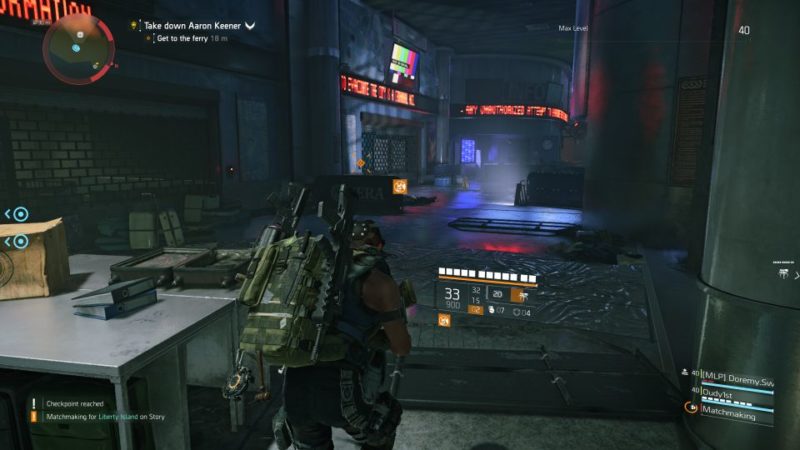
At the upper floor, more enemies await you. Take them out.

Continue heading towards the ferry.

Disarm the explosives
You should then reach the car park area of the ferry. Take out the enemies along the way.
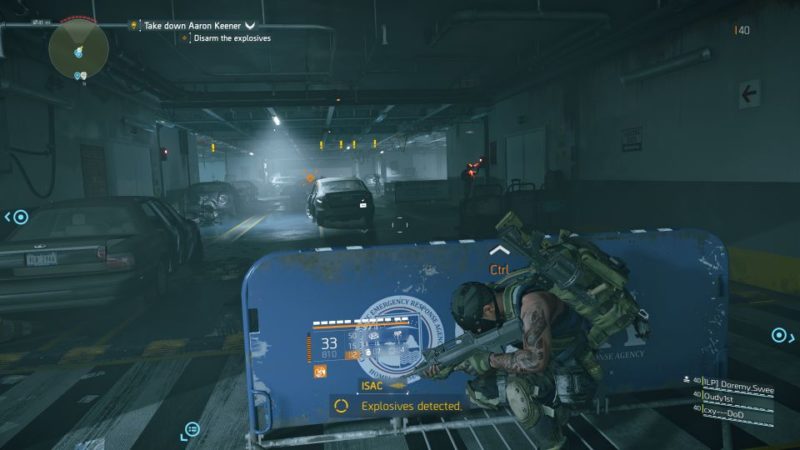
Go towards the end to disarm the explosives using the laptop.

Disarm remaining explosives
Continue looking for the other explosives and kill the remaining Black Tusk members.

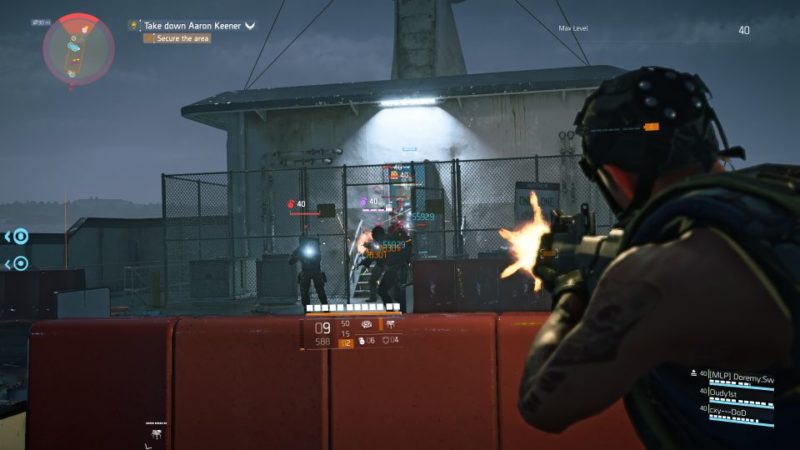
Secure the area
You will then reach the top of the ferry. Secure the area here.

Keep going towards the control room. Some heavily armored men will appear from the room.
Kill them all.
Go to Liberty Island
Once you’re ready, chart the course to Liberty Island to find Keener.

There’ll be a cutscene here.
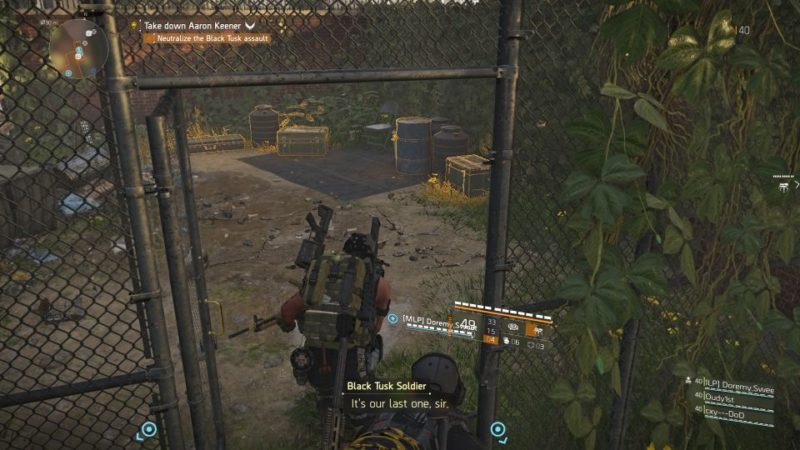
Get to Keener
Get off the ferry and head to Keener’s location.

There’ll be a lot of Black Tusk operatives here. Take them all out.
A few helicopters will appear to drop some men.

Get to the Razorback
Next, head to the Razorback to destroy it.

Disable the Razorback
You’ll encounter more Black Tusk operatives at the Razorback area. Take them out first.
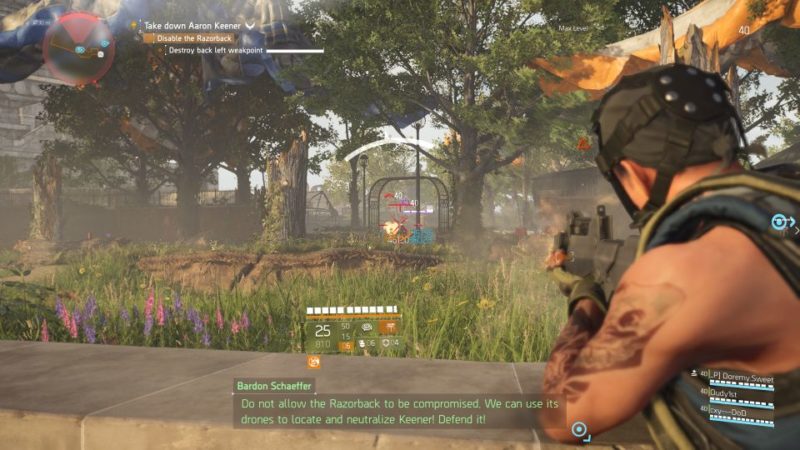
This is where some attack drones will appear. Take them out quickly as they’re pretty fatal.

To disable the Razorback, you’ll have to do several things, including destroying the weak points.
The weak points look like circuits. They can either be at the back or the front.
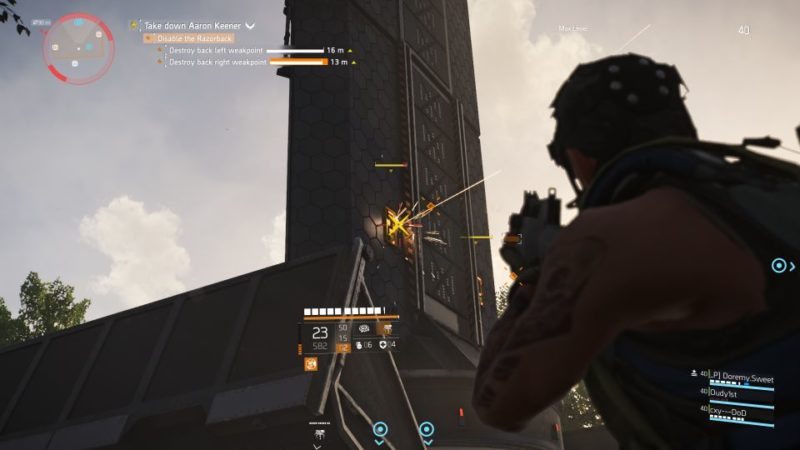
After destroying the weak points, more drones and enemies will come.

Next, you’ll need to hack the Razorback power terminal. Head to the marked circle.
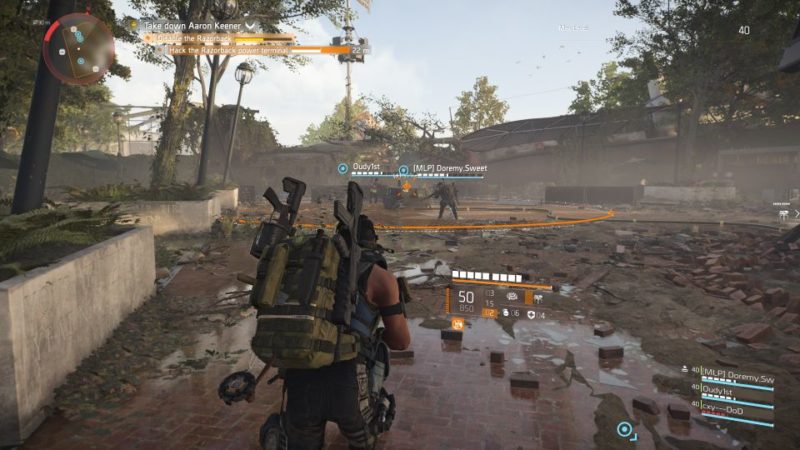
More reinforcements will come while you’re hacking the razorback.

After hacking it, you need to destroy the weak points again.
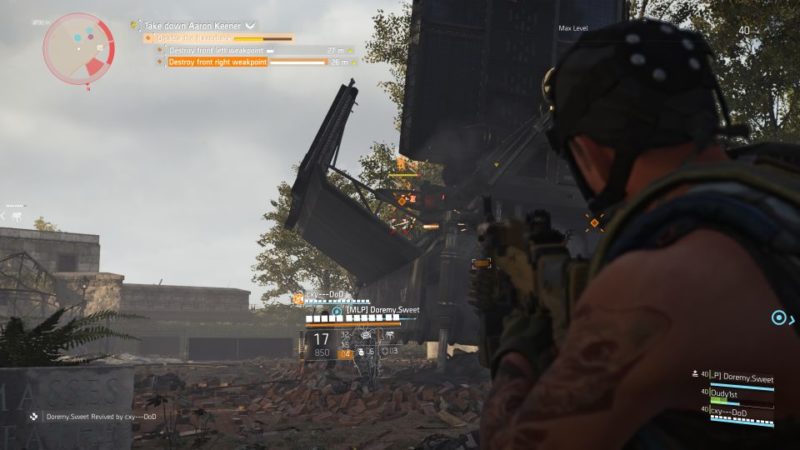
After destroying the left and right weak points, destroy the front top weak point.

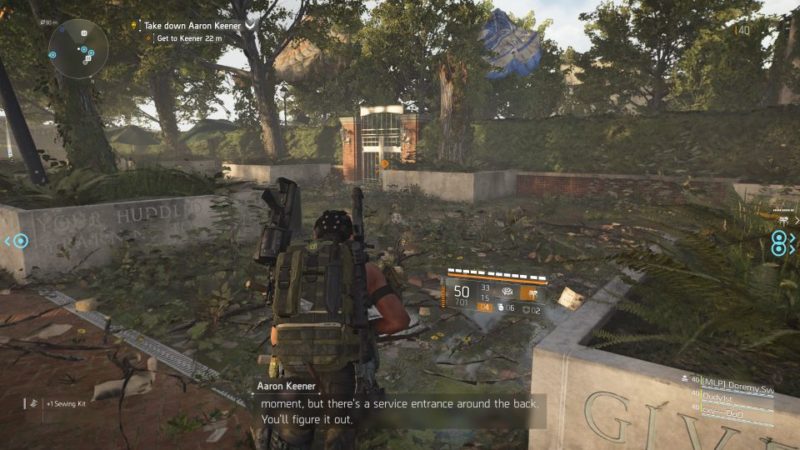
Get to Keener
Once you’re done destroying the razorback, head to Keener.
On the way, there’s an area with a lock pad. Destroy the pad and you can loot the stash.
Continue heading towards Keener.

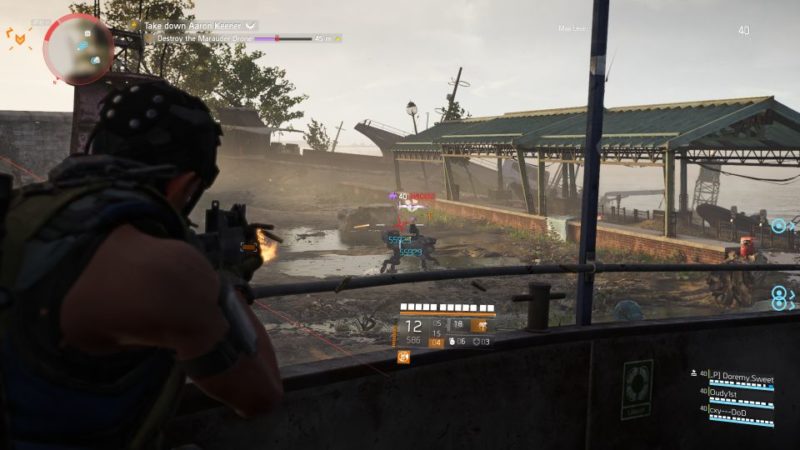
Destroy the Marauder Drone
You’ll meet the Marauder Drone, similar to the one you fought back in DC.
Take it out. It’s easier to shoot at the four propellers first.

During the fight, some land drones will appear. Take them out as well.
Get to Keener
Continue looking for Keener.

There’ll be a few ECHOs to watch along the way.

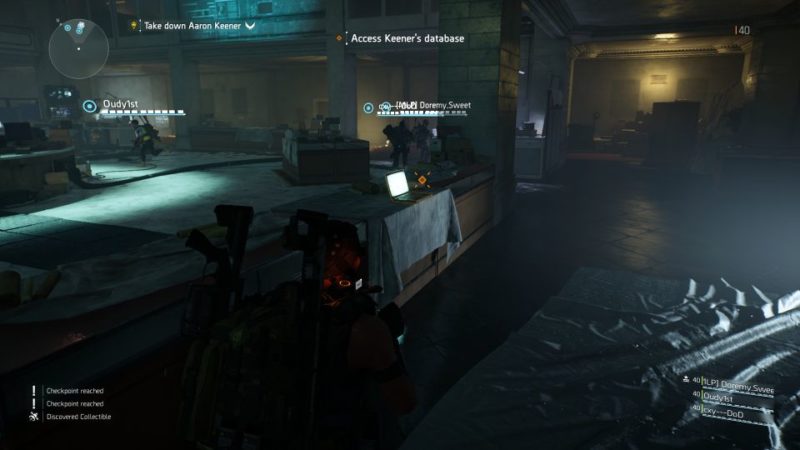
You will then reach a control room. Head to the ground floor with your team members and be prepared for a drone battle.

Access Keener’s database to begin the fight.
Secure the area
A lot of drones will start popping up. Destroy all of them.
There’ll be flamethrower drones as well.

Just keep destroying all of the drones and watch out for the stinger bombs.
Keener will tease you with the changing objectives, but you just have to survive till the end.

Once you’re done, head out to look for Keener.
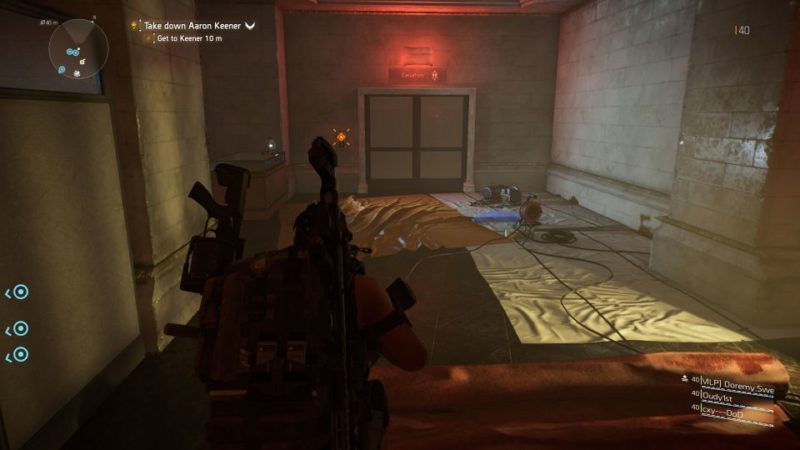
You will then come across a big missile launcher and some Black Tusk agents.

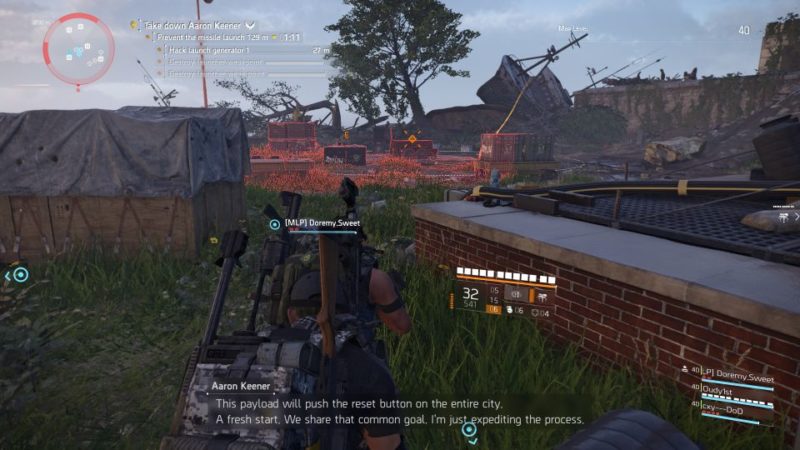
Prevent the missile launch
You have to prevent the missile launch within three minutes.
The first thing to do is to go to the hacking terminal.

Just stay within the hacking area and destroy the launcher’s weak point. Enemies will keep coming so you’ll need to watch out for them as well.

Continue to the second launch generator and hack it. Stay in the circle to start the hacking.

You’ll need to take out another weak point.

There’ll be a third launch generator to hack and just do the same thing.
Continue destroying the launcher’s weak point.

At this point, your time should be running out and you have to aim at the final launcher weak point.
Take it out before the time is up.

Defeat Aaron Keener
Aaron Keener will finally show up to defeat you. He’ll utilize drones to help him (including flying drones and flamethrower drones).

His armor is pretty thick and it takes a lot to bring it down. When his armor is going down, he’ll probably use a drone to heal himself or use a medkit.
He becomes immune and you need to take out the drone first.
The best way to defeat Aaron Keener is to surround him from all angles, instead of sticking together. This will give him little room to take shelter.
Try to keep your strongest attacks for the end when his armor is almost gone. Kill him before he can heal.

Once his health goes to zero, he will run away, but you no longer need to fight him.
Just go after him and a cutscene will load.

During the cutscene, you will learn that Aaron Keener is just the start and not the main culprit.
You will also be introduced to seasons where you can hunt the other rogue agents during each season. You will also unlock new SHD points.
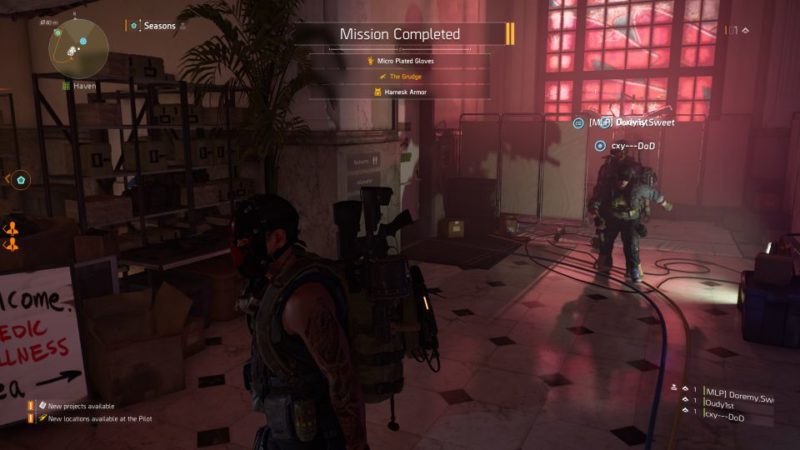
The mission ends here.
Related articles:
How To Spawn Psycho And Drip Mask Hunters – Division 2 (WoNY)
The 917 Bounty (Brunhilda & Chef): Division 2 Walkthrough
Doyers Street: The Division 2 Walkthrough (WoNY)
Pier 26 (Financial District) – Division 2 Walkthrough (WonY)