• Skip to main content
  • Skip to secondary menu
  • Skip to primary sidebar
  • Skip to footer
  • HOME
  • NEED SOMETHING REVIEWED?

Ordinary Reviews

Gaming And Entertainment Site

  • GAMING
    • GAME GUIDES
    • UPCOMING RELEASES
    • SIMILAR GAMES
    • ANIMAL CROSSING: NEW HORIZONS
  • ENTERTAINMENT
    • RECAPS
    • NET WORTH
    • RICHEST WRESTLERS
    • RICHEST RAPPERS
    • RICHEST FOOTBALLERS
    • RICHEST VIDEO GAME COMPANIES
    • RICHEST PRO GAMERS
  • PRODUCTS
    • GAMING GEAR
    • LAPTOPS
    • HOUSEHOLD
    • ELECTRONICS
    • GIFTS
    • TRAVEL GADGETS
    • SERVICES
  • FOOD
  • TRAVEL
  • CRYPTO | NFT

Signal To Noise (Sapphire’s Run): Borderlands 3 Guide

Last updated on September 14, 2020 by Alvin L

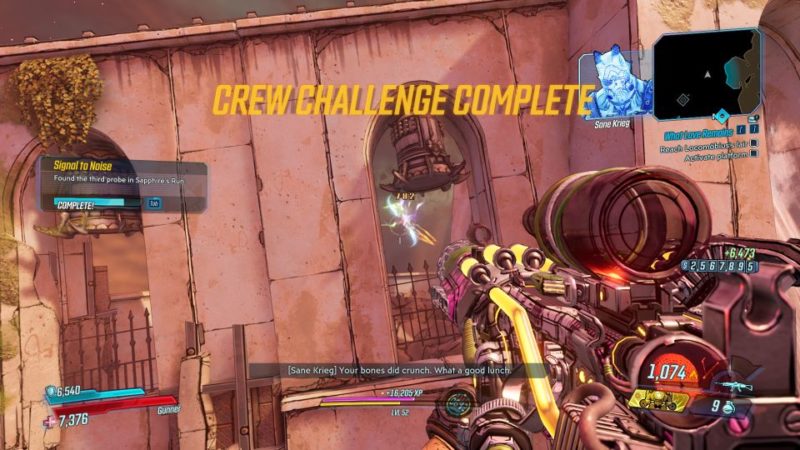
Signal To Noise is a Crew Challenge in the fourth DLC of Borderlands 3.

Each main map should have this crew challenge, including Sapphire’s Run.

Here are all of the Signal To Noise locations in Sapphire’s Run in Borderlands 3.


First probe location

The first location is nearer to the entrance of Sapphire’s Run. The location is shown in the map below.

borderlands 3- signal to noise sapphire's run guide

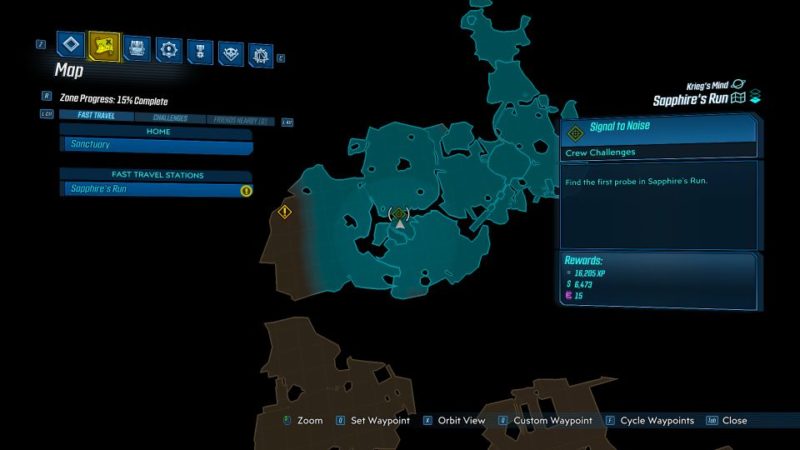
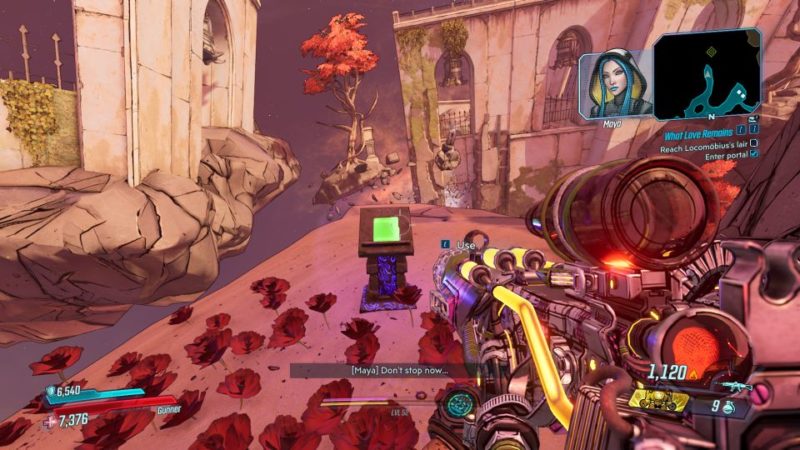
You should see the device on a floating boulder. To get up there, place Maya’s book.

borderlands 3- signal to noise sapphire's run  

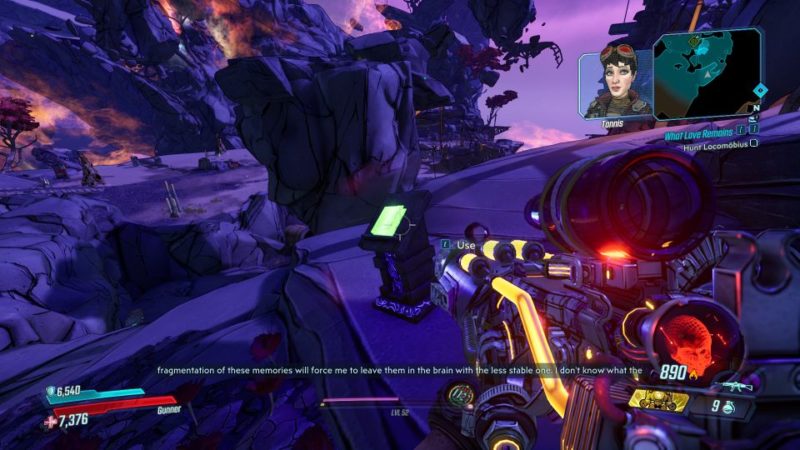
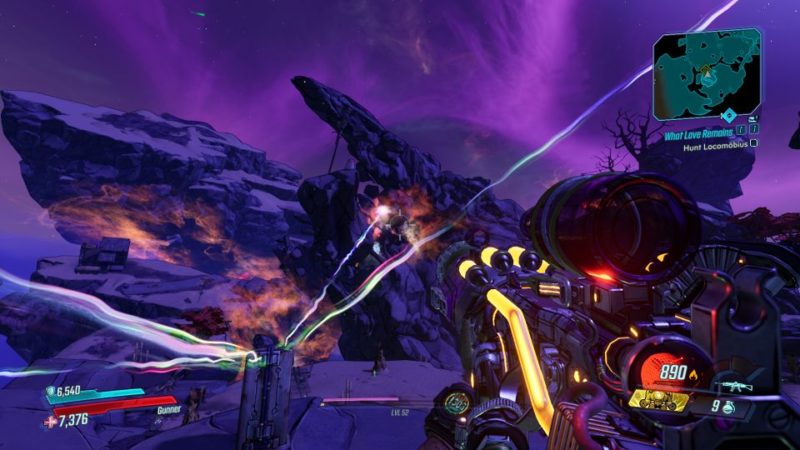
Once you have access to it, start the device and shoot at all the areas the laser is pointing towards.

borderlands 3- signal to noise sapphire's run guide and tips


Second probe location

The next probe location is shown in the map below. It’s at the beginning of the special map opened by the Locomobius to trap you inside.

borderlands 3- signal to noise sapphire's run locations

To get to the device, place Maya’s book.

borderlands 3- signal to noise sapphire's run all 3 locations

Like before, activate the device and shoot at all of the laser ends before the time runs out.

borderlands 3- signal to noise sapphire's run how to do

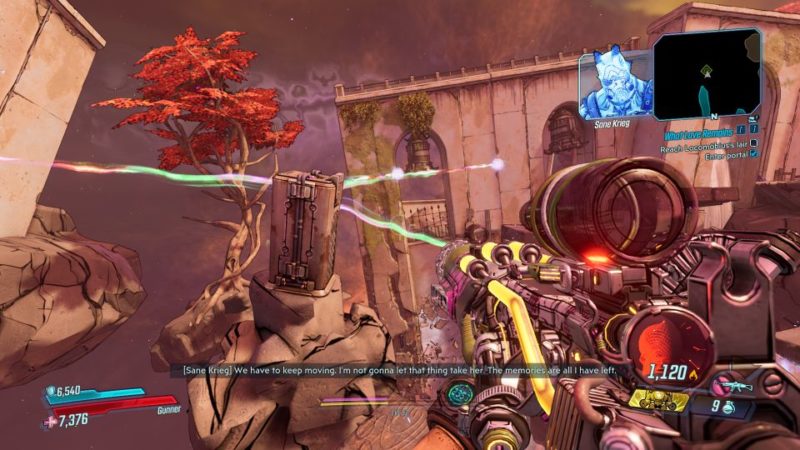
However, this time, you will need to jump on the other platforms to be able to shoot at one of the lasers.

borderlands 3- signal to noise sapphire's run walkthrough


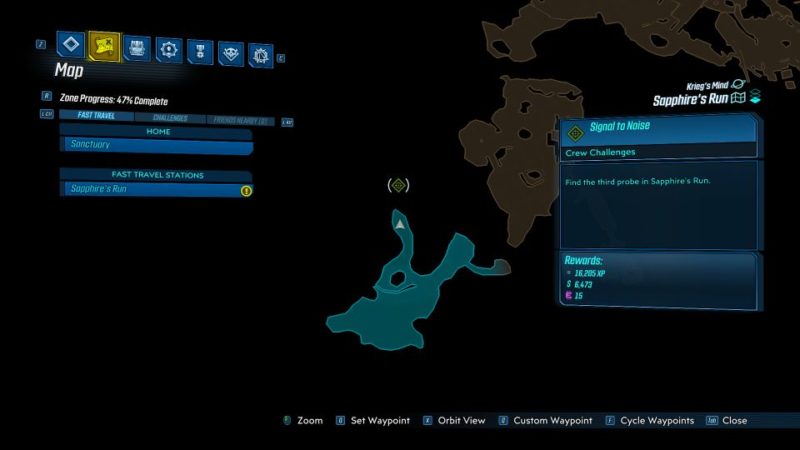
Third probe location

The third location for Signal To Noise is on the map before you fight the final boss. Its exact location is shown below.

Like before, place Maya’s book to form a path.

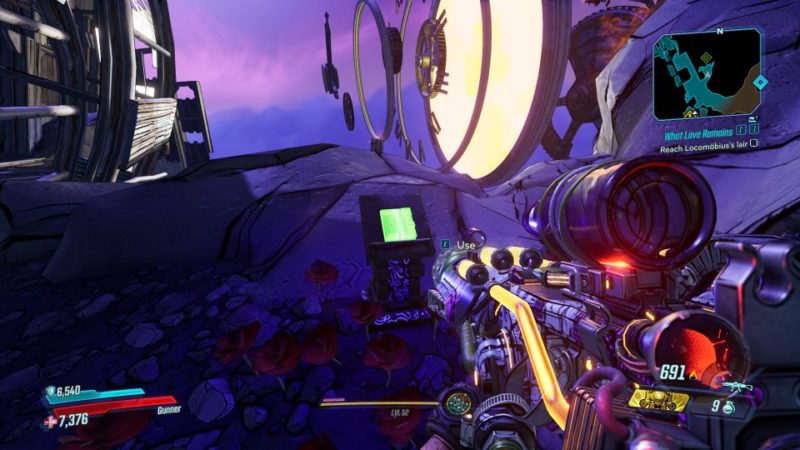
Like the second probe, you will need to jump on the further platforms to be able to hit all of the lasers.


Related articles:

Borderlands 3: What Love Remains Mission Walkthrough

Laid To Rust: Borderlands 3 Mission Walkthrough

Signal To Noise (Castle Crimson): Borderlands 3 Guide

Filed Under: Gaming

About Alvin L

Alvin spends most of his time either absorbing content or creating content.

Primary Sidebar

Footer

Amazon Affiliate Disclaimer

Ordinary Reviews is a participant in the Amazon Services LLC Associates Program, an affiliate advertising program designed to provide a means for sites to earn advertising fees by advertising and linking to amazon.com.

Social Media

Facebook / LinkedIn / Pinterest / YouTube

Latest Posts

  • Fears To Fathom (Carson House): How To Escape Ex-Girlfriend
  • What Time Does Wordle Reset Daily?
  • The Witcher 3: In The Eternal Fire’s Shadow Walkthrough
  • High On Life: How To Open The Door In Human Haven
  • High On Life: Trolley Tracks Warp Disc
  • ABOUT
  • CONTACT US
  • PRIVACY POLICY
  • DISCLAIMER

Copyright © 2023 Ordinary Reviews · All Rights Reserved ·