Signal To Noise is a Crew Challenge in Castle Crimson. It’s one of the maps in Borderlands 3’s 4th DLC – Psycho Krieg and the Fantastic Fustercluck.
Your task is to investigate three probes in Castle Crimson to decipher Krieg’s message.
Here’s a guide for Signal To Noise crew challenge for Castle Crimson in Borderlands 3.
First probe location
The first probe is located closest to the entrance of Castle Crimson’s map.
The location is shown in the map below.

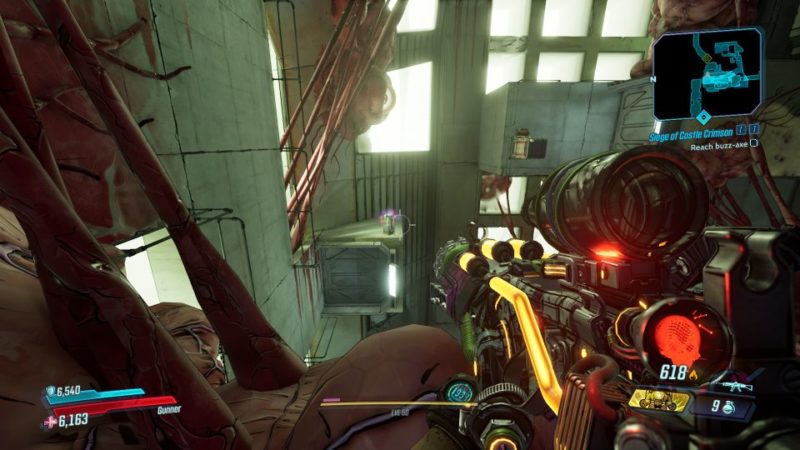
It’s near one of the jump portals. If you look towards the side, you can see a floating path for you to go on.
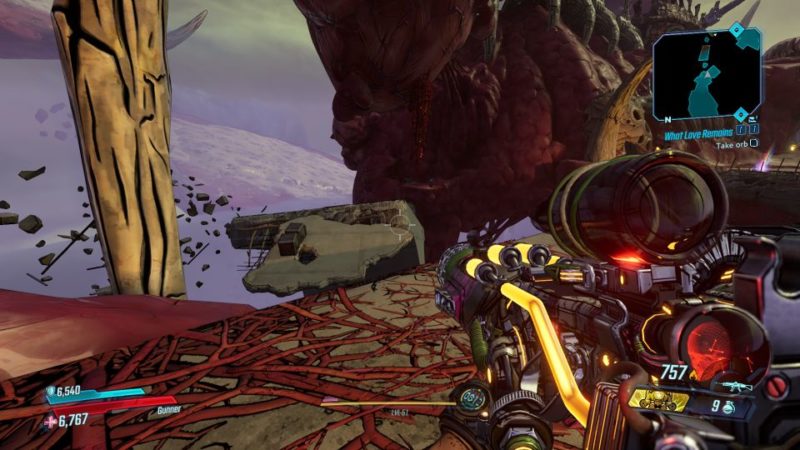
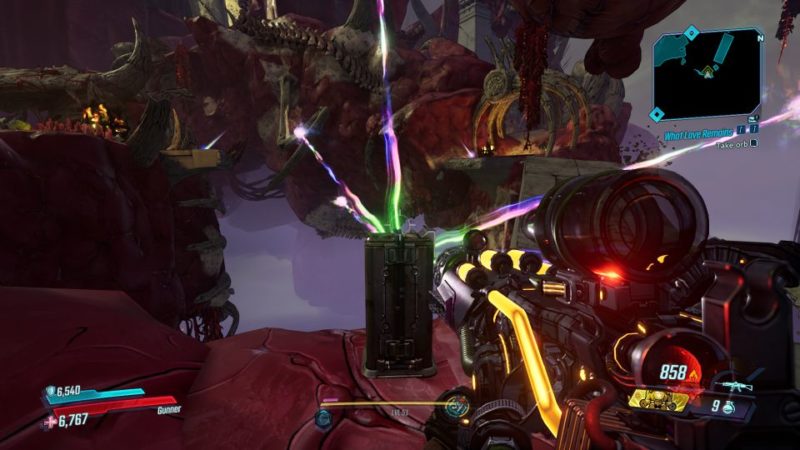
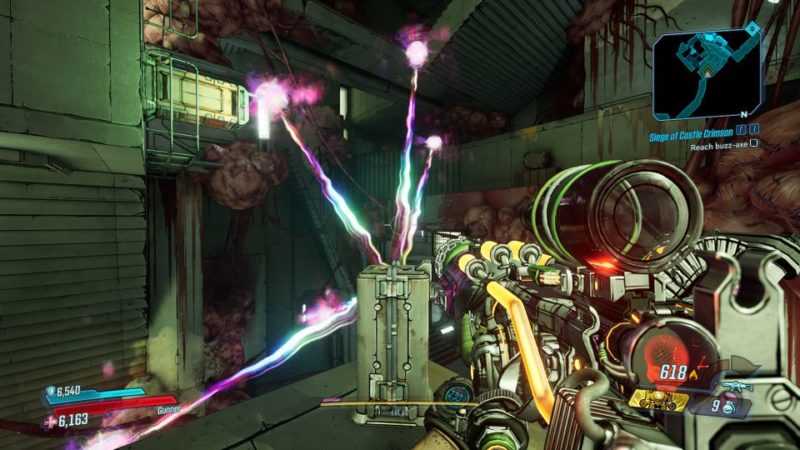
Keep going until you reach the device. Start it and you’ll see energy lasers shooting out of it.
The aim is to shoot at all the spots the lasers are pointing towards. You have to do it quickly before the device stops.
Second probe location
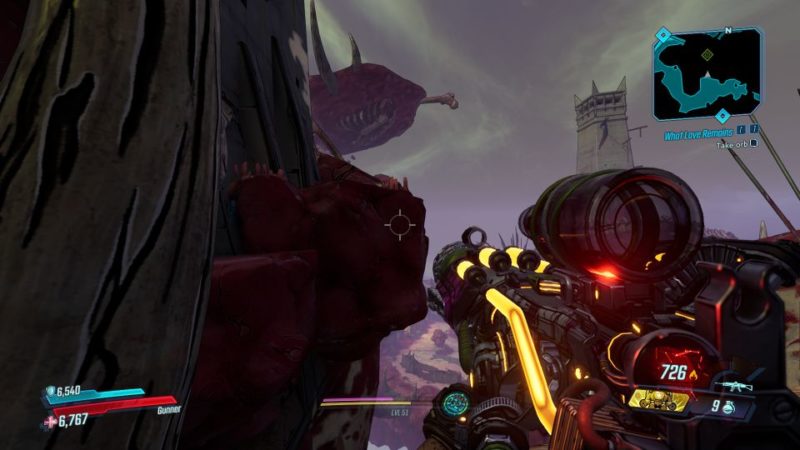
The second probe’s location is shown in the map below. It’s near the area where you have to hunt for skags.
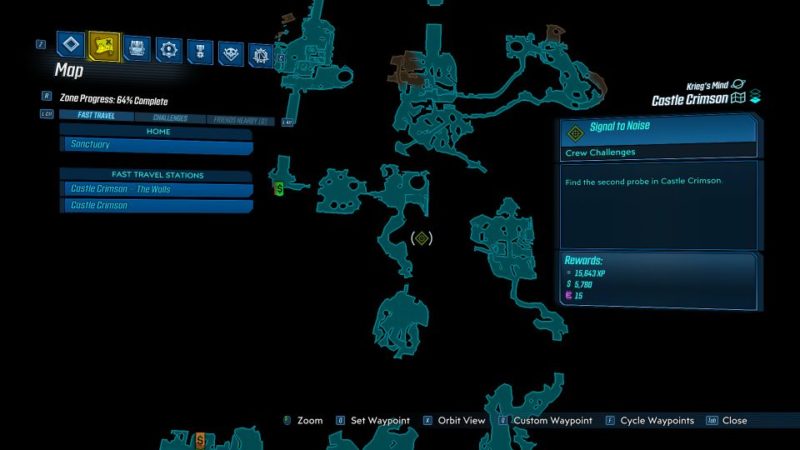
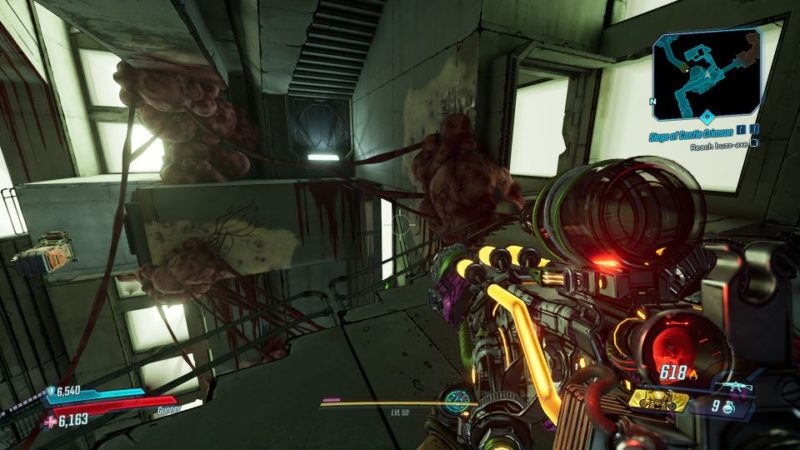
You should see the device at the left side. To get there, you have to climb on the red boulders.
Similarly, activate the device and shoot at all the laser tips.

Third and last probe
The third probe is located within the castle itself. It’s in the weird staircase section. Keep going up until you see the device (image below).
To get there, you simply need to climb up using the platform behind you. From the upper platform, just follow the path in a circle around the building and you’ll be able to reach the device.
Like before, activate the device and shoot at where the lasers point to.
Related articles:
Signal To Noise (Sapphire’s Run): Borderlands 3 Guide
Laid To Rust: Borderlands 3 Mission Walkthrough
Borderlands 3: Hot And Unbothered Quest Walkthrough