The Name of the Law is a main story mission in the latest DLC Bounty of Blood in Borderlands 3.
Your task is to crash the Devil Riders’ party and get the Obsidian Stone back from Rose.
Here’s a walkthrough of The Name of the Law in Borderlands 3.

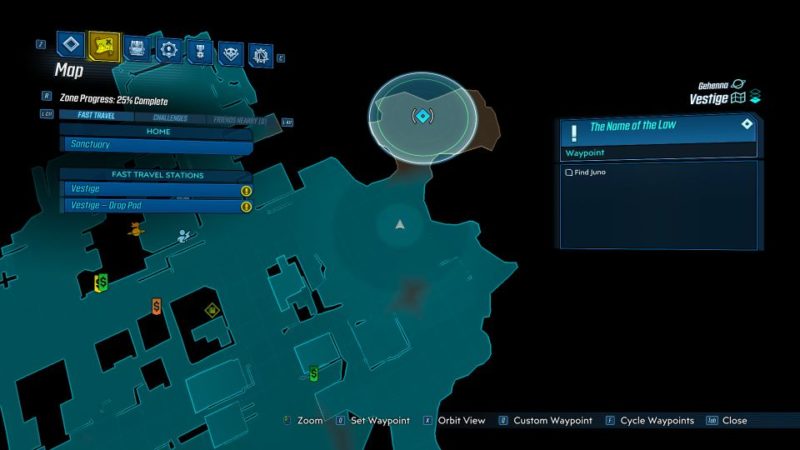
Find Juno
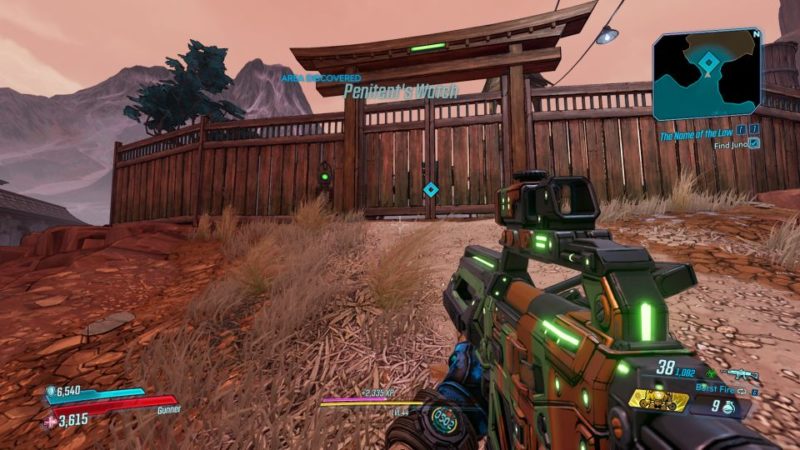
Your first objective is to find Juno. She’s located in the isolated part of the town as shown in the map.
The area is called Penitent’s Watch. Head to the gate and there’ll be a cutscene.
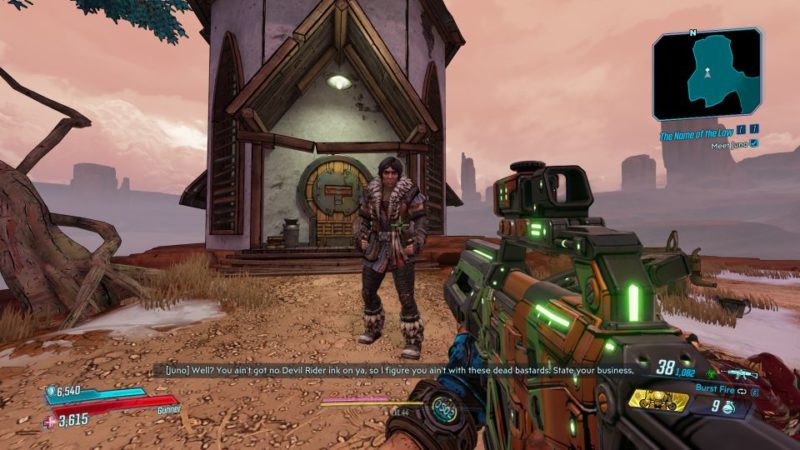
Talk to Juno to proceed.
Follow Juno
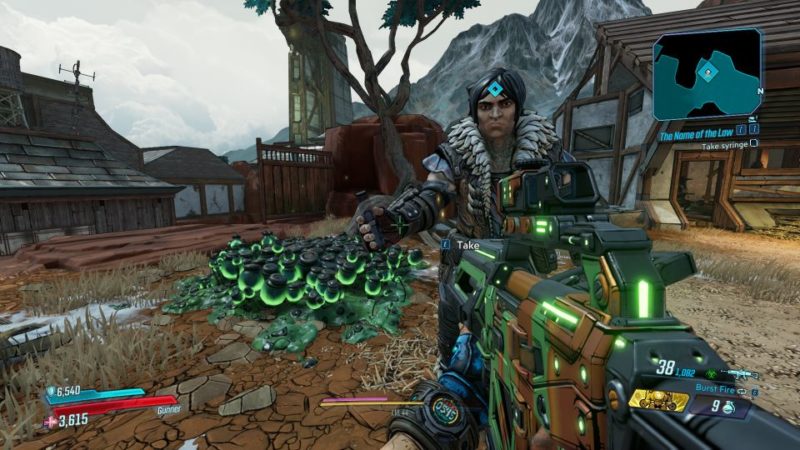
Next, follow Juno.

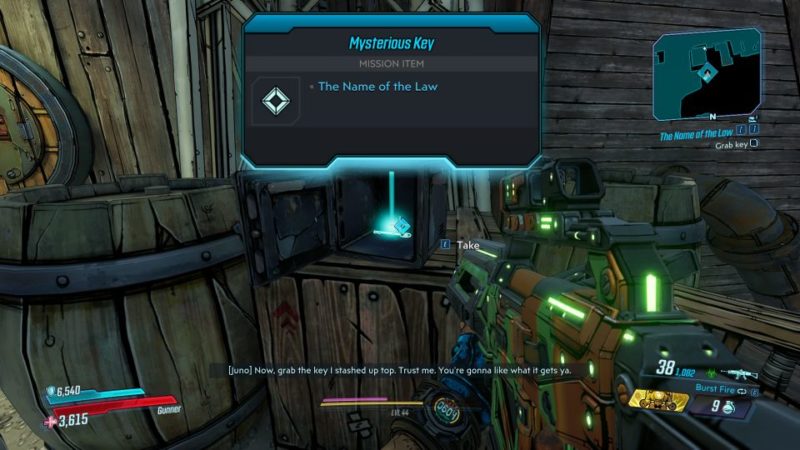
She’ll give you a syringe.
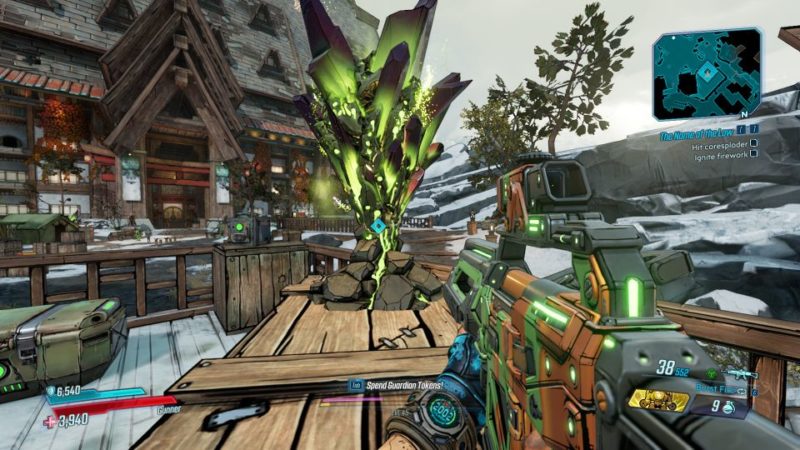
Walk towards the greenish thing called breezebloom. You’ll automatically jump to the next building.
Open the cache and pick up the mysterious key.
Go to the shed
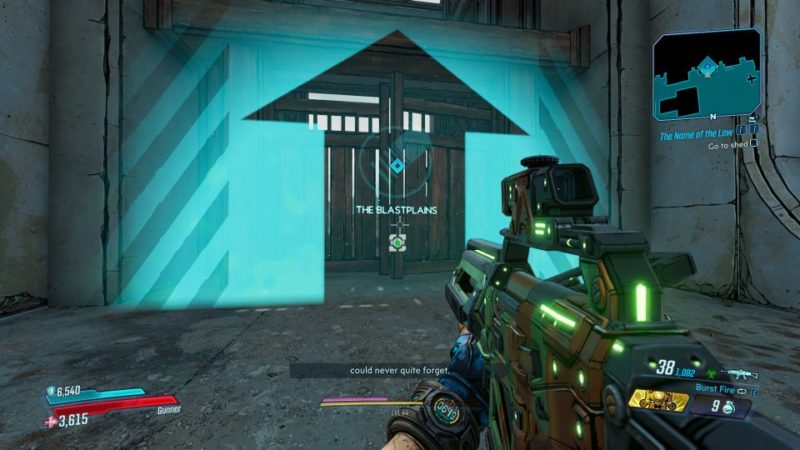
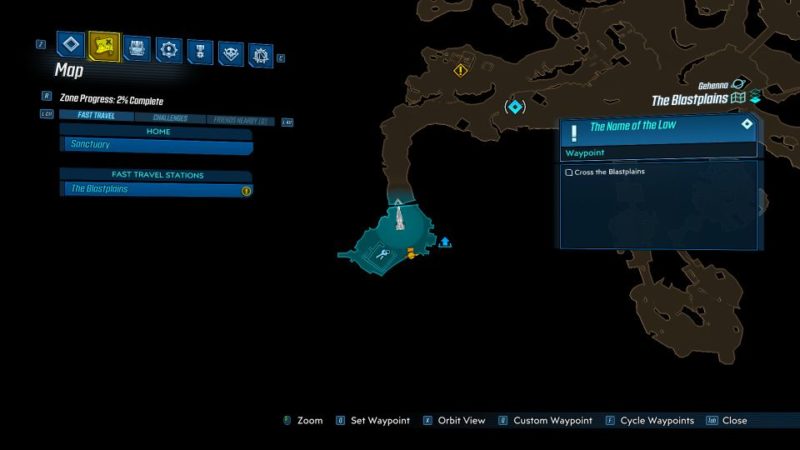
Your next destination is The Blastplains. The location is shown in the map.
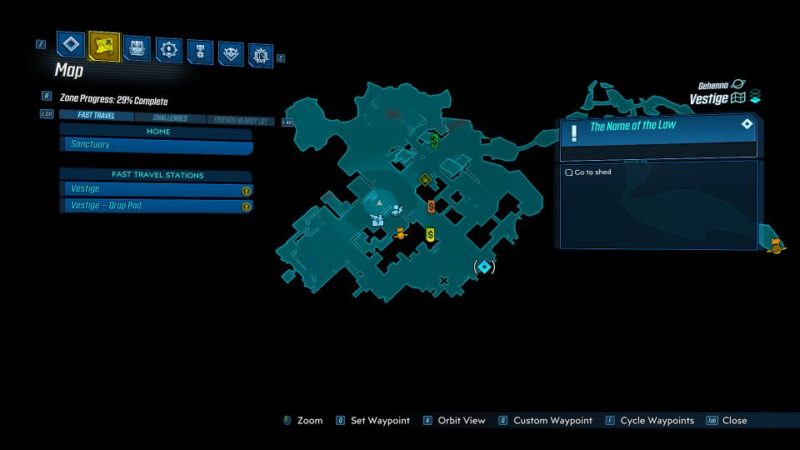
Go to the next area.
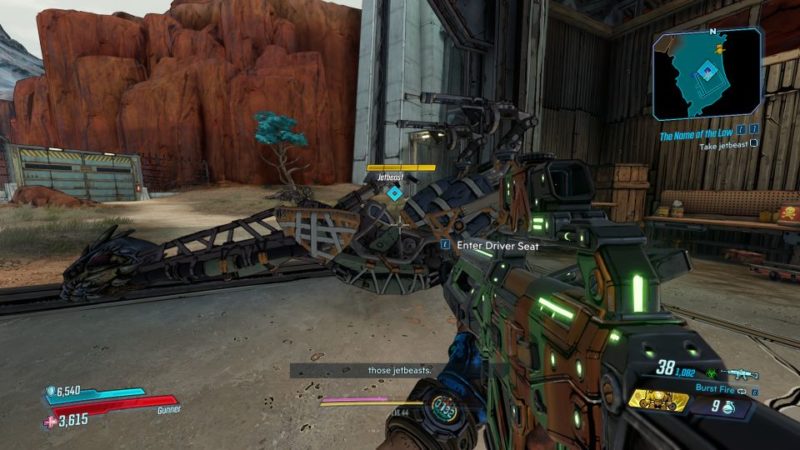
Her shed is right at the beginning of the map. Enter the shed to pick up the new ride.
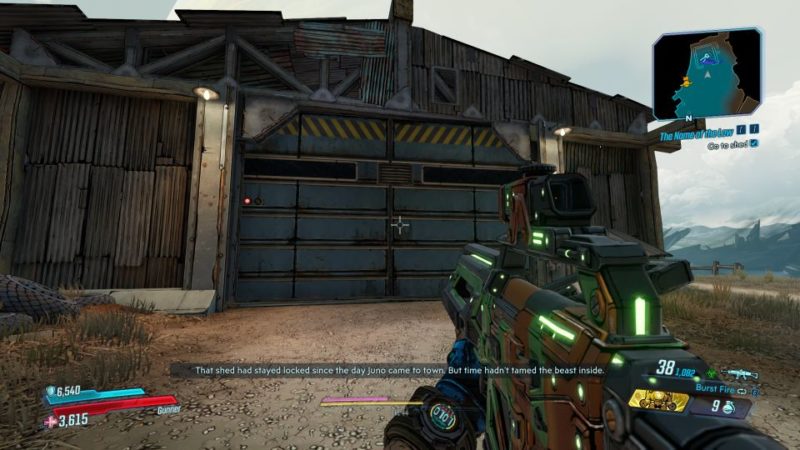
You’ll be introduced to the jetbeast which is the new ride introduced by this DLC.
Cross the Blastplains
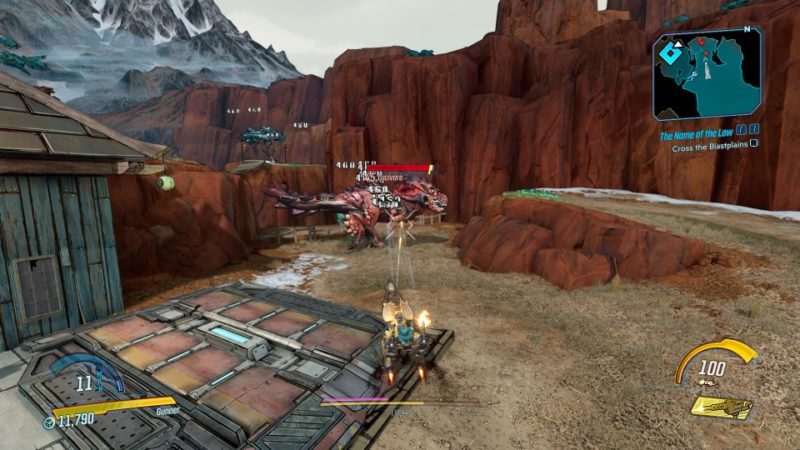
Use the jetbeast and just follow the markers on the map.
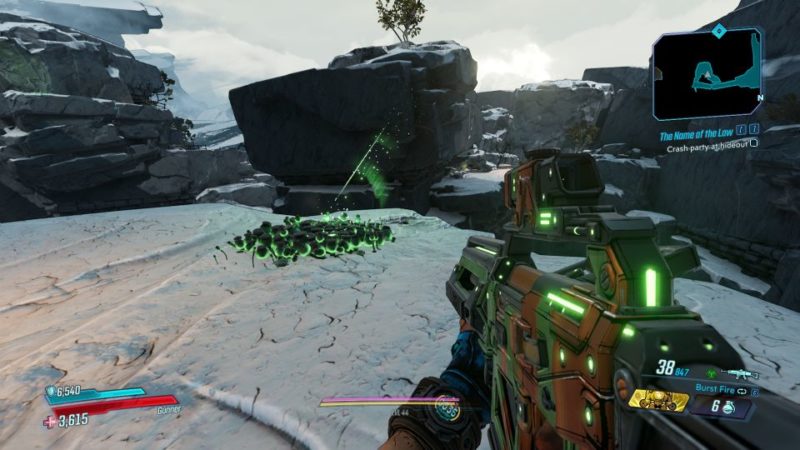
You’ll come across many devils along the way. It’s a good time to test the gun but there’ll be further upgrades later.

Keep going until you reach the end. You’ll encounter a Lucivore with some other smaller mobs.
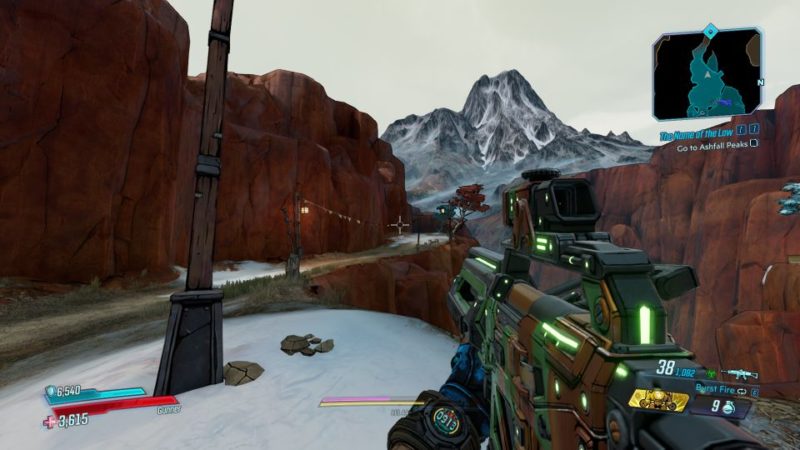
Go to Ashfall Peaks
Once you’re ready, you can ditch the ride and head towards Ashfall Peaks.
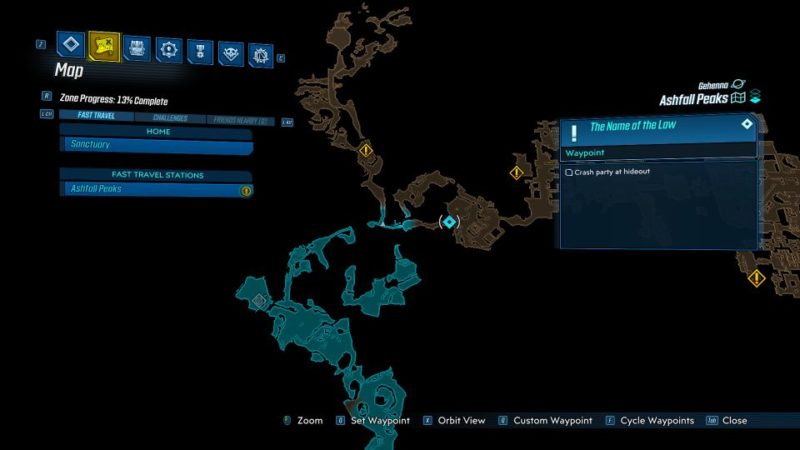
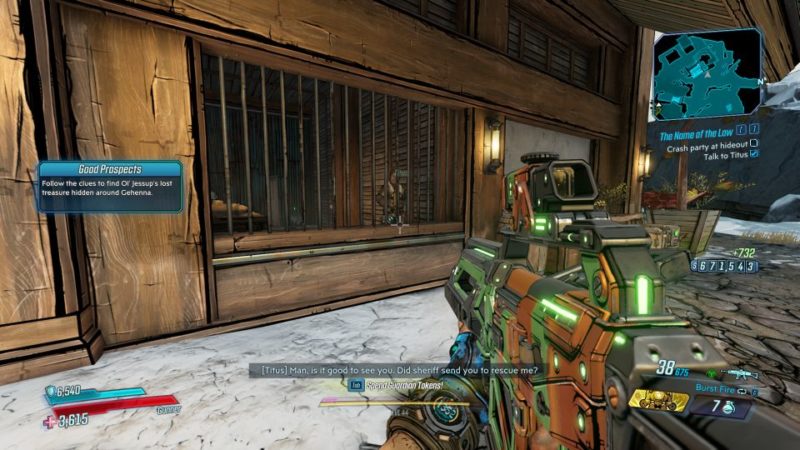
Crash party at hideout
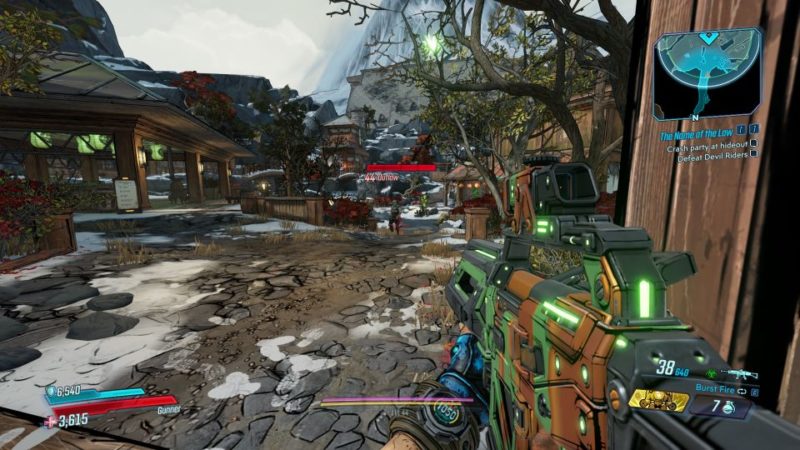
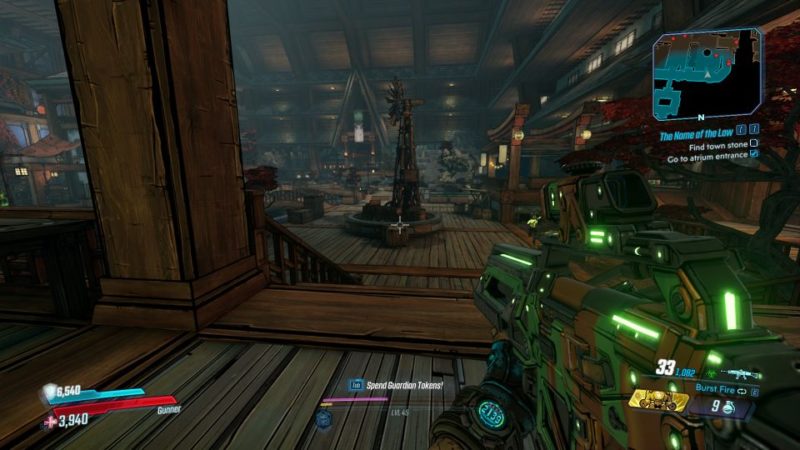
Your next big objective is to crash the party at the hideout. Just head towards the town area.

On the way, you’ll come across more Devil Riders.
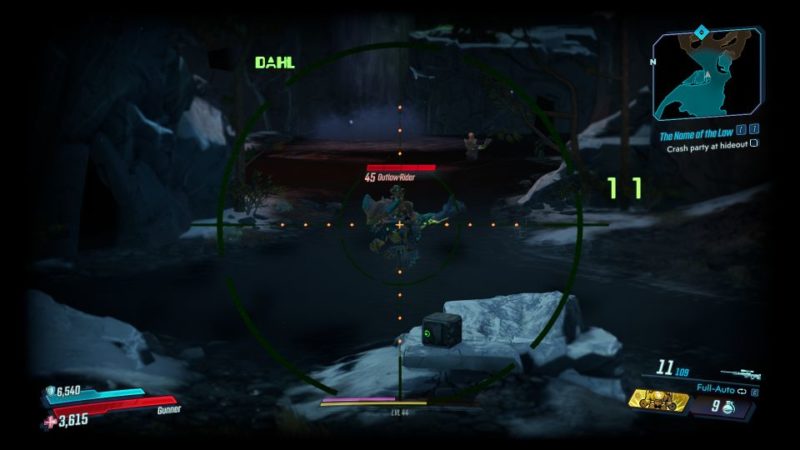
Keep walking until you reach the Babelbrook area. Here, you’ll encounter more enemies and some annoying flying mobs.

Once you’re done with it, continue going towards the hideout. You’ll reach a dead end as the platform is broken off.
Use the breezebloom to jump to the next area and go a big round.
You’ll then get back to the same area with a breezebloom pointing towards the other side of the platform.

Next, you will reach a fork in the road. Go towards the right path.
The left would lead you to a side quest.
Defeat Devil Riders
Next, you’ll enter the hideout entrance. Defeat all of the Devil Riders here.
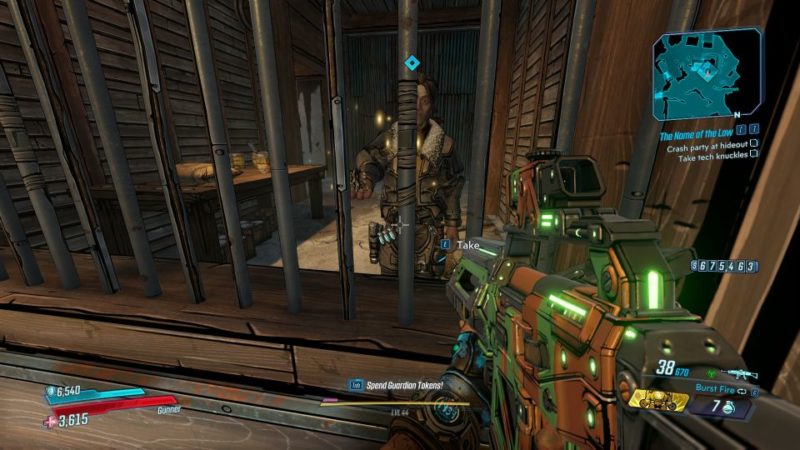
Talk to Titus
After clearing the area, speak to Titus who has been locked up inside.
Take the tech knuckles from him.
Rescue Titus
To get him out, you need to break open the wall, but it’s immune to your attacks.
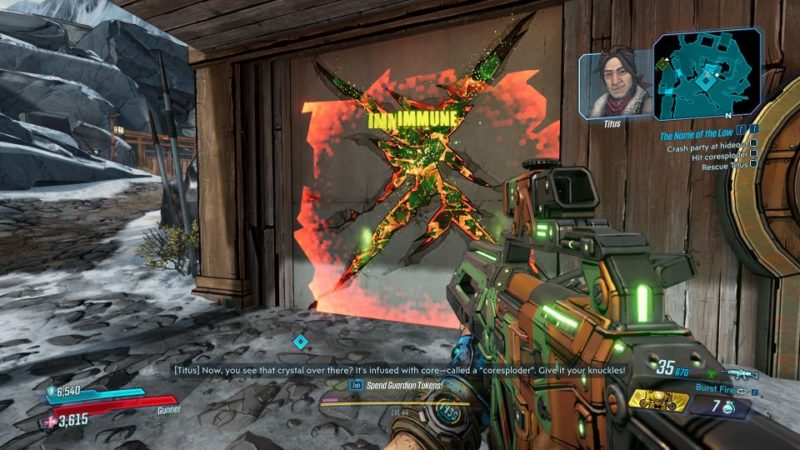
The tech knuckles are equipped automatically. You just have to melee the crystal thingy (coresploder), aiming towards the wall.
The crystals will shatter and some of the energy will bounce towards the wall.

Follow Titus
Once Titus is out, follow him to the next area.
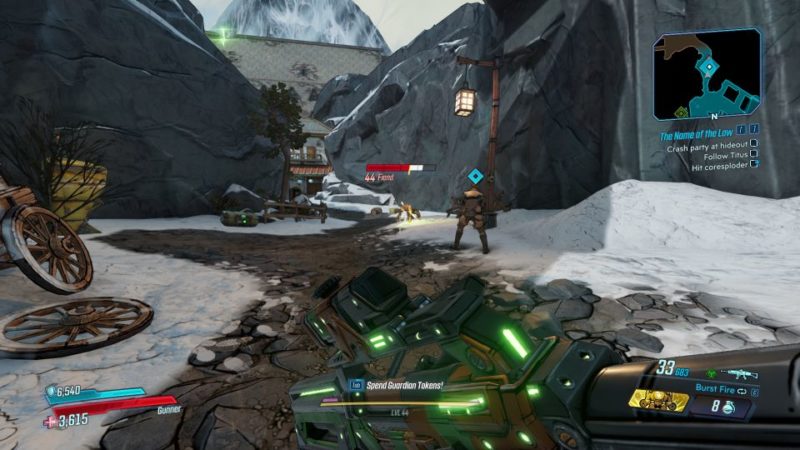
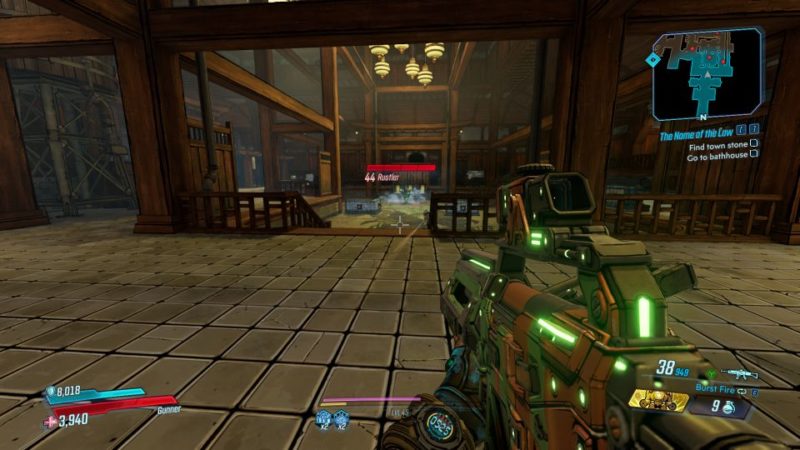
More enemies await at Pilfertown. Take them all out.
You can hit the crystal thingy named coresploder. If you aim at the enemies and melee it, the broken crystals will bounce and damage the nearby enemies.

Defeat Devil Riders
Once you reach Caldera Stronghold, more Devil Riders await. Take them all out.

Ignite firework
To ignite the firework and destroy the front door of the stronghold, you once again need to use the coresploder.
Just melee the coresploder, facing the firework.
Keep trying until the fireworks are lit.
The entrance will then be opened.

Secure the area
Enter the atrium and secure the area from the Devil Riders.
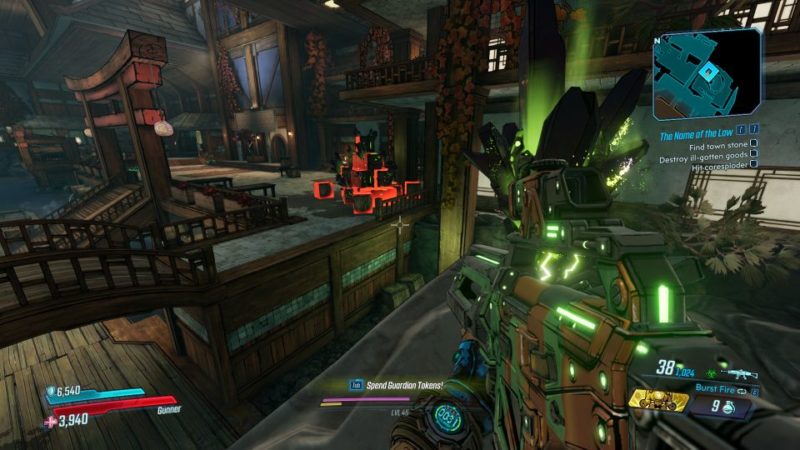
Destroy ill-gotten goods
After clearing the area, you have to destroy the ill-gotten goods.
Similarly, melee the coresploder facing the goods.
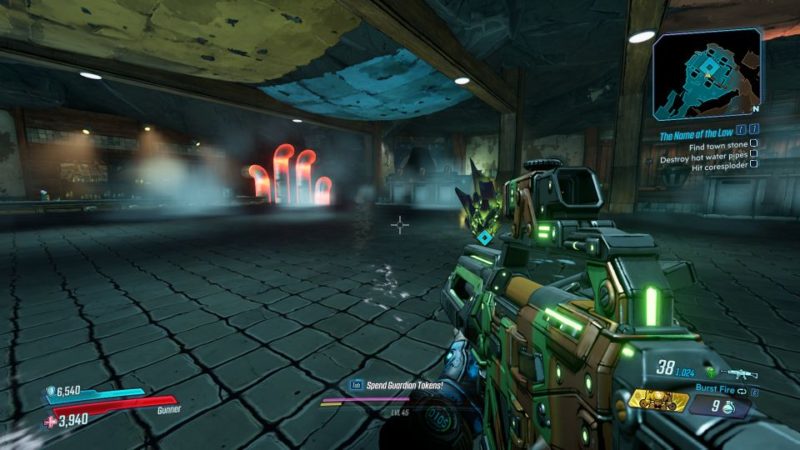
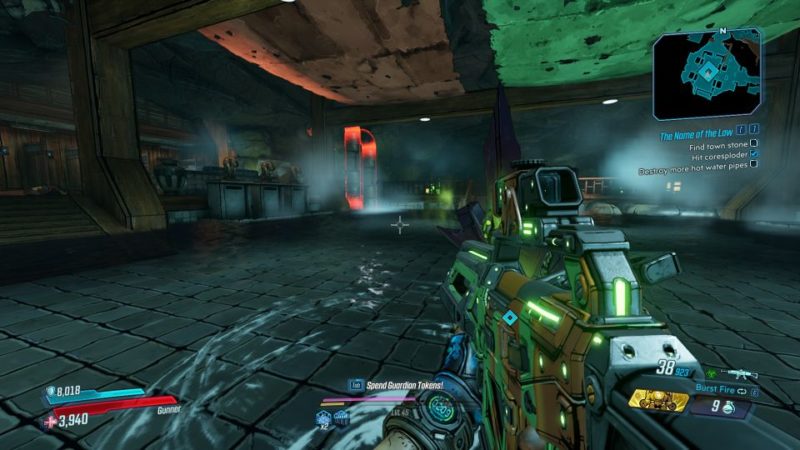
Destroy hot water pipes
Next, you have to destroy the hot water pipes.
Go towards the basement area and look for the pipes. Use the coresploder again to destroy the pipes.
After destroying the first, enemies will start coming in. Clear the area first.

Once you’re done, destroy the two other hot water pipes using the same way.
Find something destructive
You’ll then be tasked to find something destructive.
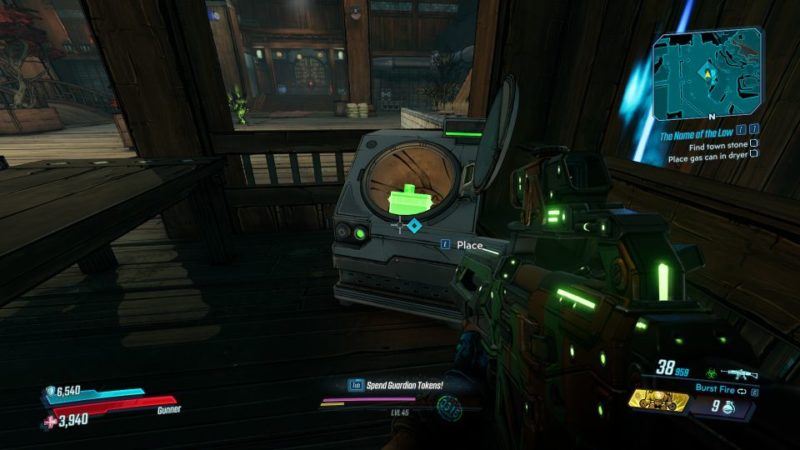
Look for the Gas Can.
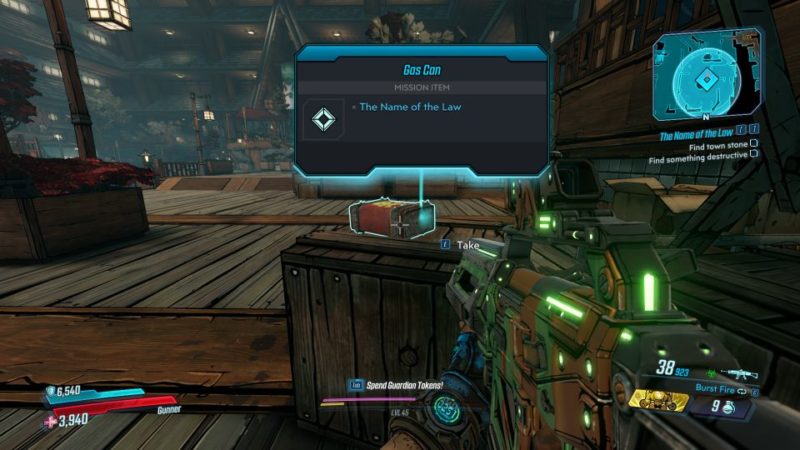
Place the gas can in the dryer as indicated. It will cause a fire.
Defeat the enemies
Enemies will start coming in. Take them all out again.

Enter the bathhouse
Head towards the bathhouse area.
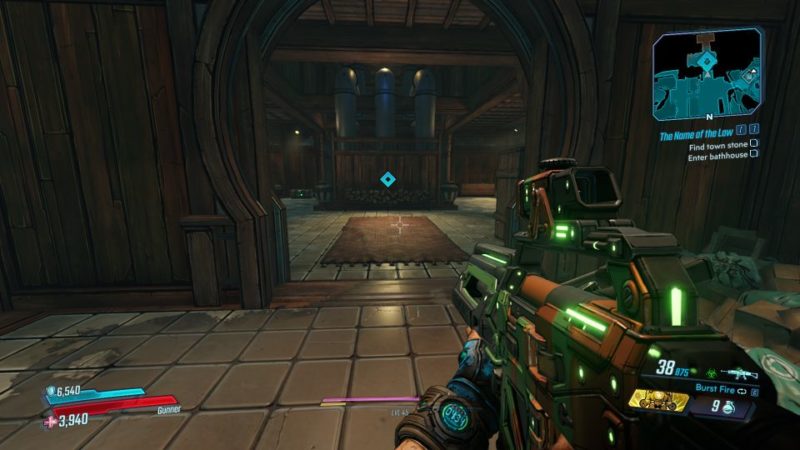
More enemies await inside.
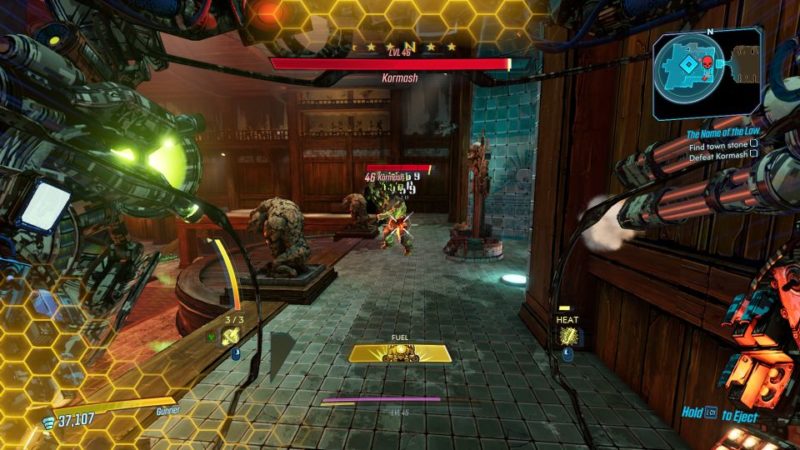
Defeat Kormash (mini boss)
After securing the bathhouse, there’ll be an area where you need to slide down.
Get prepared before you go down as the boss fight starts immediately. You’ll need to kill Kormash.

The fight is quite straightforward as he doesn’t have many goons with him.
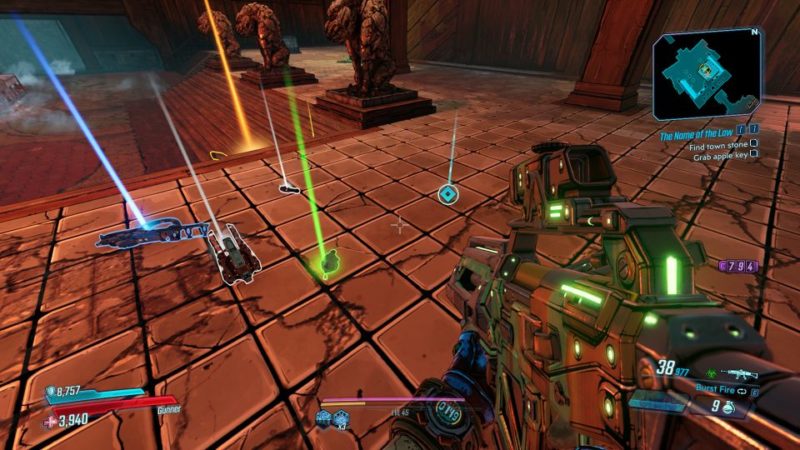
Grab apple key
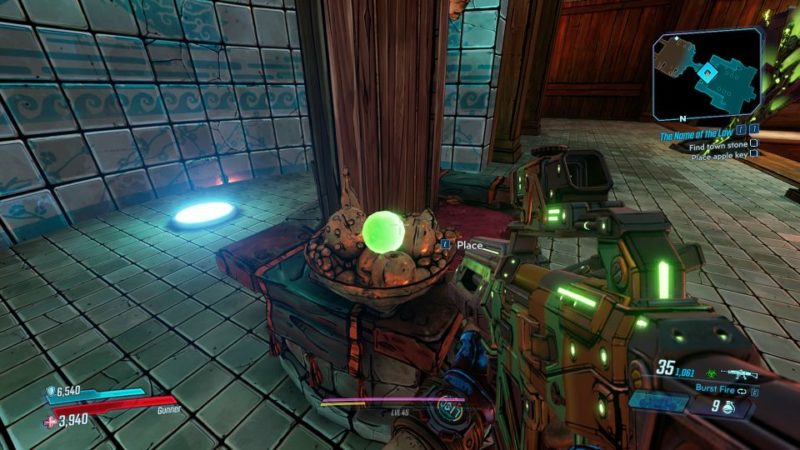
Loot the apple key after defeating Kormash.
Place the apple key on the throne chair.
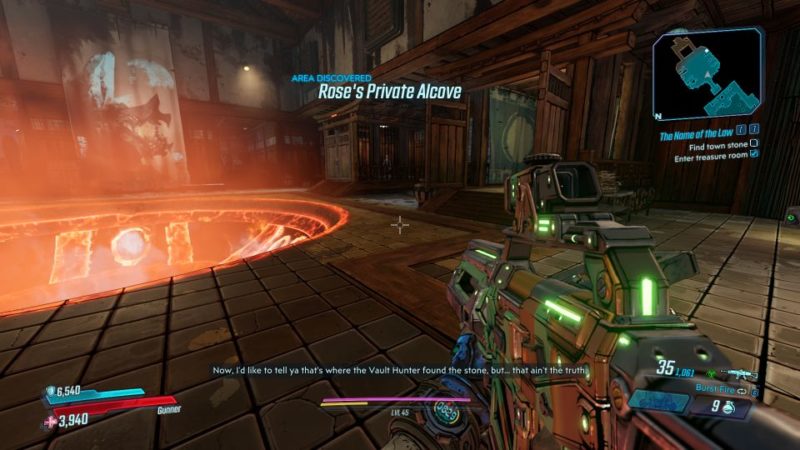
Enter treasure room
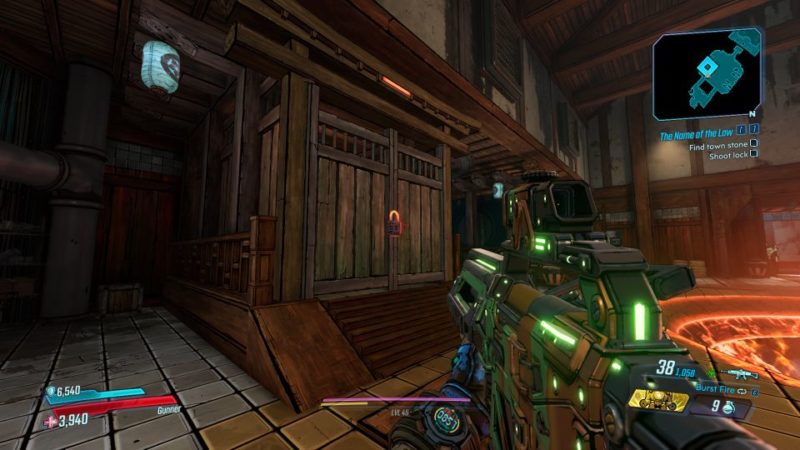
The treasure room will be unlocked. Enter the room and you’ll hear someone asking for help.
Shoot the lock. The person will be freed.
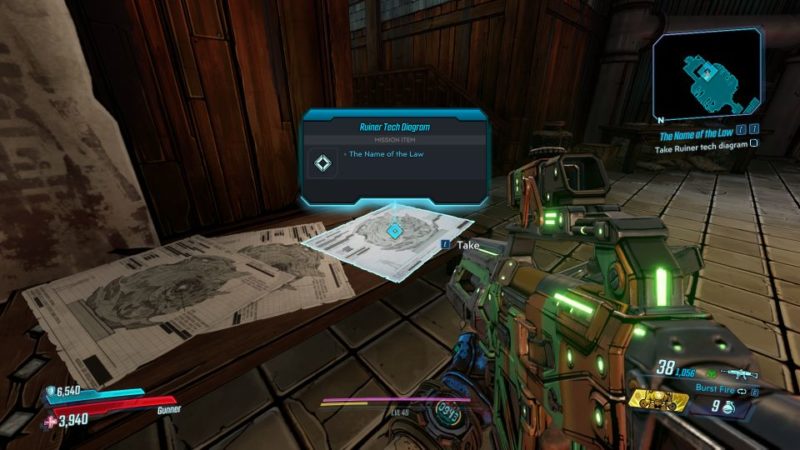
Take Ruiner tech diagram
You’ll then learn that the Obsidian Stone is actually an egg for a beast named Ruiner.
Take the Ruiner diagram from the table.
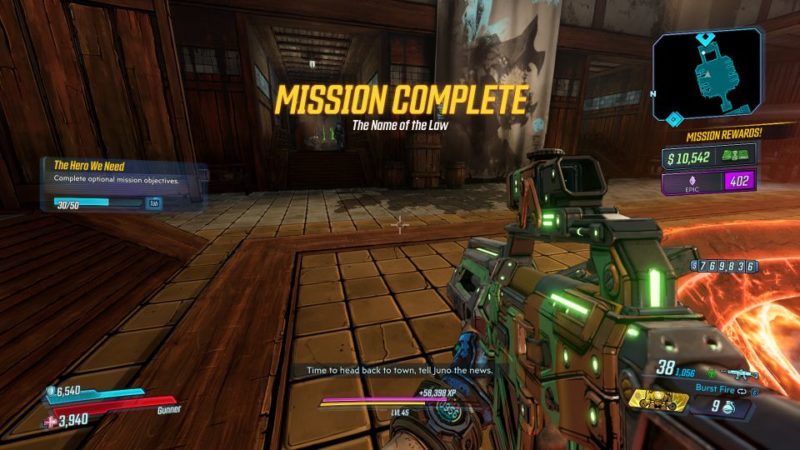
The mission ends here.
Related articles:
The Legend Of McSmugger: Borderlands 3 Bounty Of Blood DLC Guide
Dirty Deeds: Borderlands 3 Bounty Of Blood DLC Walkthrough
Blood From A Stone – Borderlands 3 Bounty Of Blood Walkthrough
How To Start The Bounty Of Blood DLC (Borderlands 3)
How To Solve The Puzzle In Villa Ultraviolet – Borderlands 3