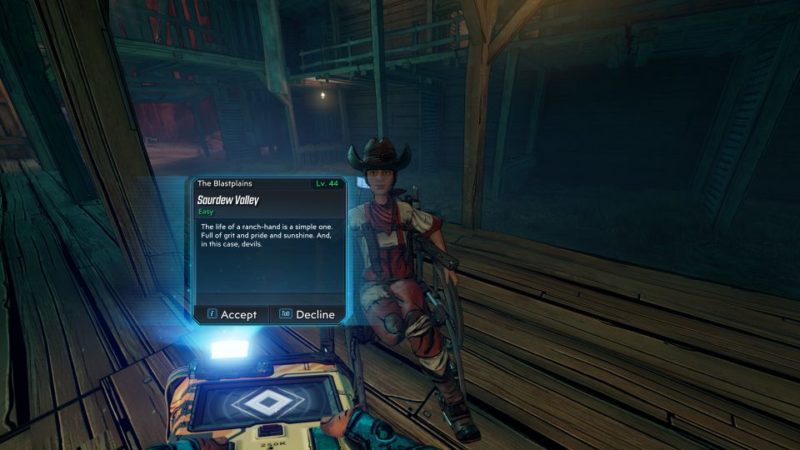
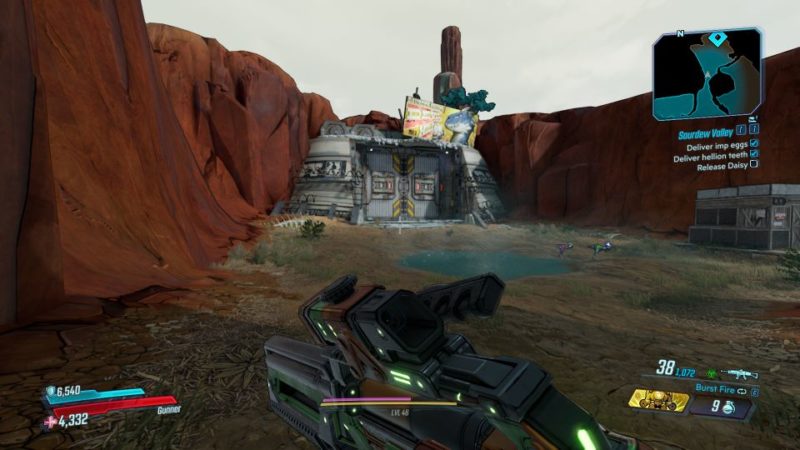
Saurdew Valley is a side mission in The Blastplains area of Bounty of Blood (Borderlands 3).
In this Stardew Valley referenced mission, you have to do some farming related tasks.
Here’s a walkthrough of Saurdew Valley in Borderlands 3.
To begin the mission, you have to complete the previous mission Devil Rustlers.
Collect imp eggs
There are three tasks for you to do. We did the imp eggs collection first.
Just head over to the imps and collect the eggs as they lay them.
They will run around so just follow them until you have 24 eggs.
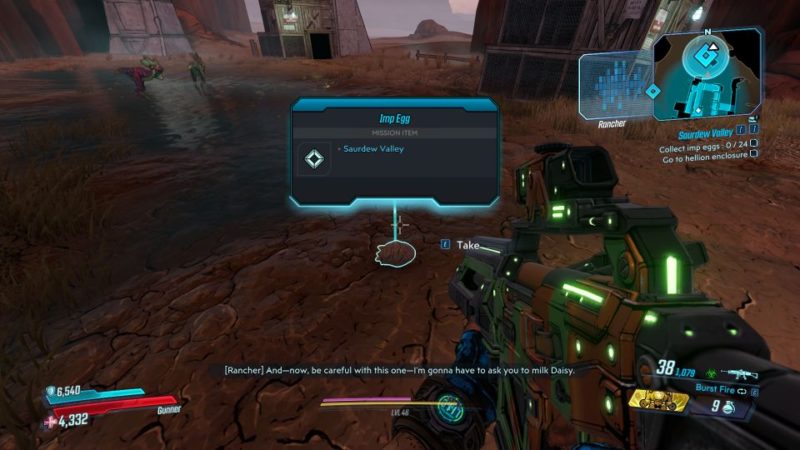
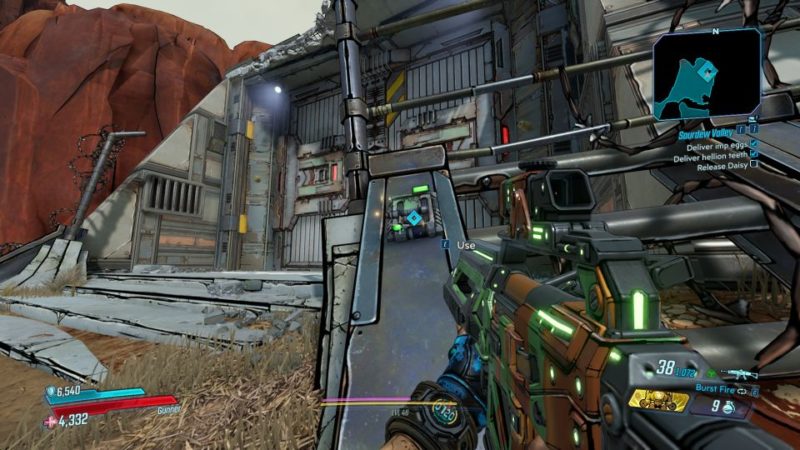
After you’re done, go back to the Rancher and place the eggs in the basket.
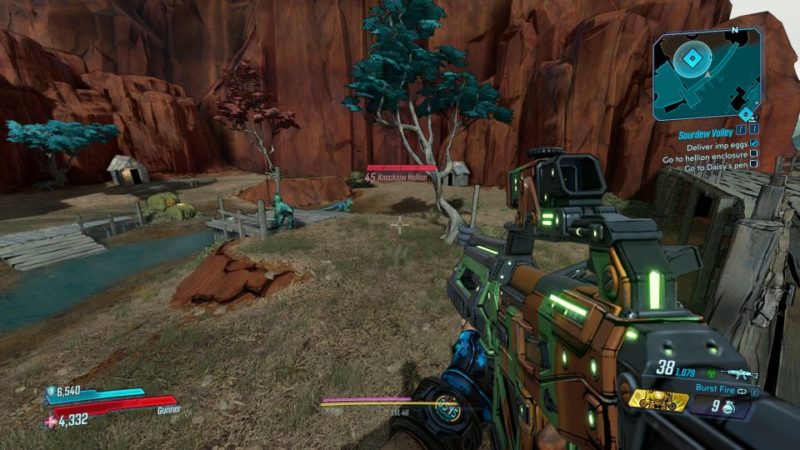
Collect hellion teeth
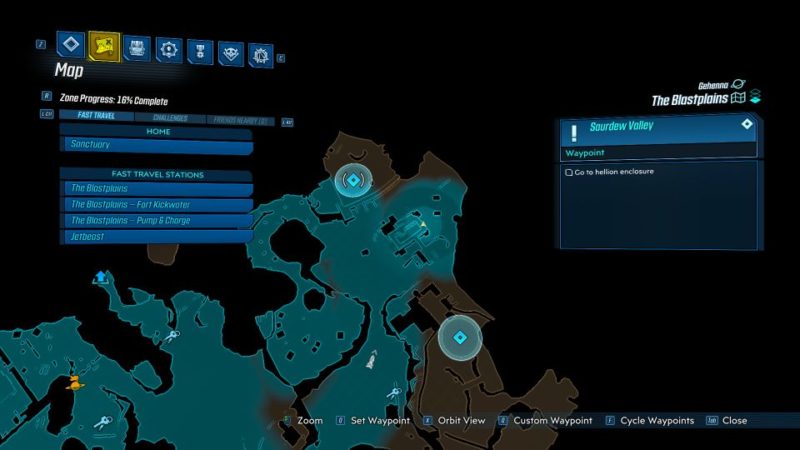
The next objective is to head to the hellion enclosure.
The hellions will attack you when they’re angry but you can’t damage them.
Your job is to go near and melee them to get their teeth.
Each time you melee their head, you will get 1 tooth. Collect 12 teeth in total.
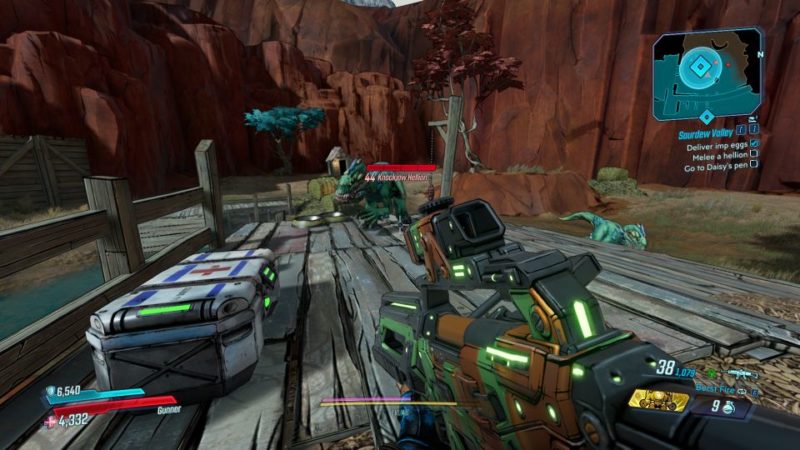
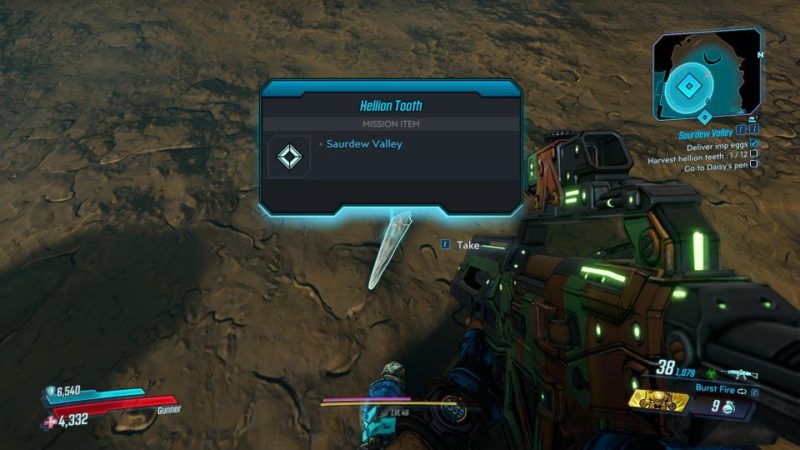
The tooth may also drop if you melee other parts of the body, but try to aim for the head.
Pick them all up. They may attack you in the process.
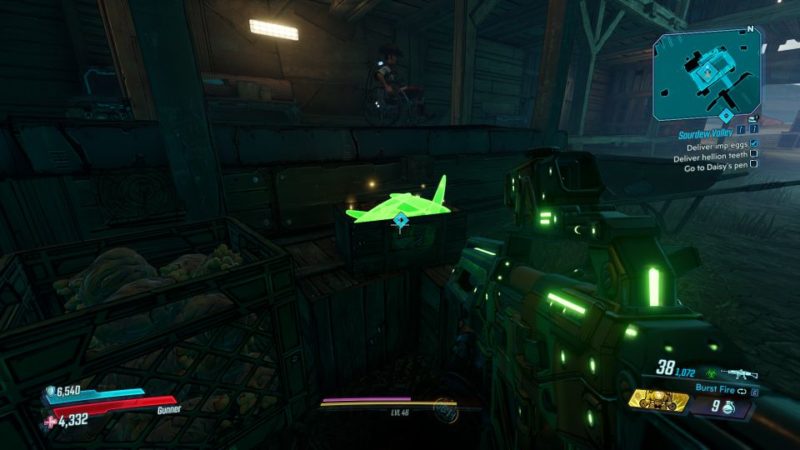
Return to the Rancher and place the teeth in the box.
Get milk from Daisy
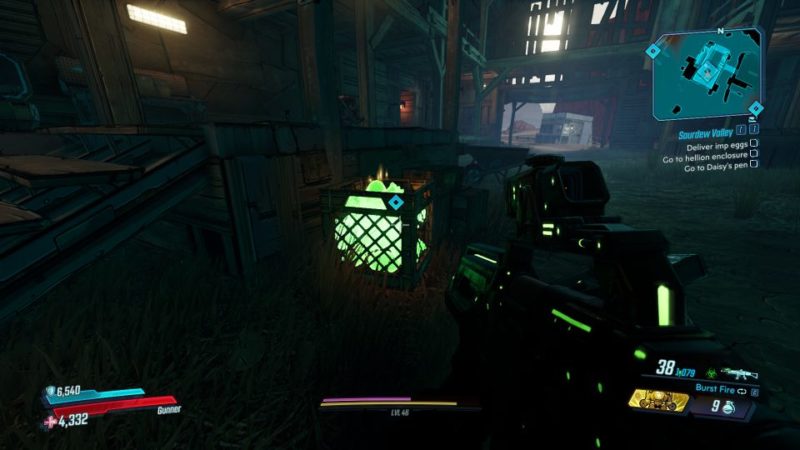
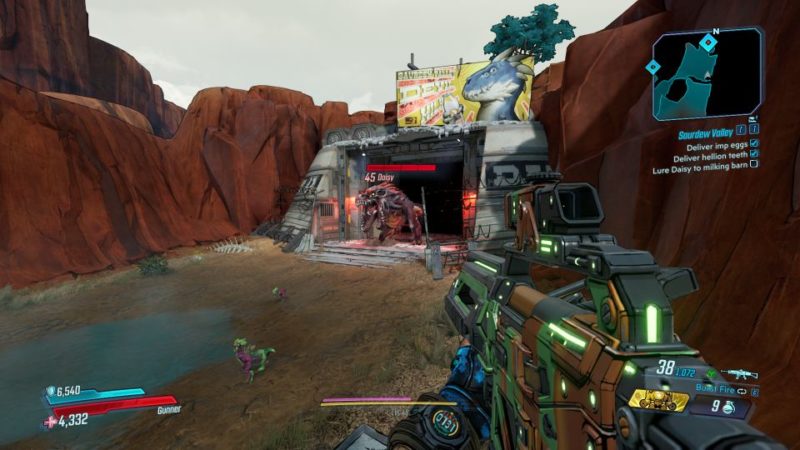
The last one requires you to lure Daisy to the milking station.
You will see Daisy caged inside this building.
Open the huge cage and be prepared to lure the huge creature.
Shoot at it to gain its attention and just run until you reach the milking station.
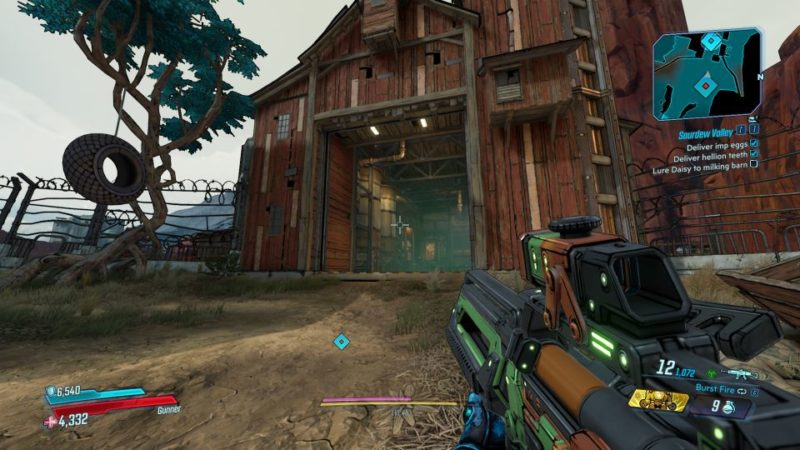
Once it’s inside the station, leave the building.
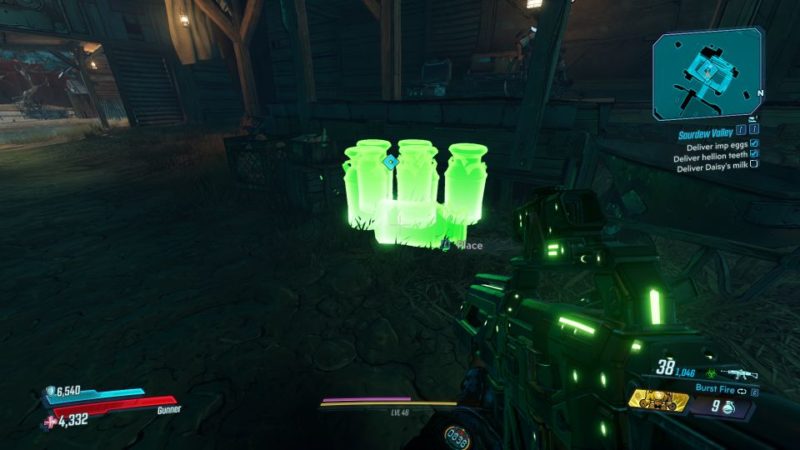
Then, just wait for the milk bottles to come out from the side of the station.
They’re corrosive as well.
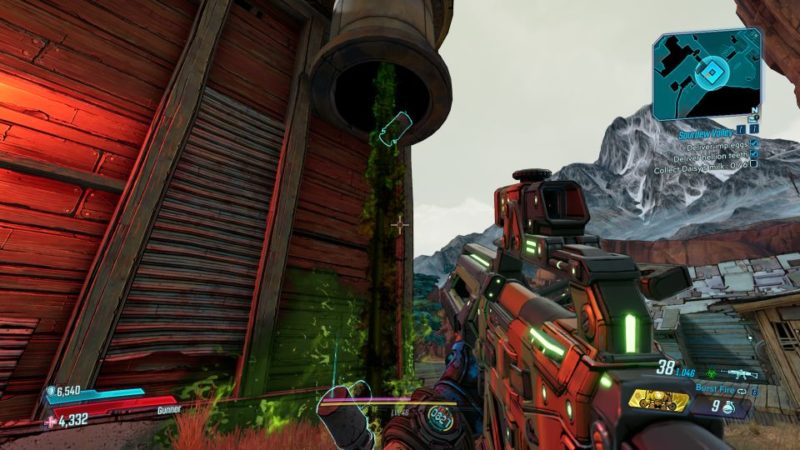
After collecting the milk bottles, return to the Rancher to place them.
Speak to the Rancher to complete the mission and you’ll unlock new parts for the Jetbeast.

You will also earn some cash from this mission.

Related articles:
Lost And Found: Borderlands 3 Bounty Of Blood Walkthrough
Miracle Elixir Fixer: Borderlands 3 Bounty Of Blood Walkthrough
Devil Rustlers: Borderlands 3 Bounty Of Blood Walkthrough
Money Back Guarantee: Borderlands 3 Bounty Of Blood Walkthrough
Sato’s Saga (Ashfall Peaks) – Borderlands 3 Bounty Of Blood Guide