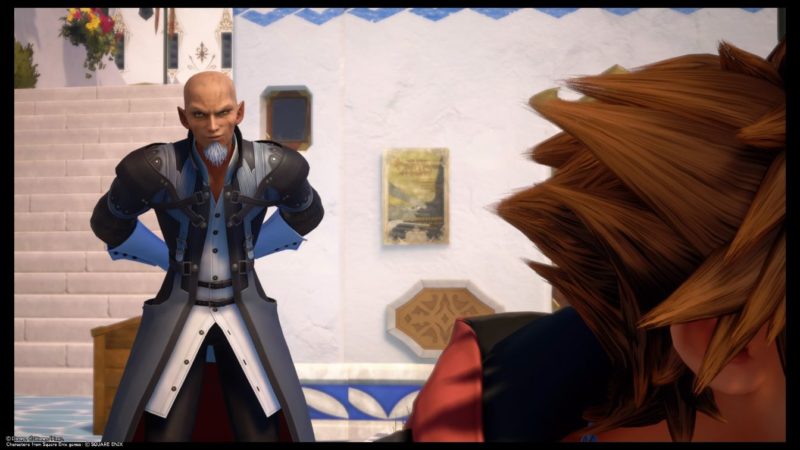
Scala Ad Caelum also appears in the newest DLC Re:Mind in Kingdom Hearts 3.
The story in the DLC is connected to the main story of the game but you’re here for a different reason.
Here’s a walkthrough of Scala Ad Caelum in Re:Mind DLC in KH3.
Your task is to find heart fragments belonging to Kairi and also defeat armored Xehanort.
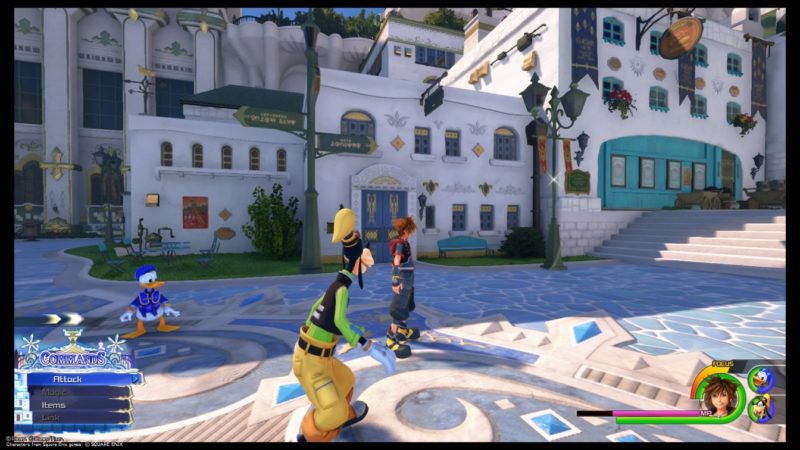
The Stairway to the Sky
The first part of this area is named as The Stairway to the Sky.
Here, you just need to head to the town first.

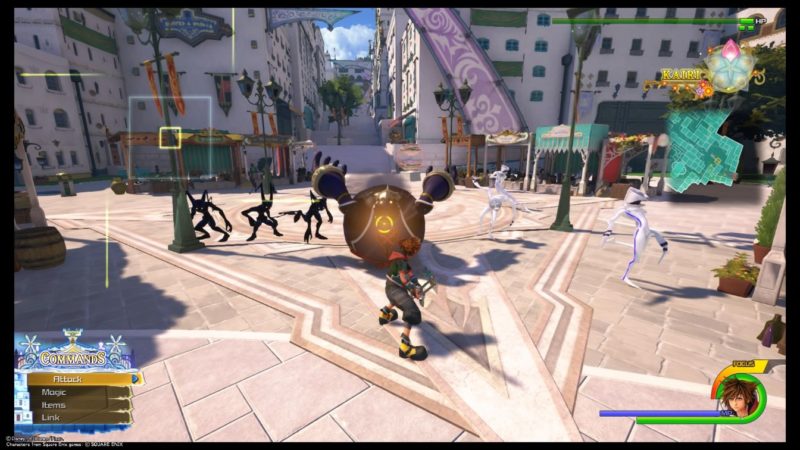
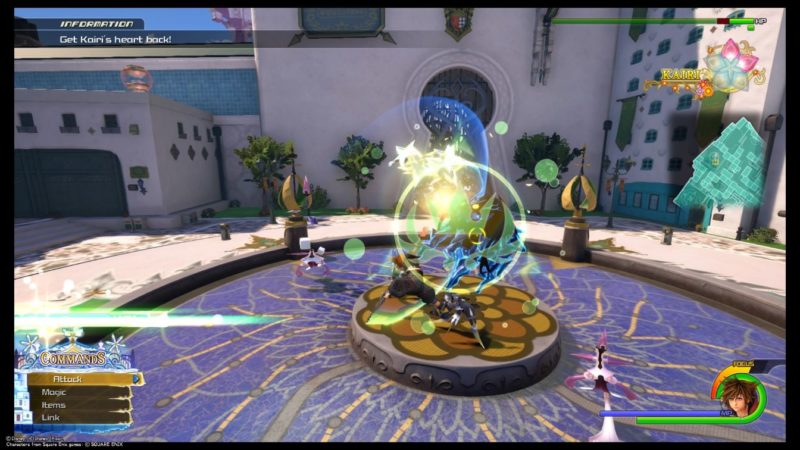
As you arrive in town, you’ll meet some Heartless and Nobodies.
Defeat the Heartless that is radiating light
Among all the Heartless, you’ll see one that is special, i.e. it radiates some light.
Target the one that is radiating light, but you’ll probably need to clear the rest as well since there are plenty of them distracting you.
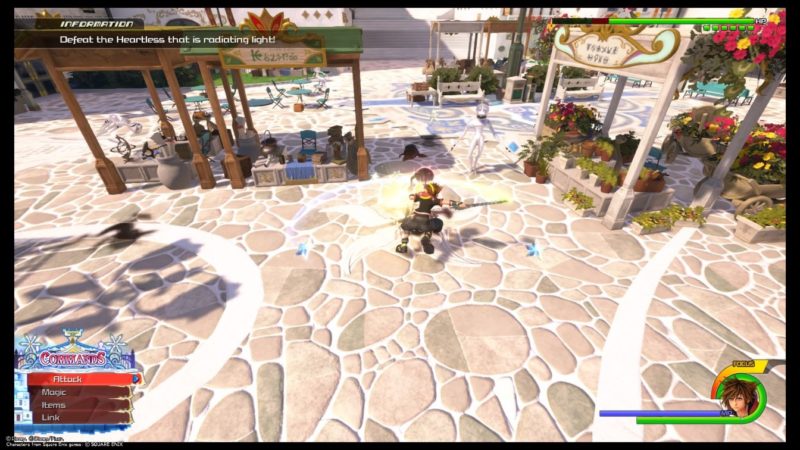
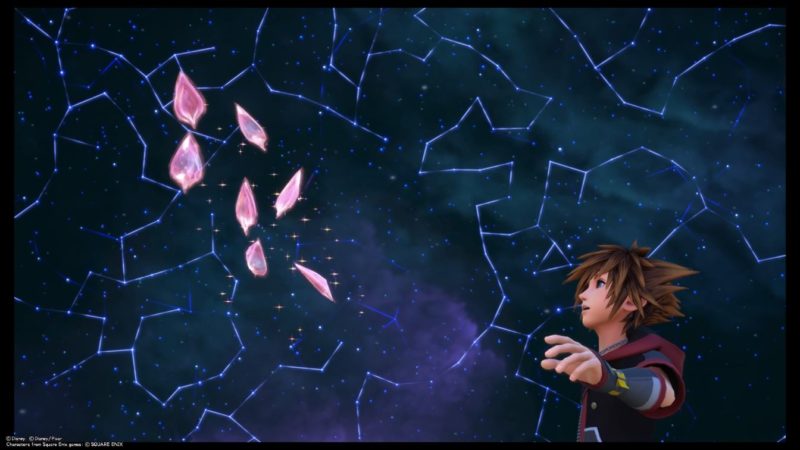
After defeating the special Heartless, you’ll see Kairi’s heart coming out and it will fly to the next area.
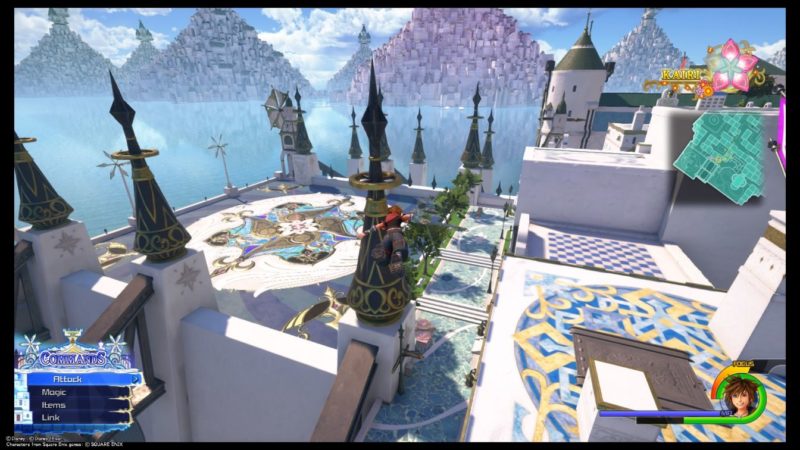
Breezy Quarter
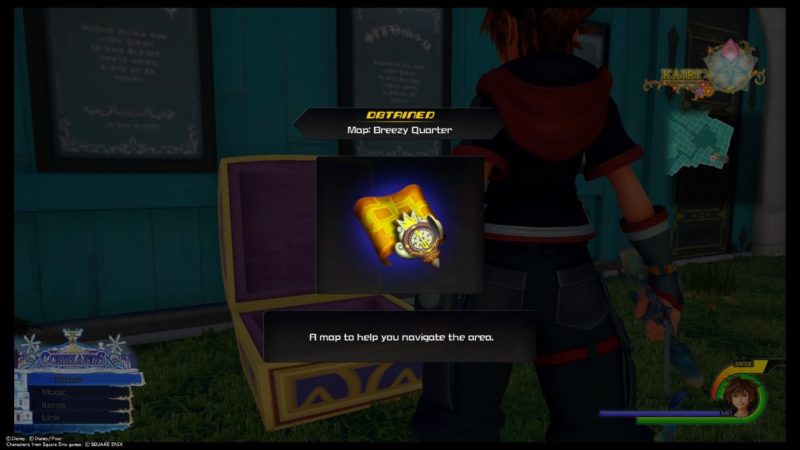
The next part of the map to explore is the Breezy Quarter.
Pick up the map from the treasure chest first. Makes things easier. Also, you can save the game.
Within the town, there’ll be some sports where Heartless and Nobodies will spawn. You can defeat or ignore them.
Look for Kairi’s heart fragments
The whole aim here is to look for the heart fragments.
Heart fragment (fountain)
There’s one heart fragment to be obtained at a dried up fountain. You’ll see the red light in the middle.
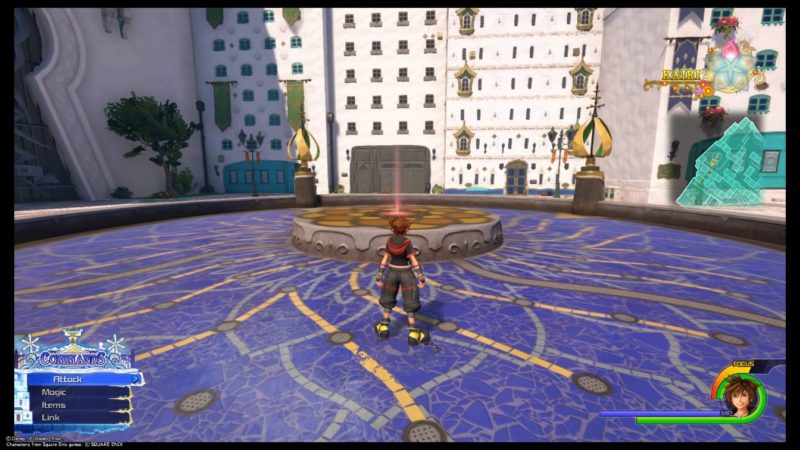
To get it going, keep hitting the structures on the side. It will spin and more water will flow out.
Hit it until it reaches the maximum.
Do the same for the other three spinners. Move quickly as the water will die down. You need to get all four up to the maximum at the same time.
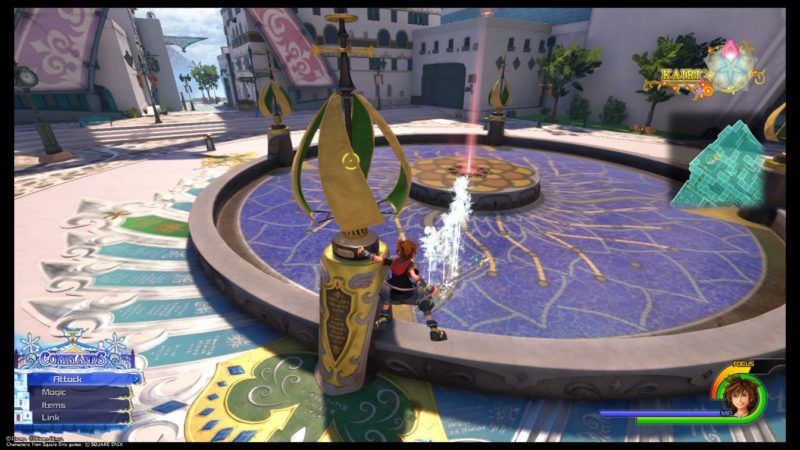
Once all four sides are pumping water to the maximum, the fountain will start again.
The fragment will appear.
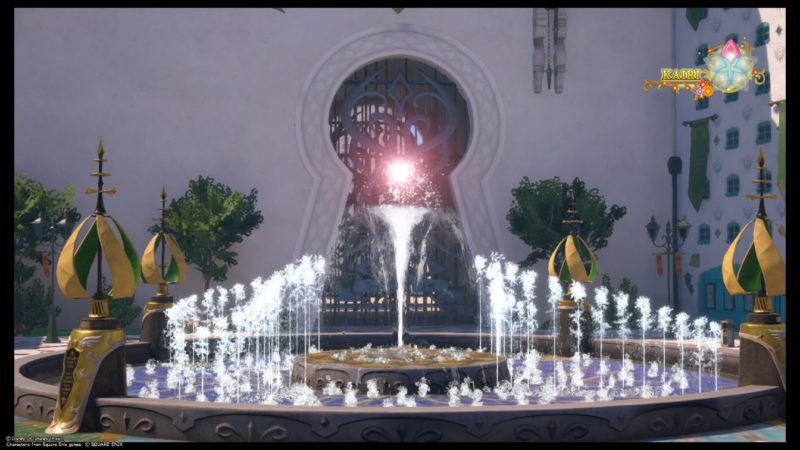
Some enemies will appear after that. Defeat them all.
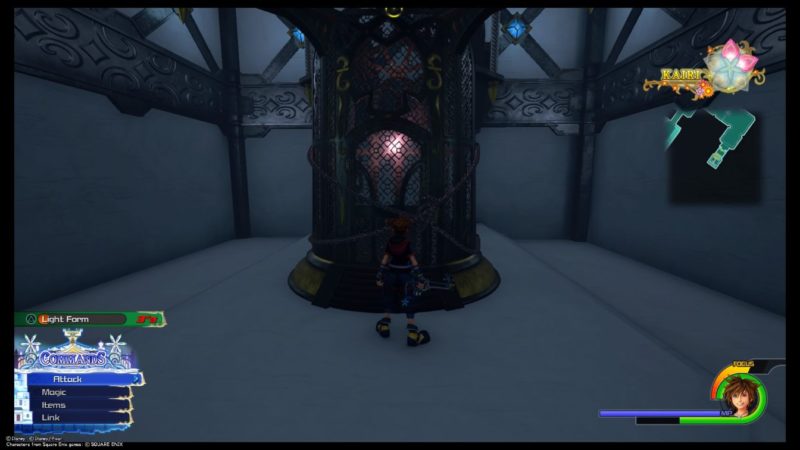
Kairi’s heart fragment (underground)
Another heart fragment has to be accessed from the bottom of the city.
Look for this place where there’s water that leads into a tunnel.
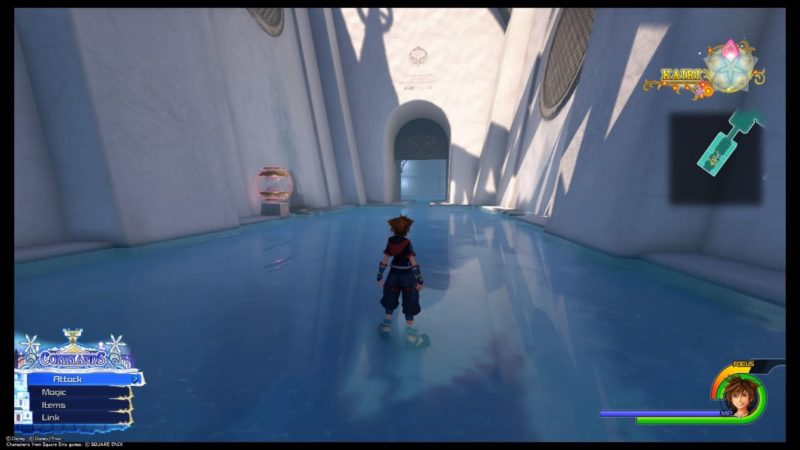
Enter the area and deal with the enemies.
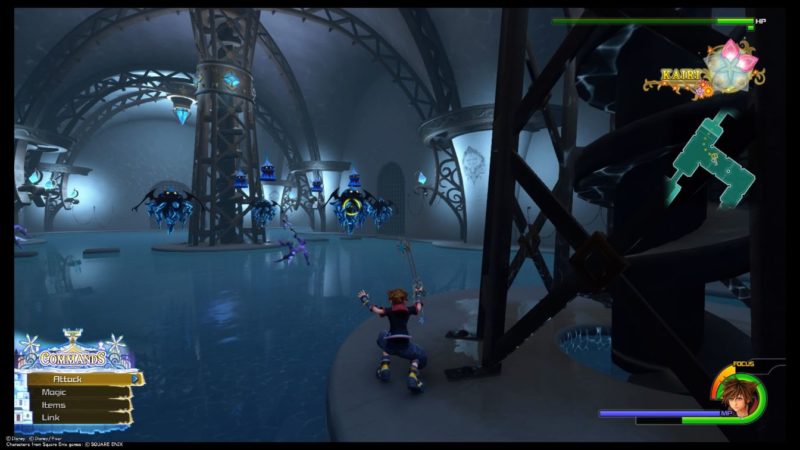
Keep going until you reach a gate. to open the gate, hit the wheel near it.
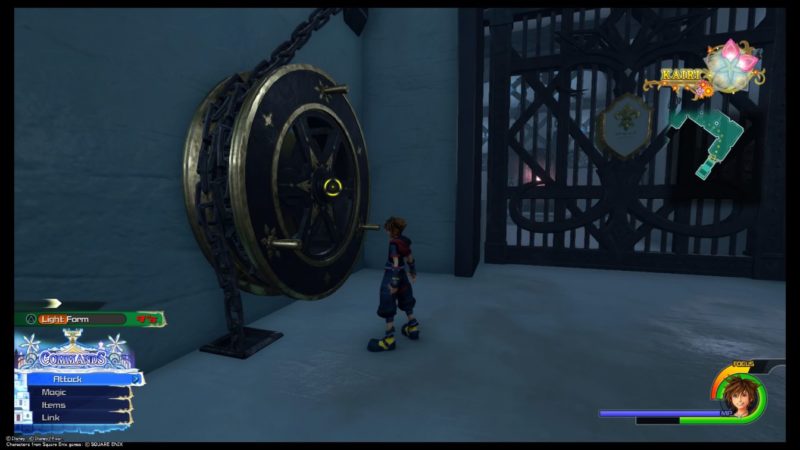
Inside, you’ll see one of the fragments. To open it, you need to destroy the top of the cell.
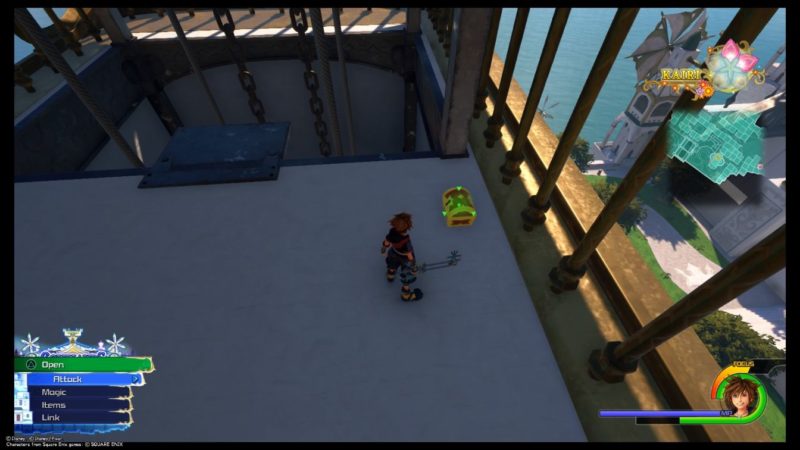
In order to destroy the top, you need to jump from a high place. Look behind you and you’ll see a way to go up.

Wall-run all the way to the top. There’s a small chest up here.
Next, jump down to the cell.
Before landing, click on attack when the prompt comes up.
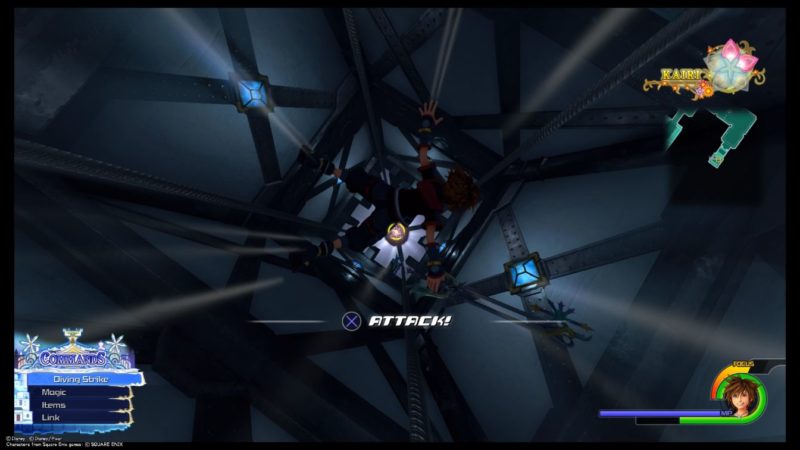
The cell will be destroyed and you can get the heart fragment.
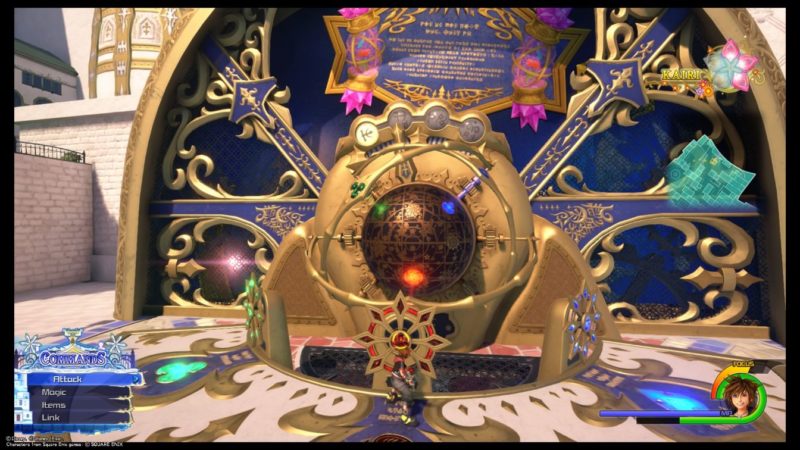
Third heart fragment
Another of Kairi’s heart fragment can be obtained from this weird structure.
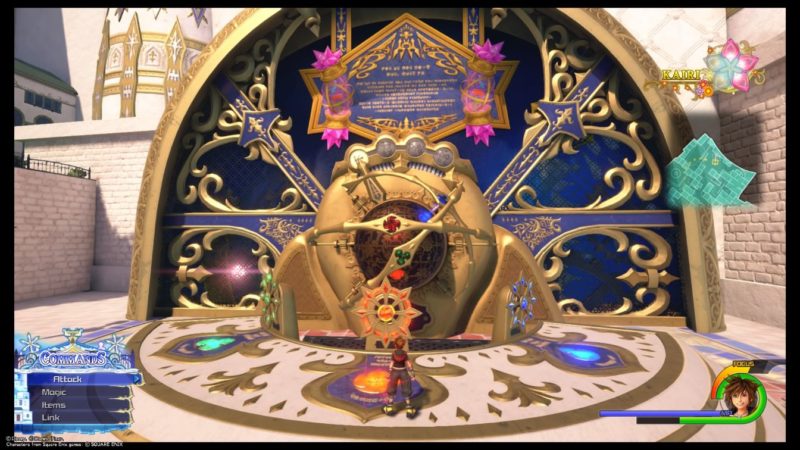
To access the fragment, you need to align the colored lights with the respective colored spots.
To move the light, just hit on the ‘wheel’ thingy and it starts moving. Hit it again for the light to stop when it hovers on the colored spot.
Once all three are on the correct spots, the fragment will appear.
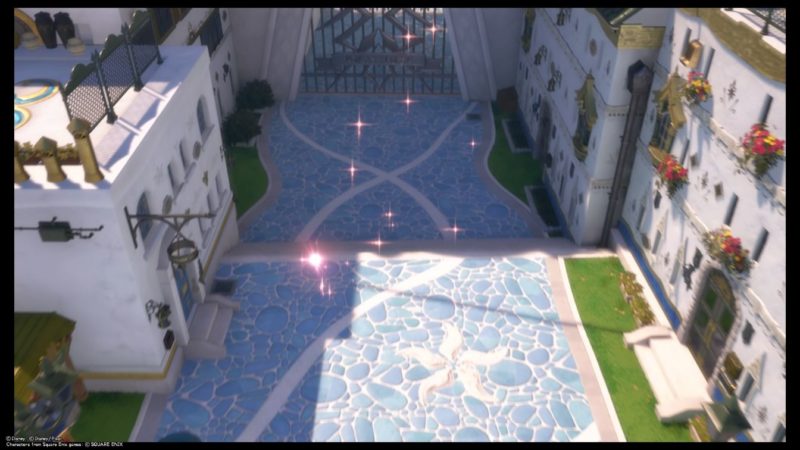
Head towards the next fragment
You should then see Kairi walking towards a certain area.
If you’re gliding around, you should easily spot it.
It’s at the left corner of the map.
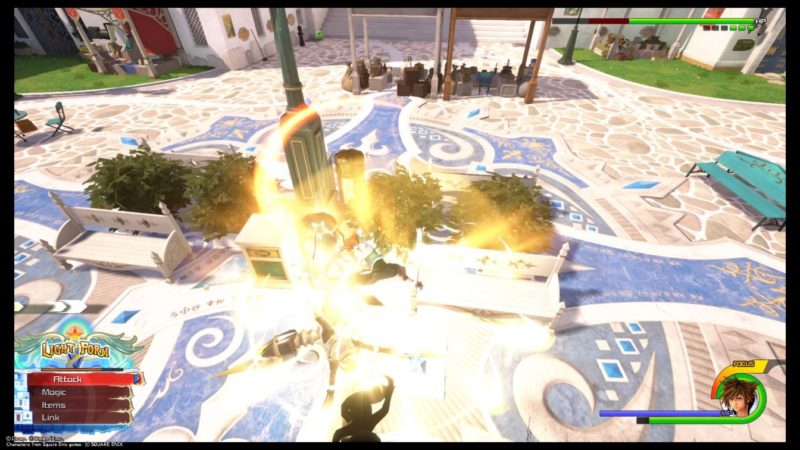
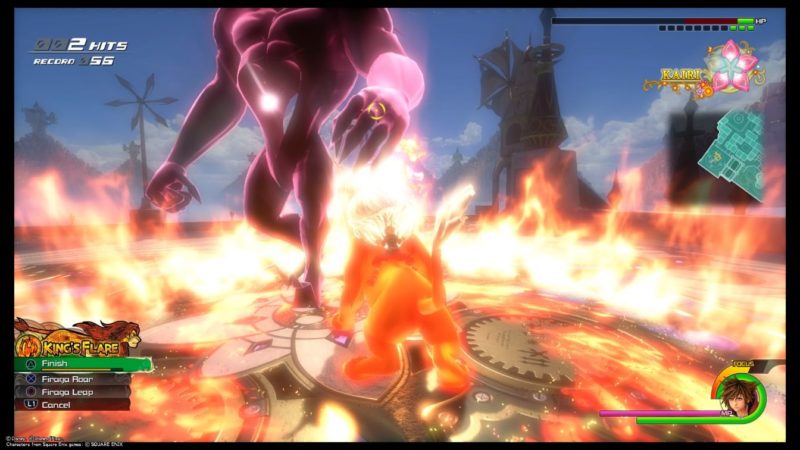
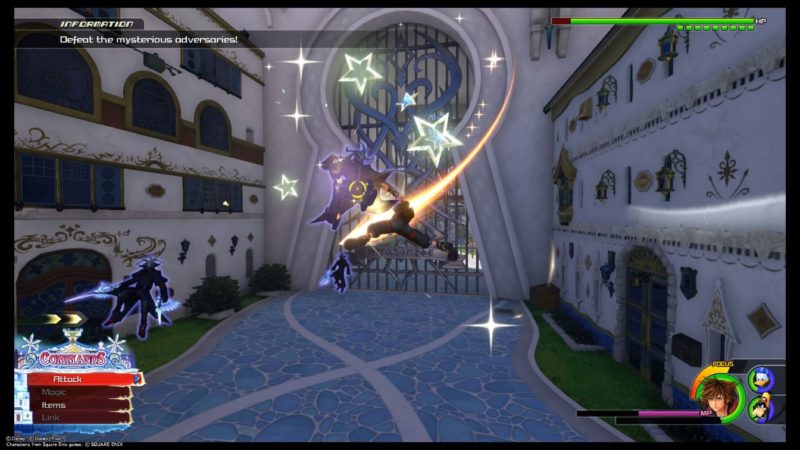
Defeat the giant Heartless
Once you reach, you’ll have to defeat a giant Heartless.
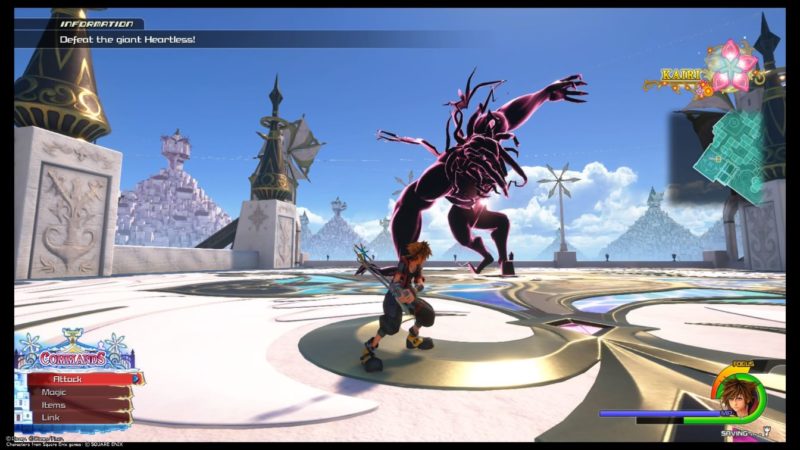
Utilize link commands to easily defeat the Heartless.
After collecting the fragments, there’ll be more cutscenes.
Defeat the mysterious adversaries
You will then be playing as Sora from the main story again (different timeline).
Goofy and Donald is with you.
Walk until you meet the mysterious adversaries.
You just have to defeat one of them to trigger a cutscene.
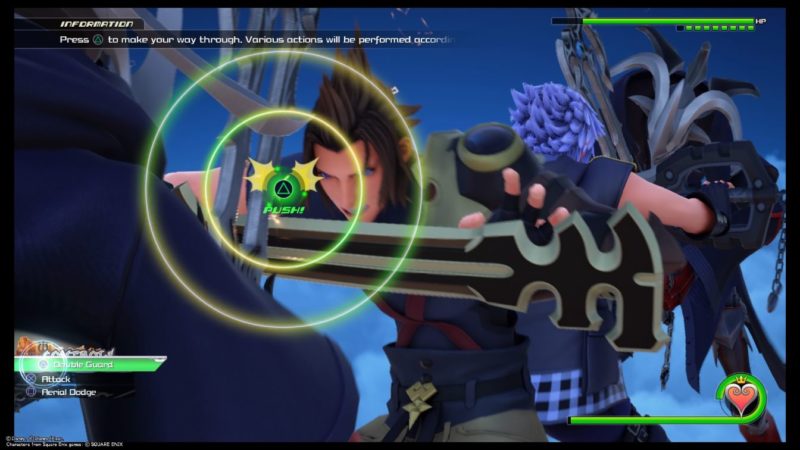
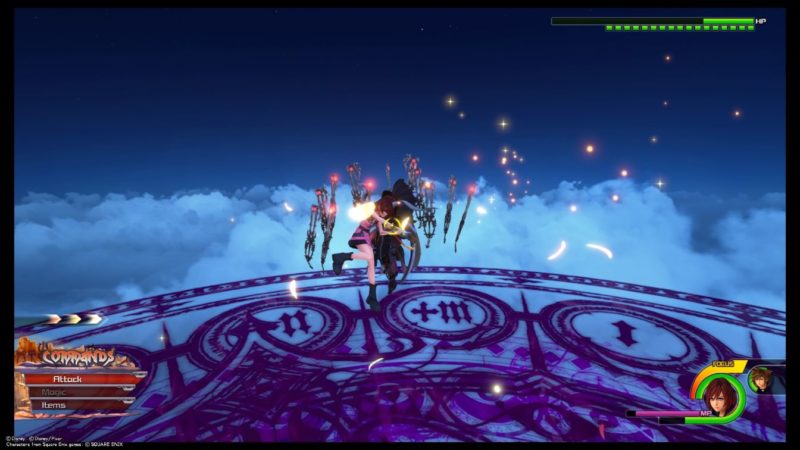
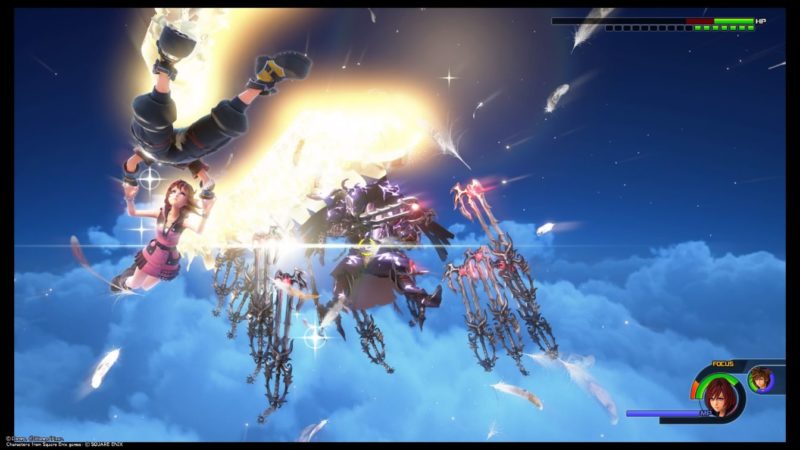
Work together to defeat Replica Xehanorts
After a few cutscenes, you’ll be using Sora’s friends.
This part is a team effort where you’ll be using a few of the characters in succession. Also, the health bar is a collective one.
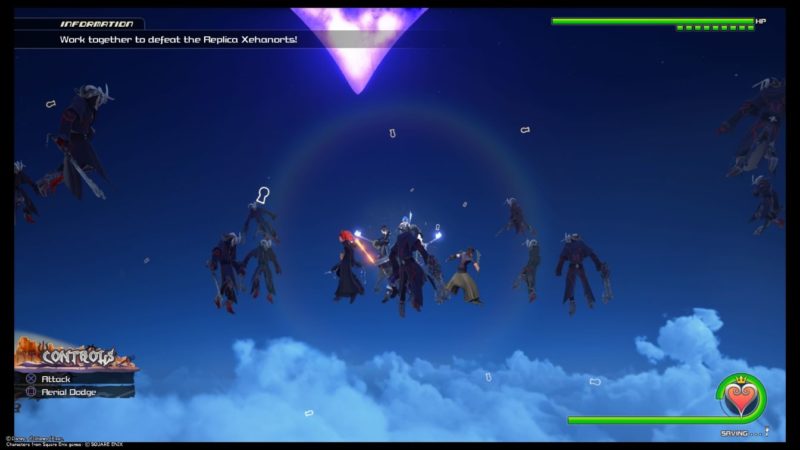
Just keep attacking the replicas until the “Finish” prompt comes up. Use it to end the character’s turn. For e.g. after Axel’s finisher, you’ll immediately switch to the next character.
Also, there’ll be plenty of interactive parts where you have to press certain buttons like this one in the image below.
After some time, the game will introduce another way of fighting where you control all of them at once.
You can either attack or defend. The replicas will surround you. Keep attacking first.
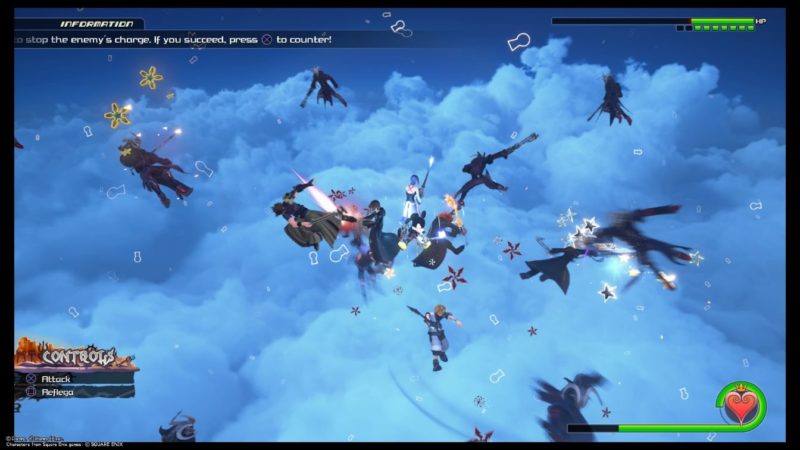
Wait until you see the replicas coordinating a team attack. When you see the sign (red light), use defend to create a barrier before they hit you.

If your barrier’s up at the right time, you sometimes get a short timeframe to counter, creating a blast attack.
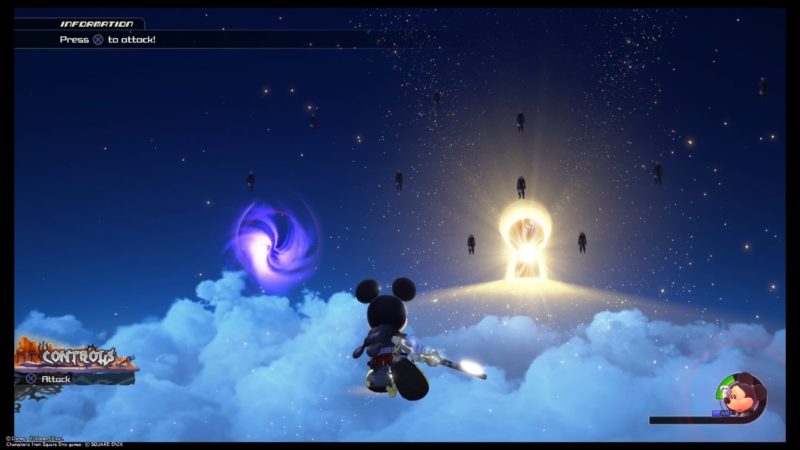
King Mickey’s turn
All of the members except King Mickey then gets absorbed into the keyholes.
Now you use Mickey. Stand up first.
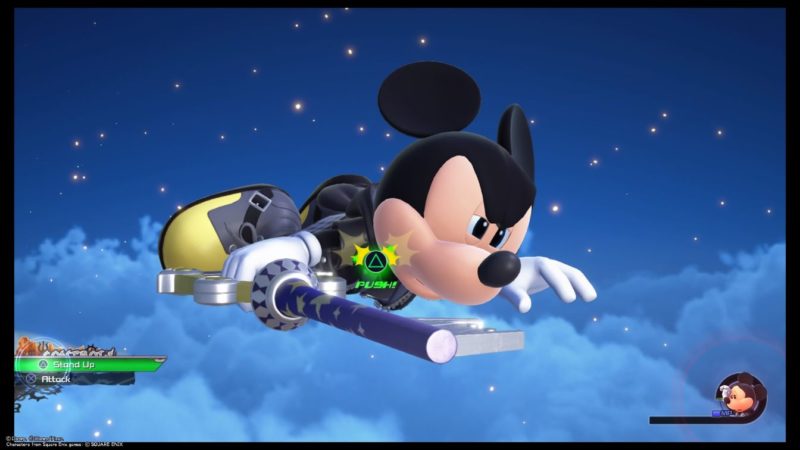
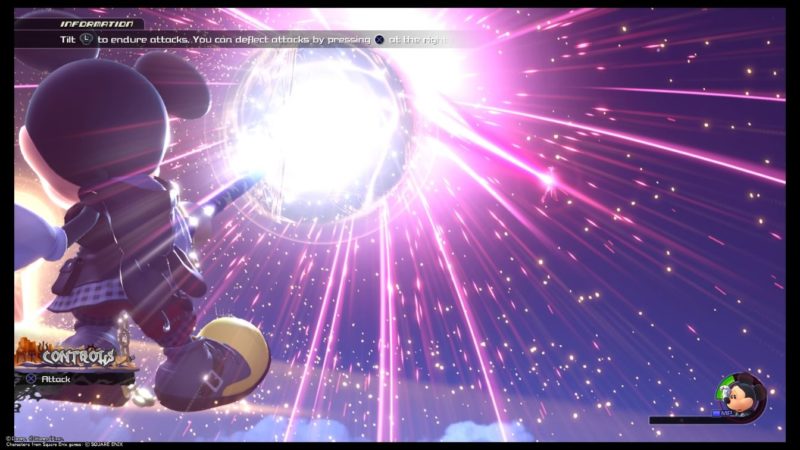
Just keep walking towards the giant keyhole. The replicas will attack but you can counter them.
When you see them appearing in front of you, just press attack to repel. The intensity increases as you get nearer.
Also, there’ll be a few times where the replicas coordinate an attack. Press “triangle” at the right time to counter and press “X” when the prompt appears to push it back.
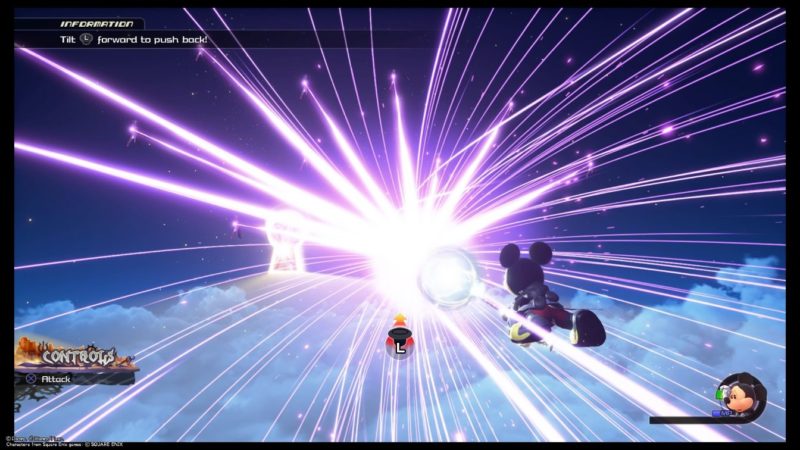
Keep doing the same thing until you’re close.
At the end, all of them will attack you at once. Just continue walking as Mickey defends.
Sora appears in spirit (or some other form) behind Mickey and they manage to get rid of the replica Xehanorts.
Aim at the shining keyholes
In the next part, you’ll be using Sora again. Just use the keyblade and shoot at the keyholes that are shining.
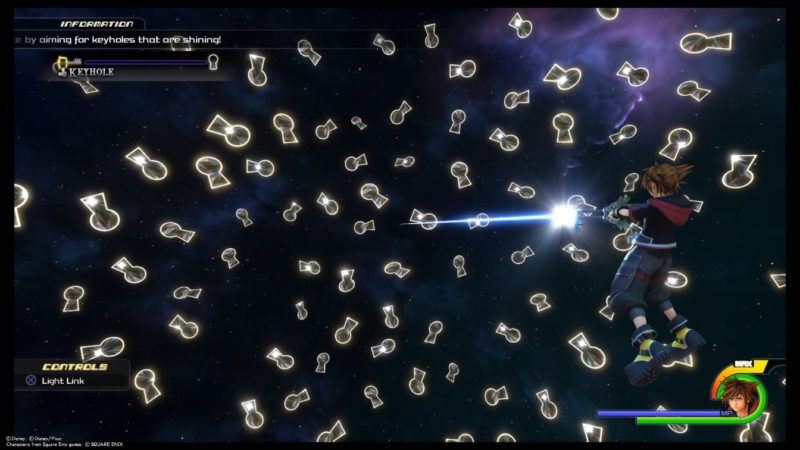
Keep doing it until the keyhole bar at the top screen is filled. Once it’s filled, use the finisher.
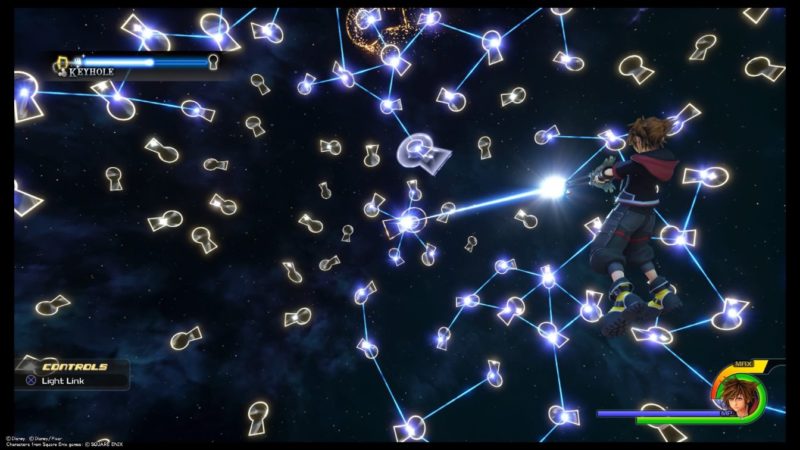
Kairi’s heart fragments will then receive the light power from all the keyholes, and she comes back.
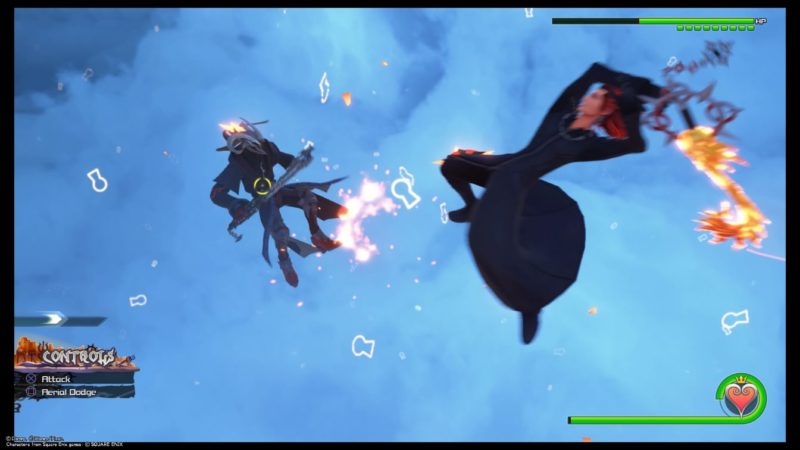
Defeat Armored Xehanort
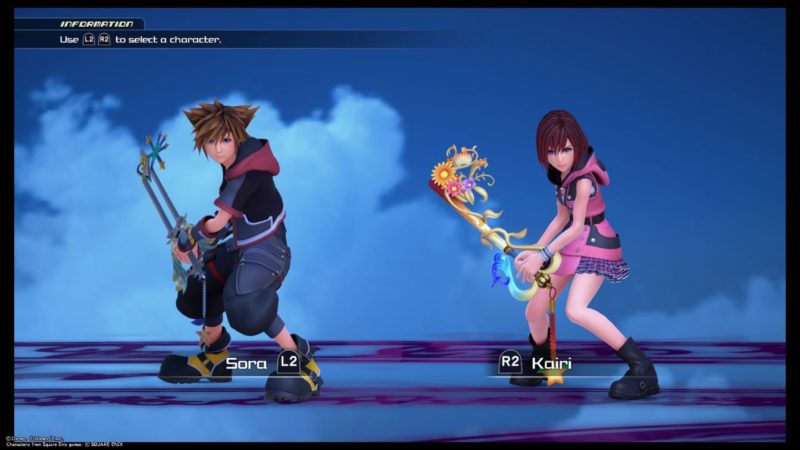
Now, you can choose either Sora or Kairi to fight against armored Xehanort.
The key to winning is to continue attacking and leave no room for countering.
Otherwise, Xehanort flies away quickly and it’s hard to start attacking him again.
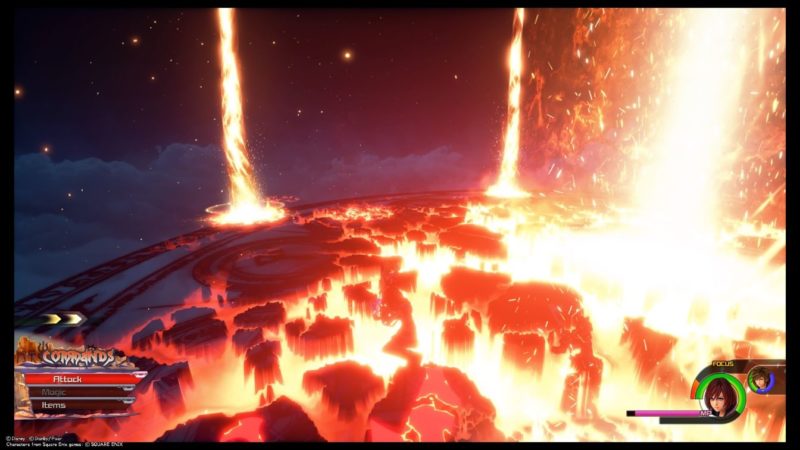
Once his health is low, he’ll start summoning meteors. You have to avoid the meteors and at the same time focus on Xehanort.
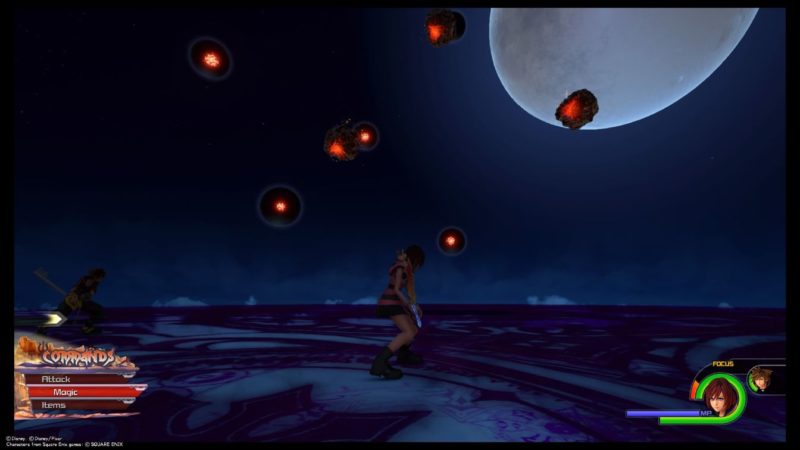
You won’t have a link command if you’re using Kairi which is hard, but you can utilize the team attack with Sora.
After the battle, there’ll be a couple of cutscenes showing peace. It’s the same or similar to the one shown in the main game.
Related articles:
Re:Mind DLC (Kingdom Hearts 3): Intro, Keyblade Graveyard & Skein
Having A Problem Downloading The Re:Mind DLC On The Playstation
Kingdom Hearts 3: All Flantastic 7 Locations (How To Find The Flans)
Kingdom Hearts 3: Kingdom Of Corona (All Lucky Emblem Locations)