The real story of Kingdom Hearts 3 begins after you’re done with the 8 worlds (you can skip 100 Acre Wood first).
Once you’re done with San Fransokyo, proceed to the Eclipse and you’ll eventually find yourself here.
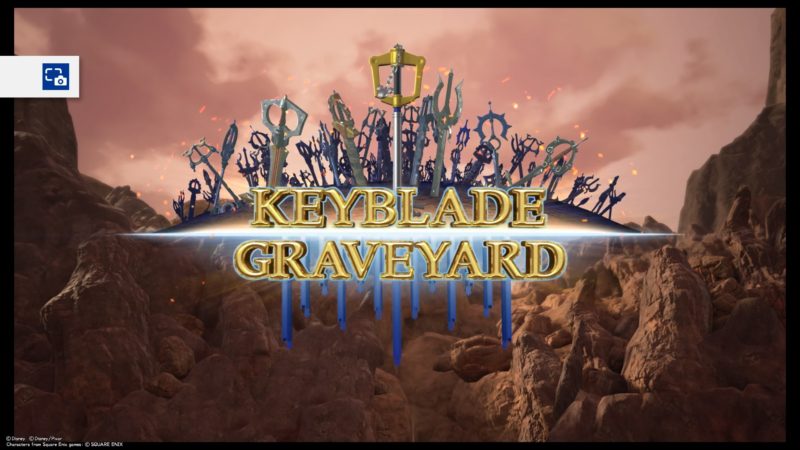
Here’s a walkthrough and guide of Keyblade Graveyard in Kingdom Hearts 3.
Below you’ll find a walkthrough of The Skein of Severance as well.
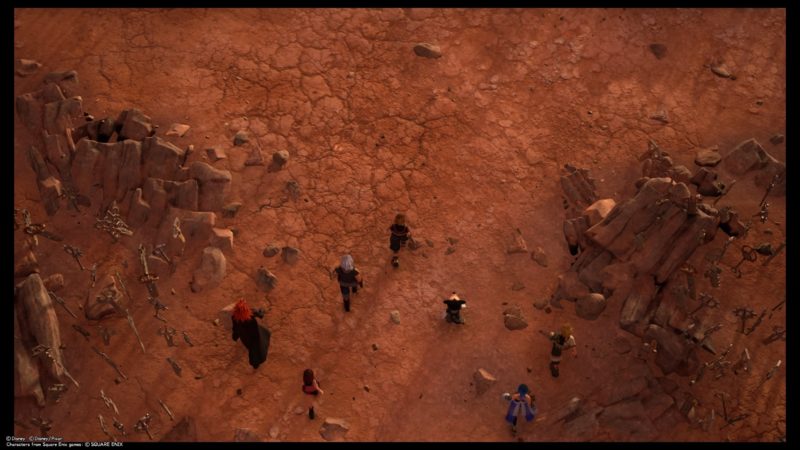
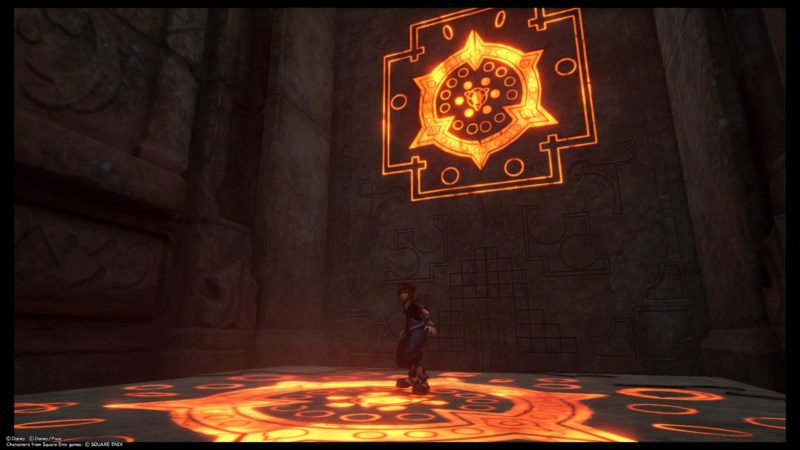
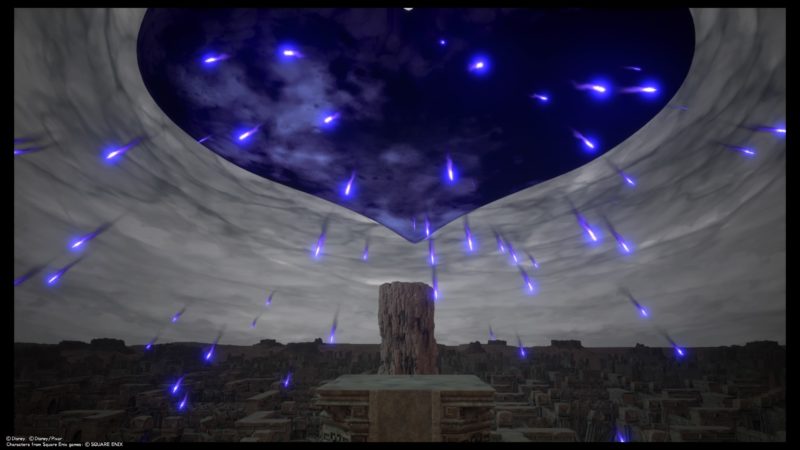
Keyblade Graveyard
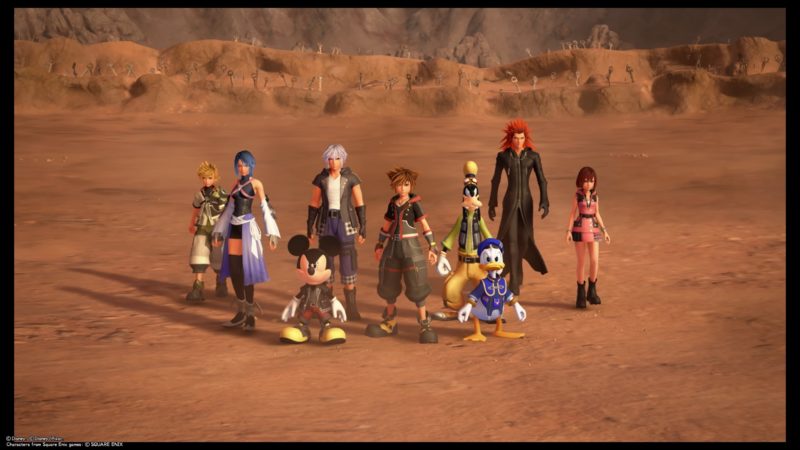
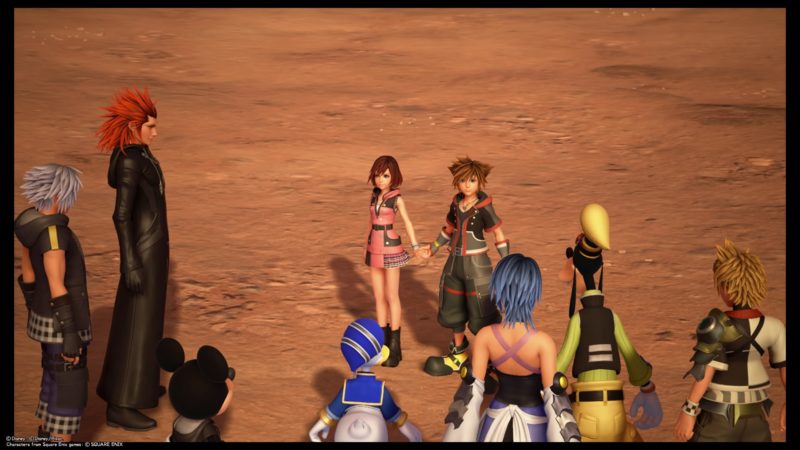
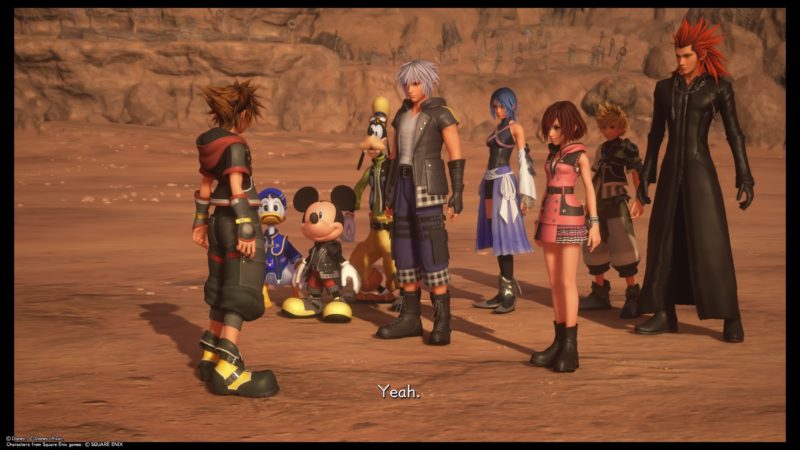
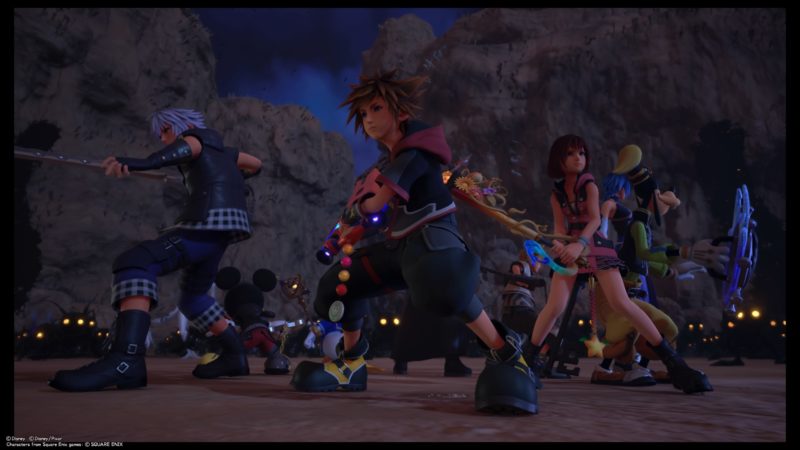
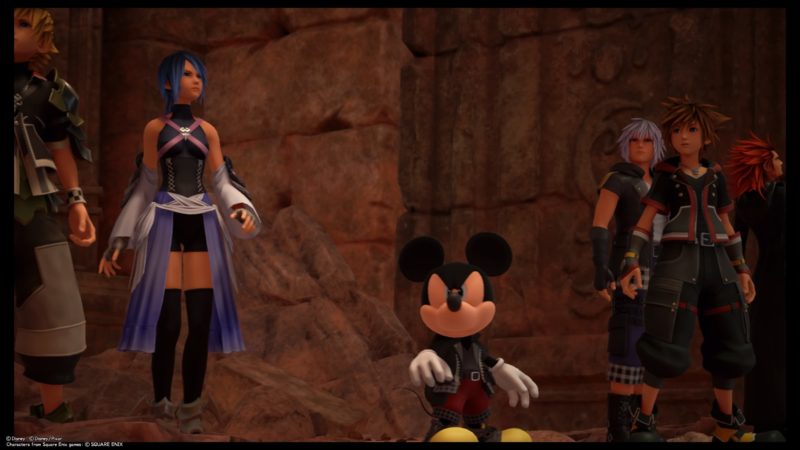
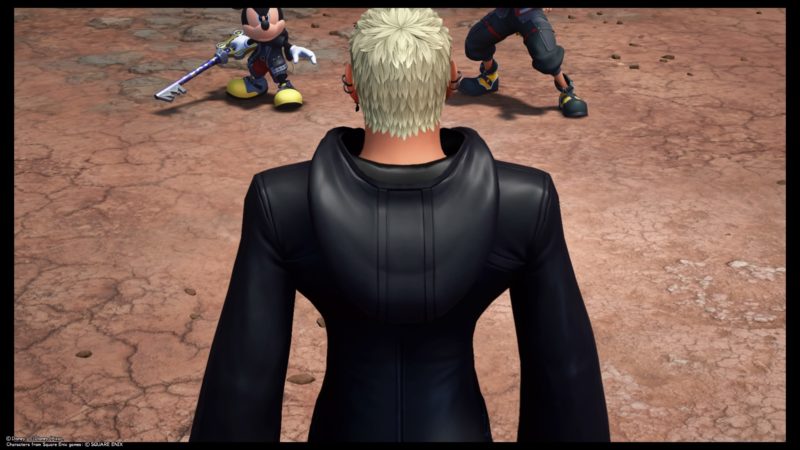
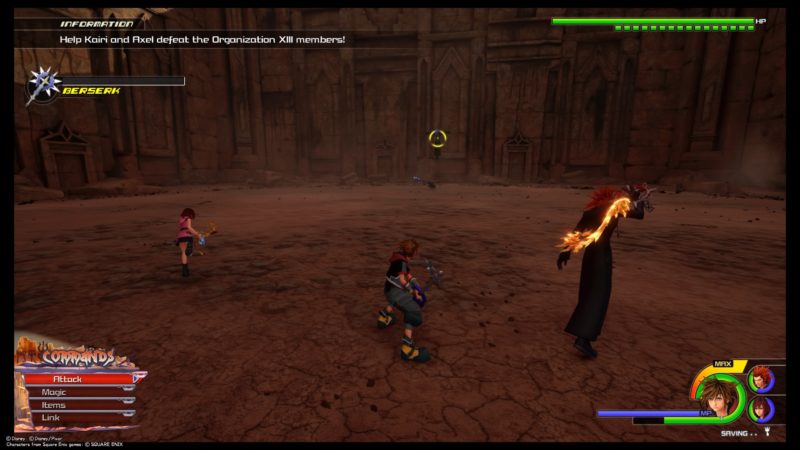
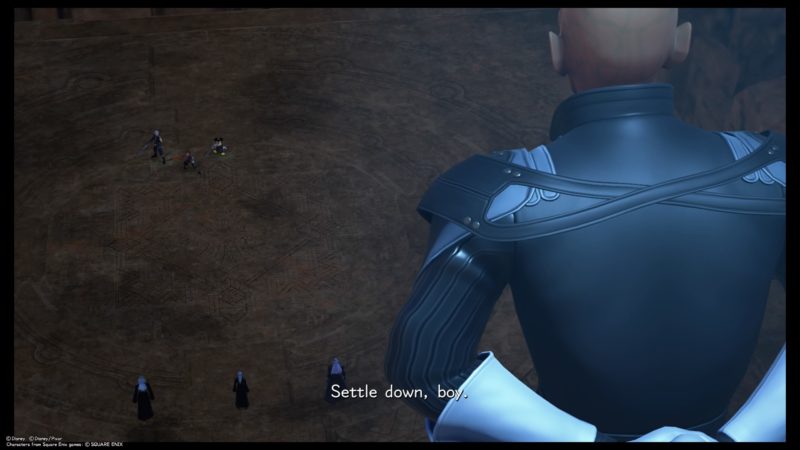
You will find yourself with almost the entire group, i.e. Mickey, Riku, Aqua, Ventus, Goofy, Donald, Kairi and Axel.
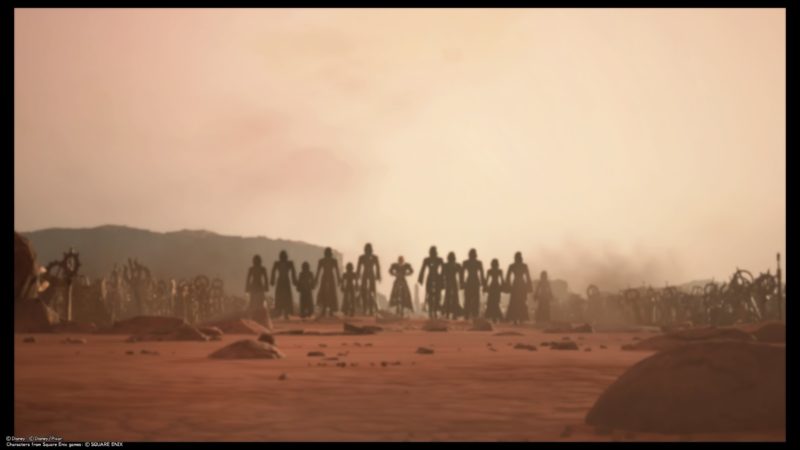
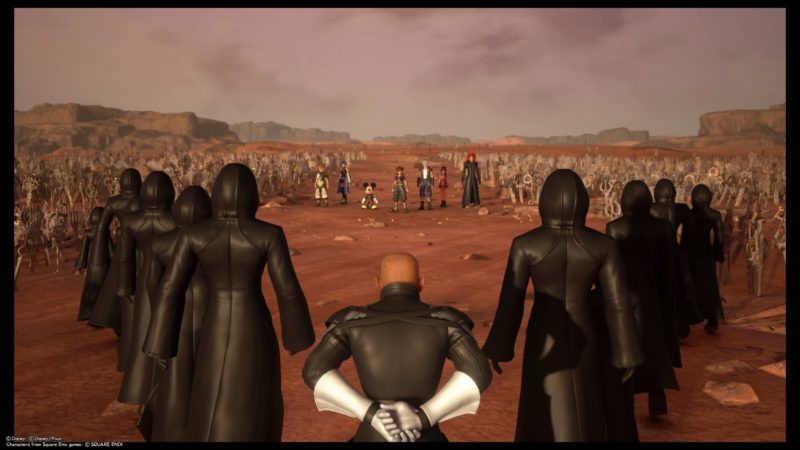
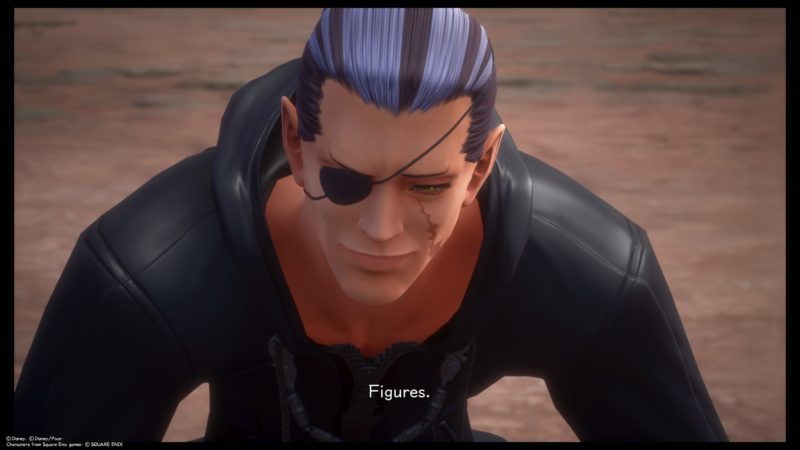
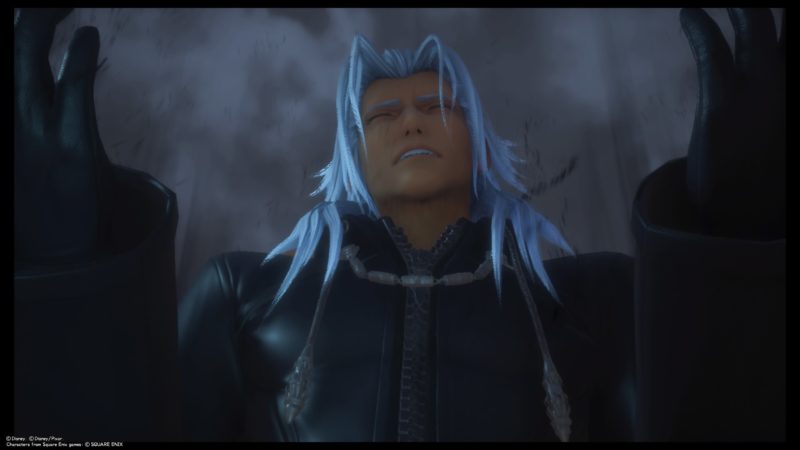
Not long after, Xehanort and some of the Organization members appears.
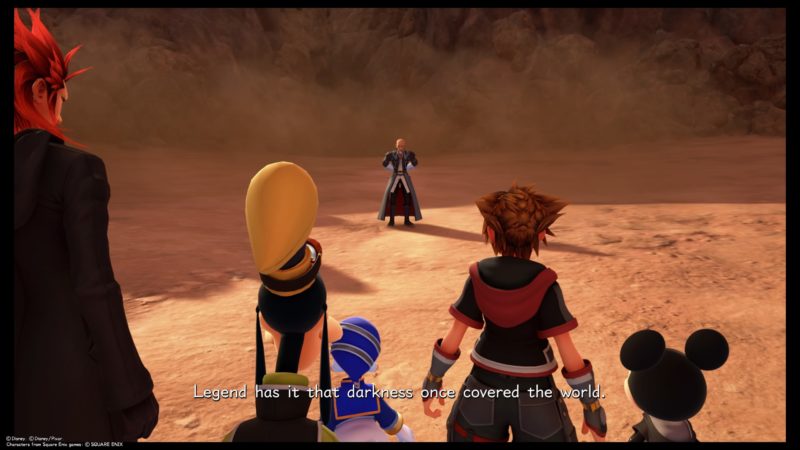

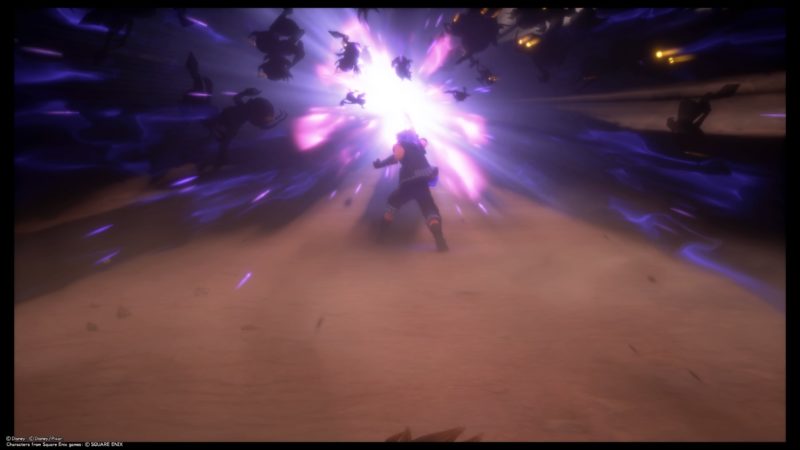
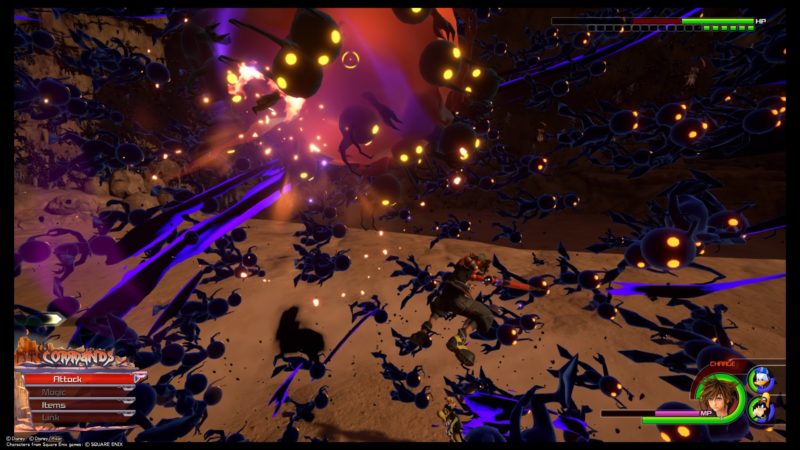
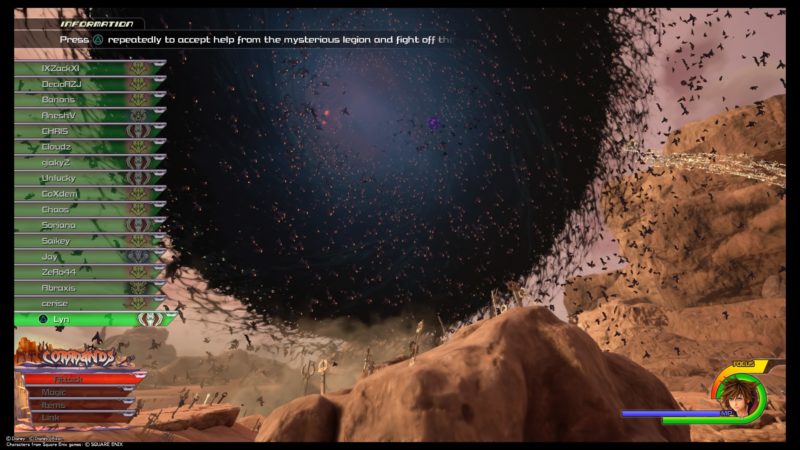
They will then summon a freaking horde of Heartless and they will surround you guys.
The members all disappears.
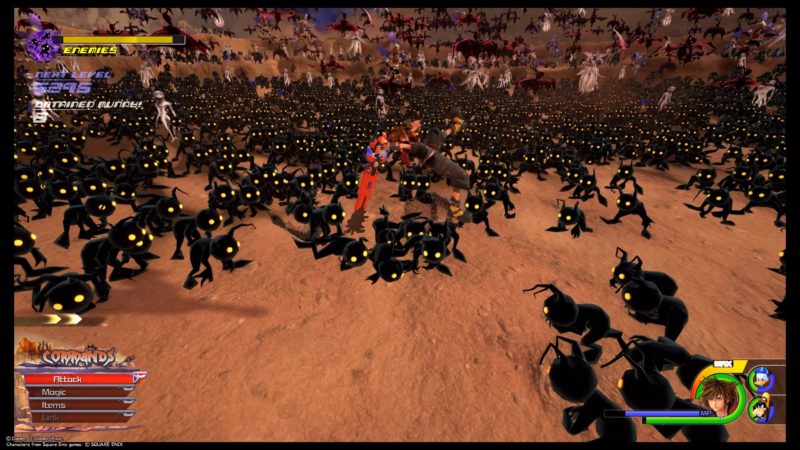
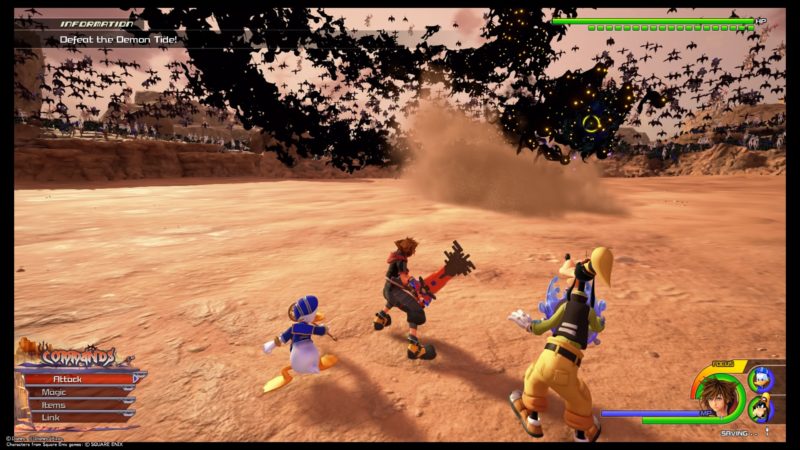
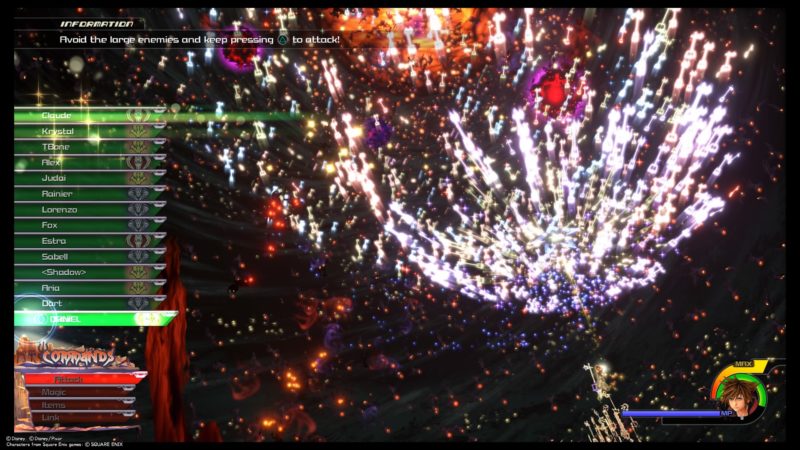
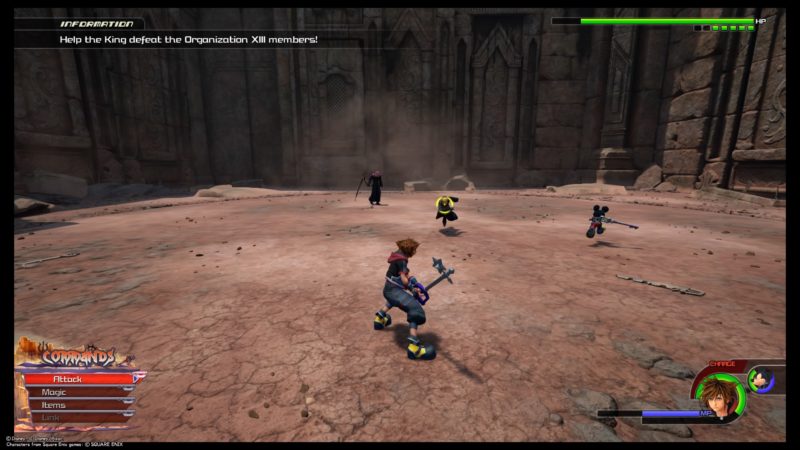
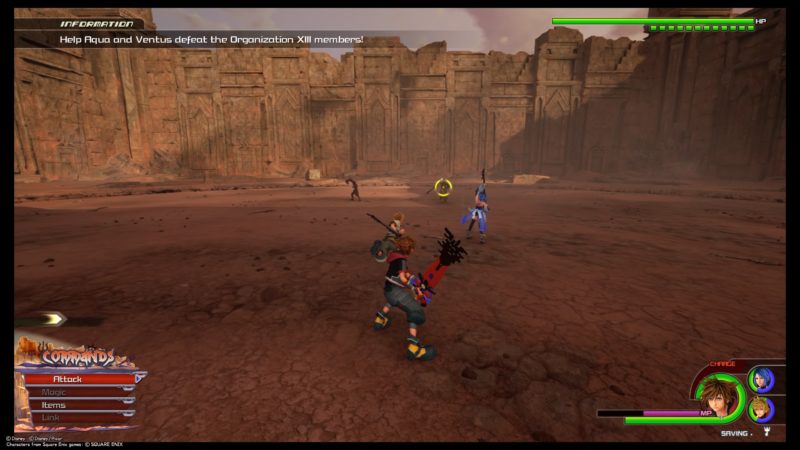
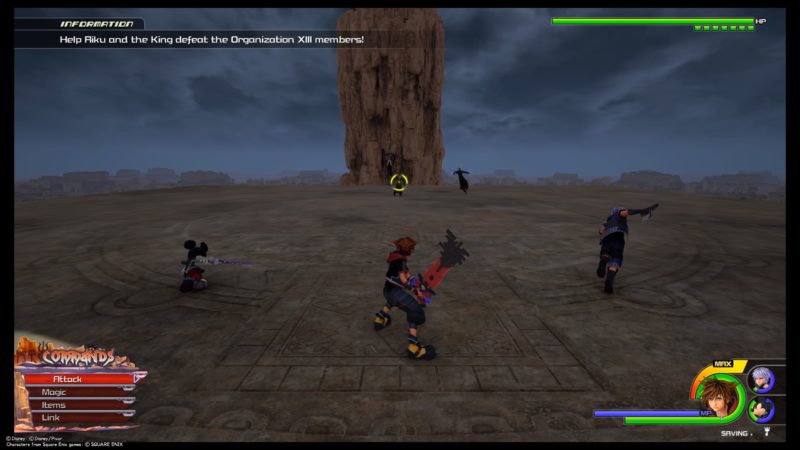
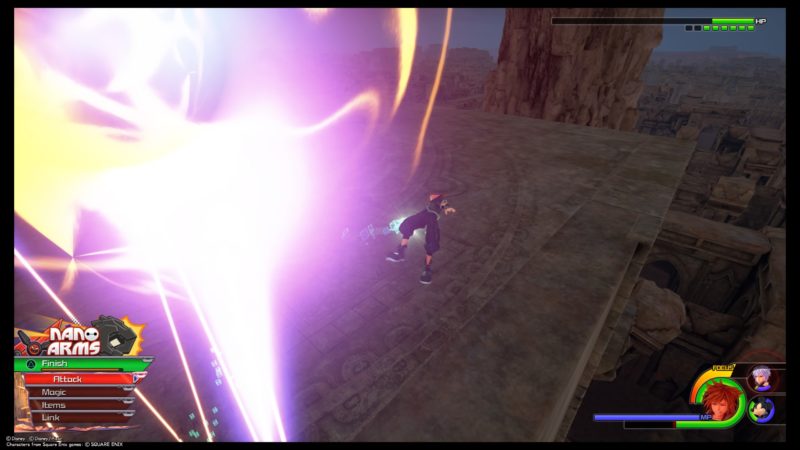
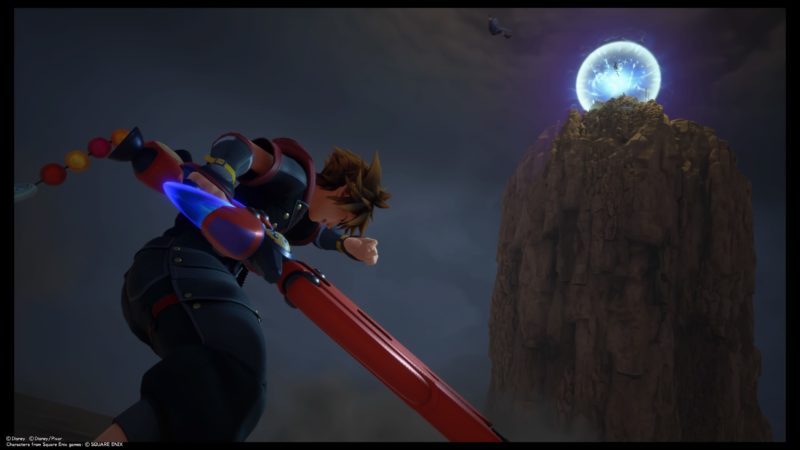
Take out all the enemies
You guys will be surrounded by all kinds of Heartless and Nobodies.
Defeat everyone you can see. At the top left hand corner, you will see a bar called Enemies.
Take out as many as you can until the bar is gone. It’s actually pretty fun.


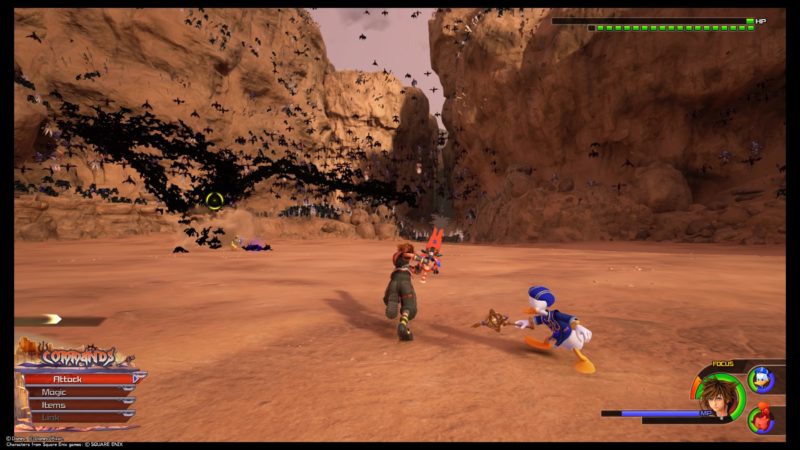
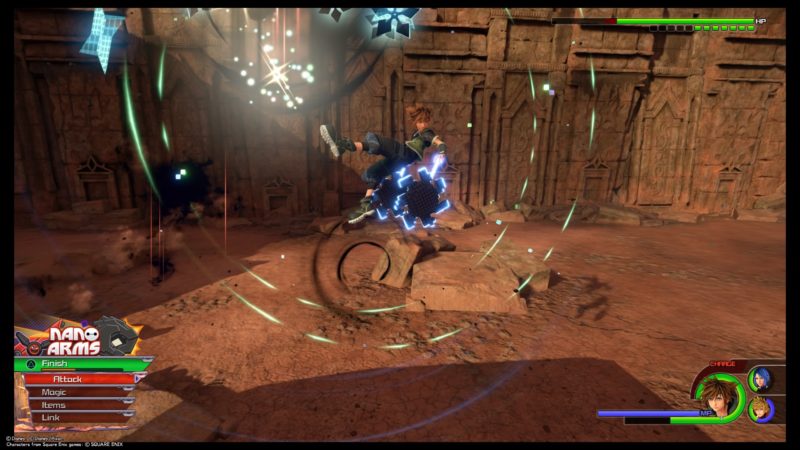
Just keep doing whatever magic skills or link commands.
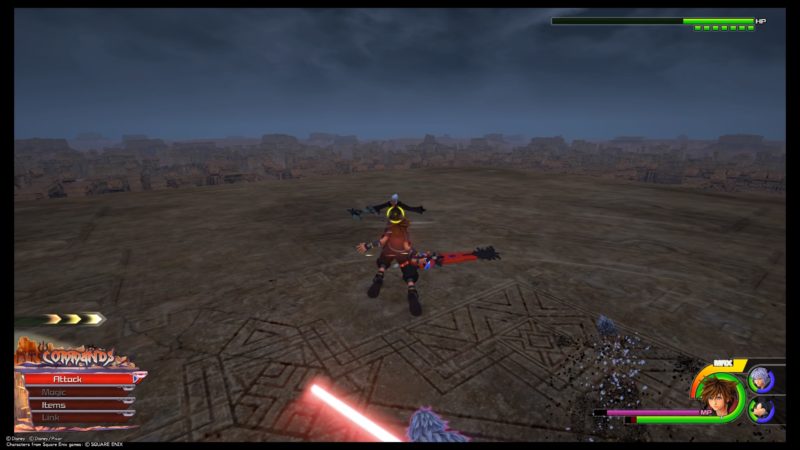
At one point, the Mountain Coaster attraction flow prompt will appear. Press “Triangle” to activate it.
You would have used it before against the rock titan in Olympus.
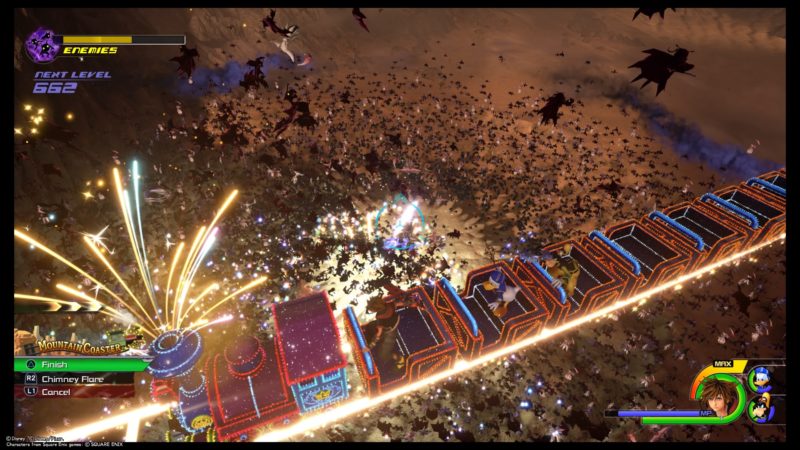
Just keep destroying them until the enemies are all gone.
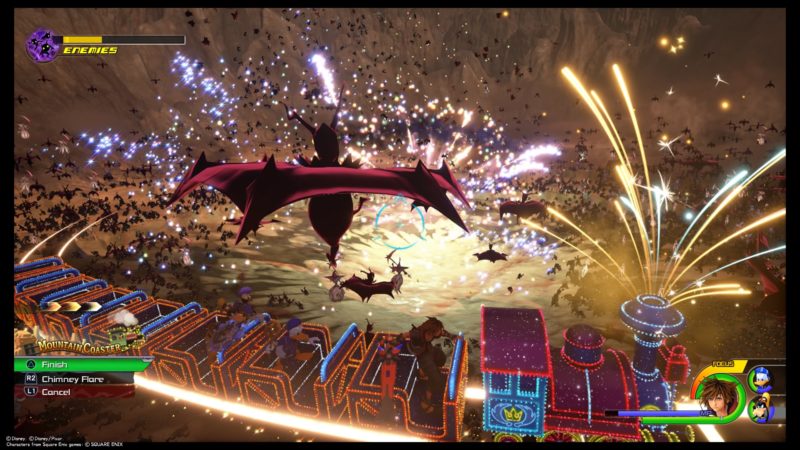
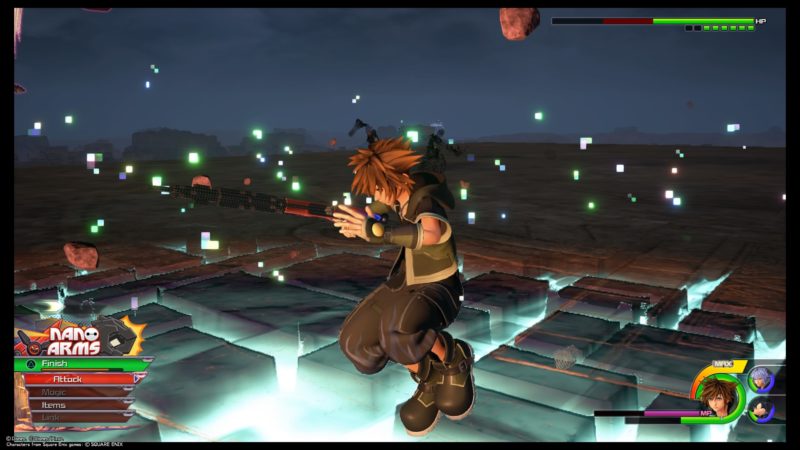
After you use the finishing skill, it will wipe out every enemy.
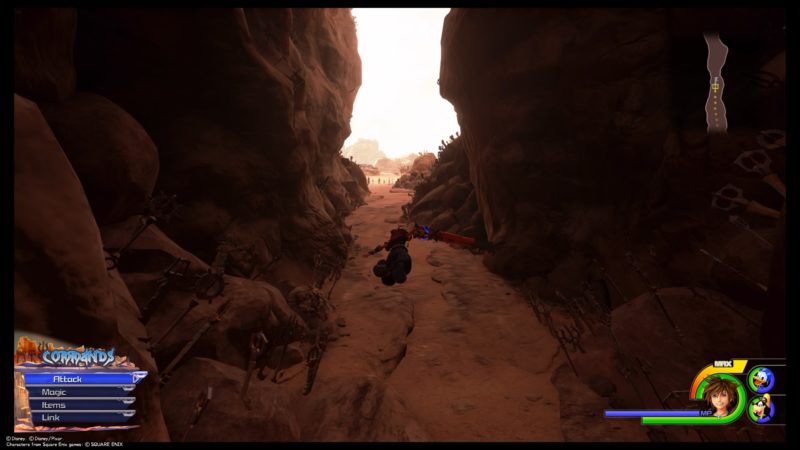
Proceed onward
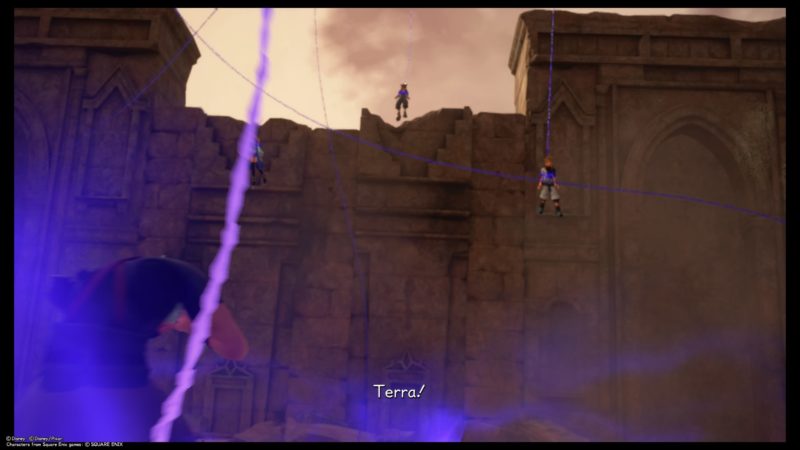
The others would have went ahead. Go towards the front.
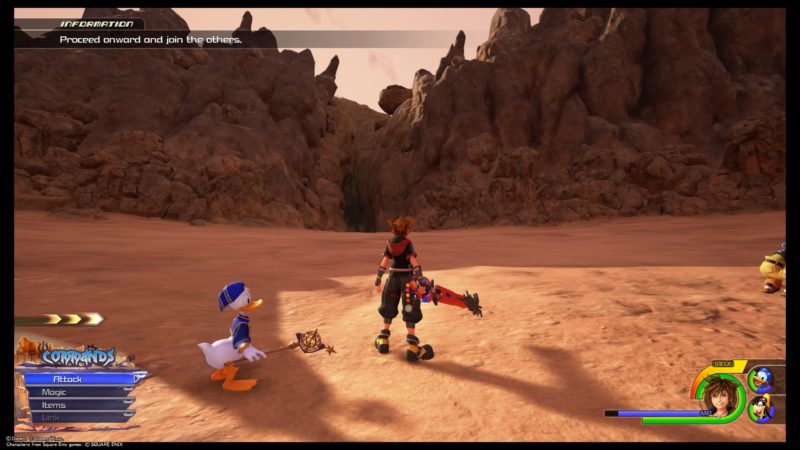
You should find a map there.

Keep going and join the rest. A cutscene will load.
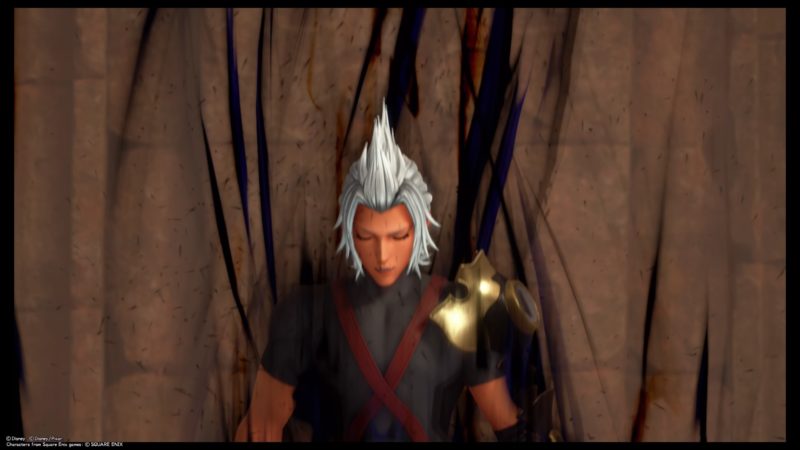
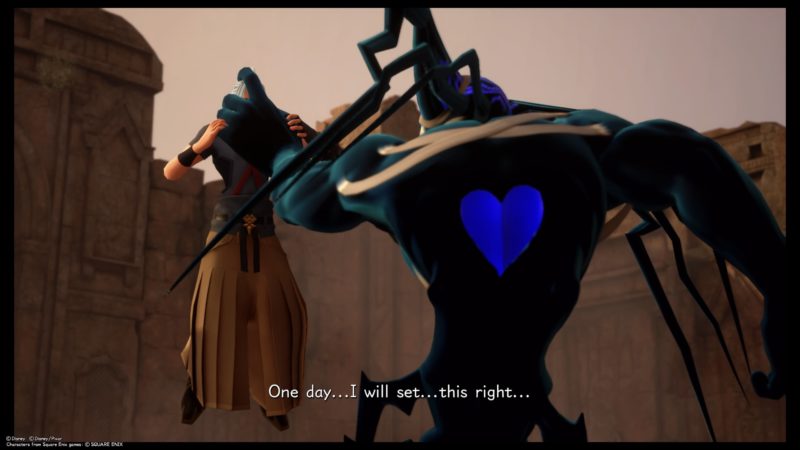
You will now find yourself dealing with an evil Terra.
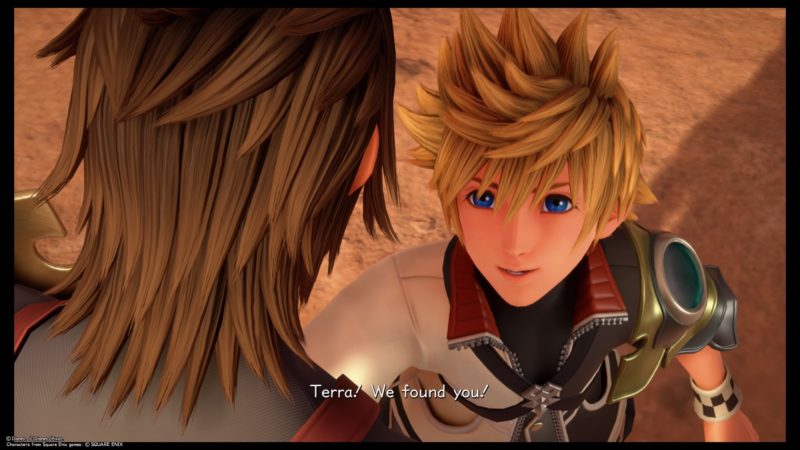
Terra defeated a few of the members including Ventus.
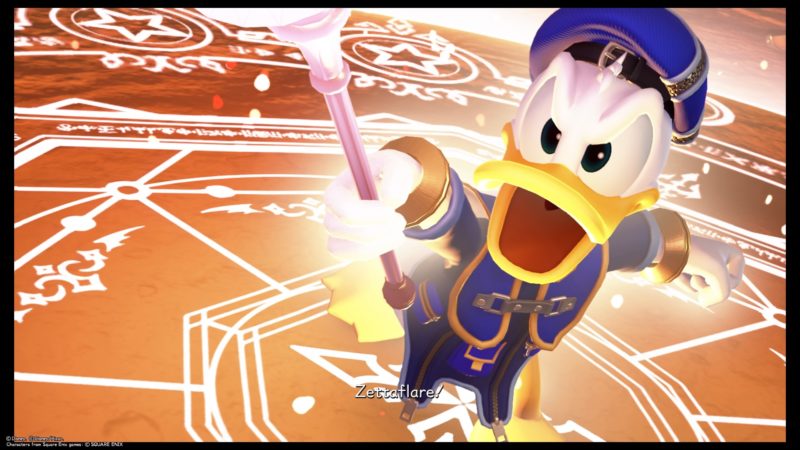
Donald then casts a spell against Terra and the former collapses after the magic attack.
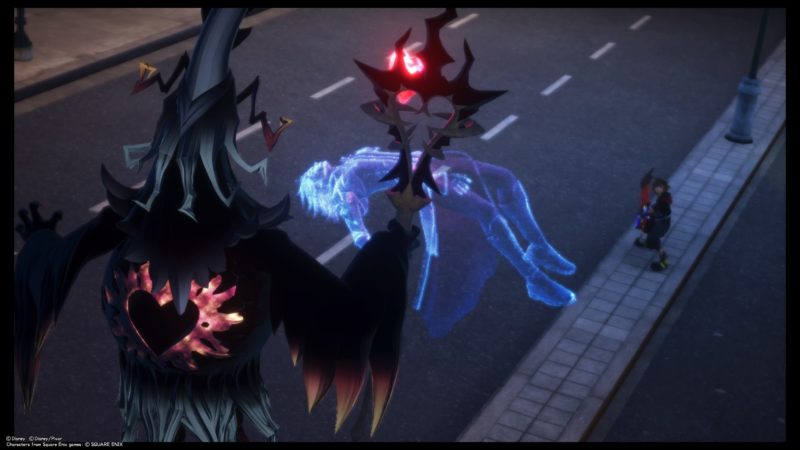
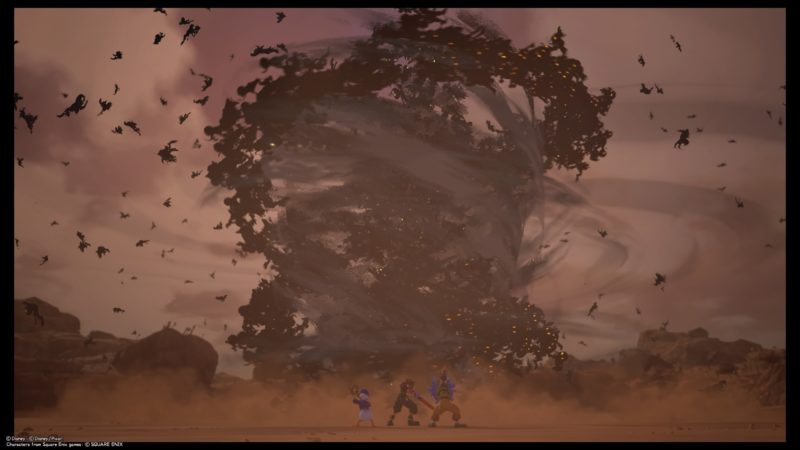
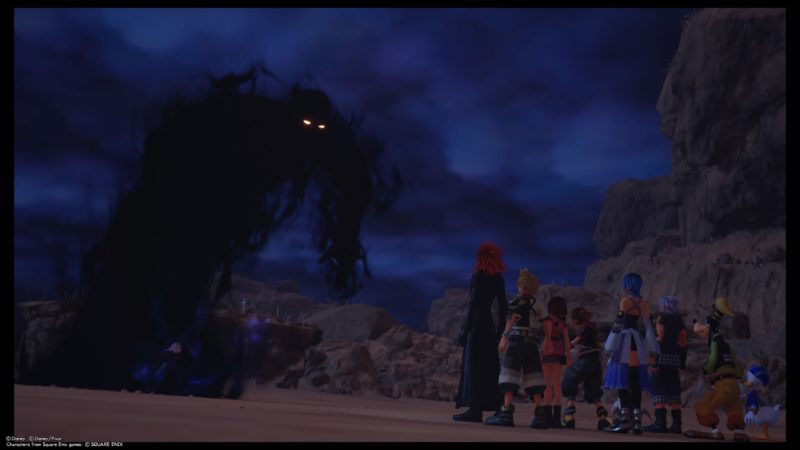
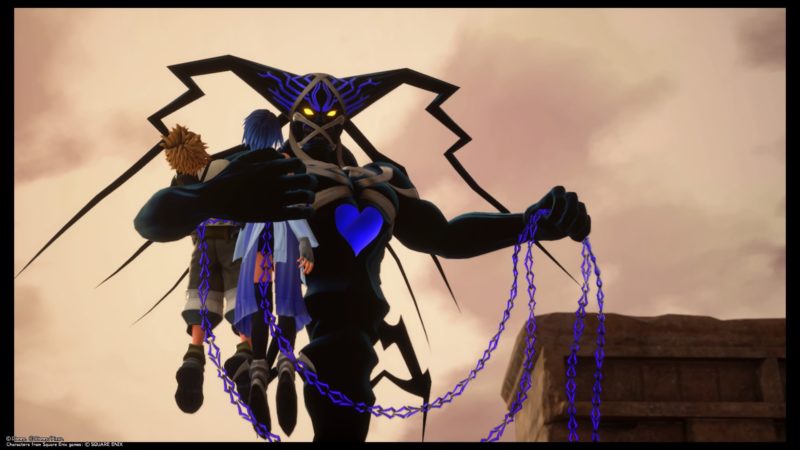
A huge swarm of Heartless in a tornado will then appear. It will consume all of Sora’s friends except Riku at this point.
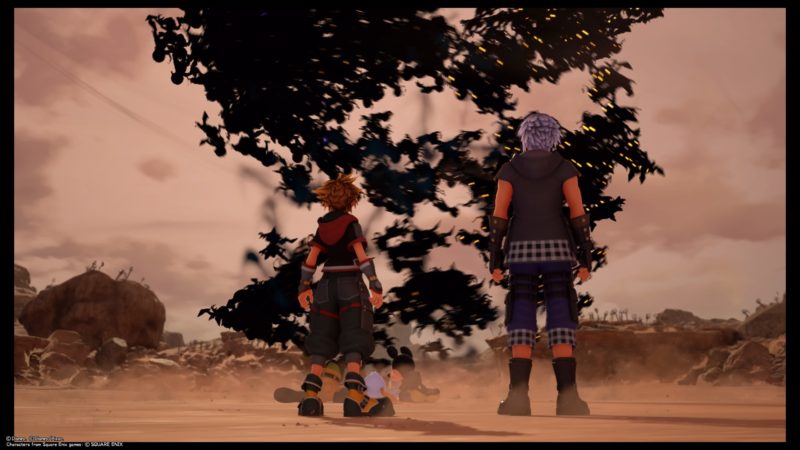
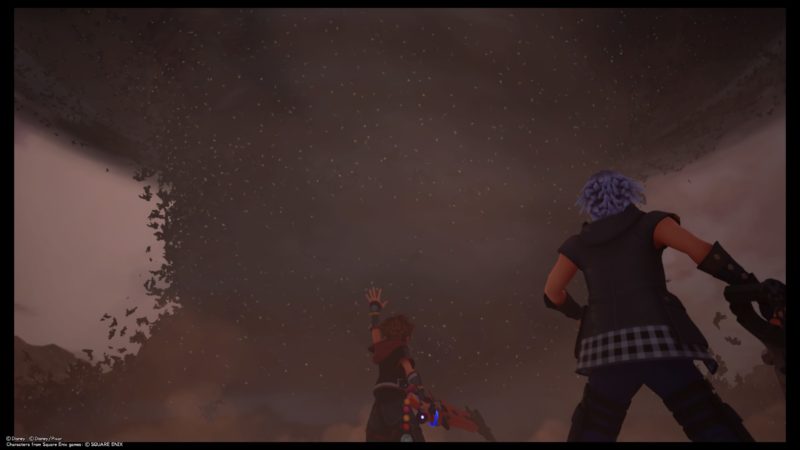
The remaining Riku tries to stop it using his power but he himself gets sucked in by the darkness.
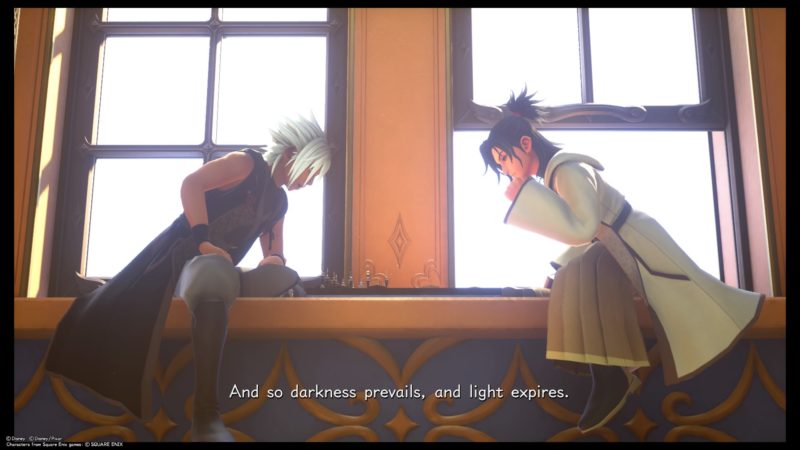
After this part, Sora also gets attacked and another scene loads.
It shows young Xehanort with Eraqus playing chess like in the earlier scenes.
Sora will wake up finding himself in the Final World.
Please read this guide on the Final World before proceeding to read the next parts.
Search for the fallen guardians of light
After you’ve completed the part on The Final World, Sora will have pieces of his body back.
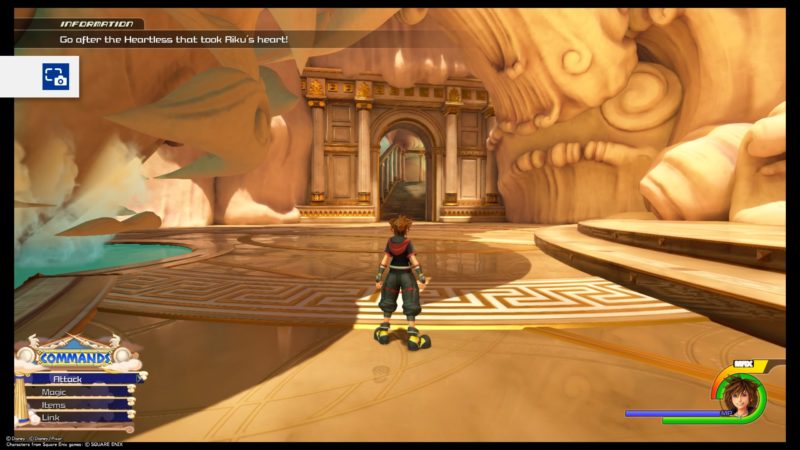
He then shows up in Olympus.
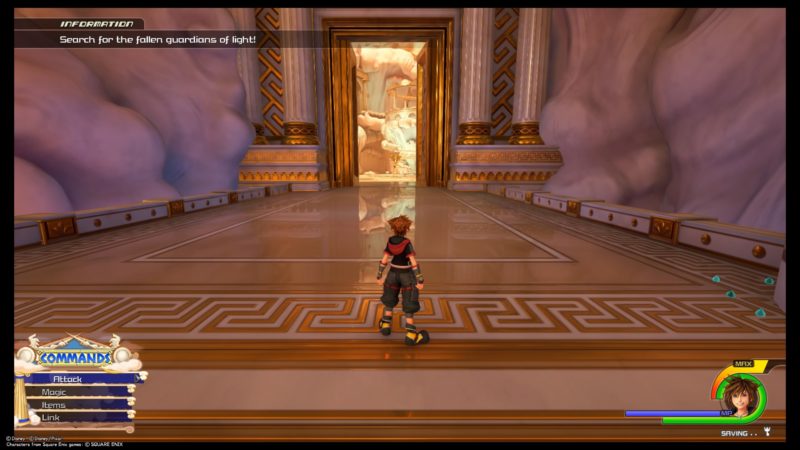
Keep walking ahead until a cutscene loads.
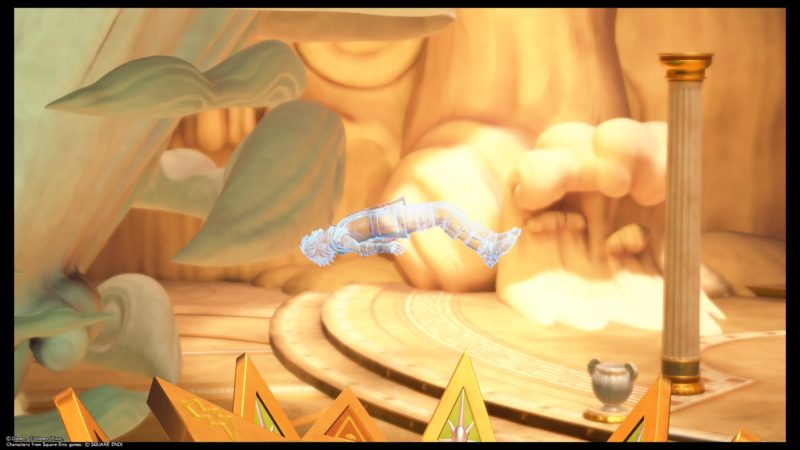
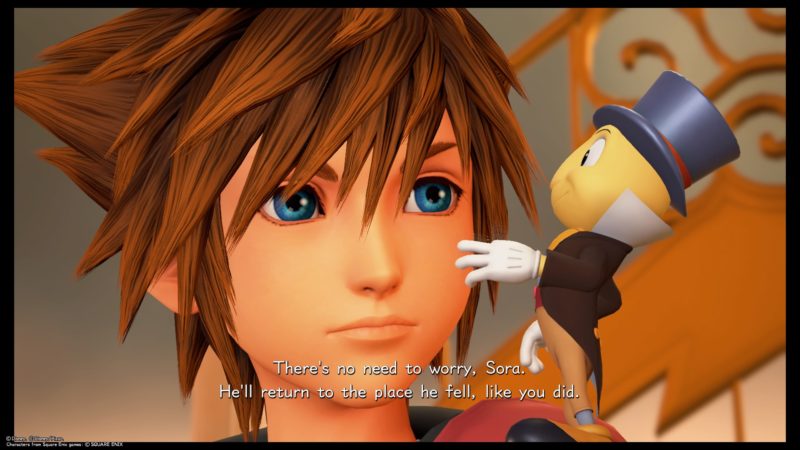
You will find Riku floating in the air.
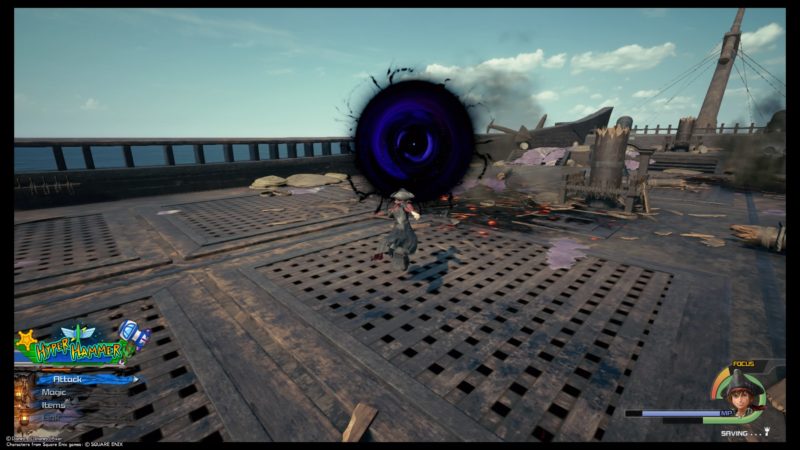
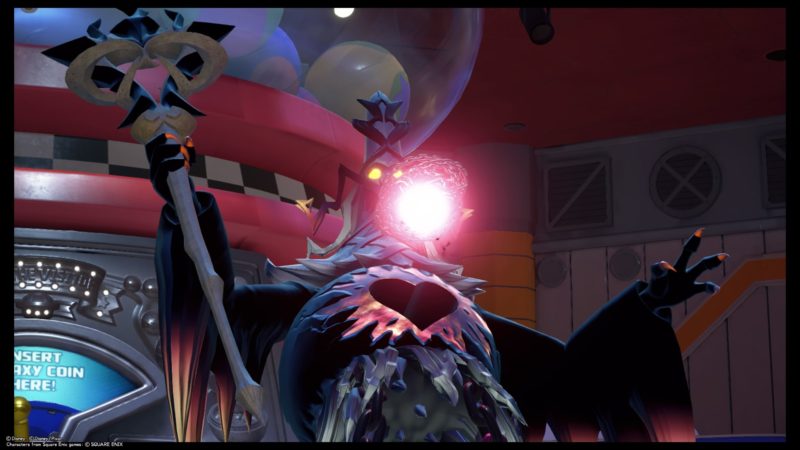
A lich Heartless then appears and steals Riku’s heart.
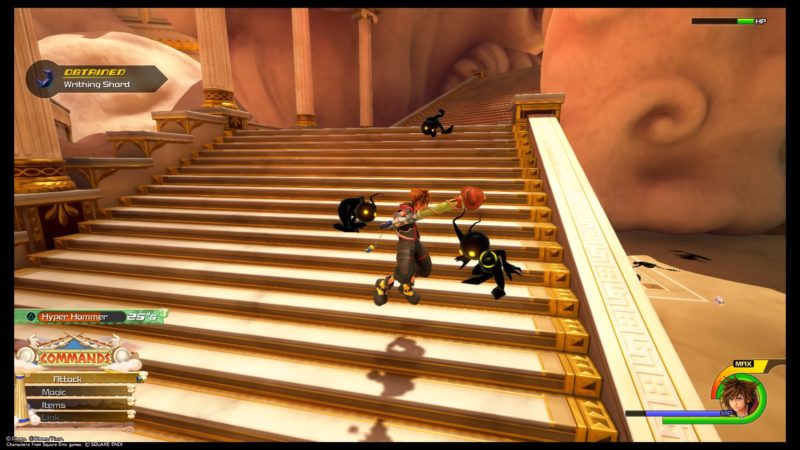
Go after the Heartless
Chase after the Heartless that took Riku’s heart.
Keep going ahead and you will find plenty of Heartless on the way. You can ignore every single one of them.
Don’t bother with the small fries.
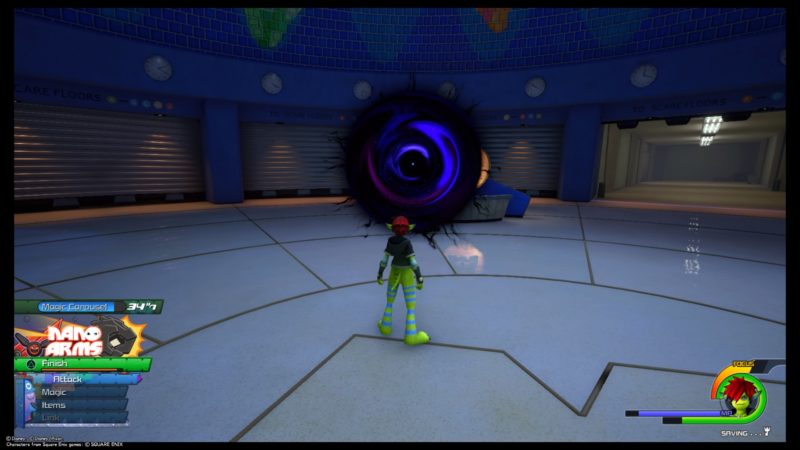
Go towards the portal and press “Examine”.
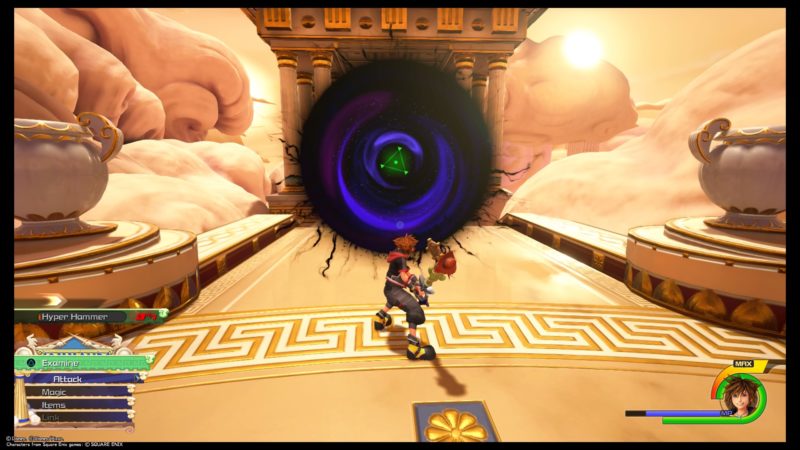
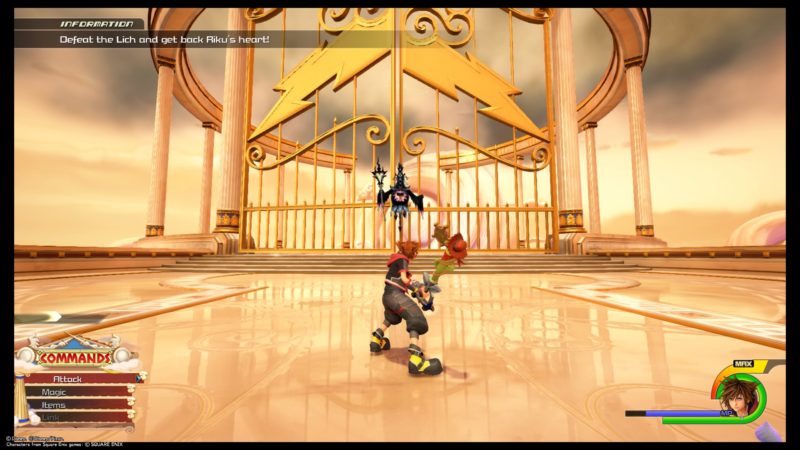
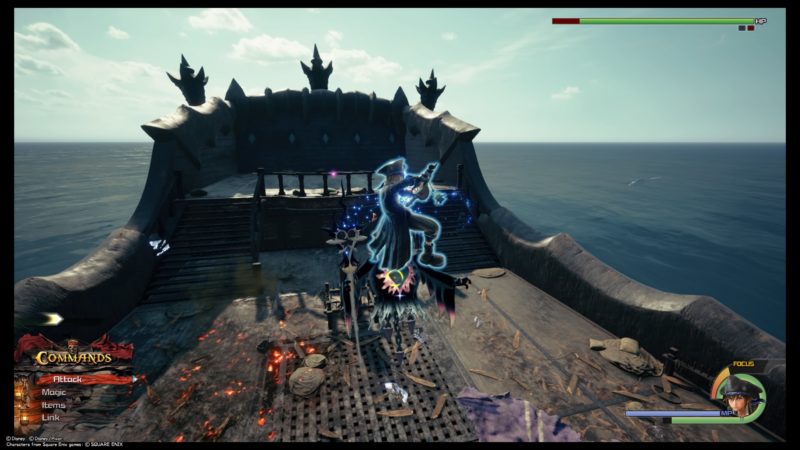
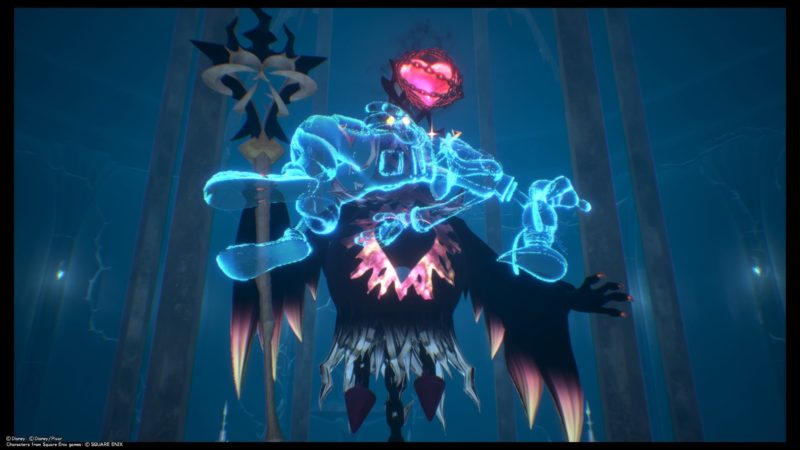
You will be teleported to the top where Zeus resides. Defeat the Lich and get back Riku’s heart.
It isn’t that strong at all. The Heartless then runs away.
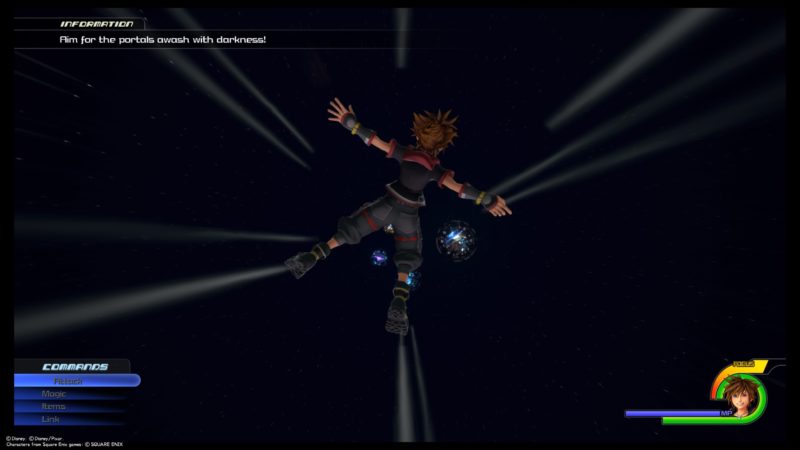
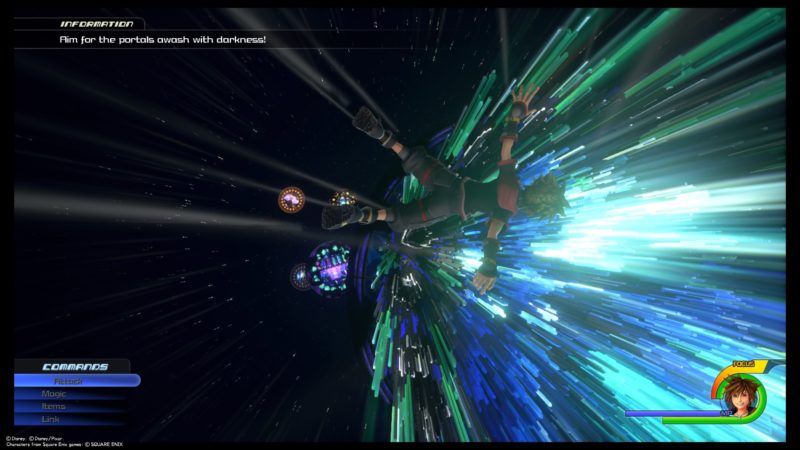
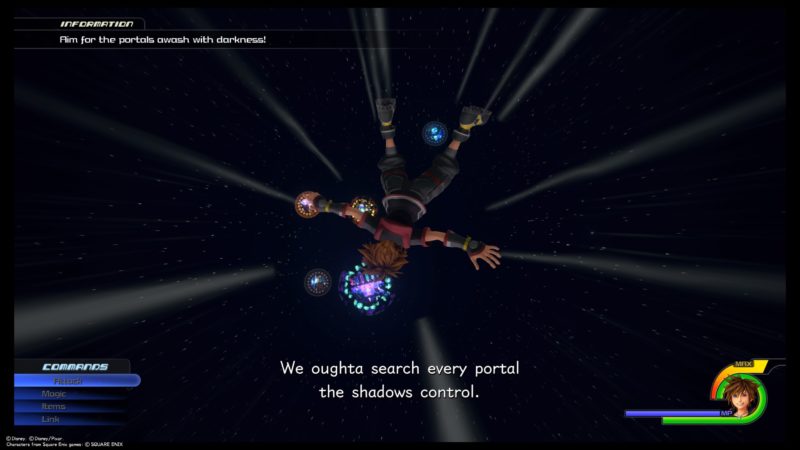
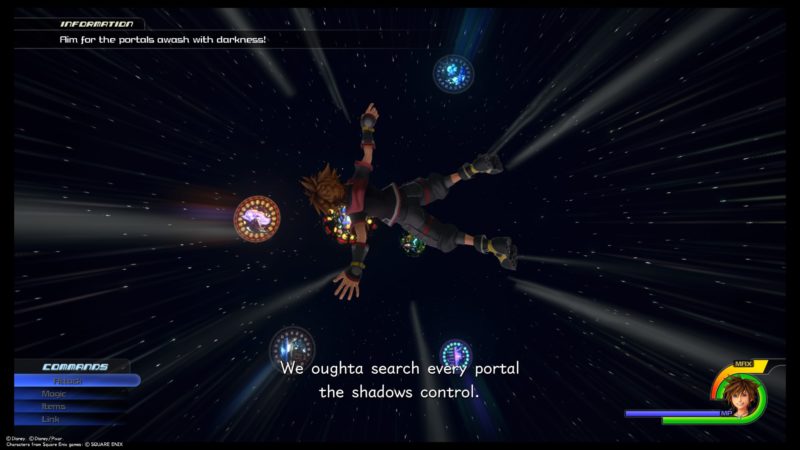
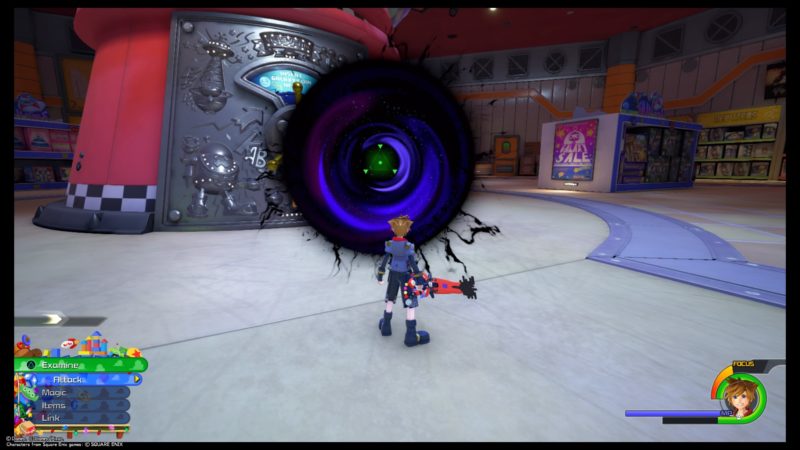
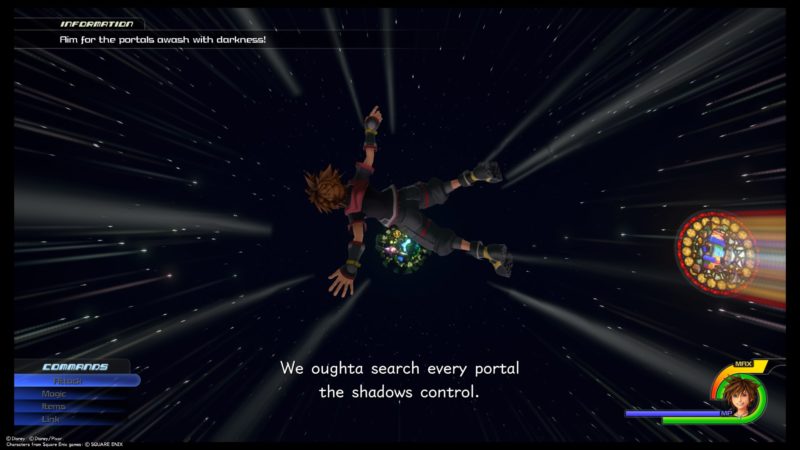
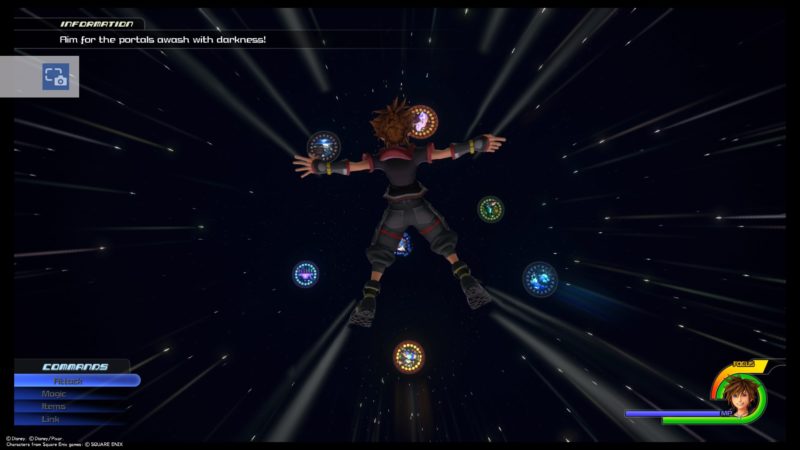
After getting back Riku’s heart, you will need to find the rest.
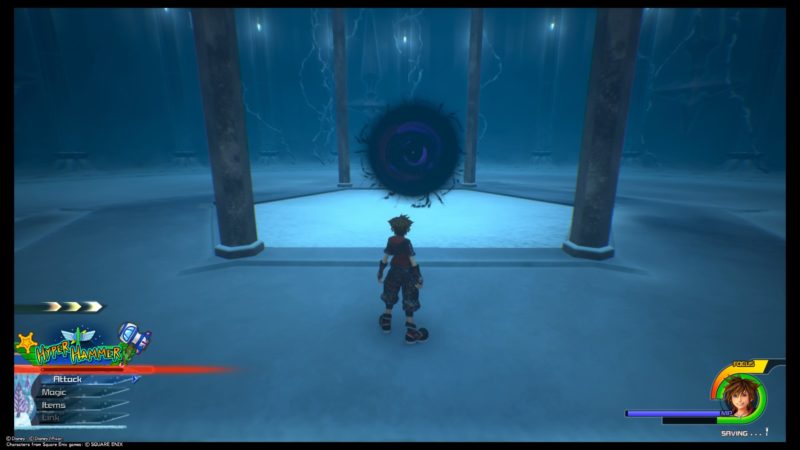
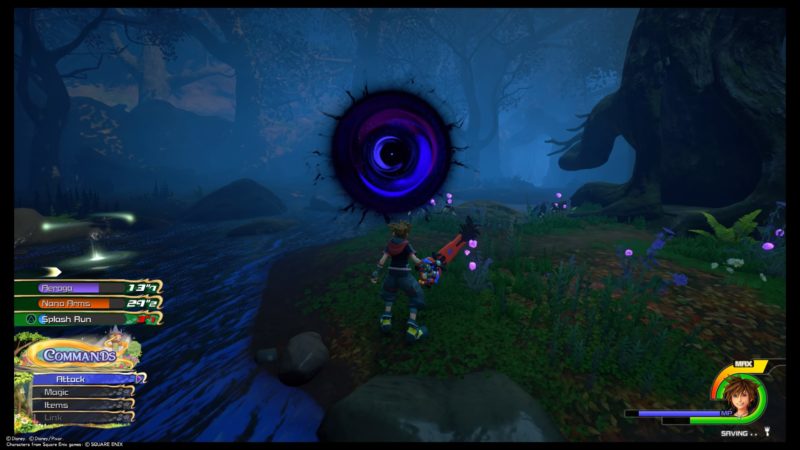
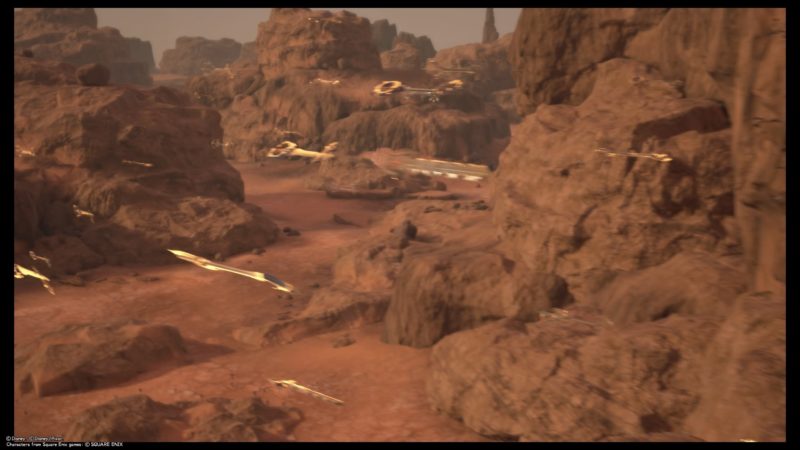
You will appear in a dark place falling down. Fly towards the first portal which is covered with darkness.
The Caribbean
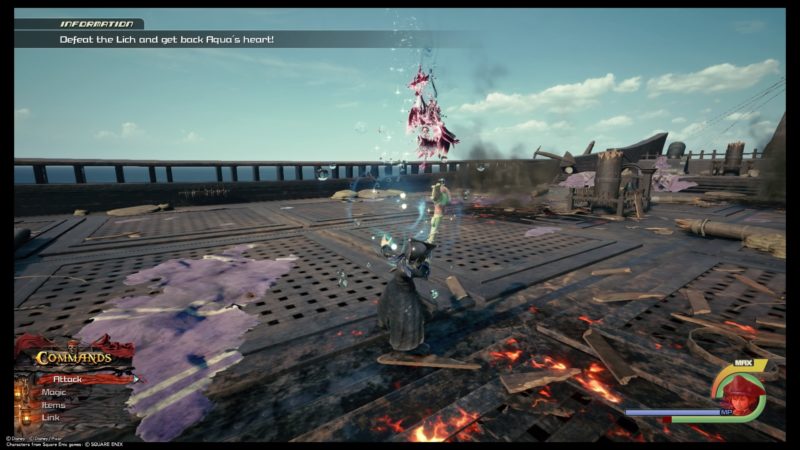
You will then appear in the Caribbean.
Once again, defeat the Lich to get Aqua’s heart.
Once you’ve defeated it, the Lich will get to another world.
Follow it to the portal.
Arendelle
Get to the next portal with darkness.
You will find yourself in the Labyrinth of Ice in Arendelle.
Defeat it again. You will get Goofy’s heart back.

Follow the portal again.
Monstropolis
Fly down the next portal.
You should reach Monstropolis this time.
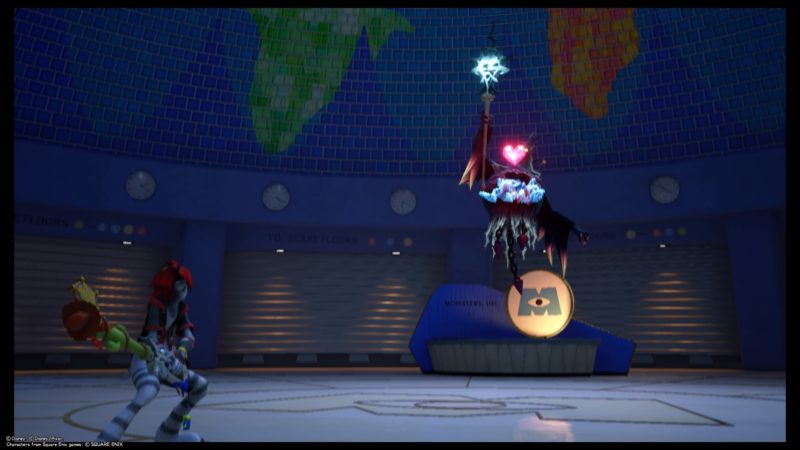
Just keep doing the same thing and get hearts back. Go to the portal to find the next world.
Toy Box
If you jump towards the nearest portal, you will find yourself in Toy Box.
Defeat the lich once again. There’ll be Heartless everywhere like in other worlds too, but you only need to defeat the lich.
Follow the portal.
Kingdom of Corona
Jump to the next and you’ll reach the Kingdom of Corona.
You will appear in the swampy area called the Marsh.
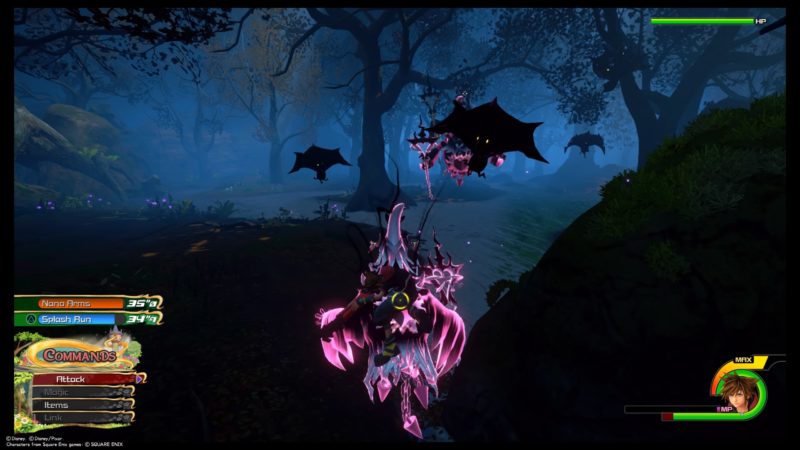
After defeating the lich, get back to the portal. It’s easier to defeat the lich if you use shotlock and airstep towards it.
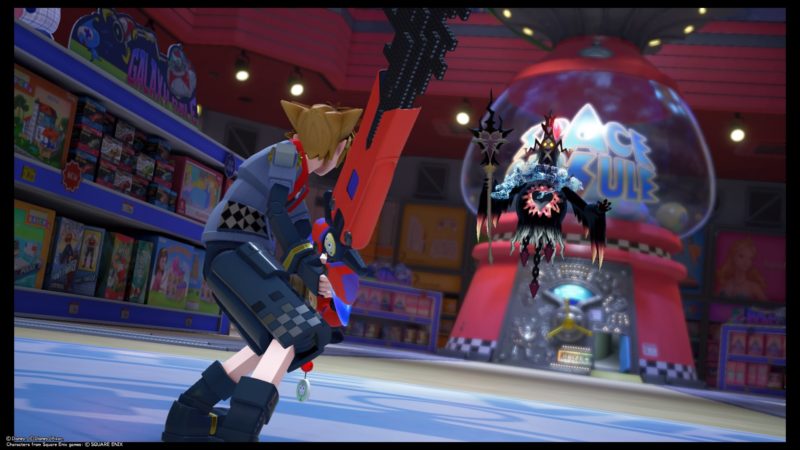
San Fransokyo
Your final portal should be San Fransokyo.
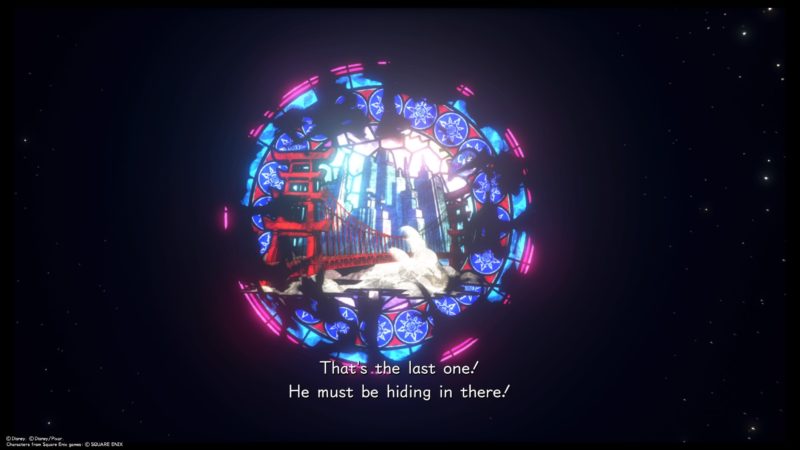
This time, the lich won’t get away.
Destroy it once and for all.
After some time, young Xehanort appears again and warns Sora that this is his end.
Xehanort then disappears.
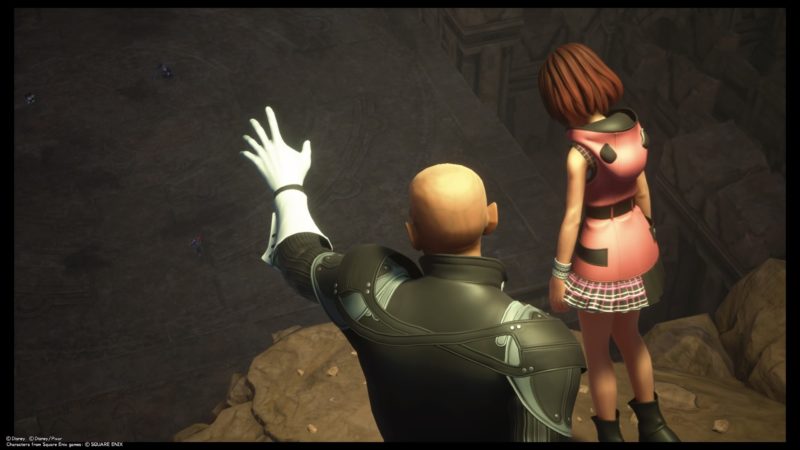
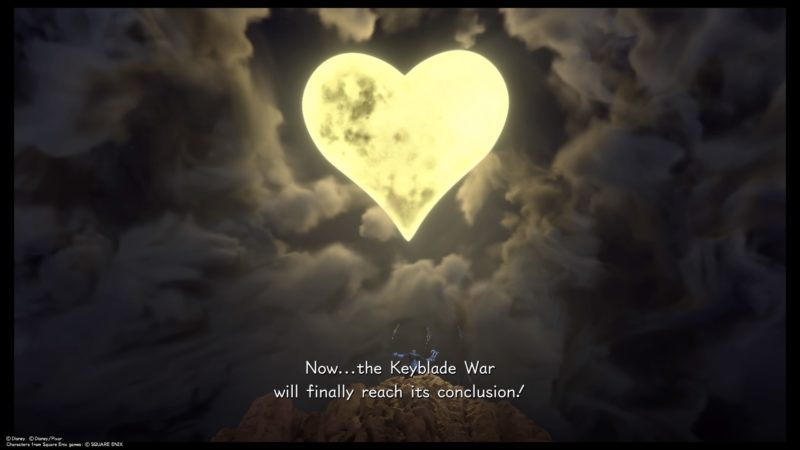
Sora will then get a call from Chip and Dale, saying that the Keyblade Graveyard is open again.

He will then find himself flying towards the light with Kairi.

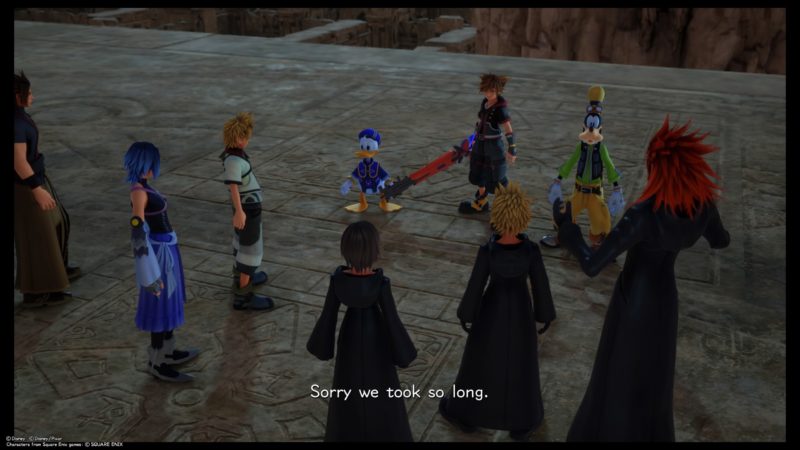
In the next scene, you will find yourself in the presence of everyone else, back when you first came here.
It’s like time reversed itself.
And thus begins the real Keyblade Graveyard introduction.
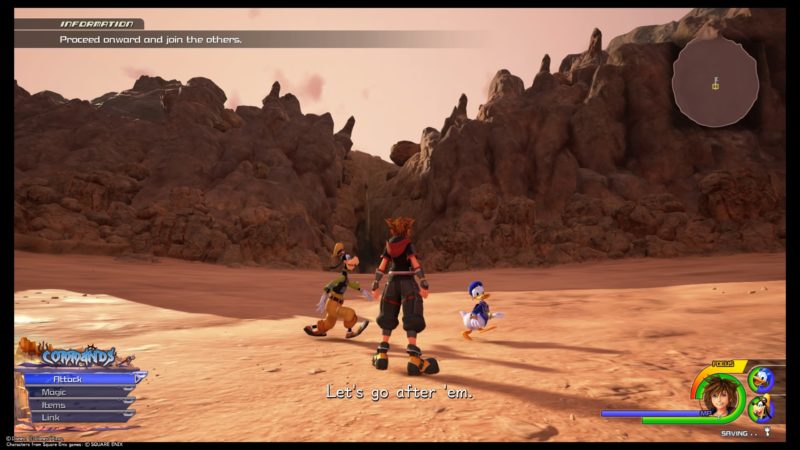
Proceed onward and join the others
Like earlier, keep going straight. You will find a save point.
Terra appears yet again.
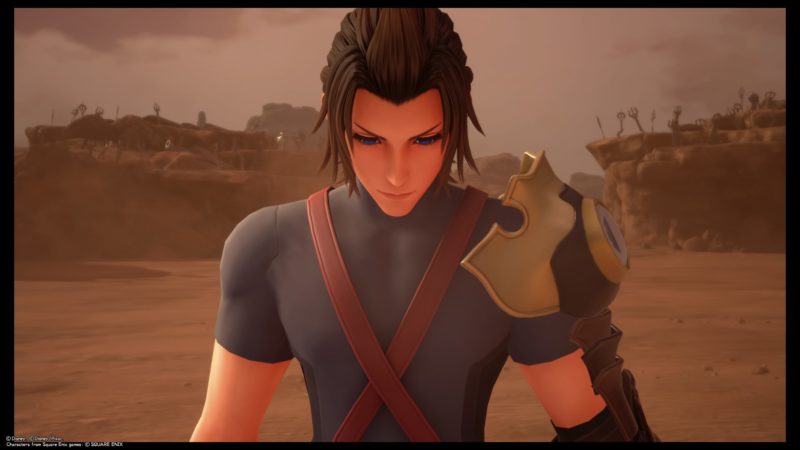
He makes the same attacking move like earlier, but this time, he is stopped by another Terra from the past.
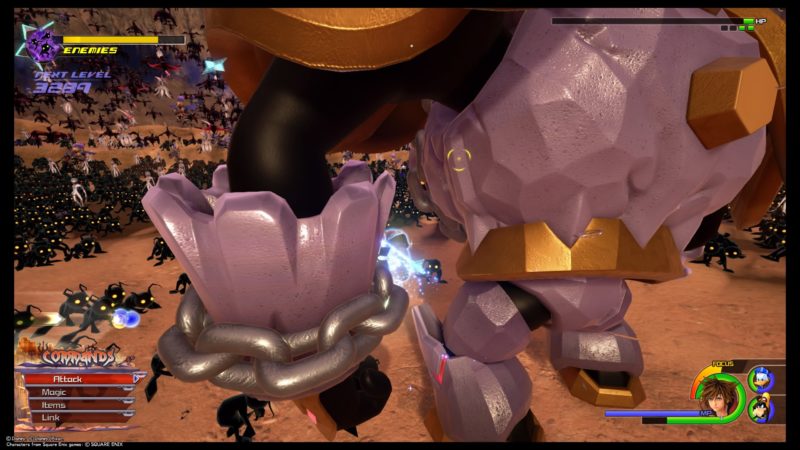
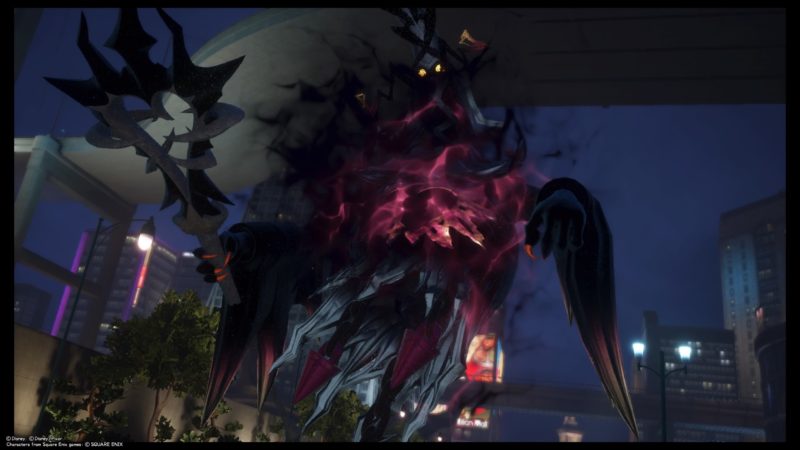
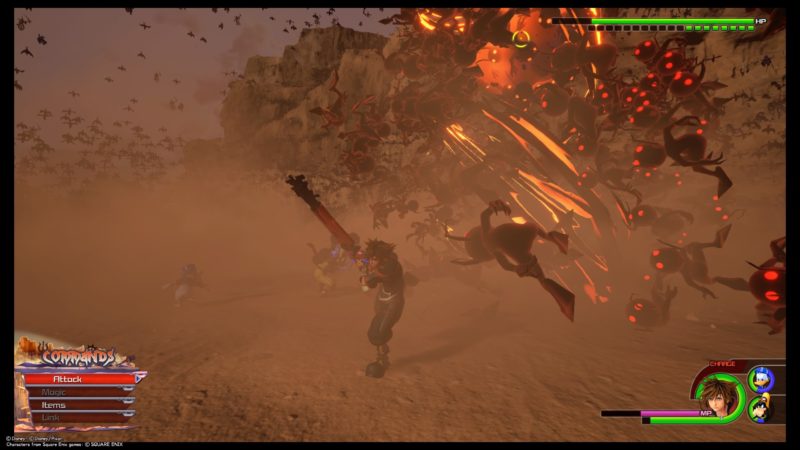
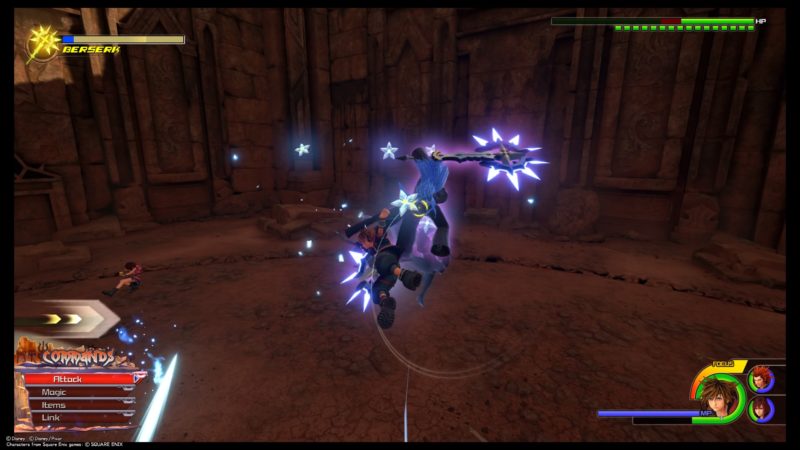
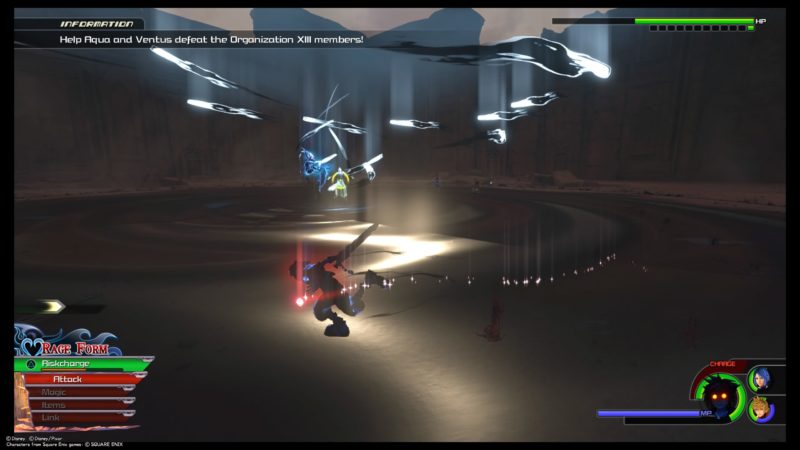
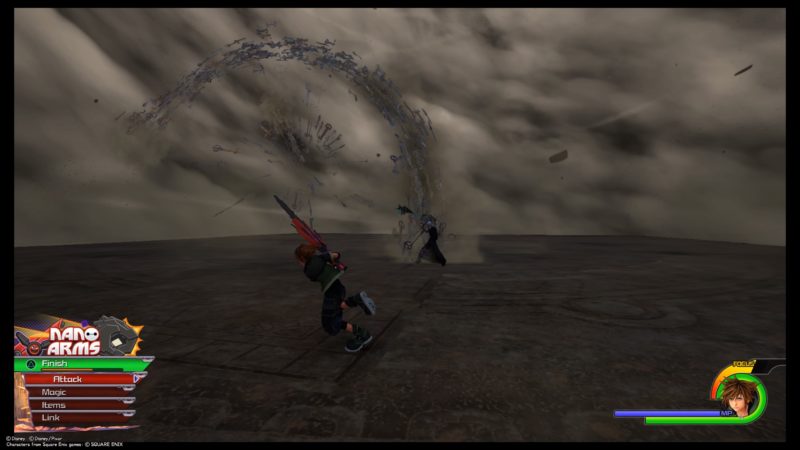
Defeat the Demon Tide
The huge swarm of Heartless is back again.
This part is quite difficult as the HP is really high with so many health bars. You need to aim at the front of it.
Try using more attraction flows to damage it.
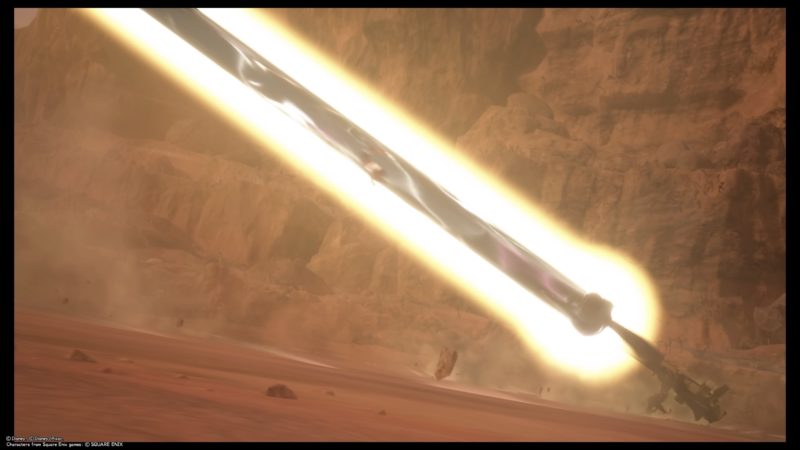
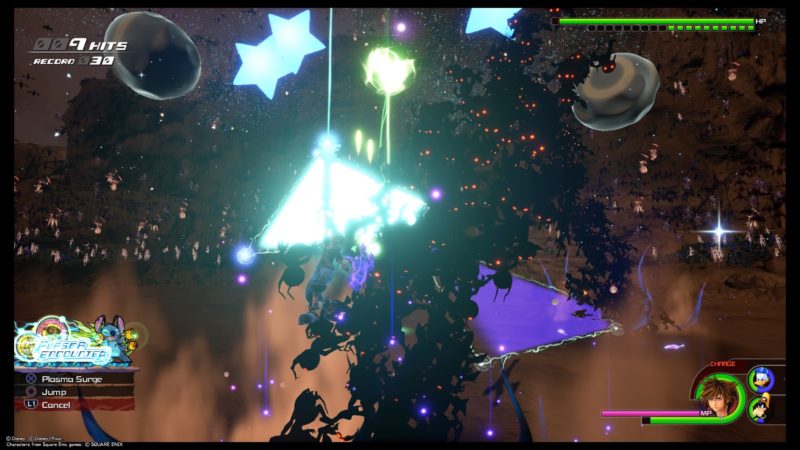
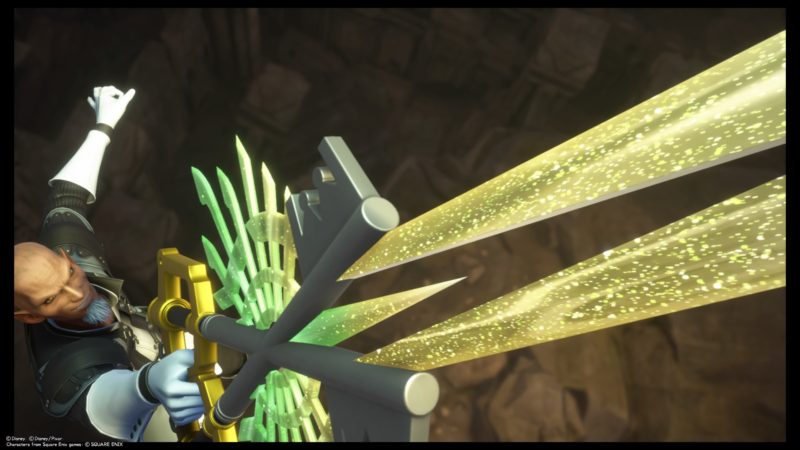
You can also use link commands whenever they appear, like this plasma attack.
The harder part is when it creates a tornado of Heartless and keeps the core inside it.
You need to get through the protection layer and attack its inside.
Sometimes the wall will damage you, so you may need to see the color of the tornado wall. I’m not too sure about this.
After defeating it, the swarm becomes bigger by forming a huge tornado. It sucks all of the Heartless from around this world.
Sora then gets a vision of someone who asks if they need help.
The keyblades from the past all came back to assist them.
They are called the Light of the Past.
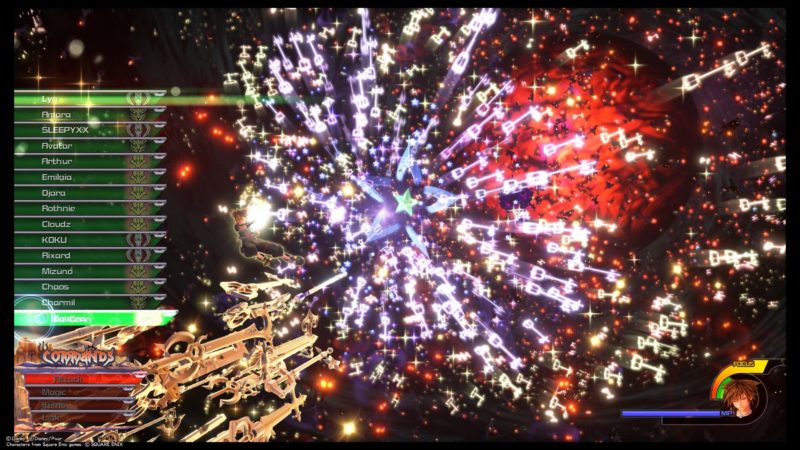
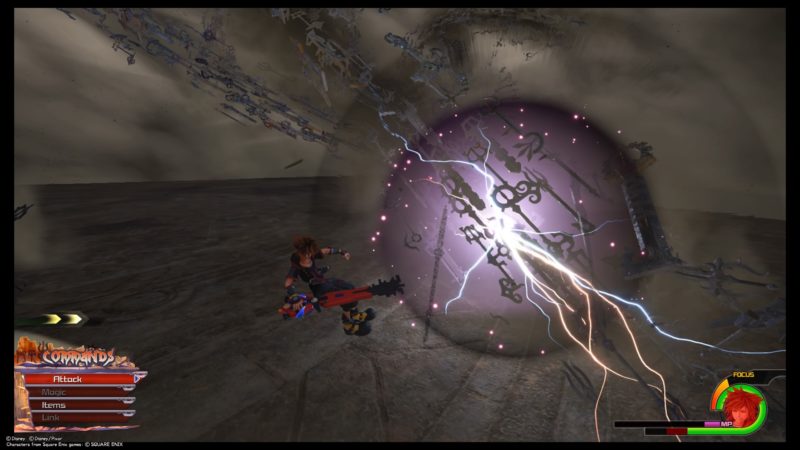
Destroy the mysterious legion
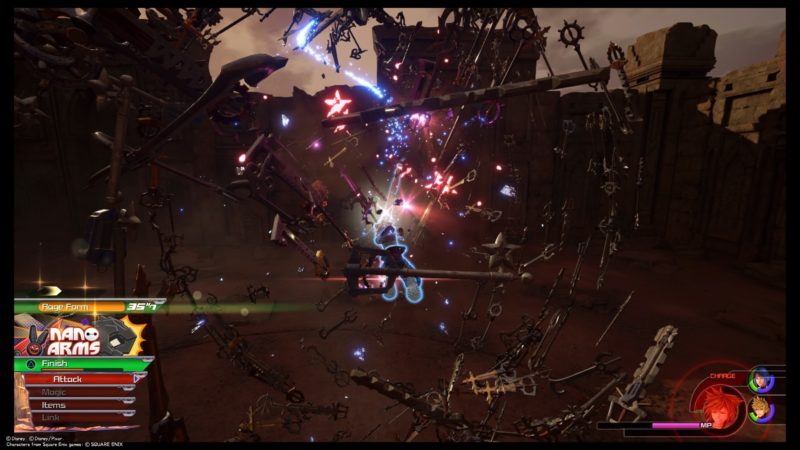
At this point, you just need to spam “Triangle” to attack the legion.
Each attack is a keyblade. I’m guessing the keyblade names are taken from other users who are playing this game.
Keep spamming as Sora gets closer to the legion.
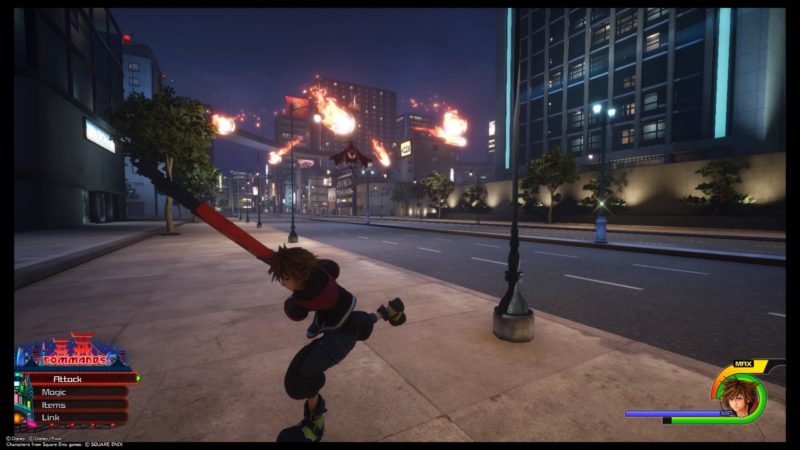
Avoid the enemies and spam attack
At one point, you need to avoid the fireball attacks. I didn’t know earlier so I almost died.
You can actually fly around to avoid them and at the same time, spam your keyblade attack.
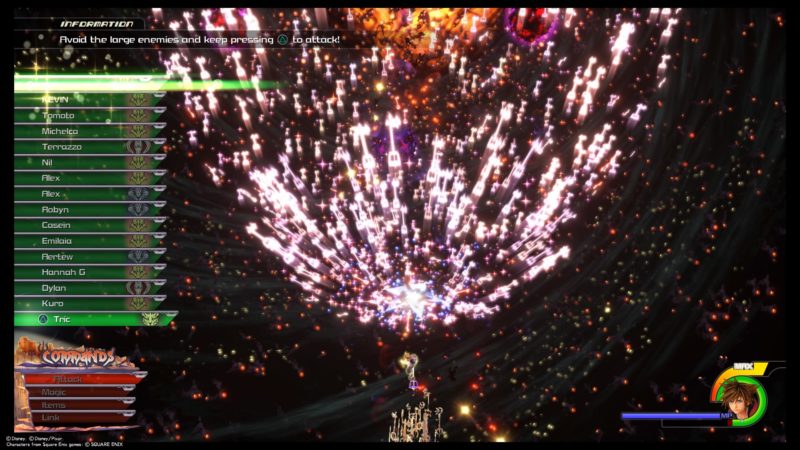
You can’t heal at this point, so you need to avoid as many as you can.
Keep spamming until you eventually win against the darkness.
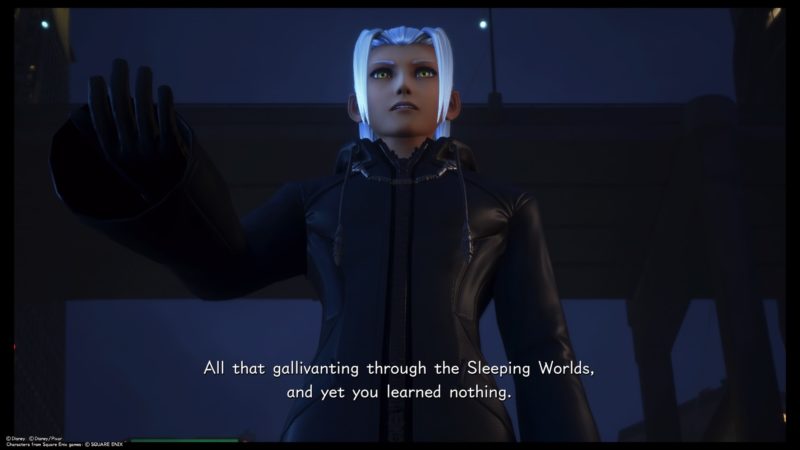
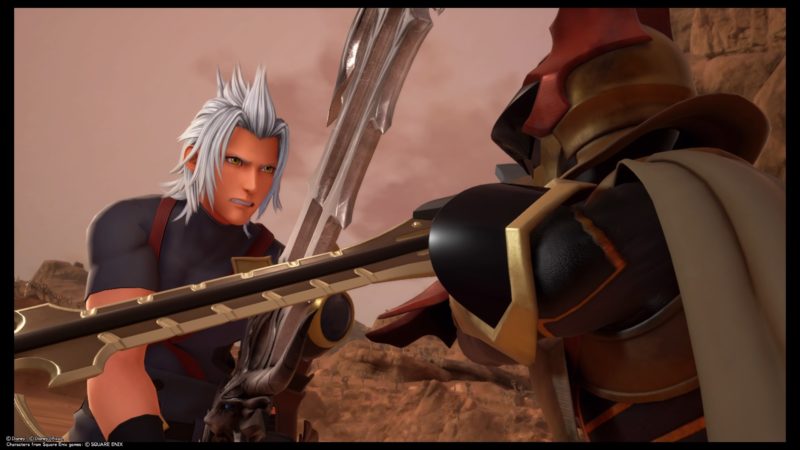
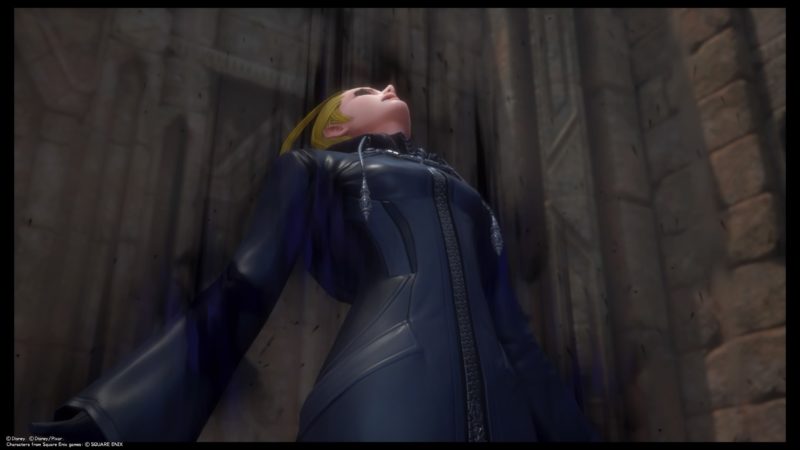
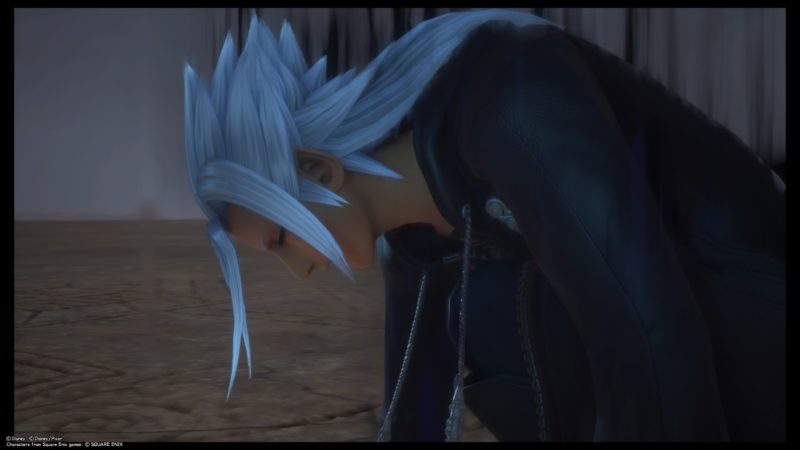
In the cutscene, evil Riku appears and creates another force of darkness.
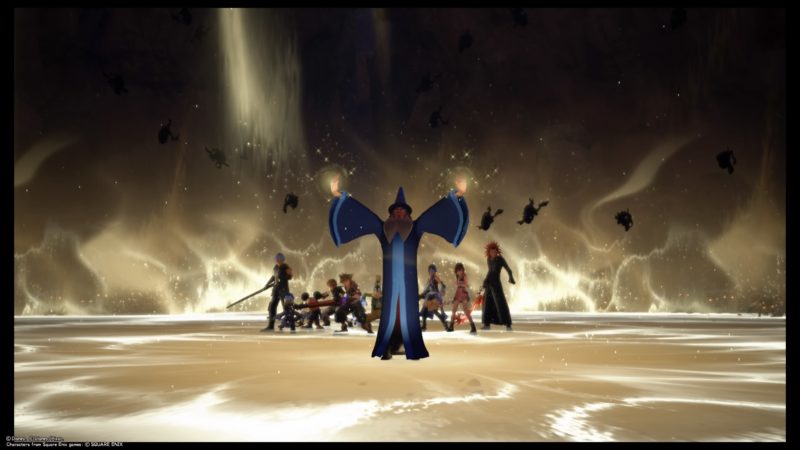
This time, Master Yen Sid appears and intervenes.
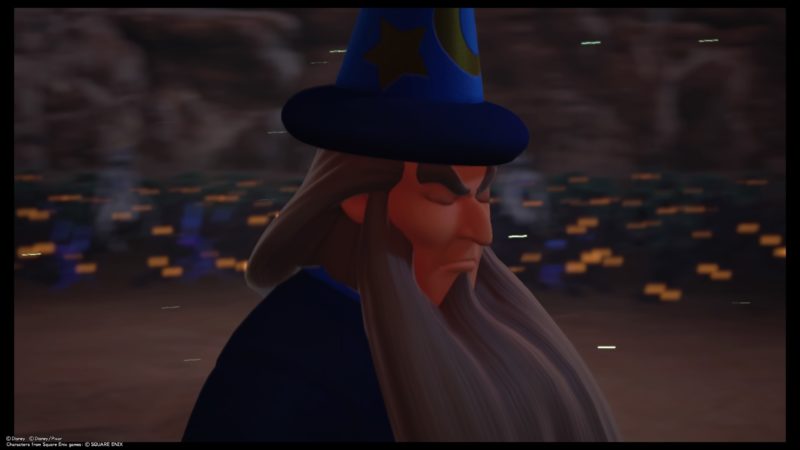
He uses his magic to create a pathway for the keyblade wielders to go through.
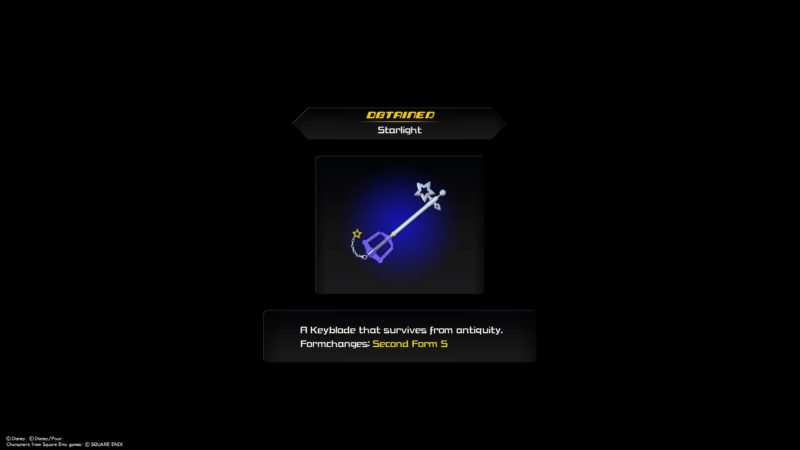
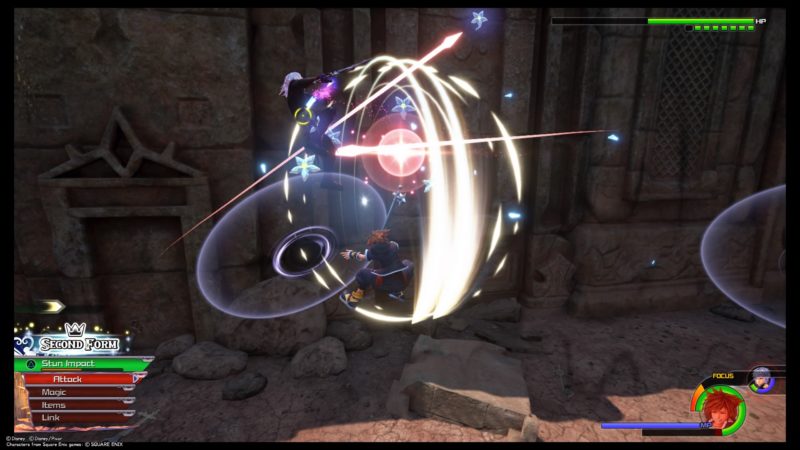
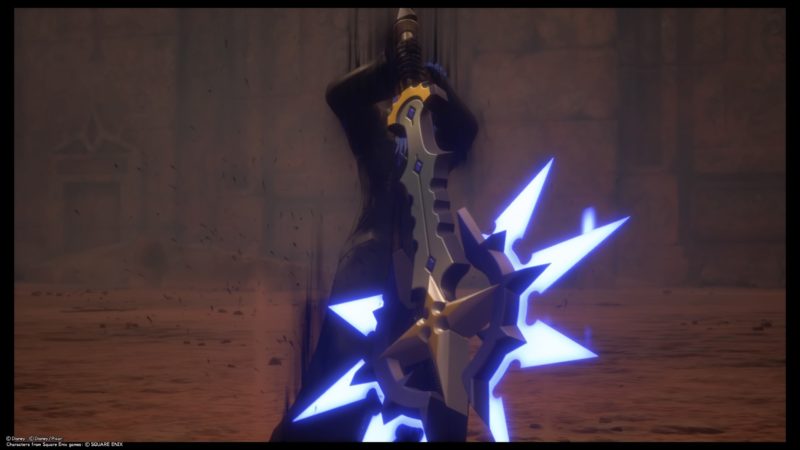
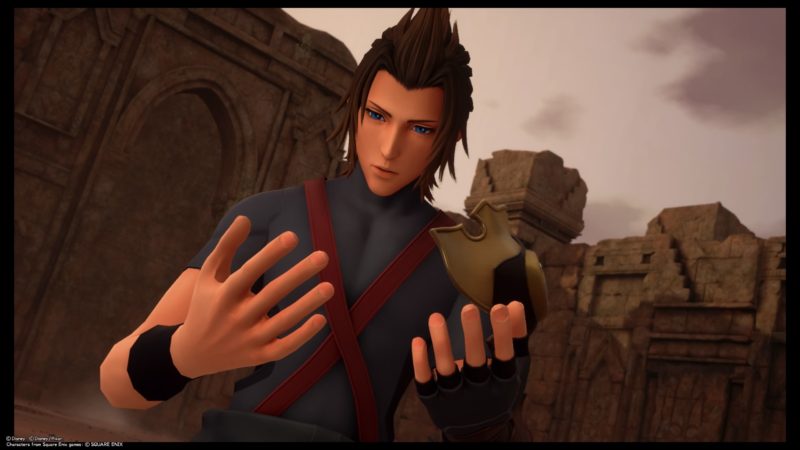
After this scene, you will get a new keyblade called Starlight. It looks similar to the Kingdom Key and the formchange is also Second Form.
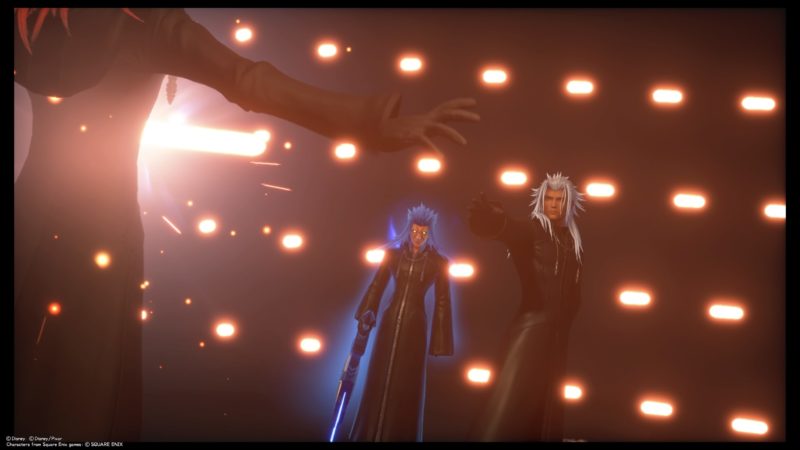
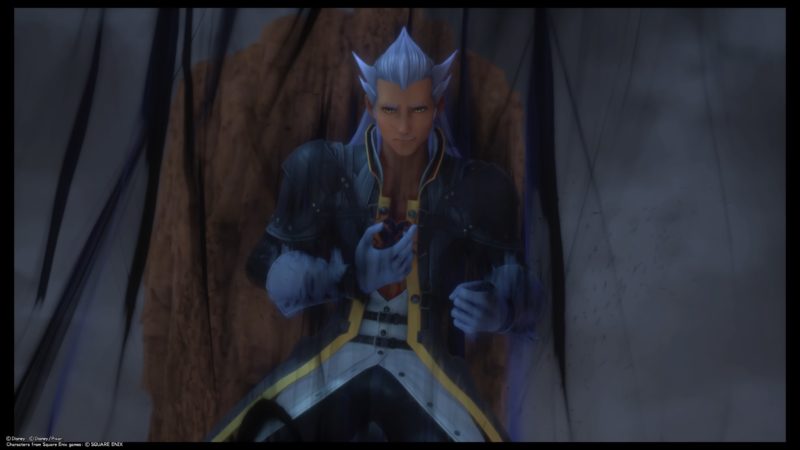
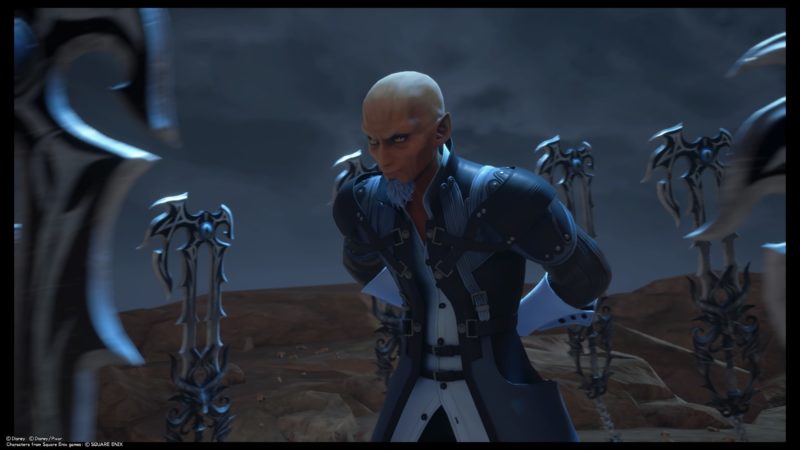
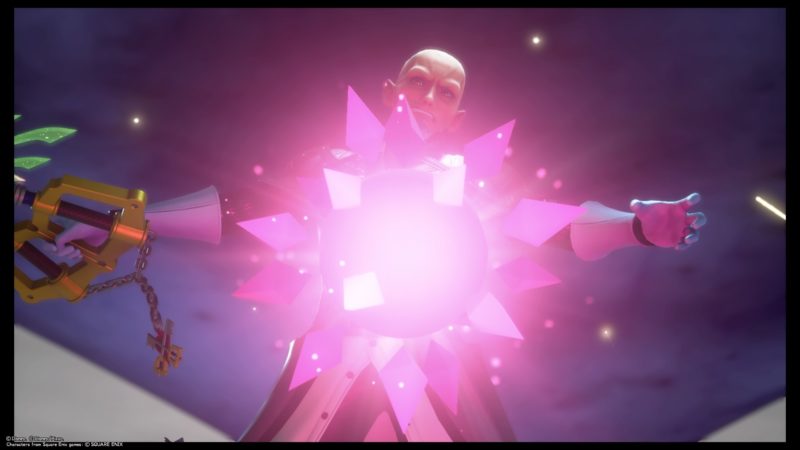
Next, you will find yourself meeting all of the members of the Organization 13.
Xehanort then uses his power to create huge walls around, which transforms the place into a fort.
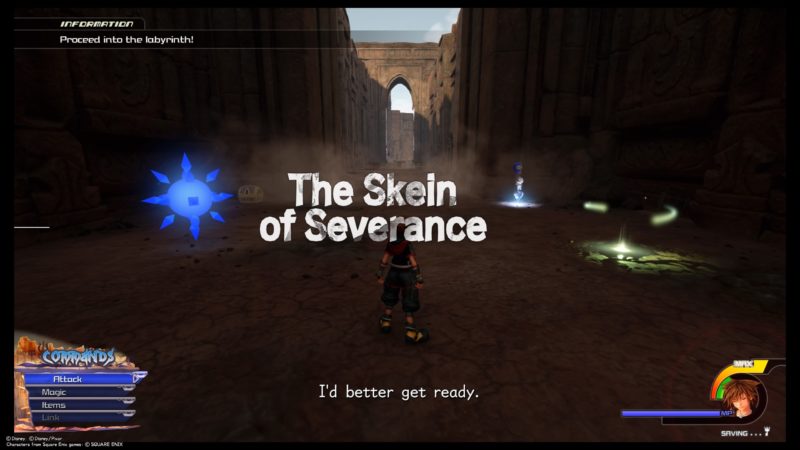
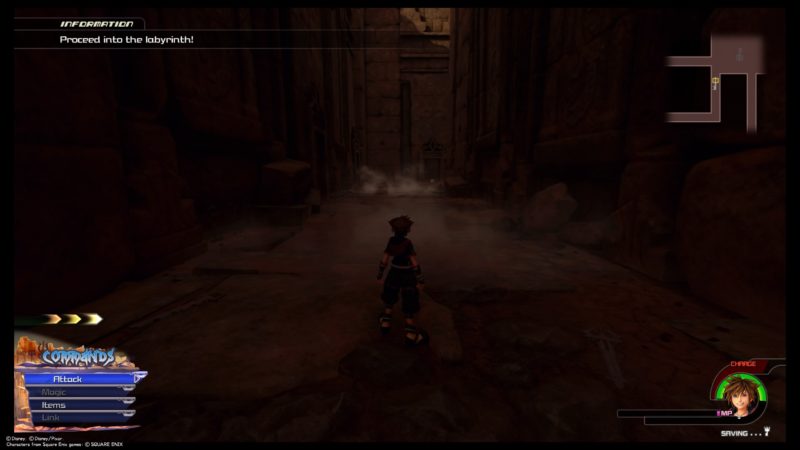
The Skein of Severance
And thus begins the next part, i.e. The Skein of Severance.
This part is mainly just battles with other Organization members. You won’t find any Heartless here.
You may want to save the game first. Remember to get a Kupo coin for resurrection and stock up on potions.
You’ll definitely need them.
Just nearby, there’s a treasure chest with a map of the place.
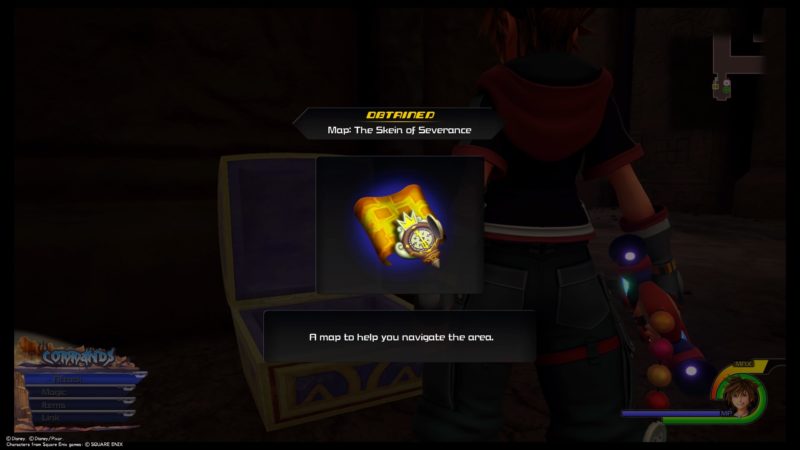
You will also unlock the Battlegates feature. It can be used to teleport you to a place where you can fight against adversaries.
It helps you get experience points and other qualities if you win.

Proceed further
Walk ahead and you will find yourself with two options.
Each pathway leads to a different battle. You just have to choose which one first.
One side has Mickey and the other has Riku.
Reach Riku before the door closes
If you choose Riku first, you need to rush to the door before the time is up.
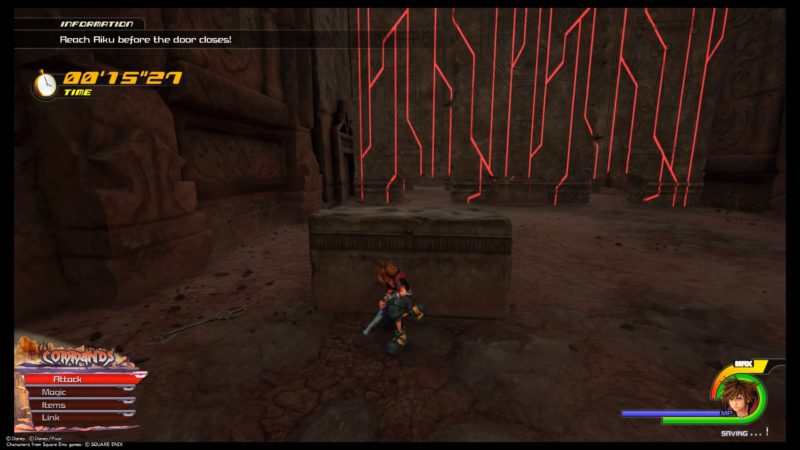
There’ll be walls moving towards you, and you need to keep moving forward and hiding in cover behind the barriers.
Get towards the door quickly.

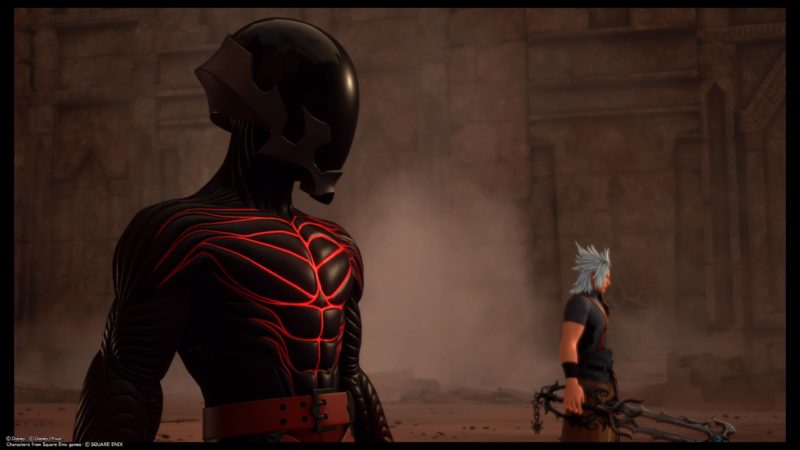
Defeat evil Riku and Xigbar
After entering the room, you will find Xemnas, evil Riku and Xigbar inside.
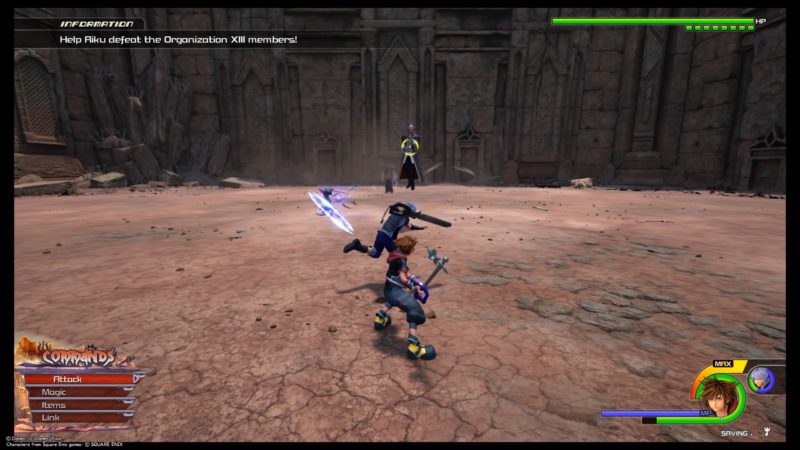
Xemnas will run away after a short fight.
This means you mainly have to fight Riku and Xigbar at this point.
As it’s a 2 on 2 battle, it can get annoying. They all have flashy attacks that are hard to avoid.
Just keep avoiding and countering as much as you can.
Use attraction flows and link commands whenever you have them.

After evil Riku loses, the other Riku inside good Riku’s body comes out and grabs the evil Riku away. Confusing huh?
This means the evil Riku leaves behind a vessel which can be used to save Namine from The Final World.
Once Riku is down, go after Xigbar.
After he’s defeated, he teleports up on the fort and eventually falls far down, but they didn’t show that he perished.
Once you’re done, get to the next area.
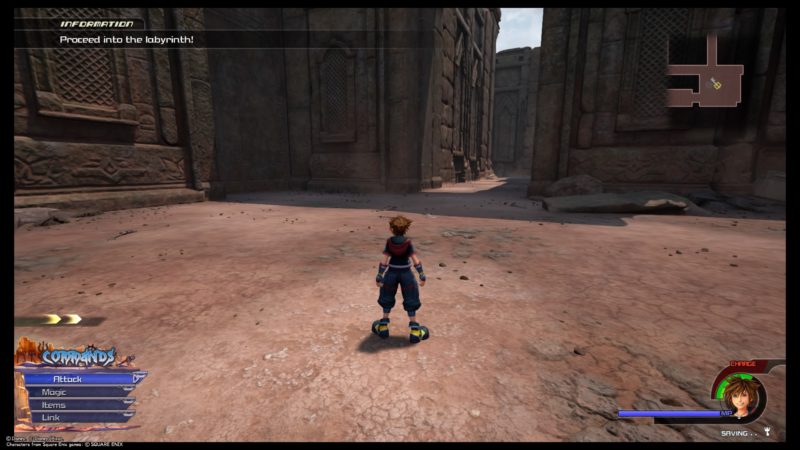
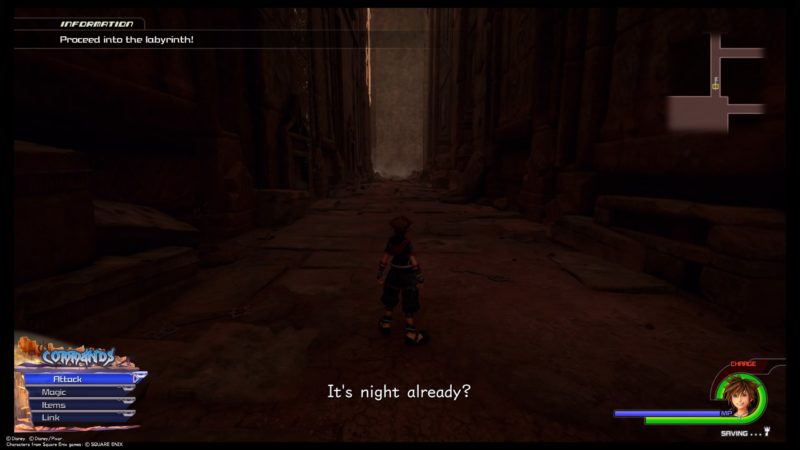
Proceed further into the labyrinth
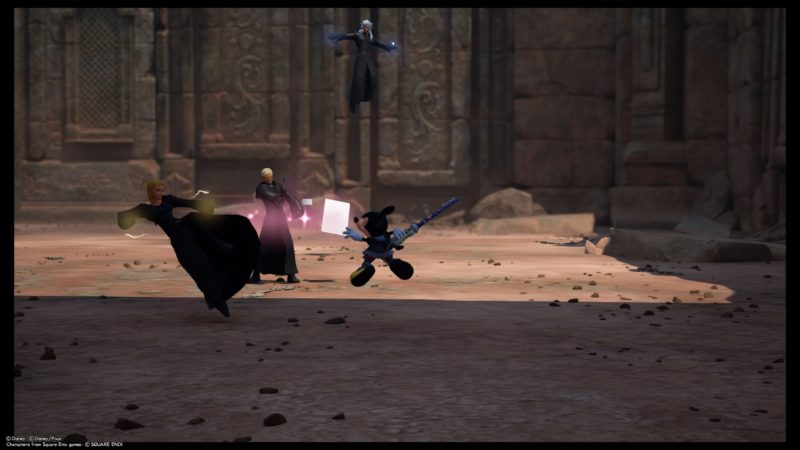
You now will have to help King Mickey.

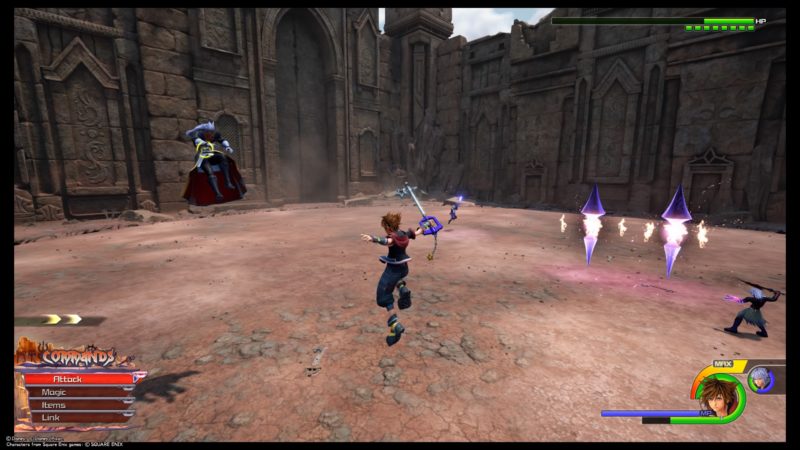
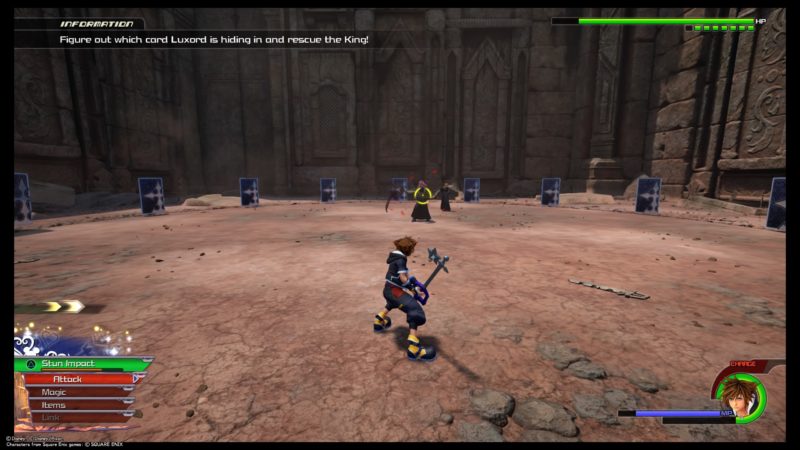
Help the King defeat Luxord, Larxene and Marluxia
This part is harder because there are three of them, which makes it more annoying.
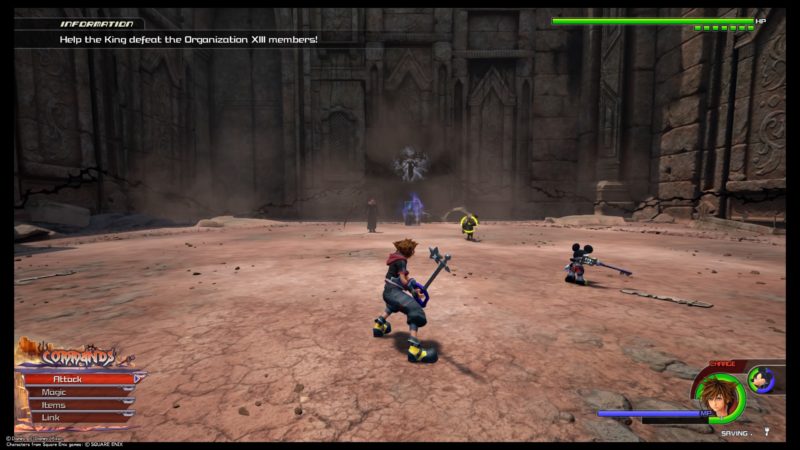
Just keep attacking them individually by shotlocking or together by using AoE attacks.
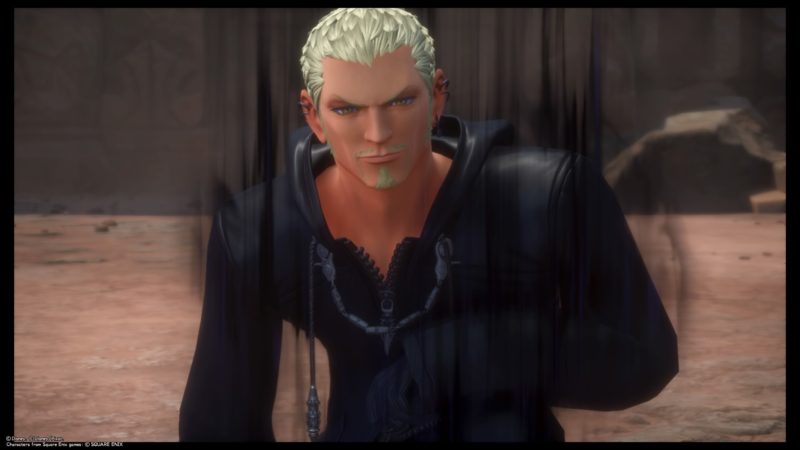
After awhile, Xemnas appears and gives Luxord some sort of power.
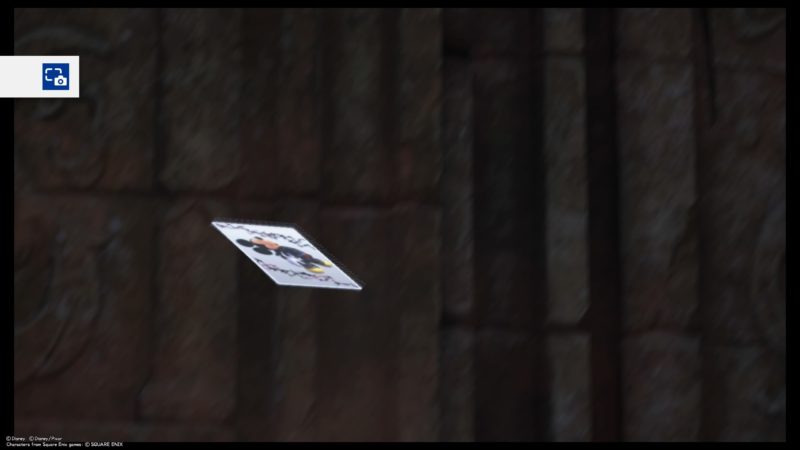
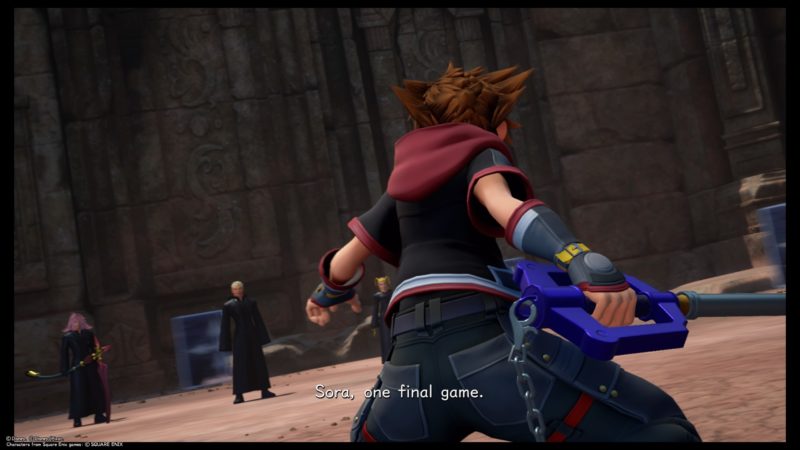
Luxord then proposes to play a game.
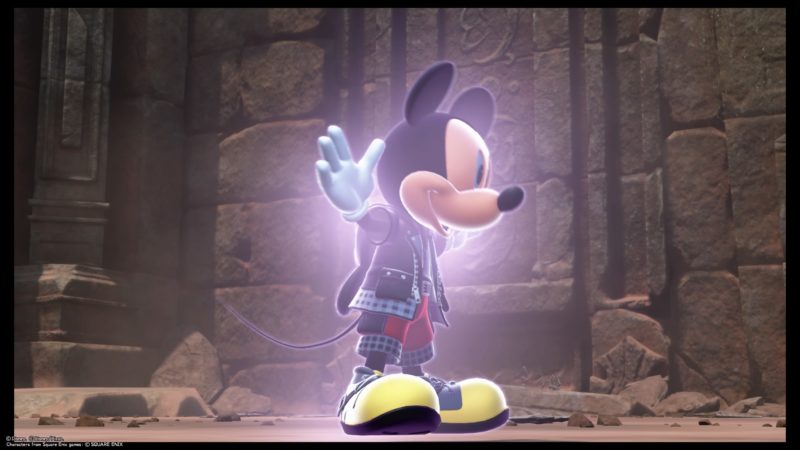
He uses a magic card and traps Mickey inside.
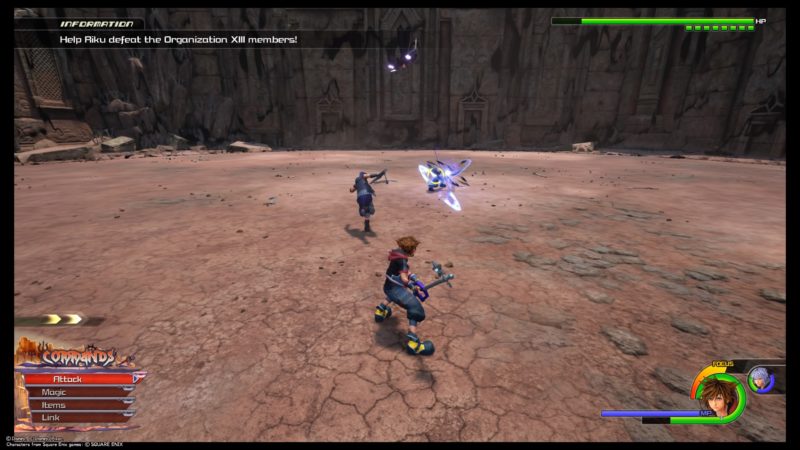
Defeat Luxord by finding him in the cards
This part isn’t that difficult if you just keep avoiding the other two Organization members.
Sora will be surrounded by huge moving cards. To find Luxord, just destroy the cards by hitting it or with magic.
After destroying the right card, Luxord appears, but he is vulnerable.
Just keep attacking him. His health isn’t so high as well.
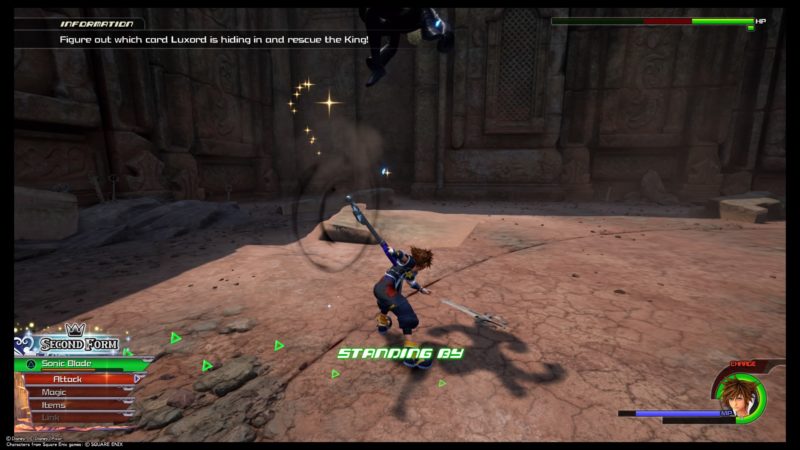
He will hide in the cards a few times before you eventually defeat him.
King Mickey comes back.
Defeat the remaining Larxene and Marluxia
Marluxia can be pretty annoying with his scythe attacks. His attack is like a rolling blade. You have to avoid it or you get combo-ed.

After both Larxene and Marluxia loses, they will perish.
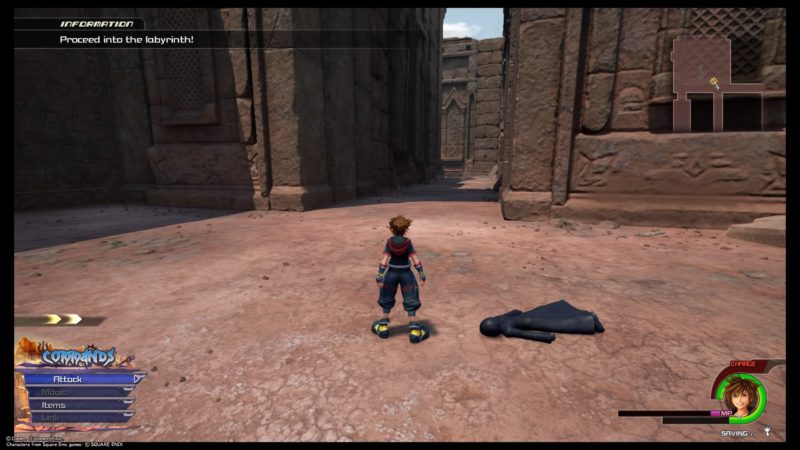
Proceed into the labyrinth
Keep going further.
Get through the doors
You will reach an area with orange, red, green and blue symbols on the floor and on the walls. Stepping on each color will activate the corresponding wall.
You need to use the gliding skill that you learned in Keyblade Graveyard.
After stepping on certain colors, glide so that you don’t step on them again, and activate other colors.
Keep doing that until you find a way out. You will find a save point on the other side as well.
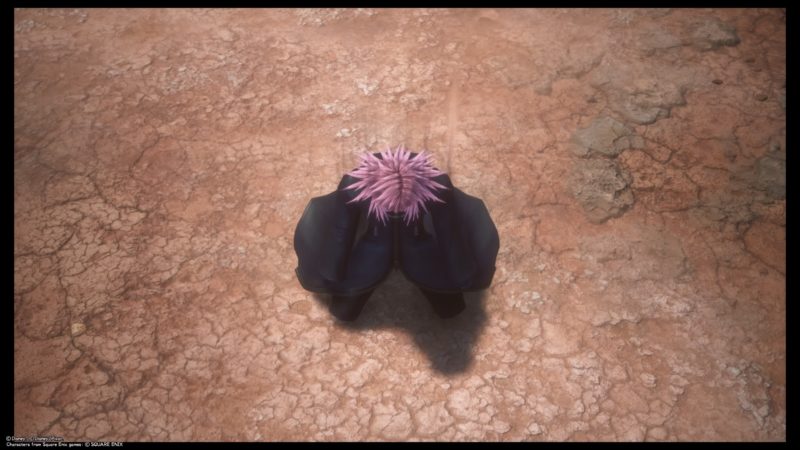
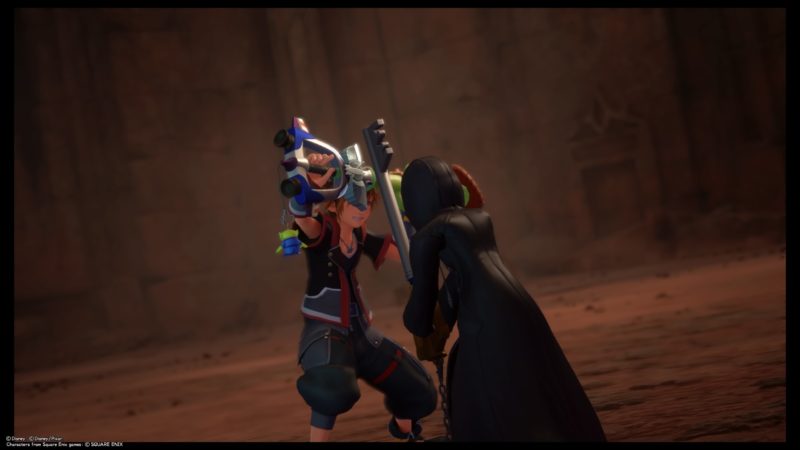
Defeat Saix and Xion or Terra and Vanitas
You will find Kairi and Axel in one room, and Ventus and Aqua in another.
Choose one first.
Reach Kairi and Axel before the door closes
I chose Kairi first.
Once again, you need to get to them before the door closes or you will fail. If you do fail, you can retry from this point.
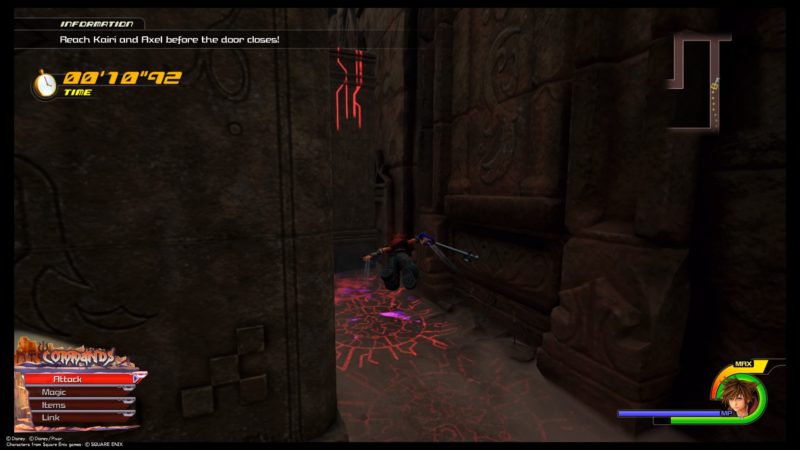
Keep gliding towards the door before the timer is over, and avoid the walls while doing so.

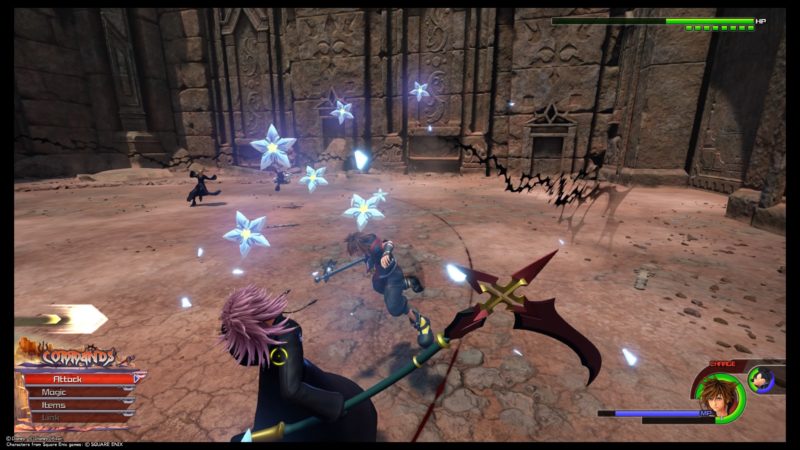
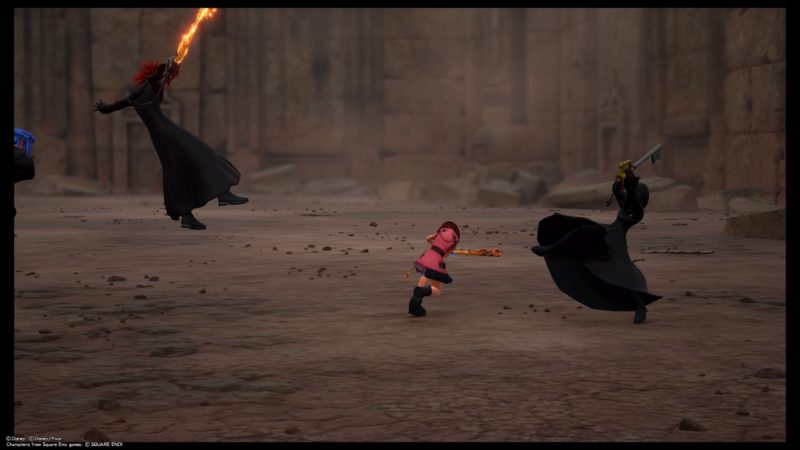
Defeat Saix and Xion
You will fight alongside Axel and Kairi.
Saix is really strong as he went berserk. He also has many health bars.
Xemnas appears in a cutscene and eliminates Axel. The latter loses his keyblade.
The girl under the hoodie turns out to be Xion.
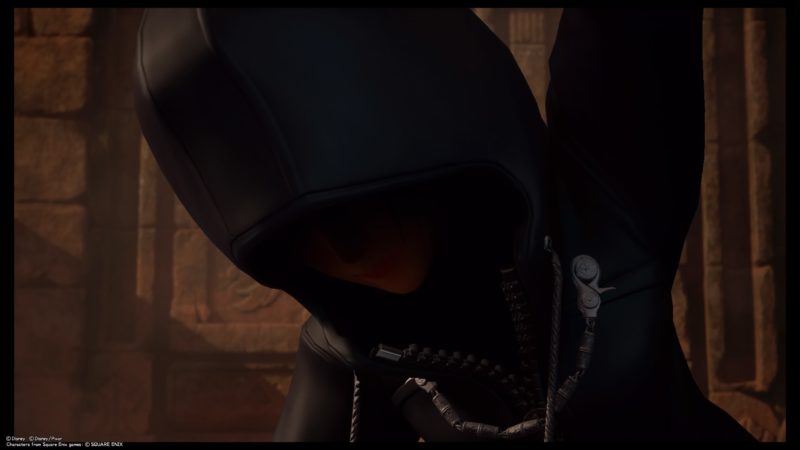
She then chooses not to fight against Sora.
As Xemnas is about to eliminate Xion as well, Roxas in Sora’s heart woke up, and defends them.
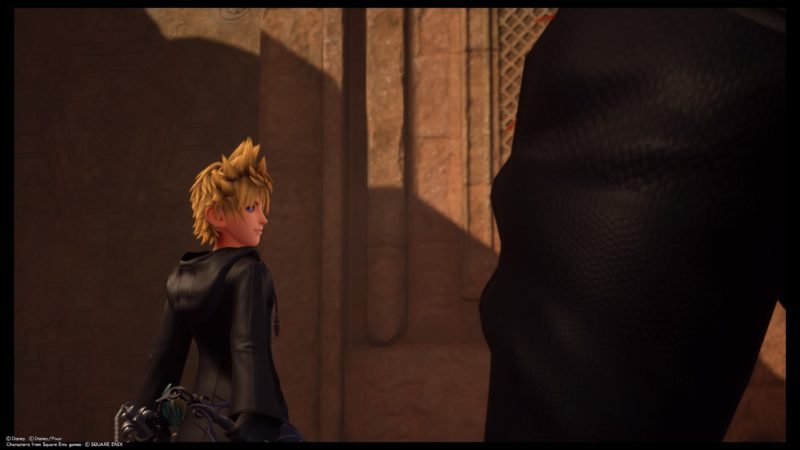
Xemnas feels betrayed, and he takes Kairi away. Now, Xion will fight alongside you guys.
Defeat Saix
This match is not easy. On berserk mode, he attacks continuously and pretty quickly.
You will have Roxas on your side.
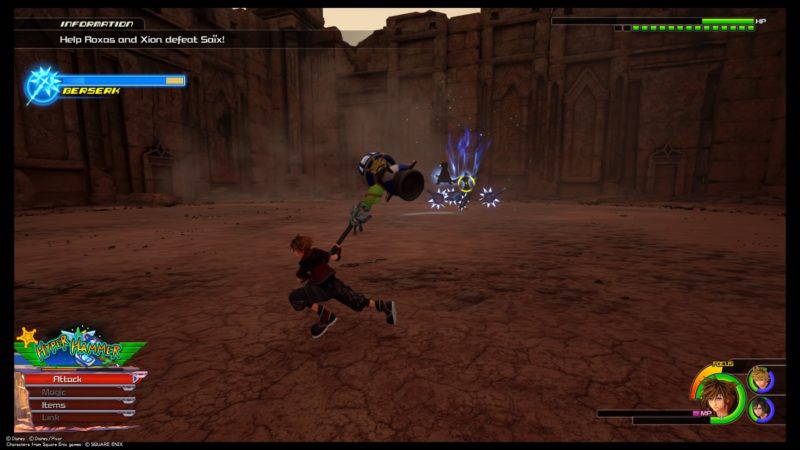
You need to find a way to intervene and attack him.
After he loses, he perishes for now.
Proceed into the labyrinth
Now, walk towards the next area.
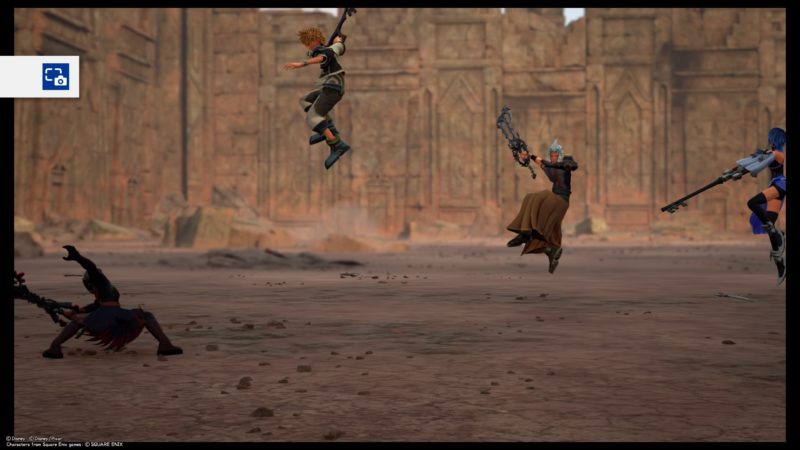
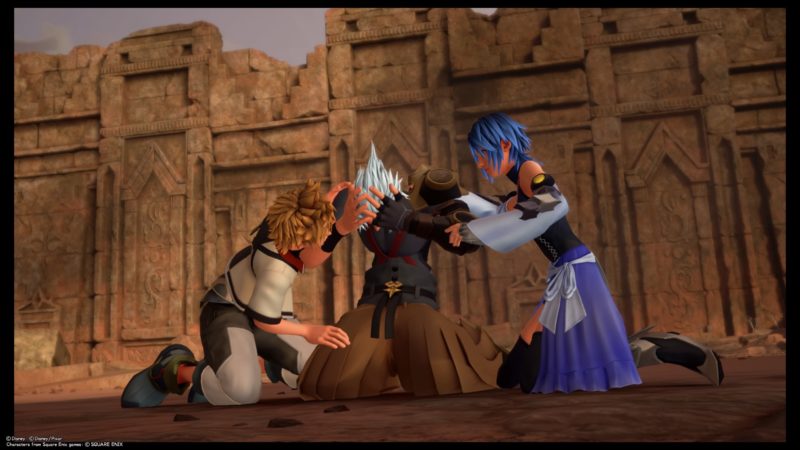
Defeat Vanitas and Terra
You will find Vanitas and Terra in this room. Aqua and Ventus will fight alongside you.
You have fought Vanitas before, so his moves are more predictable.
Terra is pretty powerful.
At one point, plenty of keyblades will be used as protection. Remember to use rage form if you almost die.
Just keep fighting against them like you do in other rooms. I personally can’t remember their skills.
It shouldn’t be too difficult at this point.
After Vanitas loses, he disappears.
Now, continue battling against Terra.
After Terra loses, there’ll be a cutscene again.
This time, he uses chains and traps all three (Sora, Ventus and Aqua).
A heartless then shows up and attacks Terra. Apparently he is the real Terra.
After evil Terra loses, the Heartless then enters into the evil Terra’s vessel. The real Terra is now back.
Proceed into the labyrinth
Continue on your journey up.
Climb up the wall.

You will now reach the final members of the Organization. Riku and King Mickey is also here.
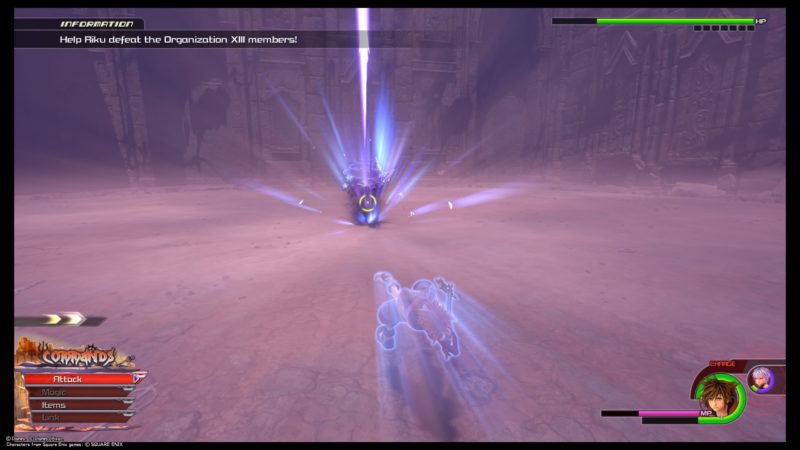
Help Riku and the King defeat Xemnas, young Xehanort and Ansem
This time, you need to defeat the three top ranking members of the Organization.
The fight is not easy at all, as three of them can attack at the same time.
They usually summon a tornado where they disappear and keyblades come and attack you.
You can only dodge at this point, since they are not in the area. Try to dodge as much as possible.

Also, remember to keep checking your health. Heal yourself with Curaga or some potions.
Also remember to equip yourself with a Kupo coin.
Use attraction flows and link commands when necessary to reduce damage sustained.
After defeating each member, they will perish like the rest.
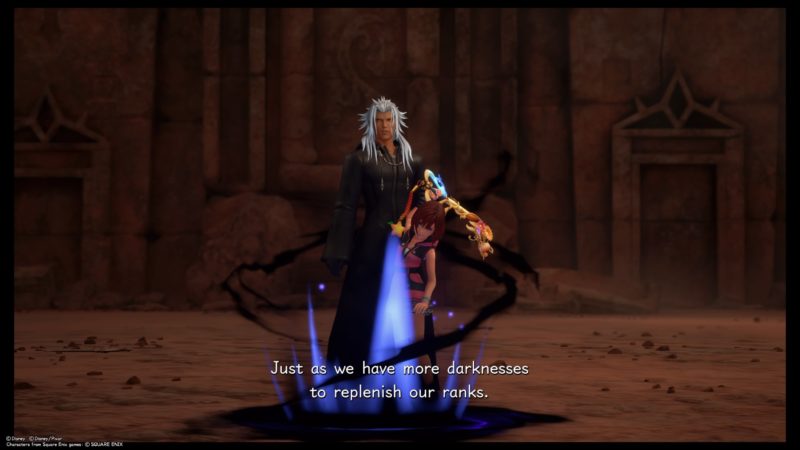
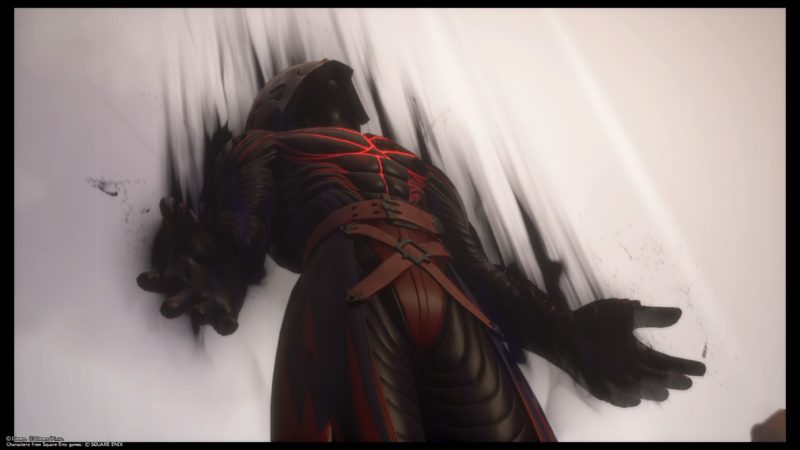
When you’re done with all three members (Xehanort, Ansem and Xemnas), the present Xehanort will have 12 keyblades with him.
He only needs one more keyblade to form the X Blade. He then summons Kairi and destroys her to get the last remaining keyblade.
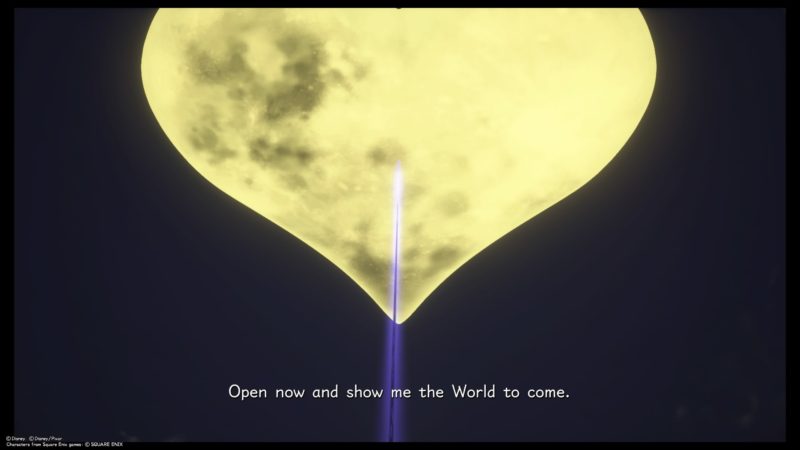
After getting 13 keyblades, Xehanort opens the Kingdom Hearts with the X Blade.
He then turns it into darkness.
At this point, the other members are now reunited to close the Kingdom Hearts and defeat old Xehanort.
Sora, Donald and Goofy will volunteer to stop Xehanort.
The entire group then uses their light power towards the Kingdom Hearts and Xehanort.
As Xehanort’s body is like a time portal itself, Sora uses it to bring Xehanort and himself to another world.
And this is the end of The Skein of Severance.
The next part is the final boss fight, which will be covered in another post.
Hopefully this walkthrough and guide of Keyblade Graveyard and The Skein of Severance has been useful.
Next part: Scala Ad Caelum Walkthrough (Final Boss Battle)
Related articles:
Kingdom Hearts 3: Best Keyblades For Sora
Land Of Departure (Walkthrough And Story) – KH3
Kingdom Hearts 3 Arendelle – All Lucky Emblem Locations
Kingdom Hearts 3: Monstropolis (Walkthrough And Guide)
San Fransokyo (Walkthrough And Guide) – KH3