The Caribbean is the seventh world that you will have to explore in Kingdom Hearts 3.
As the name suggests, it’s based on the popular Pirates of the Caribbean series, particularly At World’s End.
Here’s a walkthrough and guide of The Caribbean in KH3.

The story begins with Sora, Goofy and Donald sailing on a ship. Unfortunately, the ship fell down the edge of the water and they appeared in Davy Jones’ Locker.
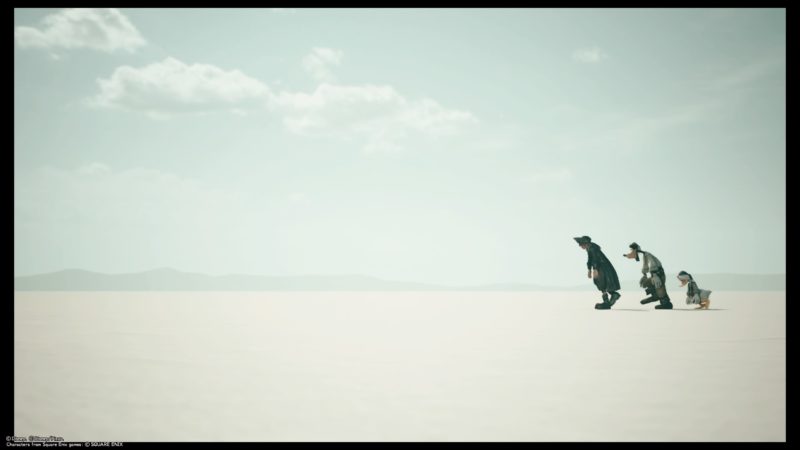
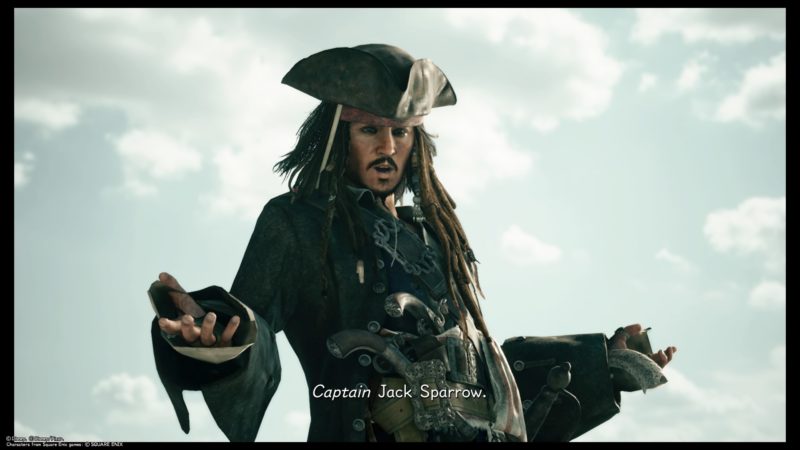
Not long after, they met Jack Sparrow who is chasing after the Black Pearl.
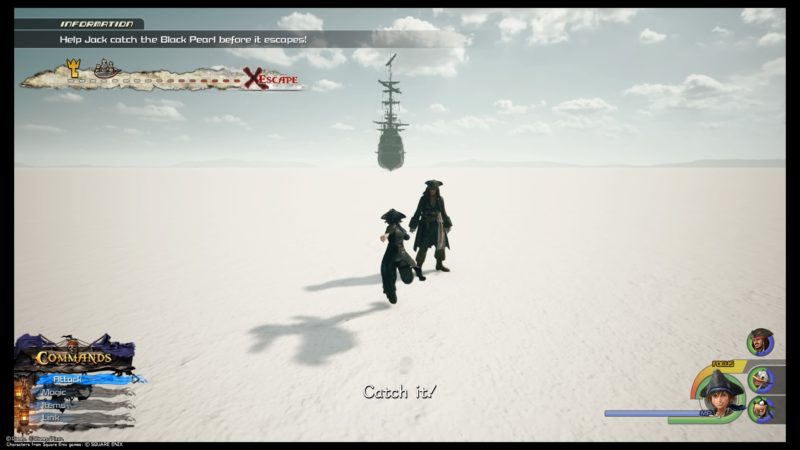
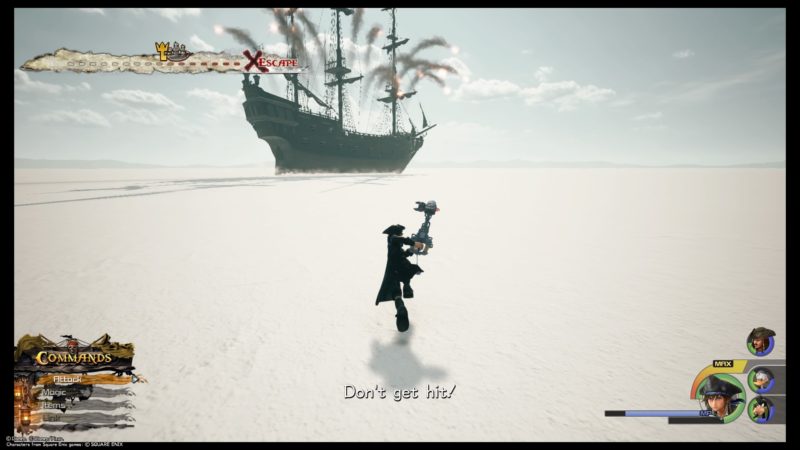
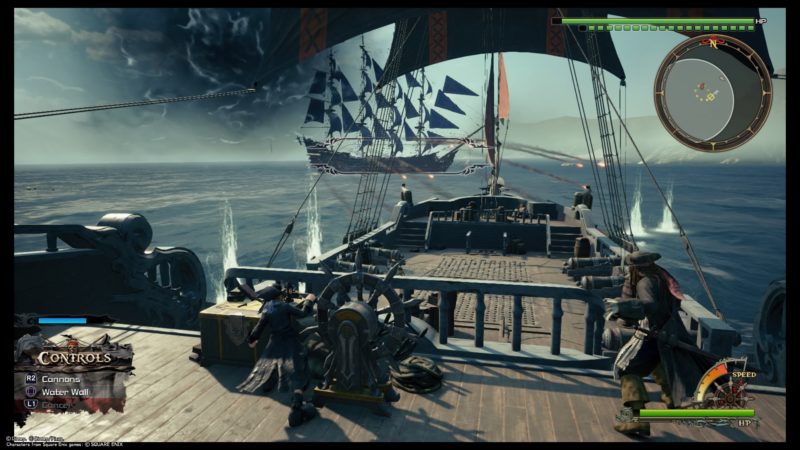
Help Jack catch the Black Pearl
Your first objective is to get to the Black Pearl before it escapes. The top left corner of the screen indicates the distance to the escape point.
Reach the ship before that happens.
You will meet some Heartless that spawns on the way. You can choose to ignore the first few.
The ship also launches many cannon balls towards you guys. Keep avoiding them as you run towards the ship.
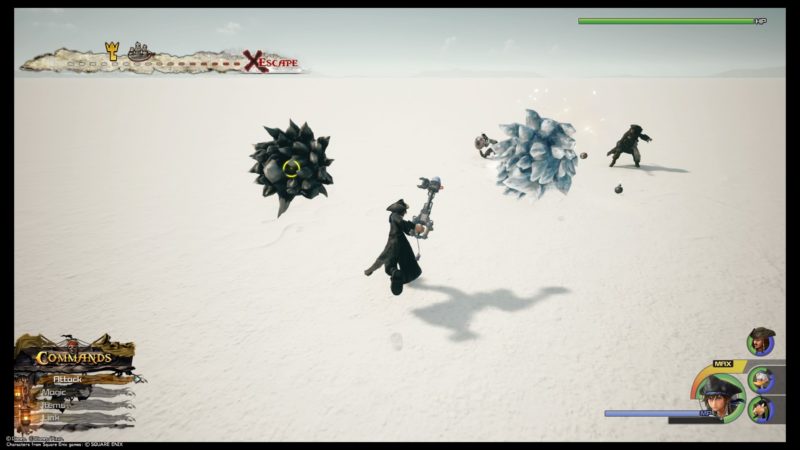
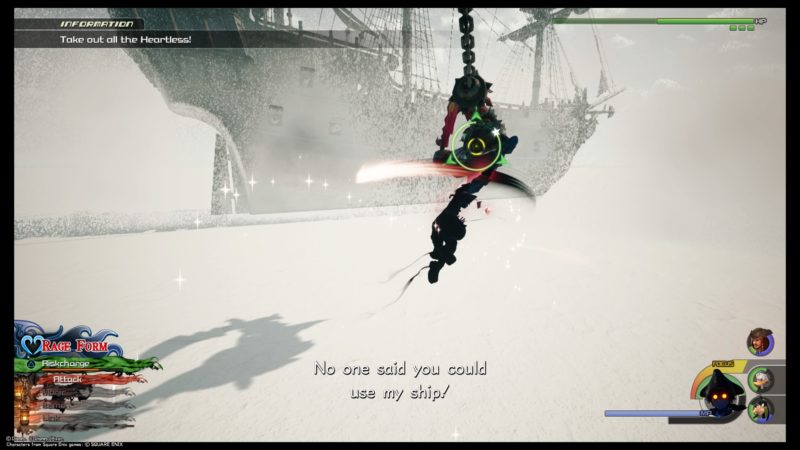
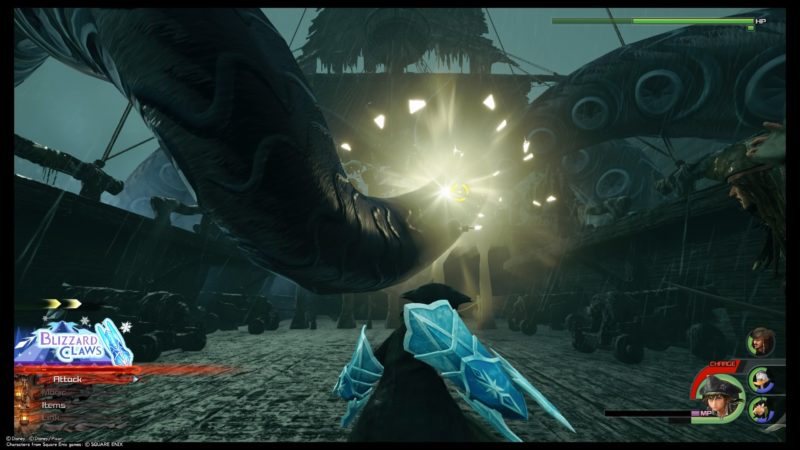
Take out all the Heartless
At one point, more Heartless will spawn. This time, you need to defeat them first.
The one on the anchor hits really hard. Try to avoid getting hit at all. Use shotlock and airstep to get close.
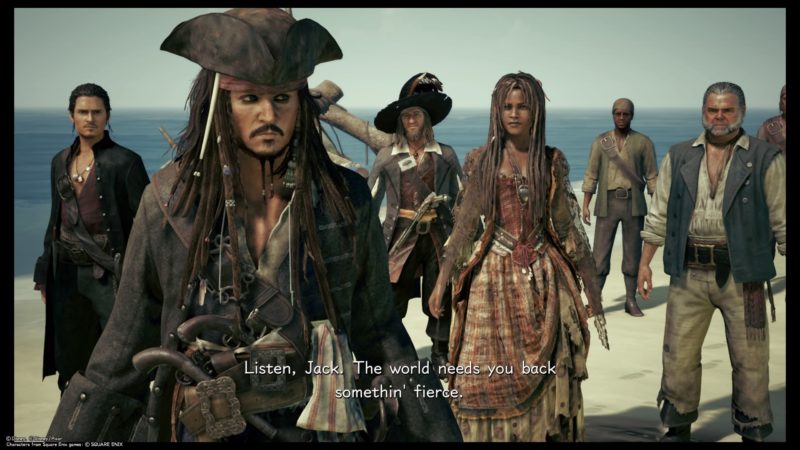
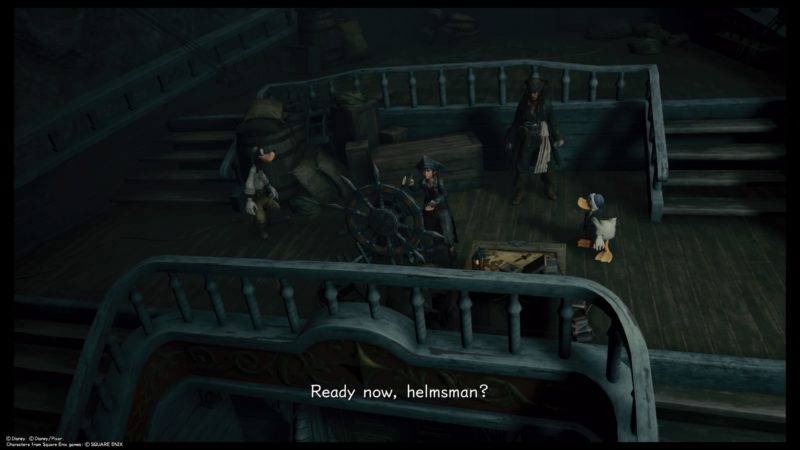
Once you’re done, a cutscene loads. Everyone meets up in the Locker like in the movie.
Sail to the island with two peaks
Sora will now be given a chance to control the ship. To test your capability, you have to sail to the island in front of you.
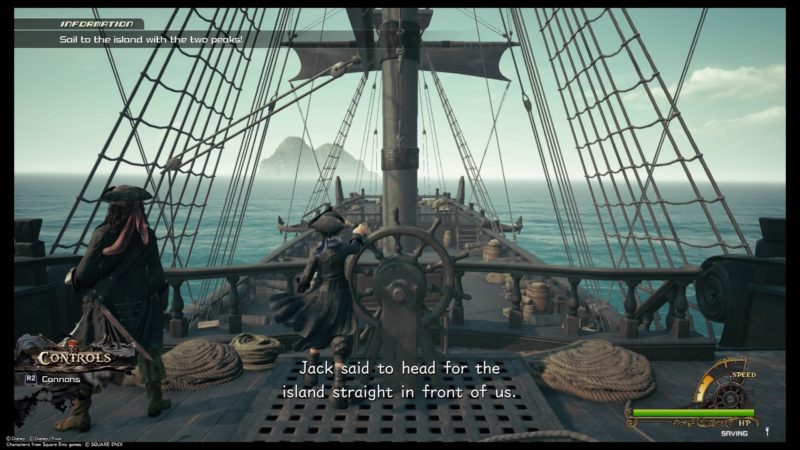
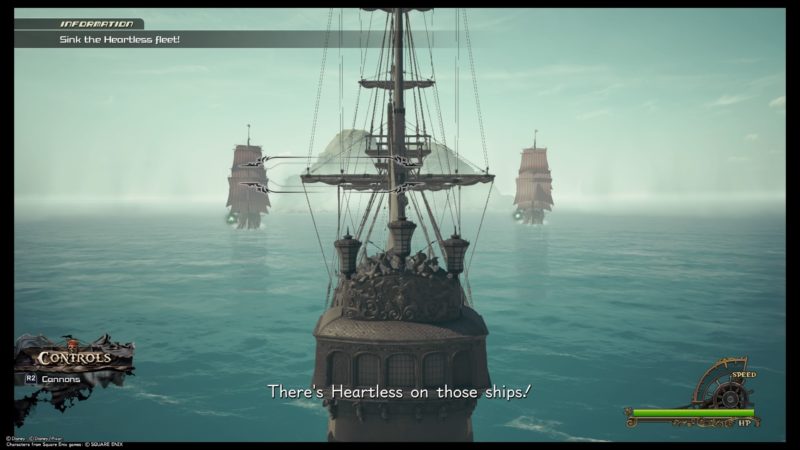
On your way there, you will meet a fleet of Heartless ships.
Sink them by destroying them. For this entire world, all of the Heartless ships have an orb / core beside it.
Aim and shoot at the orb, and it destroys the ship much faster.
Once you’re done, get to the island. A cutscene will load.
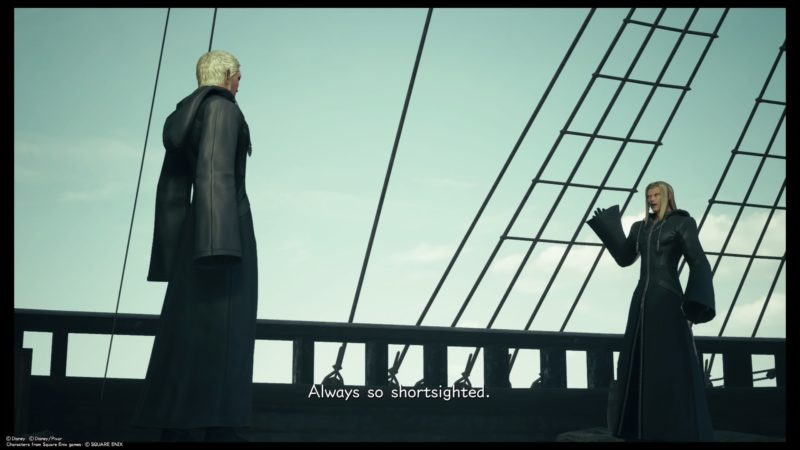
The members of the Organization are watching as usual.
In the next scene, Sora and the rest have finally returned to the real world, after the ship turned upside down like in the movie.
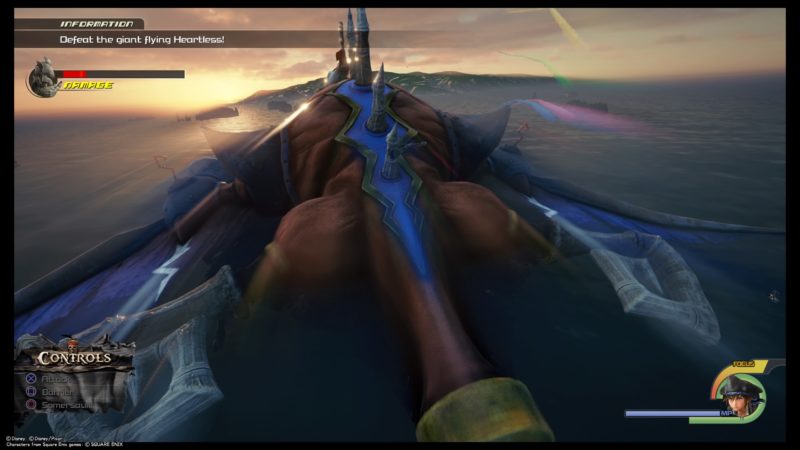
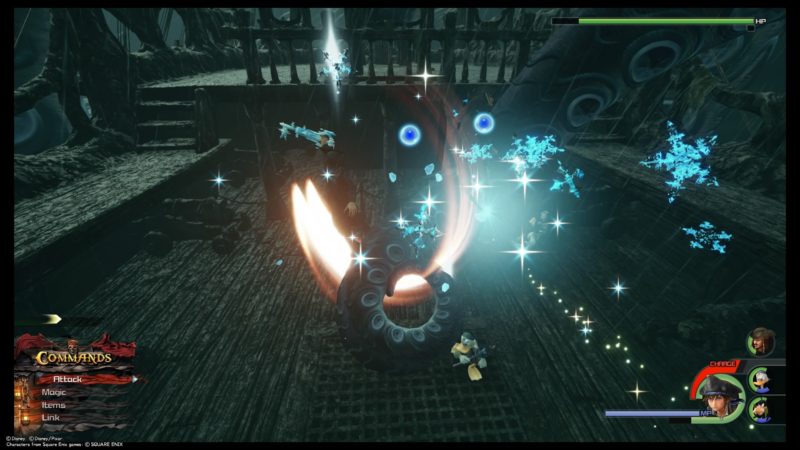
Defeat the giant Heartless
After you guys appeared in the real world, a group of Heartless will attack the ship.
This is sort of a mini boss. Your main aim is the giant flying Heartless. You don’t need to defeat all of the small ones.
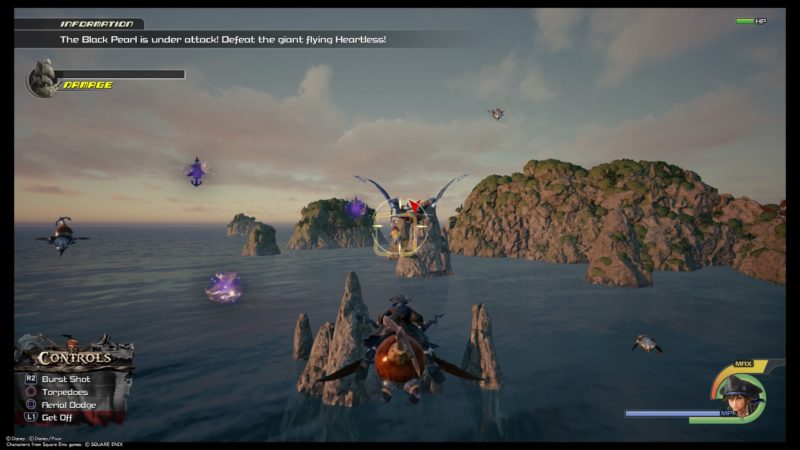
Now, Sora will jump on one of the mini Heartless and uses it as a flying ship. You can shoot at the giant via torpedoes and burst shots.
Keep aiming and shooting at the giant Heartless. At one point, you will be prompted to jump on its body.
Keep somersaulting to reach the head.
When you’re at the head, you can either attack or defend. Hit it as much as you can to reduce the HP quickly.
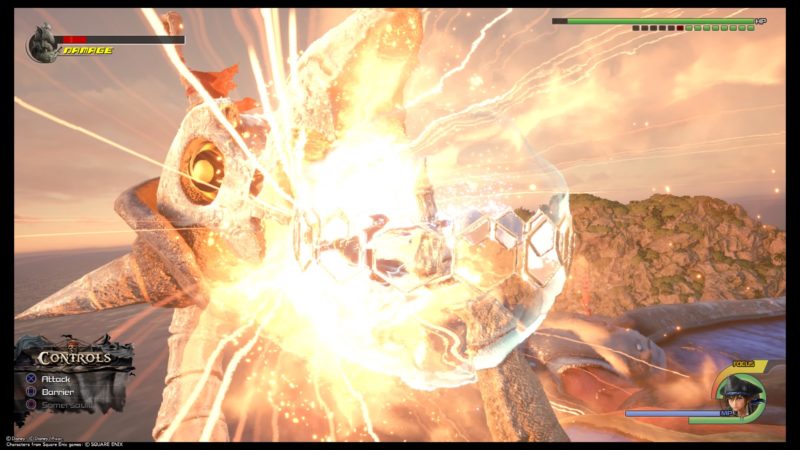
After some time, the Heartless will push you down. You need to shotlock to another mini Heartless and airstep to its body.
Use it as another flying vessel, and repeat what you’ve done so far.
You’ll probably get to the back of the giant Heartless yet again. Personally, I did that twice before defeating it.
The High Seas
After the cutscene, Sora will fall down into the sea (as the Heartless all disappeared).
He wakes up with Goofy and Donald at a beach.
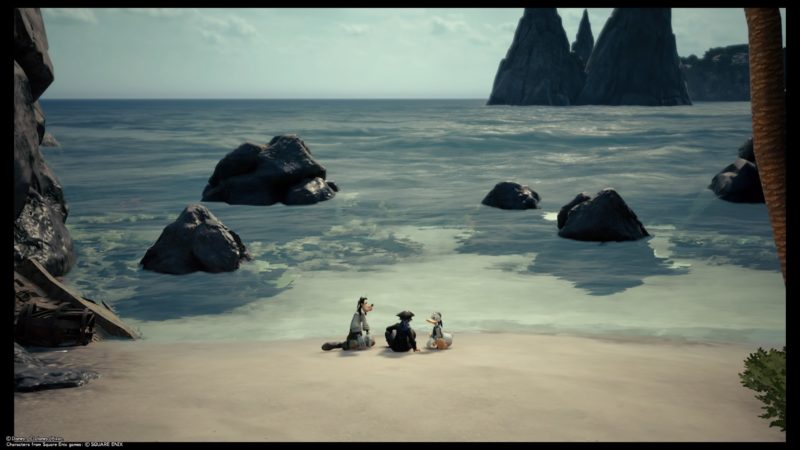
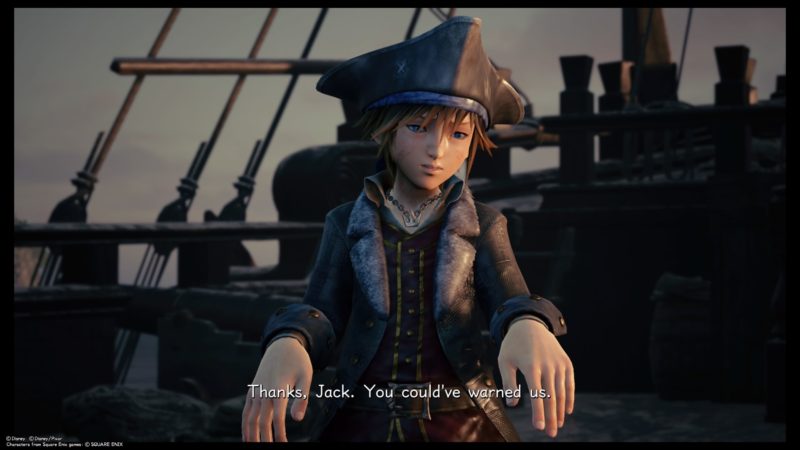
Jack Sparrow then joins you guys.
Explore the island and get a ship
Now, Jack is your team member, but he doesn’t swim. You can save the game here.
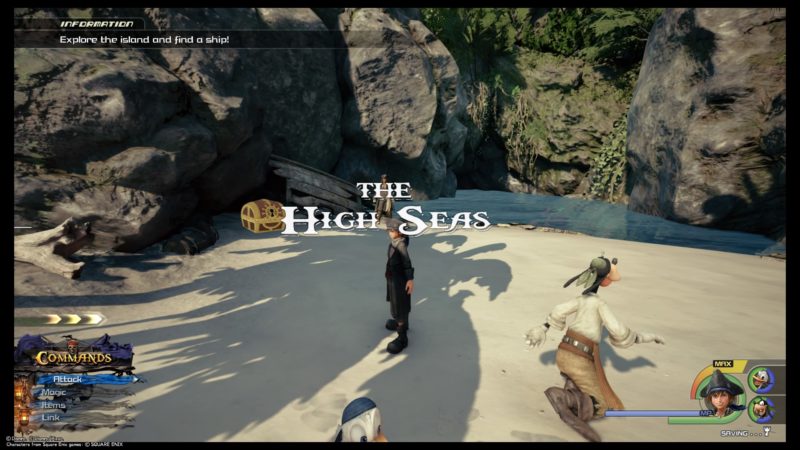
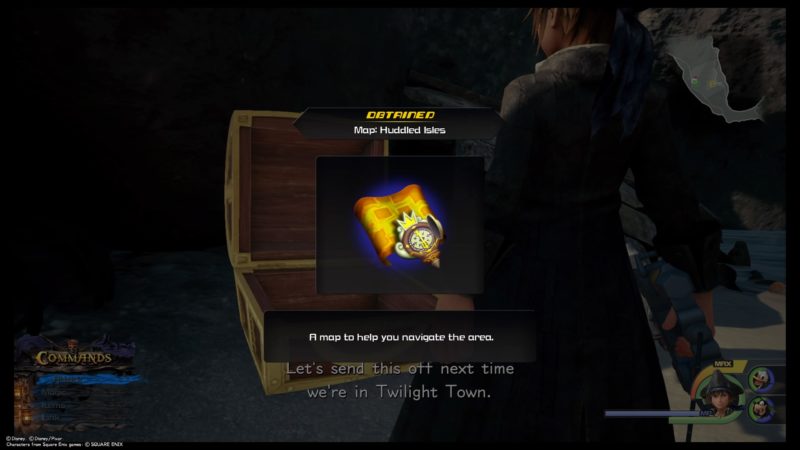
Open the chest and get the map to the Huddled Isles.
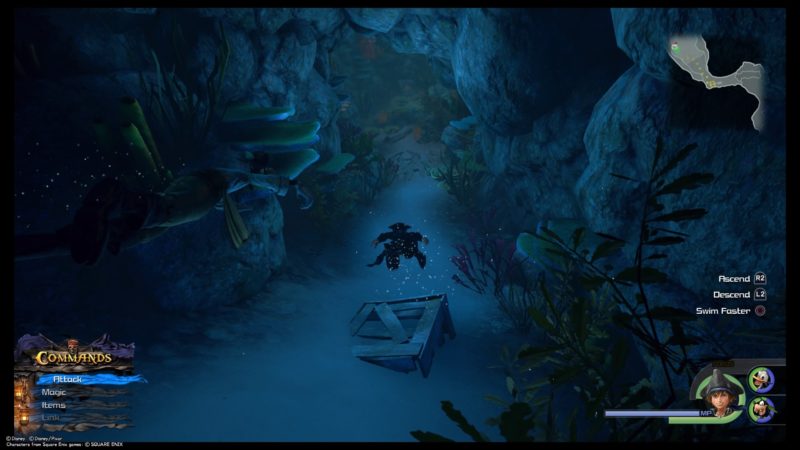
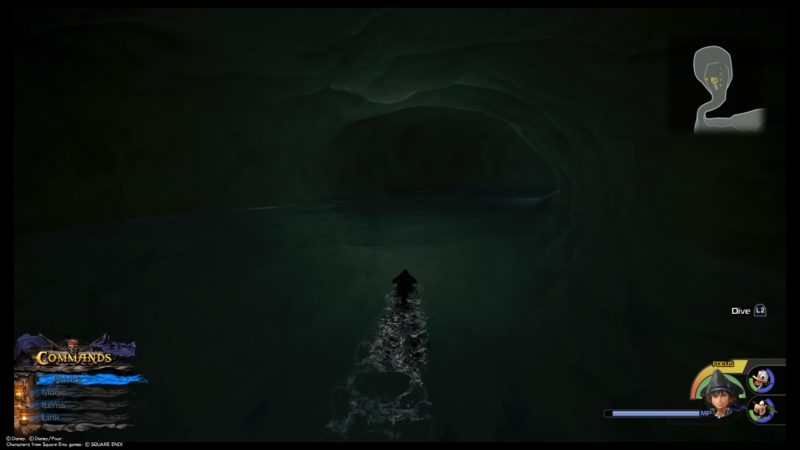
Dive down
Now, you need to dive down into the water, and this part of the story is mainly underwater. Luckily, there aren’t any limits to breathing underwater.
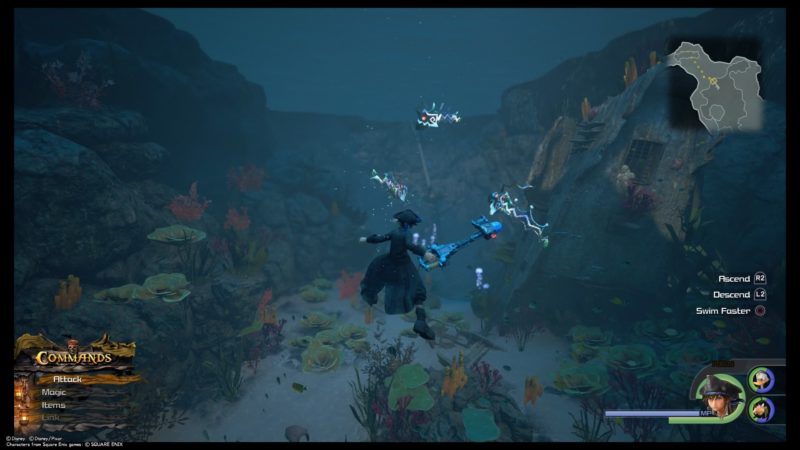
Keep going ahead and you will find some Heartless on the way. You can use your magic but Link doesn’t work underwater.
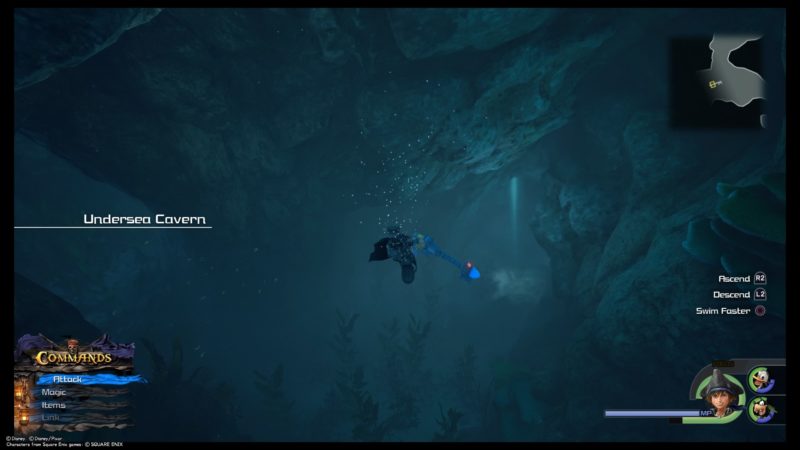
Keep going until you reach the Undersea Cavern. This part branches into two.
Undersea Cavern
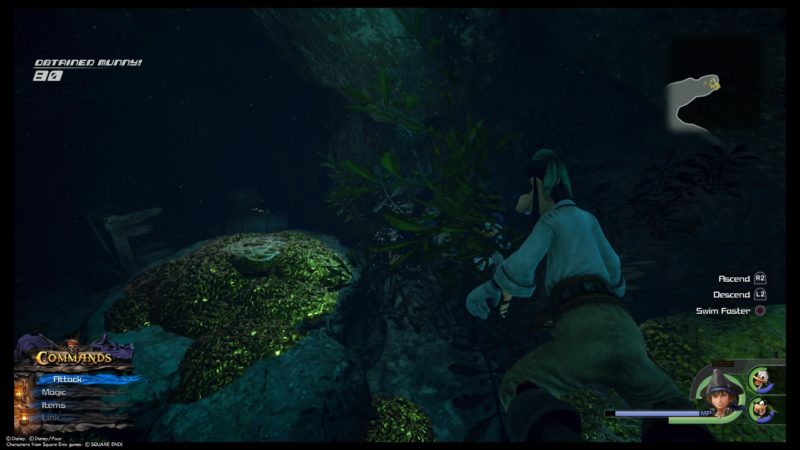
Go to the left first to clear up the area. It will be a dead end.
At the end of the left pathway, you can keep looting munny from the treasure-like pile.
Now, get back to the straight pathway.
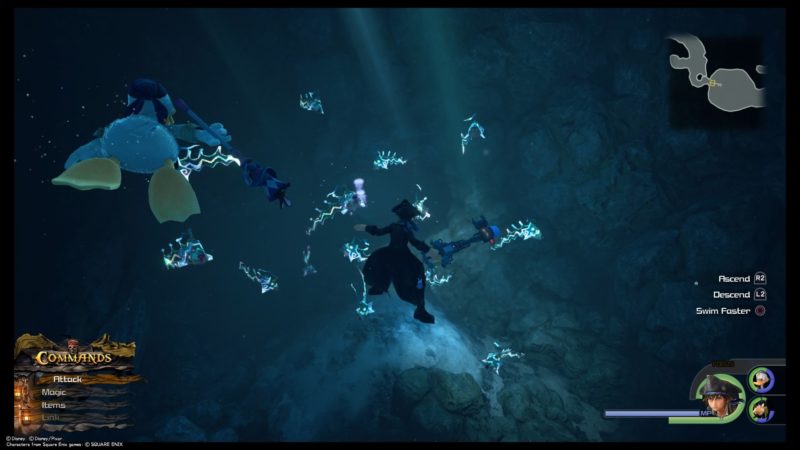
You’ll stumble into more Heartless.
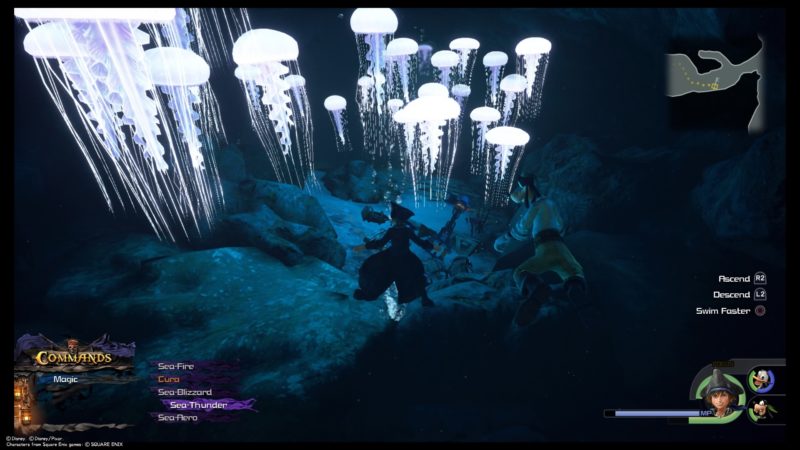
Next, you will reach an area with many jellyfishes. Use your magic to destroy them before you get near.
Otherwise, they will sting you.
If you go down a narrow pathway which is a dead end, you’ll find a chest.
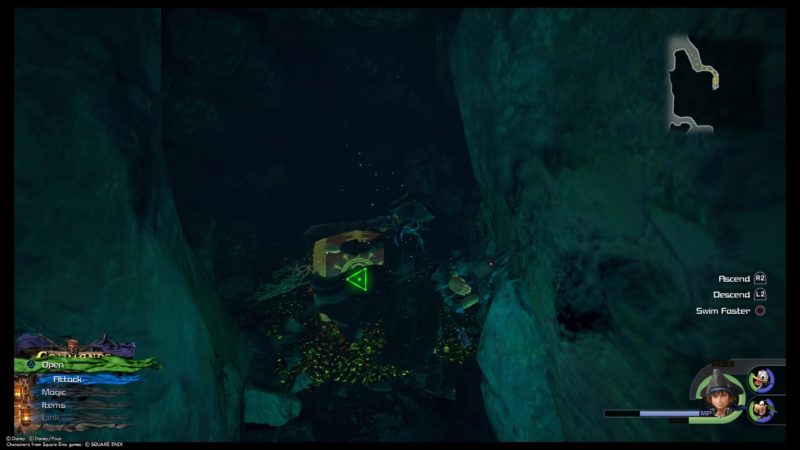
It gives you the Fishin’ Frenzy mini game.

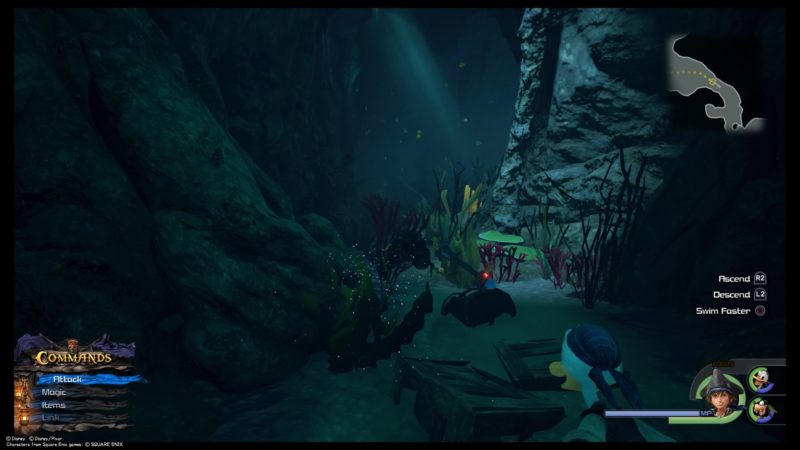
Continue on your journey
Proceed further and keep following the route according to the map.
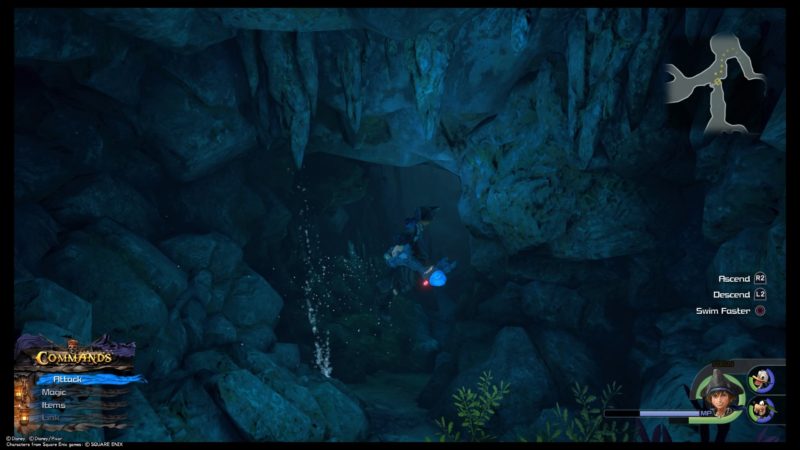
If you see a save point, you’re on the right way.
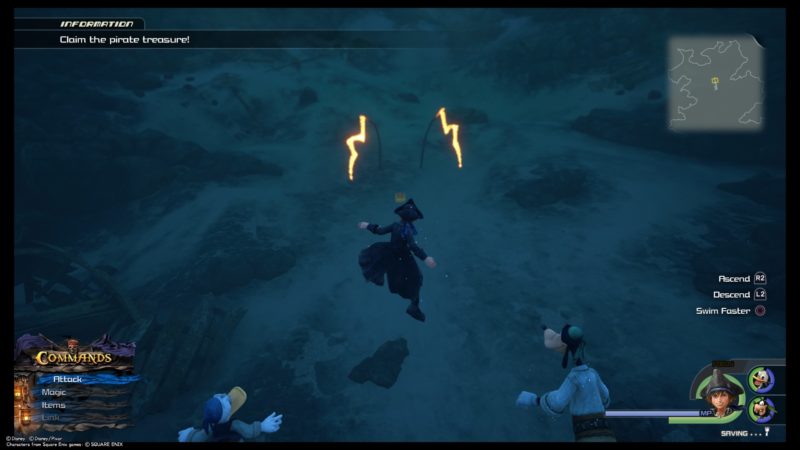
Claim the pirate treasure
There’ll be a cutscene and Sora wants to claim the treasure. It’s clearly a trap as you can see the bright yellow “antennae”.
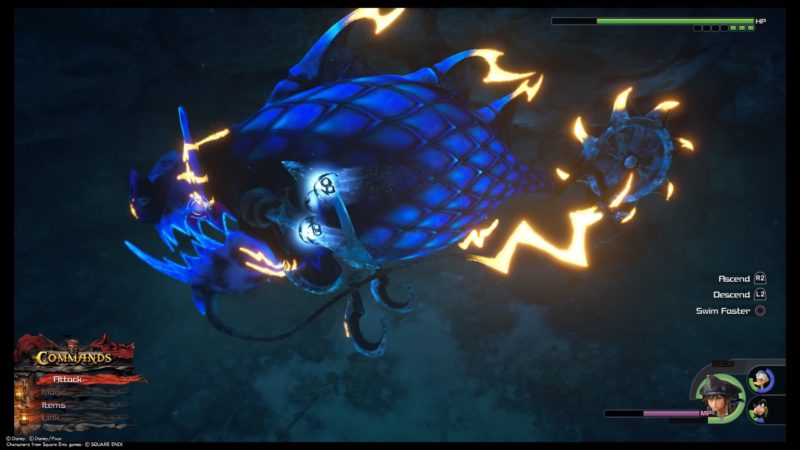
Defeat the giant aquatic Heartless
After opening the treasure chest, the giant fish Heartless appears.
You now have to defeat it. It has about eight health bars in total.
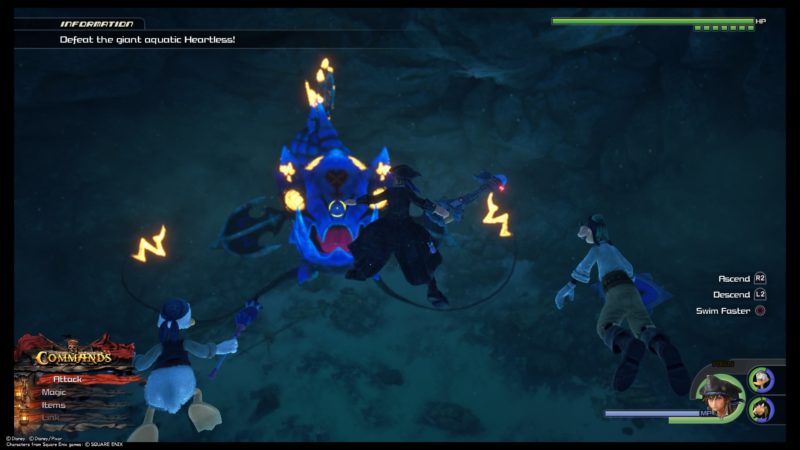
Its tail works like a saw, so you may want to avoid it. Also, its head is capable of using all kinds of attacks.
Keep attacking and running away.
Once you’ve defeated it, the Heartless will knock into the wall and disappear.
It will create a pathway.
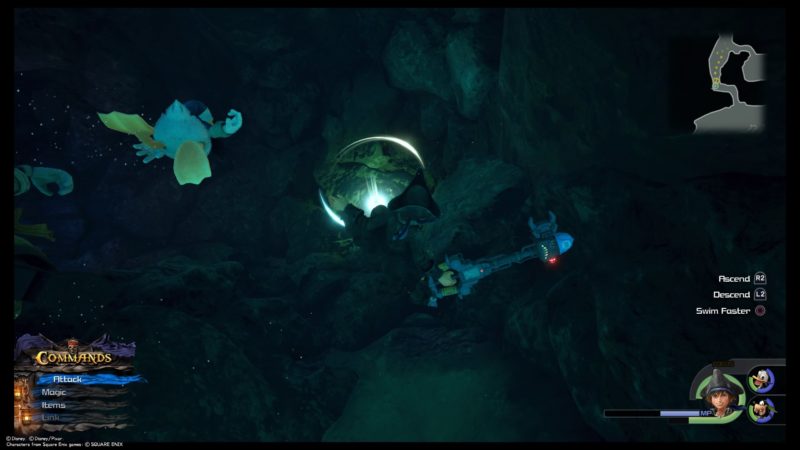
Explore further
Go towards the pathway with the jellyfish. Destroy them first.
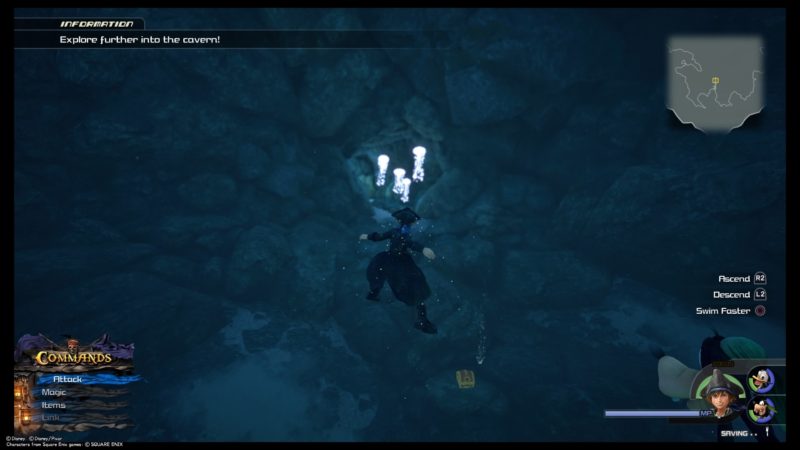
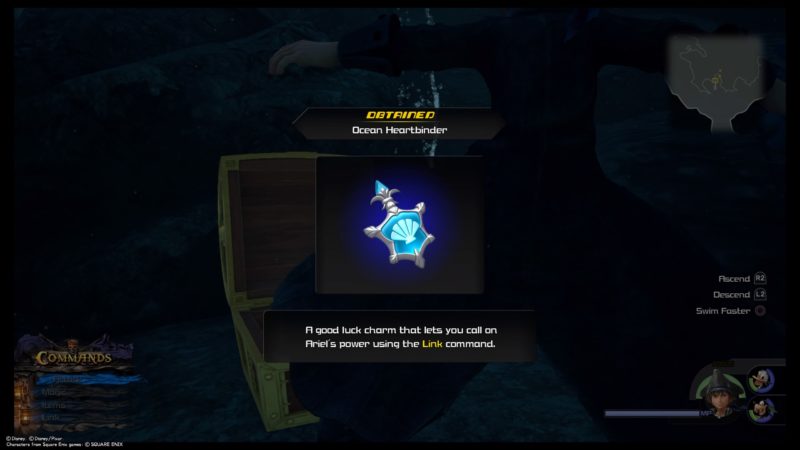
Before that, there’s a chest at the bottom. It gives you the Ocean Heartbinder which is a new Link command.
You can now use Ariel’s power.
Continue on your journey and you will be ascending. You will finally be out again and you should see a ship.
During the cutscene, Jack is already on the ship.
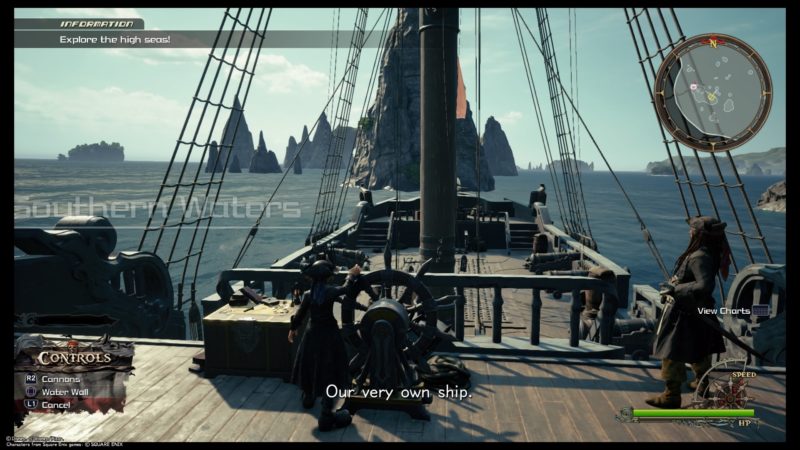
Explore the high seas
You are now able to explore the high seas and all of the surrounding islands.
Check out the map as well.
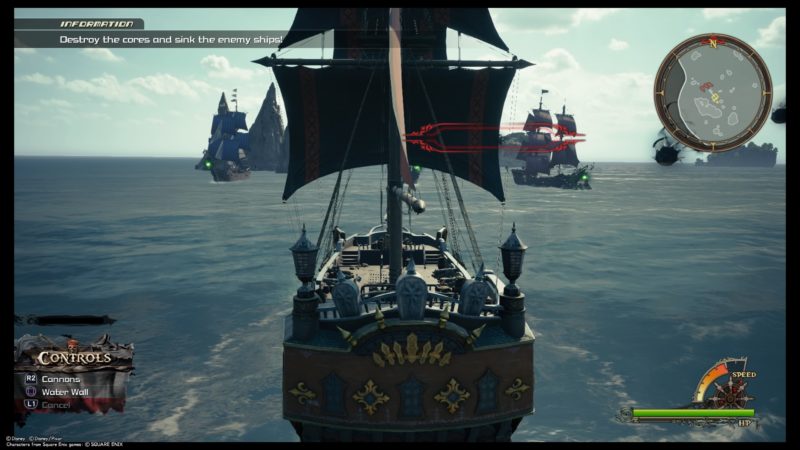
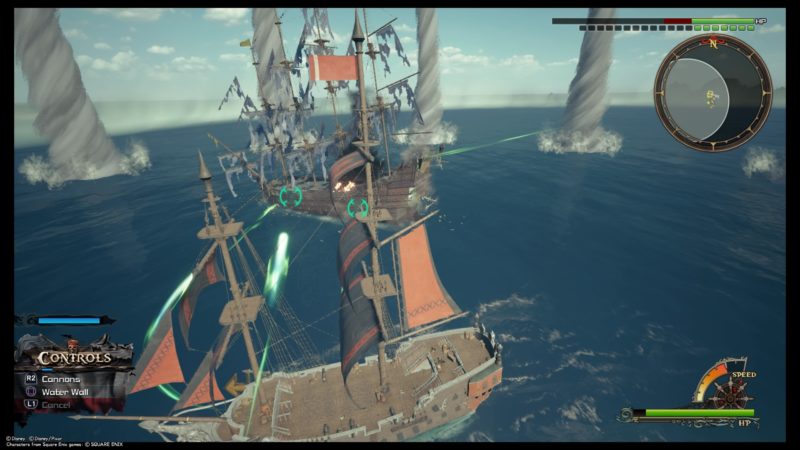
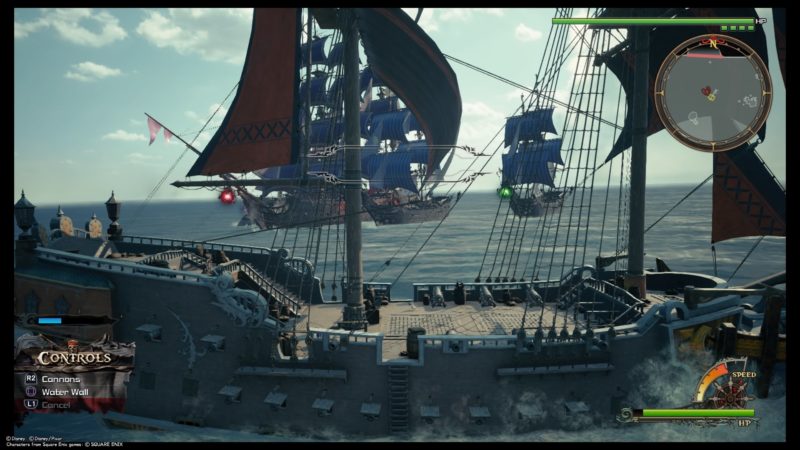
Destroy the enemy ships
Not long after, enemy ships will appear.
You need to sink them by destroying their cores. The cores are the orbs mentioned earlier. For e.g. the green ones on the enemy ships (image below).
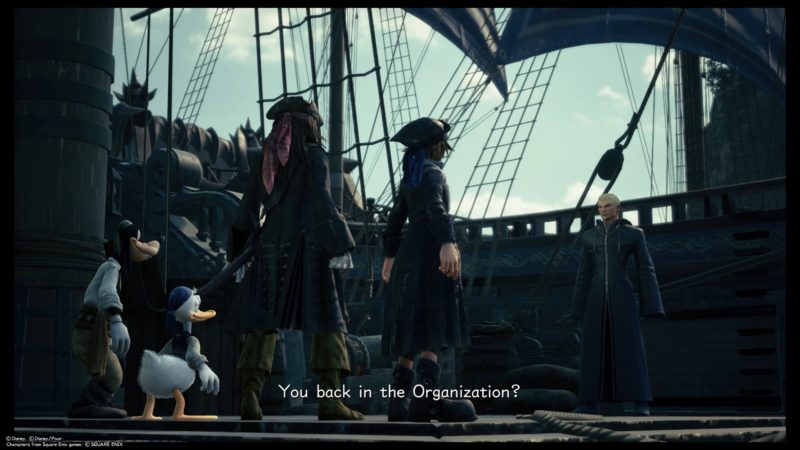
After you’re done, a cutscene loads. Luxord appears again.
This time, he proposes a race with you guys.
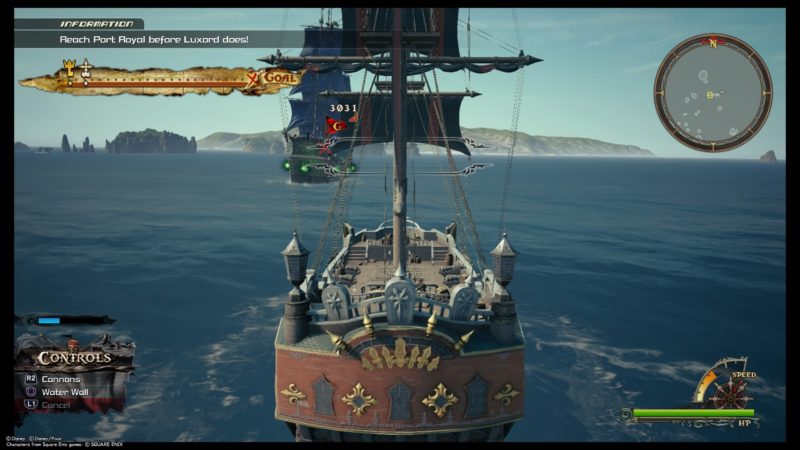
Reach Port Royal before Luxord does
Now, you need to sail towards Port Royal as fast as possible. The bar on the screen shows how far you are from the goal.
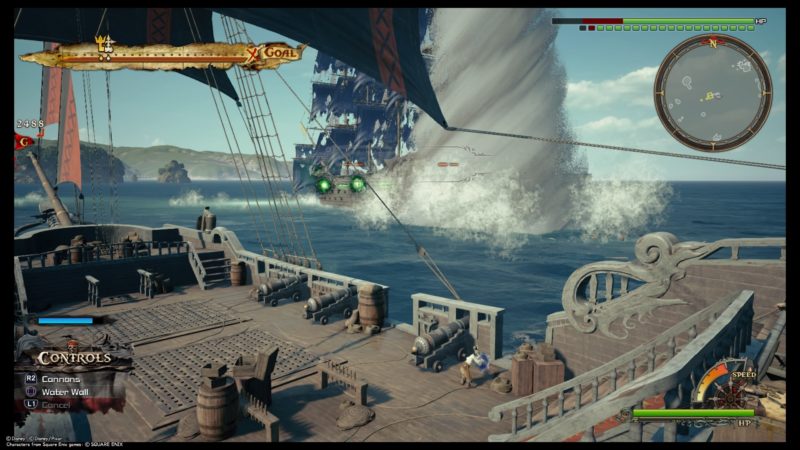
You can destroy the enemy ships on the way and also shoot at Luxord’s ship.
There’ll also be tornadoes spawning in the middle of the sea. Avoid them or your ship will go off course.
You can also use your water wall as shield.
You can just ignore all of the ships and get to the finish line.
Destroy Luxord’s ship
After reaching the finish line, Luxord and the other ships will make an attack on you guys.
Now, you have to destroy Luxord’s ship.
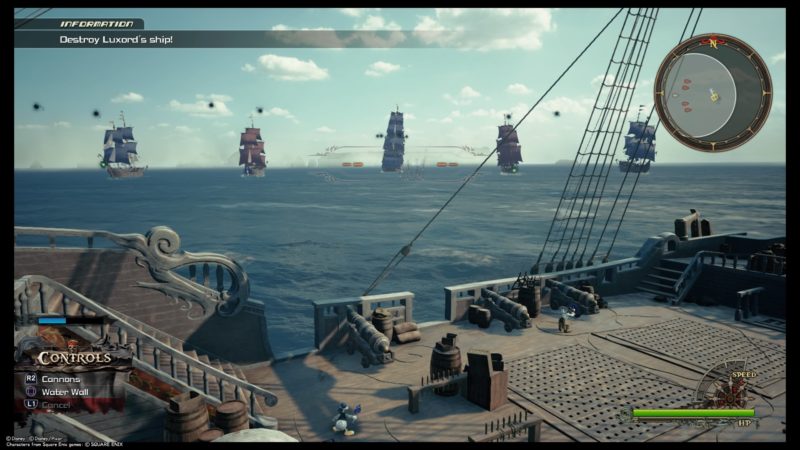
The ship has a really high HP (around 20 bars), so it’s pretty tough.
To get rid of distraction, perhaps it’s better to get rid of the smaller ships first.
Once you’re left with Luxord, it’s much faster.
Take out all the enemies
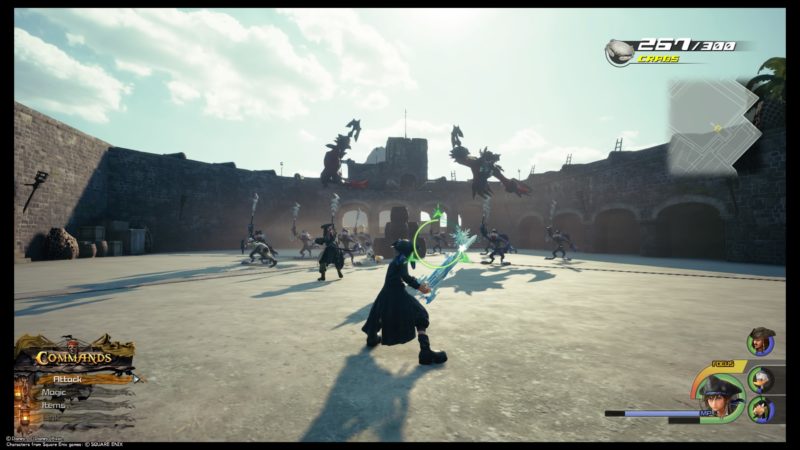
After taking out the ship, Sora comes to challenge Luxord. He disappears but he summons many enemies on deck.
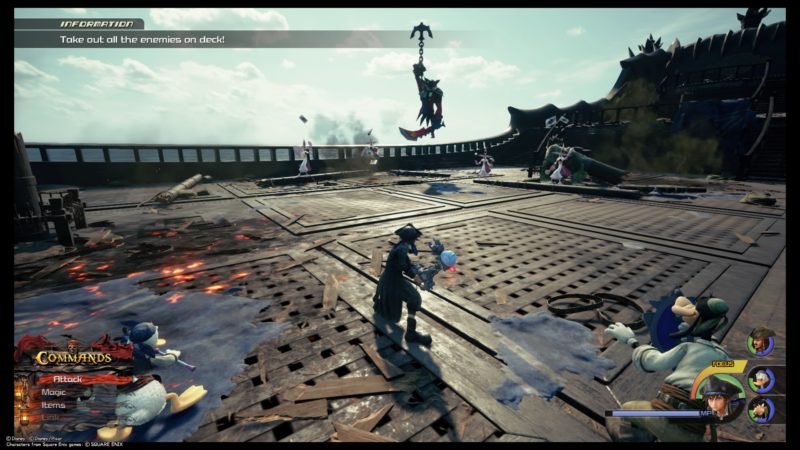
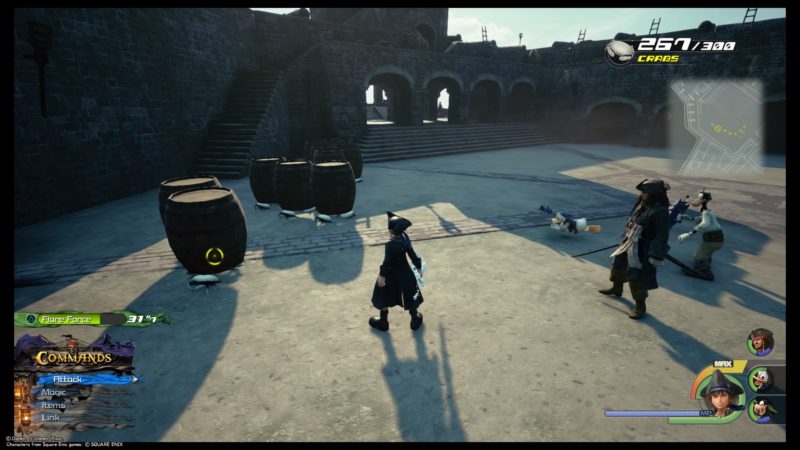
Defeat all of the enemies. The toughest one is the one with the anchor swinging around.
Try to eliminate those first.
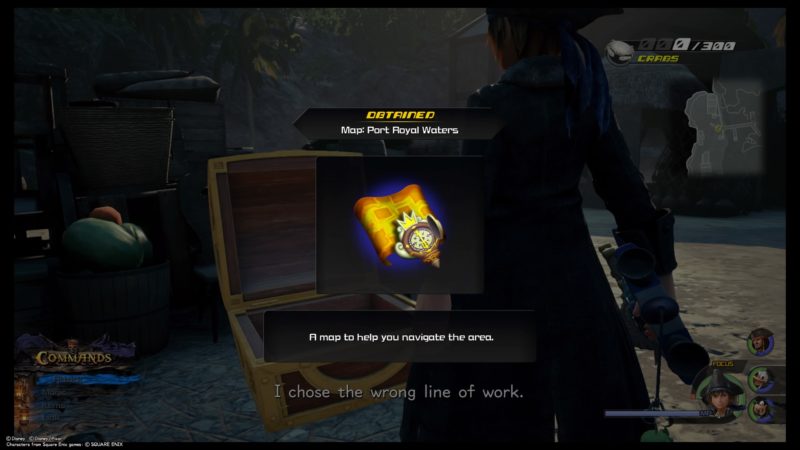
Explore Port Royal and collect white crabs
After beating Luxord for this game, you will find yourself in Port Royal.
Now, Jack Sparrow requests that you find 300 white crabs. This part can be quite long since you need to go around town to get them.
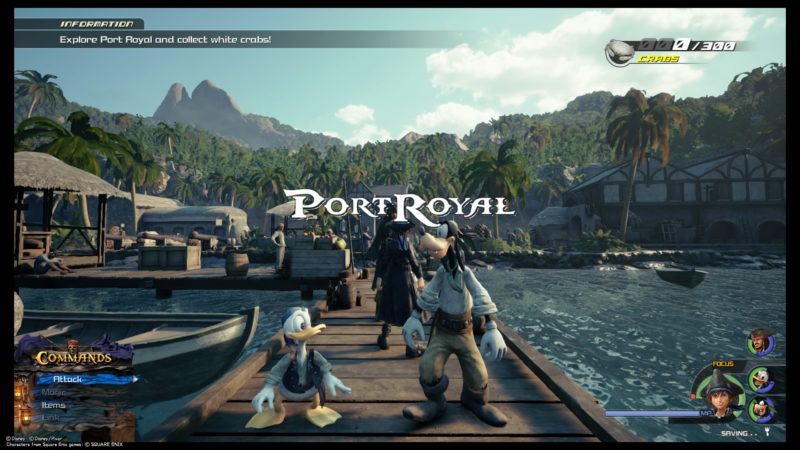
You should also find the map of Port Royal nearby.
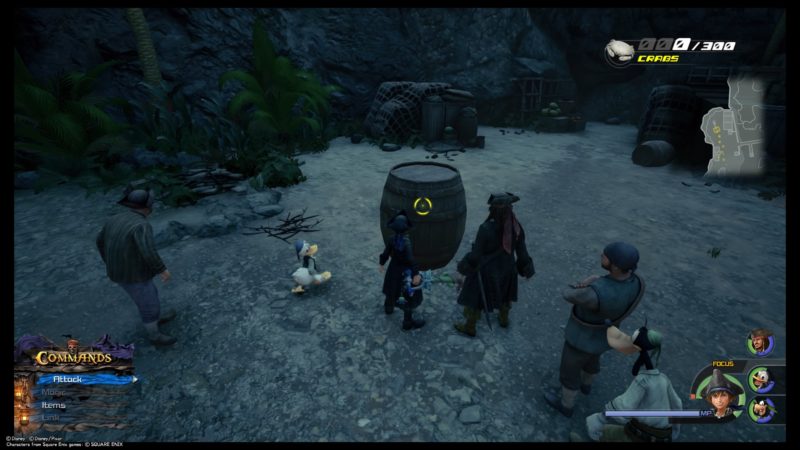
To find the white crabs, you need to destroy the barrels, crates and boxes. Those barrels that move indicate that there are crabs inside.
After it comes out, you need to loot them.
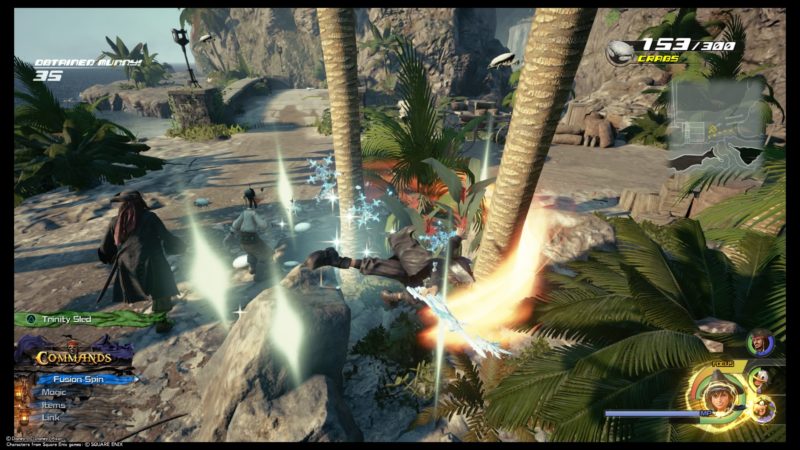
You should find pathways like these where there are crabs lying around. The Trinity Sled prompt will appear and you can use Goofy’s shield to slide all the way.
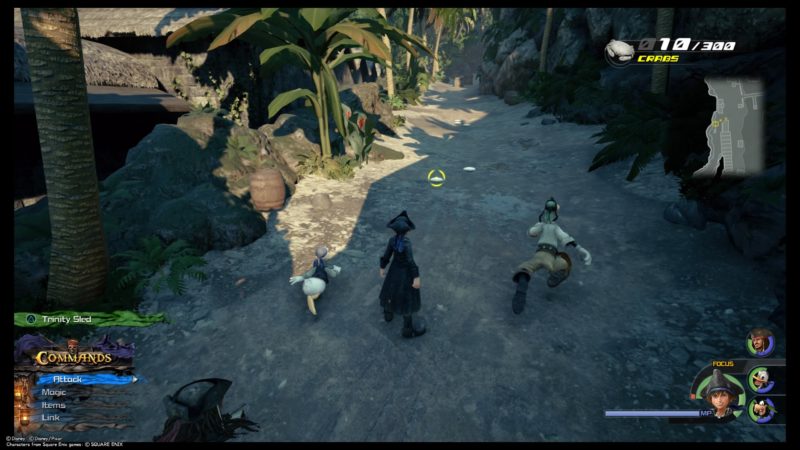
As expected, you’ll find more enemies where the crabs are.
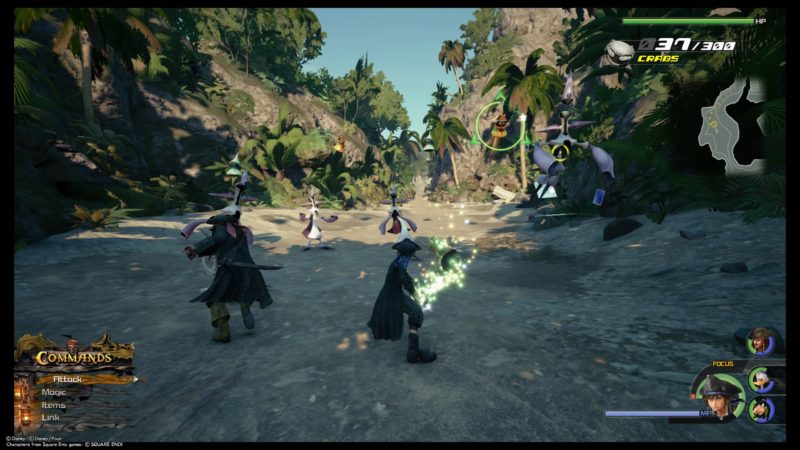
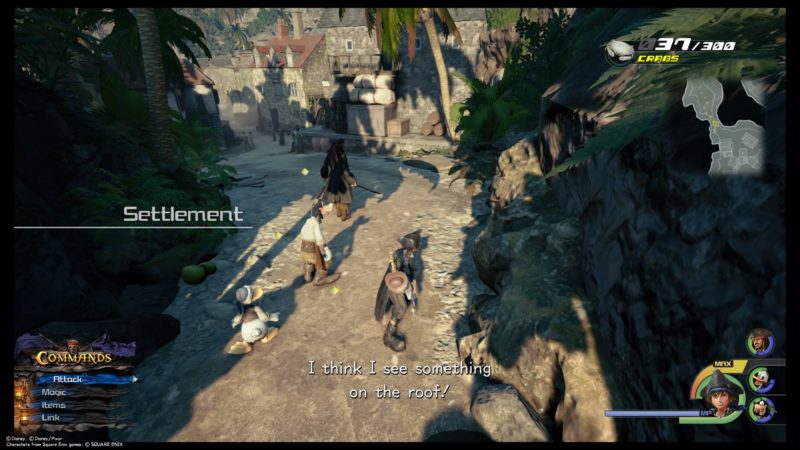
The next area is the Settlement. There are more crabs here as well.
You can also find crabs if you follow the waterfall and walk to the end of the stream.
There are also crabs that hide on coconut trees. Hit the trees for the crabs to fall, and loot them after.
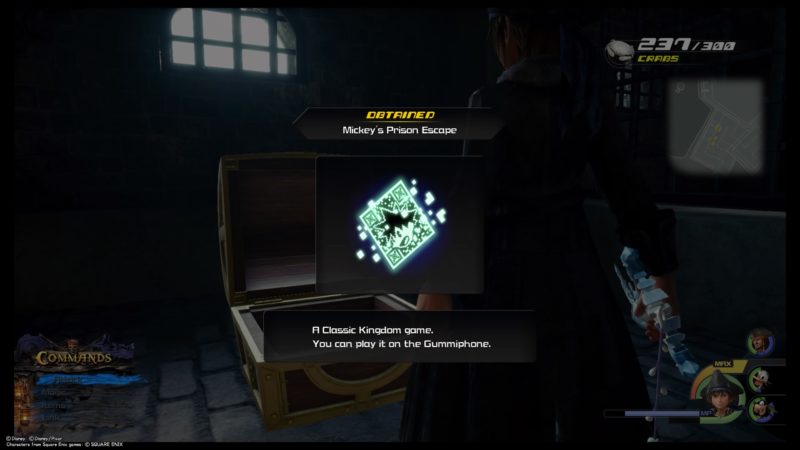
Another good place for finding crabs is at the prison, which is located furthest from your ship.
There’s also a treasure chest here which gives you Mickey’s Prison Escape.
You should find six lucky emblems in this Port Royal, but it will be mentioned on another post.
The prison has a couple of floors and a rooftop. You should find crabs in each floor.
There are also enemies to kill.
Don’t worry about finding crabs too much. There’ll be more crabs available than you need for this particular mission.
However, these crabs are used for you to level up your ship (you will learn later). So it doesn’t hurt to have more.
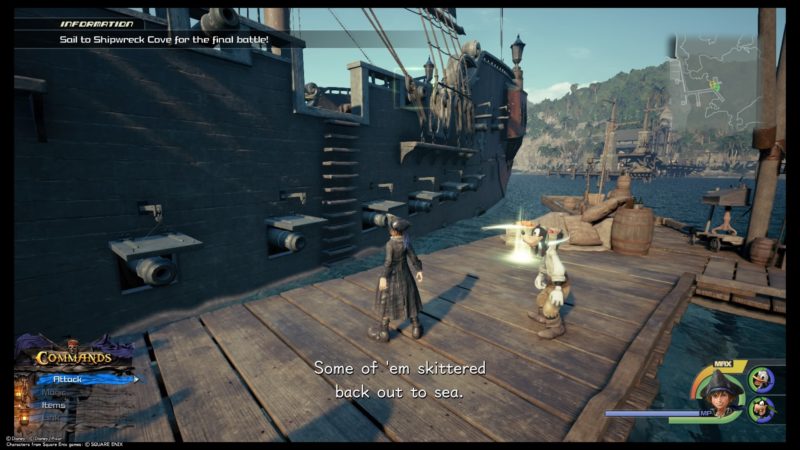
Once you’re done, go back to your ship. Walk to the end of the pier and press “Examine” when you reach your ship.
The cutscene only loads that way.
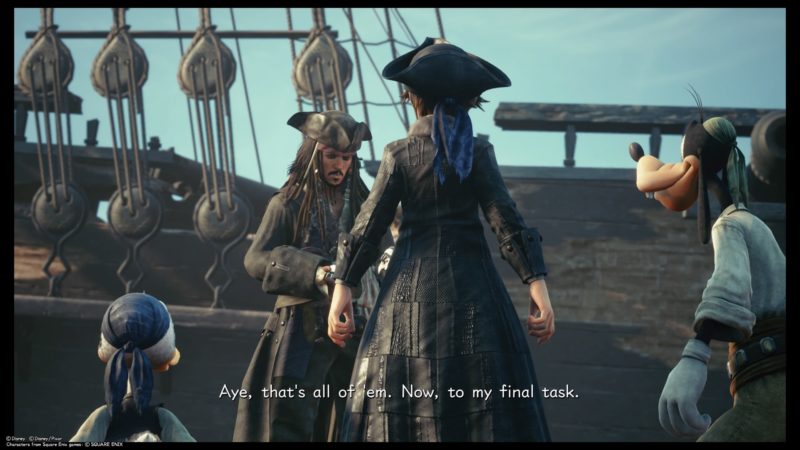
Turns out, this Jack Sparrow was made out of white crabs, to help guide Sora to the right path. It’s the doing of Calypso.
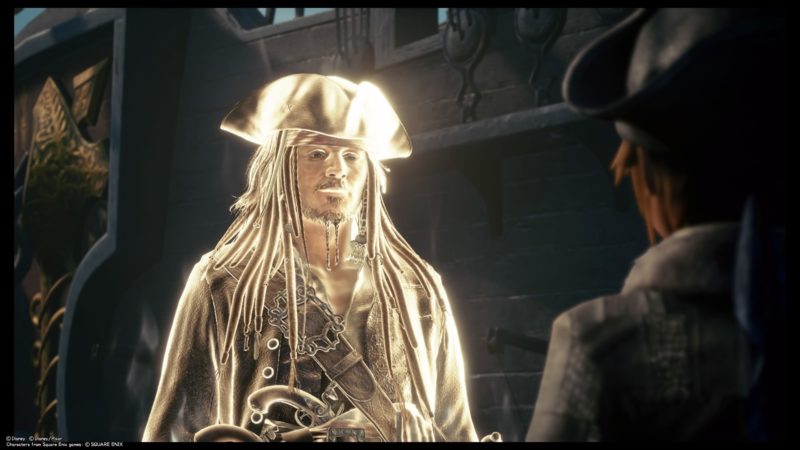
The next scene is the same as in the movie.

After the cutscenes, you will be taught how to upgrade your ship.
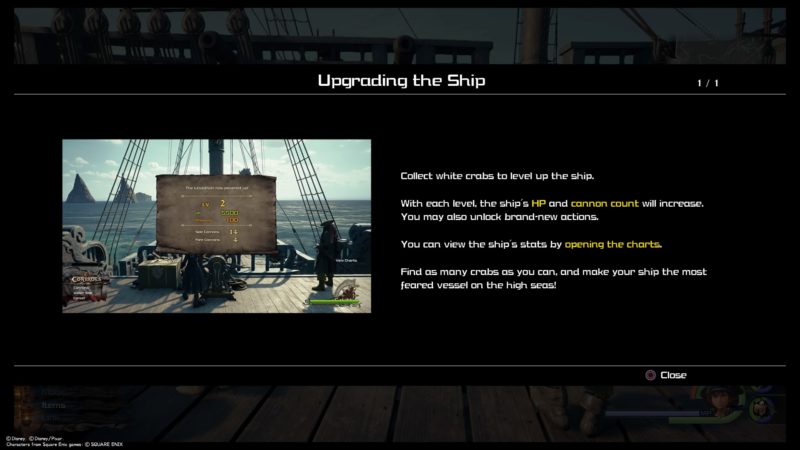
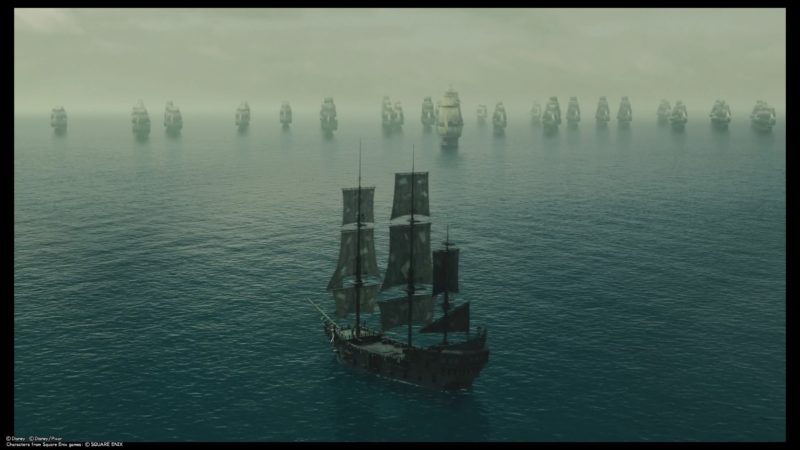
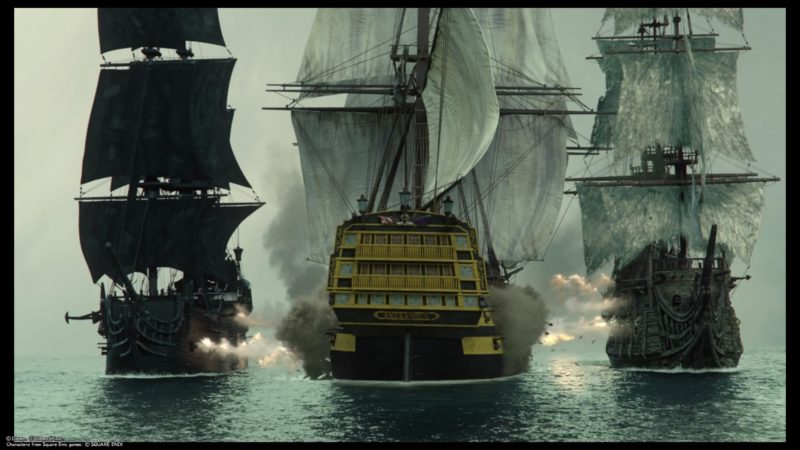
Sail to Shipwreck Cove for the final battle
If you get to Shipwreck Cover, it’s pretty much the ending scene of At World’s End where ships battle in a storm.
You can choose to go visit other small islands first. There are lucky emblems and treasure chests scattered around the smaller islands.
To make it simpler, I won’t mention the other islands. Get towards the “Objective” marker in your map.
Sink the fleet
Before you can reach it, you will have to face a very tough fleet.
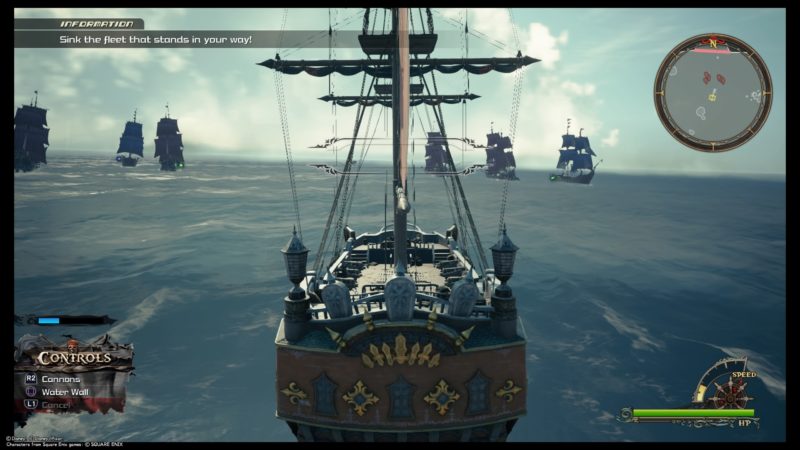
Try aiming at the core to destroy the ship faster. If you’re not careful, you may lose this battle.
There are also Attraction Flows on your ship that you can use when the bar fills up.
Use them wisely as they’ll determine if you win the battle or not.
After you’re done, sail to Shipwreck Cove.
There’s a small island (Forsaken Island) nearby. You can save the game first.

A cutscene will appear as you pass the red line.
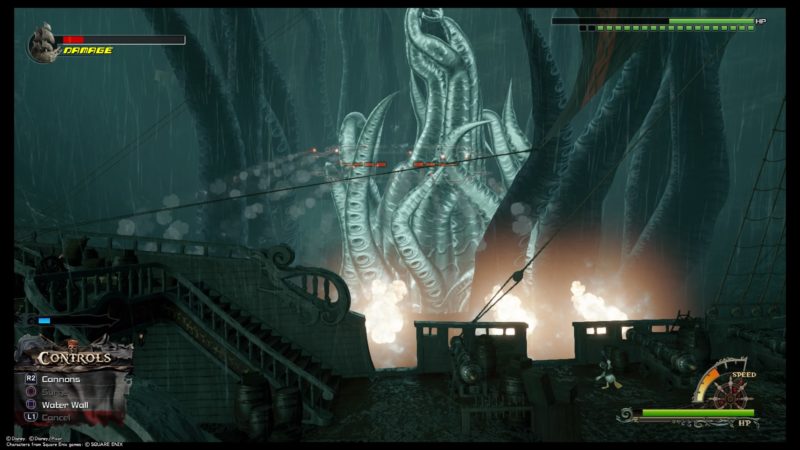
Defeat the Kraken
After all of the cutscenes, you need to defeat the Kraken. The Kraken will grab the Black Pearl and you have to take care of its HP.
Your ship will automatically go around the Kraken. You just have to aim and shoot at it.

At one point, the Kraken will use its tentacles to block your field of attack. Try timing your attacks precisely.
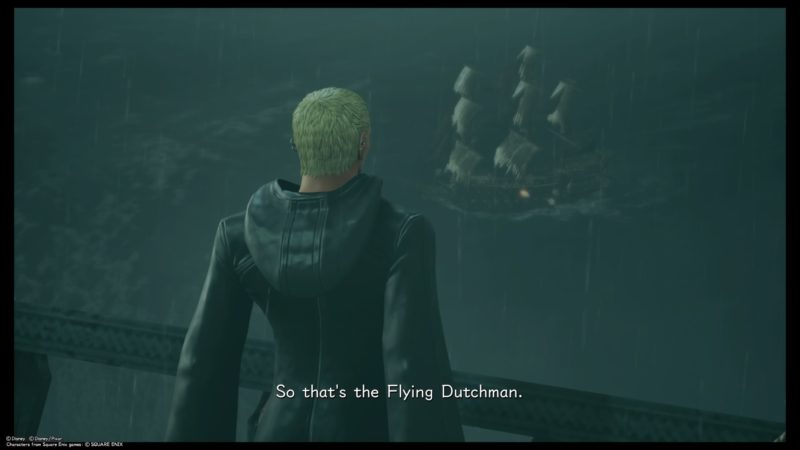
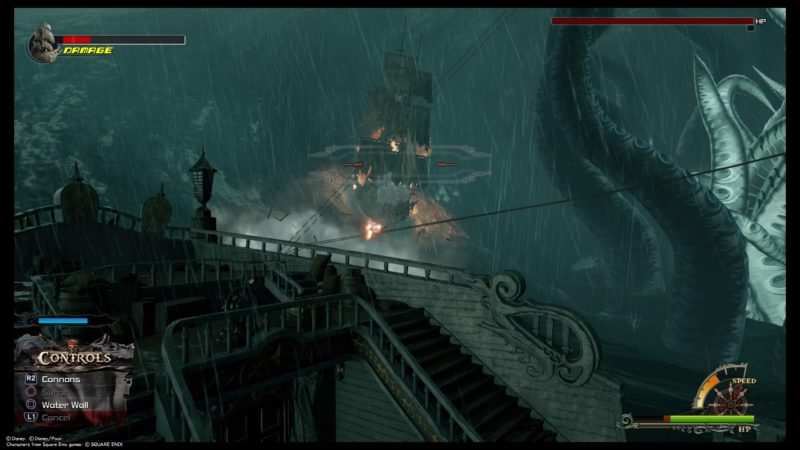
The Flying Dutchman will also appear during the battle many times to disrupt you.
It will either shoot at the Black Pearl, or shoot at you. You can destroy it easily if you hit the core.
After destroying it, it will come back in a matter of seconds.
Just rinse and repeat until the Kraken is down.
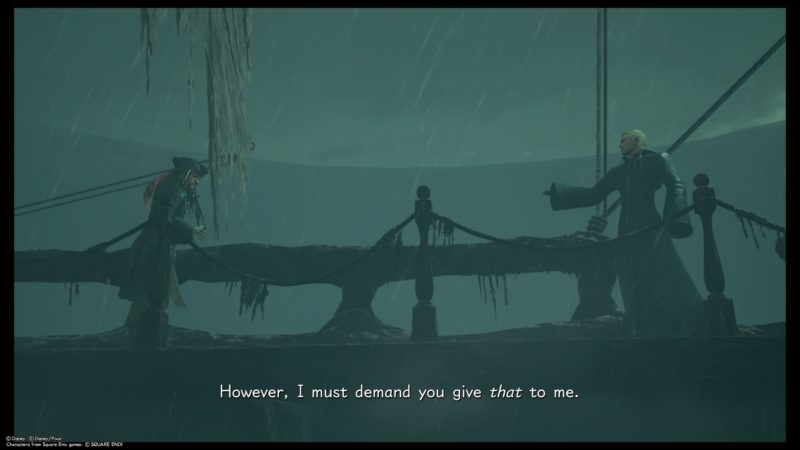
Once the battle is over, Luxord appears again to get the chest from Jack Sparrow, but fails to do so.
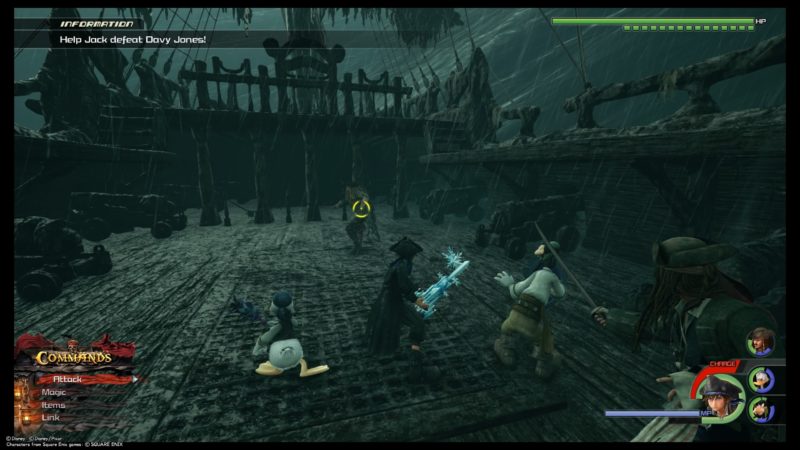
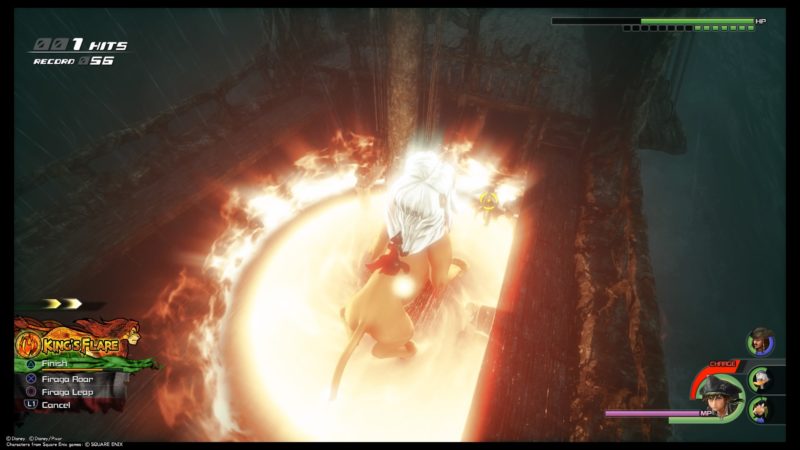
Defeat Davy Jones
The final boss fight for The Caribbean is Davy Jones. You now have to battle him alongside Jack Sparrow.
He has about 21 health bars in total, but his health goes down pretty quickly, so it isn’t as tough as expected.
Just keep spamming your attacks and use Link commands when necessary.
Davy Jones has a skill that summons the tentacles of the Kraken on the ship. You need to destroy the tentacles first and they have a much smaller HP.
Once you’re done, you can continue hitting Davy Jones. You can also ignore the tentacles and attack Davy Jones, but it’s better to remove the distractions.
He will summon the Kraken more than once. Just defeat him and it’s over.
This part will mainly be cutscenes from the movie.
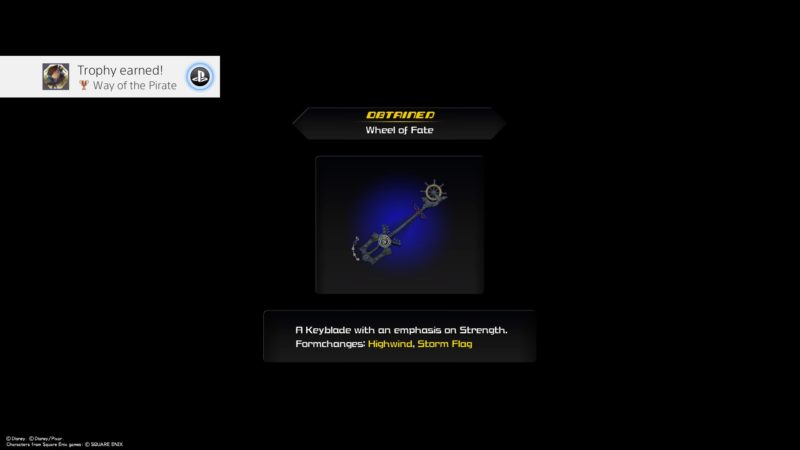
And that’s the end of The Caribbean.

You will get a new keyblade – Wheel of Fate. It prioritizes on strength attacks.
Hopefully this walkthrough of The Caribbean in Kingdom Hearts 3 is useful for you guys.
Related articles:
Top 10 Best Keyblades In Kingdom Hearts 3
Kingdom Hearts 3: San Fransokyo – All Lucky Emblem Locations
KH3: San Fransokyo (Walkthrough And Guide)
Kingdom Hearts 3: Arendelle (Walkthrough And Guide)
Kingdom Hearts 3 Monstropolis: All Lucky Emblem Locations
KH3 – Kingdom Of Corona (All Lucky Emblem Locations)
Kingdom Hearts 3: Monstropolis (Walkthrough And Guide)
Kingdom Hearts 3: Kingdom Of Corona (Walkthrough And Guide)