Charles Rookwood’s Trial is one of the main quests available in Hogwarts Legacy.
Your objective is to pass the second trial under Rookwood.
Here’s a walkthrough and guide of Charles Rookwood’s Trial in Hogwarts Legacy.
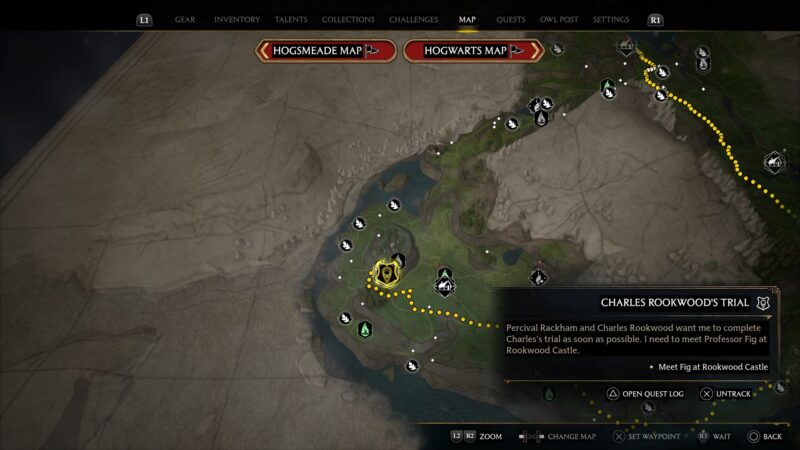
To begin the quest, meet Fig at Rookwood Castle. It’s at the southwest part of the map as shown below.
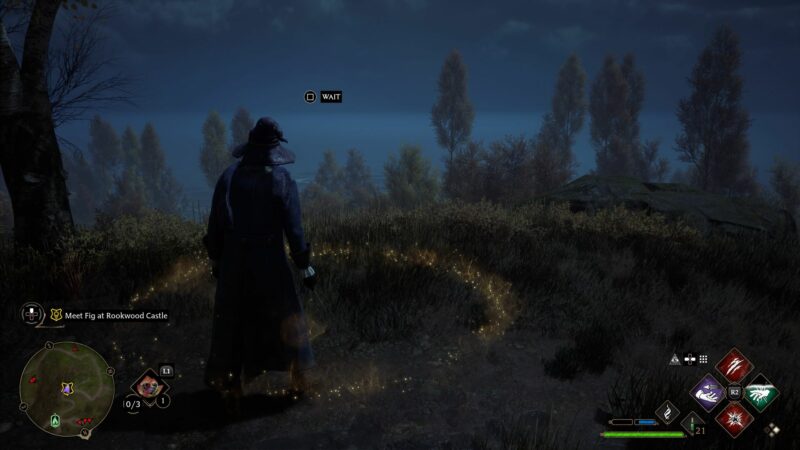
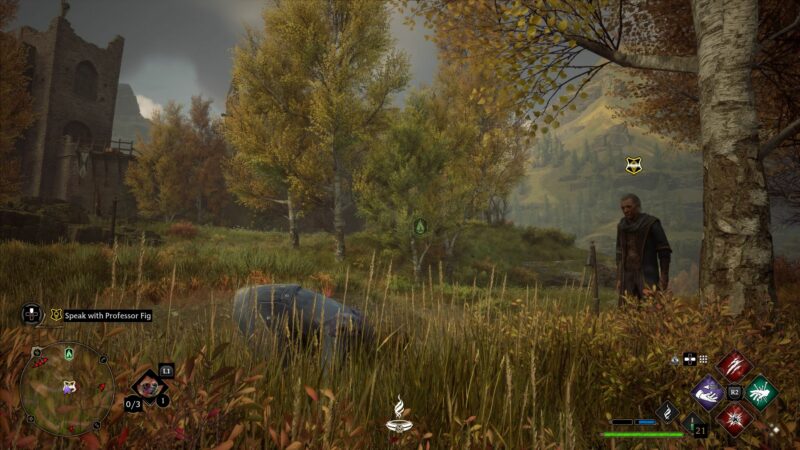
When you’re there, press wait for Professor Fig to arrive.
Talk to him.
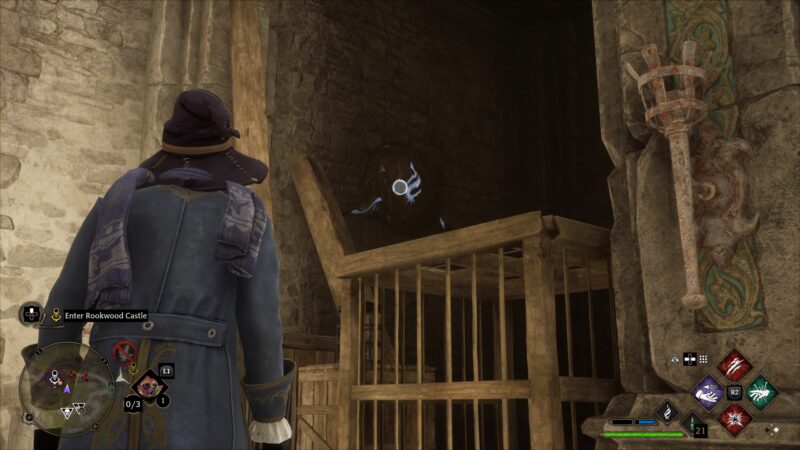
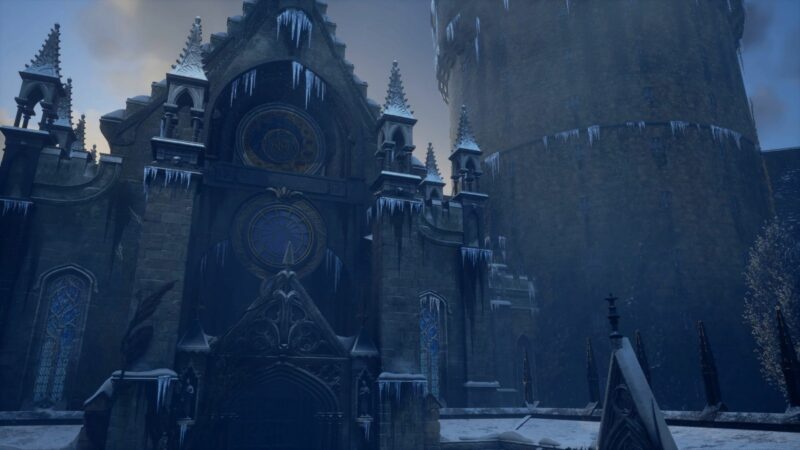
Enter Rookwood Castle
Follow the mini map’s path to enter the castle. You can avoid the first group of goblins using Disillusionment.
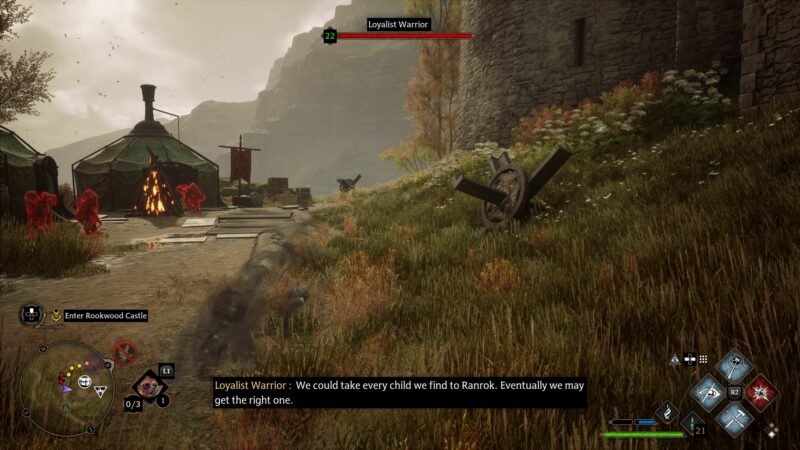
However, some goblins will spawn even if you’re using Disillusionment. Take them out.
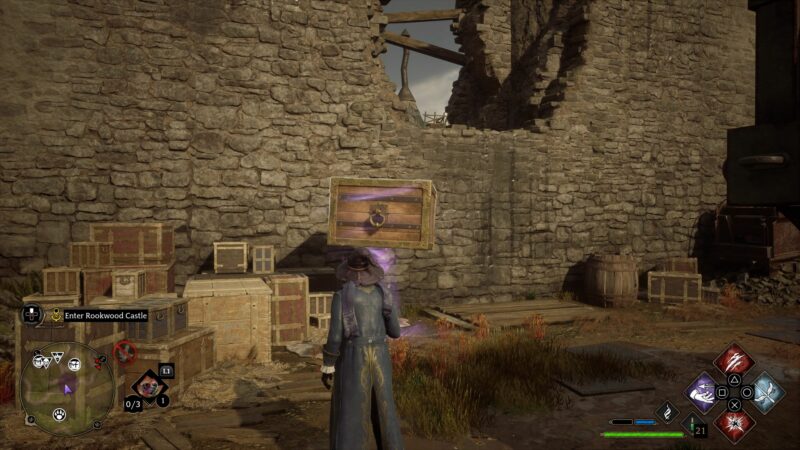
To enter the castle, there’s a hole on the wall. Use Wingardium Leviosa to move the crate there and climb on it.
You’ll then see Ranrok and Rookwood talking in a cutscene.
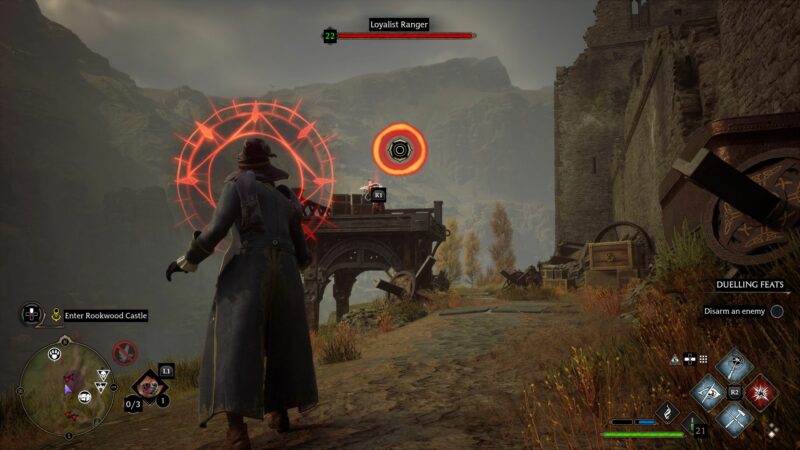
After the cutscene, Ashwinder soldiers will show up. Defeat them all.

Then, head to the door.
To open the gate, you need to cast magic on three of the symbols on the wall.
It’s the same as the one at the beginning of the game. You have to attack all three symbols before the time is up.
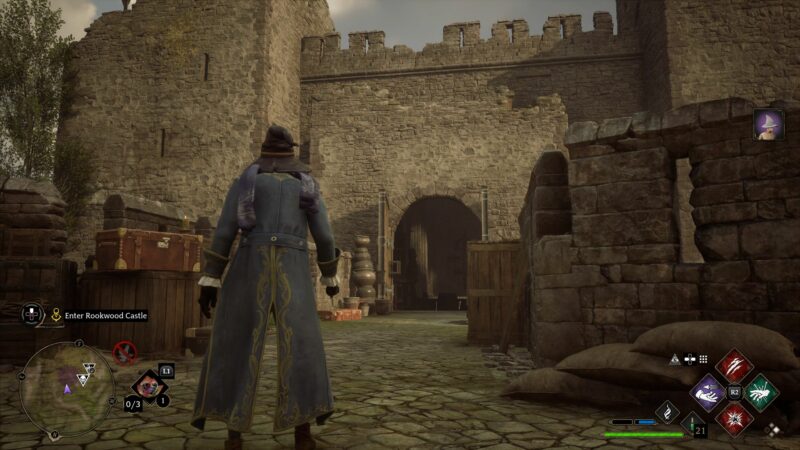
As the gate opens, enter the castle.

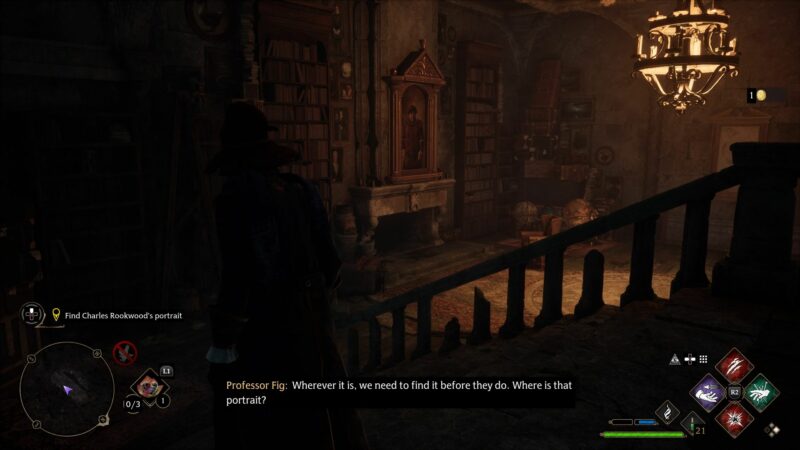
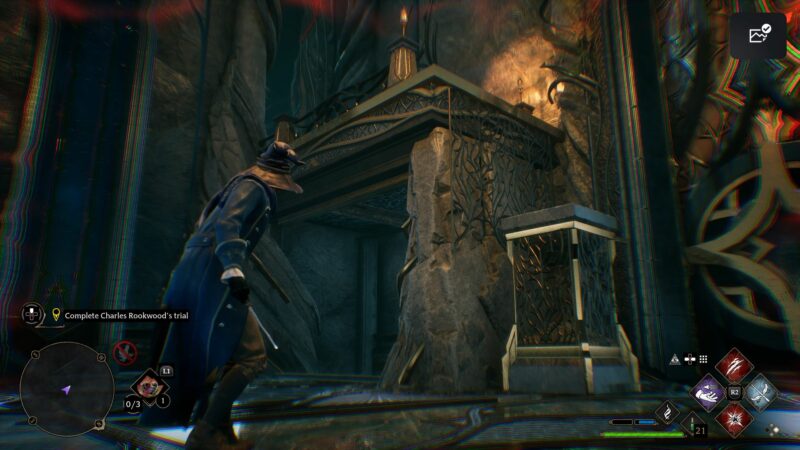
Find Charles Rookwood’s portrait
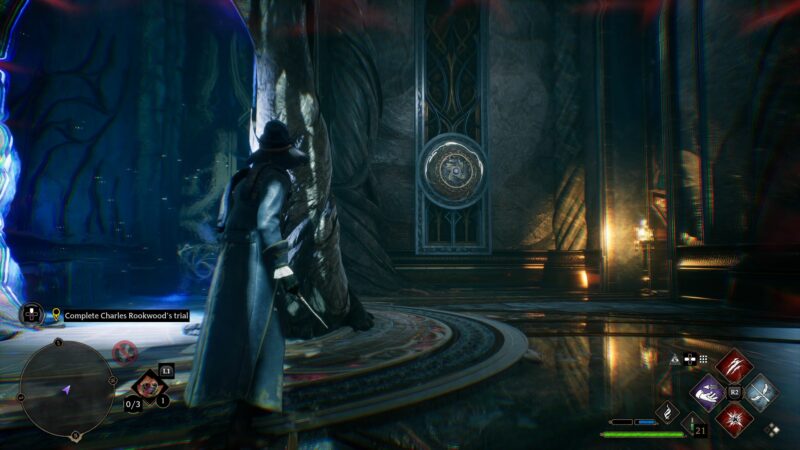
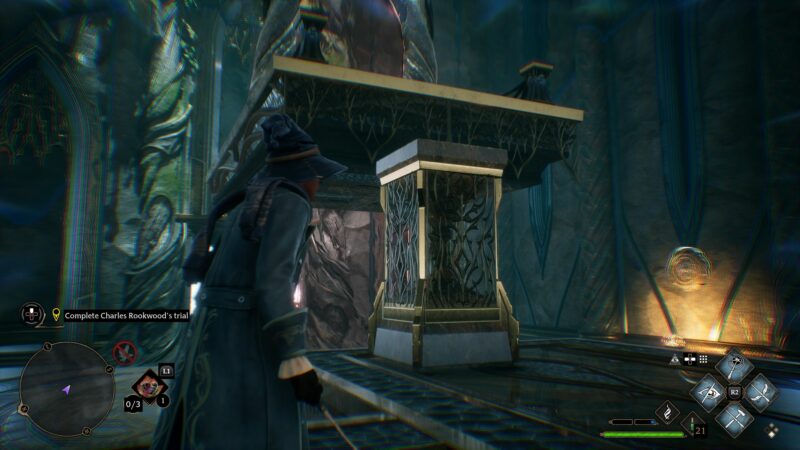
Inside the castle, make your way down to the portrait.
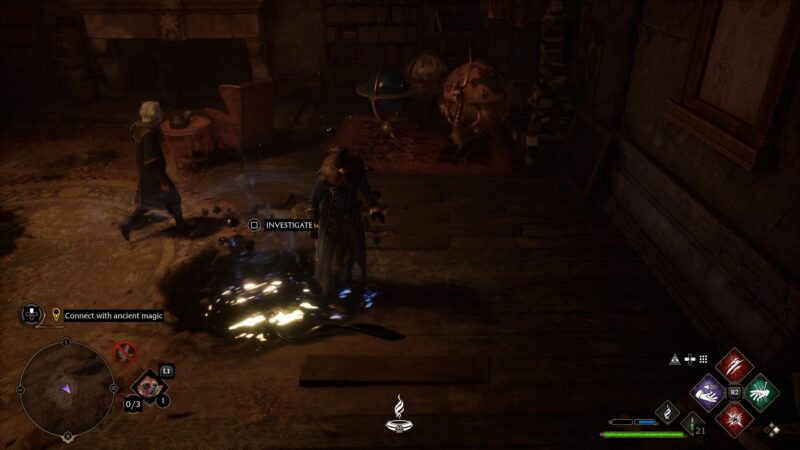
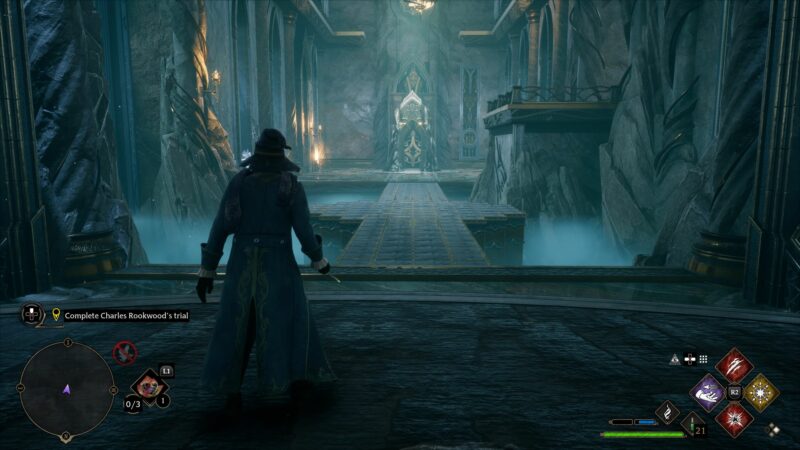
Connect with ancient magic
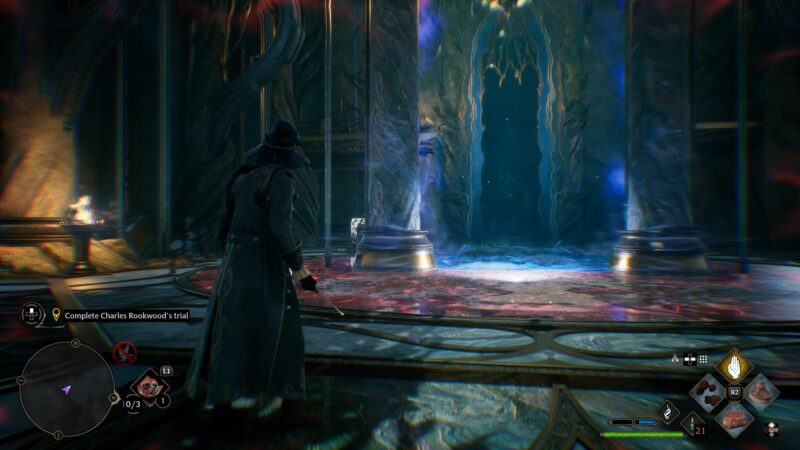
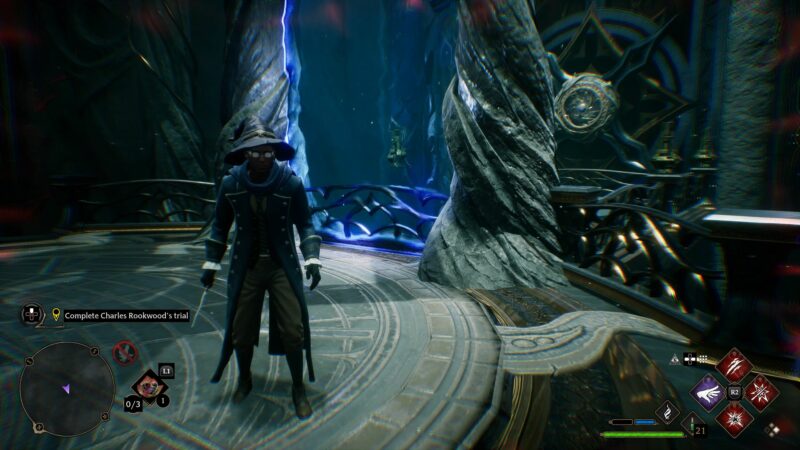
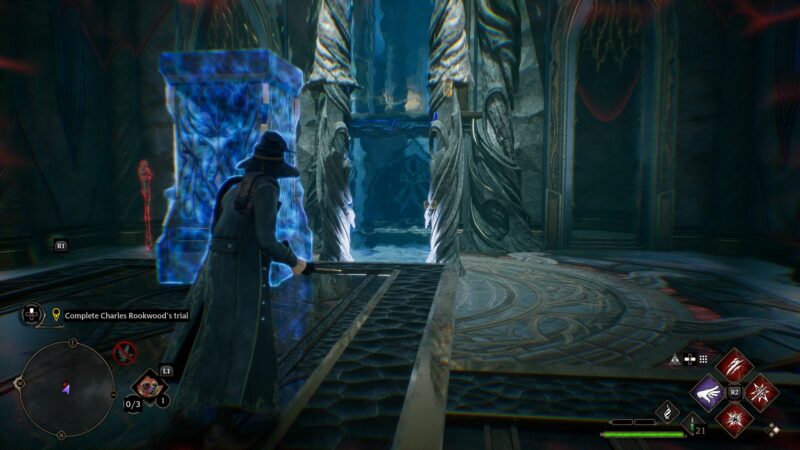
To enter the trial area, connect with ancient magic on the floor. Enter the portal.
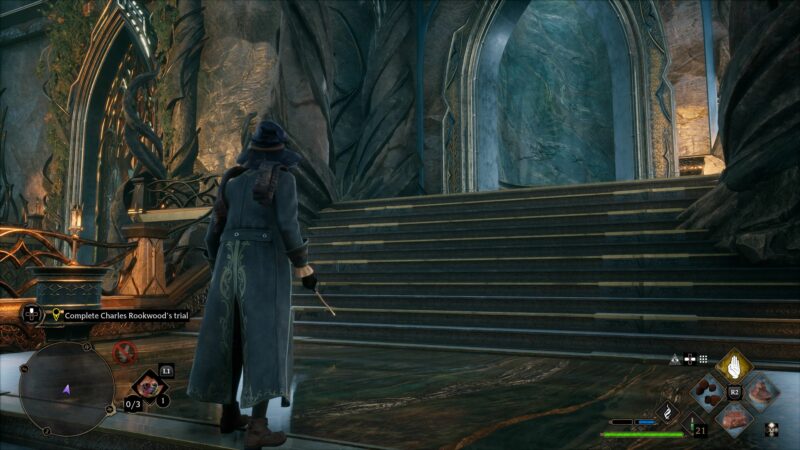
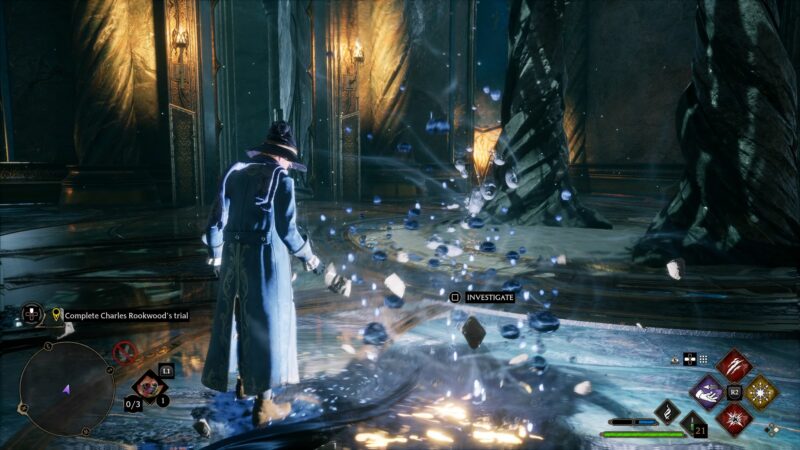
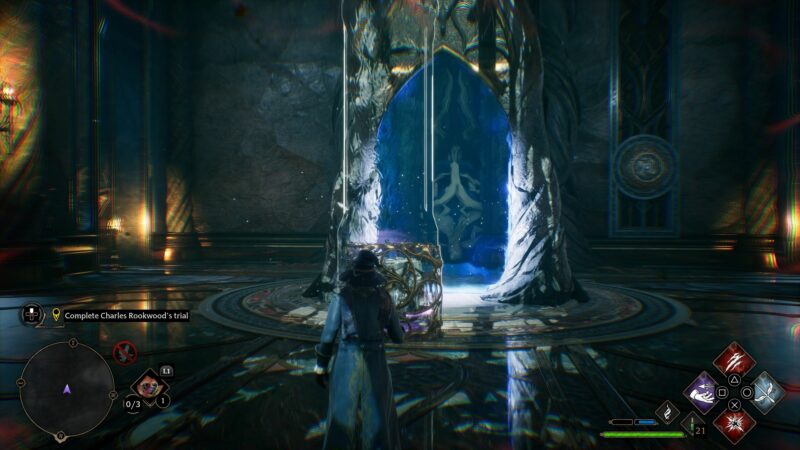
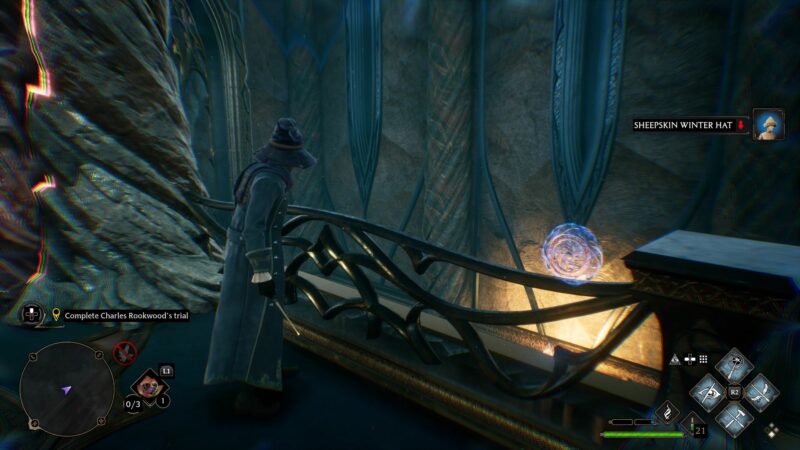
Complete Charles Rookwood’s trial
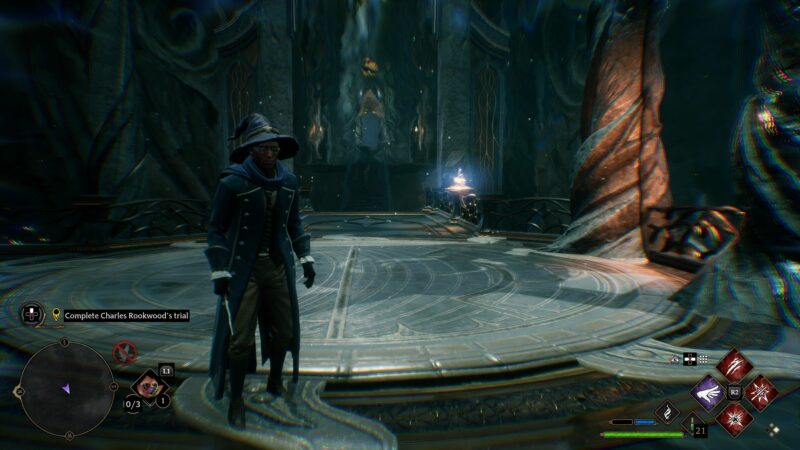
Inside the trial, make your way up the stairs.
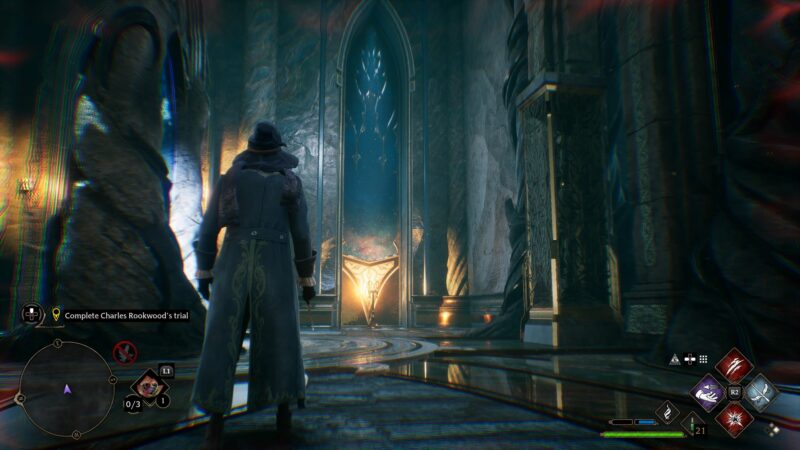
You’ll see another magic source to connect with.
Now, go down the stairs and you’ll see the blue / red portal like before.
When your screen is blueish, use Wingardium Leviosa to move the box near the platform you have to climb.
Enter the red portal.
The box will now become a pillar. Climb it and go all the way up.
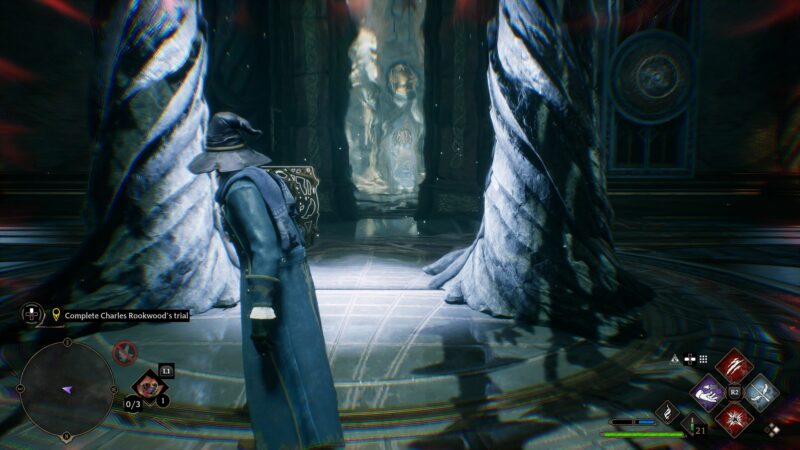
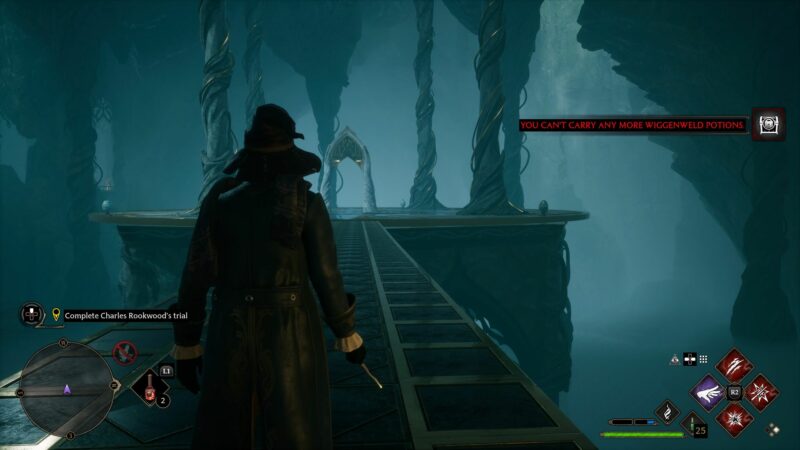
Continue to make your way past the bridge.
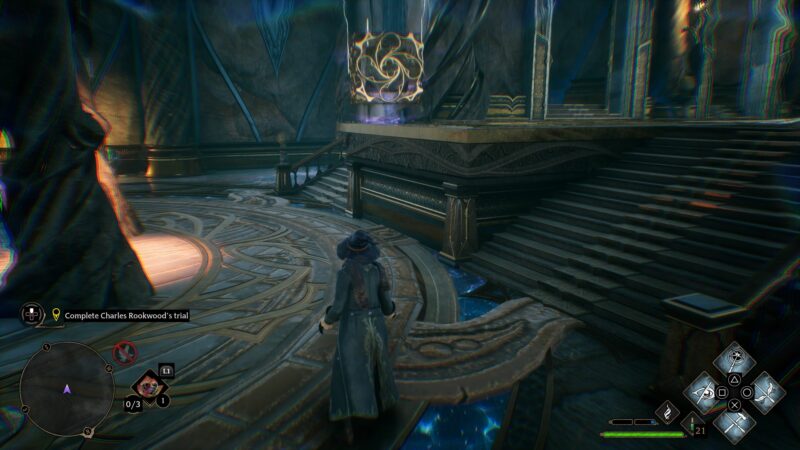
At the end of the area, connect with the magic.
You will notice that a tall pillar blocks your way.
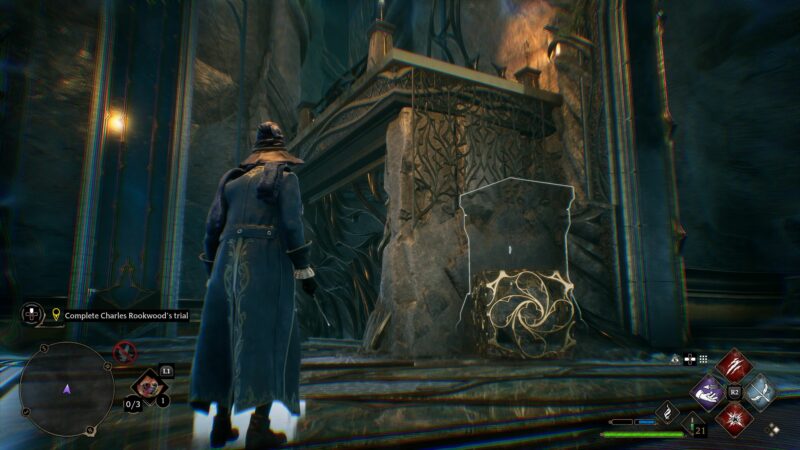
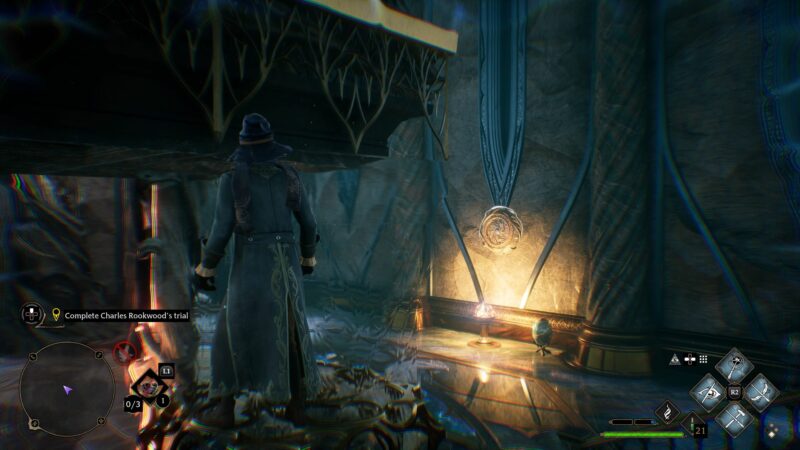
Look for the symbol beside the arch (image below).
When you cast magic on it, the arch will rotate.
Go through the arch and you should see that the pillar is now a box instead.
Use Leviosa to drag it out of the way.
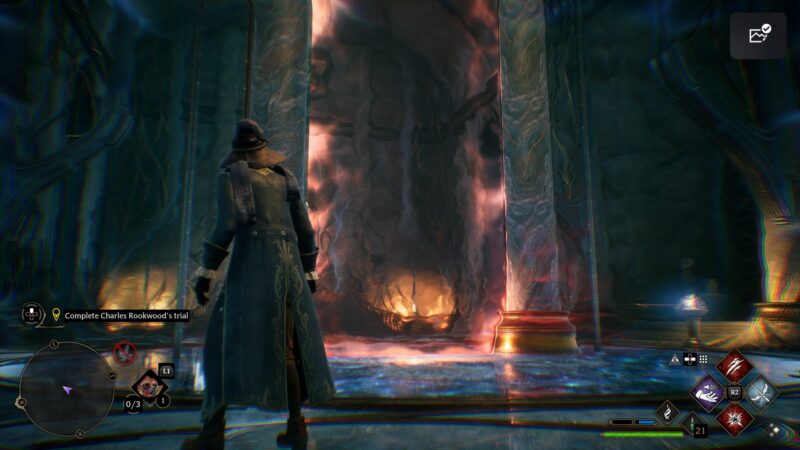
You can now go through the arch and to the new area.
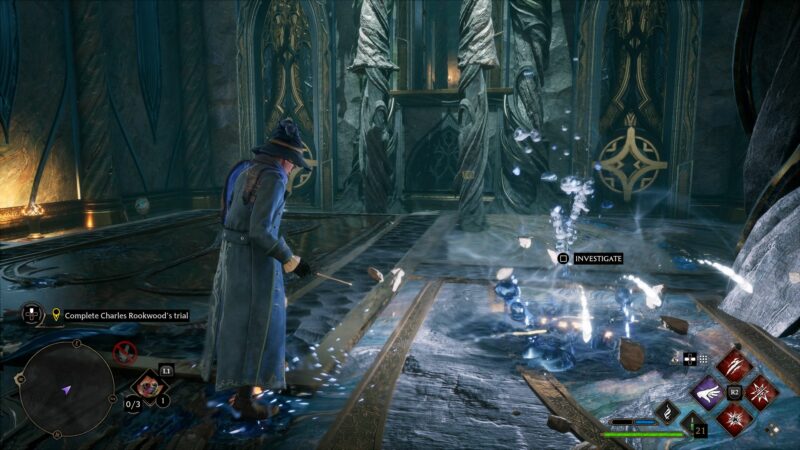
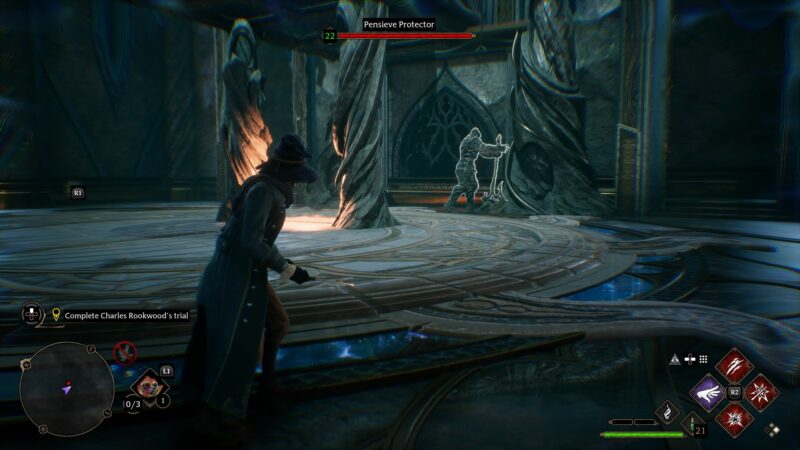
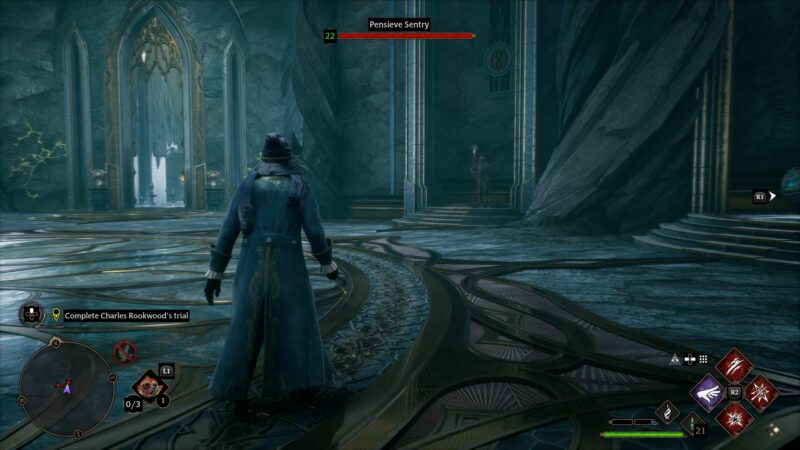
You will then come across some Pensieve enemies. Take them out.
Go until you reach another magic source.

For the next part, you need to go left but the bridge is missing. Jump through the blue portal and you’ll fall.
However, you will respawn and the bridge on the left is formed. Use the bridge.
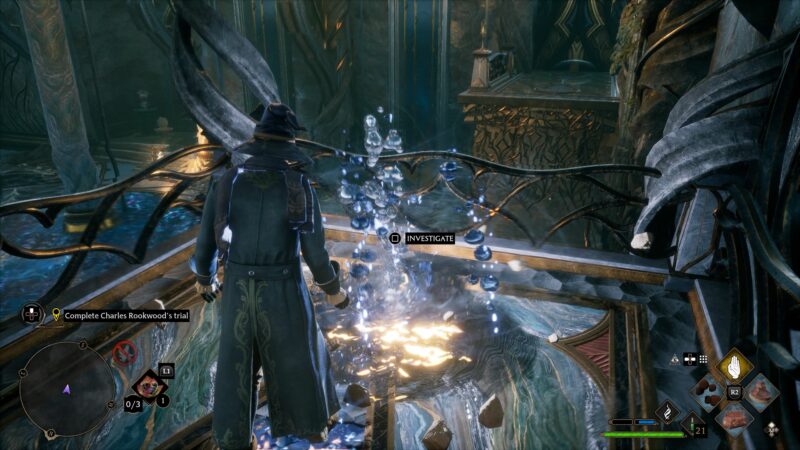
Investigate the magic source again.
In this area, you have to rely on the arch again.
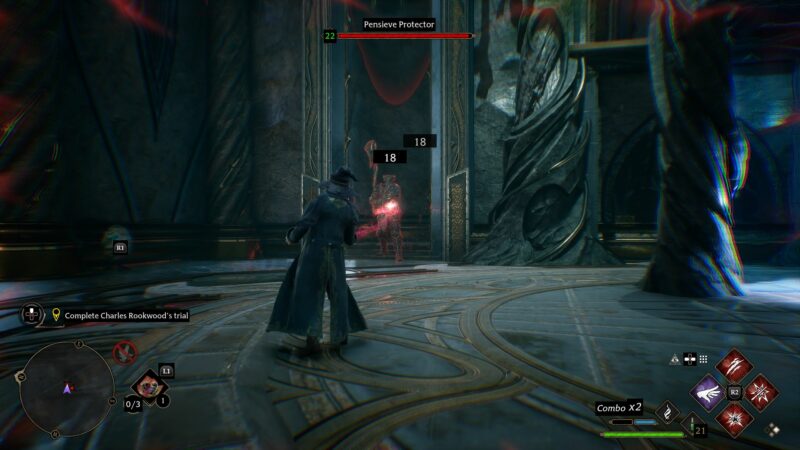
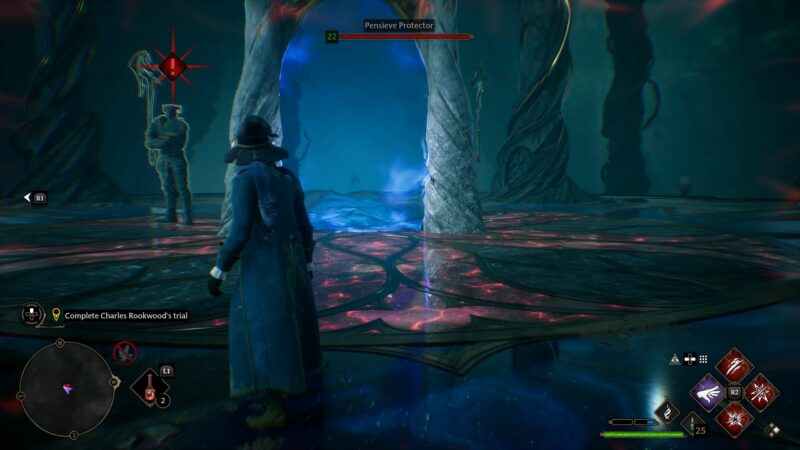
Take out one Pensieve Protector when your screen is reddish. You will notice that an axe will keep attacking you.
Go through the blue side of the portal.
You can now see the other Pensieve Protector. Defeat him too.
After you’re done with both Protectors, your aim is to cross the platform to the other side.
Shoot the symbol on the right-side wall to rotate the platform. You’ll notice that you can climb on the pillar but the platform is invisible when your screen is reddish.
If you enter the blue side, the pillar disappears but the platform is seen.

To solve this, rotate the platform to your side first.
Then, drag the box through the portal using Wingardium Leviosa.
The pillar will now be huge and you can’t move it.
Go back to the red side and move the pillar back.

Then, enter the blue side again and you can climb onto the platform.
Shoot the symbol to rotate the platform that you’re on.
Proceed ahead and defeat more enemies.
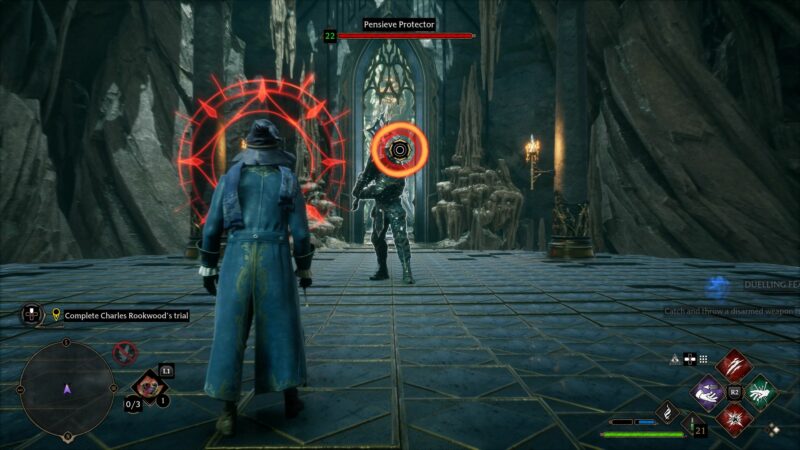
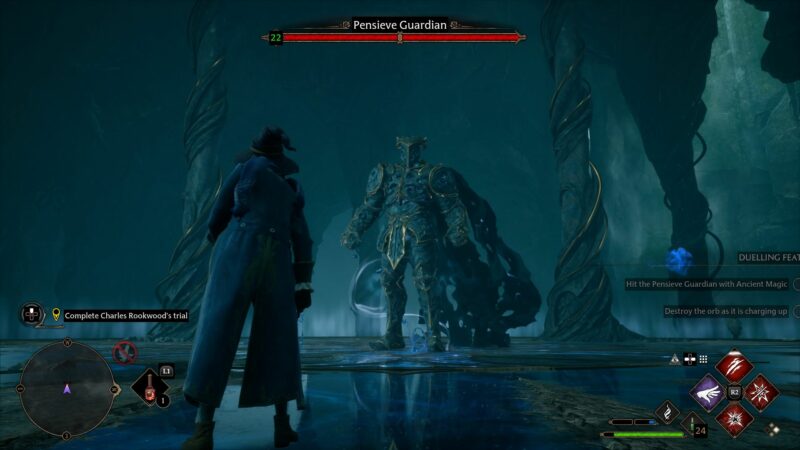
You will eventually reach the final boss stage.
You have to take out two Pensieve Protectors. There is one on each side. Defeat one first and then enter the portal to defeat another.
Finally, defeat the Pensieve Guardian who is much stronger.
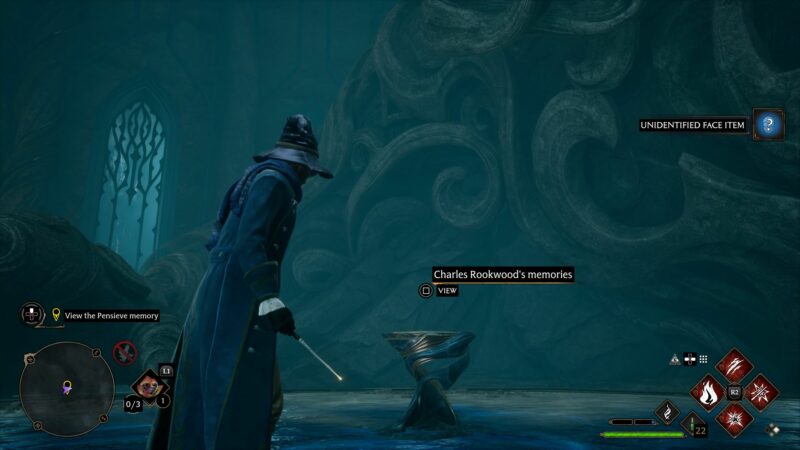
View the Pensieve memory
Go to the next room to view the Pensieve memory.
Speak to Percival
Exit the trial and return to the Map Chamber. Talk to Percival.
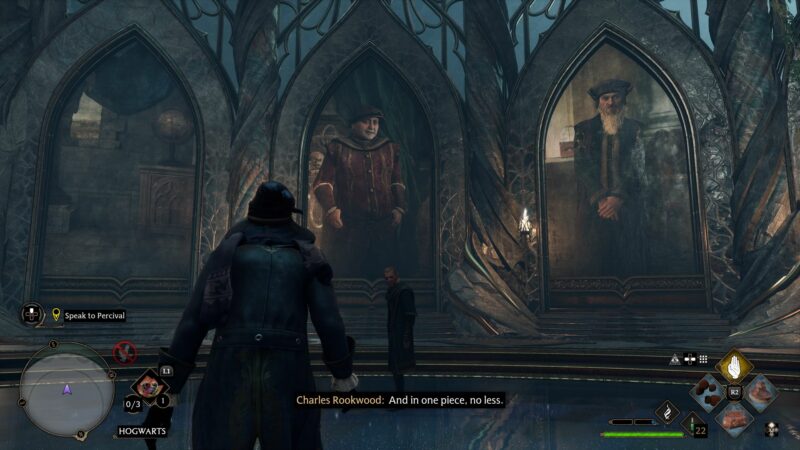
The quest ends here. You will now experience the winter season of Hogwarts.
Related articles: