Bounty: Krubis is the second bounty you can take on in High On Life.
This mission will be set in a jungle region of the game and includes the mines.
Here’s a walkthrough and guide of Bounty: Krubis in High On Life.
To begin the bounty, select Krubis on the bounty 5000 machine.
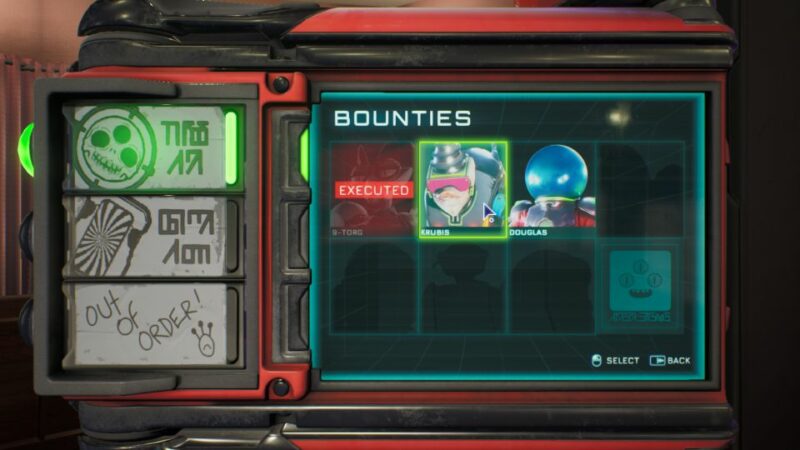
Explore the Jungle
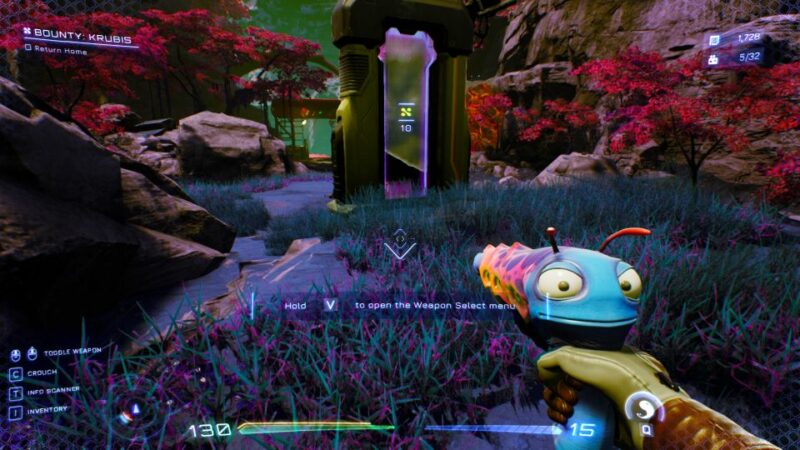
Enter the portal to reach the Jungle region.
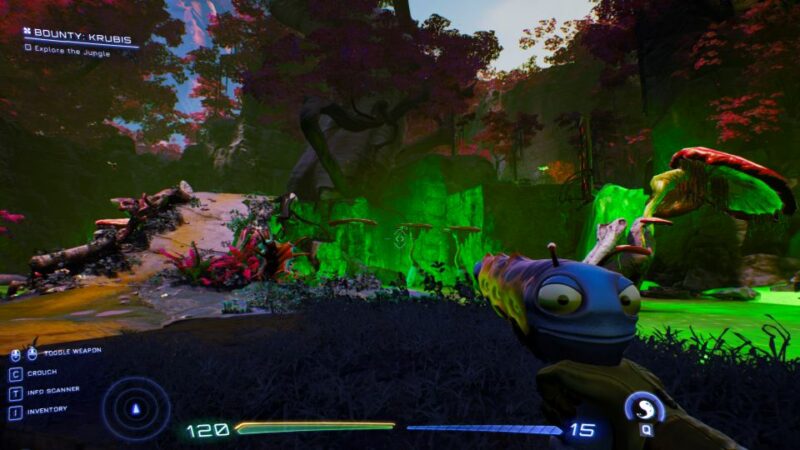
Just keep going until you see mites. Kill them all.
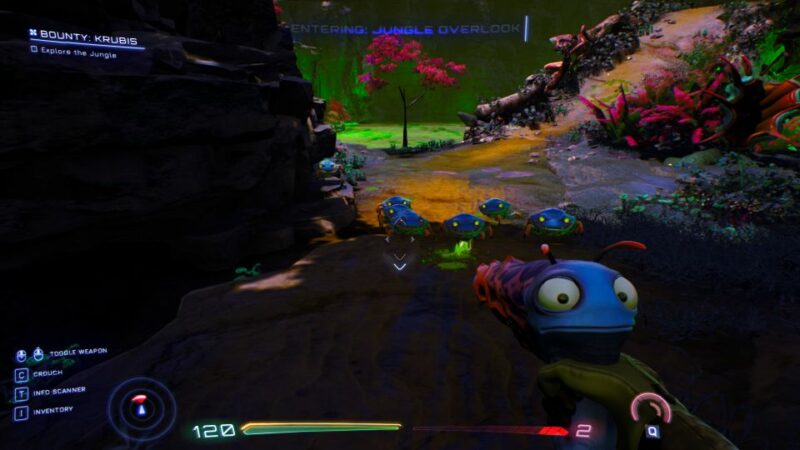
Follow the path and use the zipline to proceed.
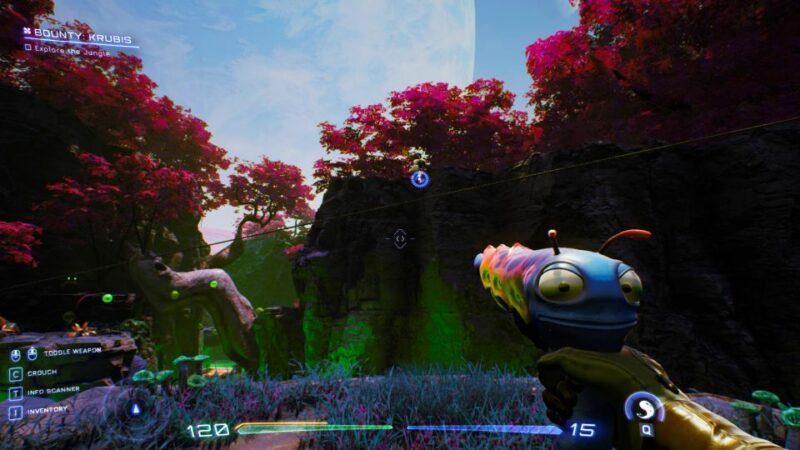
You’ll also learn a new mechanism here. Shoot the glowing green slime so that it releases those red growth that can be used as a platform.
It’s only temporary and you have to shoot the slime again to activate it.
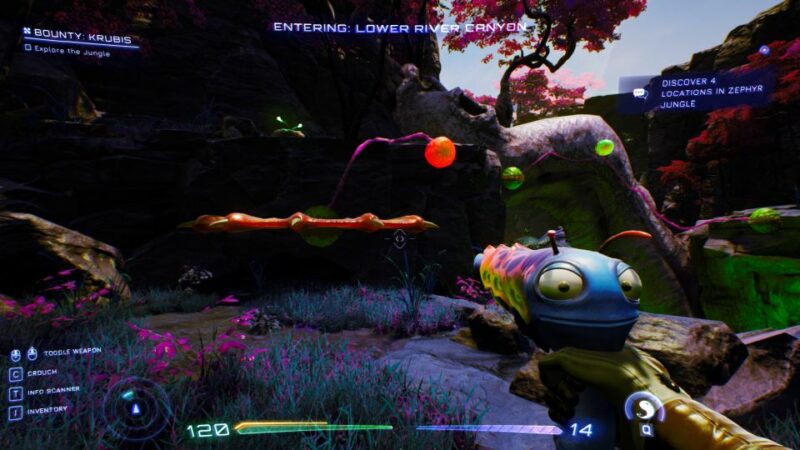
Keep using the platforms to go ahead.
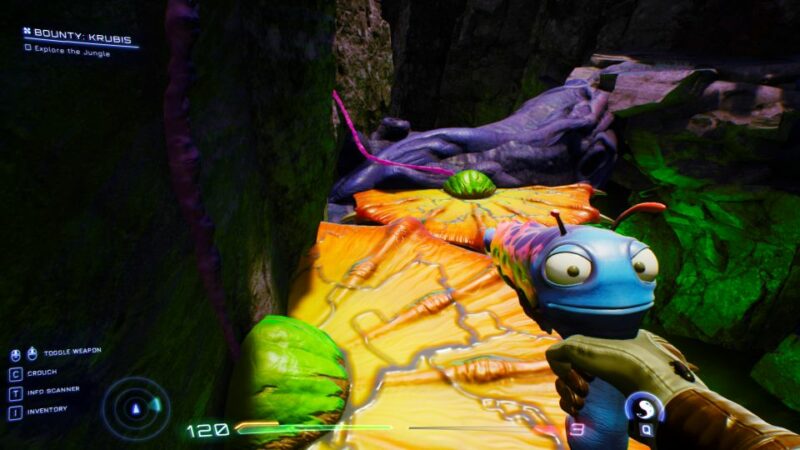
You’ll then reach a small cave. Crouch inside.
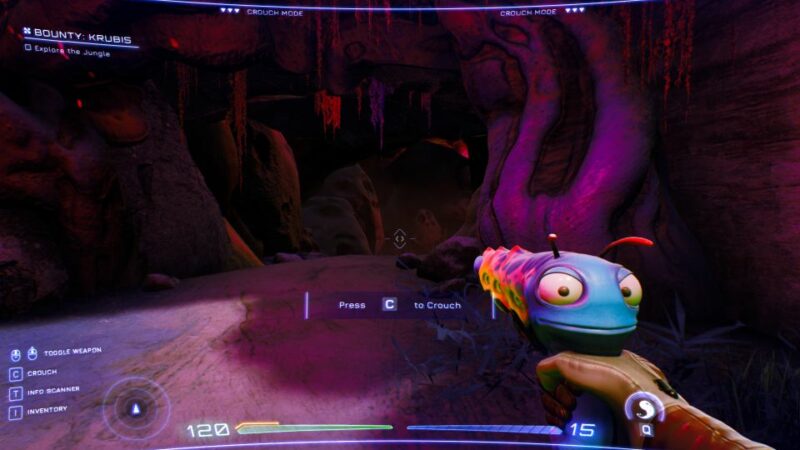
As you reach the other side, take out all of the enemies.
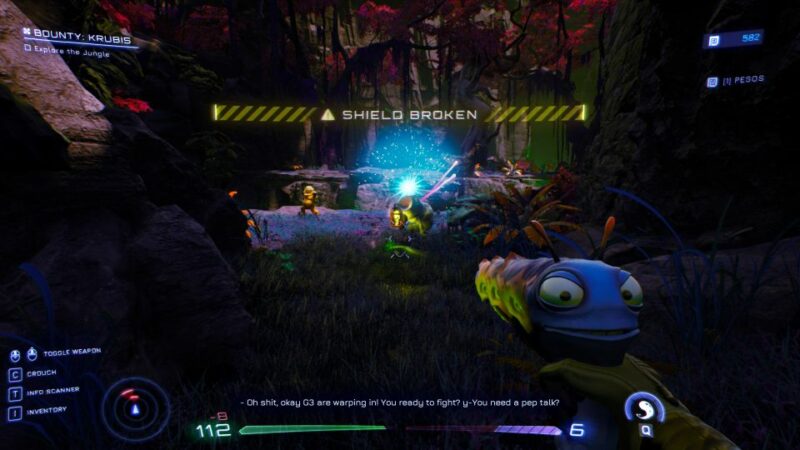
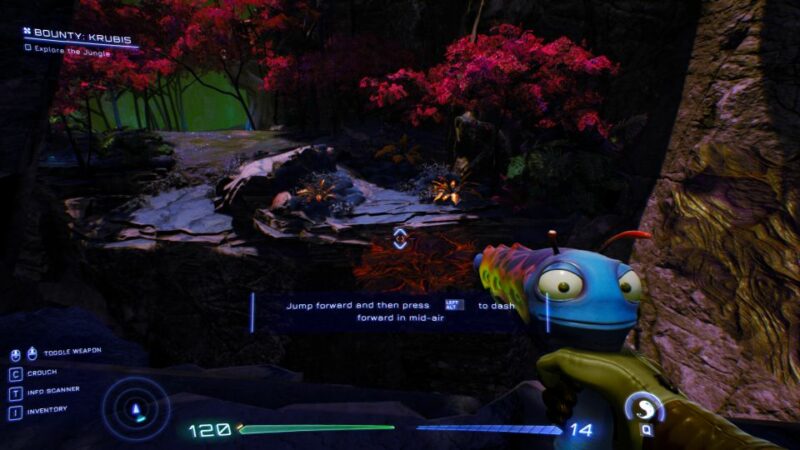
Continue to use the waypoint. Follow the path until you see a wide gap.
Here, you need to sprint jump and then dash forward to make it to the other side.
Free the village
You’ll eventually reach a village occupied by G3 enemies. Take them out.
You can shoot the green slime in the middle so that the red growth that appears knock the enemies.
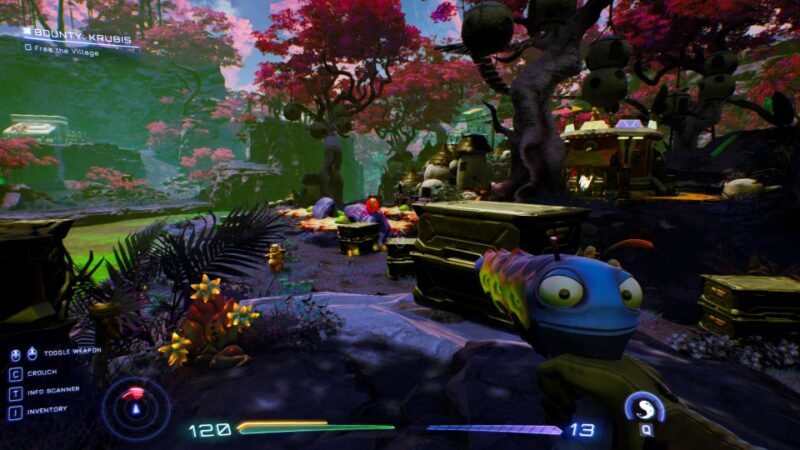
Continue to take out all of the enemies first.
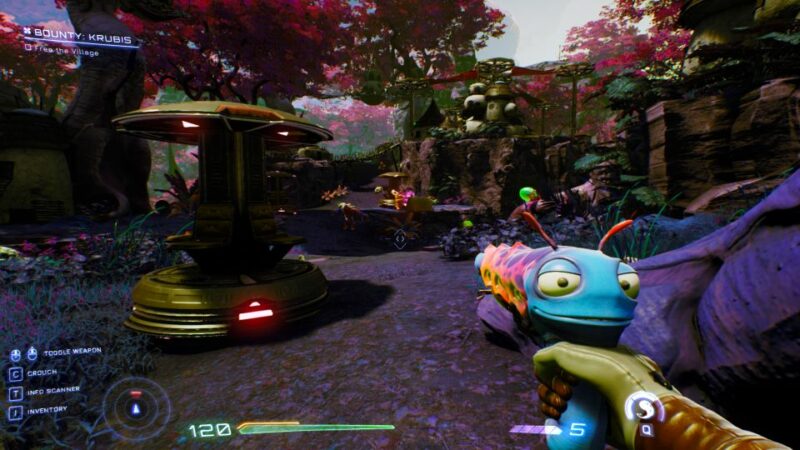
Speak to the Moplets
Talk to the head of the village.
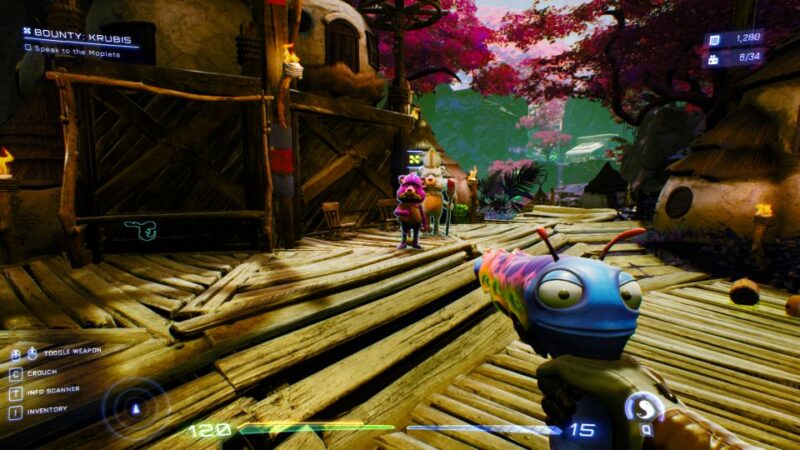
Get the warp drives
Next, you can collect all of the warp drives in the village. There are at least 3 of them. One is near the entrance to the mines.
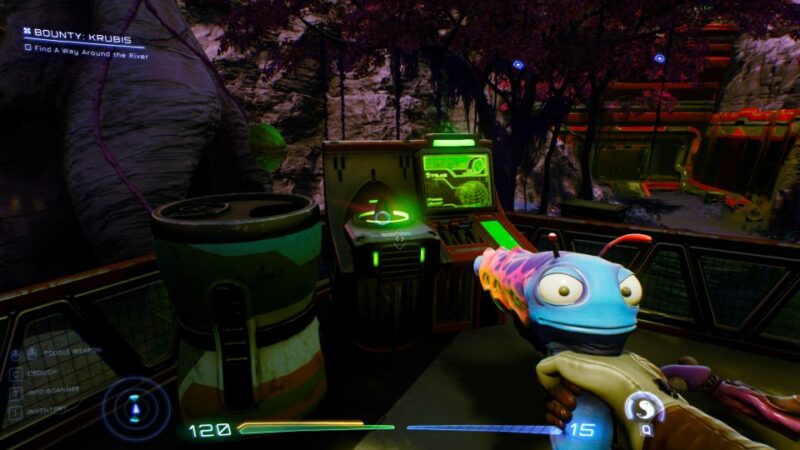
Another is at the top of a building. You will need to jump and dash to reach it.
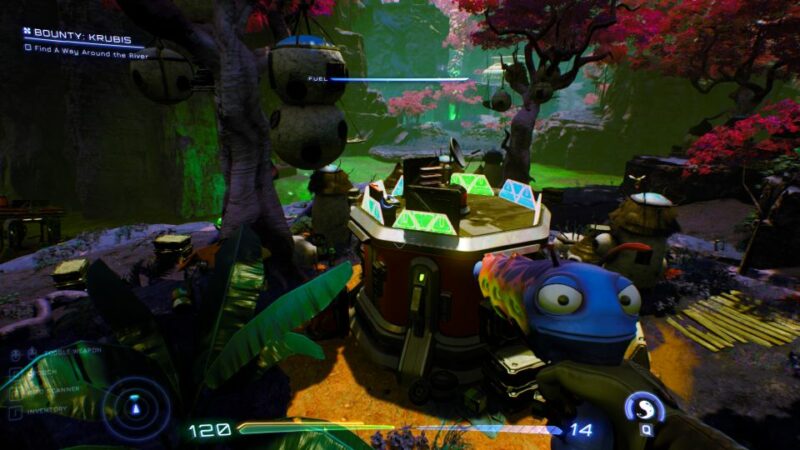
The third one is at the sinking building where you see two enemies cursing at each other repeatedly.
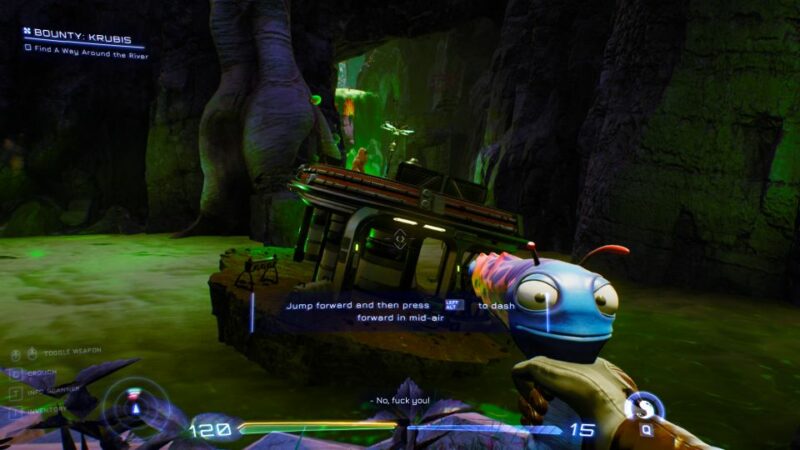
Find a way around the river
Now, from the third warp drive, continue following the path ahead.
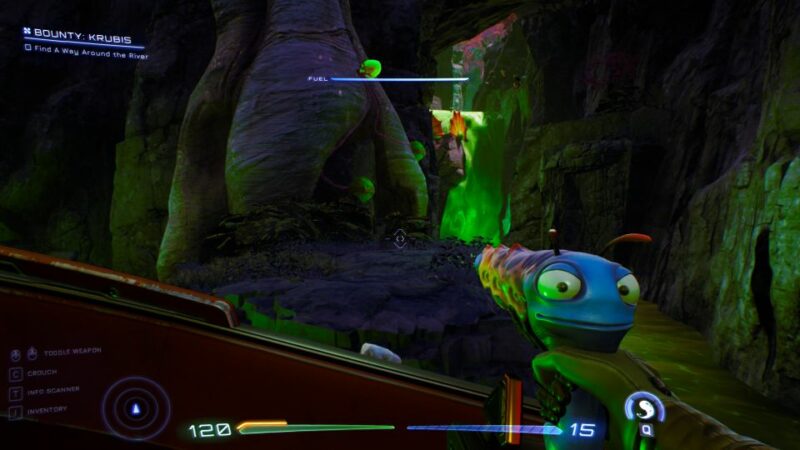
Make your way up the river using the flies.
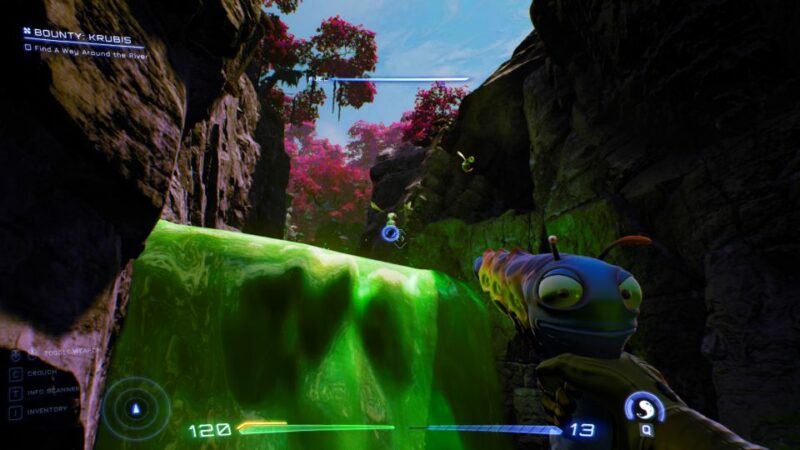
You will then meet an annoying fly. To get to the other side, you will need to catapult.
Stand on the inner part of the platform and use glob blast on the outer part and you’ll catapult.
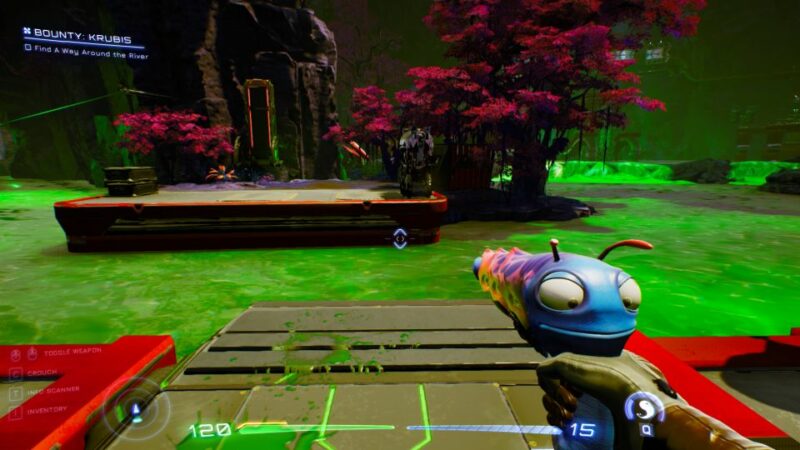
At the next area, use glob blast to bounce it off the wall and push down the bridge.
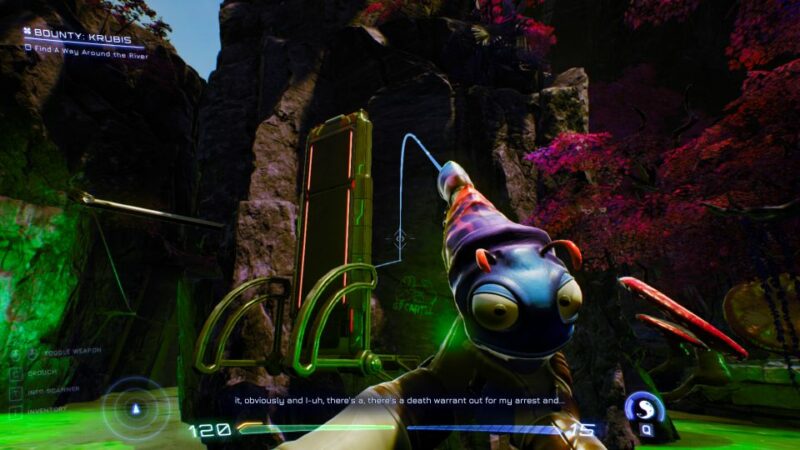
From the bridge jump to the zipline and use it.
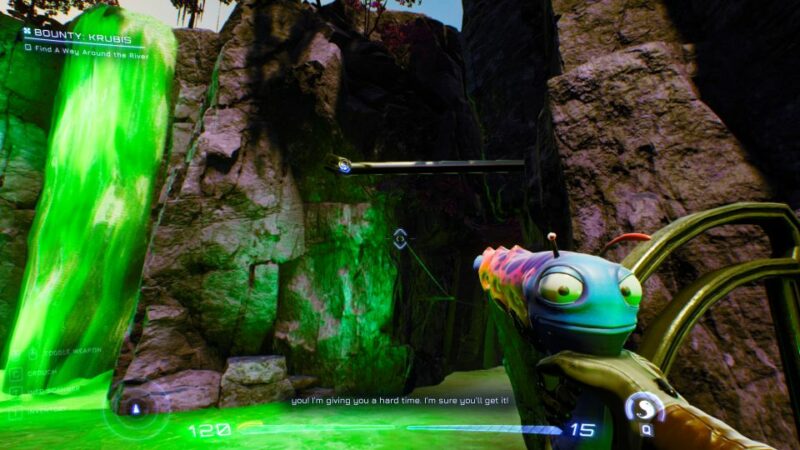
When you’re on the zipline, you have to use glob blasts continuously to push down platforms or you’ll get knocked into the toxic water.
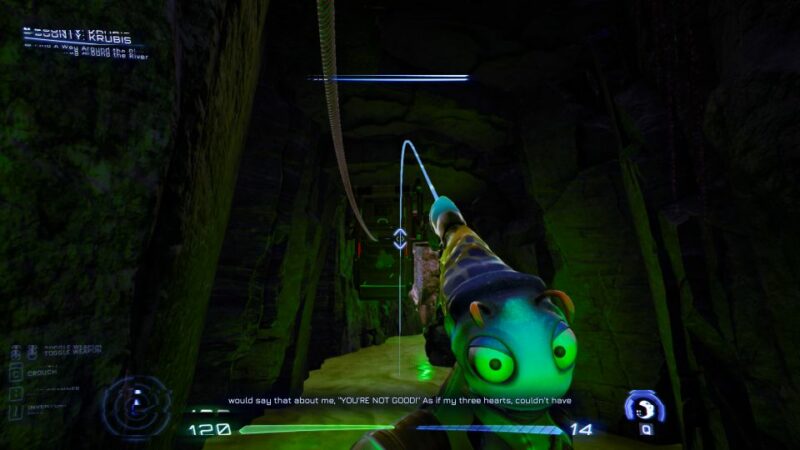
You will reach another enemy base. Knock down the bridge.
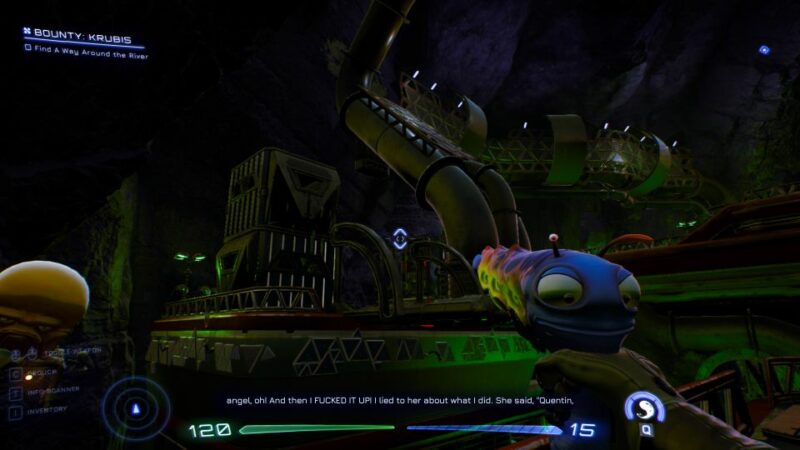
Continue to use the platforms to proceed.
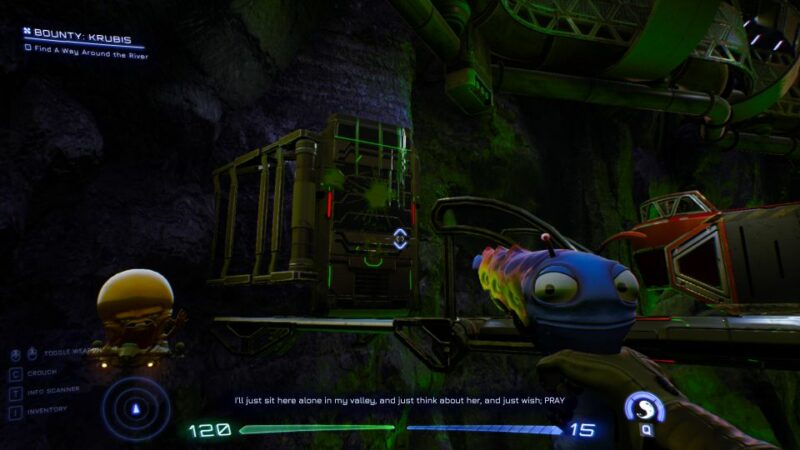
You may find some enemies in the area. Take them out.
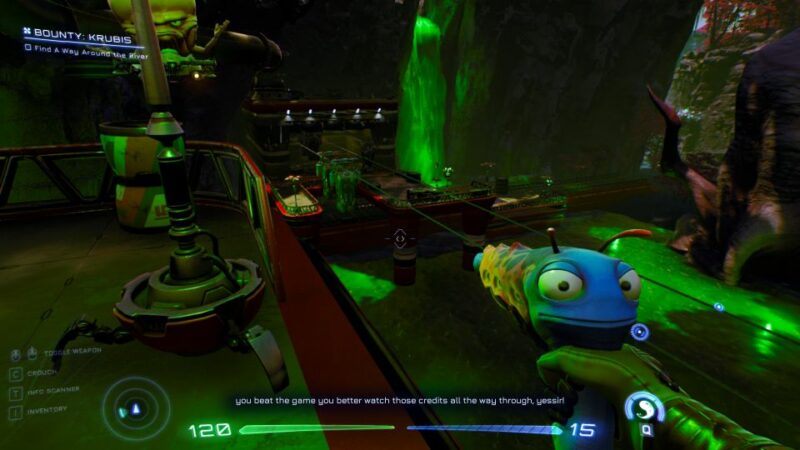
There’s also a store in the area where you can buy ammo sac and some other stuff.
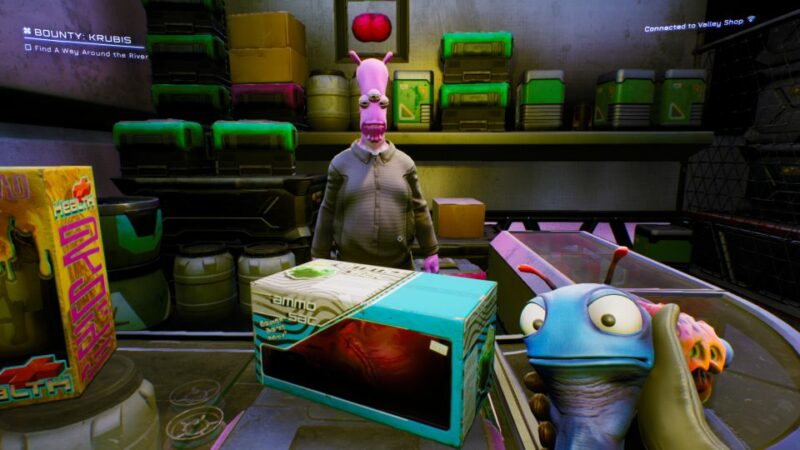
Locate the mansion
The next objective is to locate the mansion.
Use the waypoint.
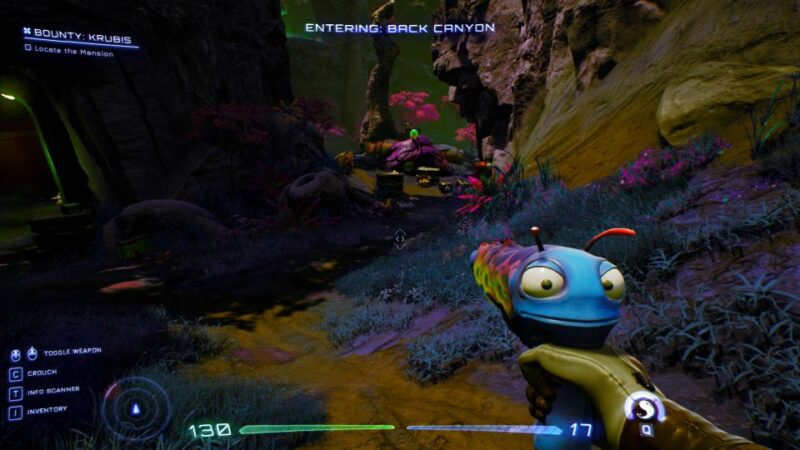
You’ll then reach the mansion.
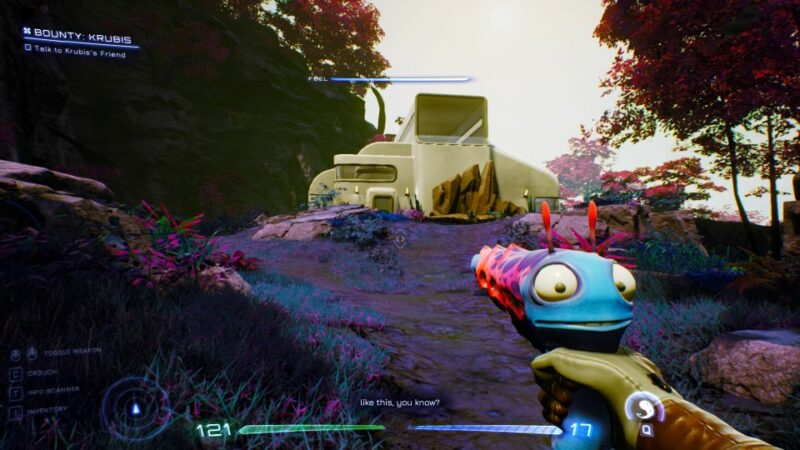
Talk to Krubis’ friend
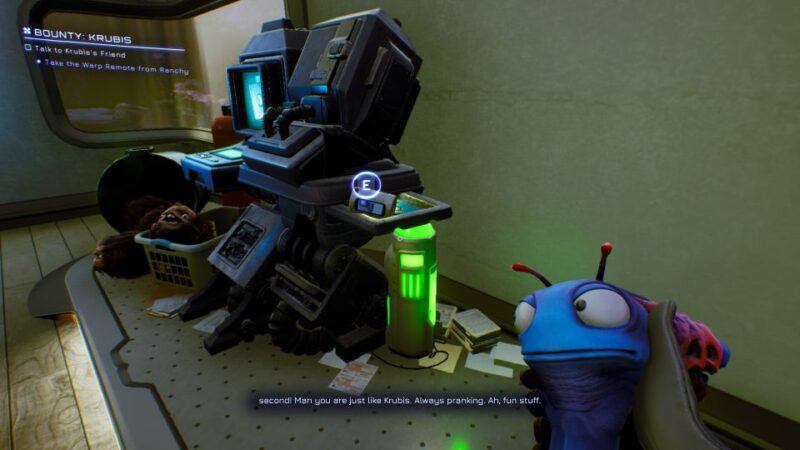
You’ll see Krubis’ friend inside. Talk to him.
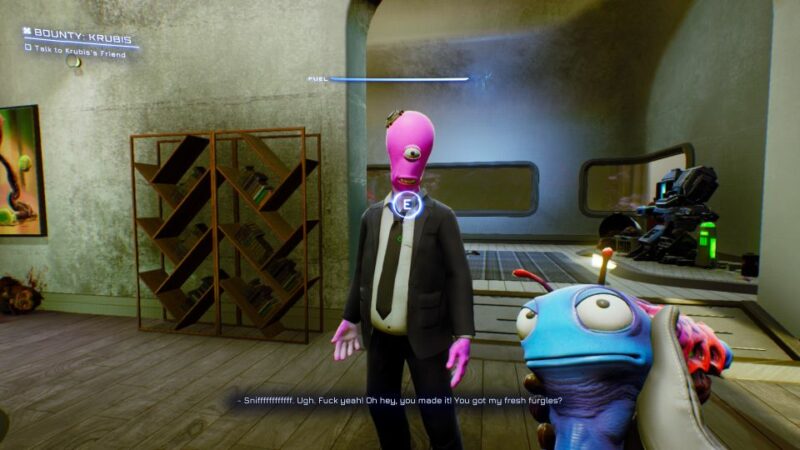
Then, take the warp remote from the device.
Return to the village
Use the waypoint to go back to the village.
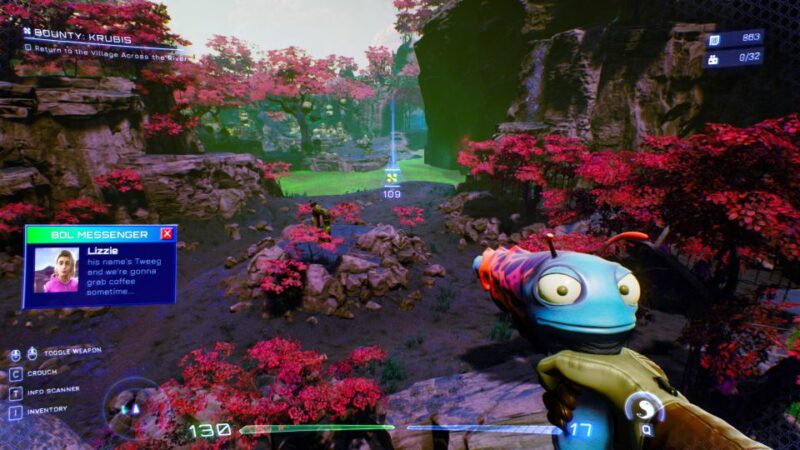
You can now use the warp device to cross the river.
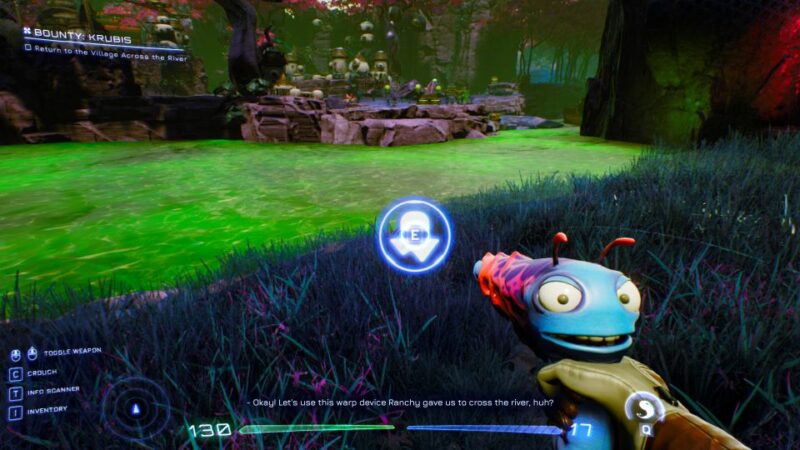
The device will warp a bridge from somewhere else into your realm. Use it to cross over.
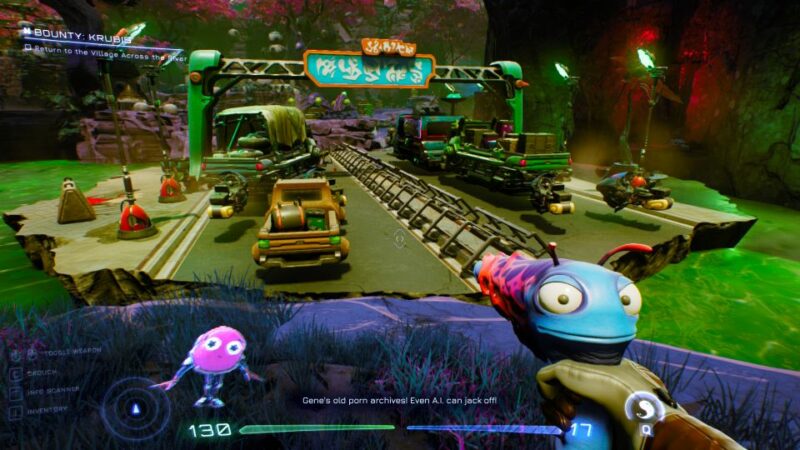
Return to the Moplet Elder
At the village, talk to the Moplet Elder from before.
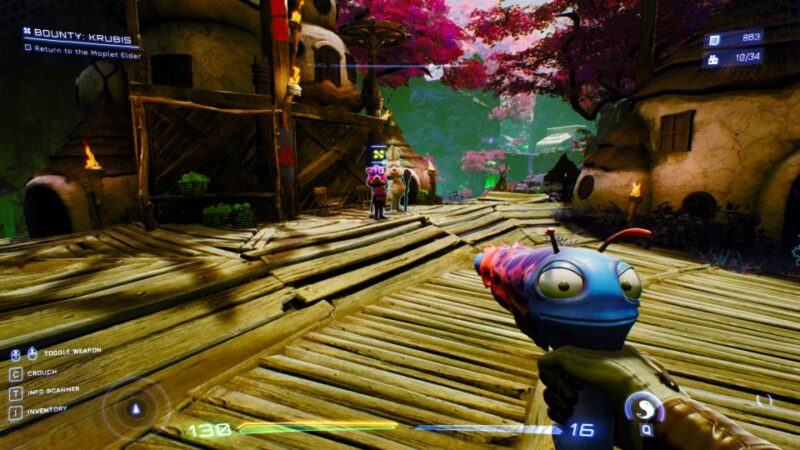
Find the mining site
He’ll tell you to go to the mining site. The entrance is just nearby, which is the reddish building.
Interact with the access pad to enter.
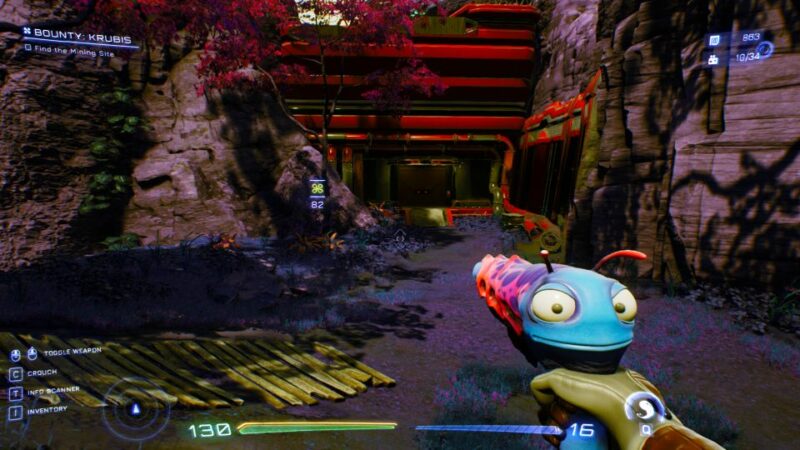
Continue to follow the waypoint.
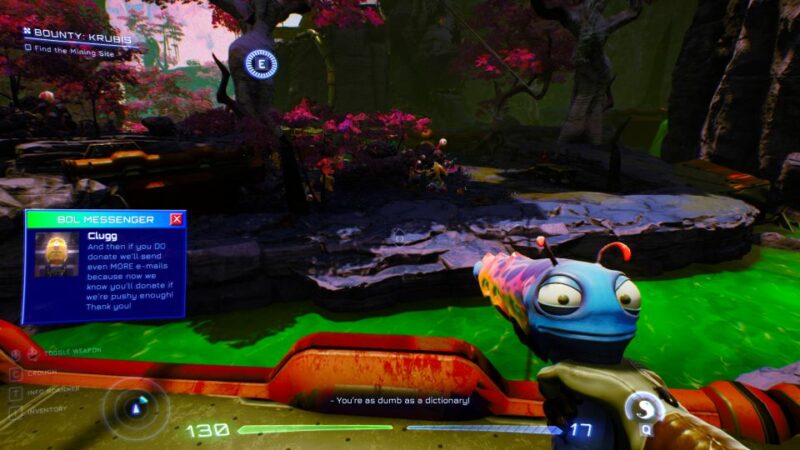
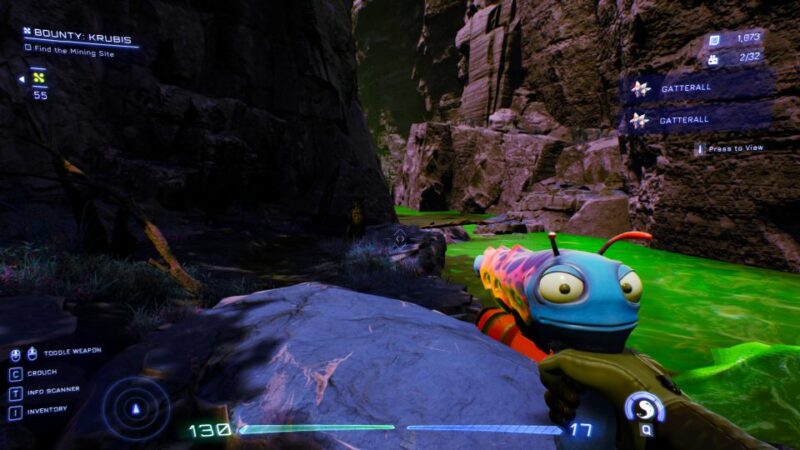
Clear out the G3 Outpost
Keep going until you reach a G3 Outpost.
Take them all out.
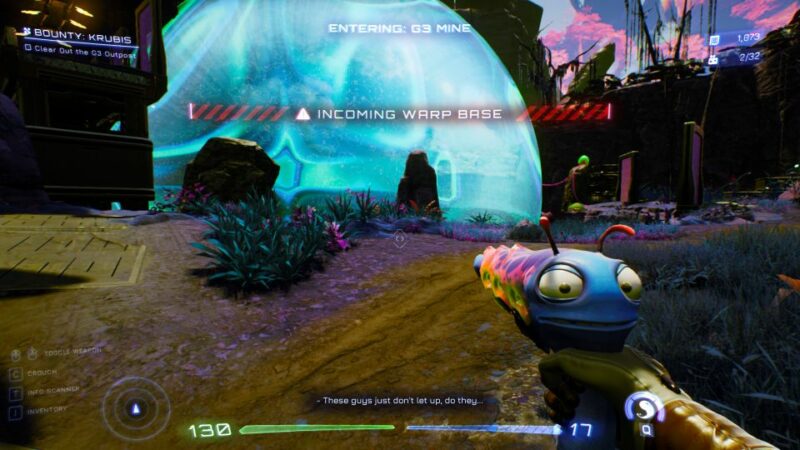
You can utilize the green slime plants to take out some of the enemies as the platform will push them down the toxic river.
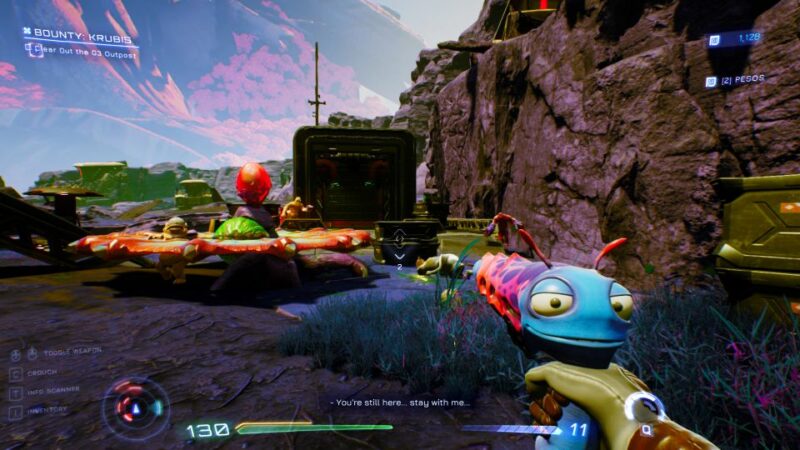
Once you’ve cleared the area, take the warp drive.
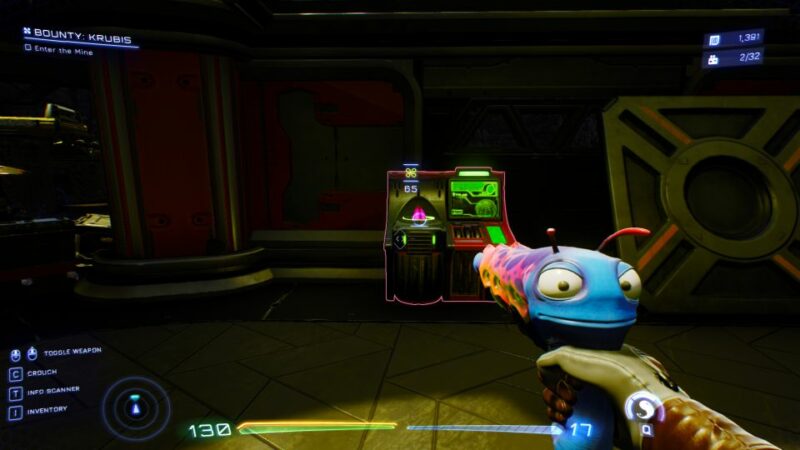
Enter the mine
Use the elevator to enter the mine.
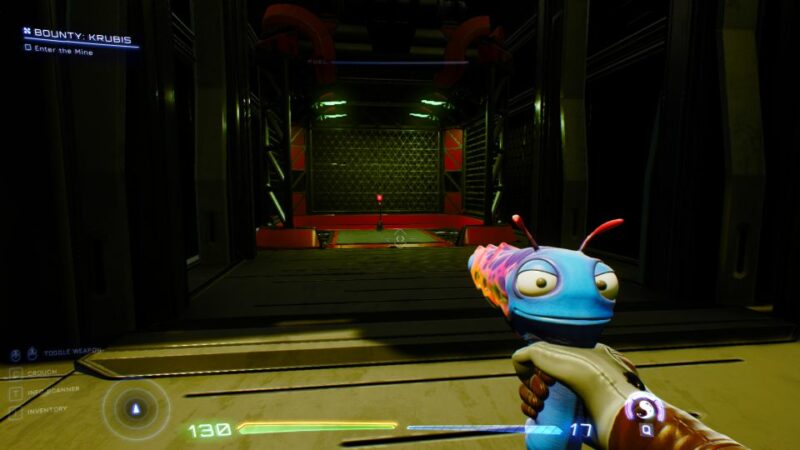
Inside, you’ll meet more enemies.
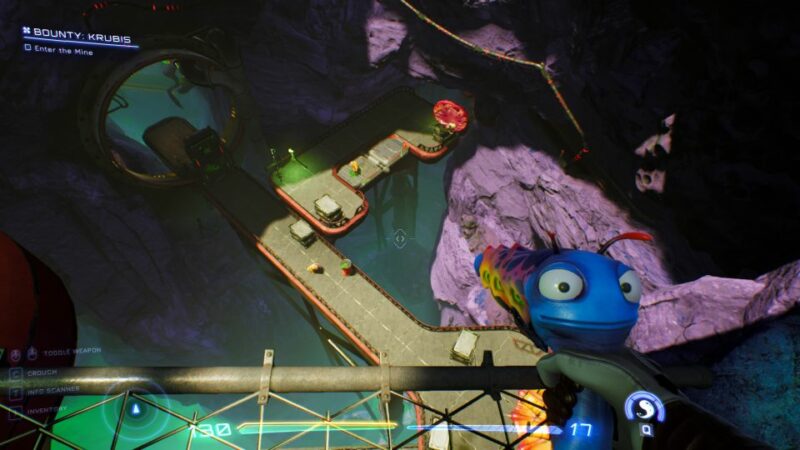
After clearing the area, you can find another shop.
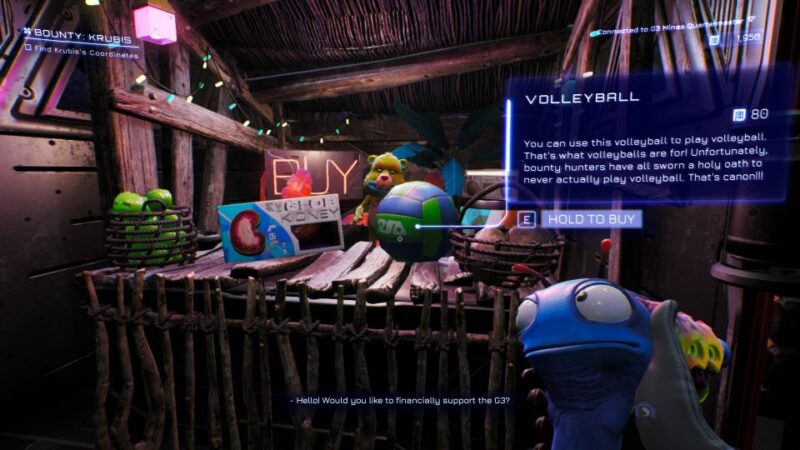
Find a way to disable the laser grid
A laser grid blocks your path. Look up and you’ll see the cables leading into the building.
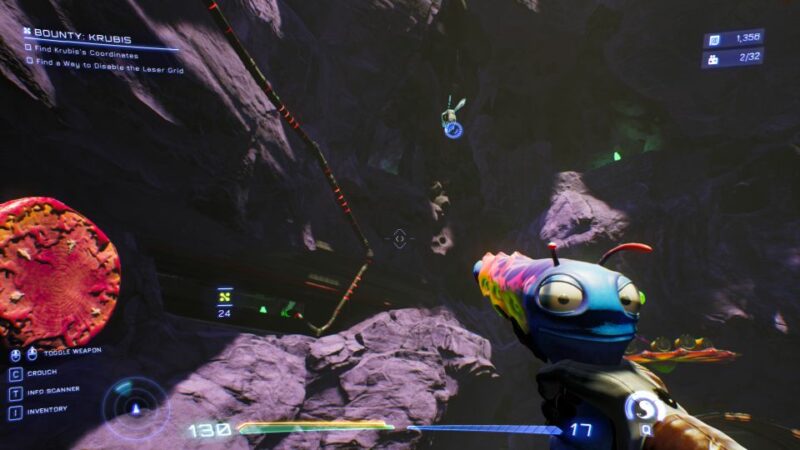
To get to the console, you need to enter the area where the shop is.
From the shop, just climb up and you can access the control room.
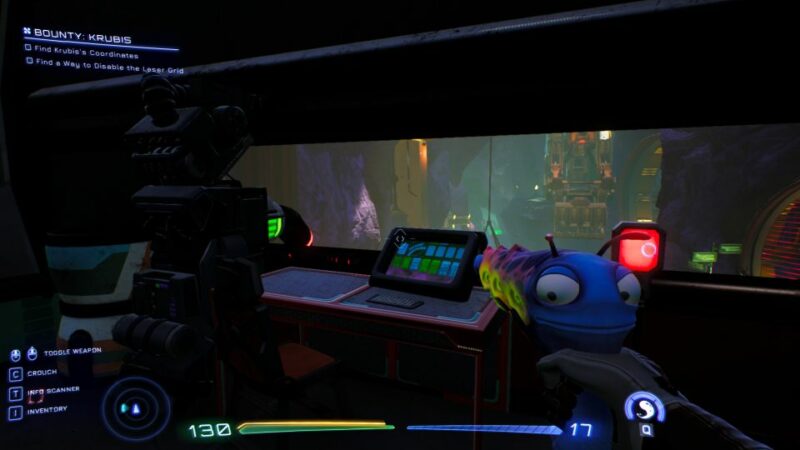
After turning off the lasers, go back to the path.
Shoot the glob blast to bring down the platform and it will then activate the slime plant on the right side. Use the platforms to cross.
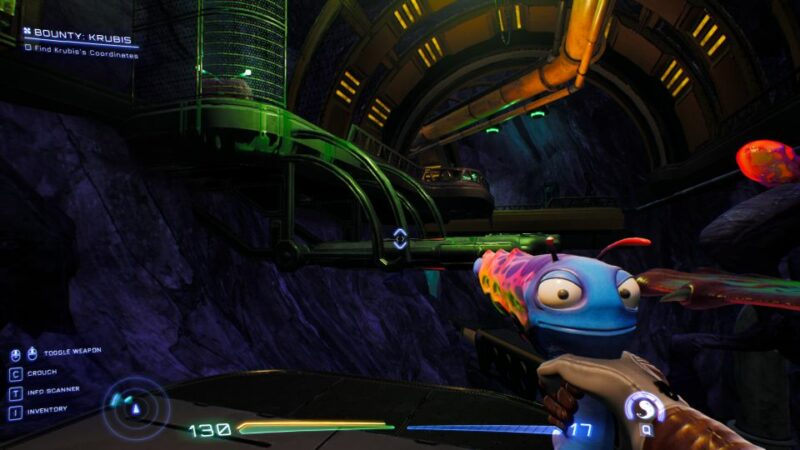
Find Krubis’ coordinates
Keep going until you reach the administration office. Talk to the lady.
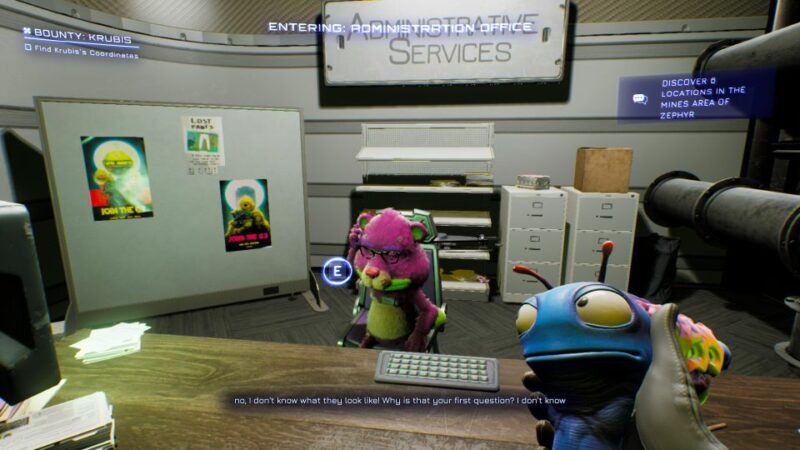
Among the options, I chose I’m the new boss and it didn’t work.
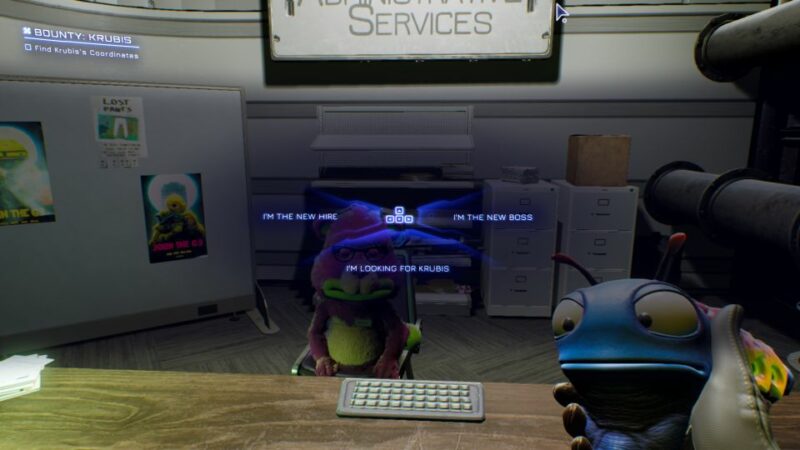
Bureaucracy Simulator
You will then be forced to do some paperwork which takes a bit of time.
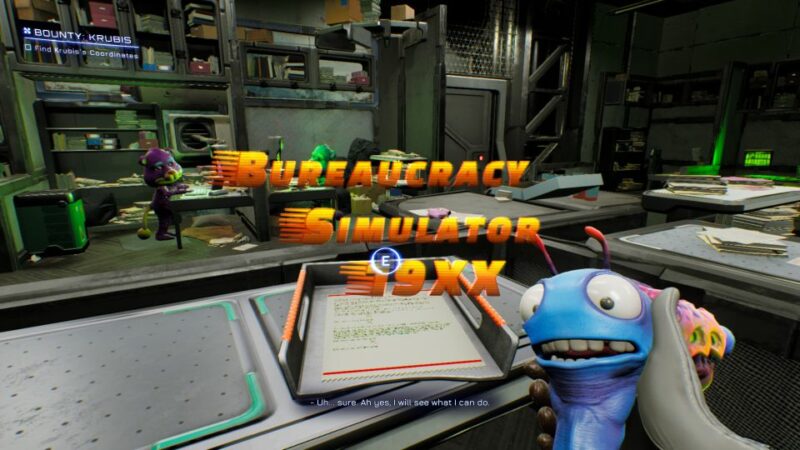
For each paper, you need to follow the prompts on the line.
It can be a keyboard letter or spacebar (if you’re on PC). When you’re done with each paper, place it on the left tray.
Keep doing the same thing and you need to finish 3 different stacks of paper.
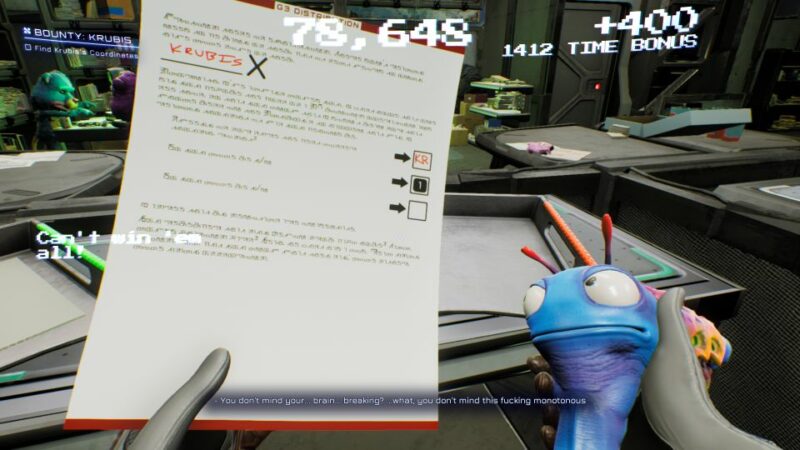
After you’re done, enter Krubis’ office and get his coordinates.
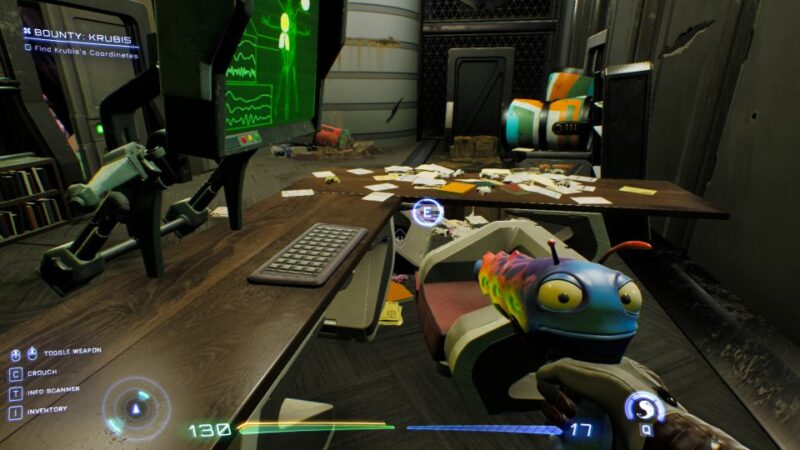
Find a blank warp disc
The next objective is to find a blank warp disc. Continue ahead using the waypoint.
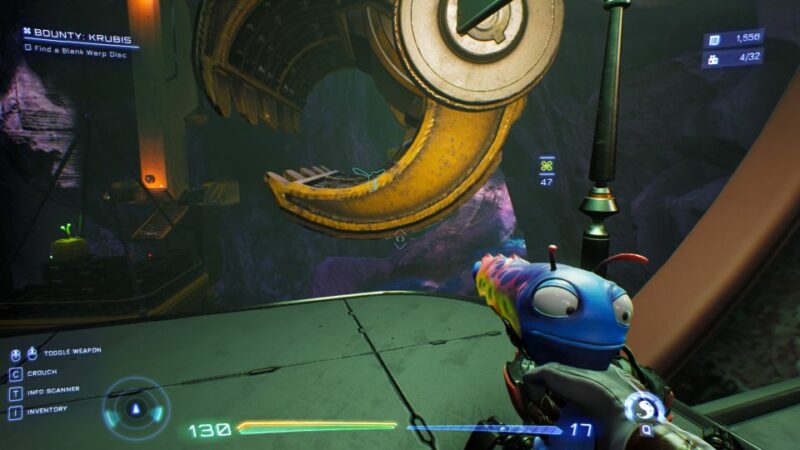
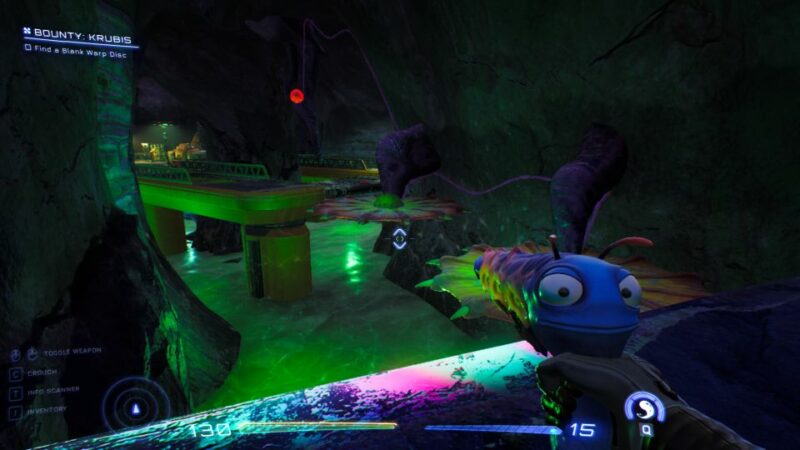
Keep going and you’ll see a group of Moplets imprisoned an enemy. Talk to them and proceed.
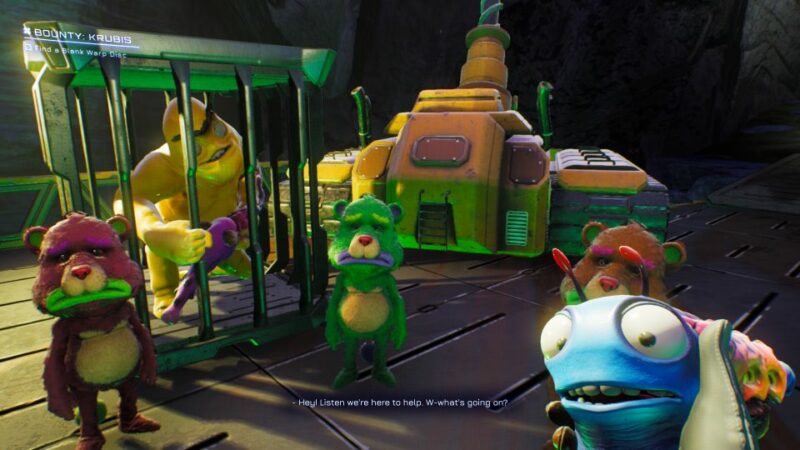
Find the Sacred Grounds Warp Disc
You’ll then find the Sacred Grounds base. Enter and clear the enemies first.
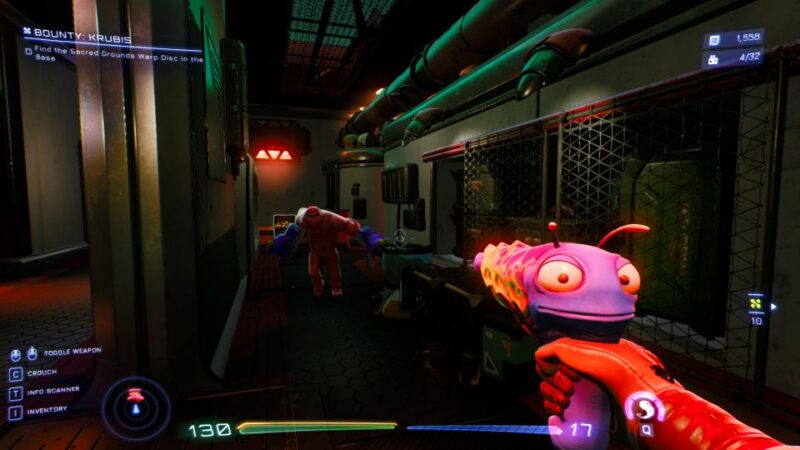
To proceed, jump into the vent above and crouch.
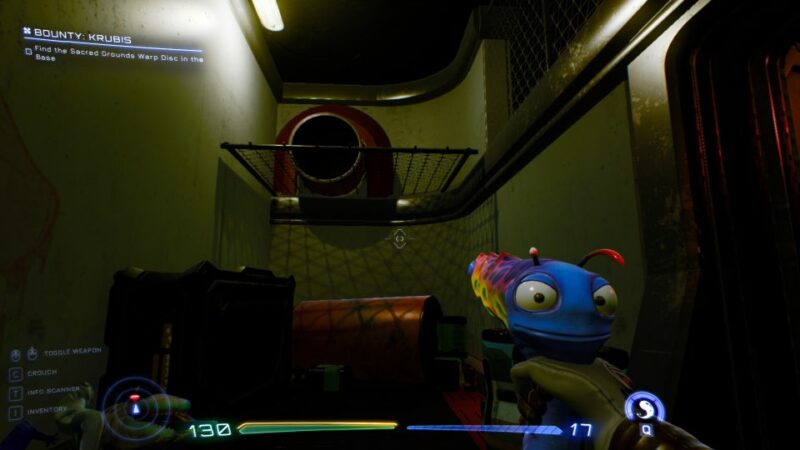
Defeat the enemies in the room and get the warp disc.
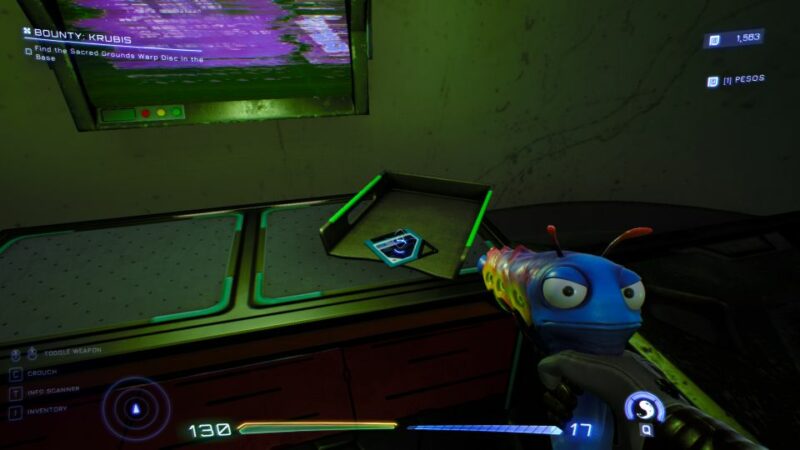
Warp in the Sacred Grounds
Go to the waypoint and warp in the Sacred Grounds.
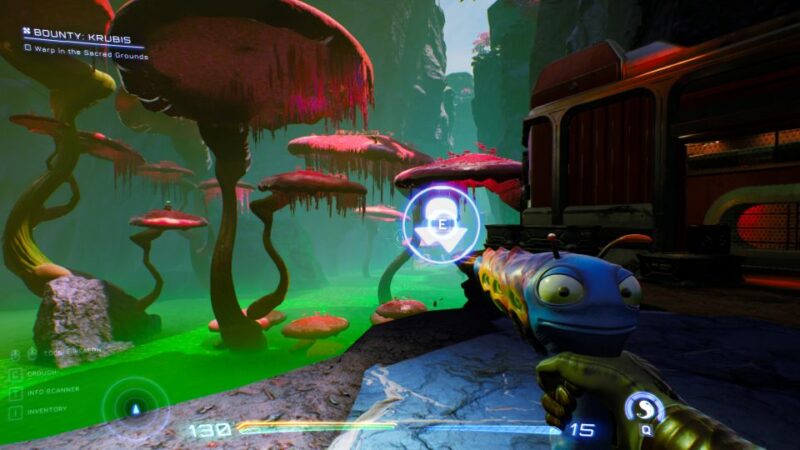
You’ll then meet the Chosen One. Get the blank disc from him.
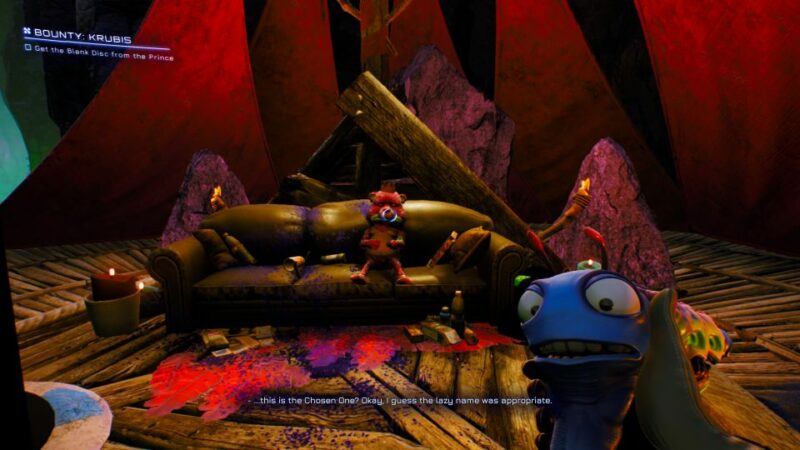
Return to the mansion
Head back to the mansion using the red mushrooms.
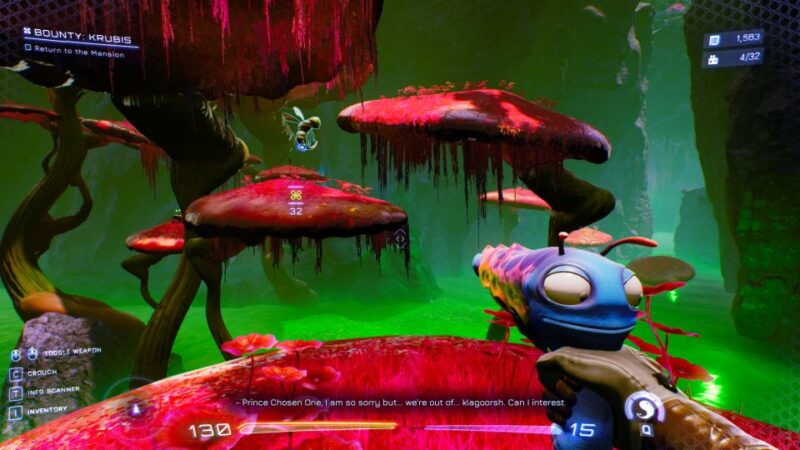
Use the zipline to glide back up.
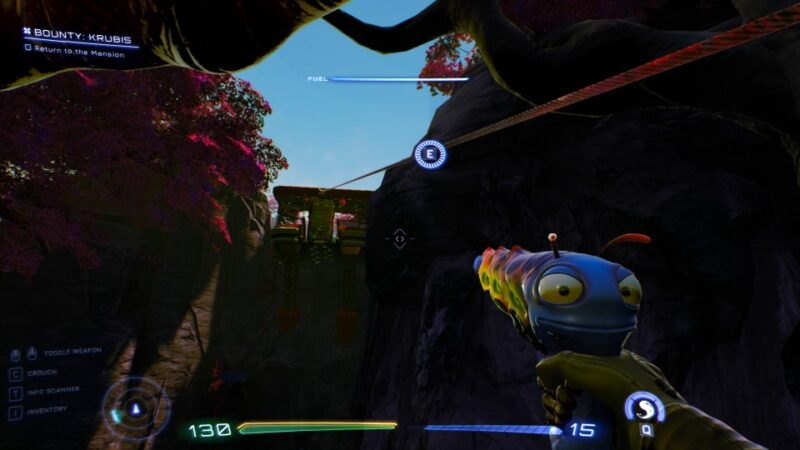
Use Ranchy’s warp disc encoder
Enter the mansion and use Ranchy’s encoder.
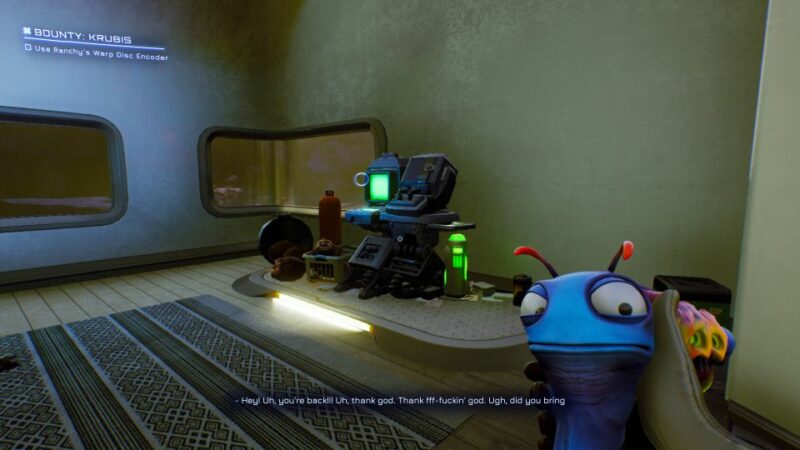
Warp in Krubis’ base
Go to the waypoint and warp in Krubis’ base.
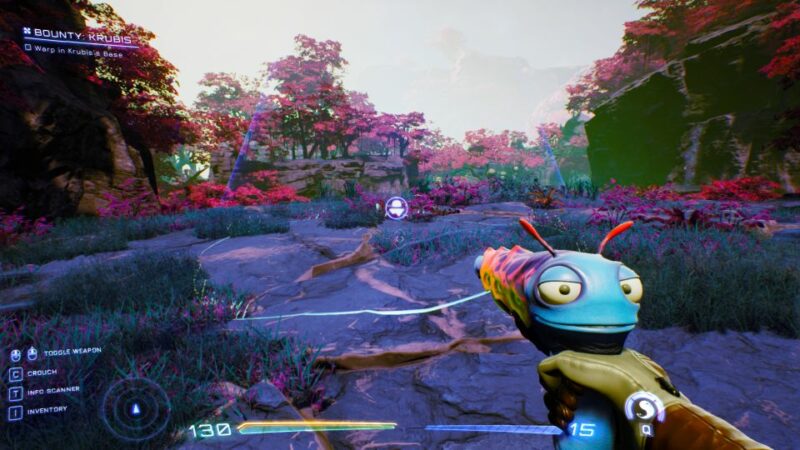
You’ll then see him appear. The ground will collapse.
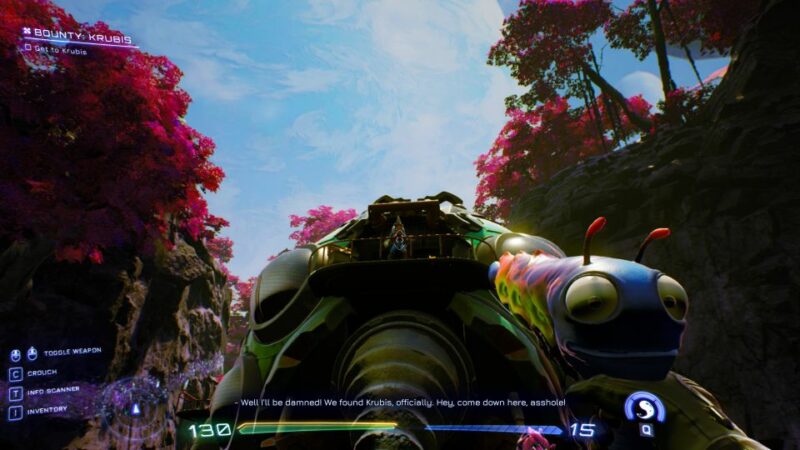
Defeat Krubis and his goons
This battle is straightforward. Just need to defeat him and his goons.
He will take shelter after his health falls to a certain level and summons goons.
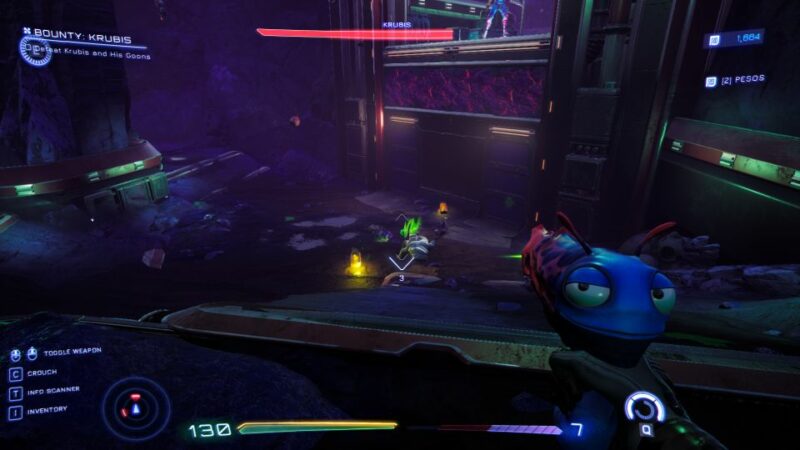
Towards the end, he’ll use his drill attack. Avoid the red lines.
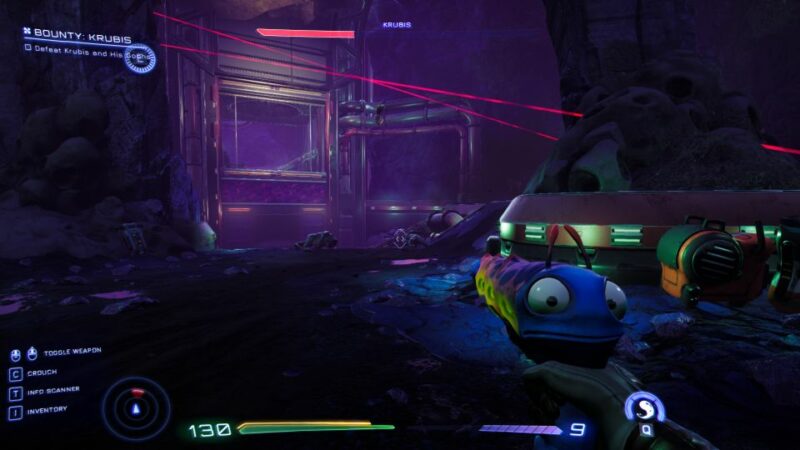
After defeating him, you’ll unlock a new gun called Gus.
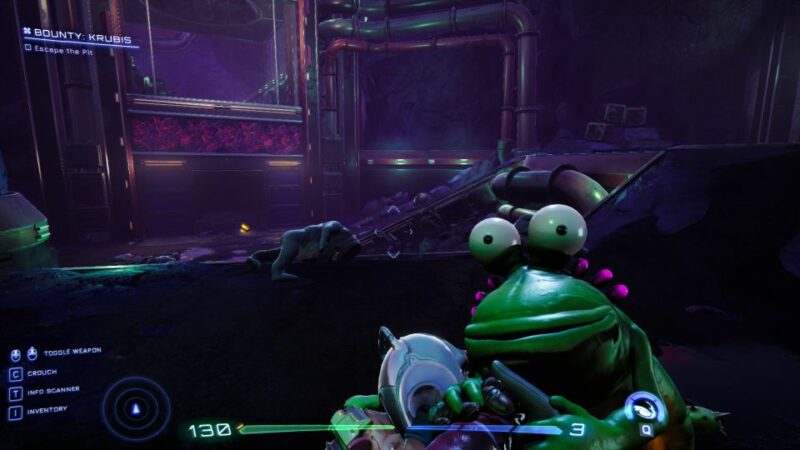
Escape the pit
To escape the pit, use Gus’ ability to throw discs. Jump on the disc to climb up.
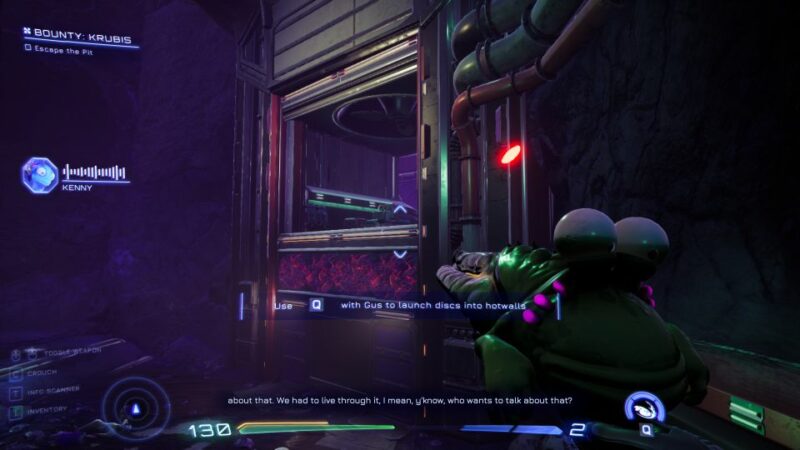
Take out the enemies along the way.
The annoying enemy fly will appear again. This time, you can suck her in with Gus and shoot her.
Return home using the portal and complete the bounty using the device at home.
Related articles: