MapleStory M is a mobile version of the once highly popular MMORPG MapleStory that’s only PC based.
It was launched more than a week ago globally and has over 5 million downloads by now. This game is made to be of convenience to many, especially those who are now working.
They also introduced auto-battles to make the game simpler to grind. That said, the D-Pad that you use for movements in the game is pretty hard to use and sometimes buggy. Even after the latest patch, the movements are still kinda weird and doesn’t always follow your input.
To solve issues like that, it’s easier to play MapleStory M on a PC, especially if you’re going against bosses.
Here’s how you can play MapleStory M on PC. This guide is specifically for Windows users, but it may be somewhat relevant to Mac users too.
1. Download the Bluestacks emulator on your PC
An emulator is basically a program that allows you to generally play mobile apps on your PC, not just MapleStory.
There are various emulators out there, but personally I’m using Bluestacks 3 due to someone’s recommendation online. Edit: There’s actually a new Bluestacks 4 which was released not long ago. It’s a much improved version and read on to find out the differences.
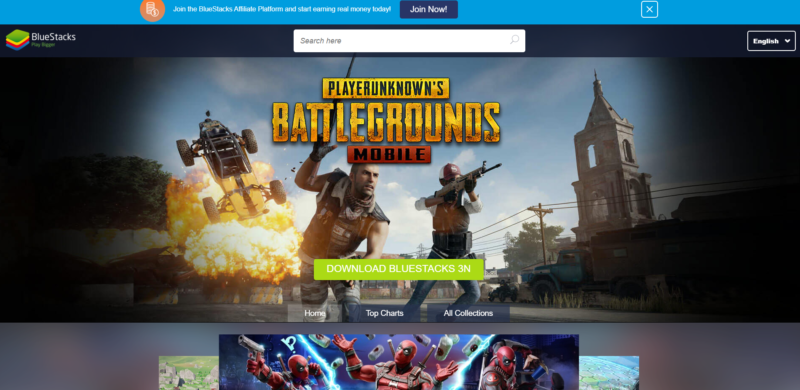
Bluestacks has worked well so far for me so I’m recommending them. If you’re interested in downloading the app, go to their main website and start downloading it. It’s an Android emulator by the way. You can connect it with your Facebook or Google Play account as well.
2. Install MapleStory M on Bluestacks
Once you’ve installed Bluestacks, you should see this screen.
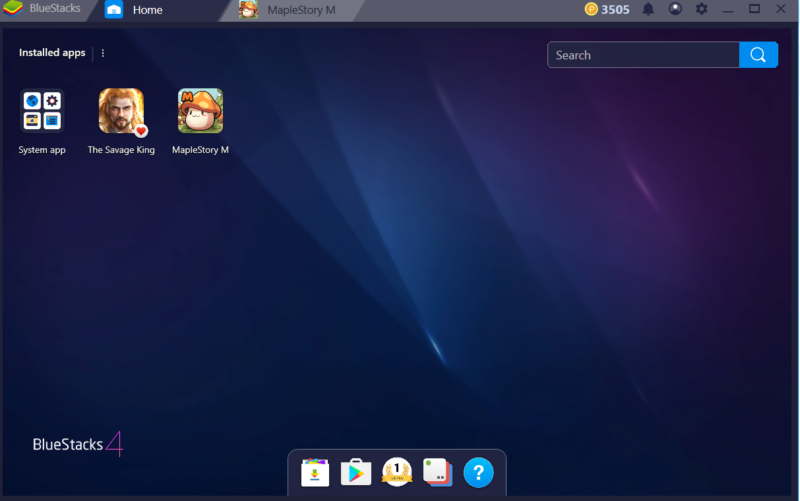
Just search for MapleStory M using the search bar above. It should appear as the only game available if you typed the name exactly. The Google Play file is only like 80+ MB so it takes awhile.
That said, MapleStory M’s internal download might be above 2 GB so do wait for it to complete. You can always play the mini-game while waiting or just minimize Bluestacks and do something else. It’s pretty versatile so don’t worry about the game closing when you minimize.
3. You can now play MapleStory M on PC
That’s about it! Once installed, just connect to your account using Google or other means, depending on which social platform you used to connect to MapleStory M.
The data should sync and you can now play MapleStory M on Bluestacks.
When you first enter the new Bluestacks 4, you will notice a window popping up when you open the game. It tells you which key represents which movement in-game.
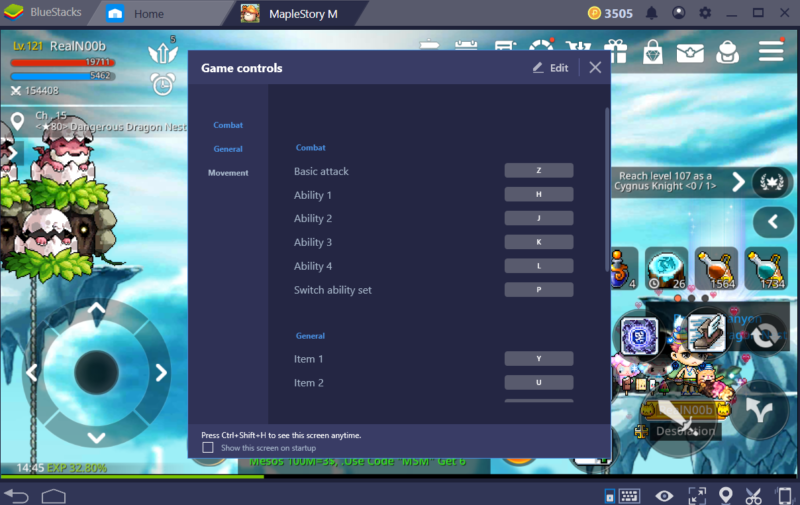
As you can see in the screenshot above, each ability is mapped to a key on the keyboard. Abilities are the skills you put on the right hand side of MapleStory M.
This is just an example. You should customize it according to your own preference.

Previously on Bluestacks 3, I thought that the keys weren’t mapped properly and I couldn’t get it to work since I was new to it.
I simply put the skills according to which key was mapped by default. But now with the Bluestacks 4, you can easily alter it and it’s a great improvement as an emulator for MapleStory M.
And that’s about it. Just do your key mapping and you can play MapleStory M as though it’s MapleSEA or some PC version of the game. It’s definitely convenient especially for expeditions (bosses) considering the mobile version is hard to control.
If you were using Bluestacks 3 before this, consider changing to Bluestacks 4 and read on to find out the new features.
Bluestacks 4 – New Features
For clarity, Bluestacks 4 is an emulator that enables you to play mobile games on a PC, and all you have to do is connect the same account (e.g. Google Play / Facebook) that you used for your mobile phone to sync the data.
Bluestacks 4 is the latest version and is said to be at least 6 times faster than the latest Samsung Galaxy S9+ as an engine. This means it’s also a lot faster than the previous Bluestacks 3 (around 8 times).
Perhaps high end FPS games like PUBG or Fortnite or even games powered by Unreal Engine can also be played using this new emulator. Instead of using up all of your battery on a smartphone, it’s better to use an emulator if you’re at home.
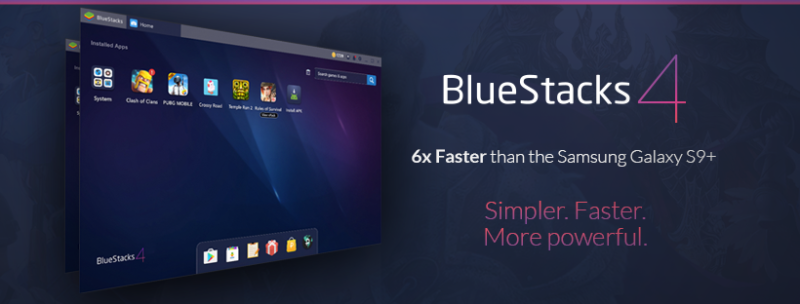
Here’s a summary of some of the features of Bluestacks 4:
- Much cleaner design compared to the previous versions. Only the important things are prioritized.
- Much better performance (6 times better than S9+ and 8 times better than Bluestacks 3).
- Multi-instance feature.
- Comes with a newer installer that is more efficient.
- A better search recommendation feature that takes into account your own previous searches.
- Better key-mapping feature for games generally as explained above with MapleStory M.
- More languages this time.
- Navigation has been made easier.
Here’s an infographic on the newest Bluestacks 4.

Bluestacks 4 vs Bluestacks 3
To make it simpler, here’s a comparison chart released by Bluestacks themselves, highlighting the differences between the two engines. This one is more detailed and easier to comprehend.
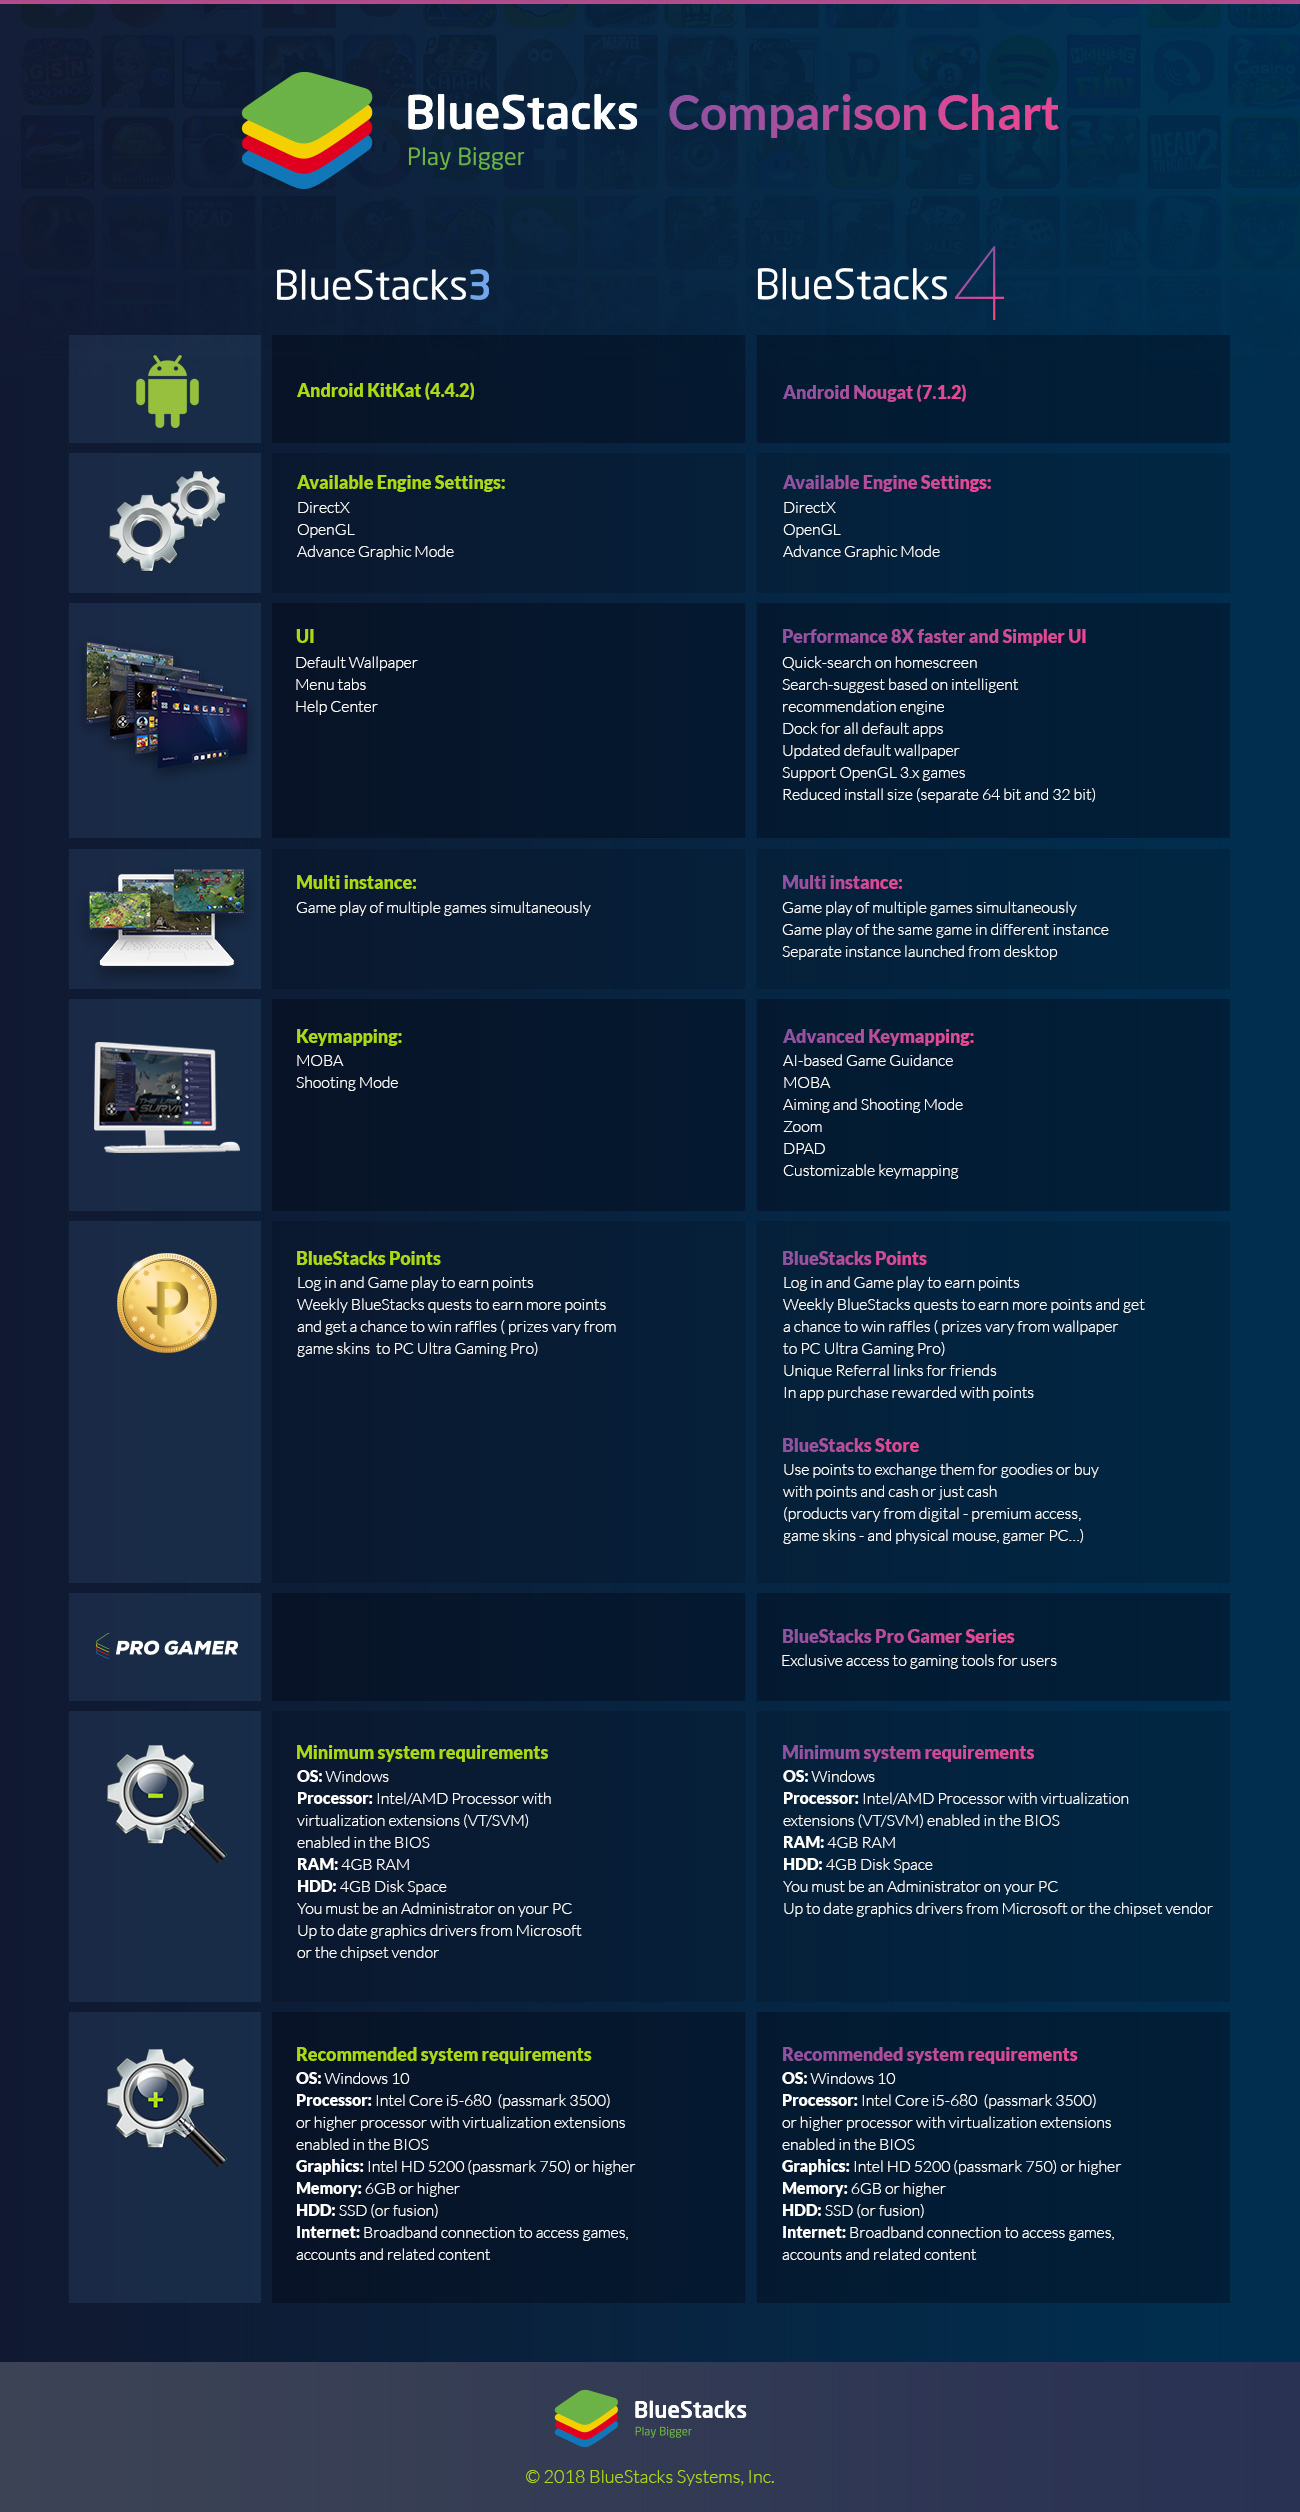
If you’re going for a better UX and UI, you should switch to Bluestacks 4 like I just did recently. The key-mapping also covers more game genres that Bluestacks 3 did not.
In a nutshell
MapleStory M doesn’t have an ideal D-Pad for movement, which makes playing on a PC emulator a better option for expeditions (Zakum / Horntail). You can also see things better on a PC.
One flaw is that the screen is zoomed in, meaning on your mobile phone you may see the whole map but on this emulator you are somewhat limited in your view. Apparently you can change the view but I haven’t found the button yet.
As the game also drains your mobile phone’s battery pretty fast, using a PC is more ideal sometimes, especially if you’re at home.
Whenever I’m at home, I prefer to use an emulator to play. Do be warned that using macro while on your emulator will get you banned.
Hopefully this guide has helped you in installing MapleStory M on your computer.
Related articles:
How To Play Granny On Your PC (Mobile Horror Game)
Ultimate Guide To MapleStory M
MapleStory M – How To Get Emblem Items
MapleStory M – How To Get Mythic Equipment
Legendary Equipment Guide MapleStory M