• Skip to main content
  • Skip to secondary menu
  • Skip to primary sidebar
  • Skip to footer
  • HOME
  • NEED SOMETHING REVIEWED?

Ordinary Reviews

Gaming And Entertainment Site

  • GAMING
    • GAME GUIDES
    • UPCOMING RELEASES
    • SIMILAR GAMES
    • ANIMAL CROSSING: NEW HORIZONS
  • ENTERTAINMENT
    • RECAPS
    • NET WORTH
    • RICHEST WRESTLERS
    • RICHEST RAPPERS
    • RICHEST FOOTBALLERS
    • RICHEST VIDEO GAME COMPANIES
    • RICHEST PRO GAMERS
  • PRODUCTS
    • GAMING GEAR
    • LAPTOPS
    • HOUSEHOLD
    • ELECTRONICS
    • GIFTS
    • TRAVEL GADGETS
    • SERVICES
  • FOOD
  • TRAVEL
  • CRYPTO | NFT

Nice And Bloody: Days Gone Walkthrough

Last updated on October 3, 2020 by Alvin Lau

Nice And Bloody is a bounty mission given by Tucker in Days Gone.

Your task is to go after a drifter named Limbo and bring proof of his death.

Here’s a walkthrough of Nice And Bloody in Days Gone.


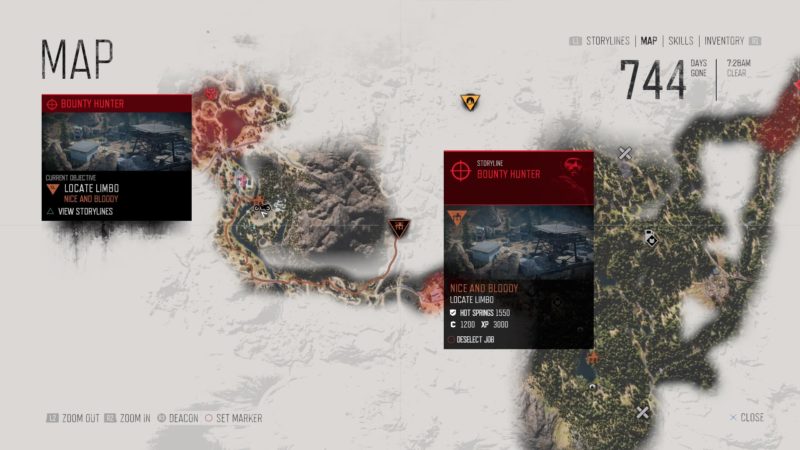
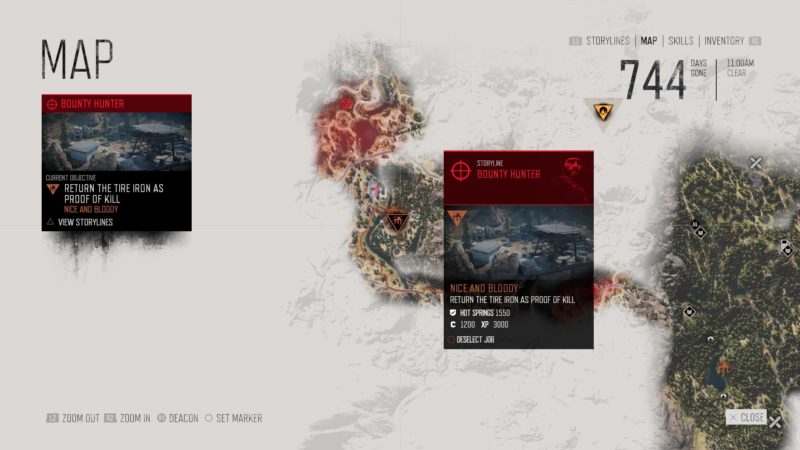
Get to the raider camp

The raider camp is located east of the Hot Springs Encampment. The exact location is shown in the map below.
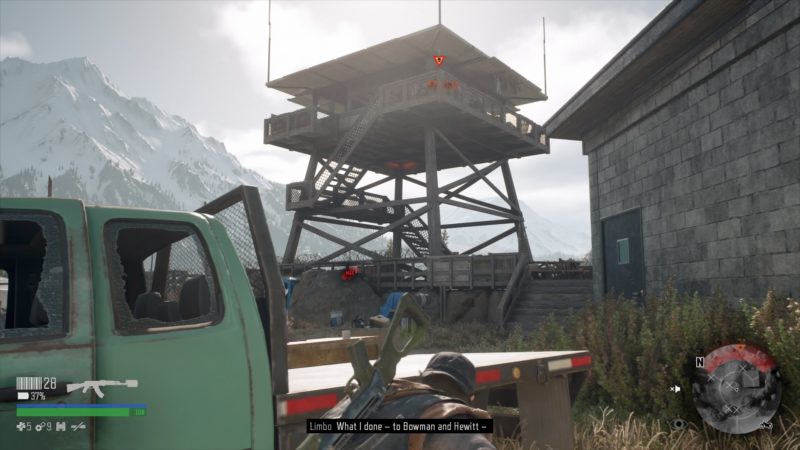
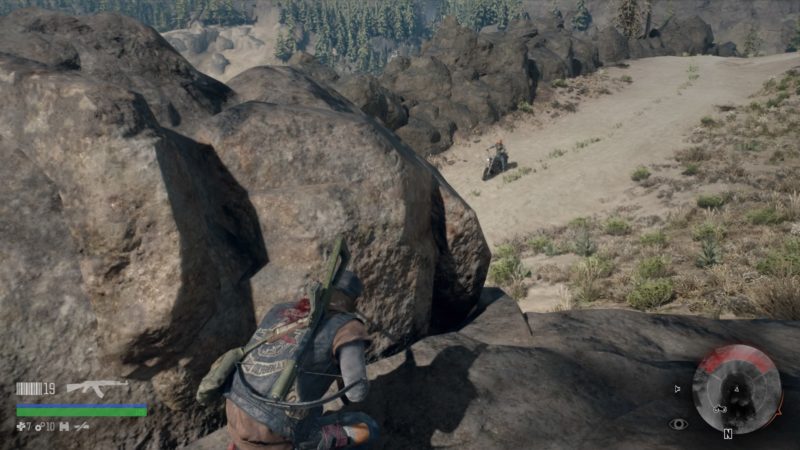
days-gone-nice-and-bloody


Find a way in

When you get close to the camp, park your bike somewhere hidden.

There’s a sniper on the watch tower. You’ll notice the red laser looking around the area.

days-gone-nice-and-bloody-guide

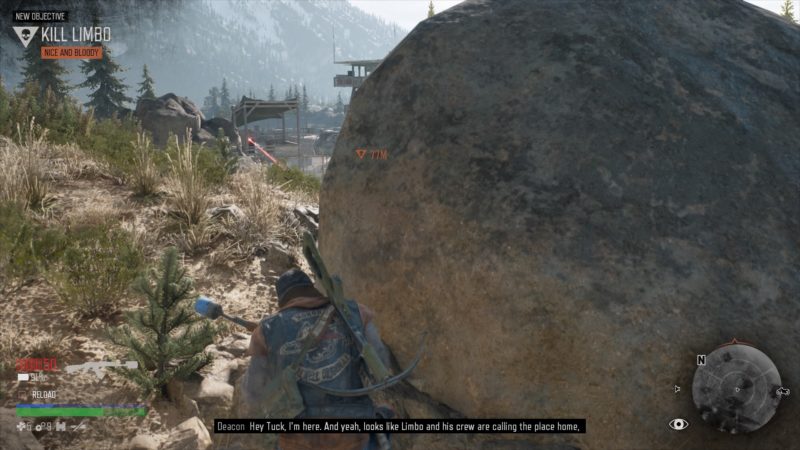
To avoid getting shot, get closer to the camp by hiding from one big boulder to another.

days-gone-nice-and-bloody-guide-and-tips

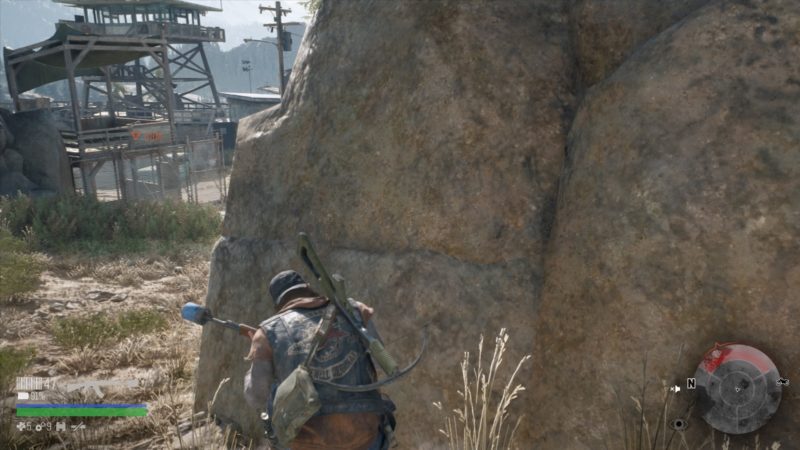
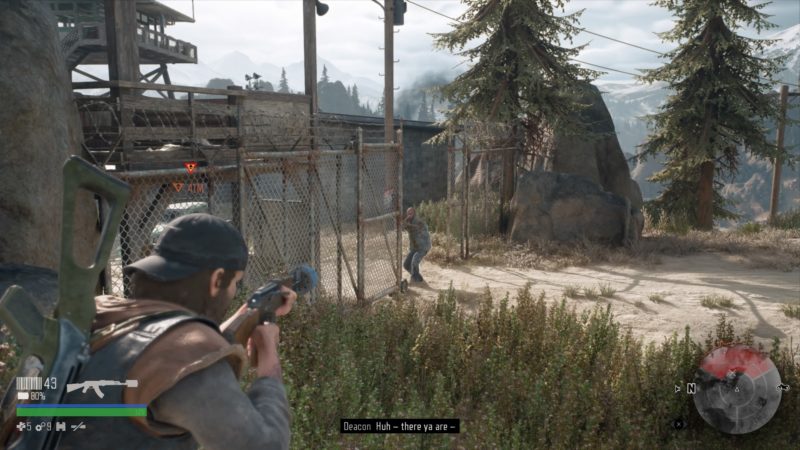
When you get close enough, kill all of the gunmen standing guard.
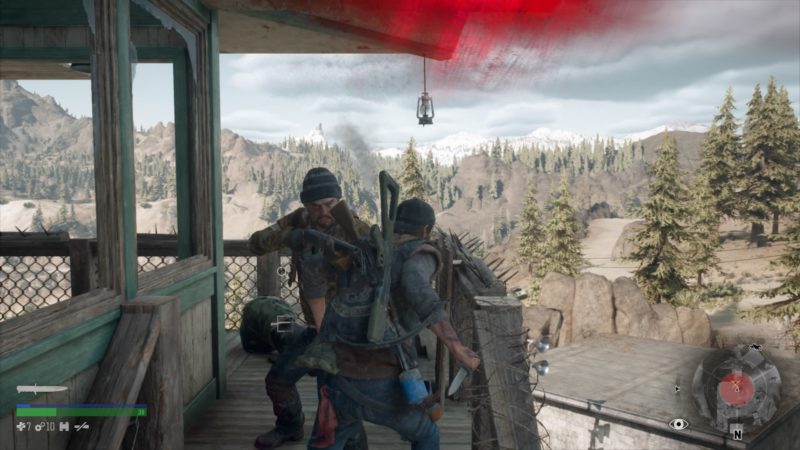
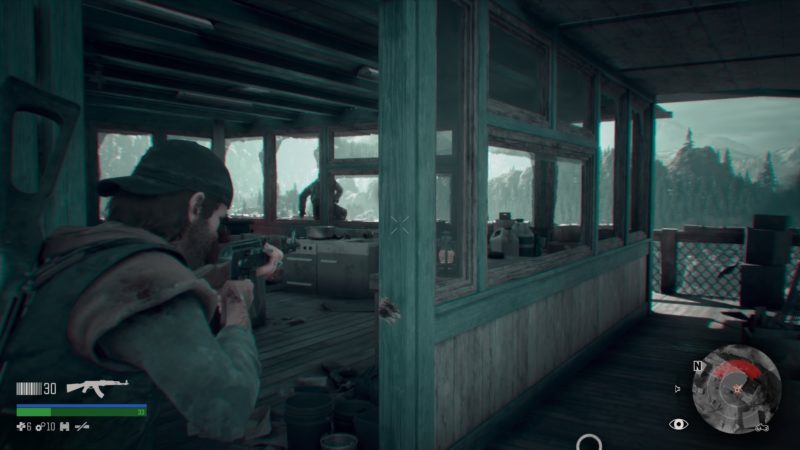
days-gone-nice-and-bloody-mission


Kill Limbo

After getting into the camp compound, look for Limbo. Clear the ground area of gunmen first.

Once the area is secure, get to the tallest building. Limbo is hiding up there.

days-gone-nice-and-bloody-mission-guide

As you climb up the stairs, watch out for the gunmen. There are like 5 gunmen including Limbo hiding in the building, or on the stairs.
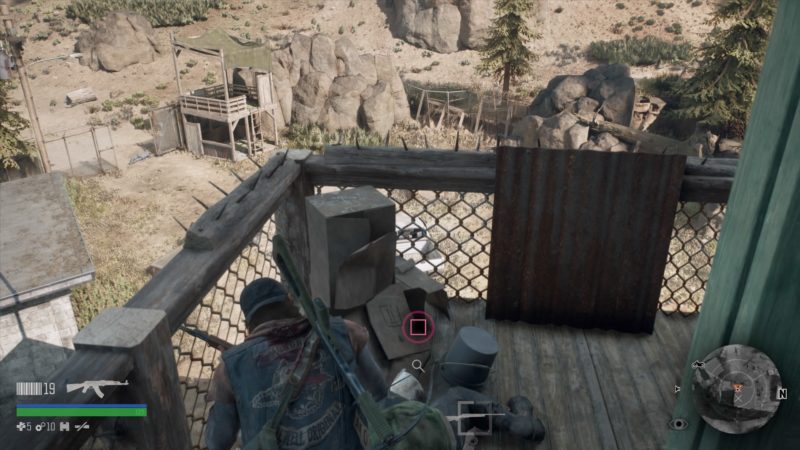
days-gone-nice-and-bloody-mission-walkthrough

days-gone-nice-and-bloody-walkthrough


Grab the tire iron

After clearing the area and killing Limbo, grab the tire iron from his dead body.

days-gone-nice-and-bloody-walkthrough-guide


Return the tire iron to Tucker

Now, get out of the camp and return to your bike. Right outside the entrance, you’ll see a few bikers here.

Kill them all first.

days-gone-nice-and-bloody-wiki

Now, get back to the Hot Springs Encampment.

days-gone-nice-and-bloody-wiki-and-guide

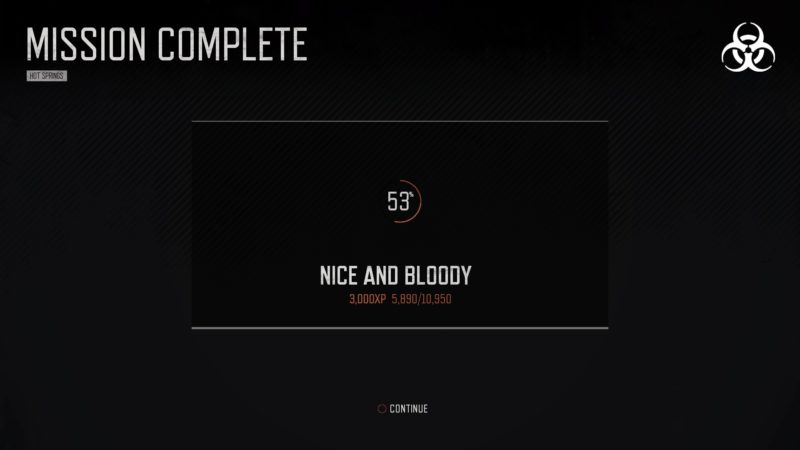
Inside the camp, look for Tucker and talk to her.

The mission completes here. You’ll earn 3,000 XP for completing this mission.

days-gone-nice-and-bloody-tips


Related articles:

Price On Your Head – To Choose Tucker Or Copeland: Days Gone

Out Of Nowhere: Days Gone Walkthrough

They’re Not Sleeping: Days Gone Walkthrough

Smoke On The Mountain: Days Gone Walkthrough

No Starving Patriots: Days Gone Walkthrough

Filed Under: Days Gone, Gaming

About Alvin Lau

Alvin spends most of his time either absorbing content or creating content.

Primary Sidebar

Footer

Amazon Affiliate Disclaimer

Ordinary Reviews is a participant in the Amazon Services LLC Associates Program, an affiliate advertising program designed to provide a means for sites to earn advertising fees by advertising and linking to amazon.com.

Social Media

Facebook / LinkedIn / Pinterest / YouTube

Latest Posts

  • Raft: How To Build A Wind Turbine To Charge Batteries
  • Raft: How To Get The Master Key And Defeat The Alpha Hyena
  • Raft: How To Get The Cogwheel For The Elevator (Puzzle Guide)
  • Raft: How To Get The Hammer In Utopia
  • Raft: How To Get Two Entrance Keys In Utopia (Location)
  • ABOUT
  • CONTACT US
  • PRIVACY POLICY
  • DISCLAIMER

Copyright © 2022 Ordinary Reviews · All Rights Reserved ·