Mountain Siege is a mission under Carl Chisum in Tom Clancy’s Ghost Recon: Breakpoint.
Your task is to go to the Natural Hazard Control Center and upload your ID into the prison.
Here’s a walkthrough of Mountain Siege in Ghost Recon Breakpoint.
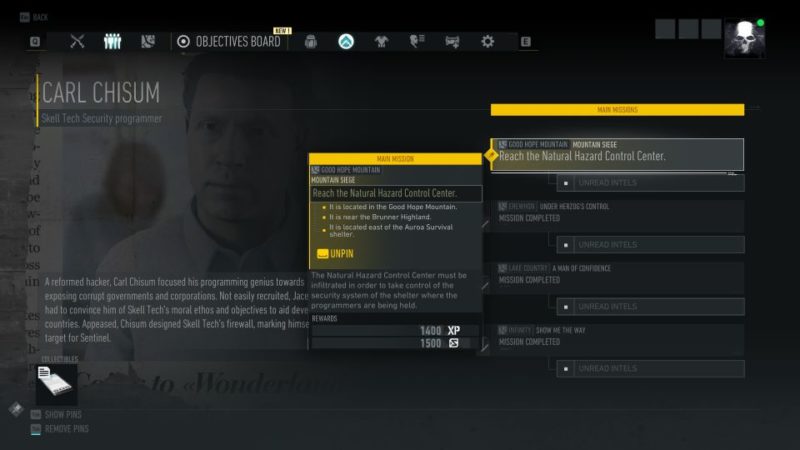
Head to the Natural Hazard Control Center
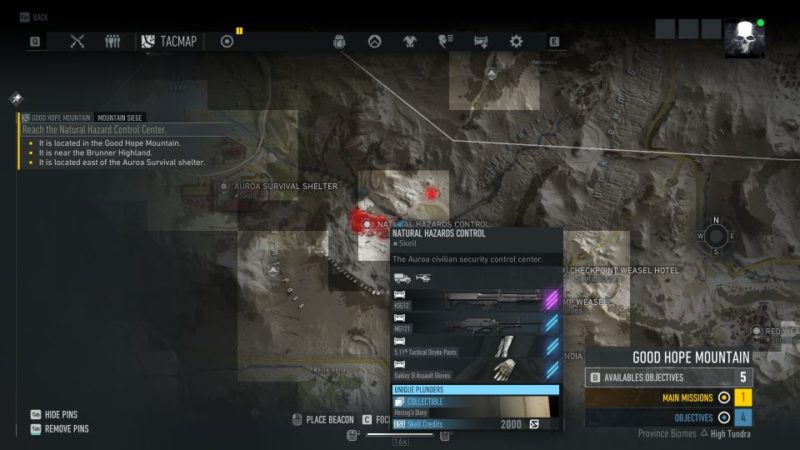
Firstly, head to the control center. It’s located on Good Hope Mountain province.
The exact location is shown below, and it’s east of Auroa Survival Shelter.
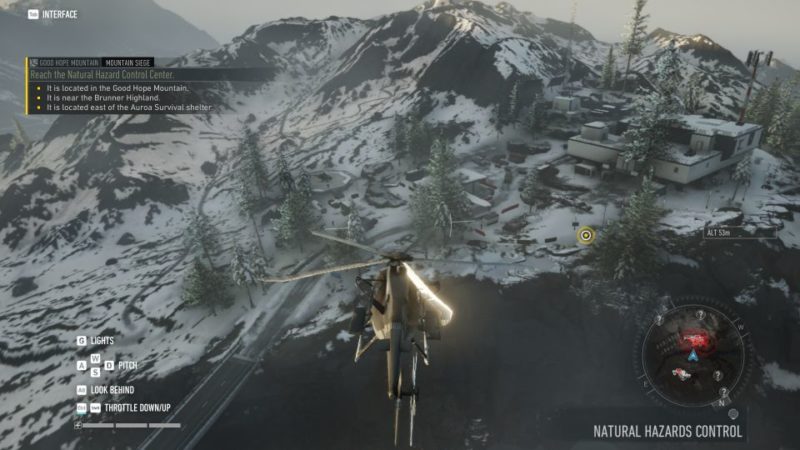
It’s easier to take a helicopter there.
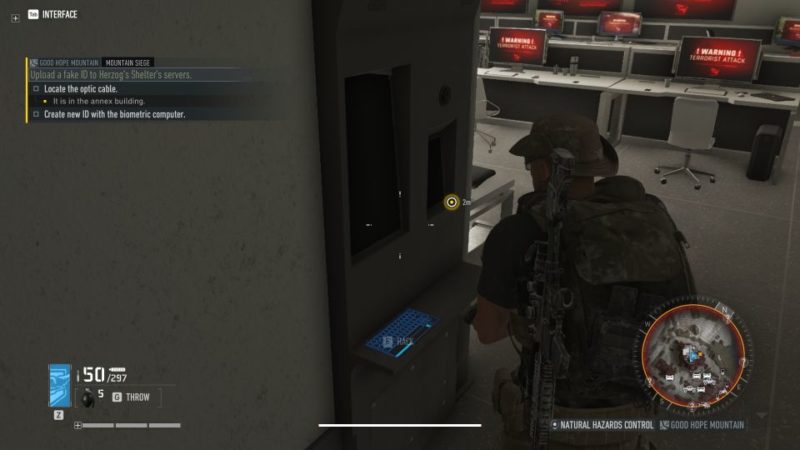
Create new ID with biometric computer
You have two objectives now. We chose to make a new ID first.
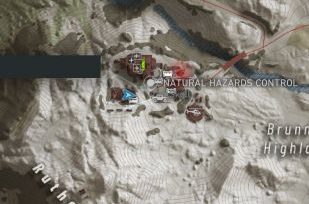
The exact location of the room is shown below, marked by the blue player location.
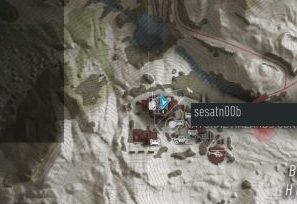
You will reach a room filled with computers. Hack the system to create an ID.
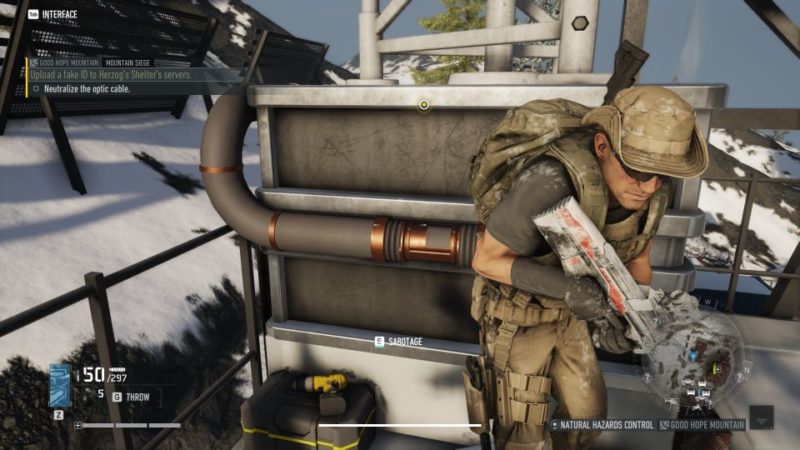
Neutralize optic cable
The next objective is to find the optic cable. The location is shown below, marked by the blue player location.
It’s at the top of the building. Sabotage the optic cable.
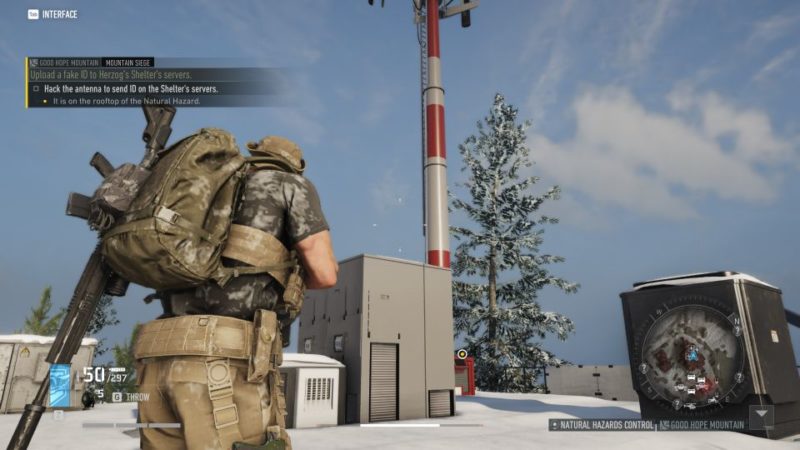
Hack the antenna
Once you’re done, go to the next building to hack the antenna.
Protect the antenna
You will be given 3 minutes to protect the antenna while hacking. Reinforcements will come to kill you.
You can just hide at the rooftop and wait for them to come.
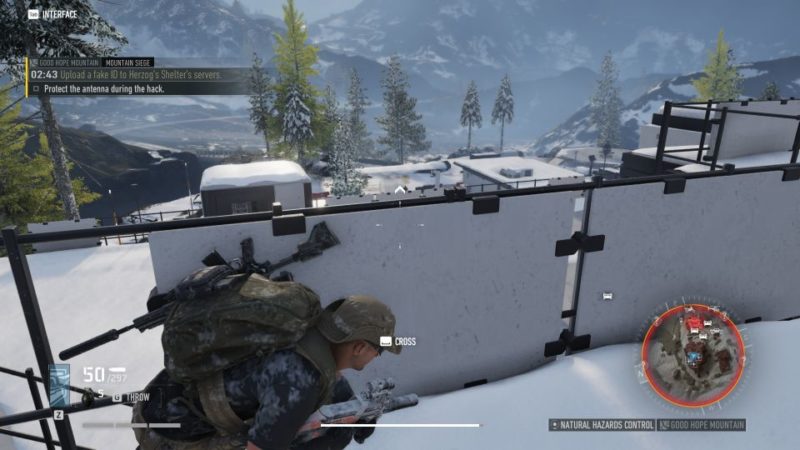
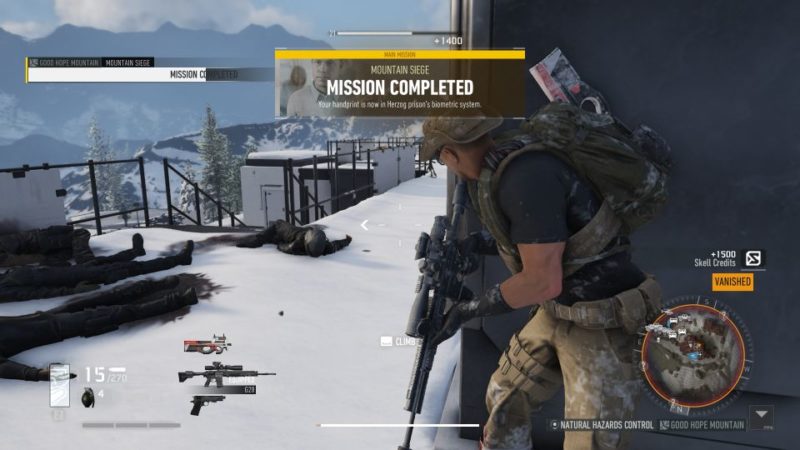
The mission completes after the time limit is up. You will earn Skell Credits.
Related articles:
A Great Escape: Ghost Recon Breakpoint Walkthrough
Show Me The Way: Ghost Recon Breakpoint Walkthrough
A Man Of Confidence: Ghost Recon Breakpoint Walkthrough
Skell On The Move: Ghost Recon Breakpoint Walkthrough
Innocent Slaughter: Ghost Recon Breakpoint Walkthrough