Malhalla is the last place you will visit before you finish the story in Dragon Quest Builders 2.
It is sort of the paradise for monsters but it’s about to be destroyed by Malroth and Hargon.
Here’s a walkthrough & guide of Malhalla in DQ Builders 2.
Below is a table of content for easier navigation.
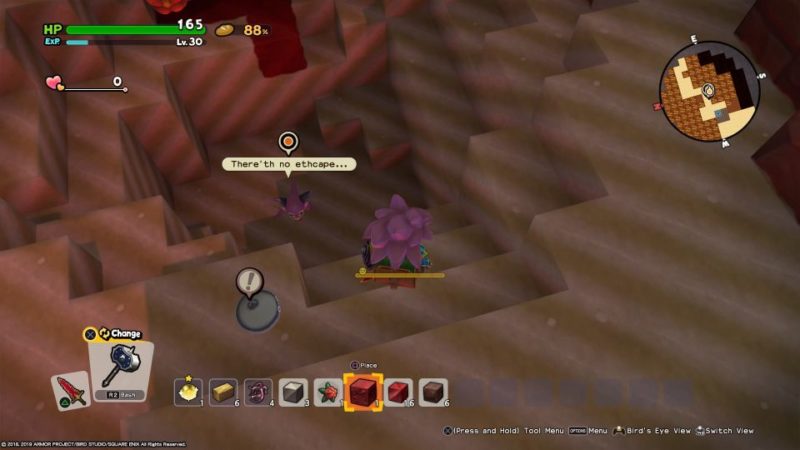
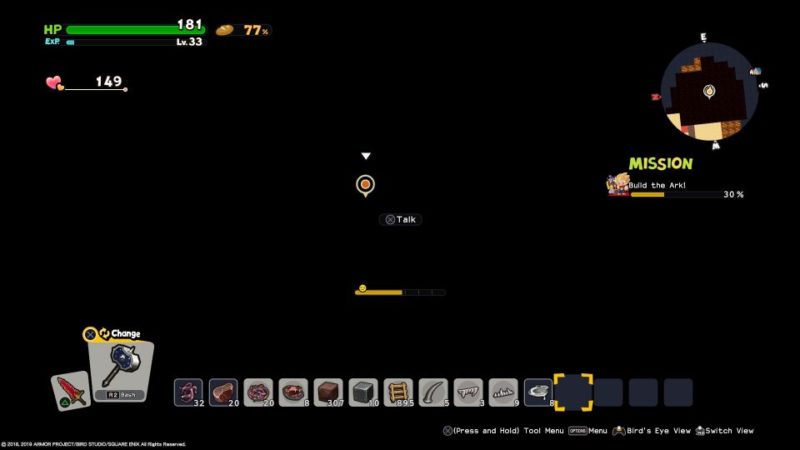
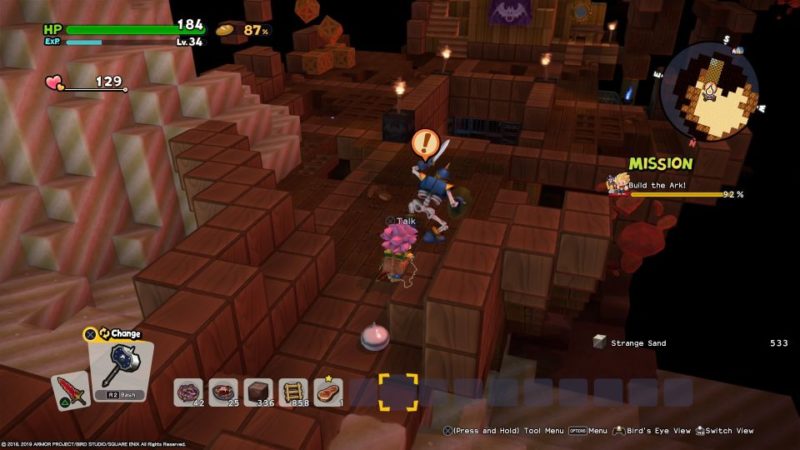
Talk to the slime
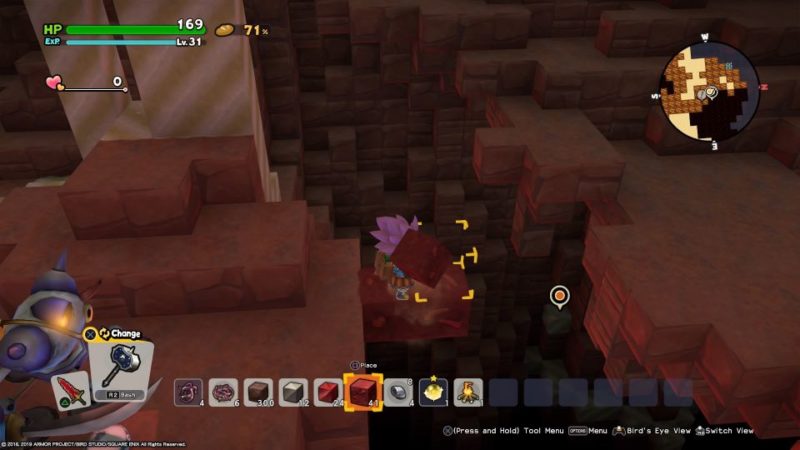
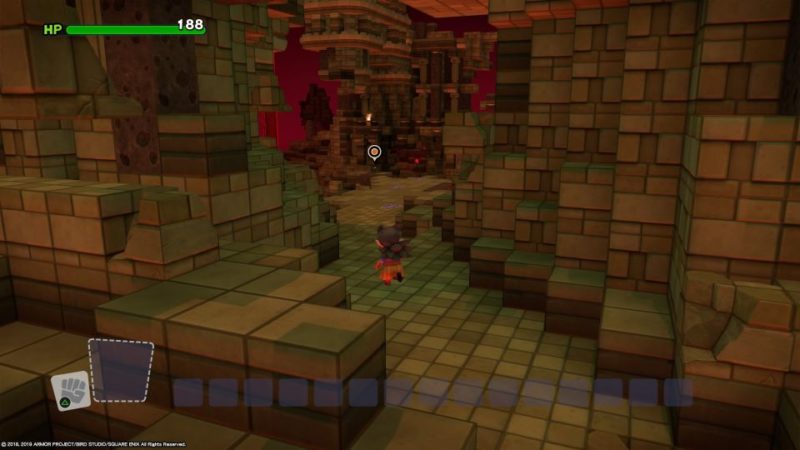
Right after reaching Malhalla, you have to talk to the slime who’s stuck on the platform.
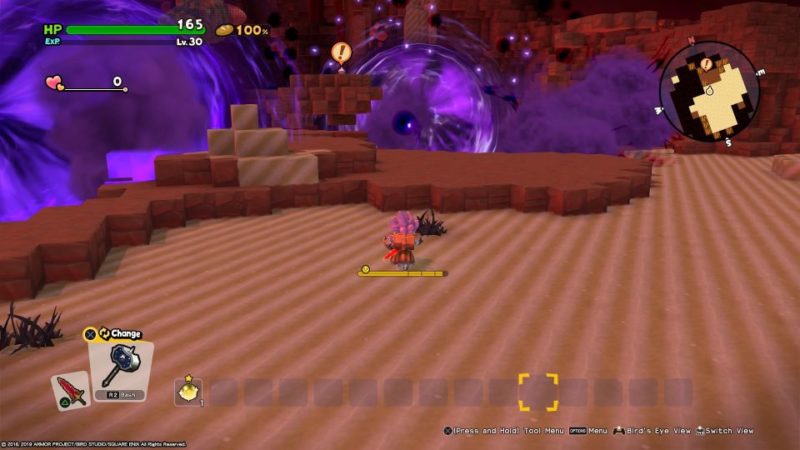
To get to it, jump from the highest cliff and keep using your windbraker. The windbraker will keep disintegrating but you can keep using it.
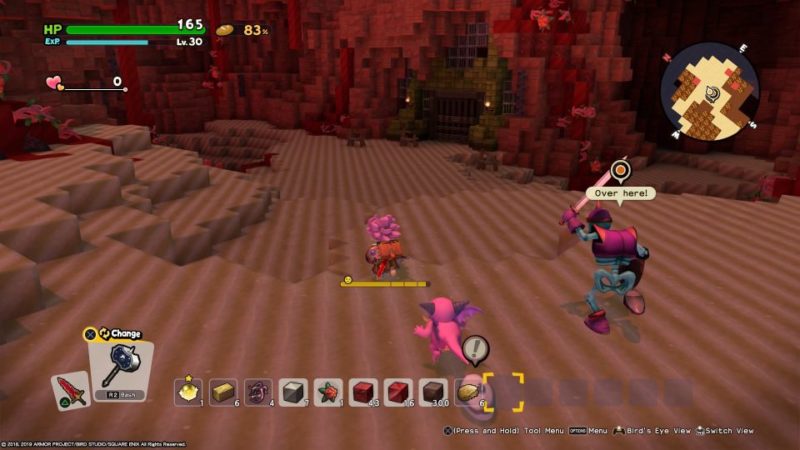
Rescue other monsters
The next person to talk to is the skeleton monster (Griswold).
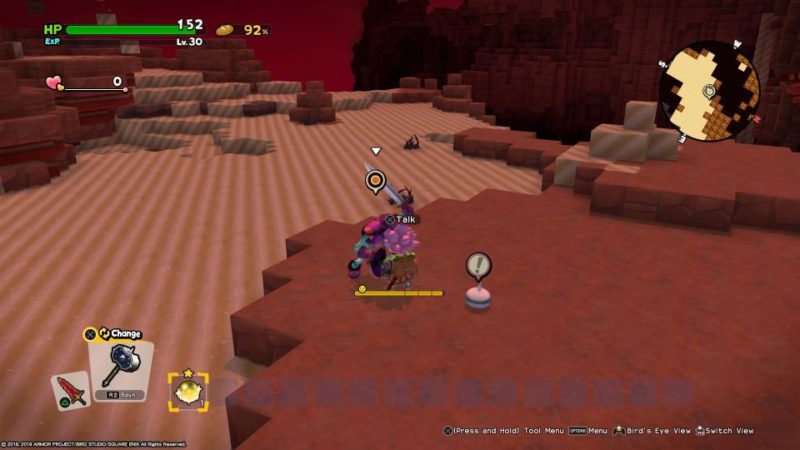
Once the skeleton joins you, talk to the monster inside the ditch.
They’ll all join your party.
Follow Griswold
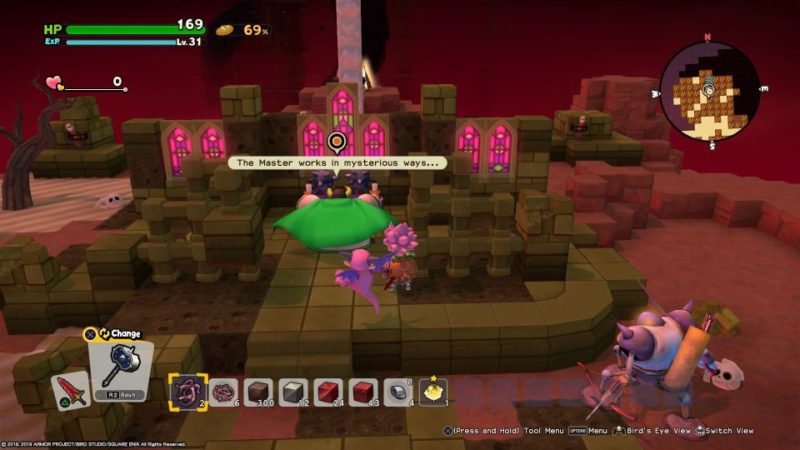
The skeleton will then lead you guys to a safe area. Follow until you reach a hideout.
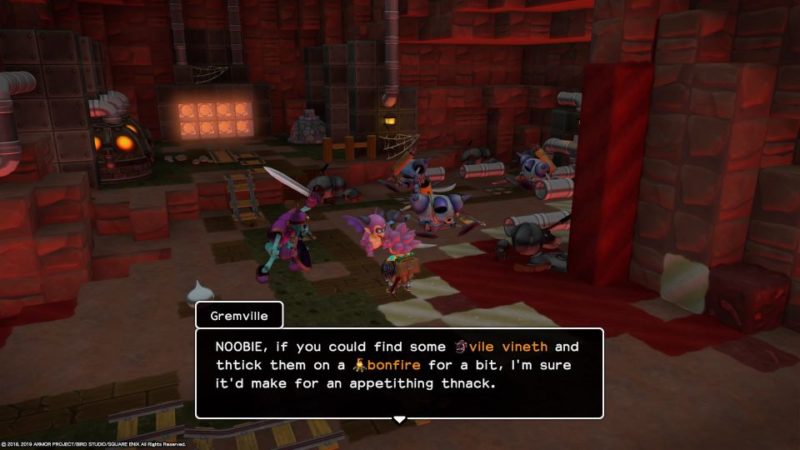
Cook a vile vine
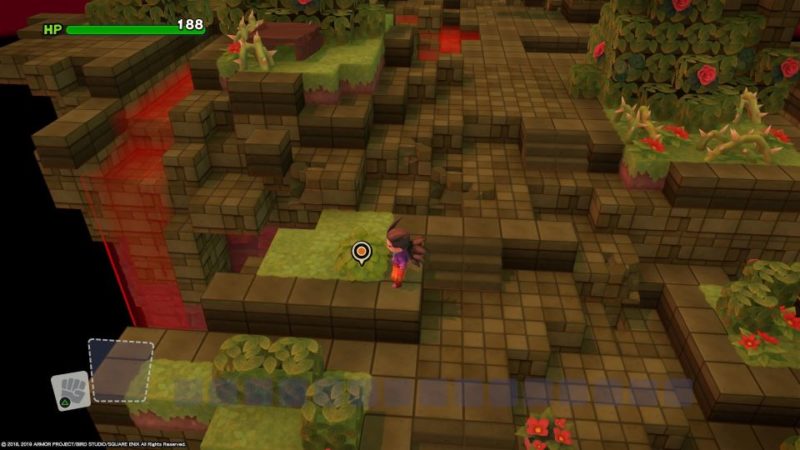
Gremville will then request for a snack. Grab those vile vines you see from around Malhalla.
Cook the vile vines on the bonfire inside this hideout. Give it to Gremville.
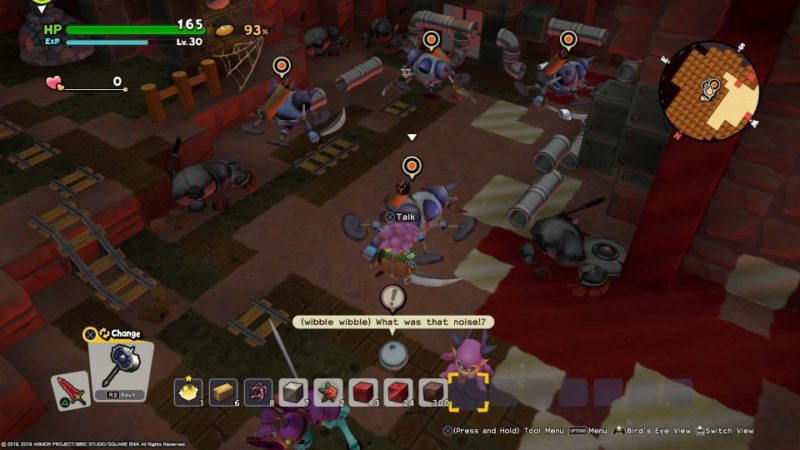
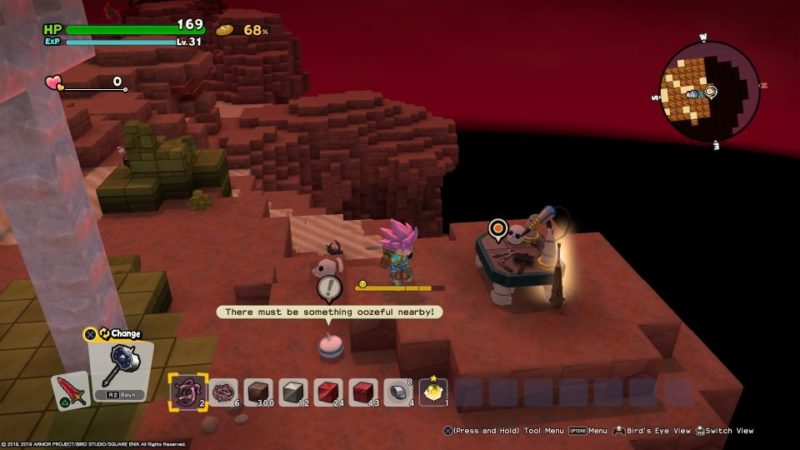
Investigate the noise
You will then hear a robot sound. Talk to the robots to find out which one.
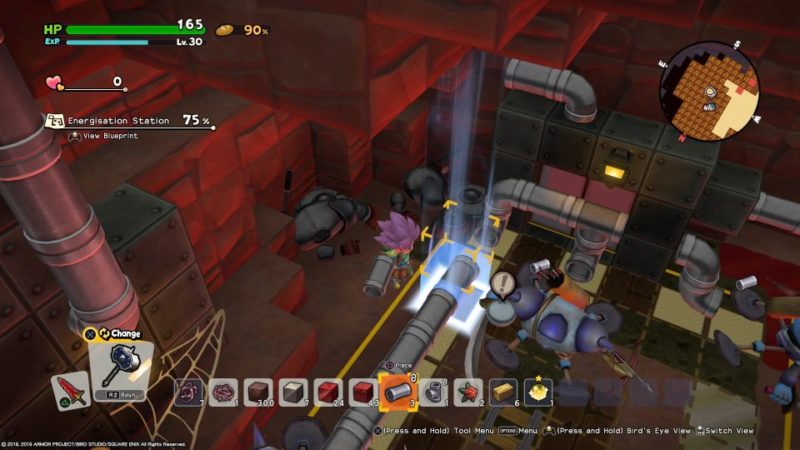
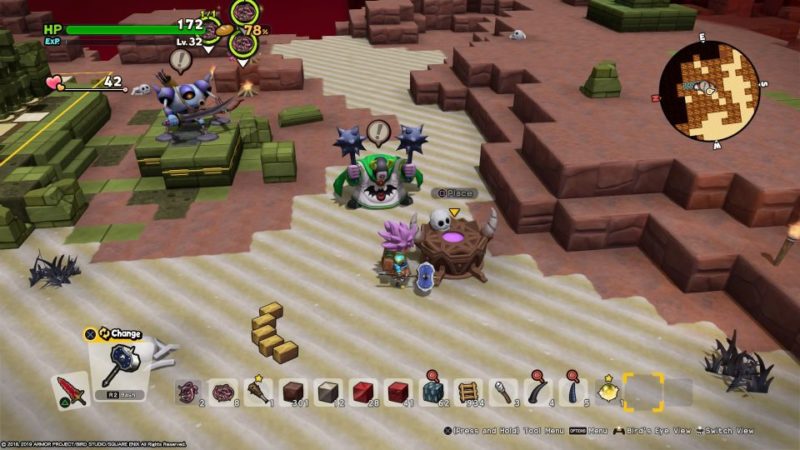
Build an energisation station
To revive the robot, you need to build an energisation station.
You can get the pipes from the surrounding area.
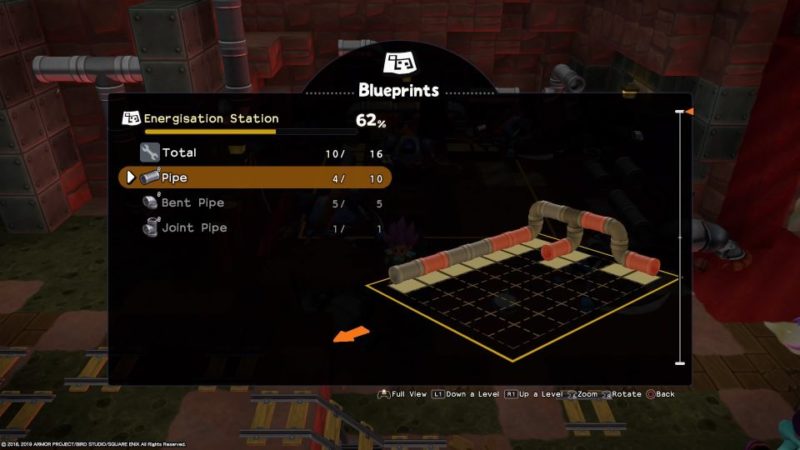
Place them and you’re done.
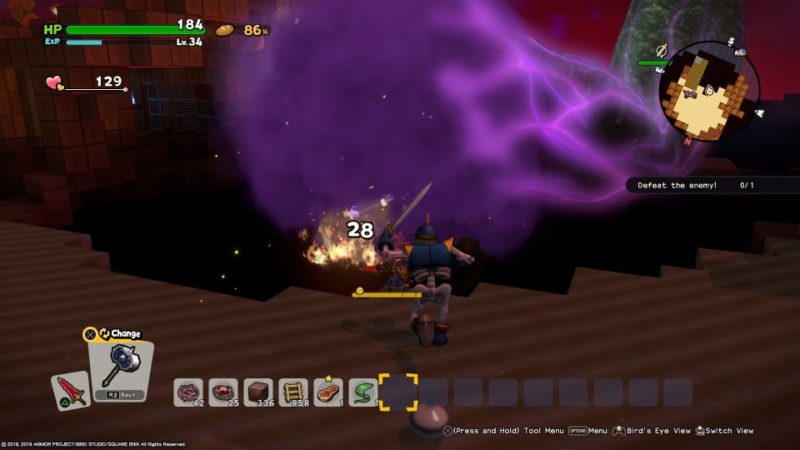
Defeat the enemies
You guys will then be attacked by shadows. Defeat them all.
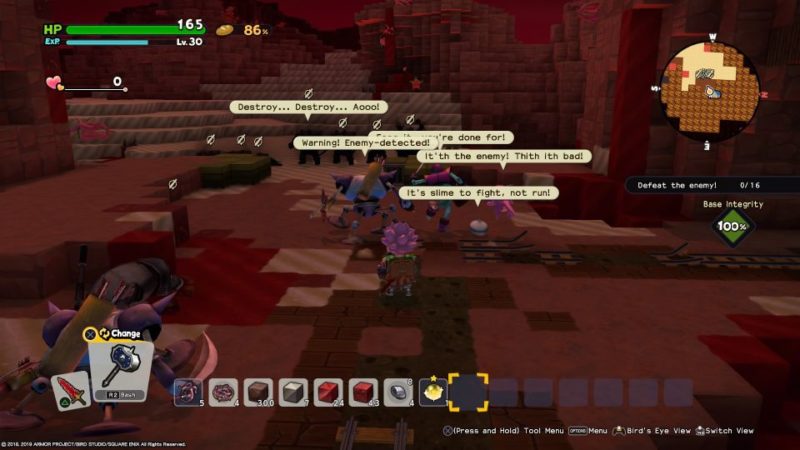
The hideout also gets compromised.
Look for Hellen
You’ll then need to look for Hellen, a priest of Hargon. Follow the skeleton and escape from the area.
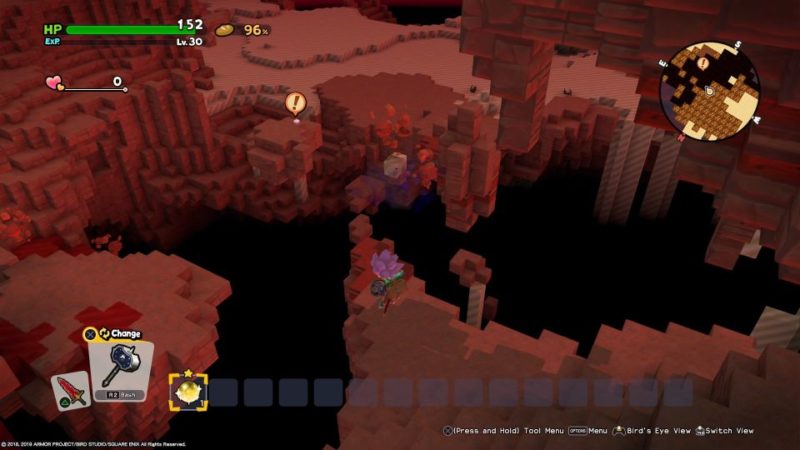
To cross over this big hole, build blocks over it.
Finally, you’ll meet Hellen, but Griswold the skeleton fell to the abyss. It’s not the last of him though.
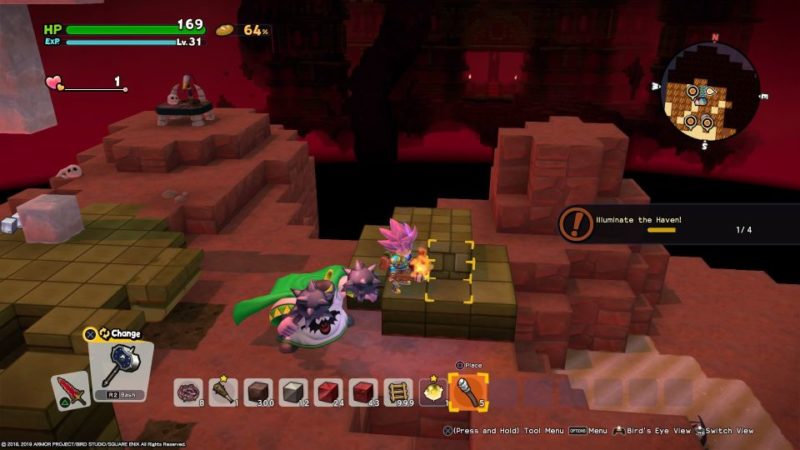
Illuminate the haven
To illuminate the place, you need to make torches at the workbench behind the altar.
While holding the torch, you can light up all the four sconces.
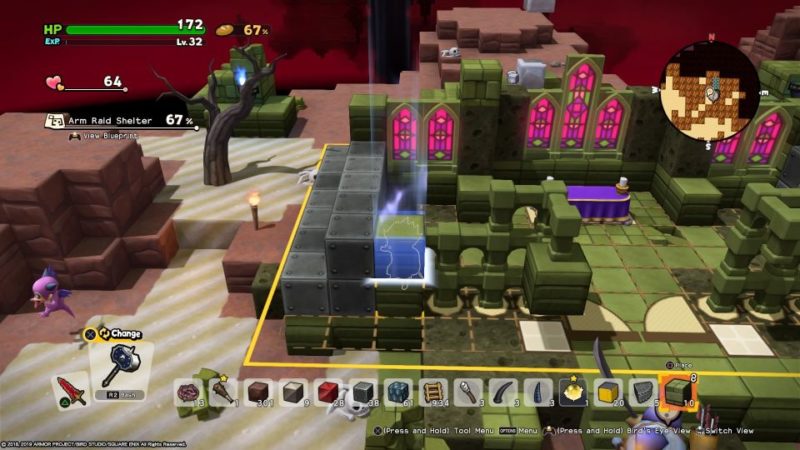
Build an arm raid shelter
Your next job is to build a shelter by repairing the remains of it.
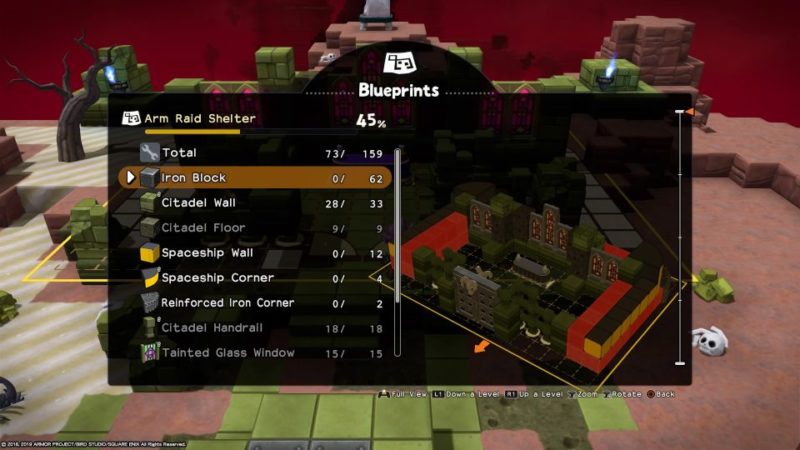
Unfortunately, you need to make some ingredients first.
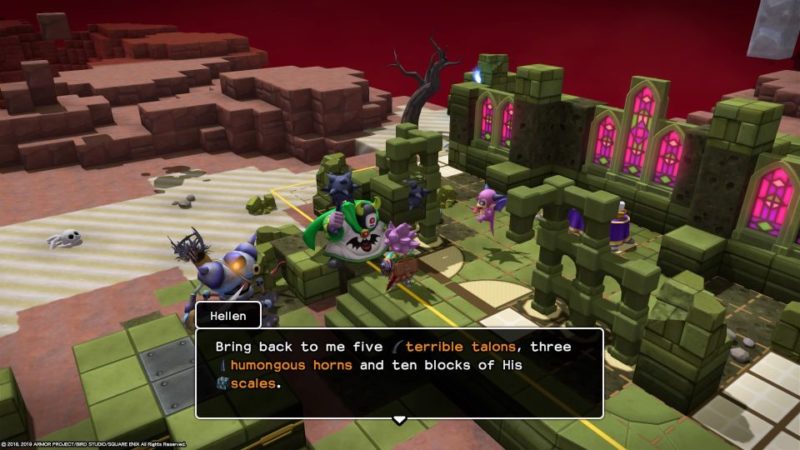
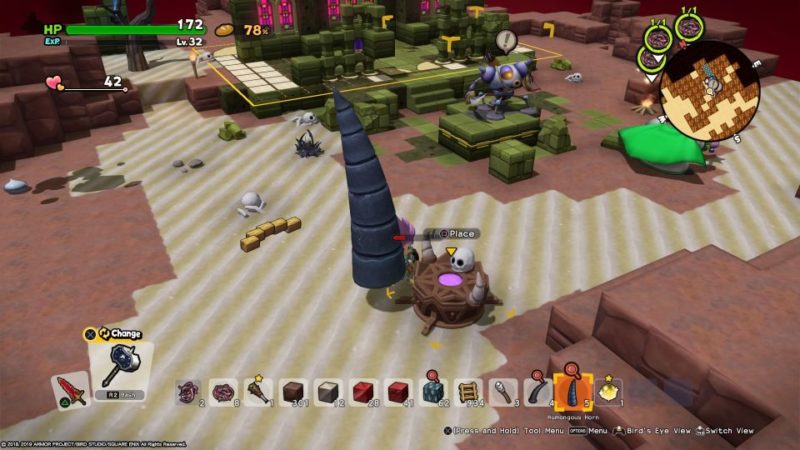
Get talons, horns and scales
Hellen will help you if you can obtain some talons, horns and scales from Malroth.
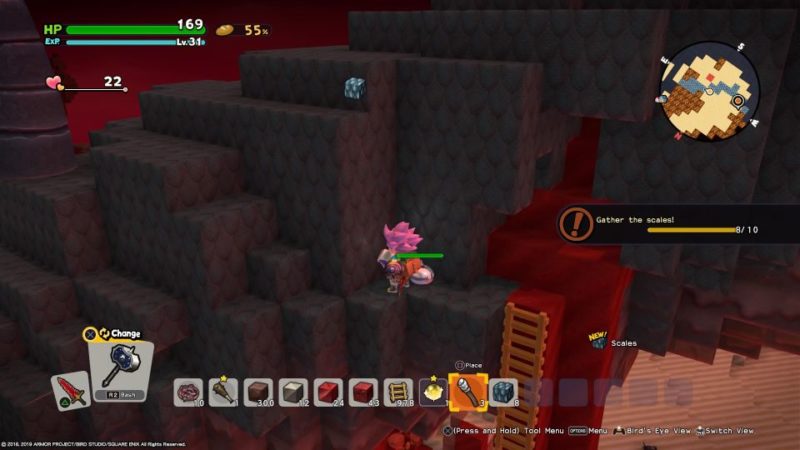
Follow the marked location just nearby.

You’ll reach the ingredients. The scales are just blocks.
The horns are above the bridge made of scales.
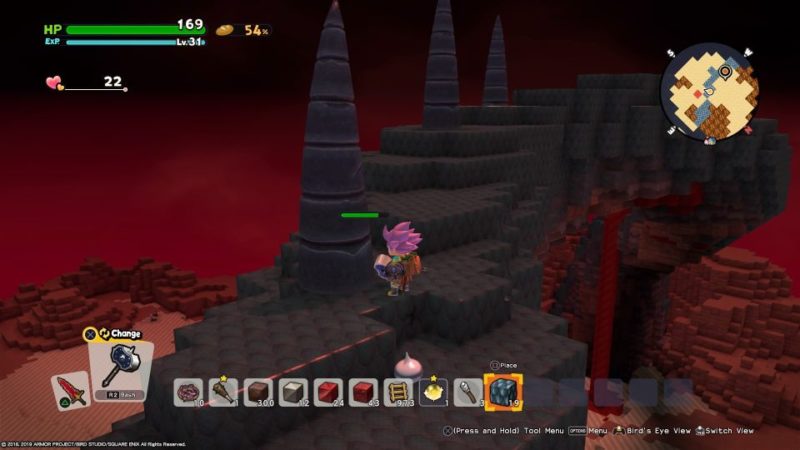
Lastly, the terrible talons are at the bottom of the ‘bridge’. The whole thing is like a giant arm and the talons are the claws.

You may want to get more of them because you can convert them to ingredients.
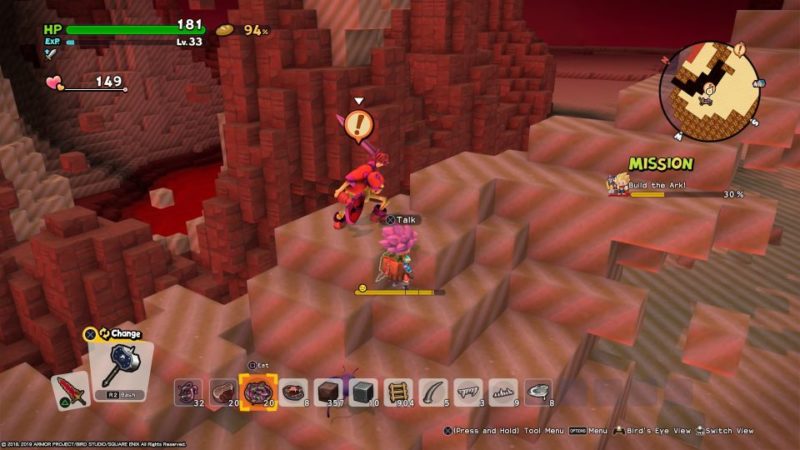
Convert the items into building materials
Build a forbidden altar to convert these talons, horns and scales into building materials.
Just place the droppings into the altar and transform them. You can build more altars if you wish to speed things up.
Complete the shelter
Once you have the ingredients, complete the shelter.
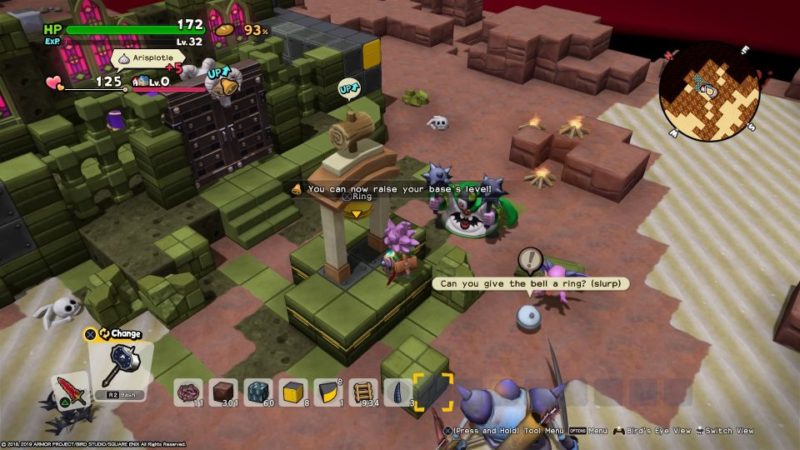
Place a builder’s bell
Next, make a builder’s bell using the workbench. Place the bell on the designated platform.

Ring the bell to raise your base level and get more monster helpers.
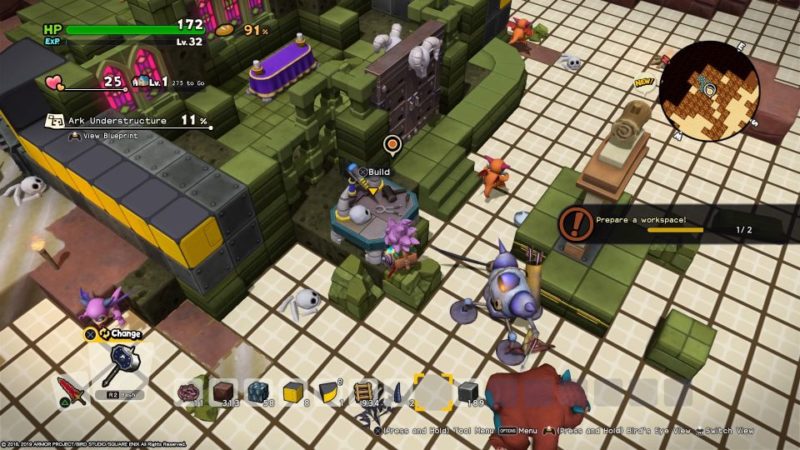
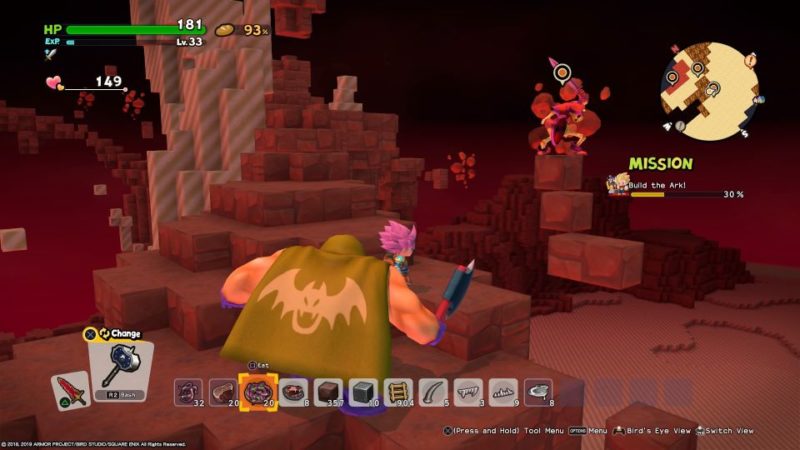
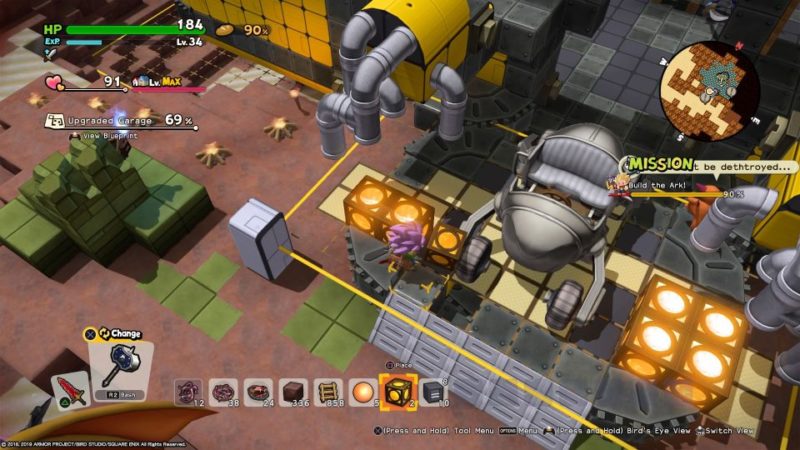
Build the ark understructure
The plan now is to build a flying ark. The first part of it is the ark’s understructure.

Prepare a workspace
You then need to prepare a workspace to allow the monsters to help you build.
Make a workbench and a storage. Place them at the designated areas.
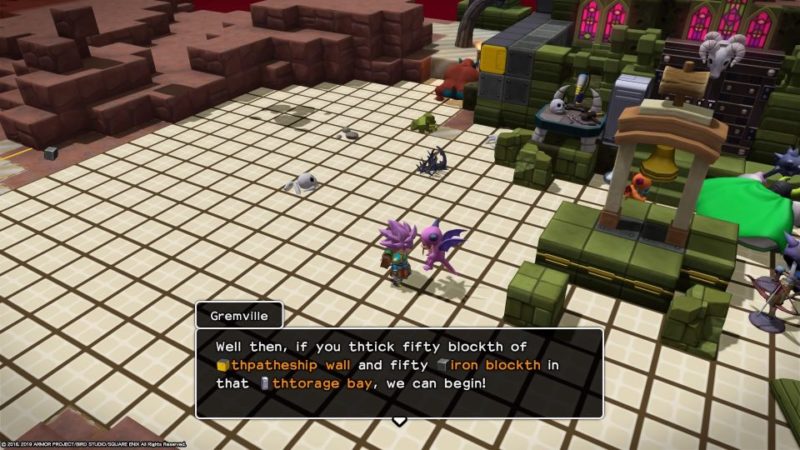
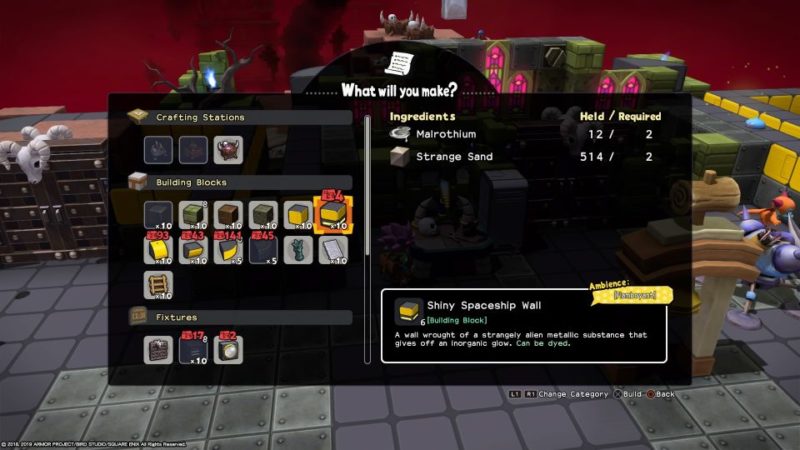
Store 50 iron blocks and spaceship walls
To enable the monsters to start building, you have to make 50 iron blocks and 50 spaceship walls first.
Place them in the storage bay and they will start building.

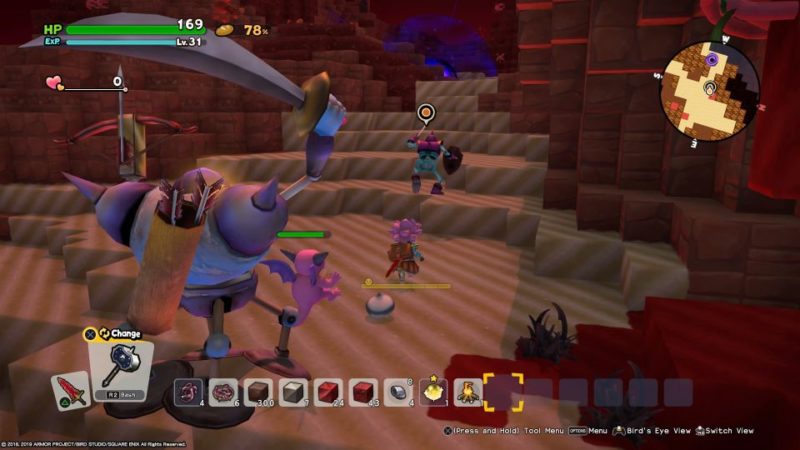
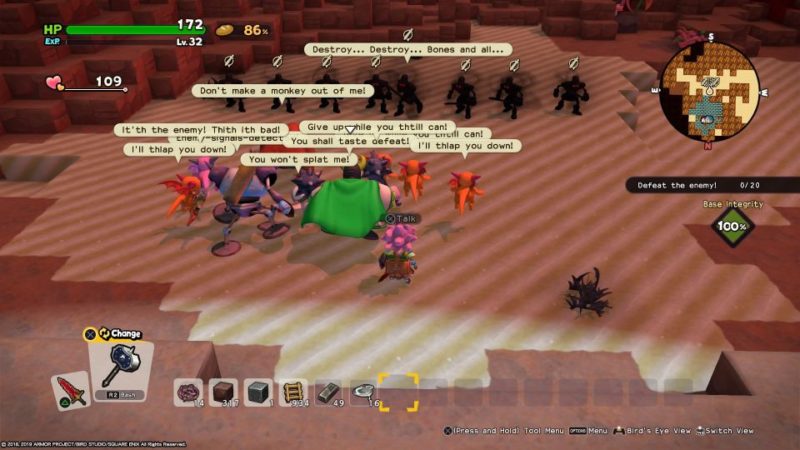
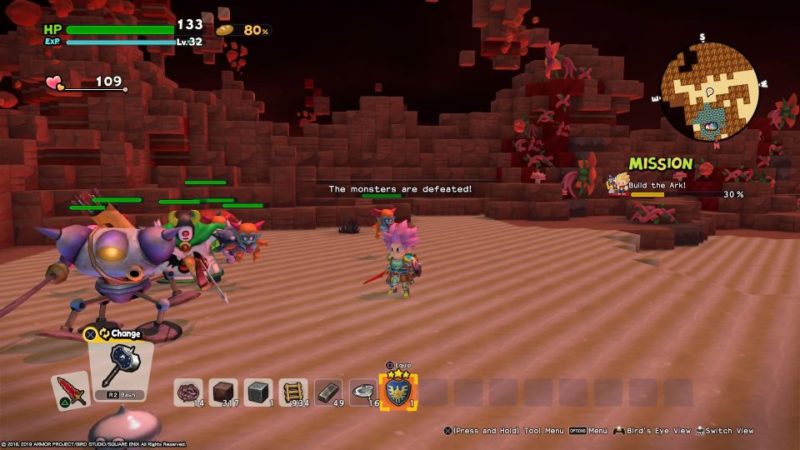
Defeat the enemies
You will then be interrupted by more shadow enemies. Defeat them all.
They’re all pretty weak.
You will get a new equipment every time there’s a major battle. For the first round, you’ll get a new shield.
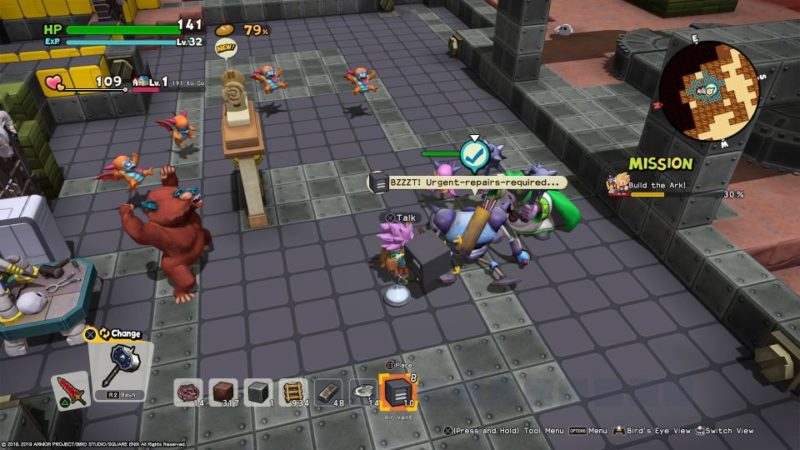
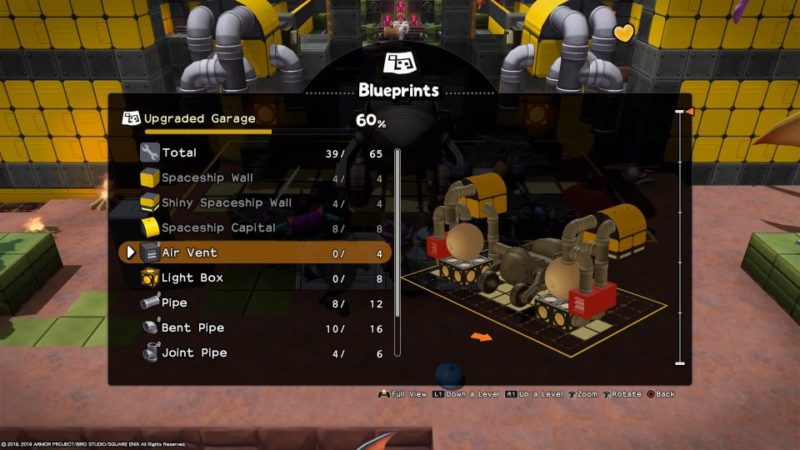
Repair the robot
The robot monster gets injured after the fight.
Repair him by building air vents at the workbench first. Use the air vents to fix him.
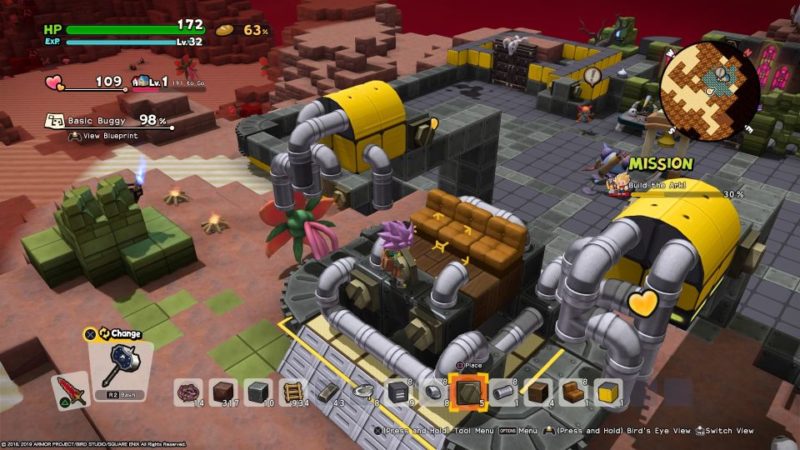
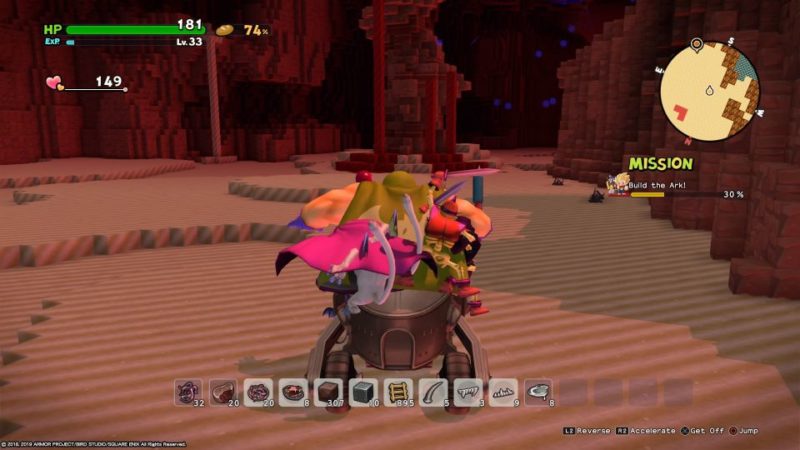
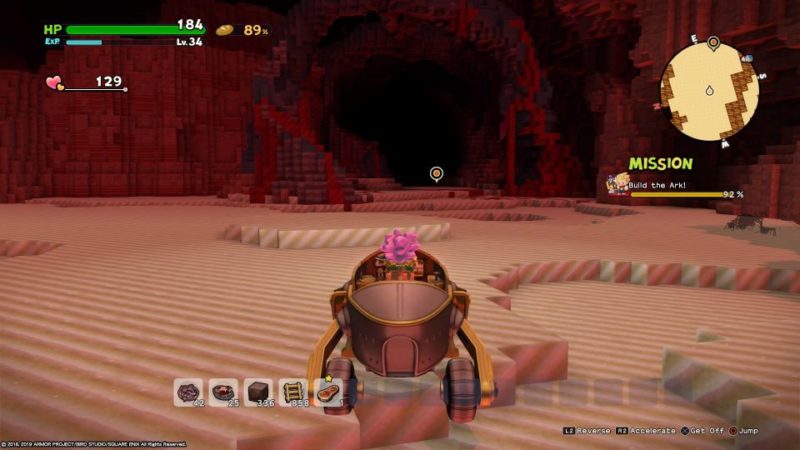
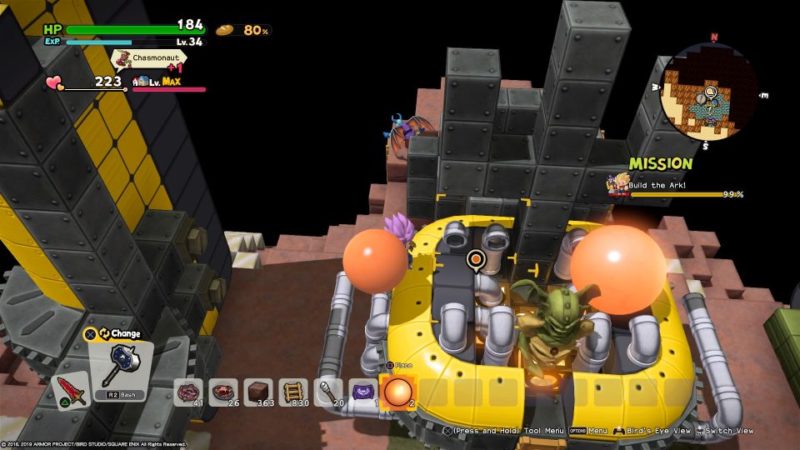
Build a basic buggy
Next, you need to build a buggy.
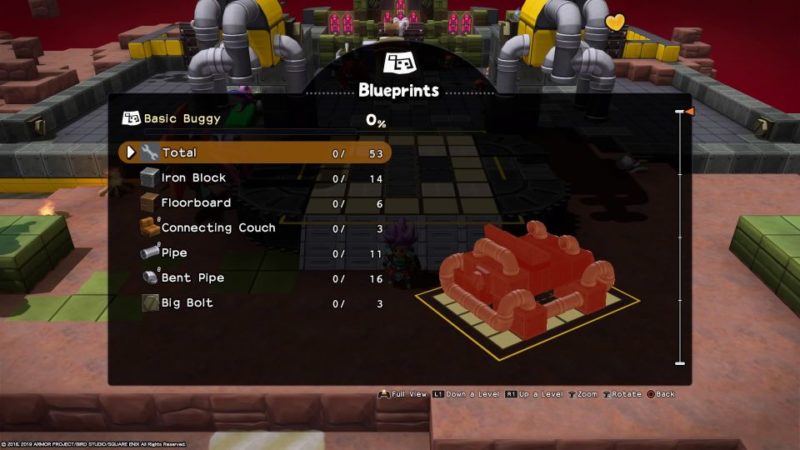
The monsters can’t help you to build the buggy. You will have to do it yourself.
Just make the materials using the workbench and place them according to your blueprint.
Recruit more monsters
Once the buggy is completed, you can recruit more monsters to build the ark.
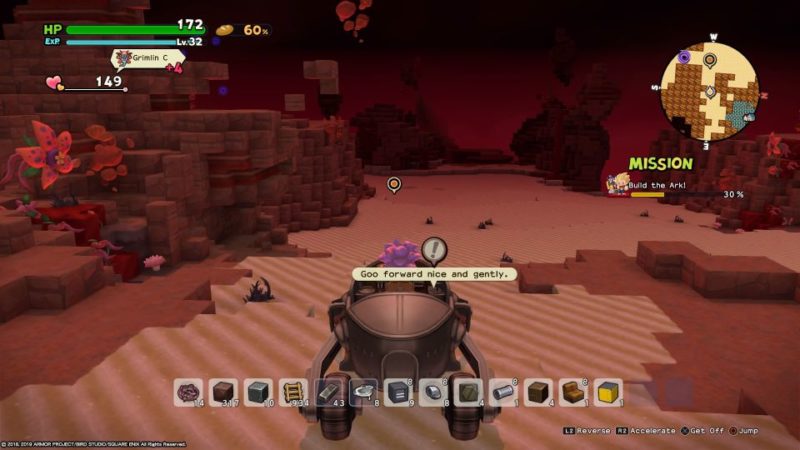
The first group are the slimes. They will join you.
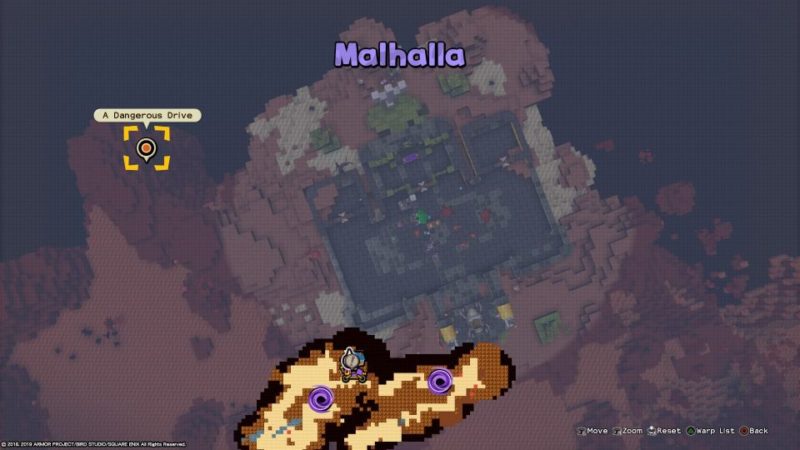
Find Zebadee
You then need to get the other priest to join you. The location of the Court of Chaos is shown in the map.
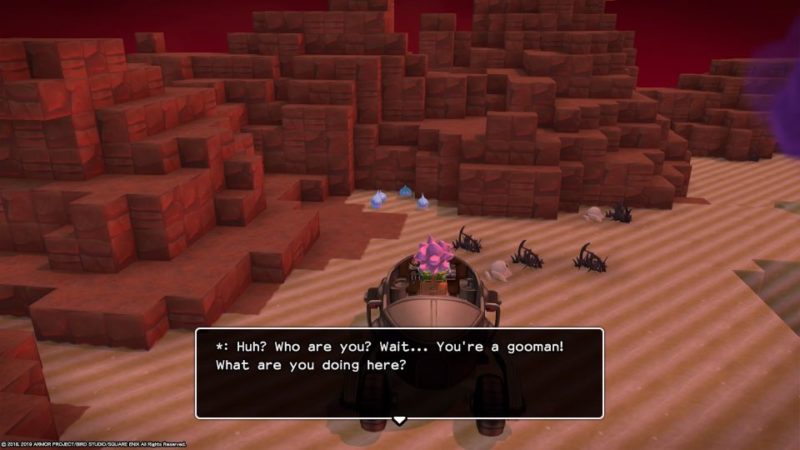
Before you can get to the Court of Chaos, you need to talk to this monster.
The monster will join you and will lead you to the place.
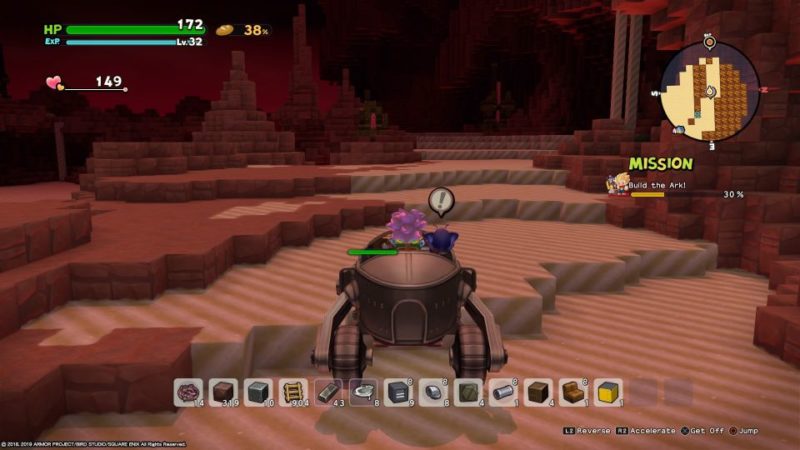
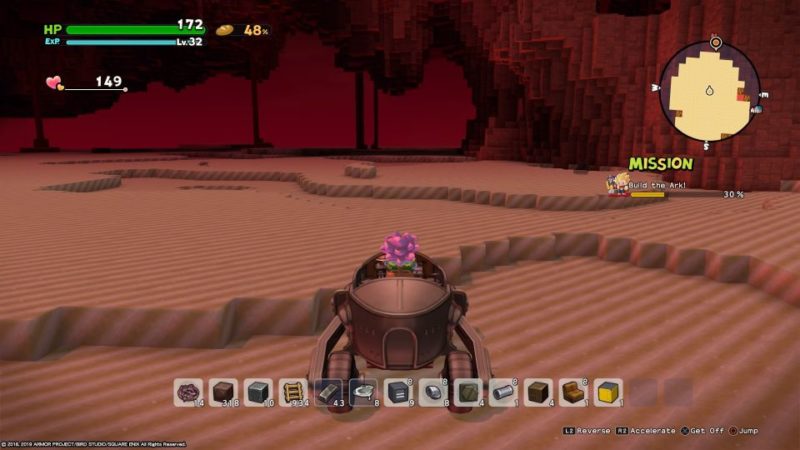
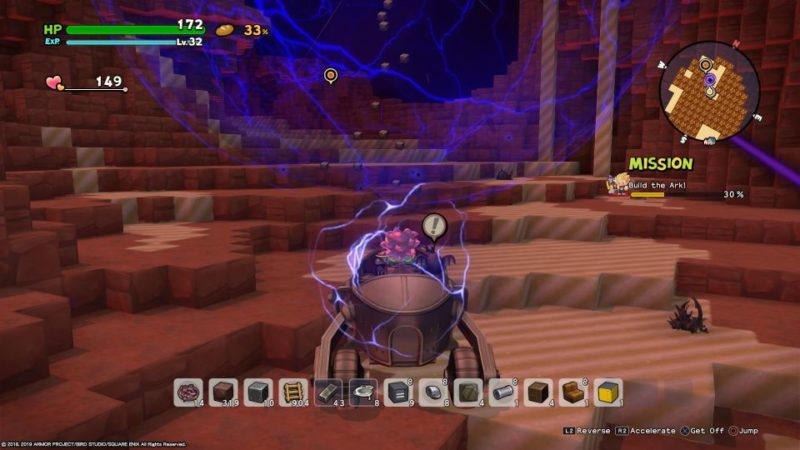
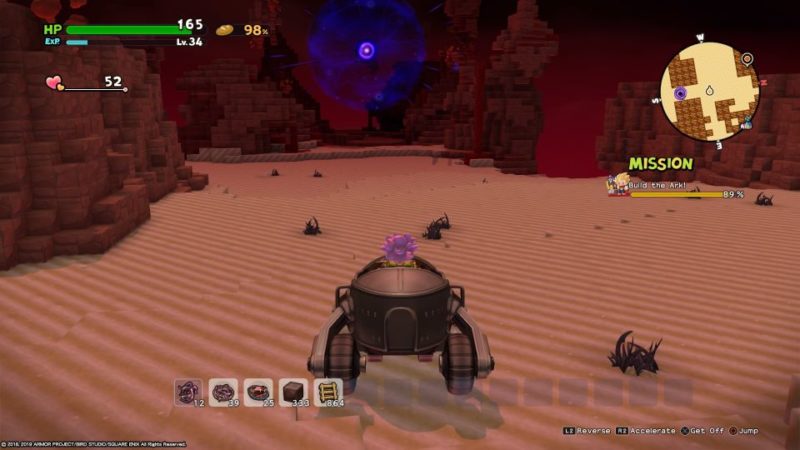
You have to keep driving through the huge orbs of vortexes and other claw attacks.
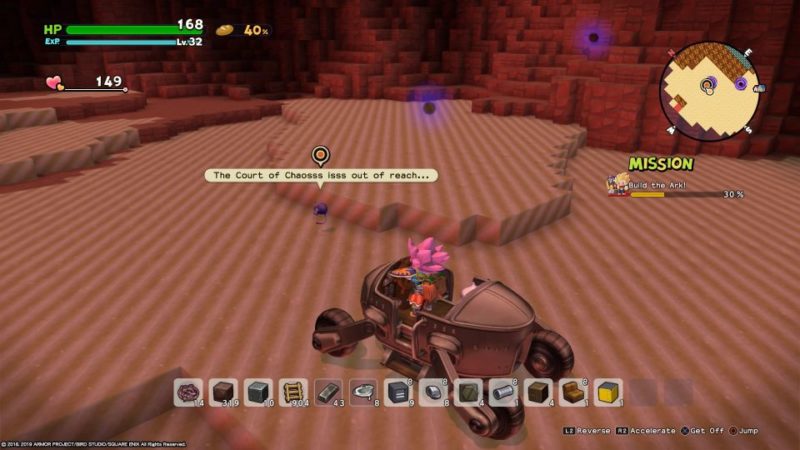
Finally, you’ll reach the Court of Chaos. Talk to Zebadee.
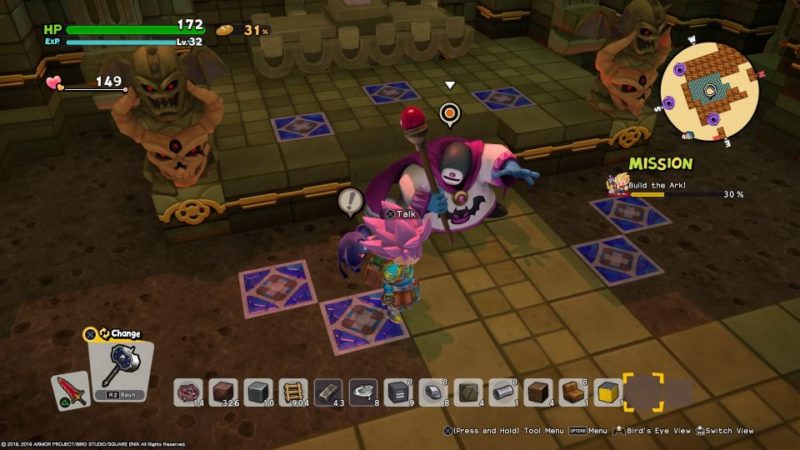
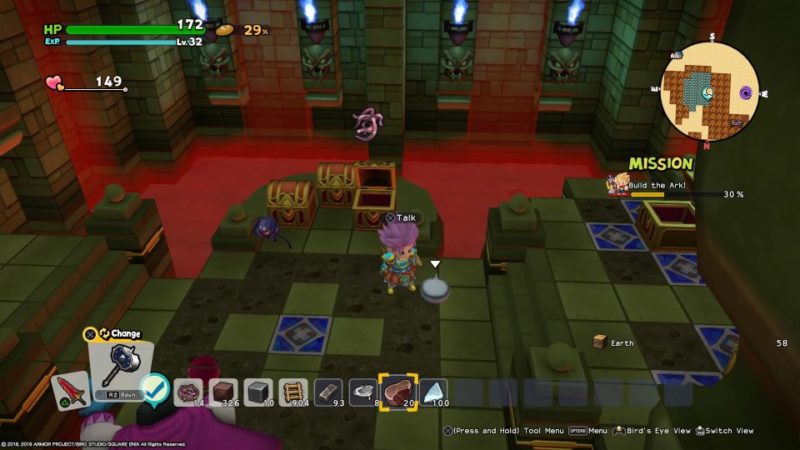
Once you’re there, he mentions something about items behind the wall. Destroy the wall.
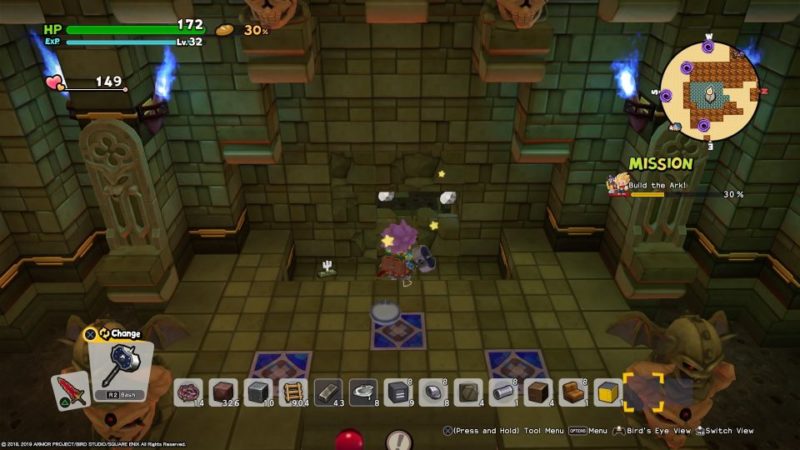
Inside, you’ll find plenty of chests. Open them all and you’ll get many ingredients including manky meat.
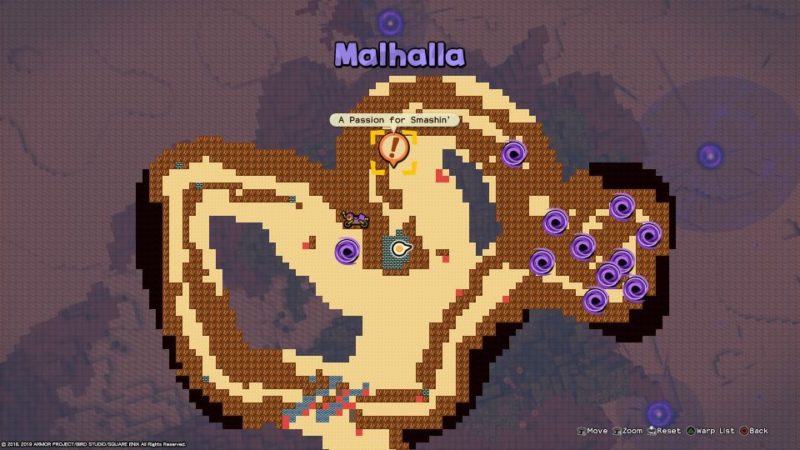
A Passion for Smashing
The next person you need to recruit is shown in the map below.
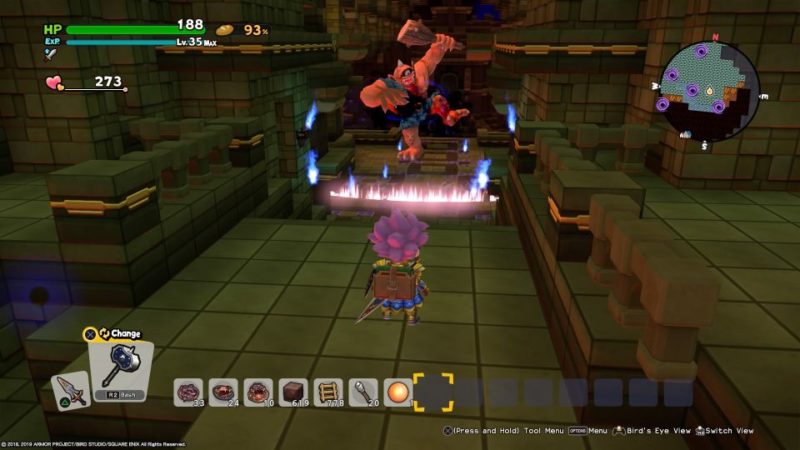
You will see this muscular monster here.
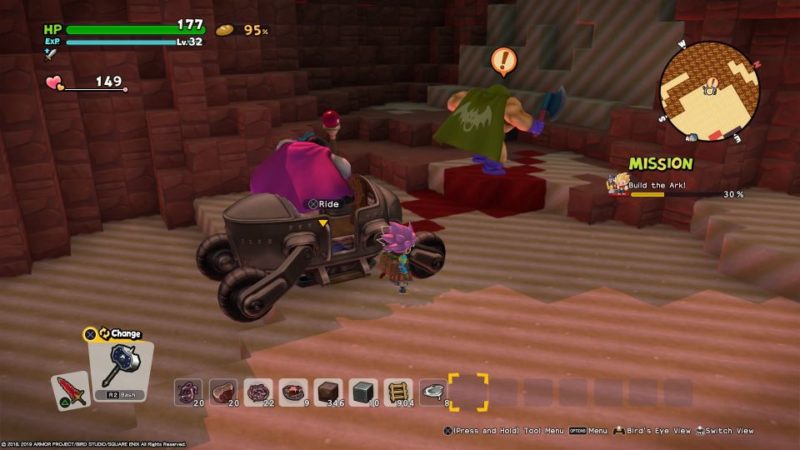
He will give you some bombs. Use it to blow open the wall. Go inside with him.
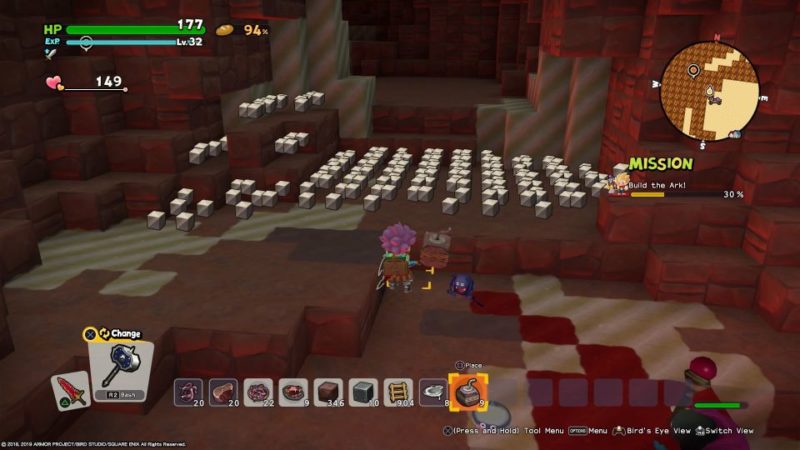
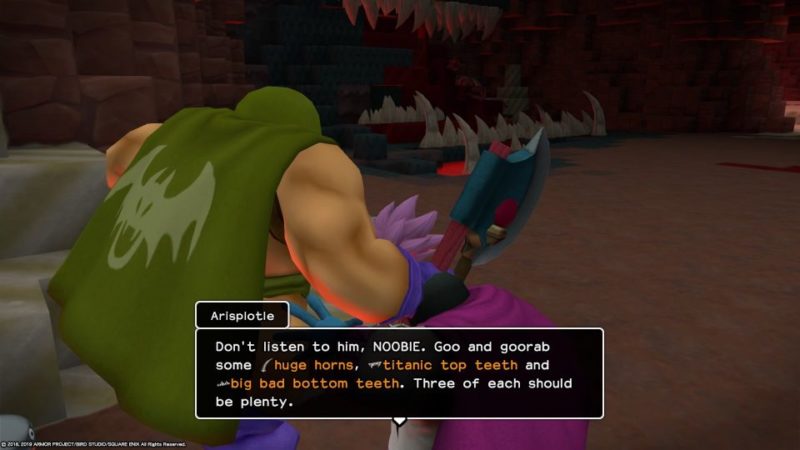
Get horns and teeth
Inside, you’ll find some huge horns, titanic top teeth and big bad bottom teeth.
You can use the bombs on them and loot the items.
These items can be converted into building materials. Grab as much as you can.
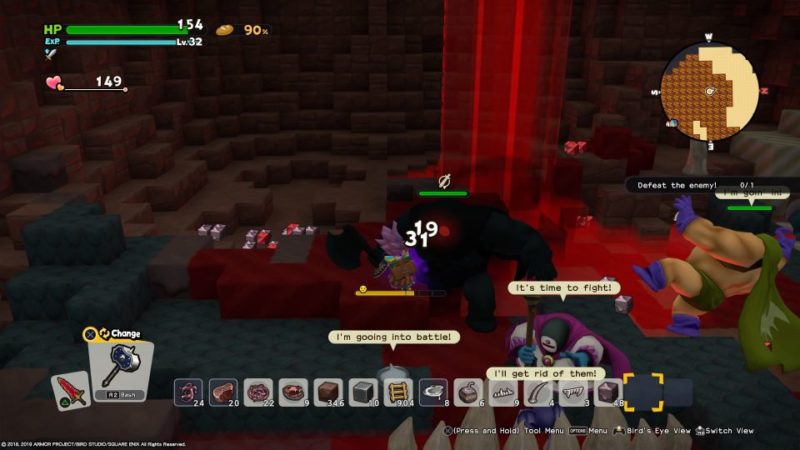
Defeat the shadow
After looting the materials, a shadow monster appears.
Defeat him.
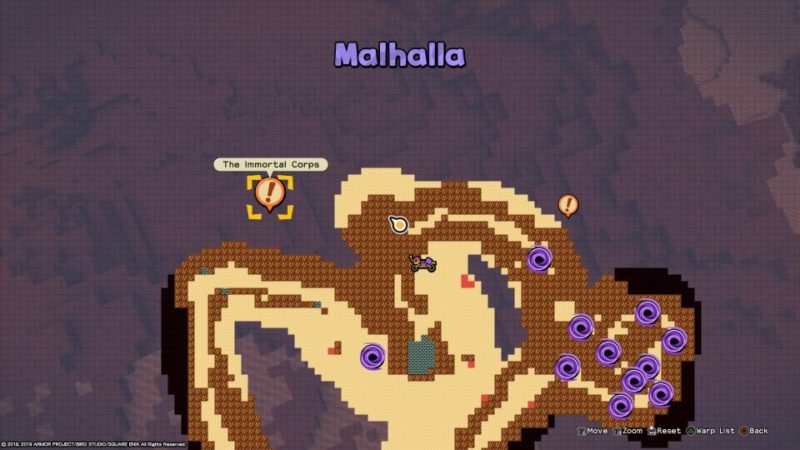
The Immortal Corps
The next group you need to recruit are called the Immortal Corps. Their location is shown below.
You will see this skeleton here. Talk to him and he’ll tell you to convince the other skeletons.
Climb up the platform and you’ll find one skeleton here. To get to him, build blocks across.
There’s also another skeleton much higher up.
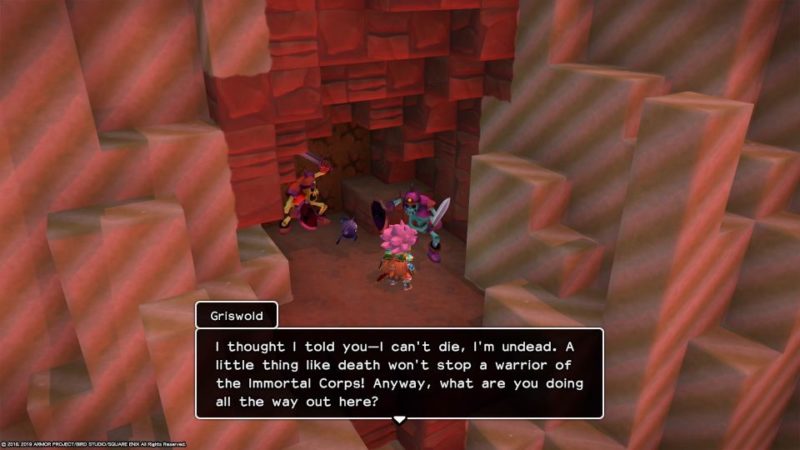
The last skeleton is all the way down. You can see him from the top.
Turns out, he is Griswold, the one who apparently died after falling into the abyss.
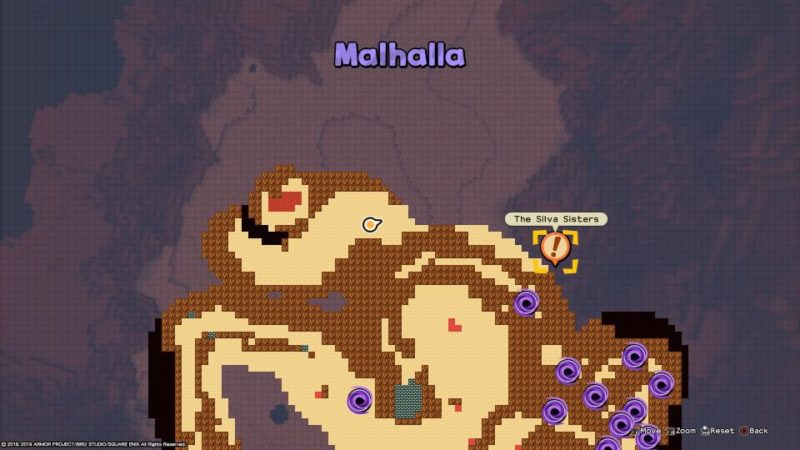
The Silva Sisters
Next, you need to get the Silva Sisters to join you. Their location is shown too.
Talk to this monster.
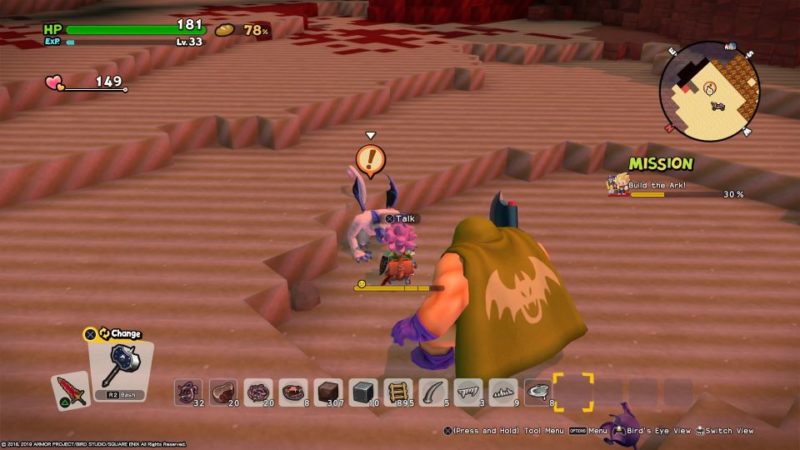
You need to rescue the other monster from inside the cave. It’s totally dark inside, even if you have a torch.
Just talk to her and walk back out.
Once you’ve rescued them all, go back to your base.
Build the ark
Back at the base, you will have a new blueprint for the ark.

As usual, build the blocks and other materials first.
Place them in the storage bay and the monsters will do the rest.
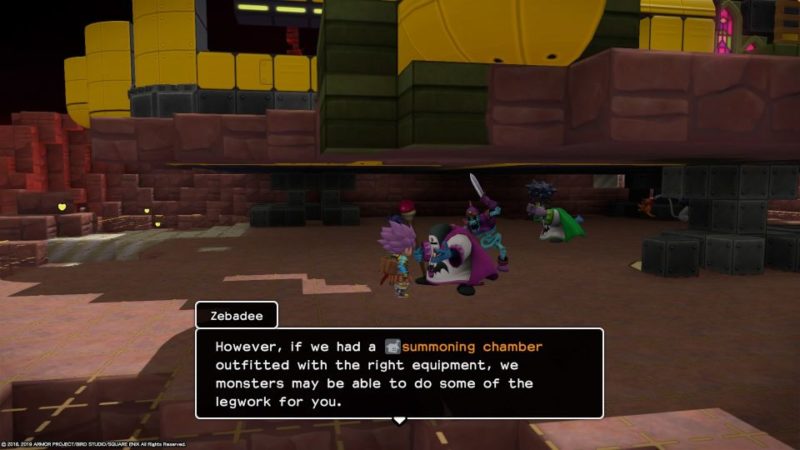
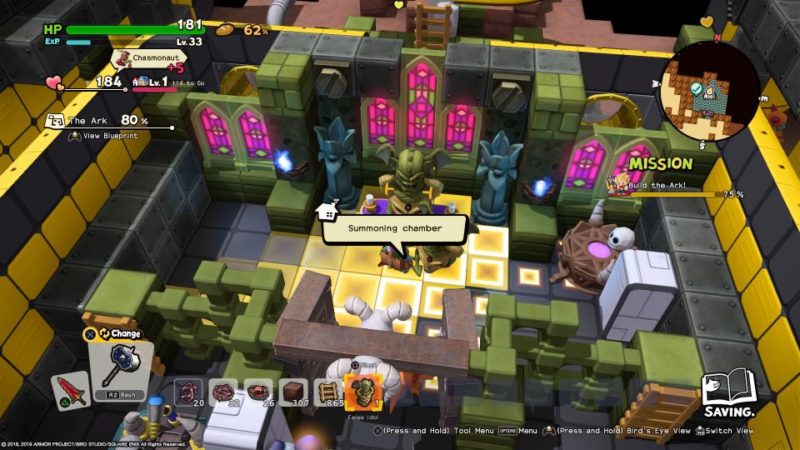
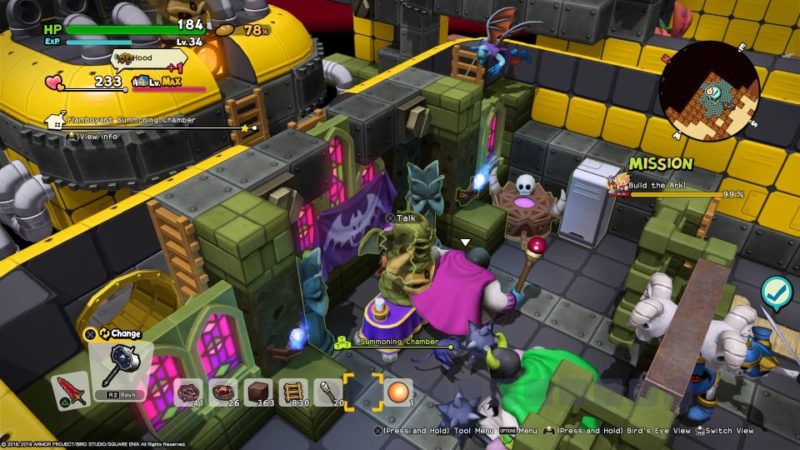
Build a summoning chamber
To make it easier for you, build a summoning chamber using the altar room.
Just place the statues, sinister sconces, storage bay and the forbidden altar inside. The summoning chamber is then complete.
These monsters will then convert droppings into building materials.
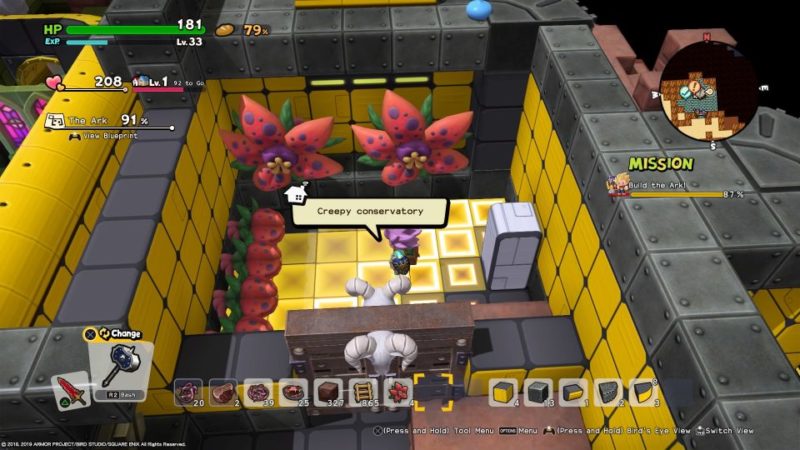
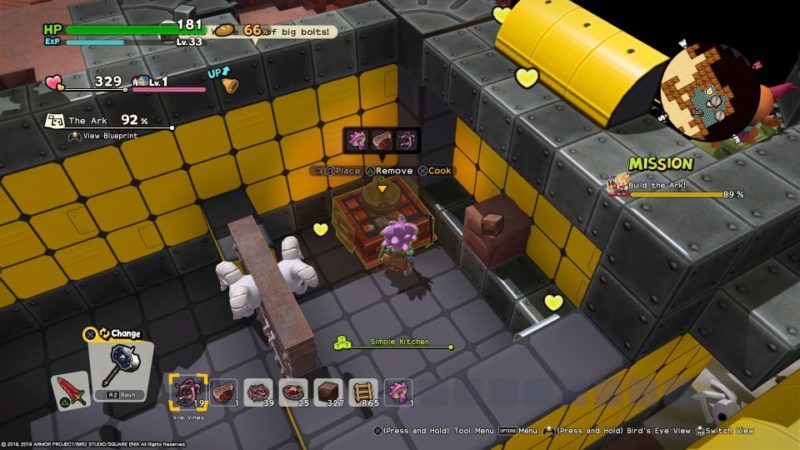
Make a creepy conservatory
You also need to build a creepy conservatory.
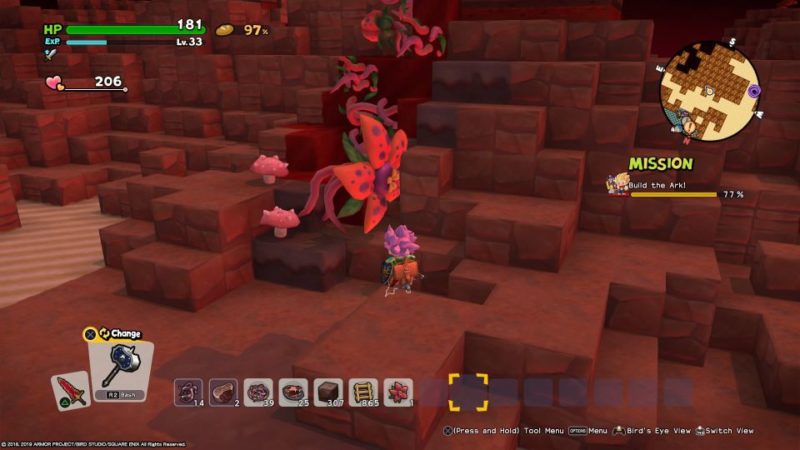
You can use the small room on your right.

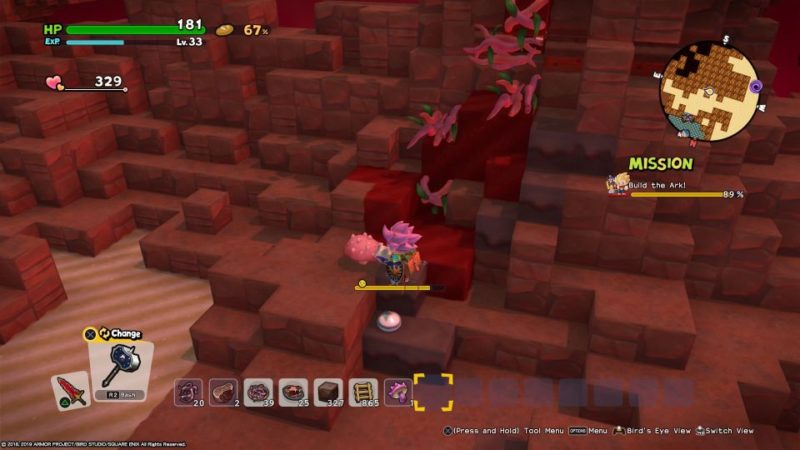
To get the flowers, just grab them from outside your base.
You only need 2 blooming poxgloves and 4 budding poxgloves.
Also, remember to place a storage bay inside. The creepy conservatory is now complete.
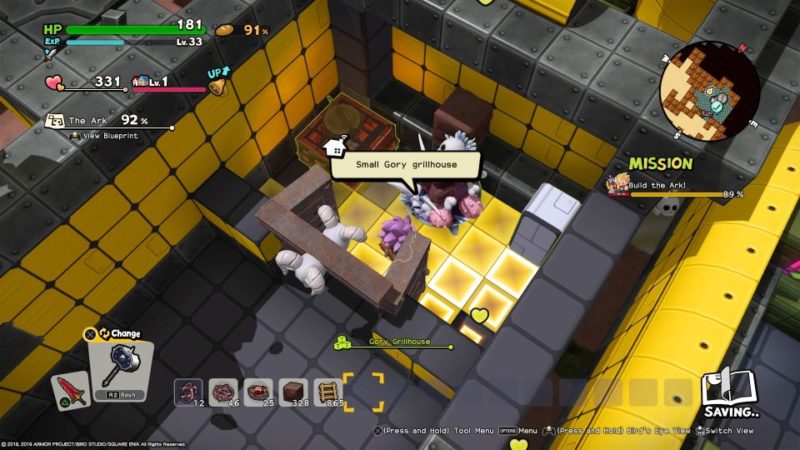
Make a gory grillhouse
Another job is to build a gory grillhouse. You need a storage bay, a barbecue and a meaty marshy mountain.

This time, you can use the room on your left. Making the meaty marshy mountain is harder. You can find frogstool outside.
The manky meat can be found from the earlier missions or from shadow werewolves. Place the meat, frogstool and vile vines on the barbecue, and cook it.
You’ll get a goregasbord.
Use the infernal workbench to craft a meaty marshy mountain with the goregasbord and other ingredients.
Place it on the floor and the small gory grill house is done. Remember to put the storage bay as well.
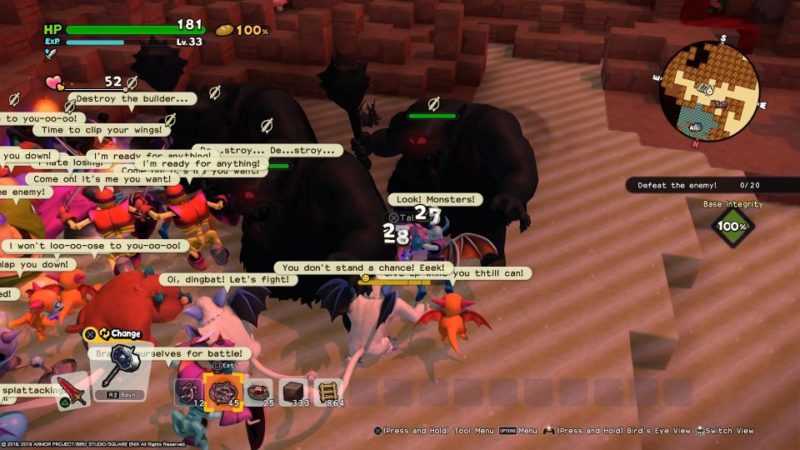
Defeat the enemies
Once again, enemies will appear.
Together with the rest, defeat all the enemies. You don’t actually need to do much attacking.
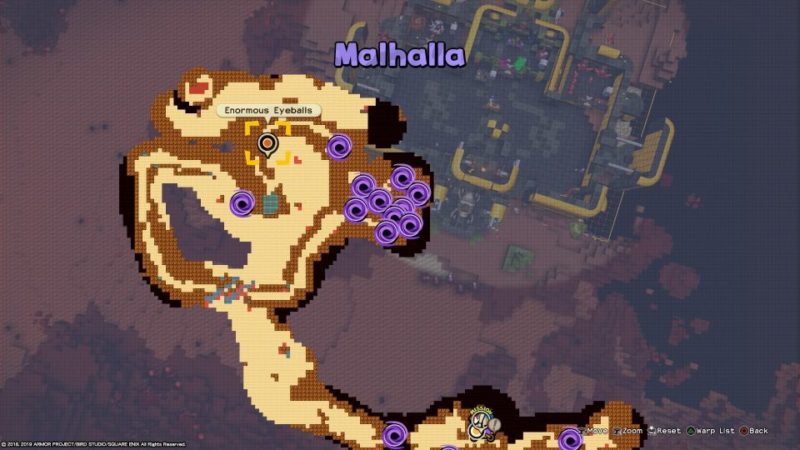
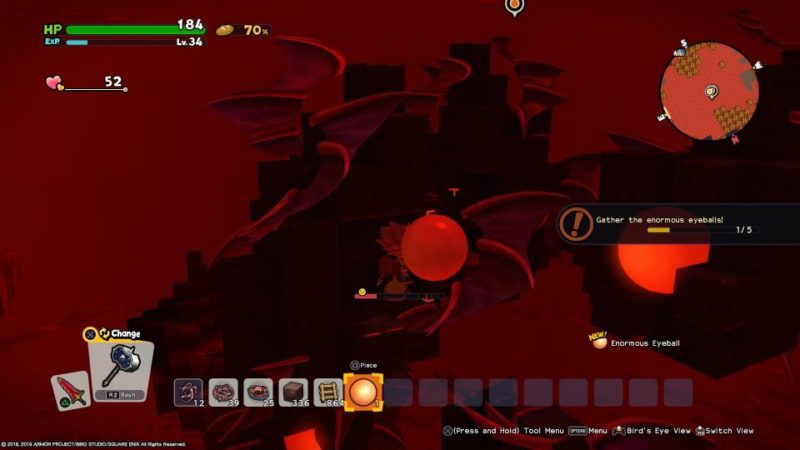
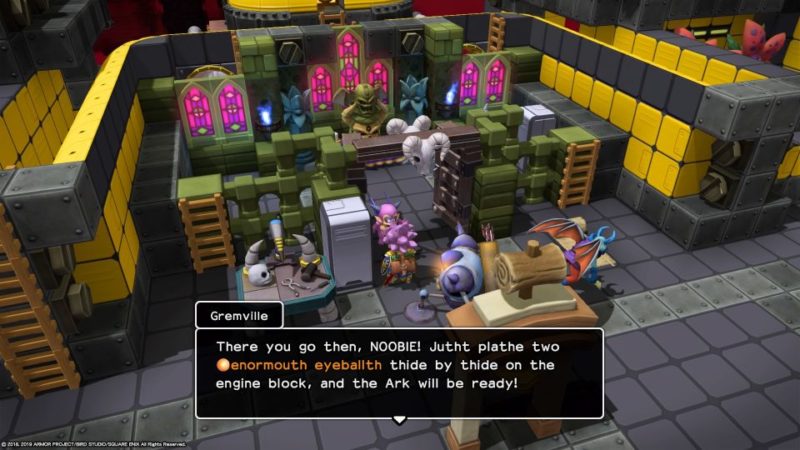
Find enormous eyeballs
Next, you need to look for enormous eyeballs to power the buggy and other things.
The location is provided below.
Once again, use the buggy and power through the vortexes.
Get back to the cave where you found the smashing monster.
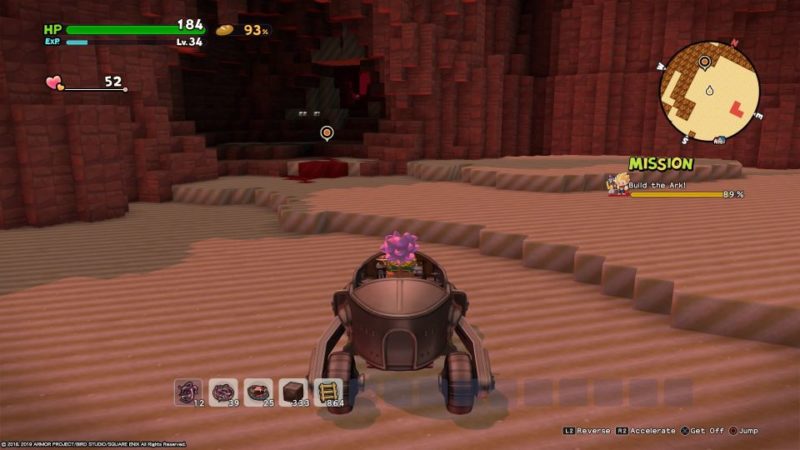
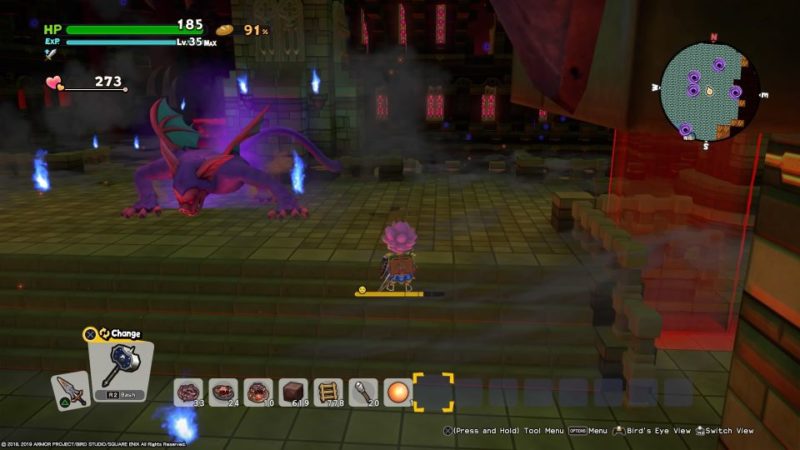
Keep going until you reach this dragon. Talk to it.
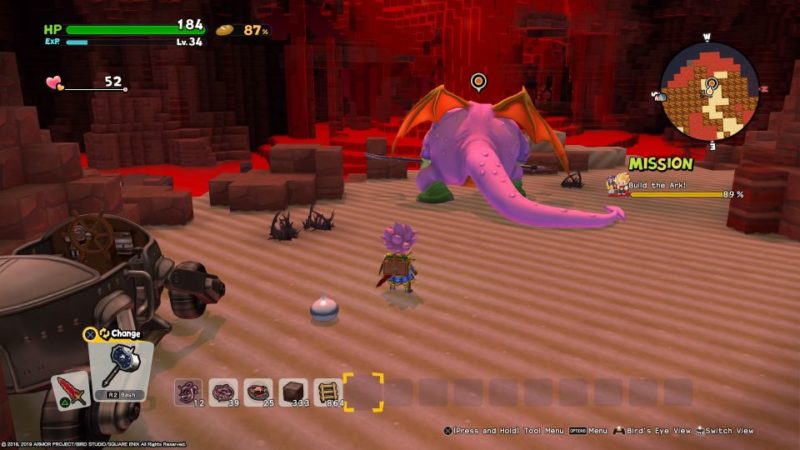
He’ll tell you that the eyeballs are inside the water.
Head to the huge red waterfall in the middle. Jump into it.
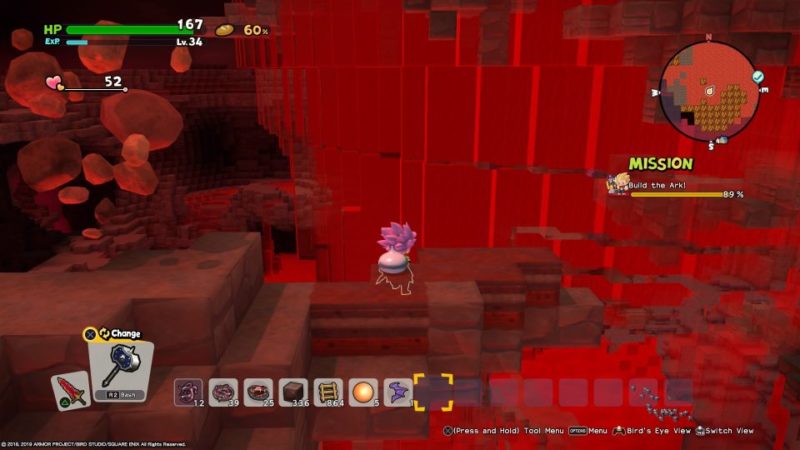
You will find the enormous eyeballs inside it, at the exact location marked on the map.
Grab 5 eyeballs. The scales are optional.
Make an upgraded garage
After obtaining the eyeballs, you need to upgrade the buggy.
Once again, you have to do it yourself.
Once it’s done, the buggy now has headlights. These headlights are great for pitch black areas.
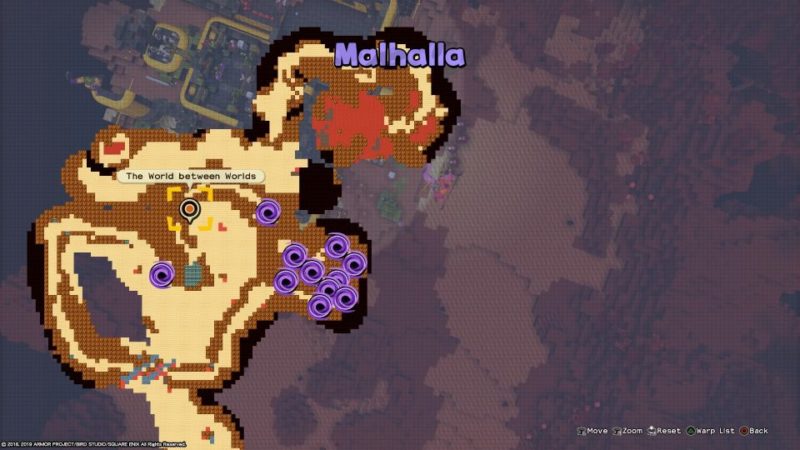
Find a captain for the ark
Head to the world between worlds to look for an ark captain. The location is provided as usual.
Head through the pitch black area where you rescued a monster earlier.
Keep going until you meet this skeleton.
He is actually the ship captain you met right at the beginning of DQ Builders 2. He disappeared when the ship sank.
Defeat the enemy (claw)
The giant claw from Malroth appears again.
This time, you have to defeat the claw. Just go near it and hit it. You may not get hit at all if you stand at the right spot.
Take the Hargon banner from the shipwreck.

Place the enormous eyeballs
Once you’re back at the base, put the enormous eyeballs at the ark’s engine.
Next, place the banner of Hargon anywhere you like.
Defeat the enemy again
Once the ark is ready, you’ll face a wave of enemies again.

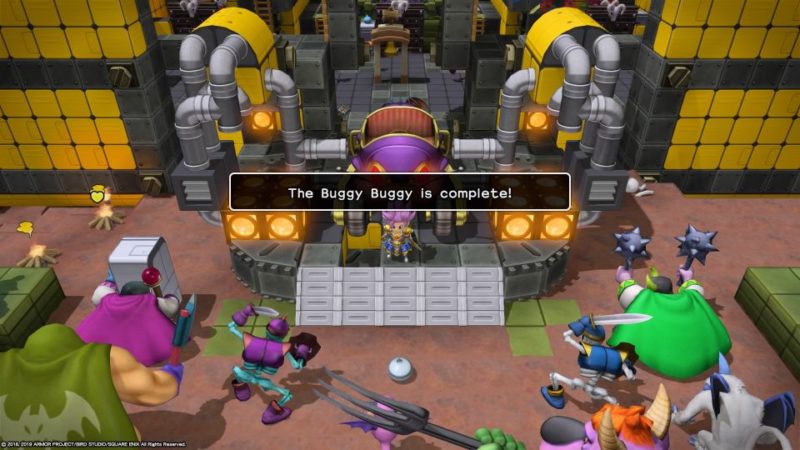
Complete the buggy
The robot dies after the battle. Use your hammer and destroy it.
You’ll get the robot’s heart.

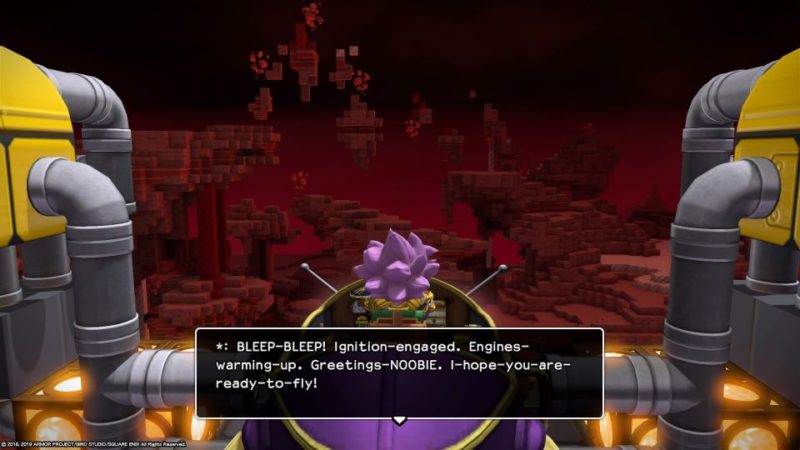
Use the heart on the buggy and it will finally be complete, and be able to fly.
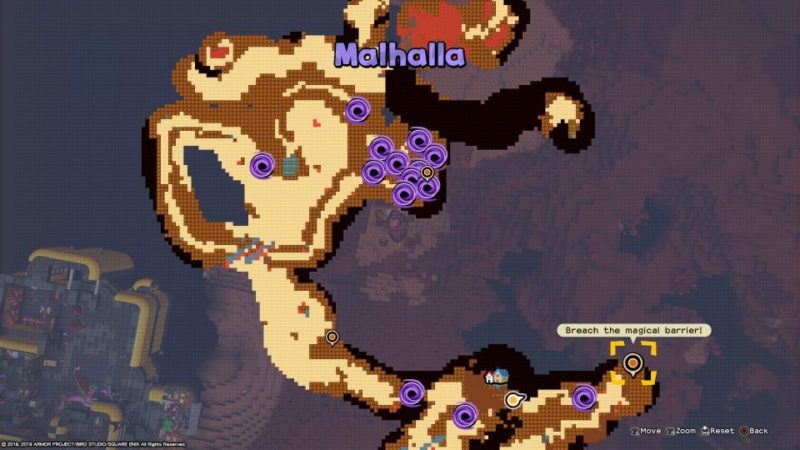
Breach the magical barrier
To get to the Castle of Hargon, you need to destroy the barrier first.
It’s upheld by three shadow Madusas.
The 3 locations are all shown in the map.
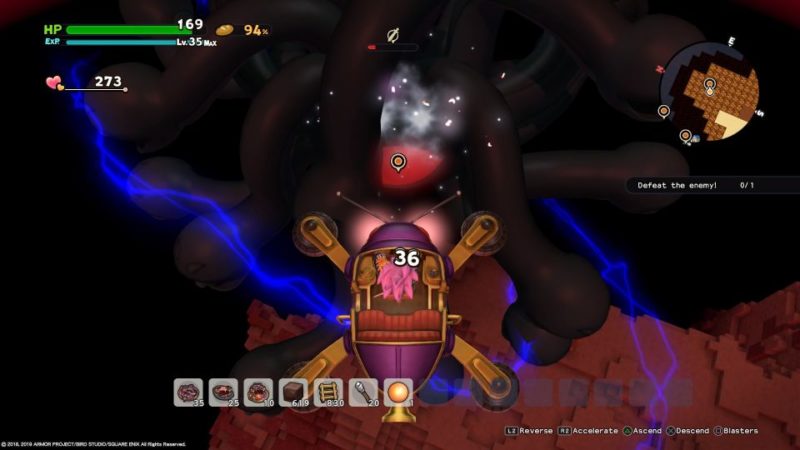
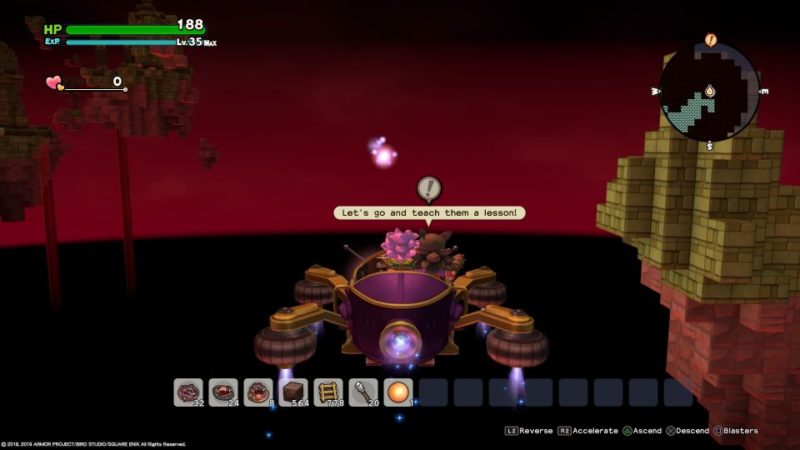
Fly high and use your buggy’s lasers to kill the shadow Madusas.
Do the same thing for the other 2 areas as well.
The magic barrier is now gone.
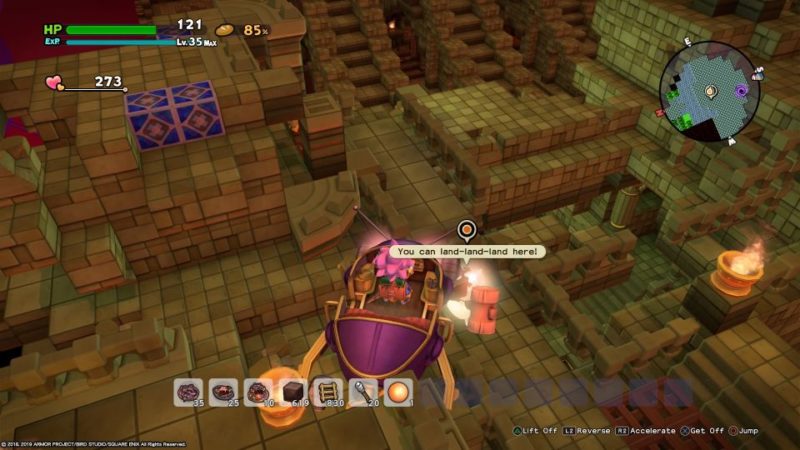
Land at the Castle of Hargon
Go towards the Castle of Hargon and you’ll meet the Hairy Hermit again.
Land the buggy near him. Talk to him.
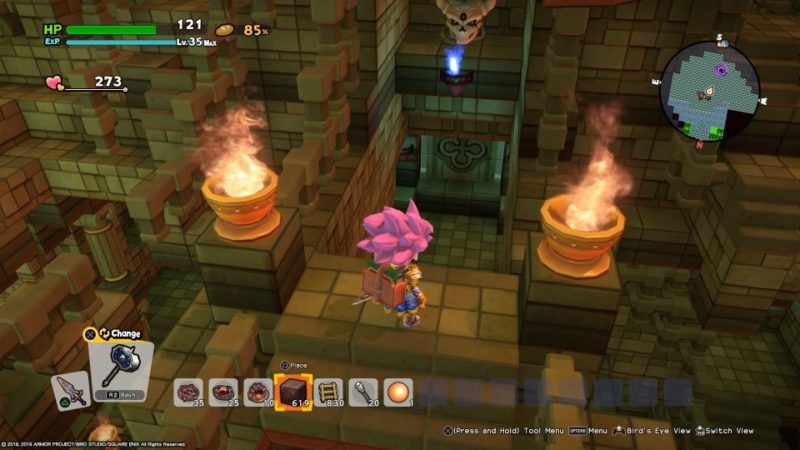
Find Malroth
Now, go downwards following the blue sinister sconces. The entire way will have these sconces.
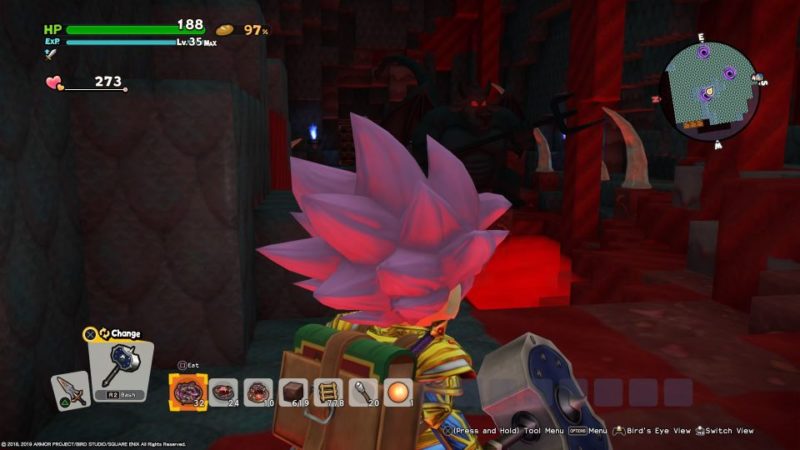
You will meet a cyclops first. Just ignore him and jump past the wave attacks.
Continue going until you meet this second monster. Once again, just avoid him. You don’t need to attack any of these shadows.
For the third monster, you just have to swim underneath to avoid it.
Finally, you’ll meet Hargon.
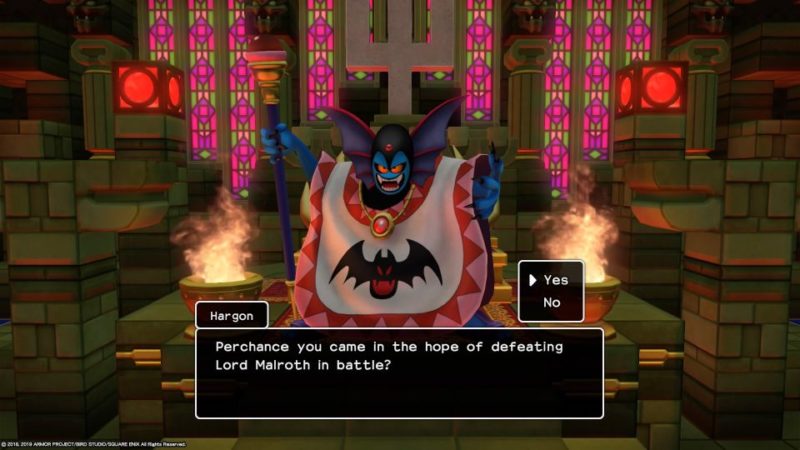
Defeat Malroth
This Malroth is pretty weak because he’s still influenced by the good Malroth inside of him.
Just attack him and avoid his attacks.
After defeating Malroth, you’ll get to move around as Malroth for awhile.
Follow the light.
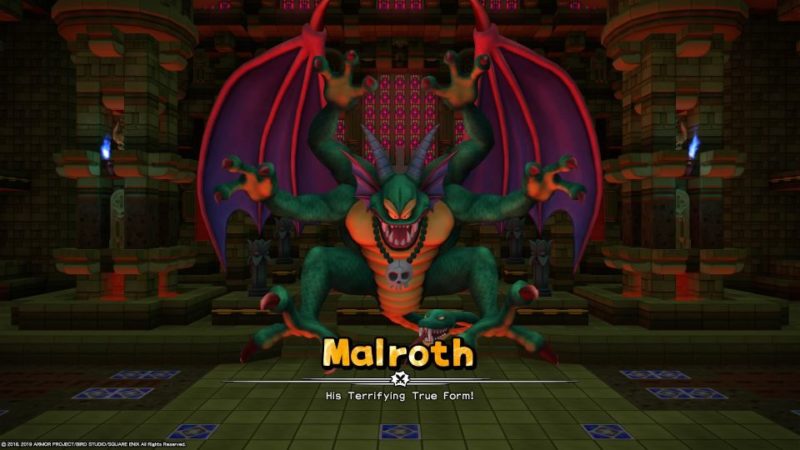
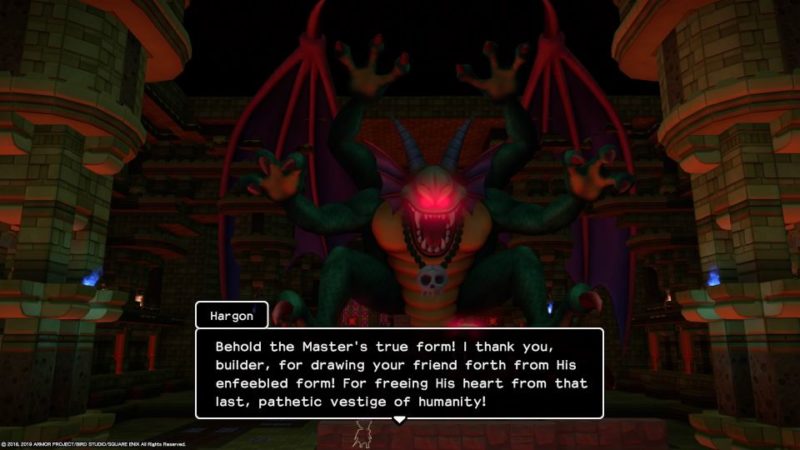
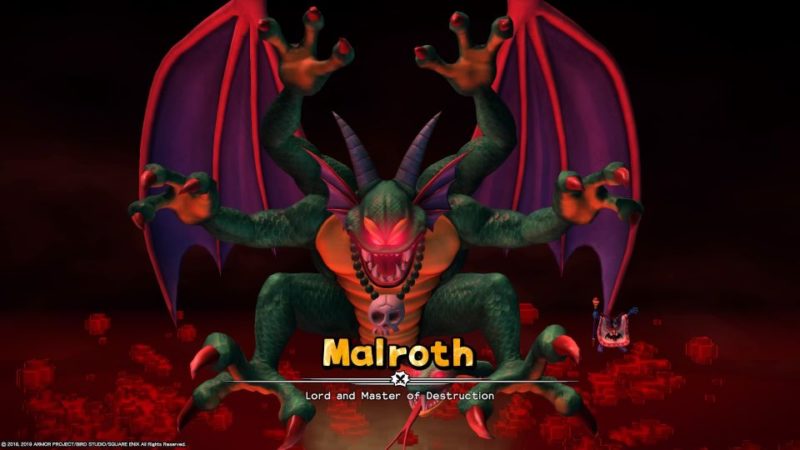
Once the good Malroth is back, the true form of the Lord of Destruction appears, and he’s much stronger without the influence of Malroth.
They’re both called Malroth which is confusing.
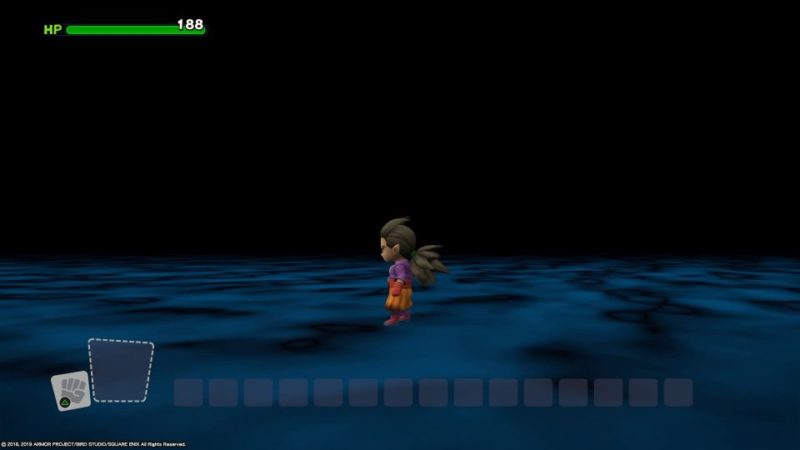
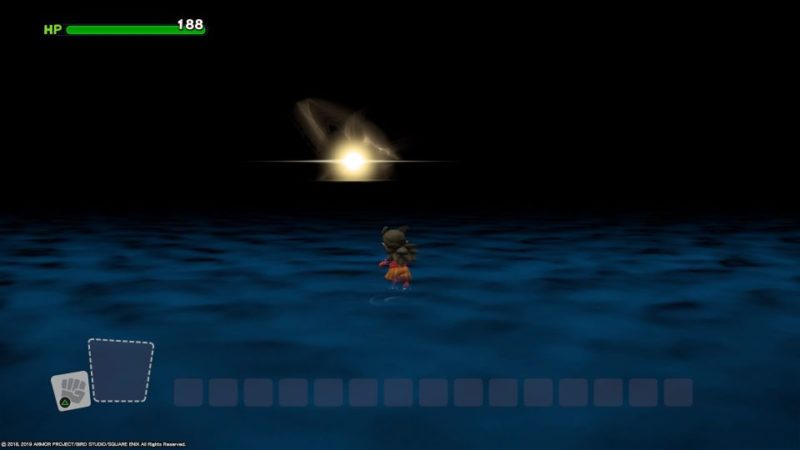
Look for the builder
After the place exploded, you’ll control Malroth for awhile.
Look for the builder.
After meeting him, you need to make a medicinal herb.
Just grab the leaf nearby and use the wooden workbench to craft a medicinal herb.
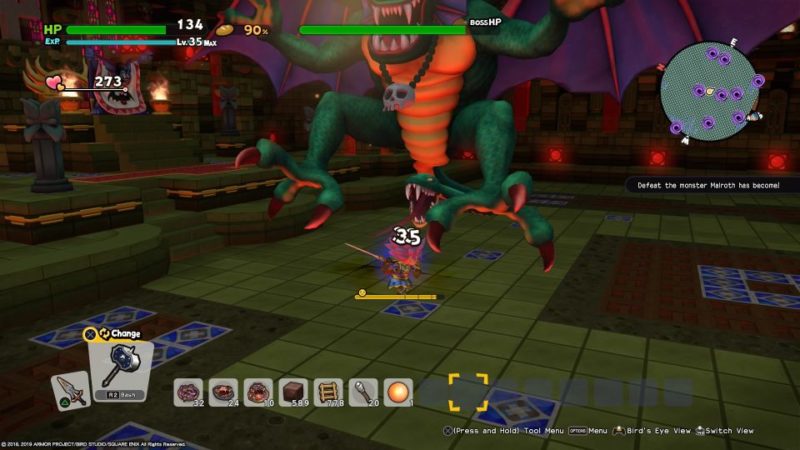
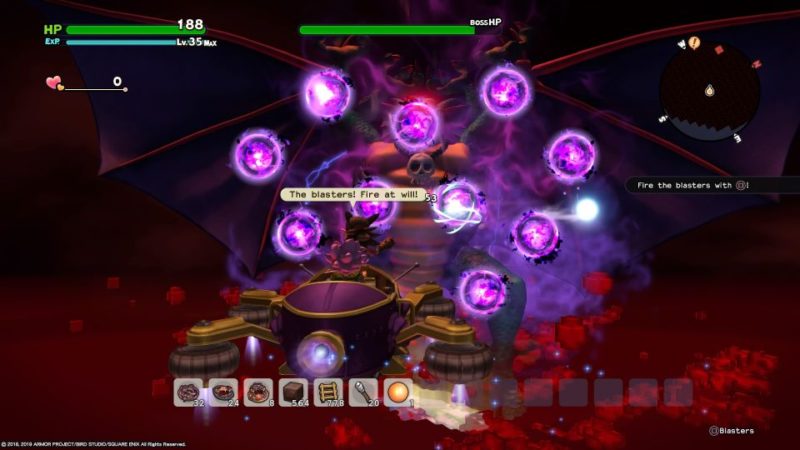
Defeat Malroth (final boss)
Now you’re back as the builder and you need to defeat Malroth in its true form.
The battle is quite straightforward. Just keep shooting and avoid the attacks.
Don’t worry about dying as you’ll end up with a minimum of 1 HP.
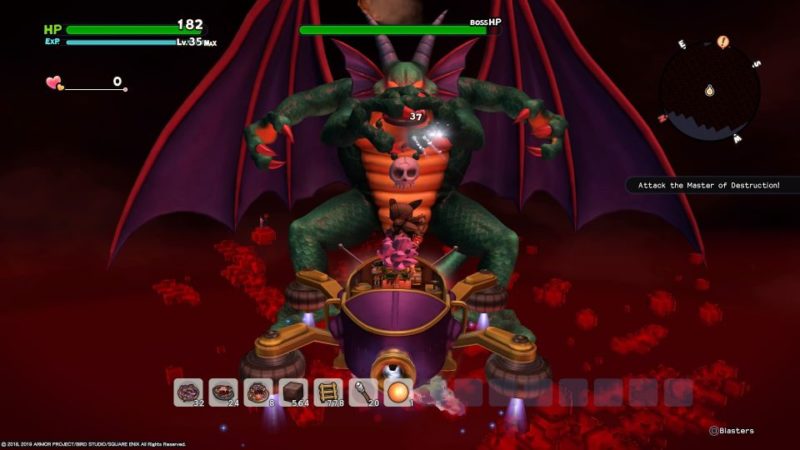
Just try to avoid the attacks as much as possible by going up / down and left / right.
During the battle, you’ll get a powered up buggy blasters.
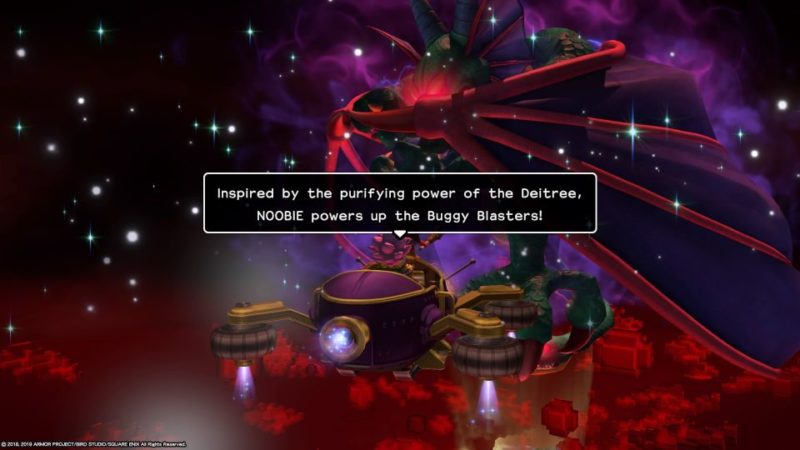
Continue fighting until the next big event.
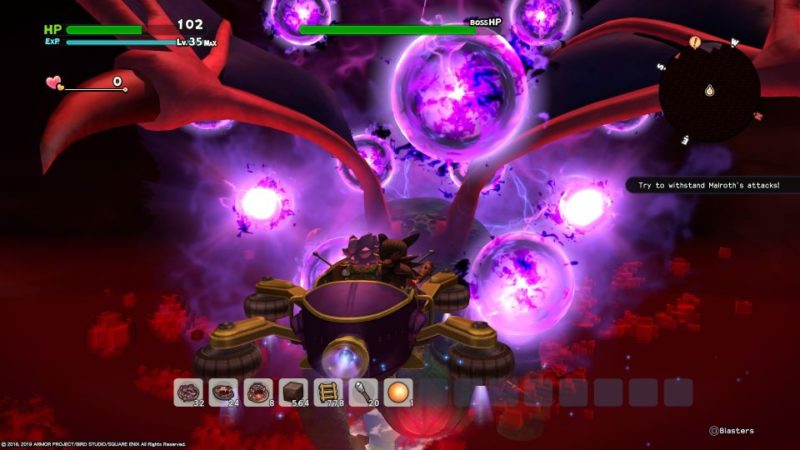
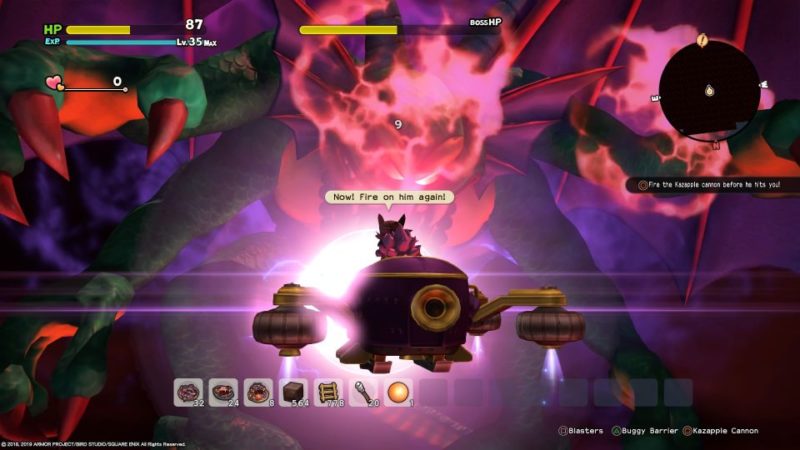
You’ll then get your own Kazapple Cannon. At this point, just keep using the cannon when it’s vulnerable.
But don’t spam it. If it’s blocking your attack, then shift to the normal blasters.
Once Malroth is gearing up to attack you, use the cannon before it can.
It will get vulnerable and you can use the cannon again. Malroth will start blocking after the 2nd hit.
Once it does, use the regular blasters again and fire the cannon when Malroth charges his attack.
Continue until you win.
Follow Lulu
After the battle, you’ll be back at the Isle of Awakening, but it’s pitch black.
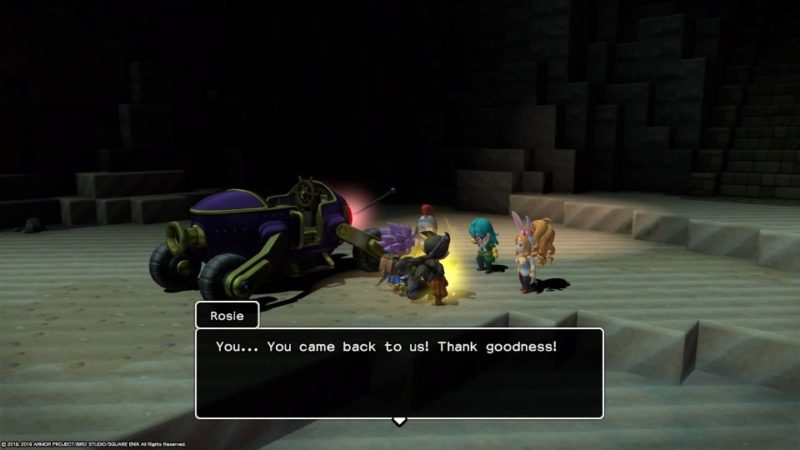
Follow Lulu all the way up.
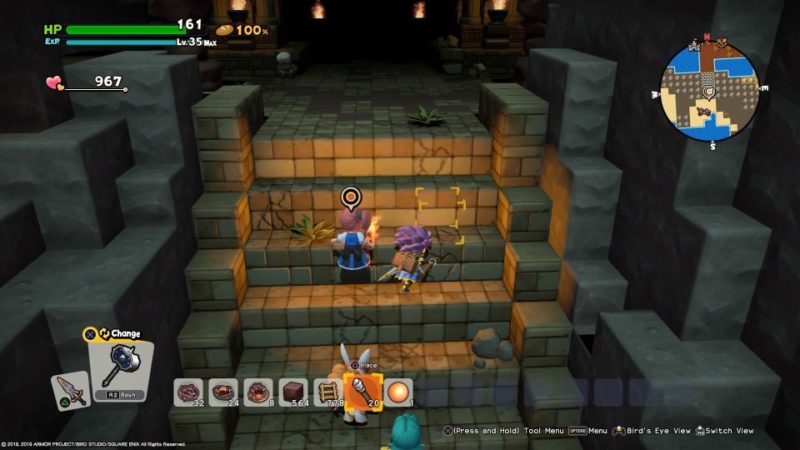
Finally, Malroth and the builder will join powers to build a new world.
Dragon Quest Builders 2’s story ends here, but you can continue building as you wish in a new world.
That’s the end of Malhalla.
Related articles:
How To Make Monster Munchies: Dragon Quest Builders 2
How To Change Appearance: Dragon Quest Builders 2 Wiki
Rimey Reef: Dragon Quest Builders 2 Walkthrough & Guide
Moonbrooke: Dragon Quest Builders 2 Walkthrough & Guide
Top 12 Best Kitchen Nightmare Episodes To Binge On
Sunny Sands: Dragon Quest Builders 2 Walkthrough & Guide
Iridescent Island: Dragon Quest Builders 2 Walkthrough & Guide