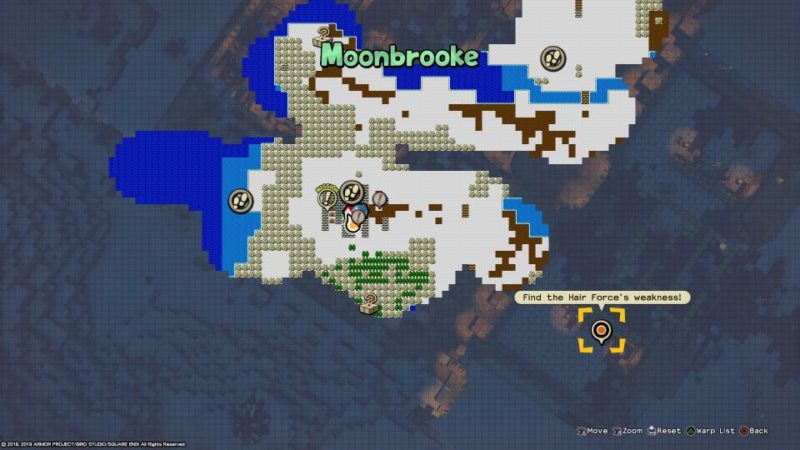
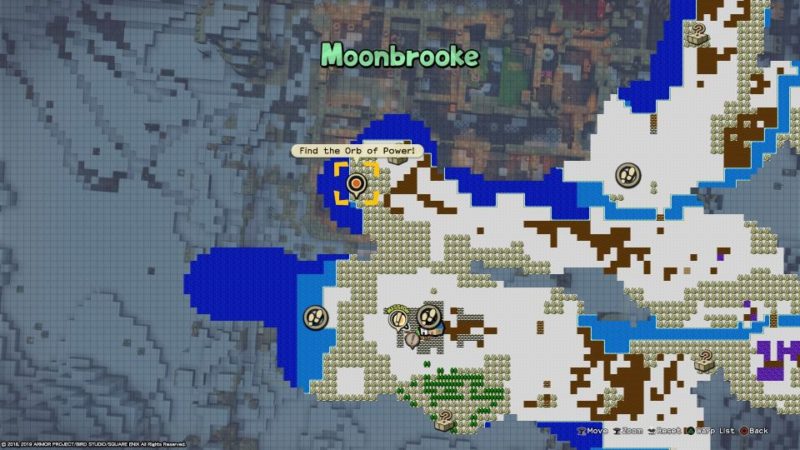
Moonbrooke is one of the main islands you have to go to in Dragon Quest Builders 2.
This island only comes into play after you’re done with Khrumbul-Dun and Furrowfield.
Known as an island filled with war, this will be one of your tougher challenges yet.
Here’s a long walkthrough & guide of Moonbrooke in DQ Builders 2.

Below is a table of content for easier navigation.
Make an antidotal herb
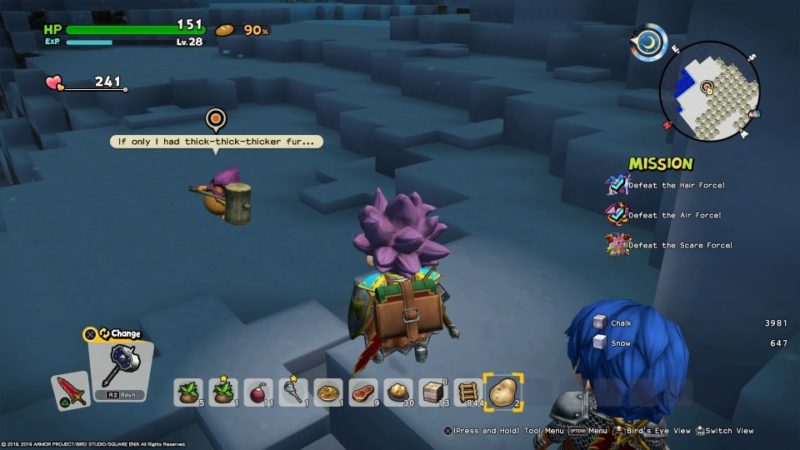
The first thing you need to make is an antidotal herb. You just need medicinal leaf and frogstool.
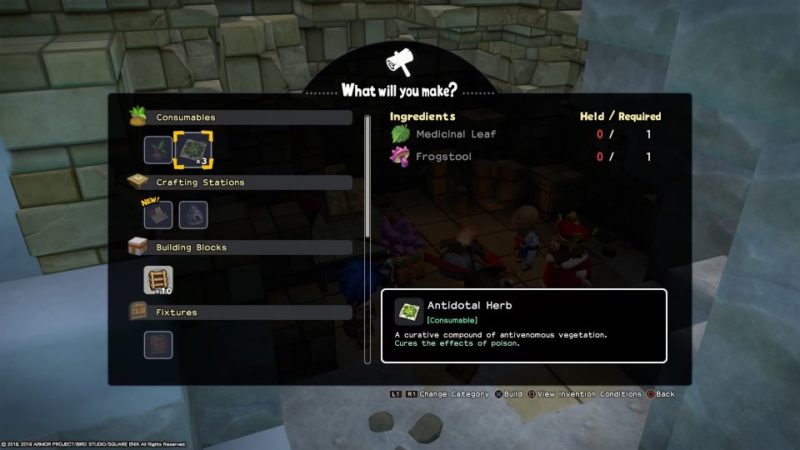
You can find frogstool near the poisonous water. As for medicinal leaf, just slice those green bushes and you’ll probably get at least one.

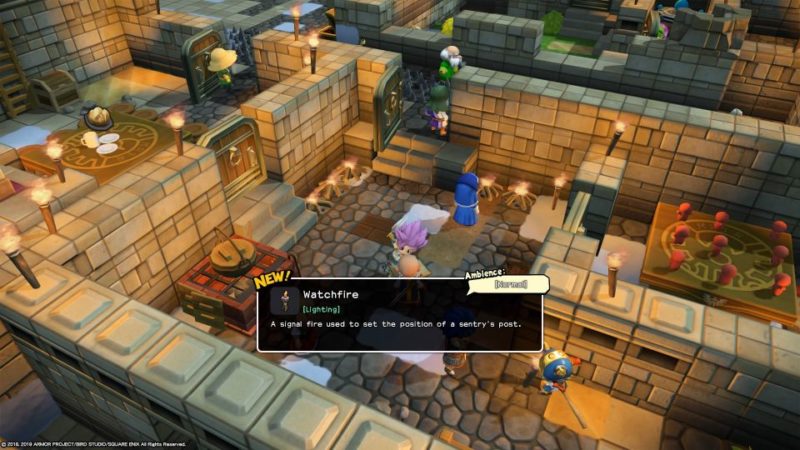
Take over the castle
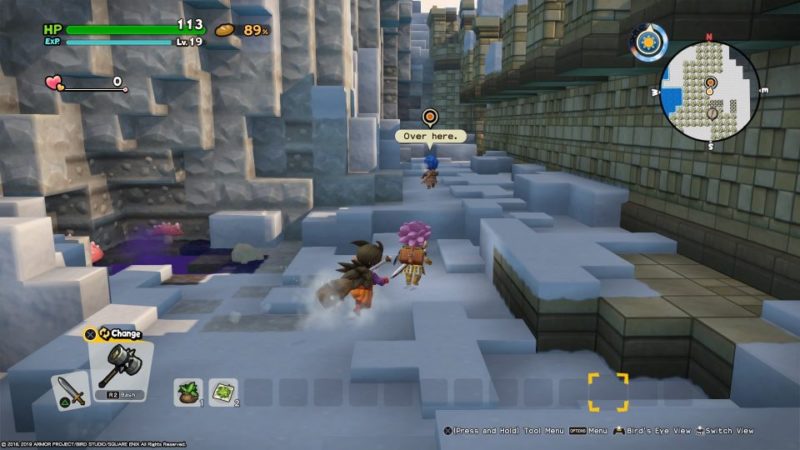
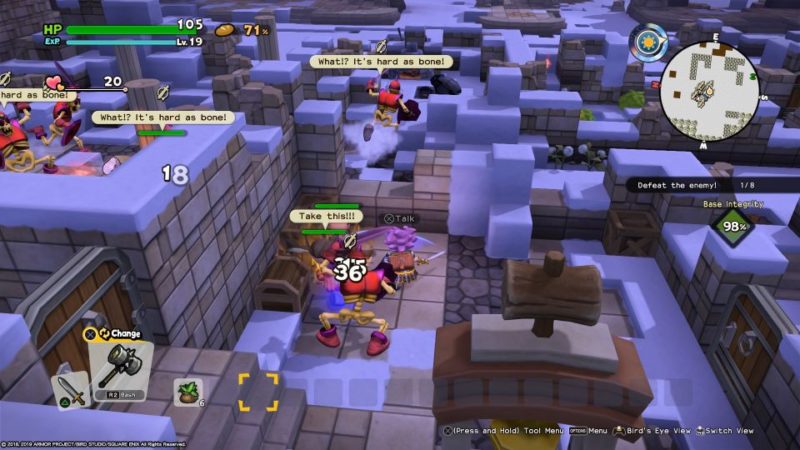
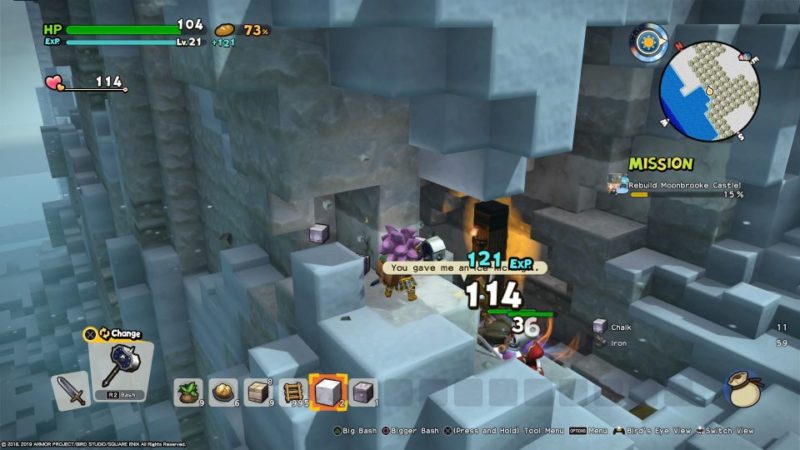
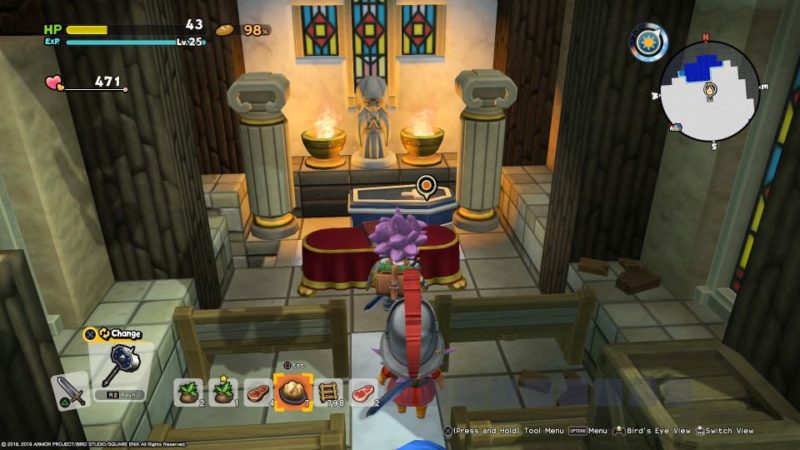
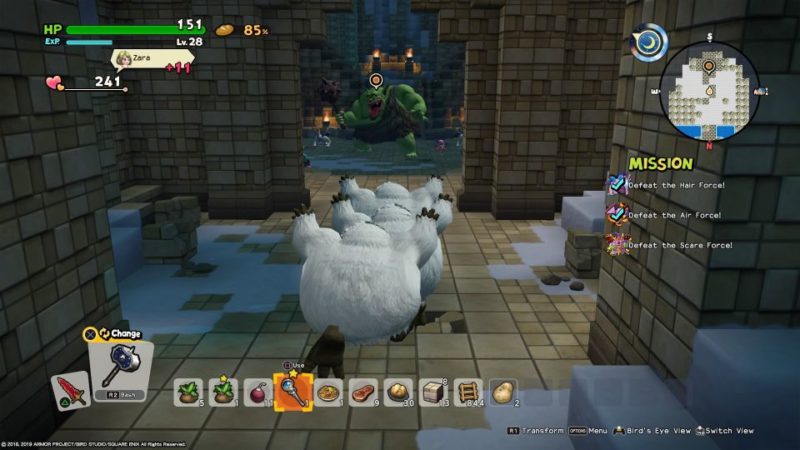
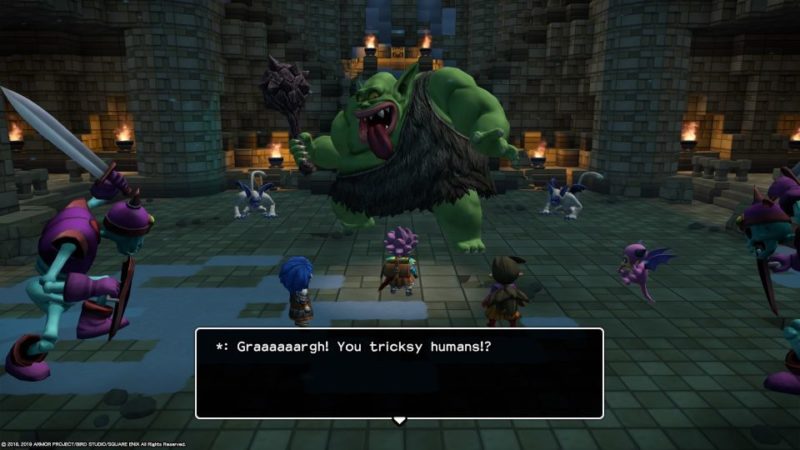
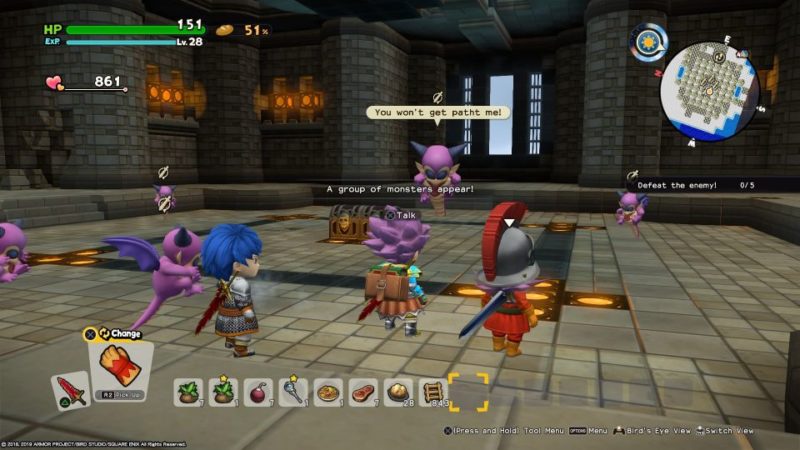
Next, follow Warwick to the old abandoned castle.
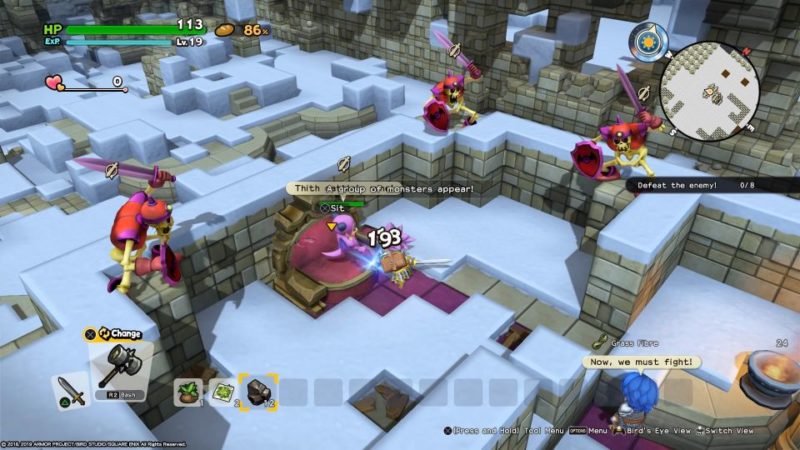
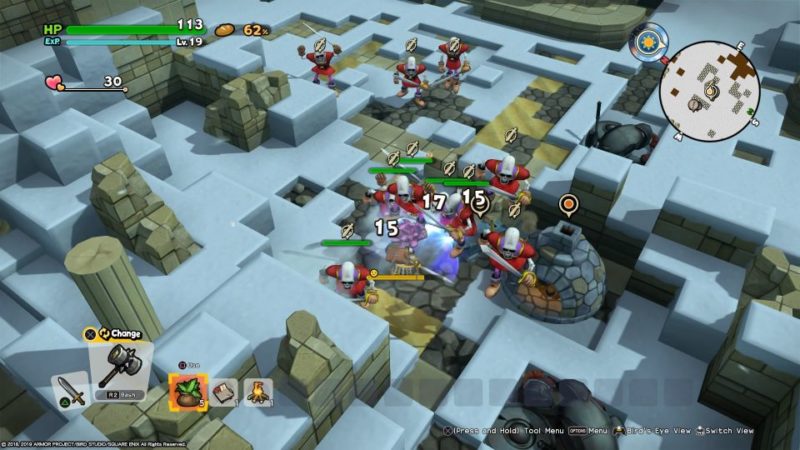
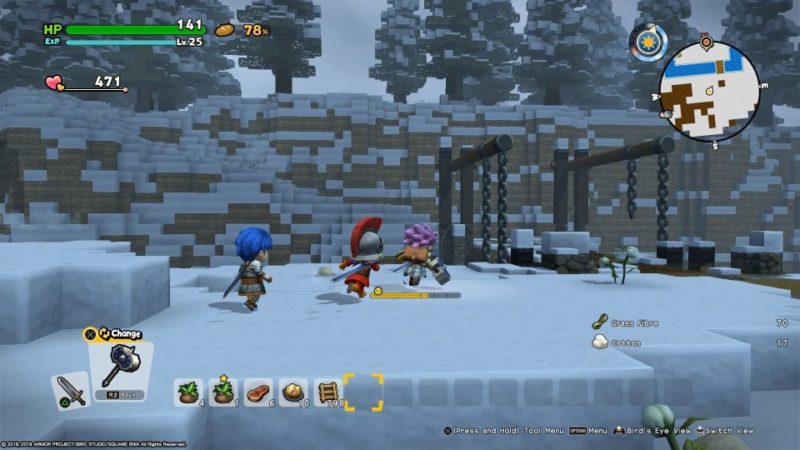
You will encounter monsters early on. Defeat the monsters occupying the throne room.
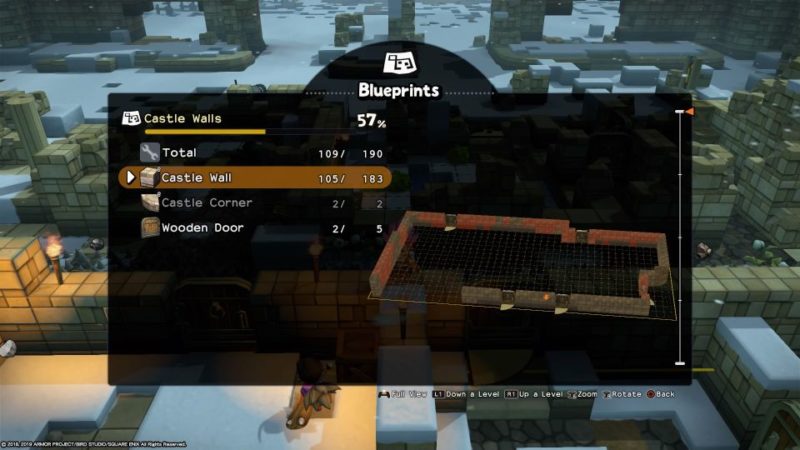
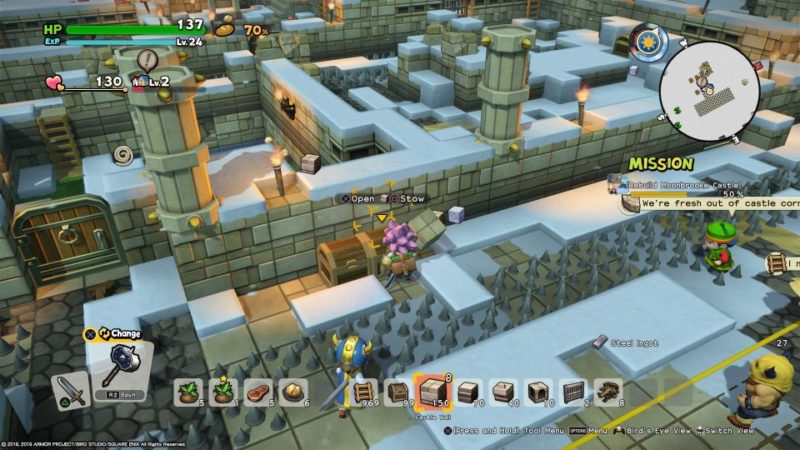
Repair the throne room
Next, repair the throne room by placing the castle wall blocks.

Prepare for battle
There’ll be another round of battle after repairing the walls.
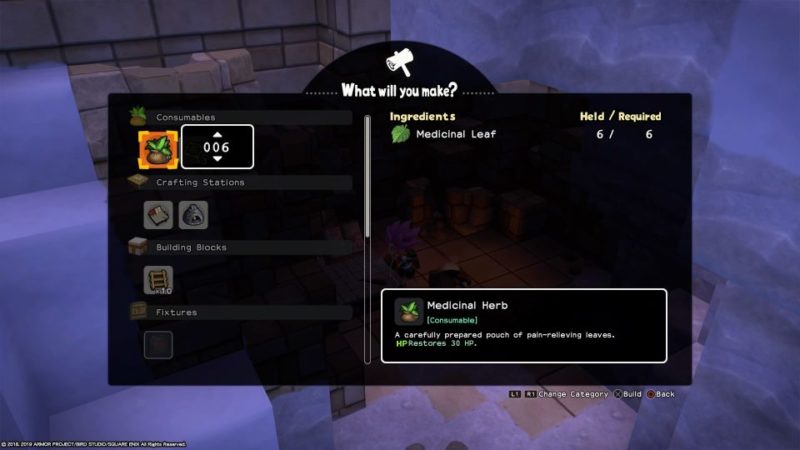
Go to the crafting table and make more medicinal herbs.
Once you’re ready, fight the enemies and destroy them.
Observe the enemies
Next, you have to follow Warwick to the cliff nearby to observe the enemies.
From the cliff, you should see a huge amount of enemies waiting just outside the castle area.
They are led by a Troll.
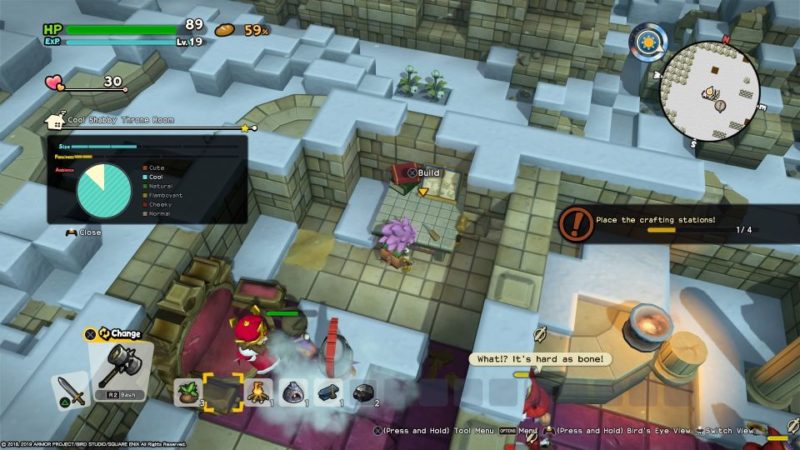
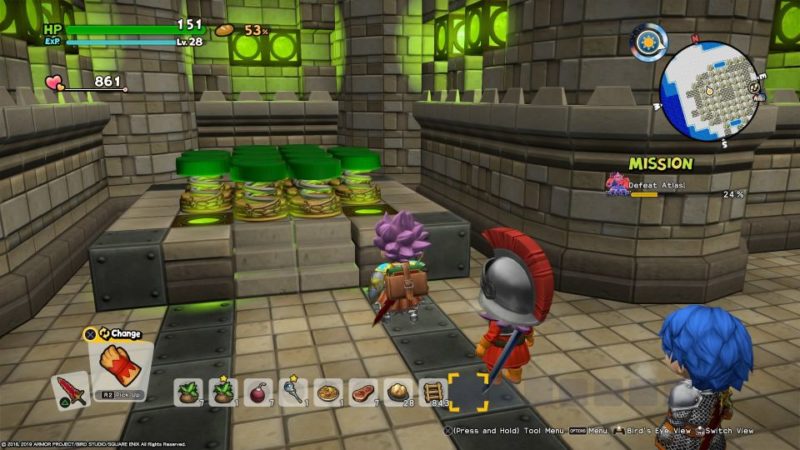
Place the crafting stations
Next, you need to get a forge, an anvil, a bonfire and a stone workbench.
Place them all in the throne room.

The items are all located outside the throne room.
Grab the items quickly as enemies will keep on attacking while you’re outside the throne room.
Place all four items and you’re done.
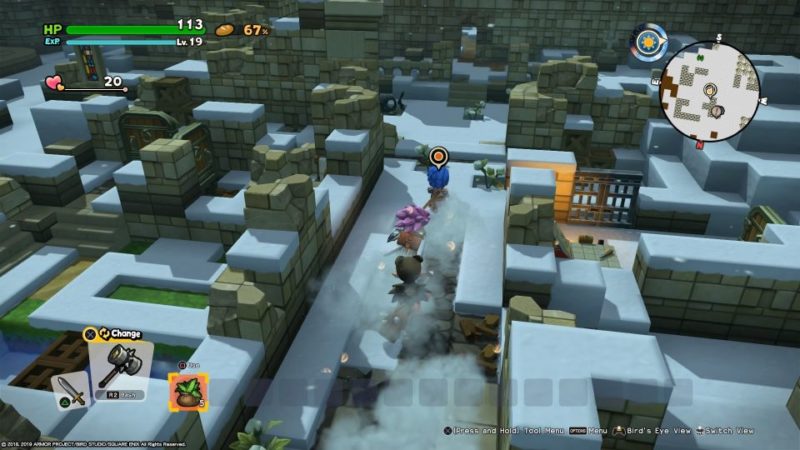
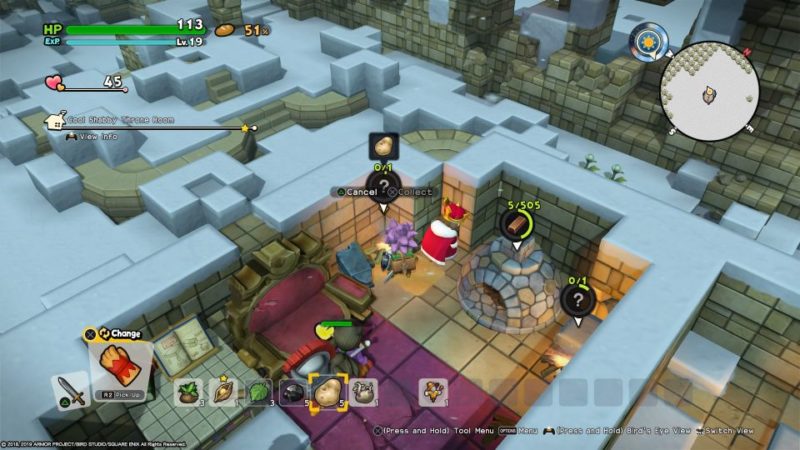
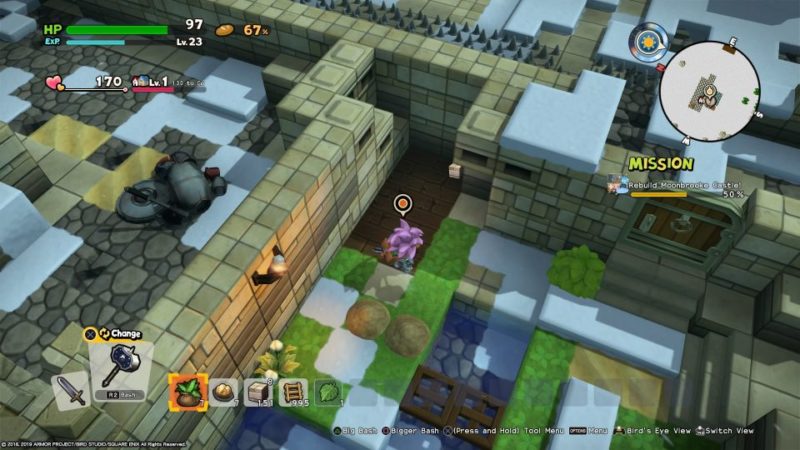
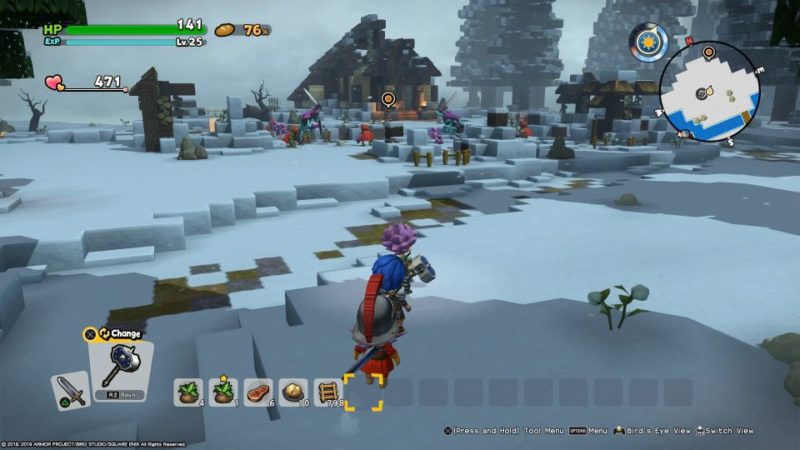
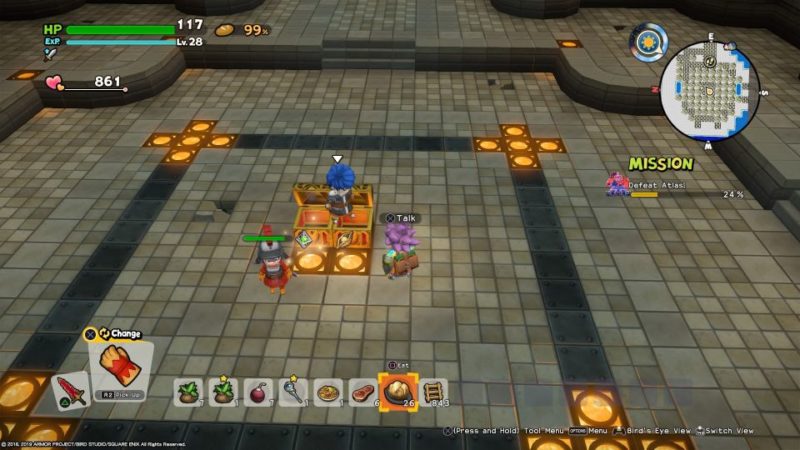
Get some potatoes
Your next mission is to go to the potato farm nearby. It’s buried in snow.
Get rid of the snow and you’ll find a few patches of potatoes.

Bring the potatoes back and use the bonfire to make jacket potatoes.
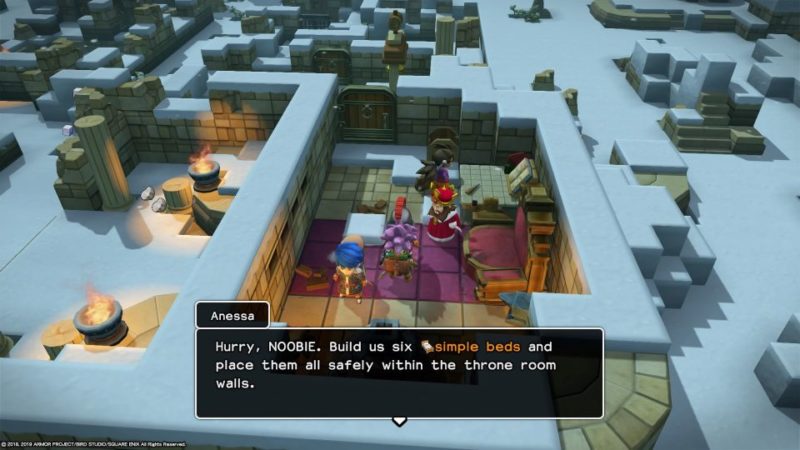
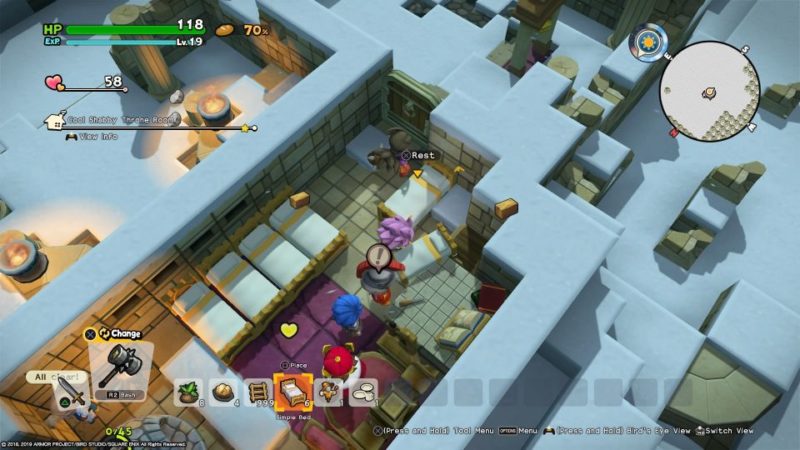
Build six simple beds
The next job is to make 6 simple beds.
You have to place all of them within the same throne room, which is pretty tight.
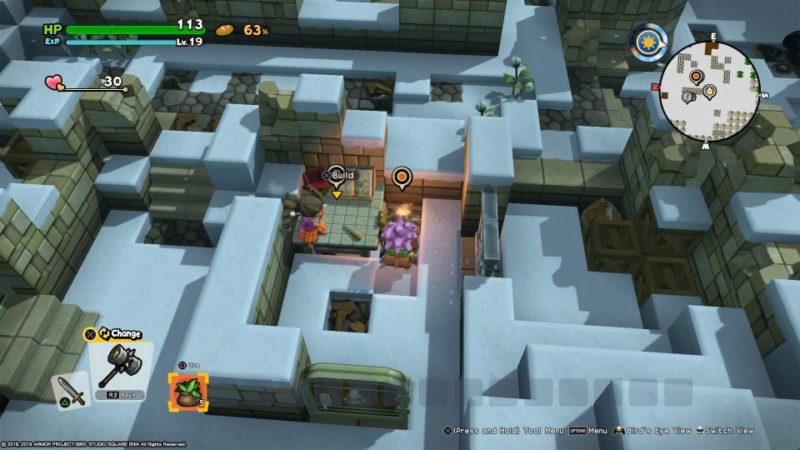
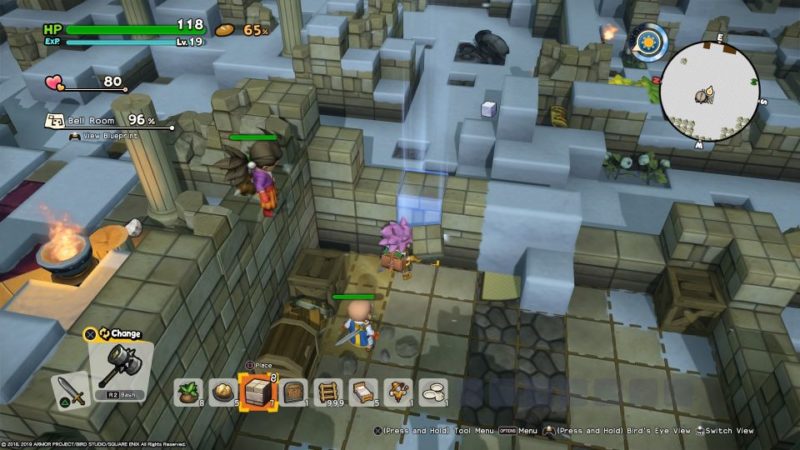
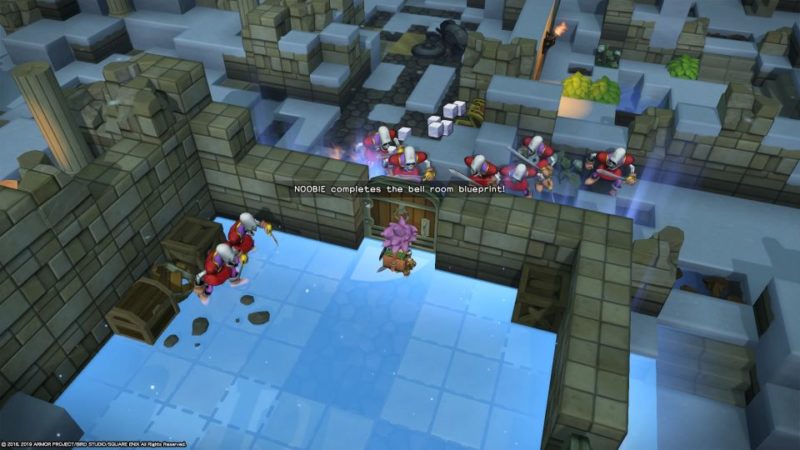
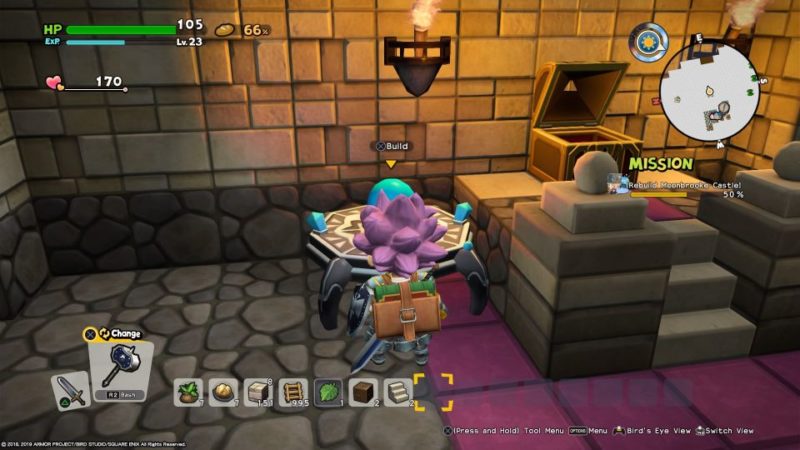
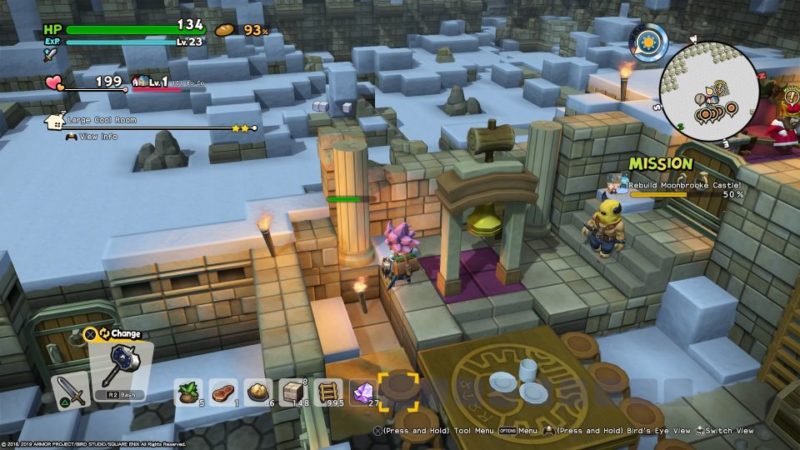
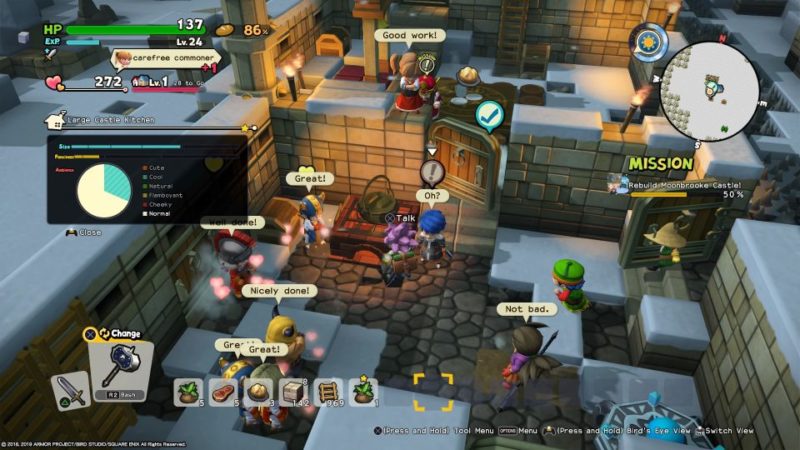
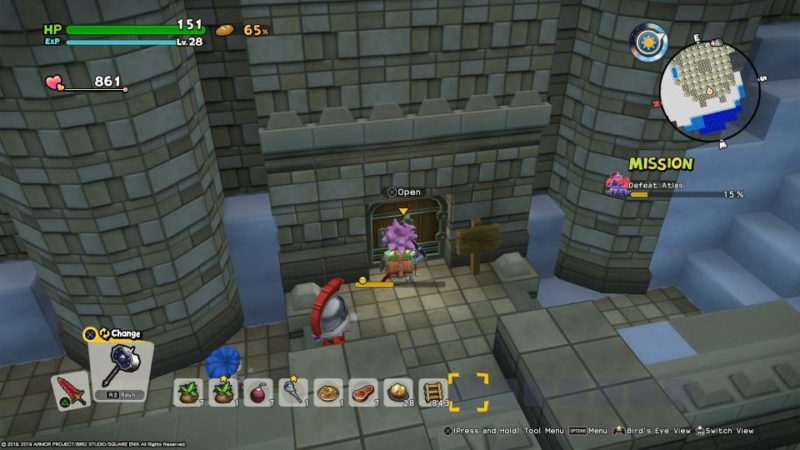
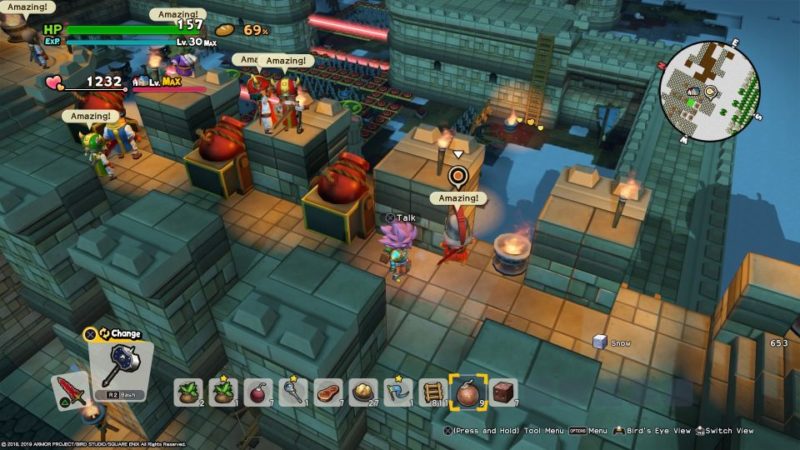
Repair the bell room
Next, you need to continue repairing the castle, by repairing the bell room first.
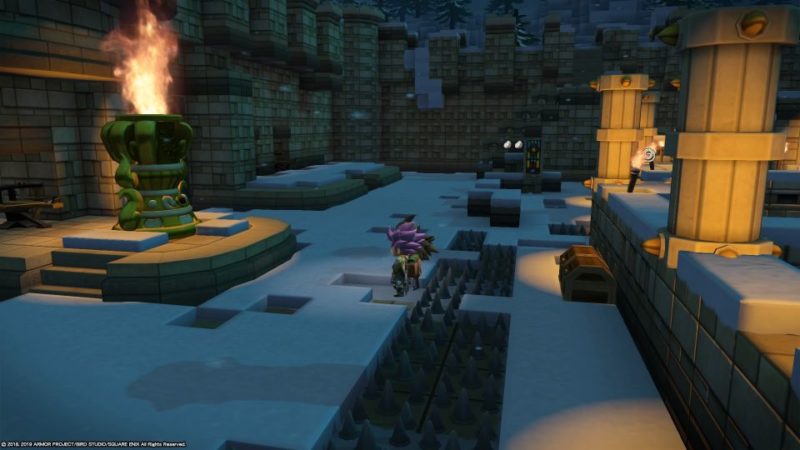
To get the castle wall blocks, you need to destroy the unused ones outside the castle’s compound.
There are plenty at the back of the castle.
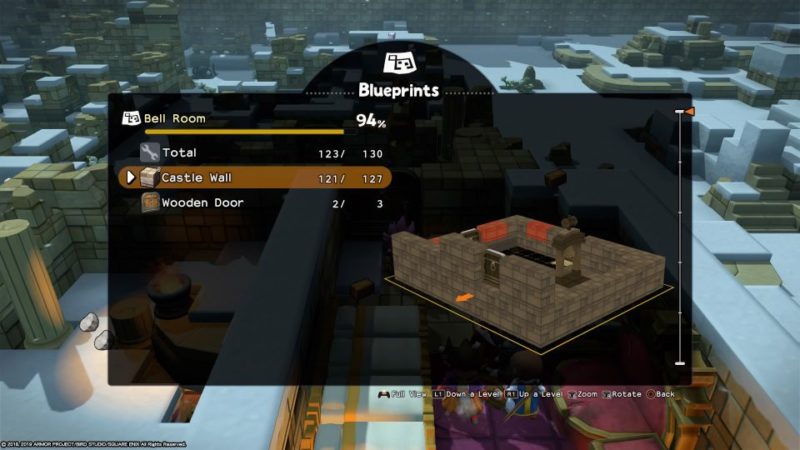
Just destroy them (image below) and use them to repair the bell room.
After placing all the necessary items (wall and door), the room is complete.
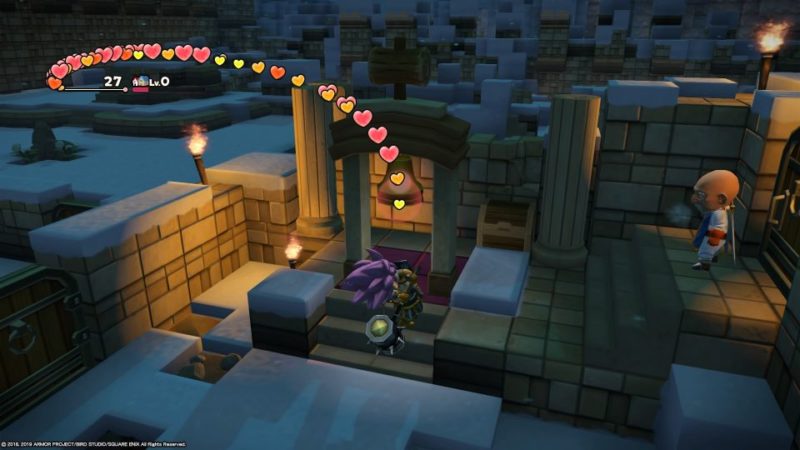
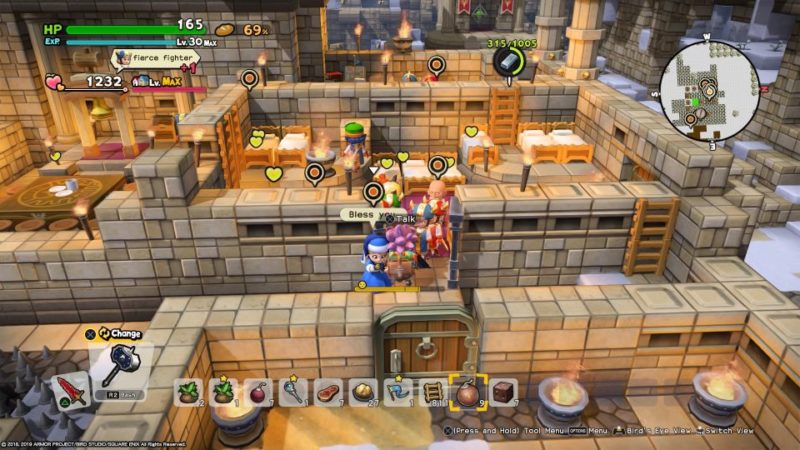
Ring the bell
You will be asked to ring the builder’s bell for the first time.
After ringing the bell, you will get more people coming in.
You will also learn new recipes.
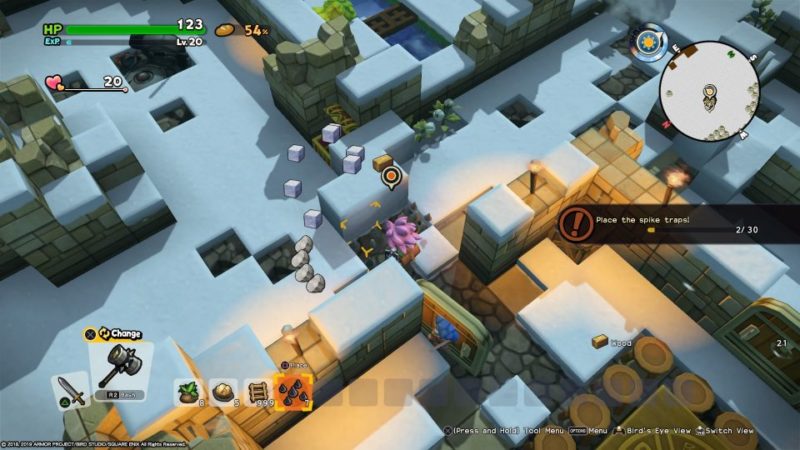
Make spike traps
The next thing you need to build are spike traps. They will harm the enemies when they attack.
To build traps, you just need iron ingots. The best way to have unlimited iron and coal is by completing the Sunny Sands island first.
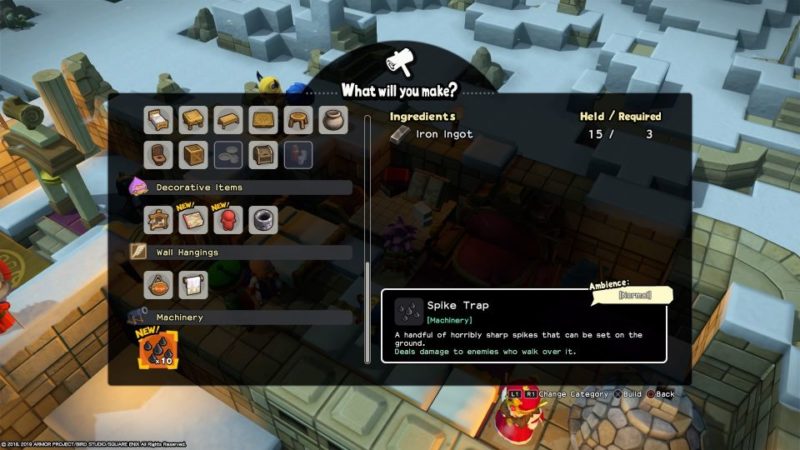
Place 30 spike traps outside the room, where the enemy usually appears.
Repair the potato patch room
Next, you have to repair the potato patch room just beside the bell room. As usual, place castle walls and wooden doors.

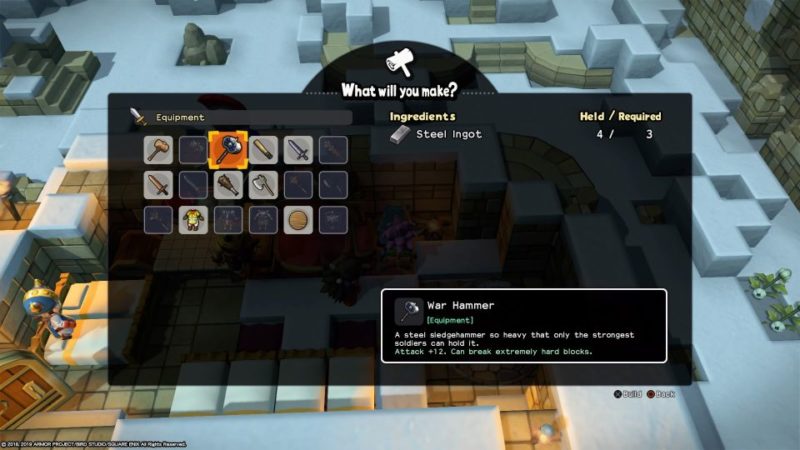
Make a war hammer
You also have to make a war hammer. You will need steel ingot to do so.
To craft, steel ingot, you need iron ingot and coal first.
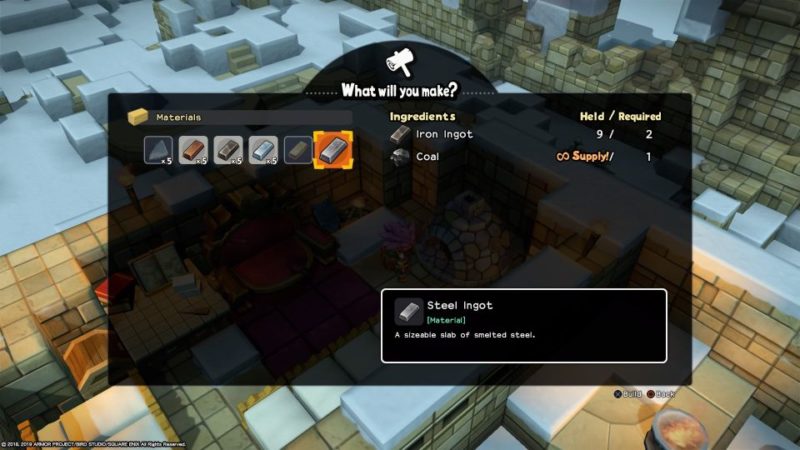
Use the anvil to make a war hammer which will replace your current hammer.
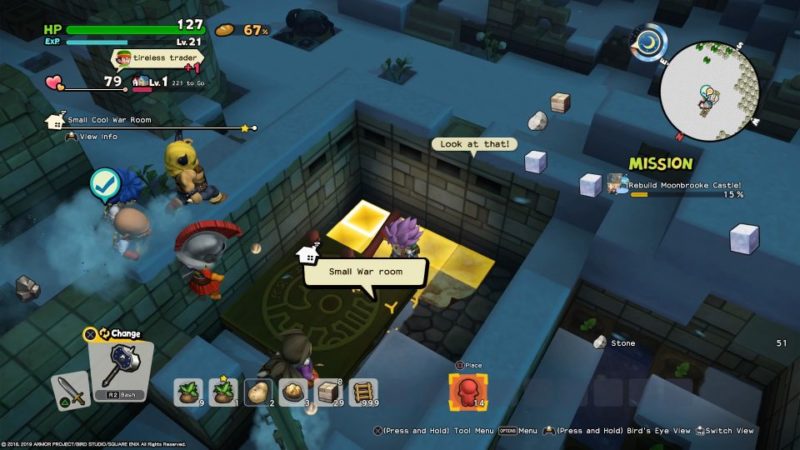
Make a war room
Your next project is to create a war room.
You only need a small area for the room. It can be done beside the bell room.

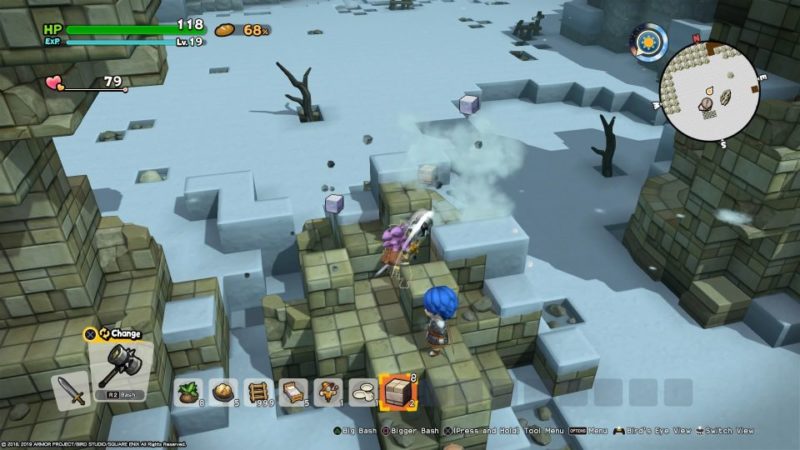
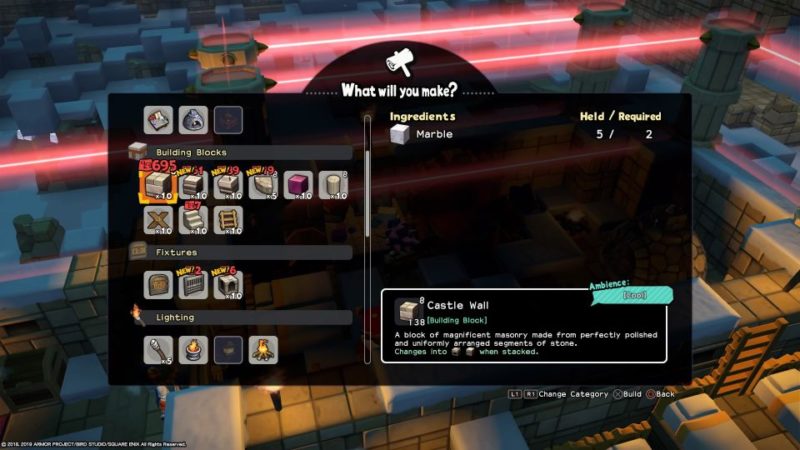
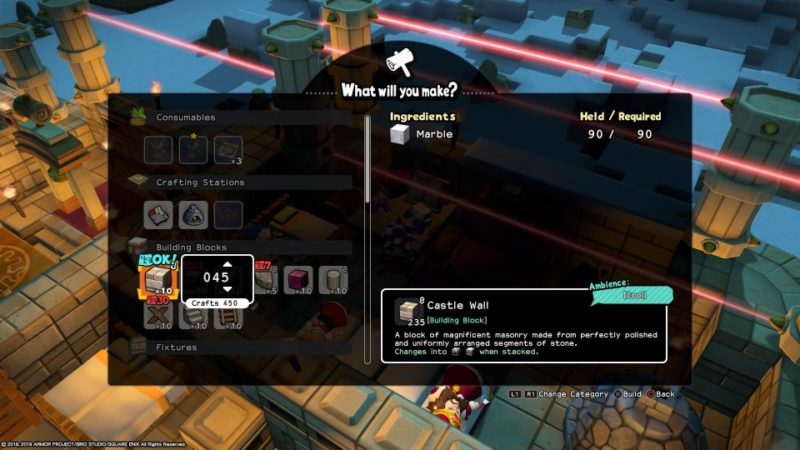
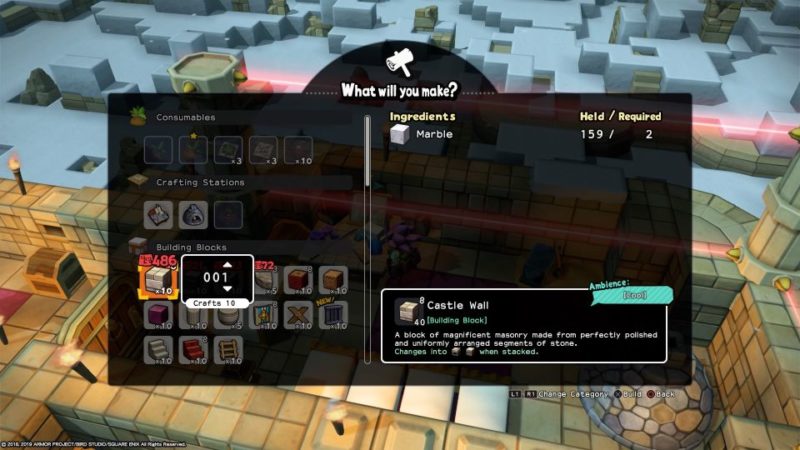
Mine marble
After learning the recipe on crafting castle wall, you need marble.
Marble can be mined at the passage between the dock and the castle. It’s near where you found the frogstool earlier.
You will meet some enemies there. Just ignore them and start mining.
The marble is whitish in color and is harder to break compared to snow and chalk.
Repair the castle walls again
Once you have enough castle walls, repair the border of the castle.
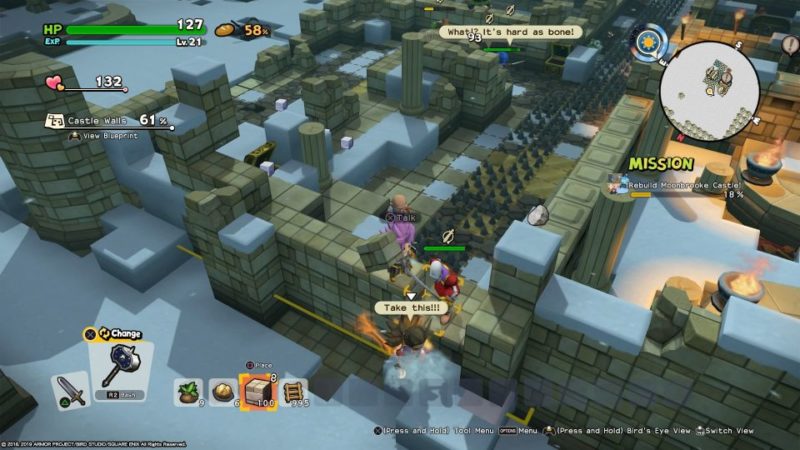
As soon as you step out, enemies will start coming. Just ignore them and repair the walls.
You need to destroy some of the chalk walls as well, to place the castle walls.
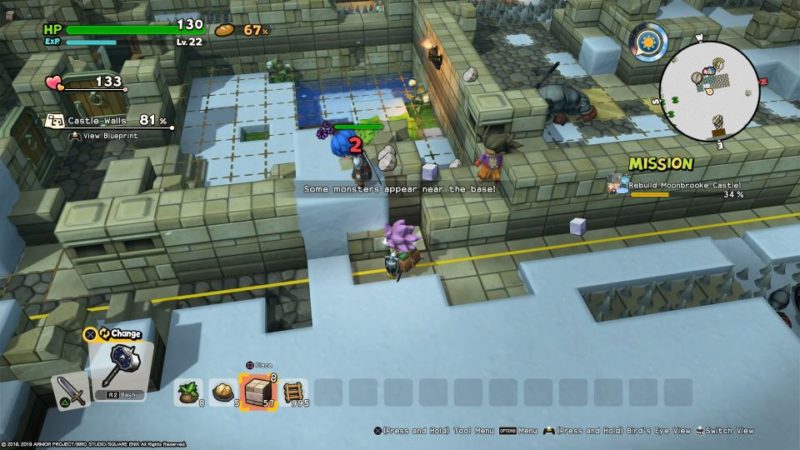

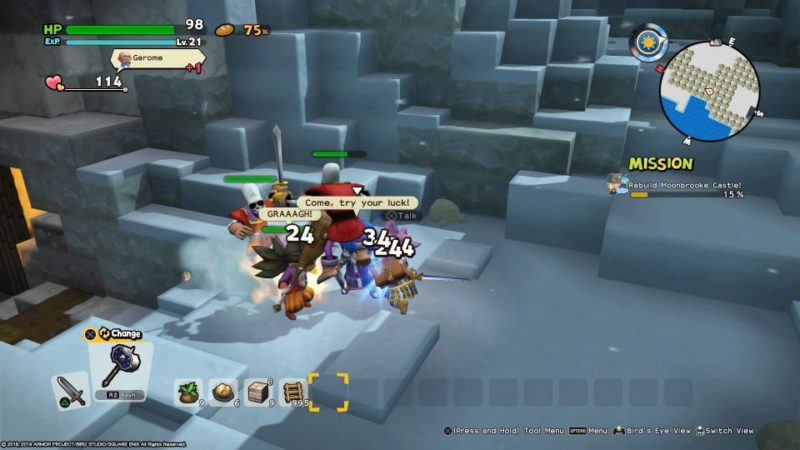
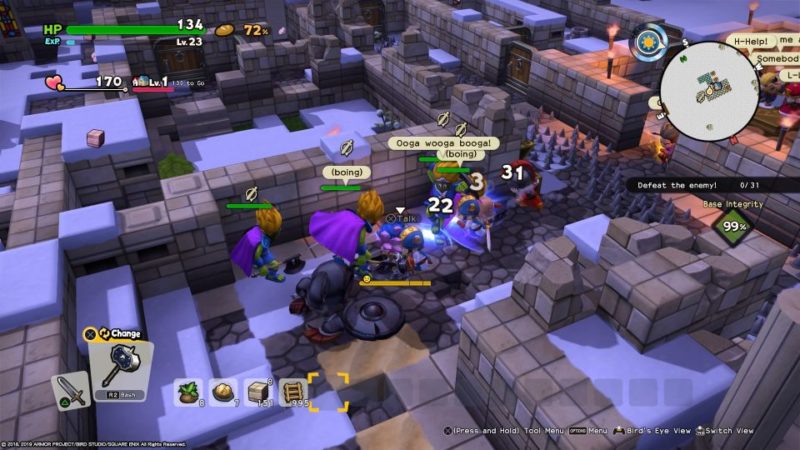
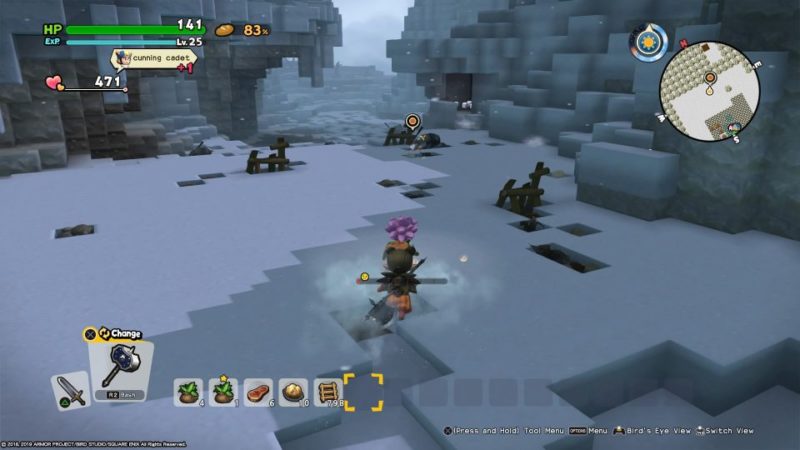
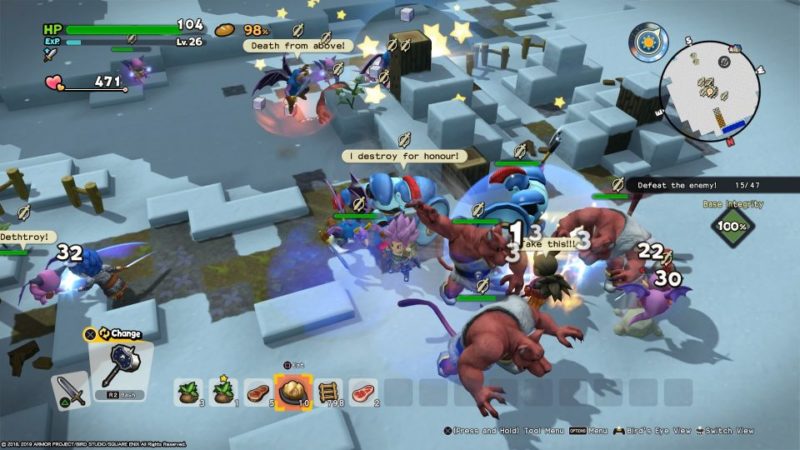
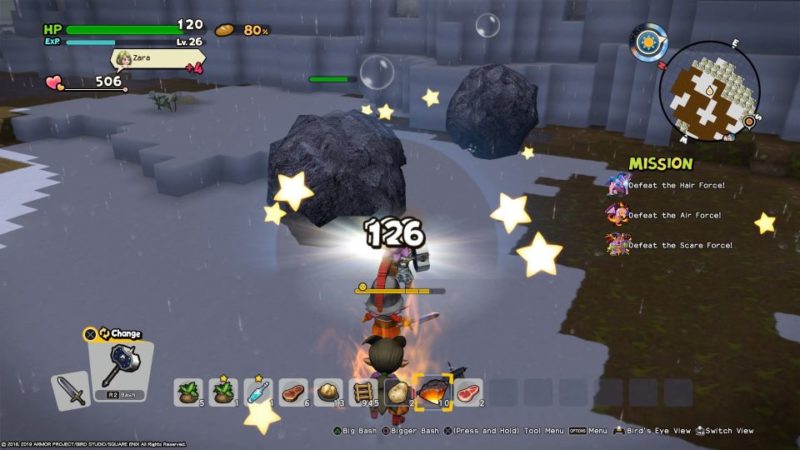
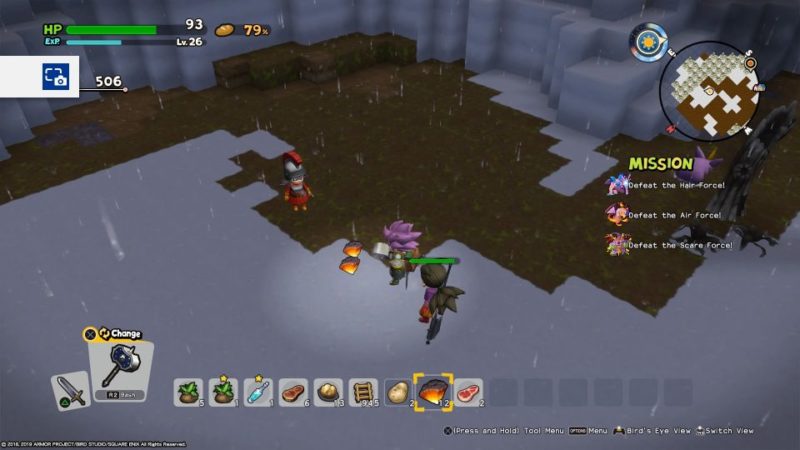
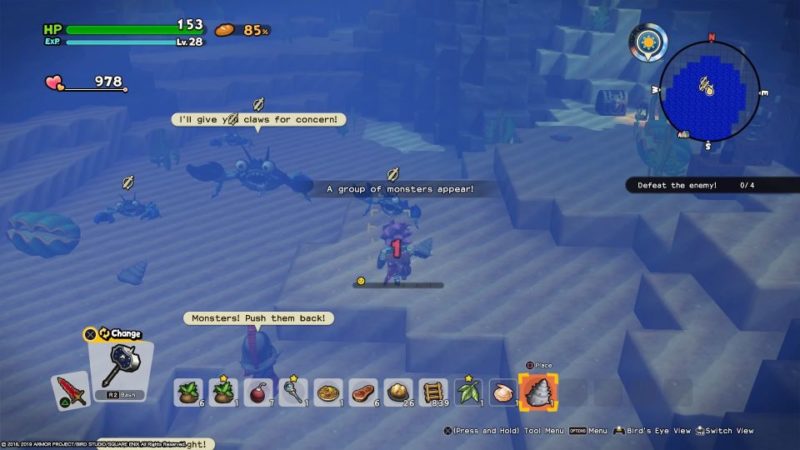
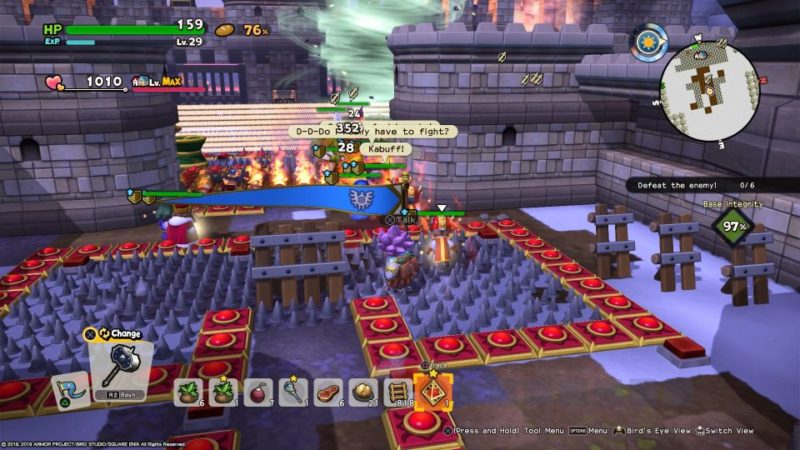
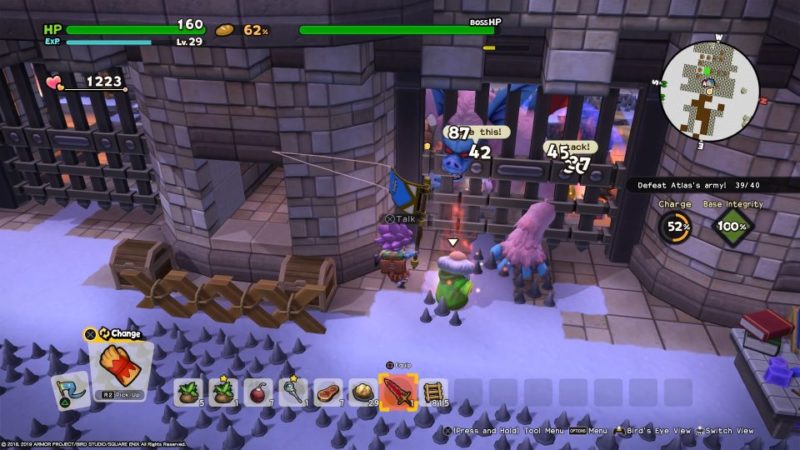
Defeat the enemy
Once the walls are done, the enemy will come in waves.
Defeat them all. The traps will come in handy.
Look for the wizard’s workbench
The King will then tell you about the magical work bench.
Go to the room opposite the bell room and look for the wooden floor.
Destroy the wooden floor.
Walk down the steps and you’ll find the wizard’s workbench here. Take it away.
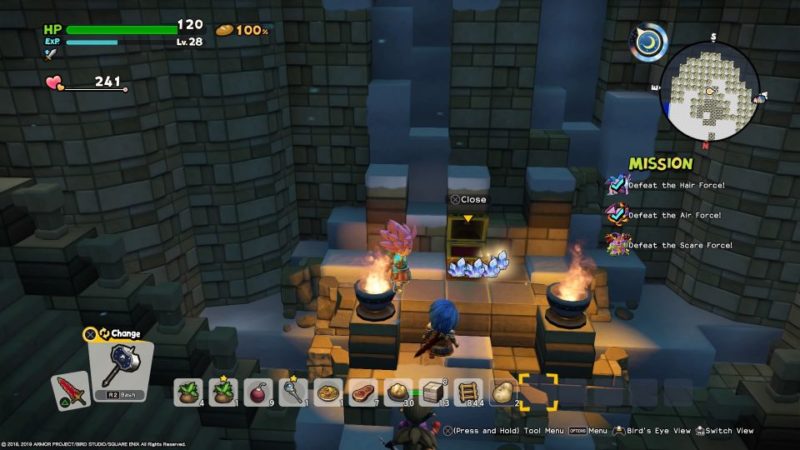
Also, there are two chests here. Loot the items inside and you’ll find some zapphire.
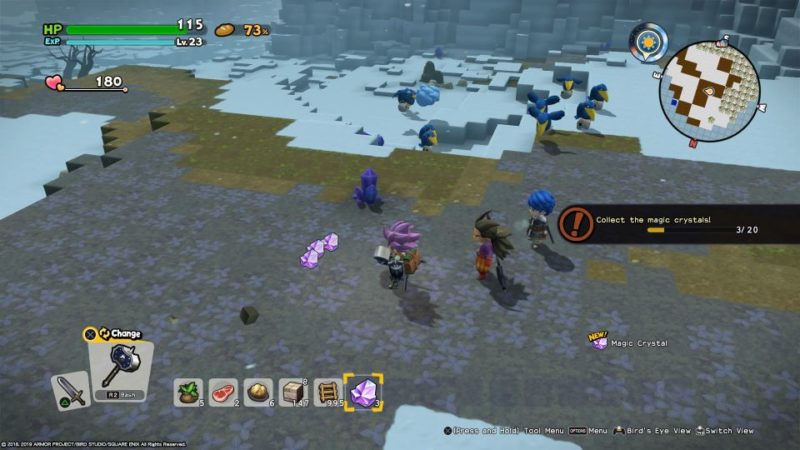
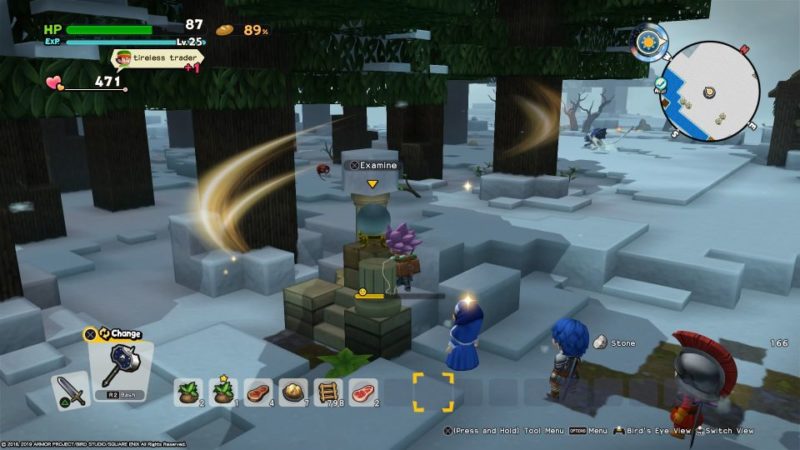
Collect magic crystal
Your next job is to collect magic crystal.
Get to the marked location and you’ll find more enemies. Defeat them all.
Once they’re gone, mine at least 20 magic crystal. The more, the better.
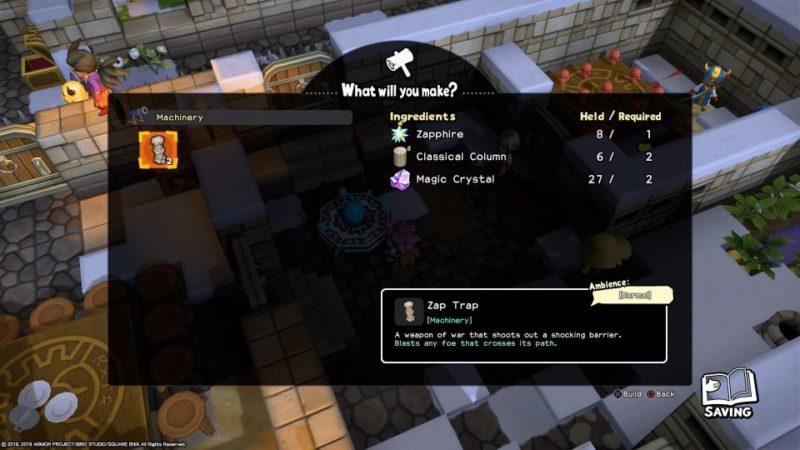
Get classical columns
One of the ingredients needed to craft a zap trap is a classical column.
Just get them from around the castle. They’re all unused.
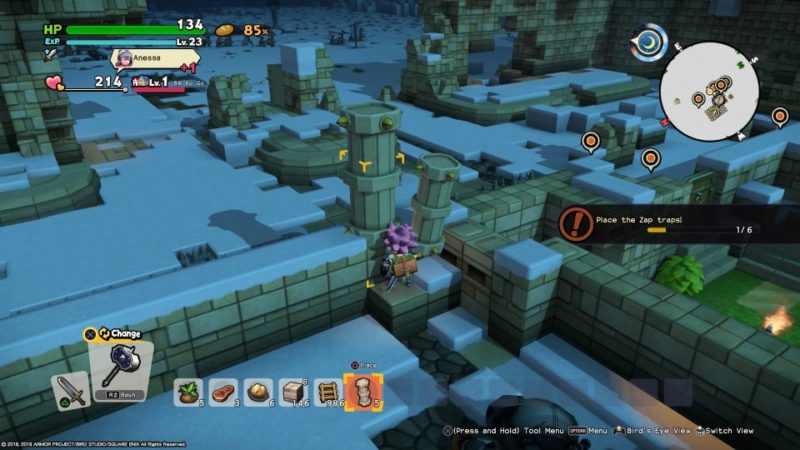
Make a zap trap
Once you have all the ingredients, craft the zap trap at the wizard’s work bench.
Place six zap traps at the marked locations.
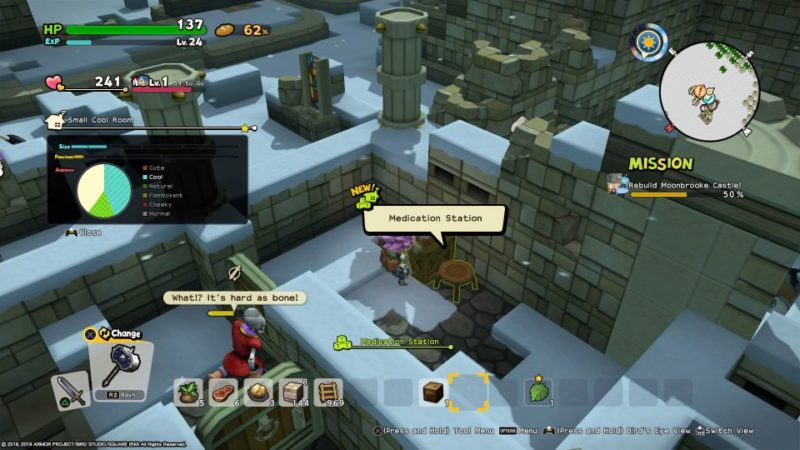
Make a medication station
Next, build a medication station.
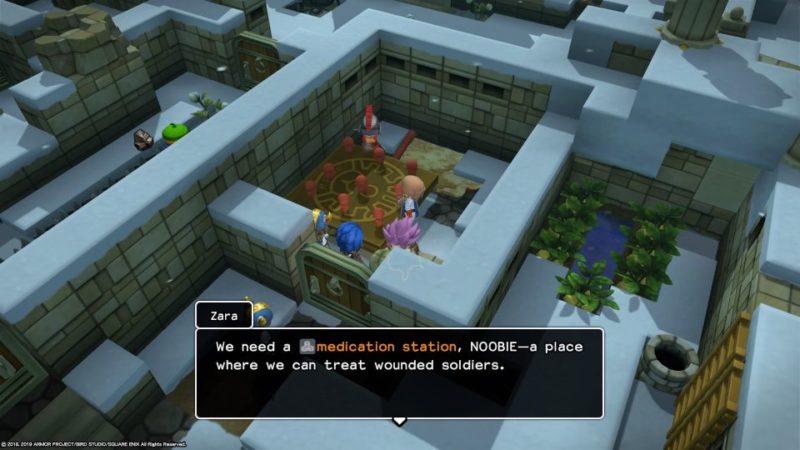
You need a first aid kit, a chair and a crate.
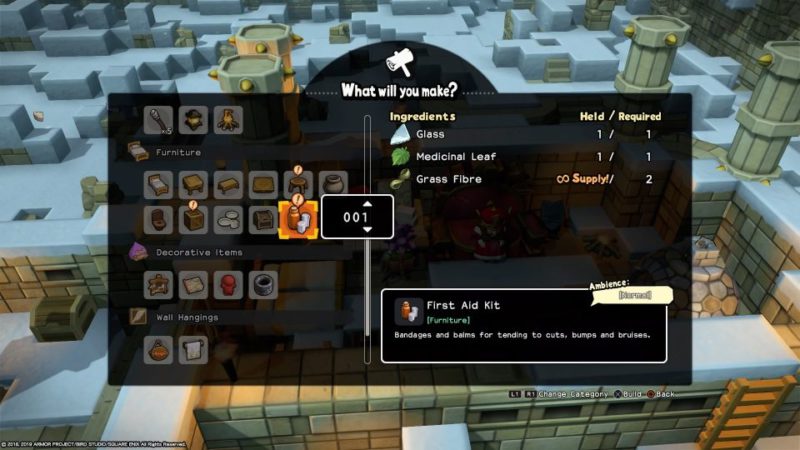
Place them all in a small room and it’s more than sufficient.
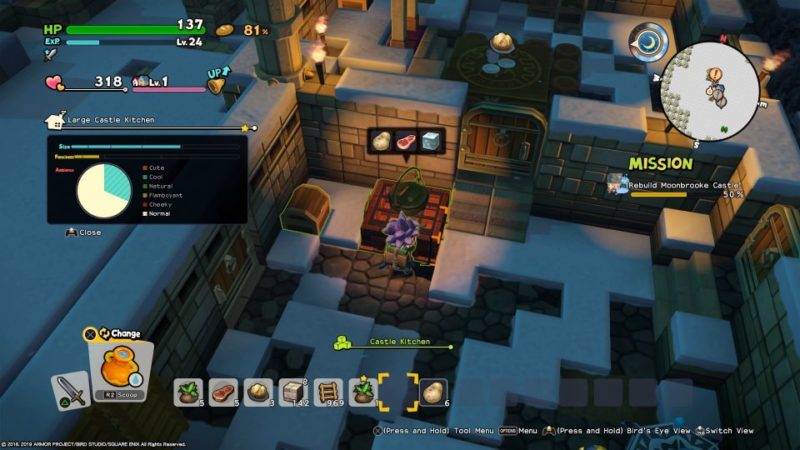
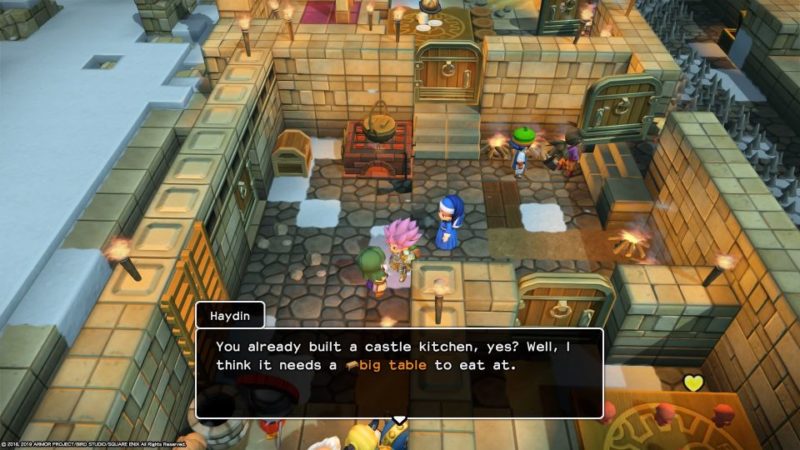
Make a castle kitchen
The next mission is to build a castle kitchen. You just need a brick barbecue, a chest and a well.
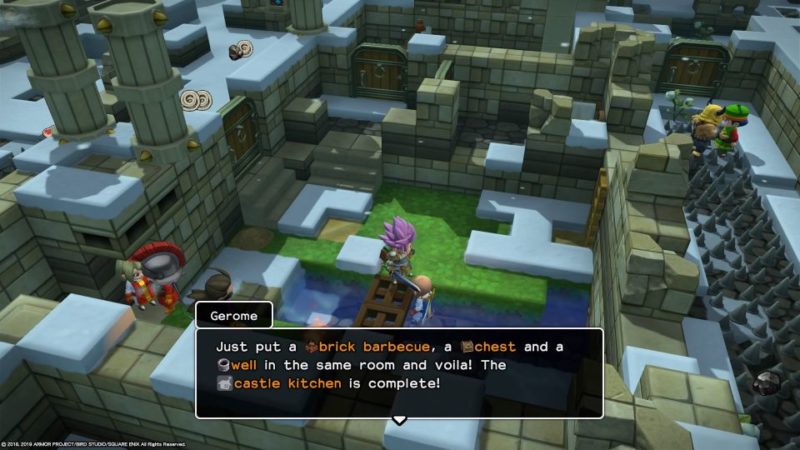

Place all of them in the same room and the castle kitchen is done.
Make a pot of soldier’s stew
After doing the kitchen, make a soldier’s stew.
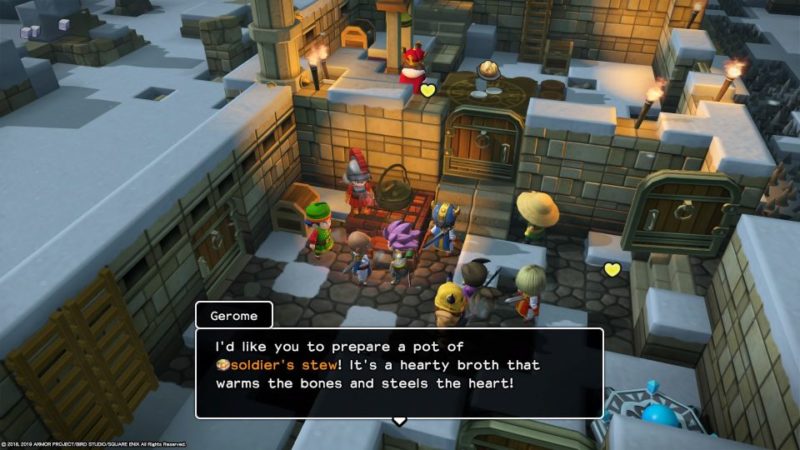
You will need raw meat, raw potato and some clean water.
Meat can be obtained from enemies or from rabbits nearby. Potatoes are from the farm.
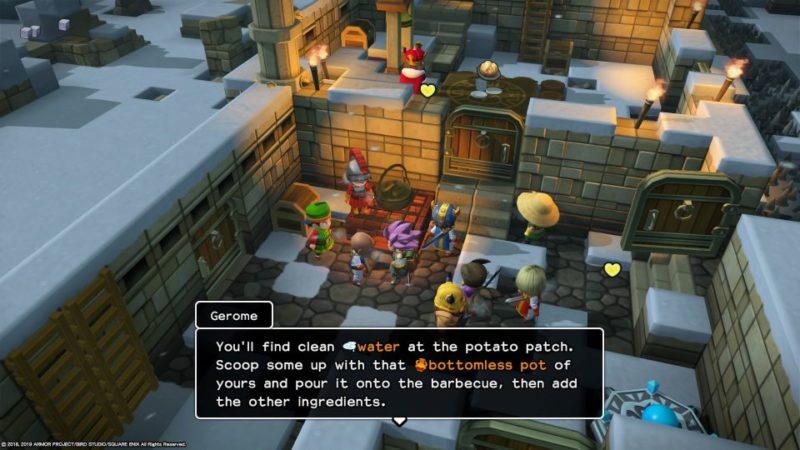
Just use your bottomless pot and pour water into the barbecue. Cook all ingredients together and you’ll have a soldier’s stew.
The water has to be clean and can be taken from the nearby room.
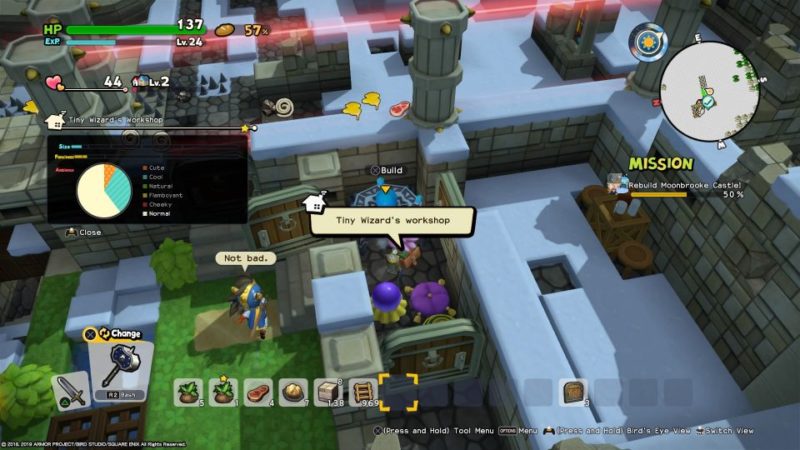
Build a room for wizard’s workbench
Next, you need a separate room for the wizard’s workbench.
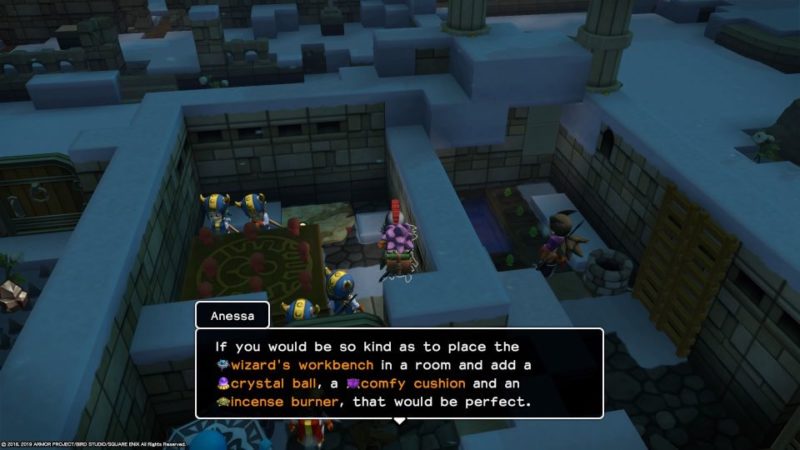
Just place a crystal ball, a comfy cushion and an incense burner inside as well.
The room should not coincide with other room functions.
It can be a tiny room.
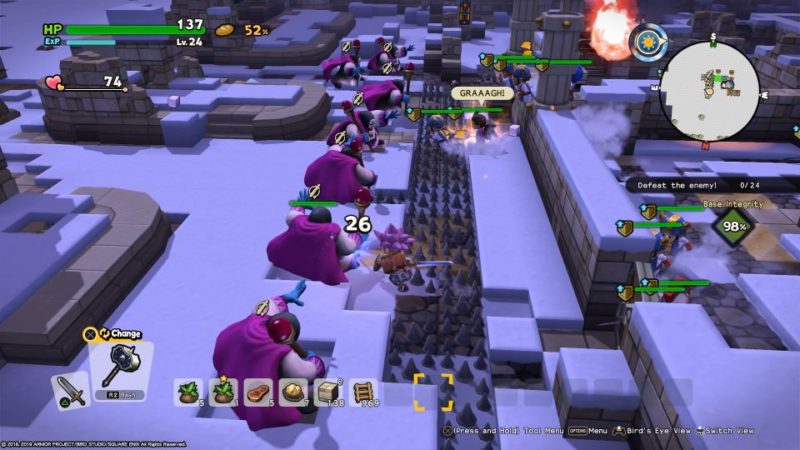
Defeat the enemies
The second round of enemies will start after completing the wizard’s workshop.
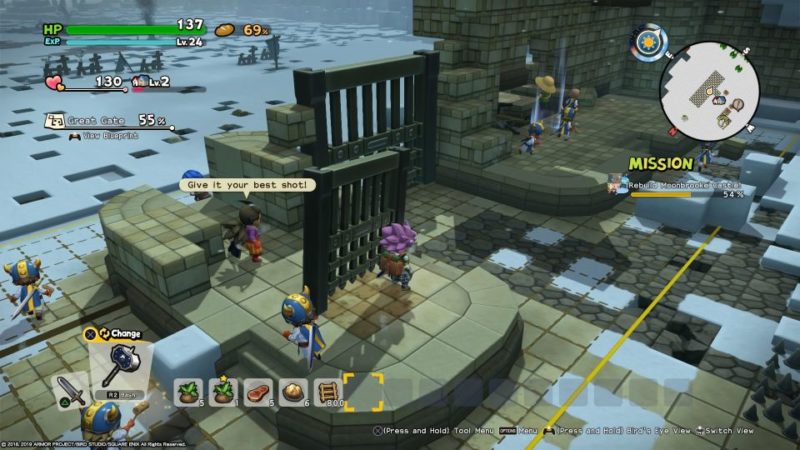
Make the Great Gate
The next big project is to build the Great Gate.

This time, you need plenty of castle walls and other structures.
You’ll require plenty of marbles to craft them. Go back to the same mining area near the dock to get more marble.

Once you have all the items made, just place them in a community chest near the Great Gate.
The townsfolk will help to build the gate.
You don’t need to build it at all.
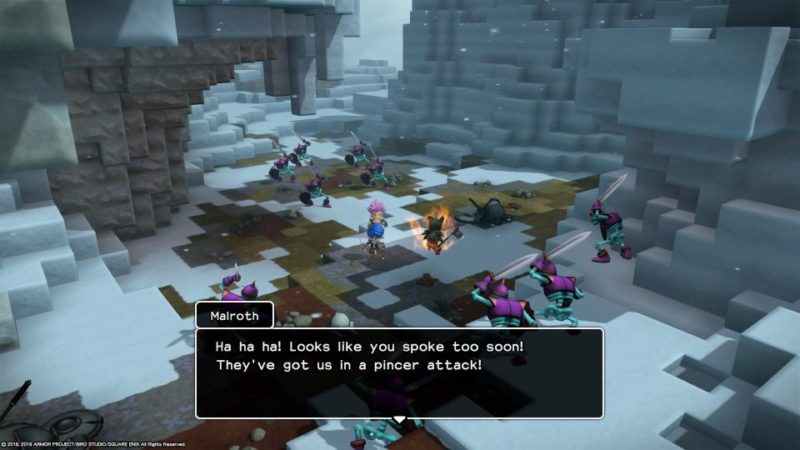
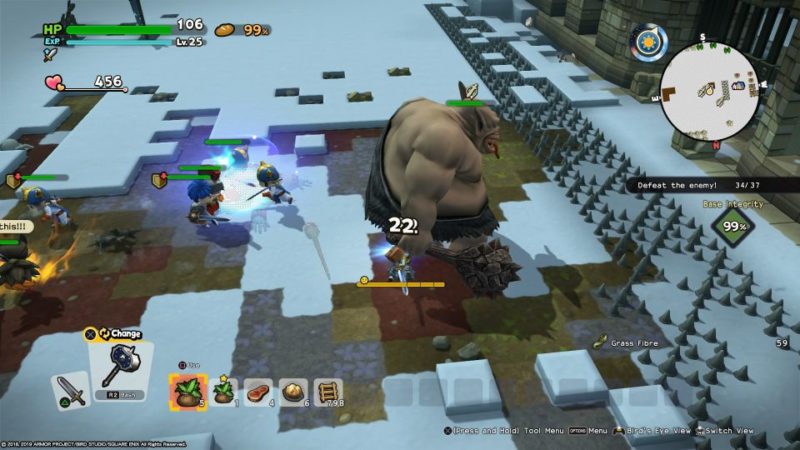
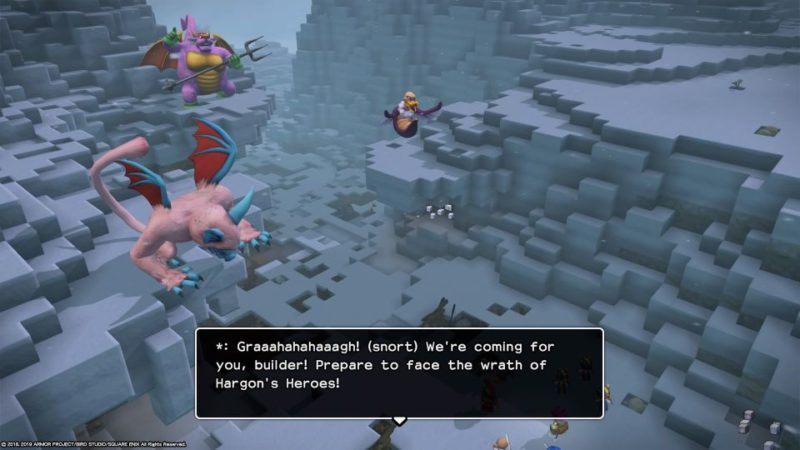
Follow Malroth into battle
Once the gate is completed, Malroth will lure the enemies to the gate. Follow him.

Once the enemies are here, defeat all of them.

There’s a mini boss for this one. The troll isn’t too strong.

Make a Beacon of Erdrick
After defeating the Troll and his underlings, make a Beacon of Erdrick at the workbench.
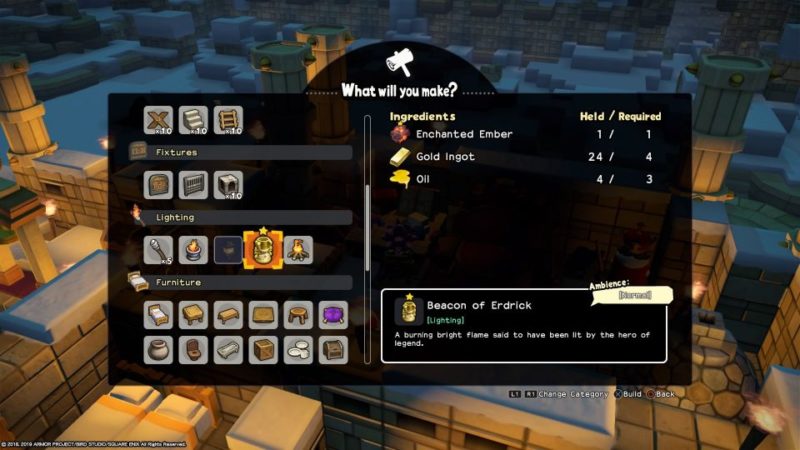
Place the beacon at the gate.
Rescue the soldier
You will then hear a soldier’s voice.
Go to him to rescue him.
He will get killed and you will be introduced to the 3 Heroes of Hargon. They are your new big obstacles.
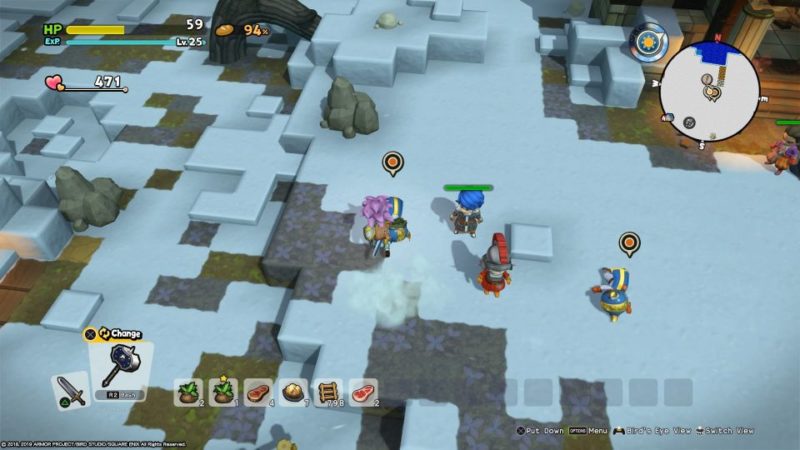
Go to Moonahan
Head towards Moonahan as Malroth went there with some soldiers.
You will see them getting surrounded. Defeat the monsters.
After beating the first round, there’ll be a non-stop wave of monsters.
You’re not supposed to win this part.
You guys will be saved by a slime.
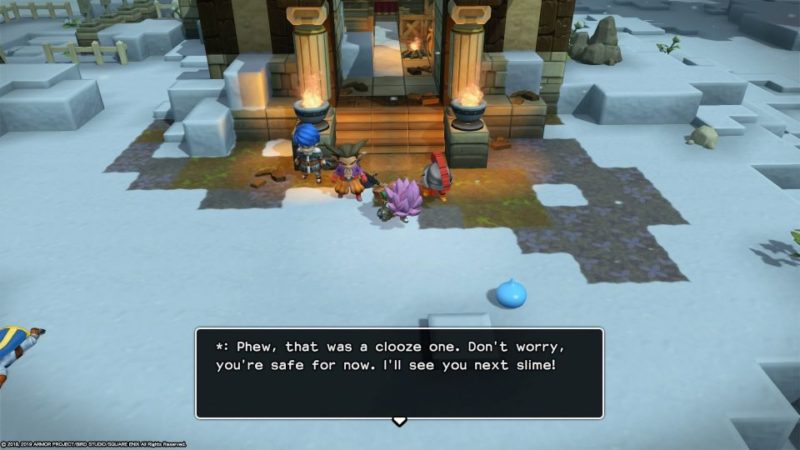
Enter the chapel
Walk into the chapel and interact with the coffin.
You will be introduced to a nun.
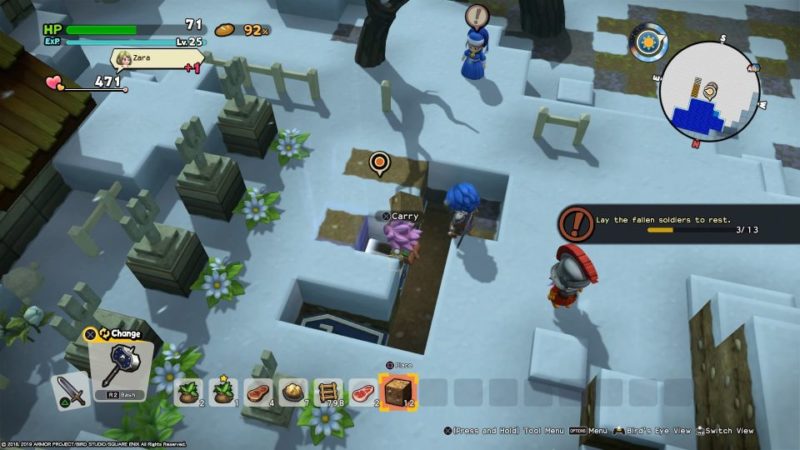
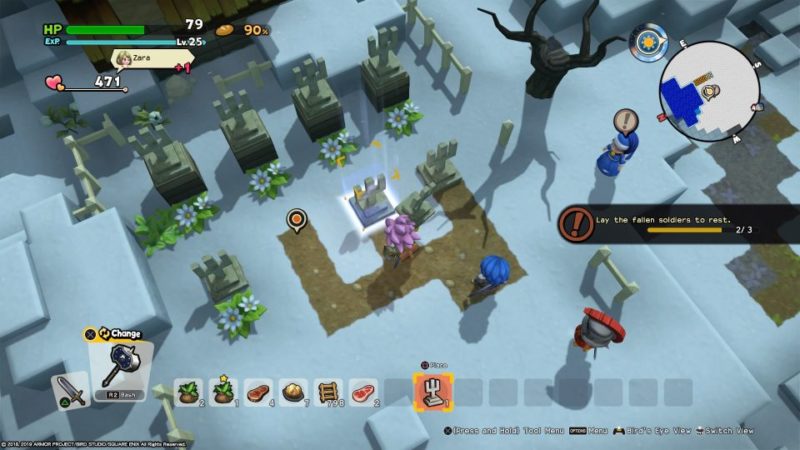
Bury the dead soldiers
As the 3 soldiers died, you need to bury them.
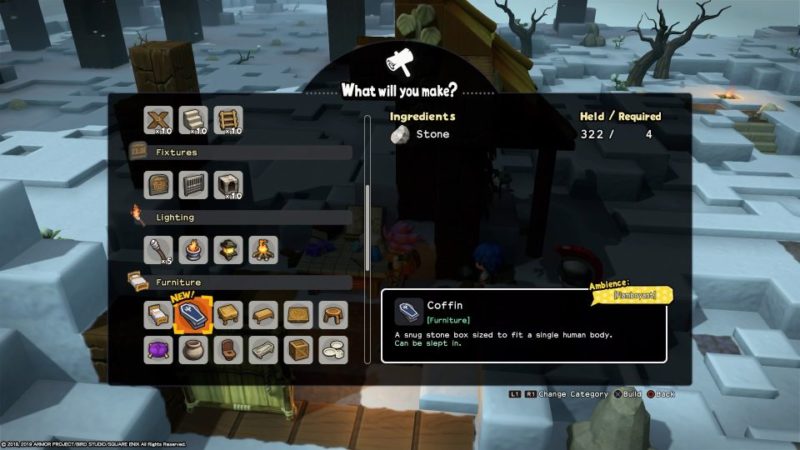
Make 3 coffins at the workbench.
Place the coffins inside the hole.
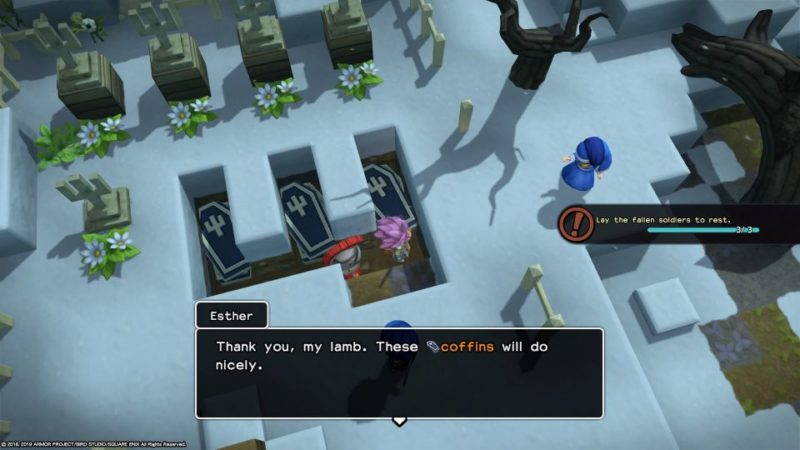
Carry all 3 bodies into the respective coffins.
Then, bury them by placing blocks above the hole.
Once they’re fully buried, craft some statues and place them on the ground where the coffins are.
Before you head back to the castle, you may want to activate the Naviglobe.
Defeat the enemies again
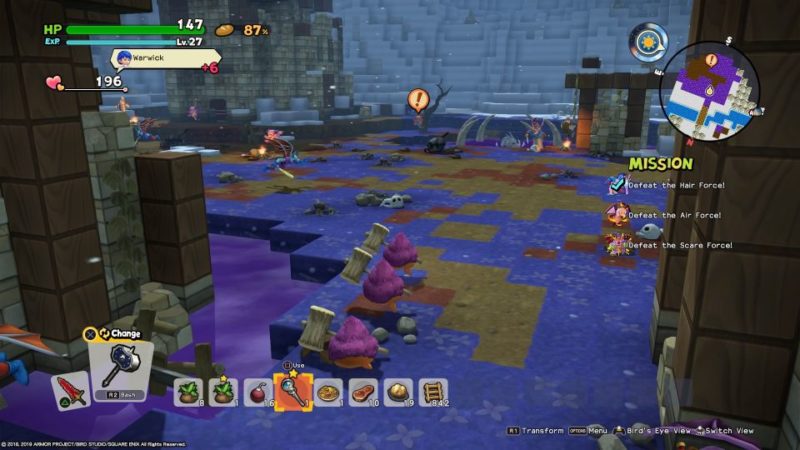
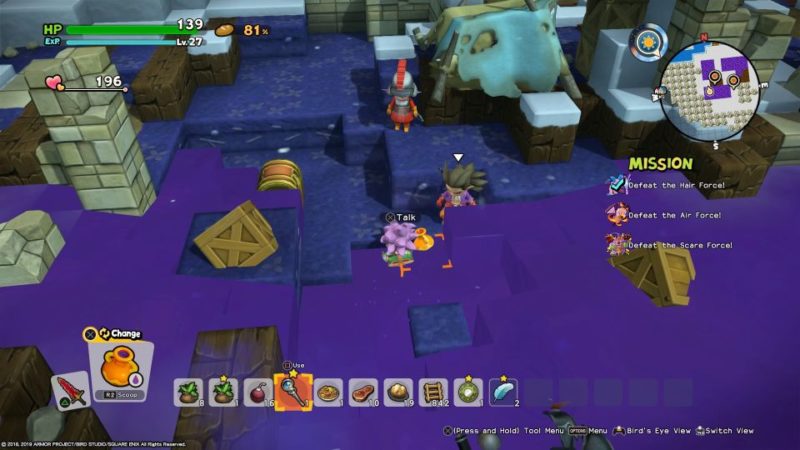
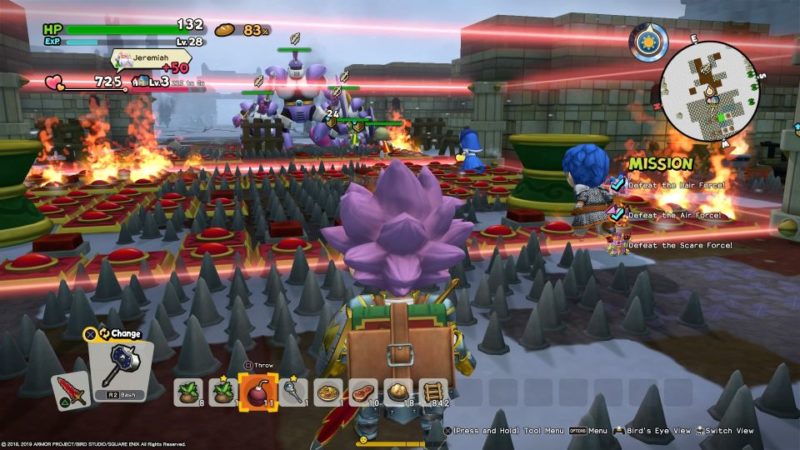
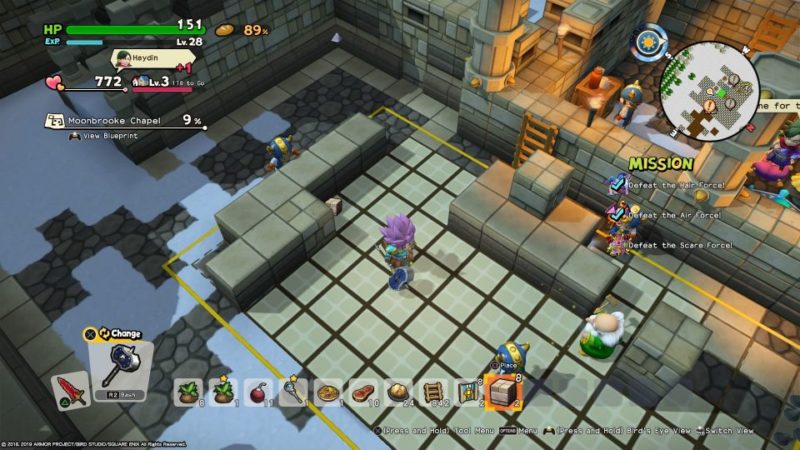
Once you’re at the castle, you have a new mission to defeat all the three forces by the three Heroes of Hargon.
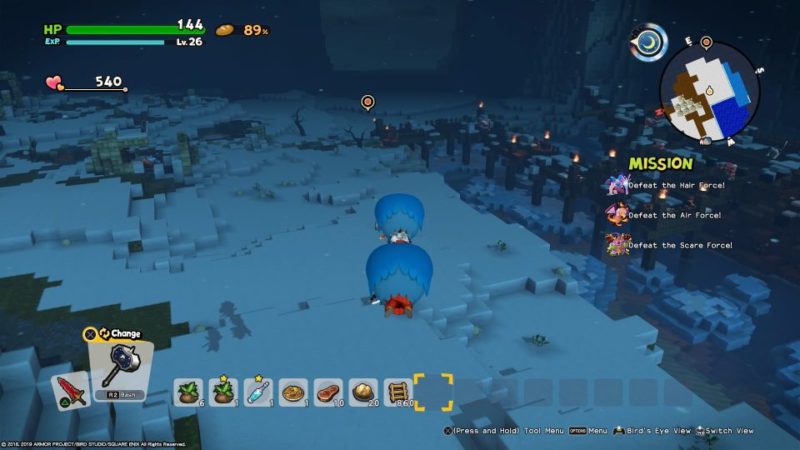
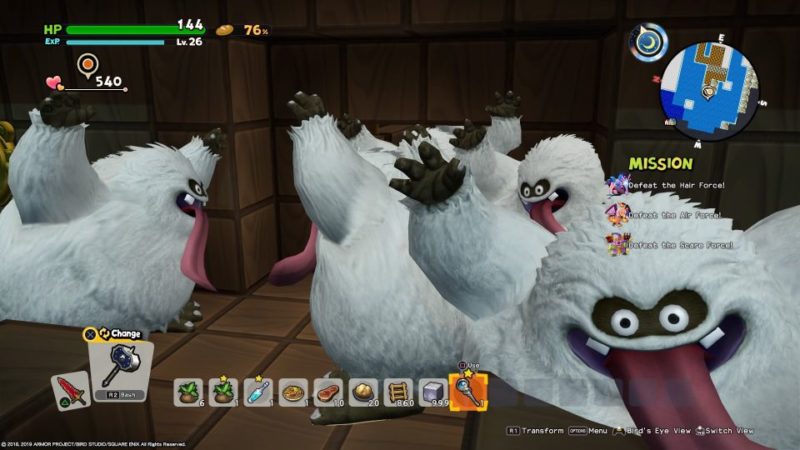
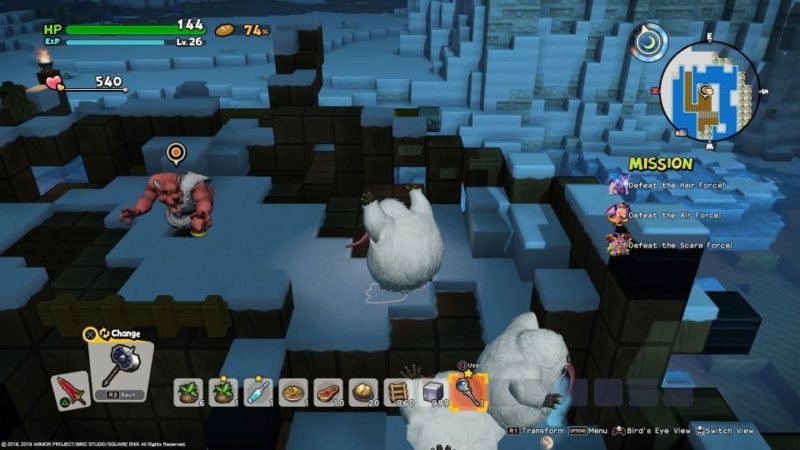
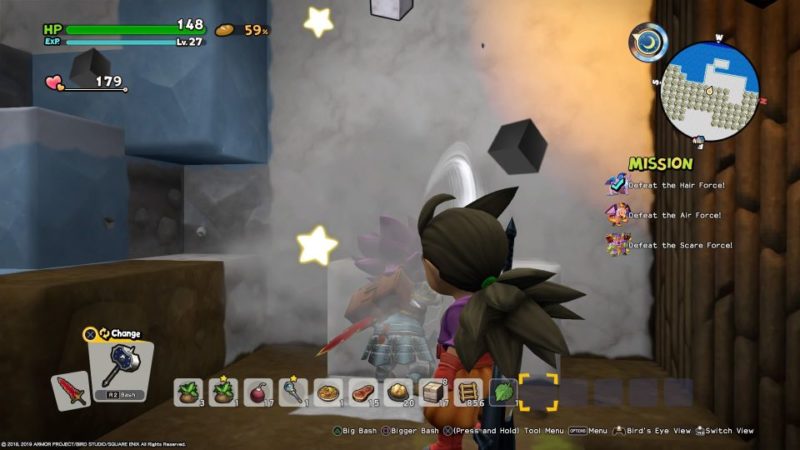
You will then get attacked by the Hair Force.

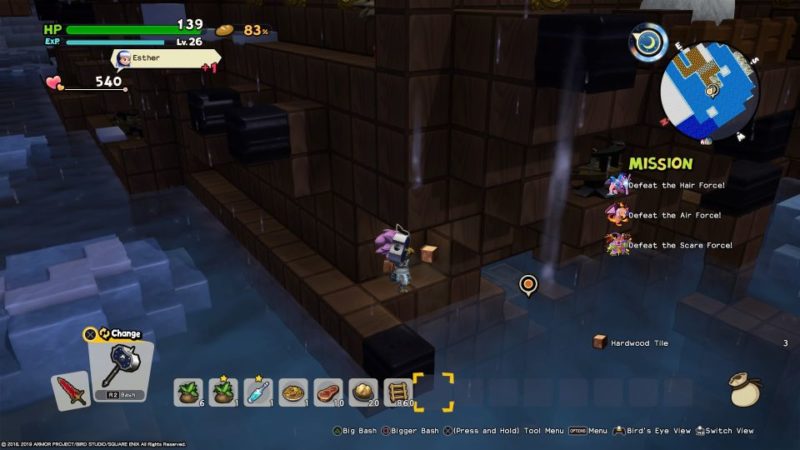
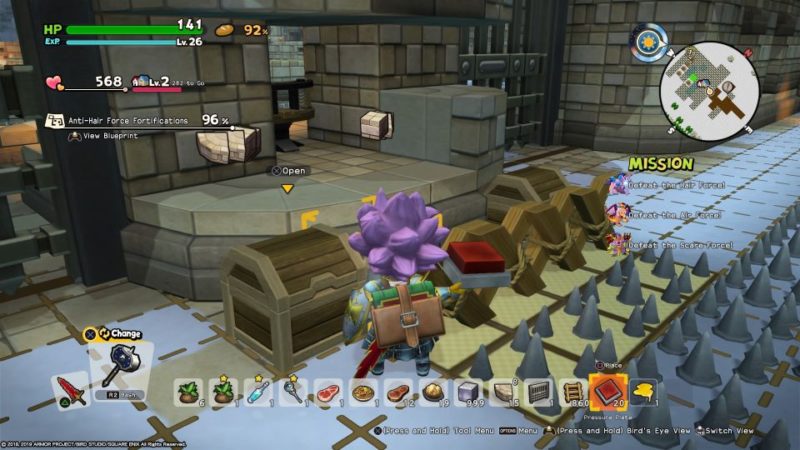
Make anti-Hair Force fortifications
The next immediate job is to defeat the Hair Force.
You need to make fortifications again and you’ll require plenty of blocks.
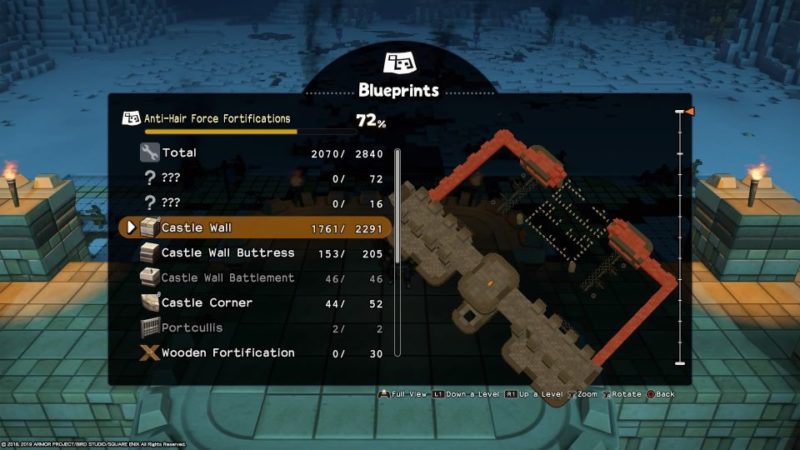
As usual, you’ll need more marble to craft the blocks. Place them in the chest and the builders will do the rest.
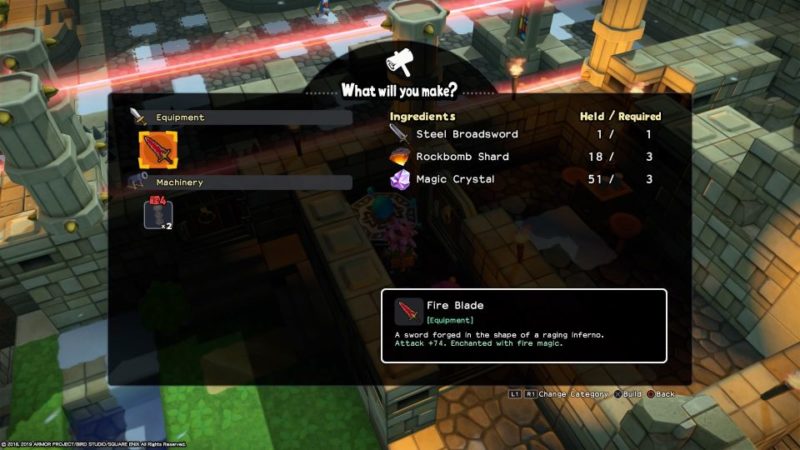
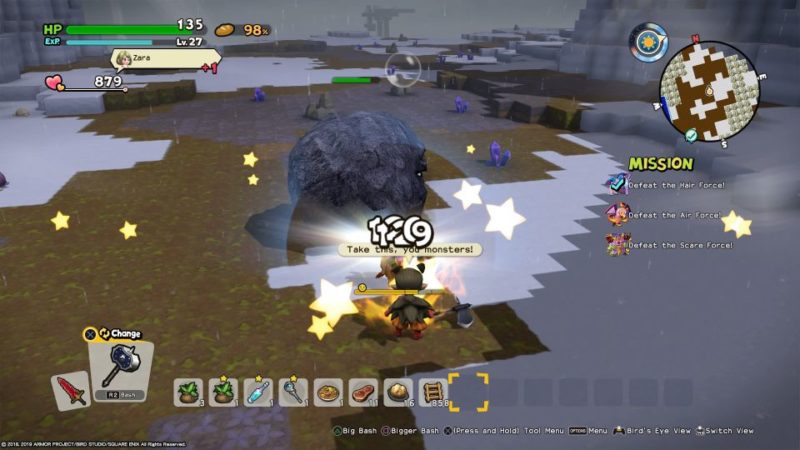
How to kill rockbombs and make fire blades
At one point, you will learn a recipe to make a new fire weapon. You need rockbomb shards for it.
There are rockbombs just nearby Moonahan. To kill them before they explode in 5 seconds, you need to use your hammer instead of your sword.
They do much higher damage.
Each rockbomb drops 2 shards only.
Once you have the items, make fire blades for yourself and your soldiers.
Find the Hair Force’s weakness
Your next mission is to find the weakness of Hair Force. Head to the marked area.
When you’re there, you will need to find a way to the ship unspotted.
Next, head to the cliff nearby and glide using the windbraker to the top of the ship.
Once you’re on the ship, do not get spotted. Go towards the bottom of the ship and you’ll see a hole. Enter it.
Inside, you will meet Anessa’s spy who was a slime. You will get a mod rod.
This mod rod allows you and your allies to turn into monsters as a disguise.
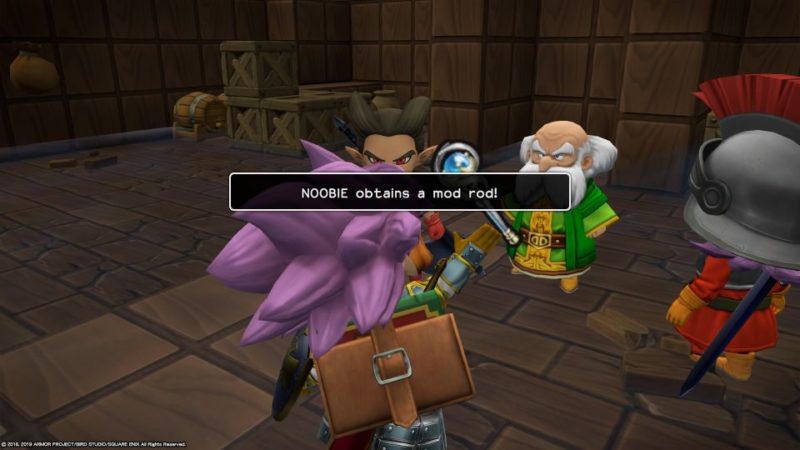
Use it to change to another monster.
Talk to the prisoner, Haydin. She’ll join you.
Before you leave, turn into a monster again.
Next, talk to this fur-ball monster who looks just like you.
He doesn’t know anything, so you need to find this wolf monster at the top of the ship.
He will tell you the weakness without realizing.
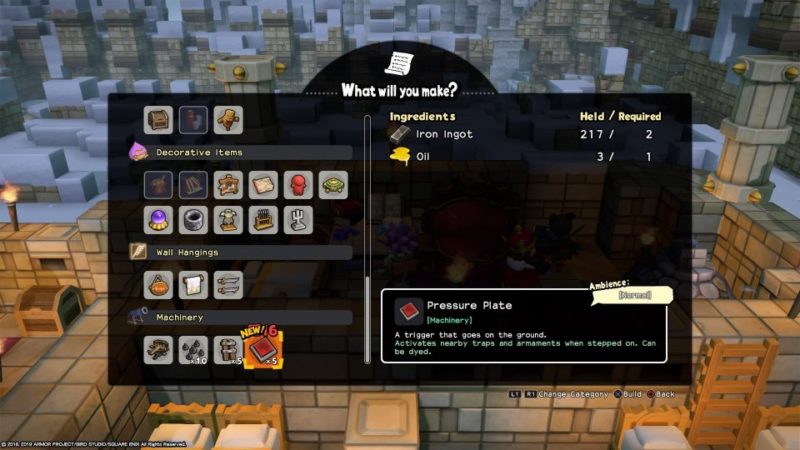
Make fire and pressure plates
The best weapon against the Hair-Force is fire. Make the fire base at the wizard’s workbench and the pressure plate at the normal workbench.
Place the right amount in the chest and the builders will do it for you.
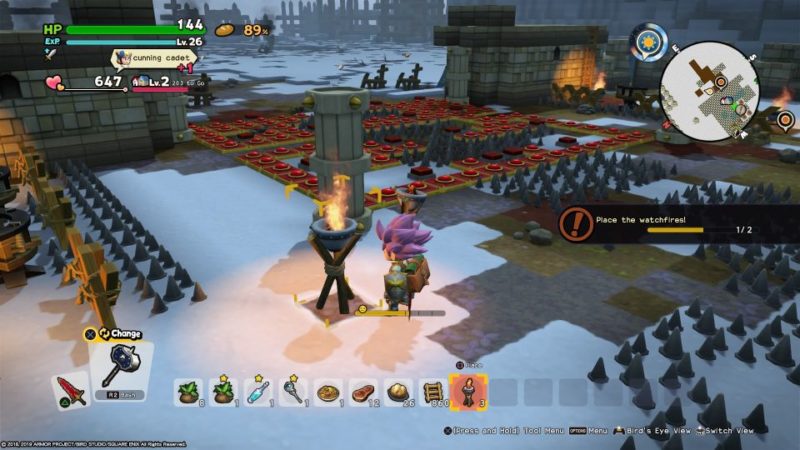
Make 2 watchfires
Next, go back to the workbench to make watchfires.
Place two of them on the designated location.
Defeat the Hair-Force
Once the blueprint is done, the Hair-Force will attack.
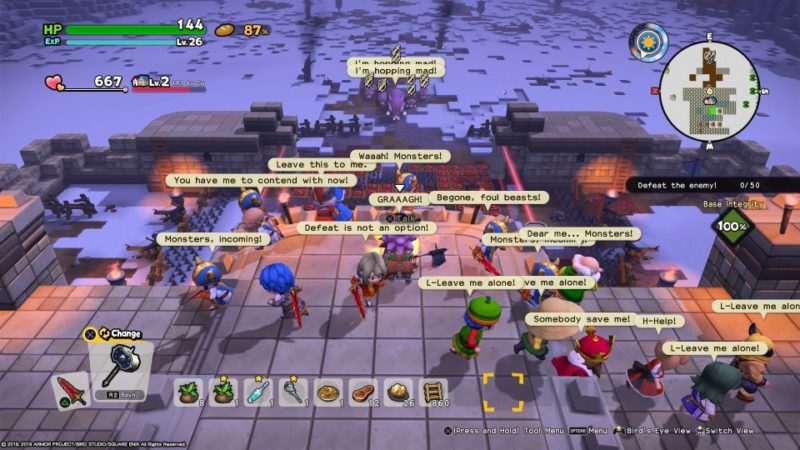
After a few waves, the leader Batmandrill will attack himself.

Just defeat him like normal.
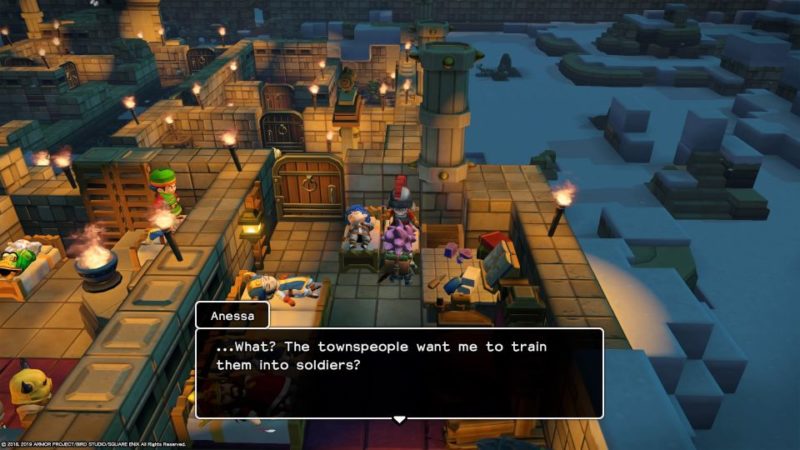
Train townspeople into soldiers
The townspeople will ask you to talk to Anessa about turning them into soldiers.
Talk to Anessa about it.
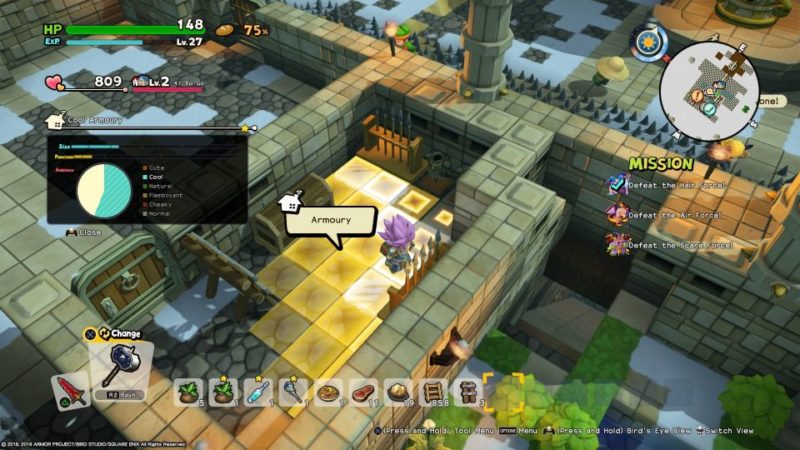
Make an armoury
Jeremiah then asks for your help to build an armoury.
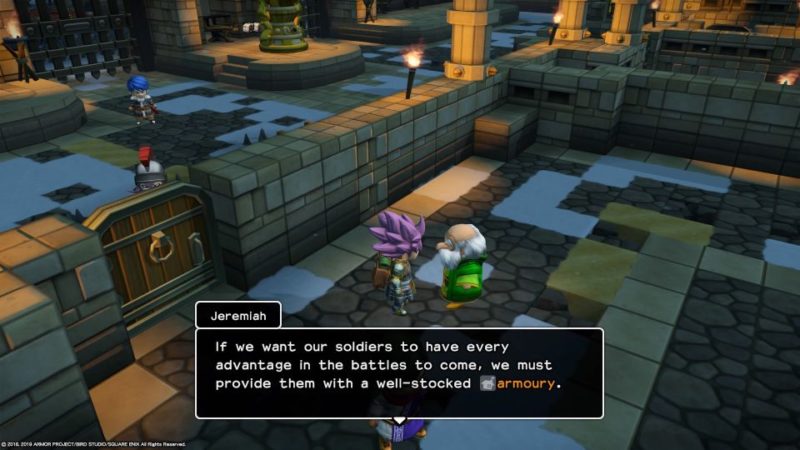
Just make a separate room with the requisite items.
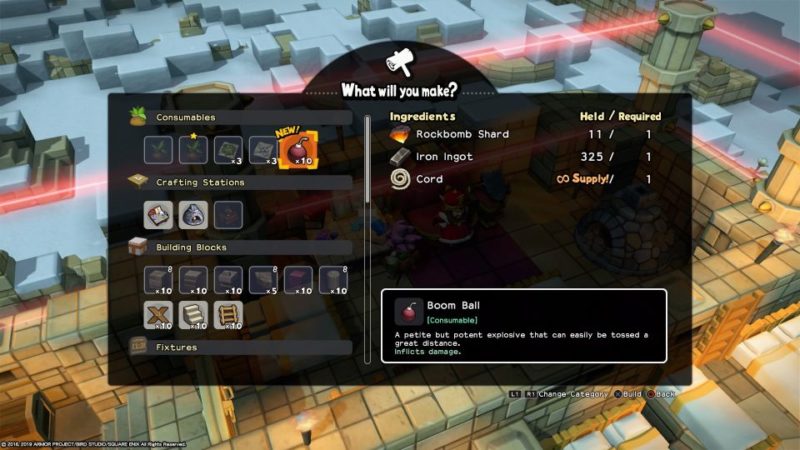
Make boom balls
You will learn how to make boom balls as well.
Once again, you need rockbomb shards. Just grab them from rockbombs near Moonahan. Kill them using your hammer.
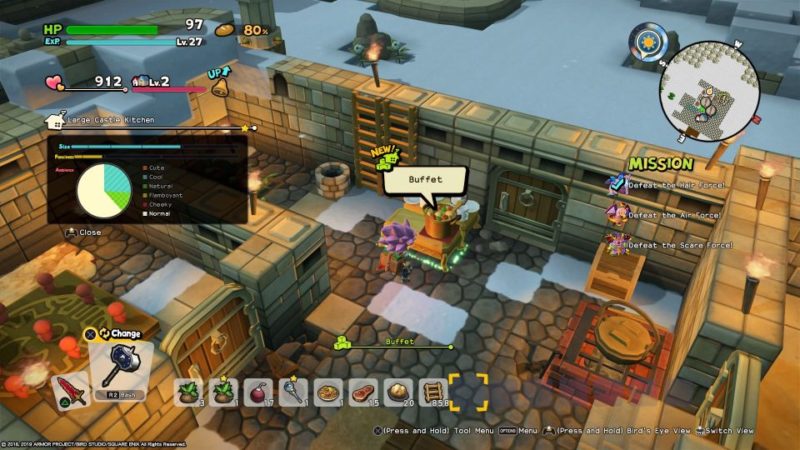
Upgrade the kitchen
Next, upgrade the kitchen by adding a big table, a plate and a crockpot.
The crockpot requires you to make a soldier’s stew first.
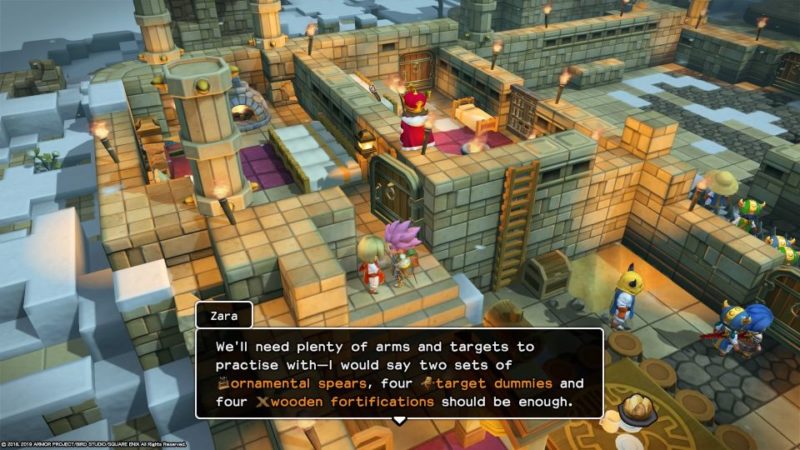
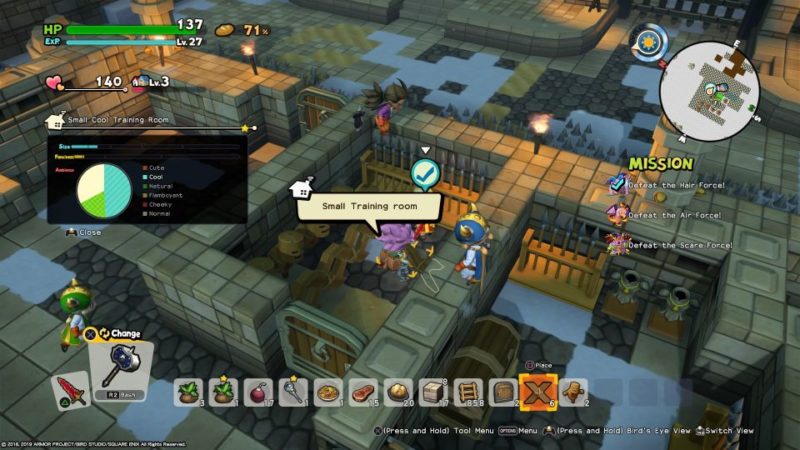
Make a training room
Next, build a training room with 2 ornamental spears, 4 target dummies and 4 wooden fortifications.
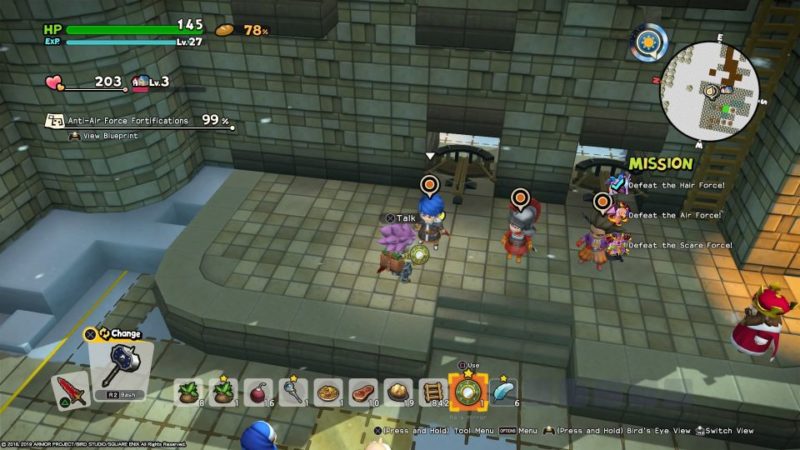
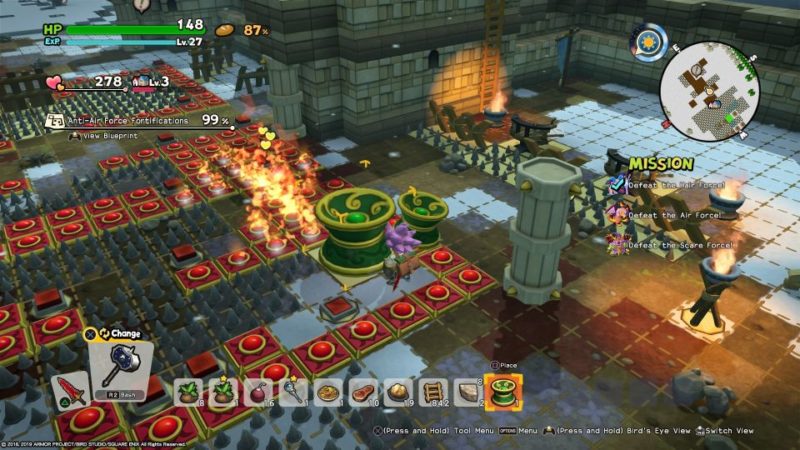
Make anti-Air Force fortifications
Your next big project is to make anti-Air Force fortifications.
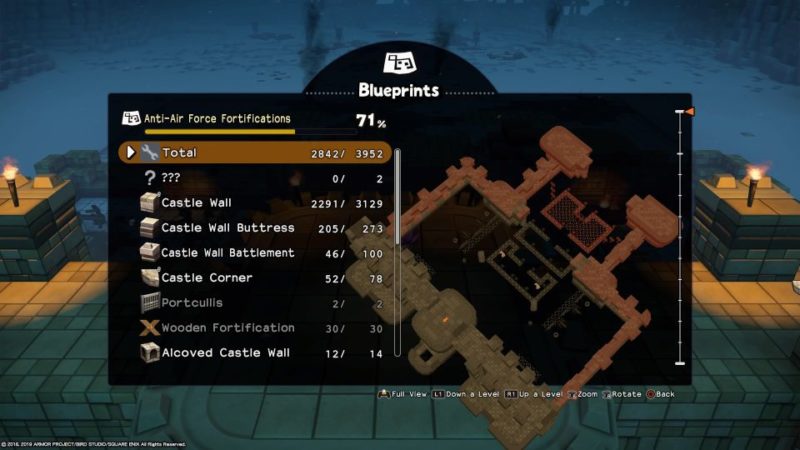
Once again, you need to mine for marble to make castle walls and other related blocks.
Place the ready-made items into the community chests and the builders will do the rest.

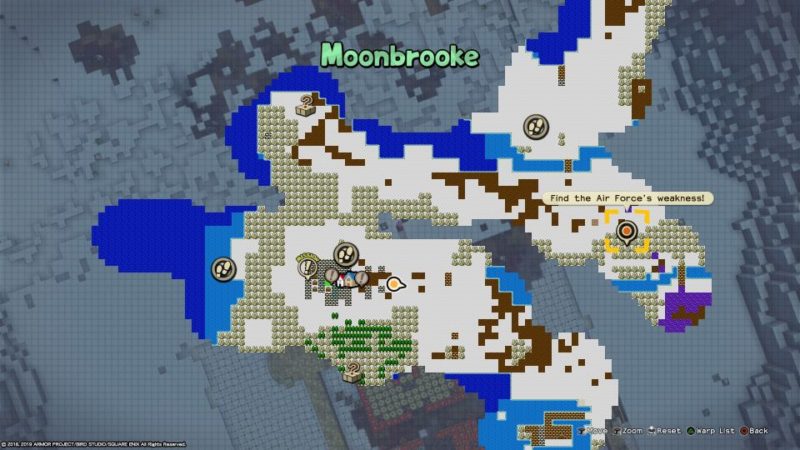
Find Air Force’s weakness
Head towards the marked location.
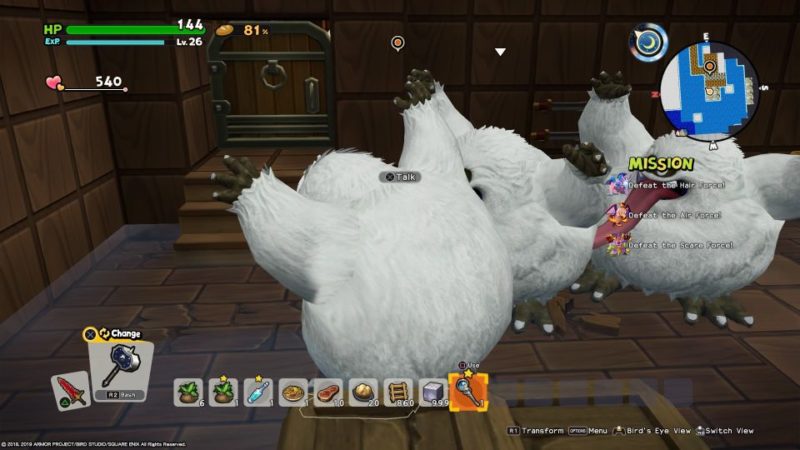
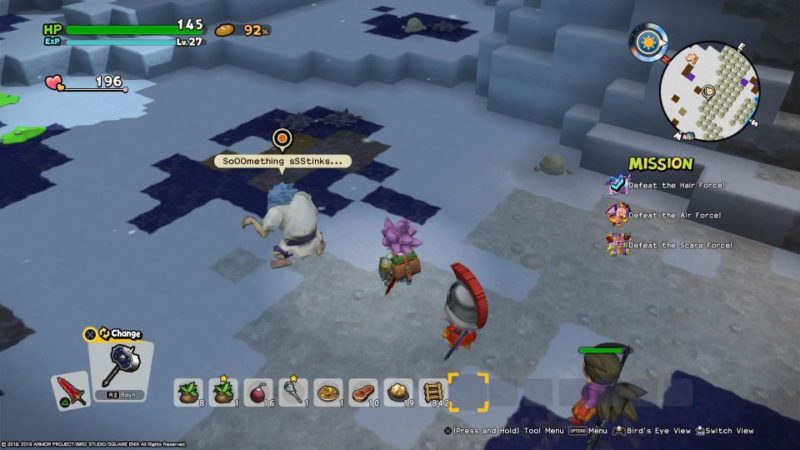
Talk to the zombie here.
Get to the next location shown in the map.

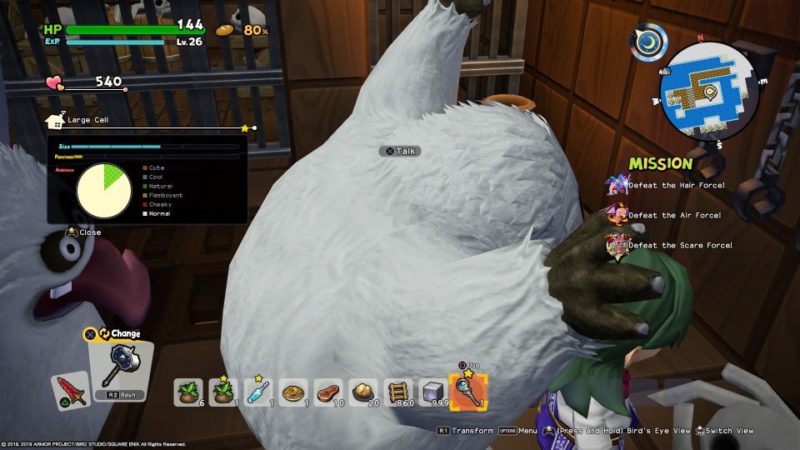
Once again, you need to change into monsters using the mod rod. Talk to the monster.
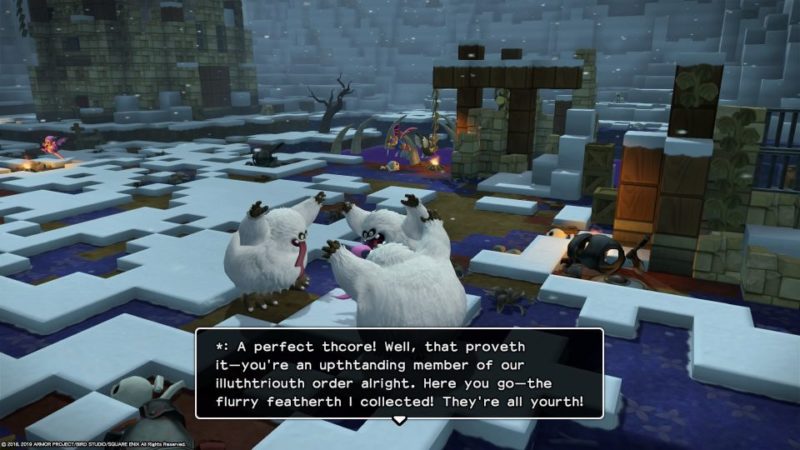
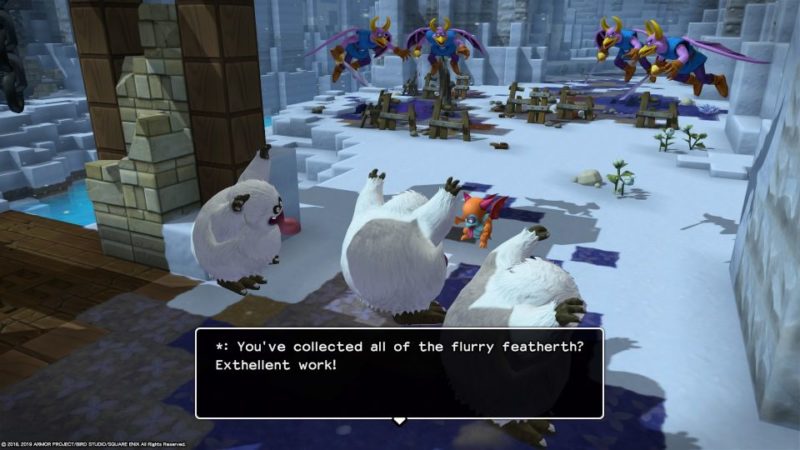
You are tasked to find 6 flurry feathers.
You have to talk to 3 different monsters, each with their own criteria.
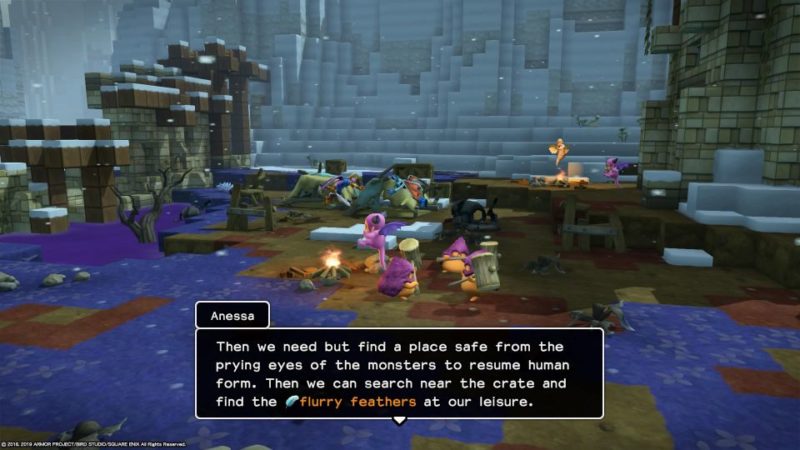
One of them will let you into the building to grab some feathers.
However, the Ra’s mirror inside changes you back into your normal look. The monster comes in and you have to defeat it.
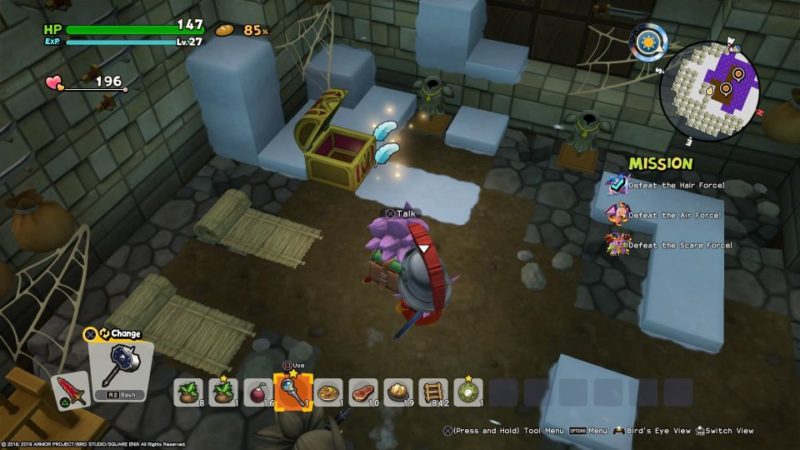
Grab the flurry feathers from the chest.
The next one requires you to search the bottom of the poisonous pond.
Use your bottomless pot to suck the water. Also, do it somewhere the monsters can’t see you.
Grab the feathers from the chest.
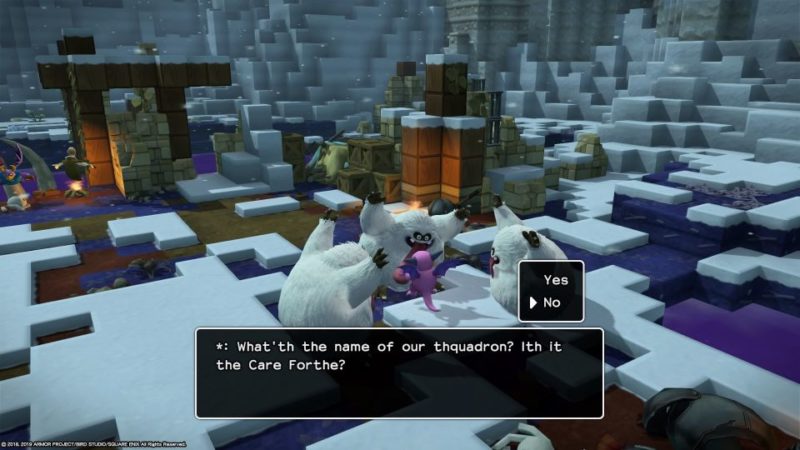
As for the third monster, you’ll be asked three questions.
The answers are No, No and Yes.
Now, go back out and across the bridge. Talk to the monster here.
Use the Ra’s mirror
Get back to the base and use the Ra’s mirror on the potential spies.
Use it on all 3 of them on the stage.
The spies are within the villagers. Start with the 2nd row, in the middle, and you will find 3 spies.
Defeat all of them.
Make woosh widgets
Next, make woosh widgets to counter the Air-Force. Use the wizard’s workbench for it.
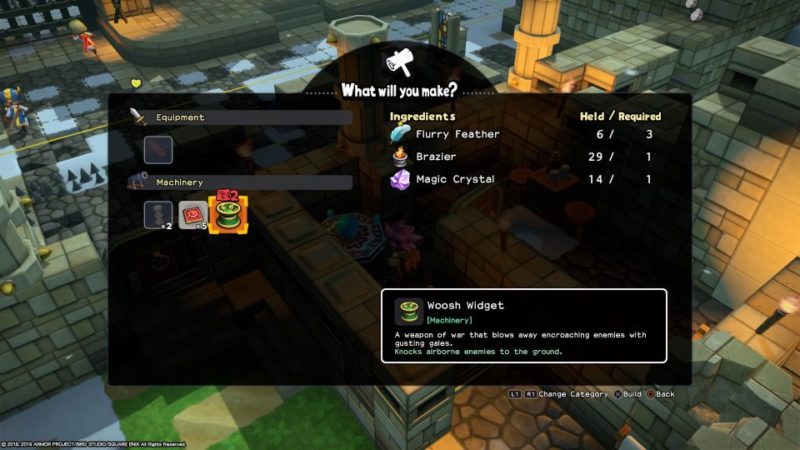
Place the widgets on the designated spots.
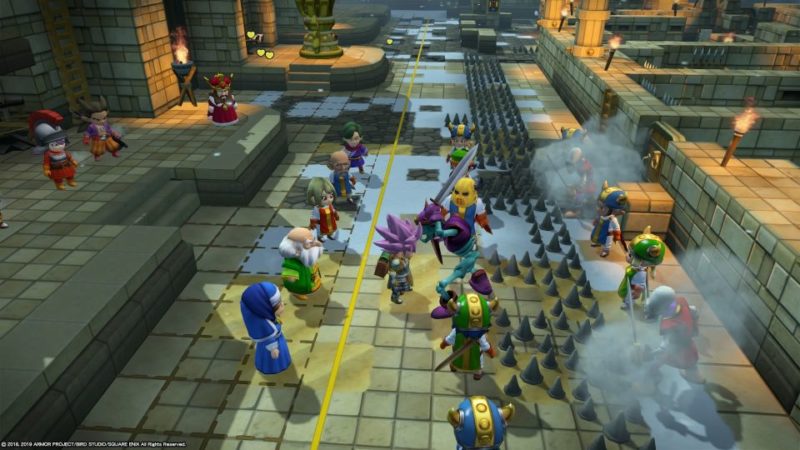
Defeat the Air-Force
After completing the blueprint, the Air-Force will attack.

Defeat them all, including the boss Cosmic Chimaera.
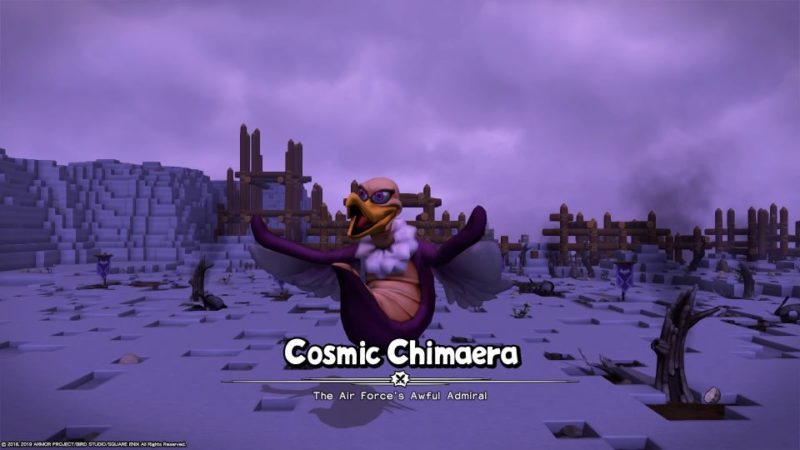
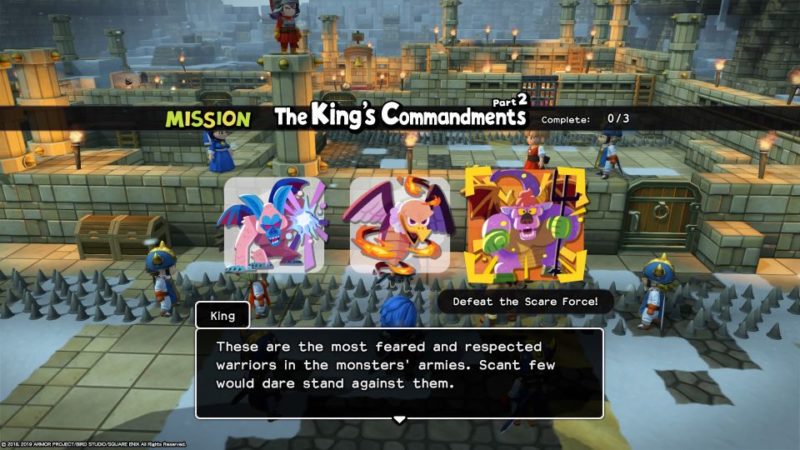
After beating them, the Scare Force will appear and they’re pretty hard to stop.
Make a chapel
Next, build a chapel for the nun.
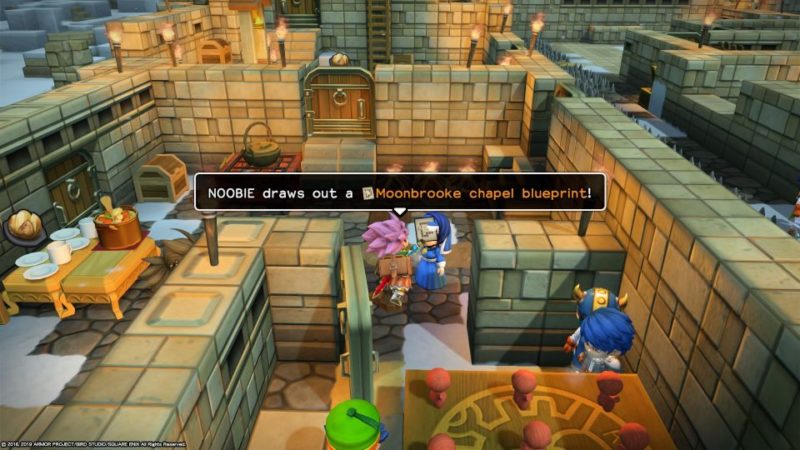
Place the blueprint outside the main castle rooms.
As usual, they will build it for you. You just need to find the ingredients and place them into the chest.
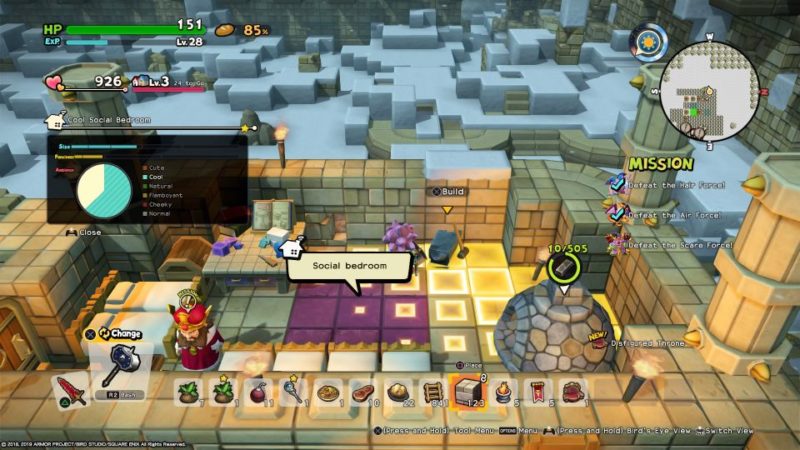
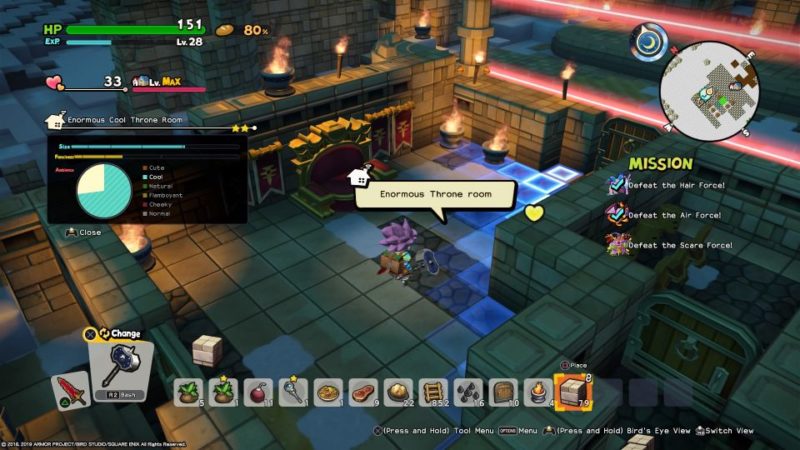
Make an enormous throne room
Another job is to make an enormous throne room. The room has to be enormous.
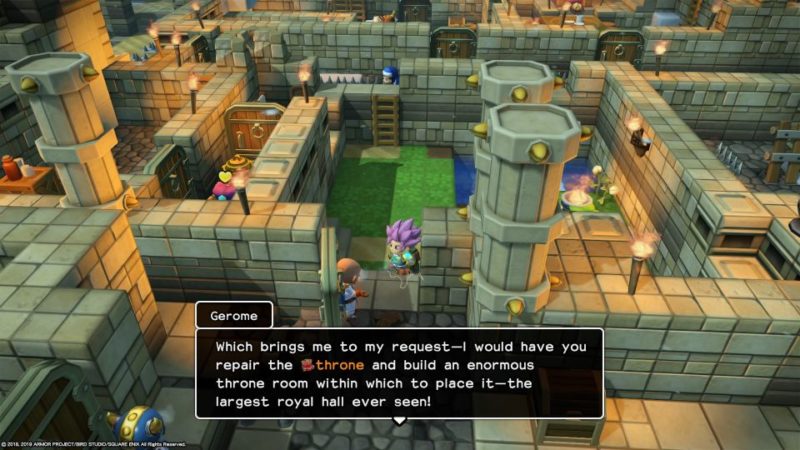
Destroy the current throne and use it at the workbench to craft a new throne.
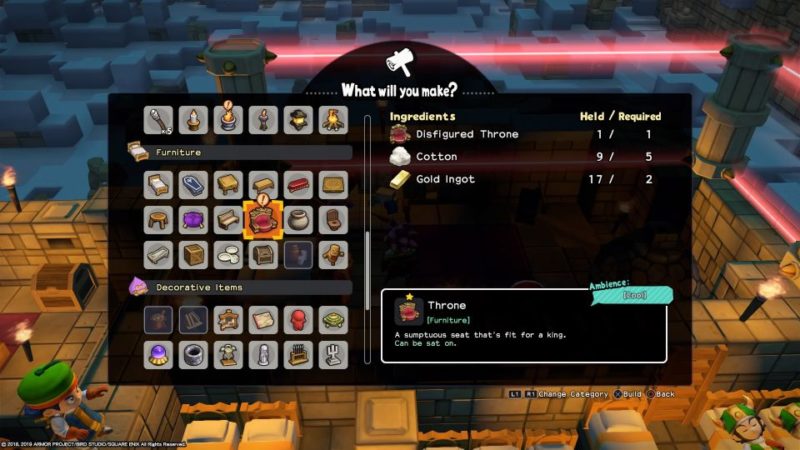
Place the repaired throne into the room, together with the other items.
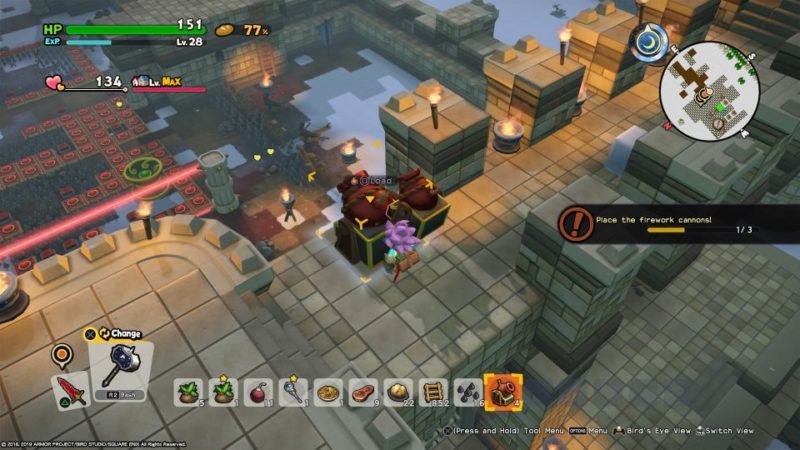
Build three firework cannons
Another side job is to build 3 firework cannons.
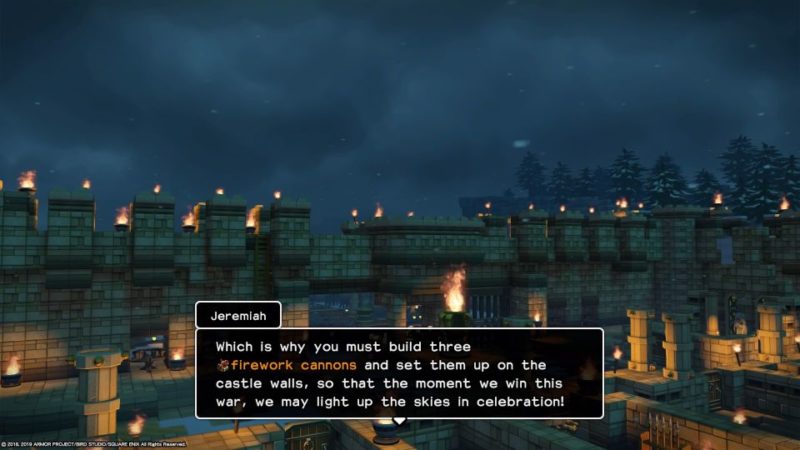
Place 3 of them on the designated areas on the Great Gate.
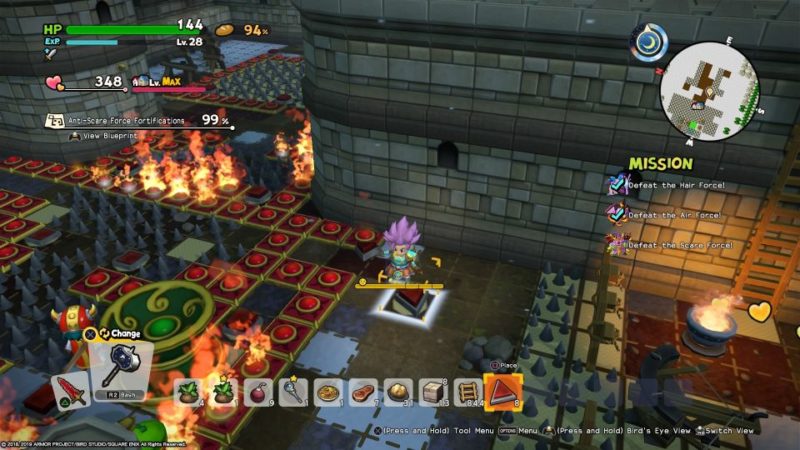
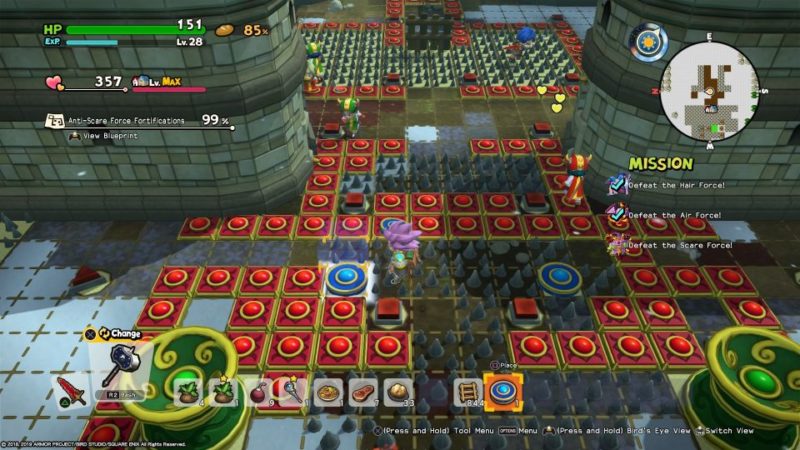
Make anti-Scare Force fortifications
Your next big project is to make anti-Scare Force fortifications.
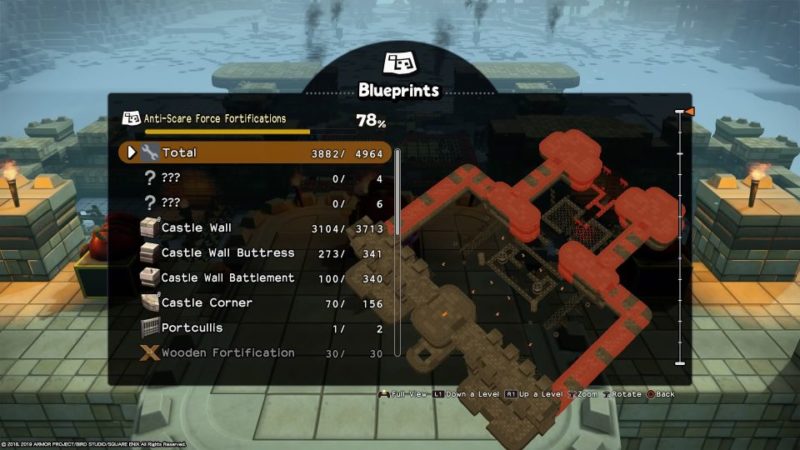
Like usual, get more marble and craft more walls. Place them into the chests for the builders to complete.
Find the Scare Force’s weakness
Head to the marked location.
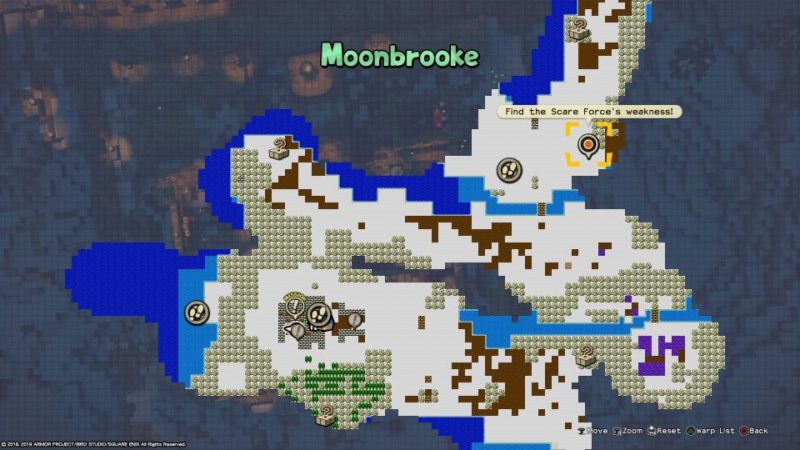
Talk to this hammerhood.
Go to the next marked location.
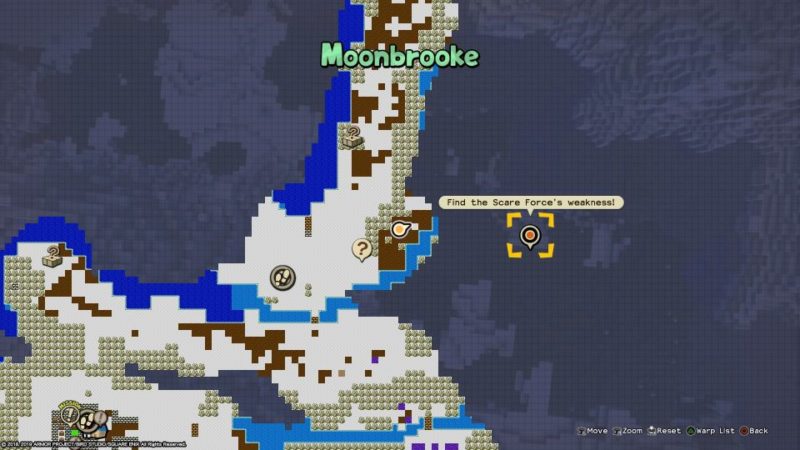
You’ll find another hammerhood here.
Continue ahead but this time, you need to transform into the fur-ball.
This will enable you to walk through the blizzard without damage.

You will meet a troll in the building.
They will use a Ra’s mirror on you guys. Then, defeat the troll and the underlings.
You will find the Scare-Force weakness inside the chest.
Make crack contraptions
Back at the castle, make crack contraptions.
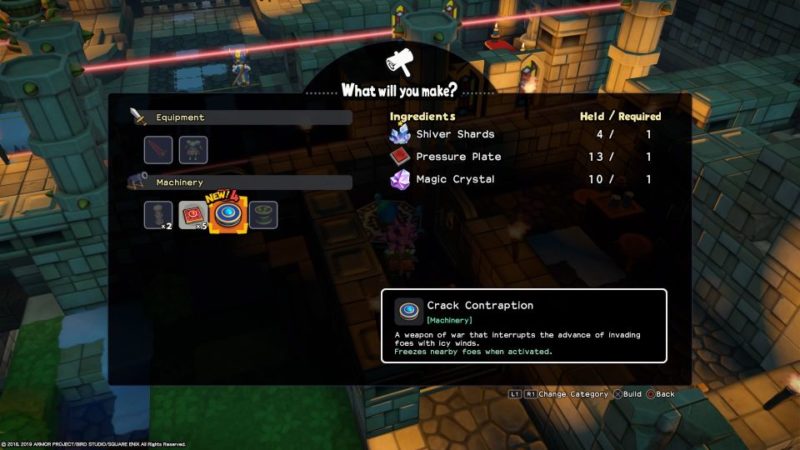
Place the pressure plates and the contraptions at the designated areas.
Defeat the Scare-Force
After finishing the blueprint, the Scare-Force will attack.
Defeat all of them.
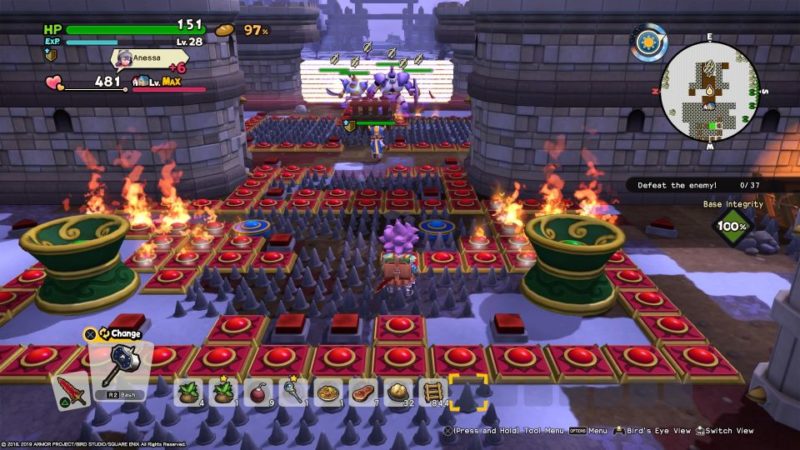
The boss Archdemon will also come. Take them all out.
Use the contraptions to freeze them in their tracks.

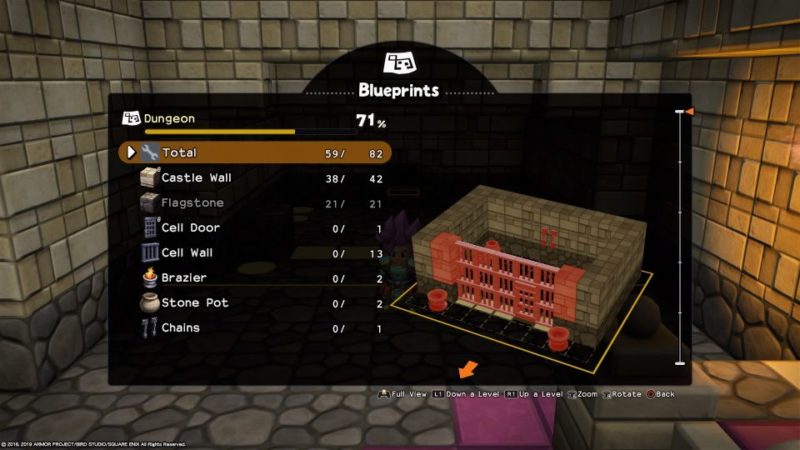
Build a dungeon
After this, build a dungeon where you found the zapphires.
They won’t help you this time. You have to build it yourself.
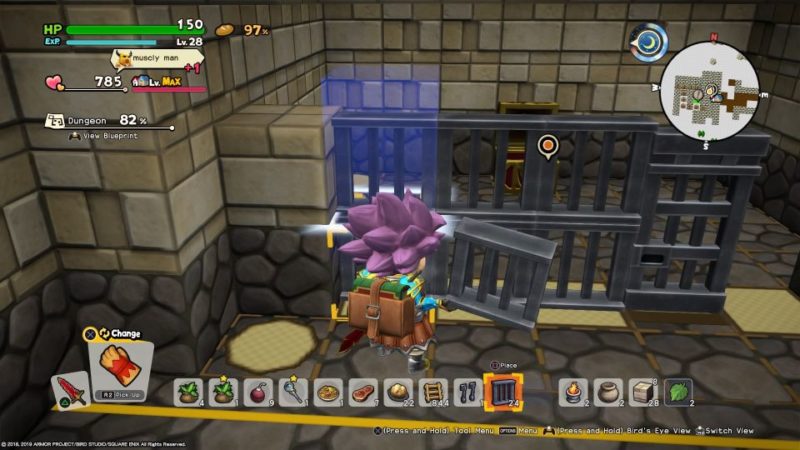
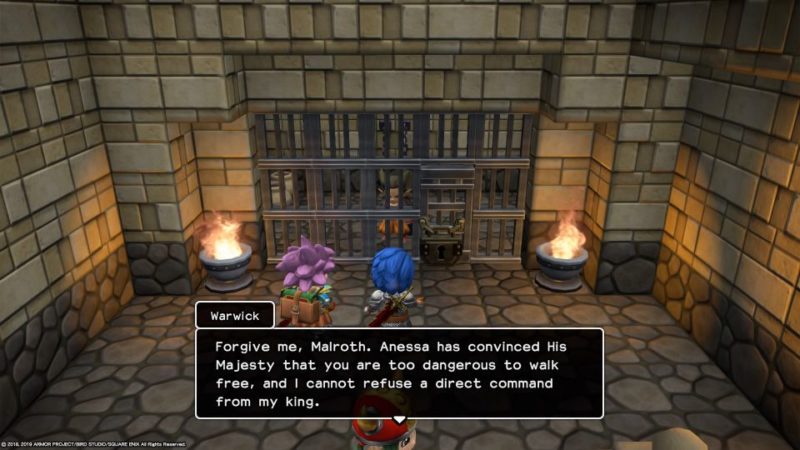
After completing the dungeon, Warwick puts Malroth inside apparently due to the King’s command.
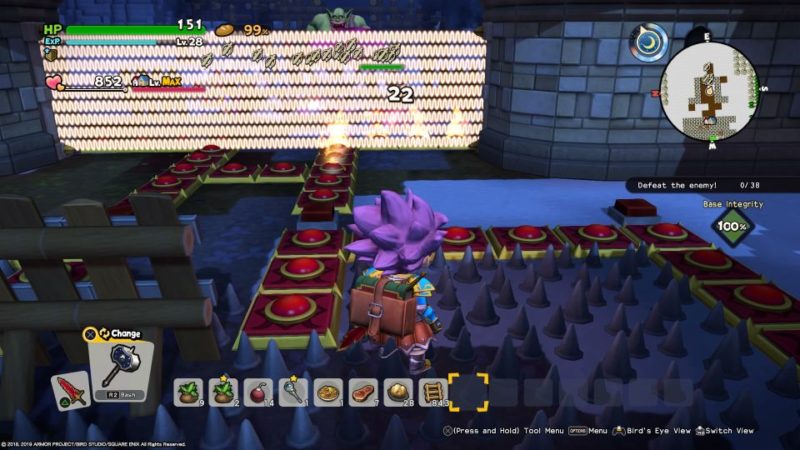
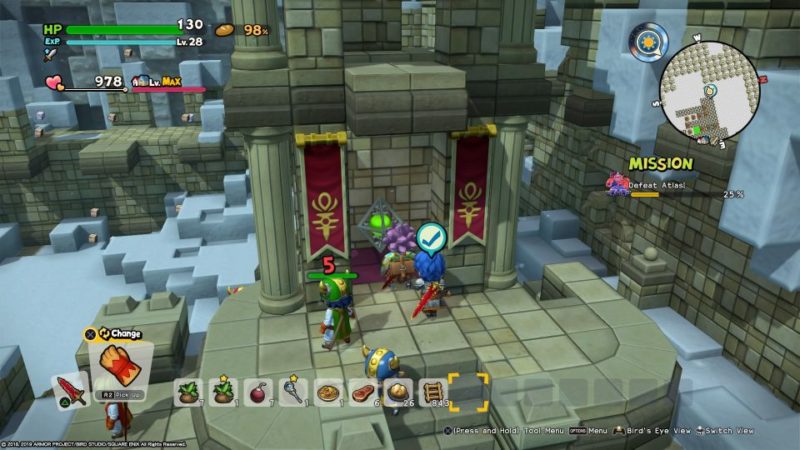
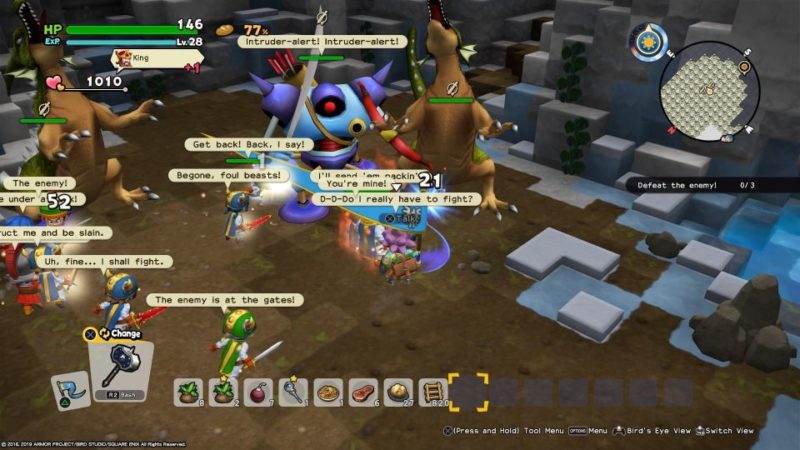
Defeat the enemy
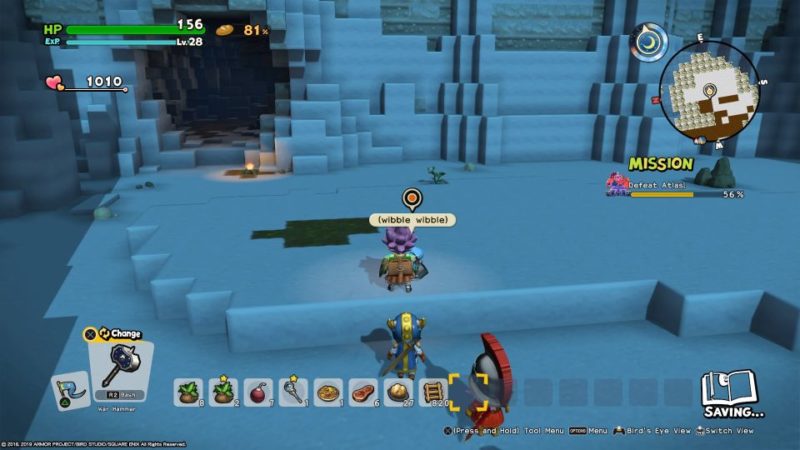
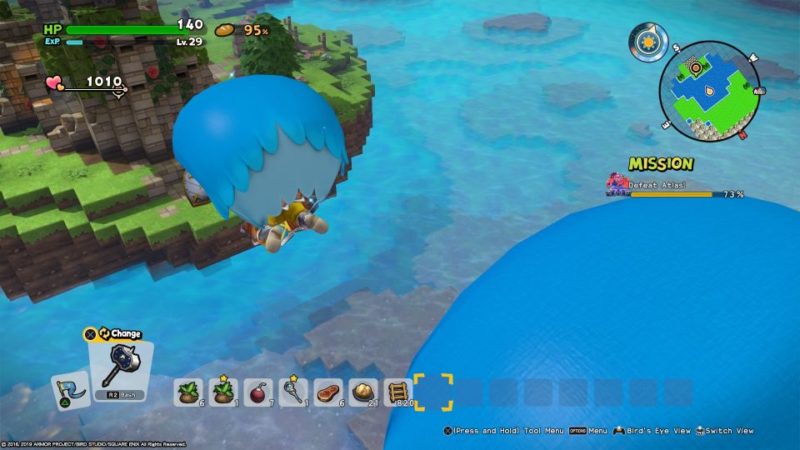
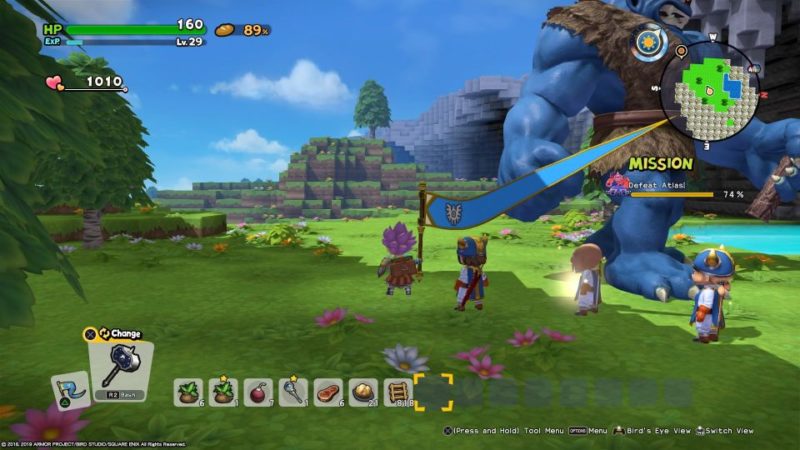
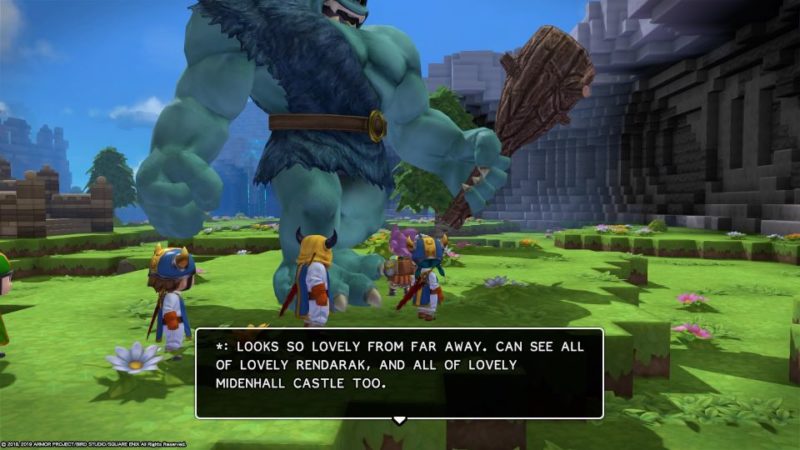
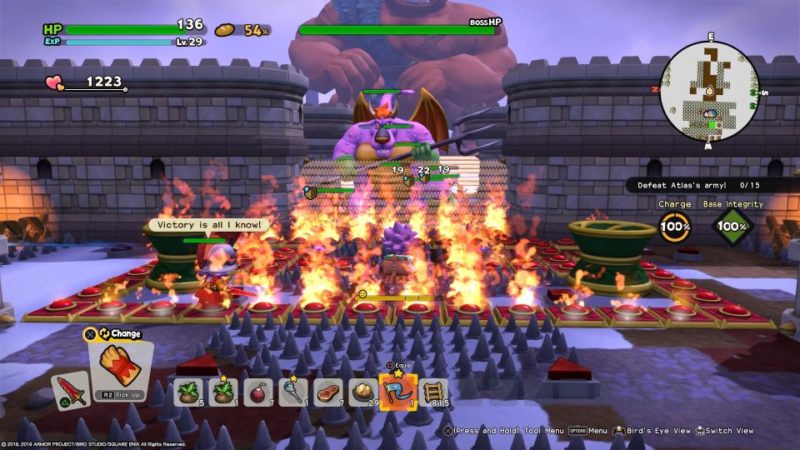
After Malroth gets imprisoned, Atlas (ruler of the island) appears.
He is the biggest Troll on the island. You only need to defeat his underlings at this point.
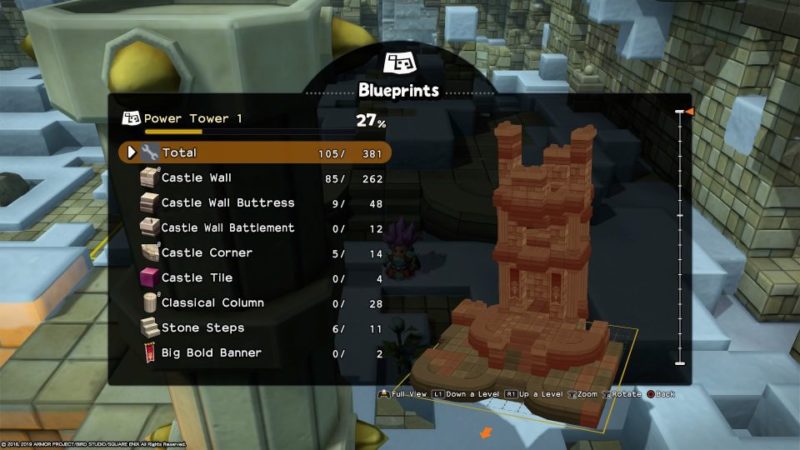
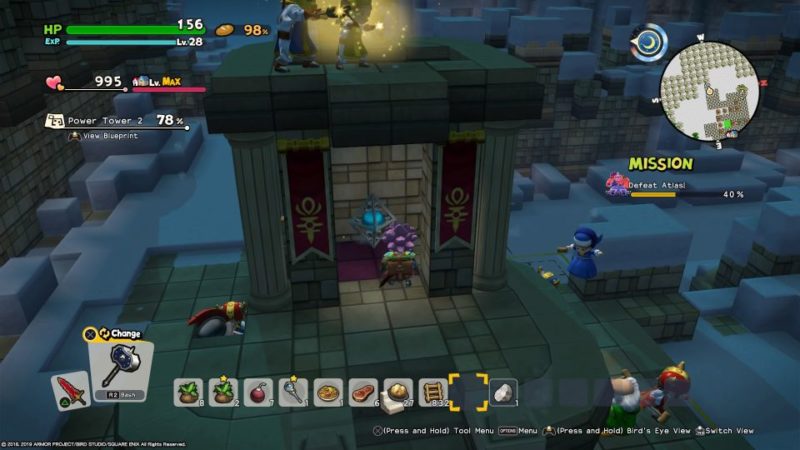
Build a power tower
To counter Atlas, you will need to make a super cannon. You first need to construct two power towers for the cannon.
Like before, the builders will help you to build. This time however, you don’t need to find ingredients anymore.
Find the Orb of Power
While they’re completing the tower, you need to find the Orb of Power. Head to the location marked on the map.
From the top, jump and glide following the direction of the statue.
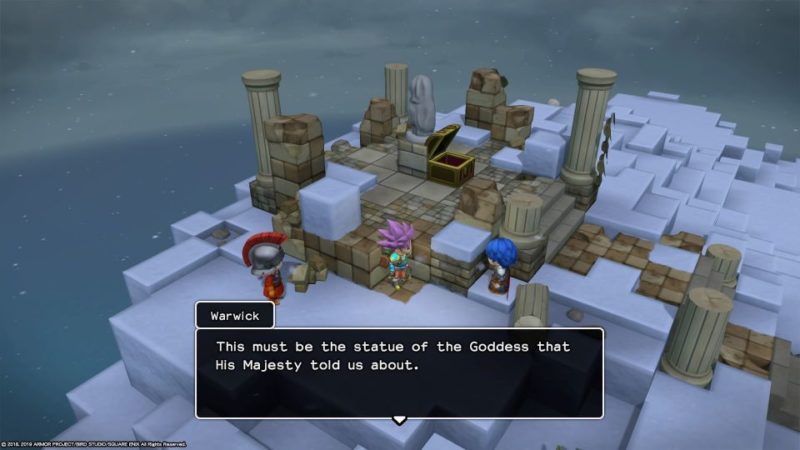
You will see tornadoes along the way. Avoid them all.

Finally, you’ll see an island with a huge tower.
Go to the marked location and you’ll find a door. Enter the building and you should get pushed down.
After falling into the water, keep swimming ahead.
Surface up and you’ll see this platform.
Jump on the green ones. Keep bouncing and you’ll go higher.

Get to the next platform (image below) and keep jumping on the red ones until you reach the green pads.
From the green bouncing pad, keep jumping until you reach an even higher platform.
Only 1 side of the bouncing pad allows you to go to the higher level.
Look up to be sure.
Once you’re up here (image below), continue using the green pads to jump up.
Finally, you’ll reach the highest room. Defeat the monsters first.
Open the chests and you’ll get a seed of life and an Orb of Power.
Go back to the power tower at your base and place the Orb of Power here.
Find the Orb of Magic
While they’re making the 2nd tower, look for the Orb of Magic. Head to the marked area.
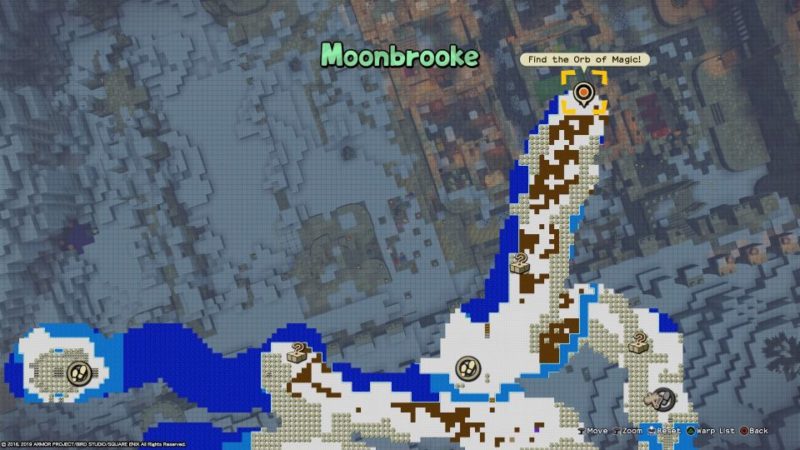
You will meet a slime here. Jump underwater.
Follow the route.
You will finally reach some monsters at the end. Defeat them all.
If you wish to breathe to prevent further damage, just jump into the bubbles released by the giant clam.
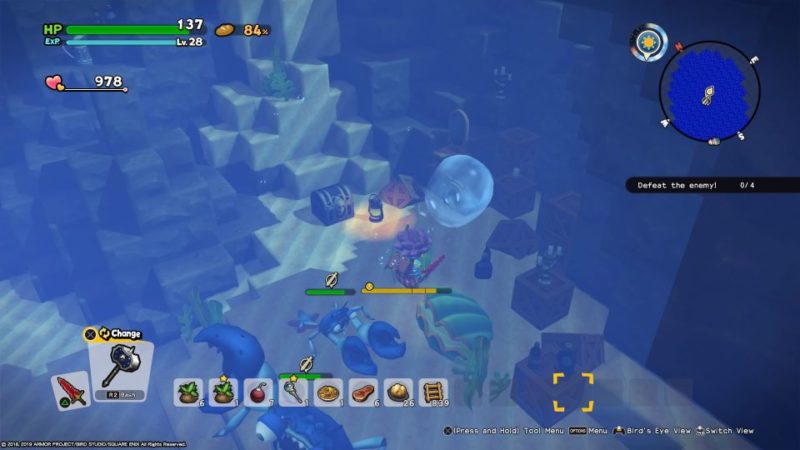
Once the monsters are gone, open the chest nearby and grab the Orb of Magic.
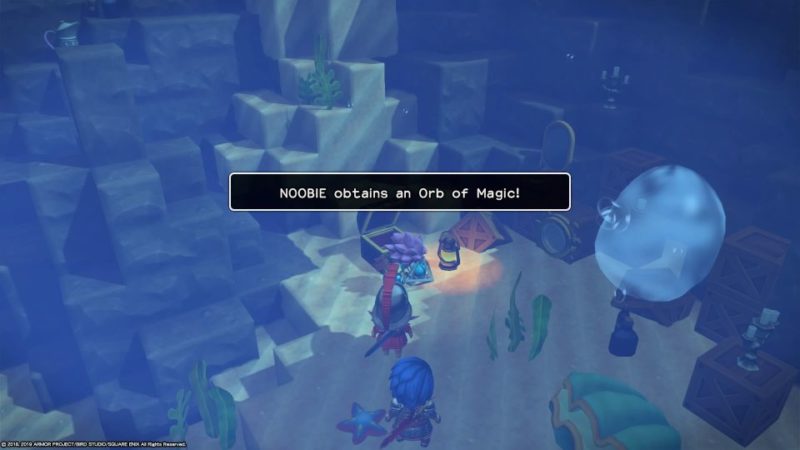
Place the orb at the second power tower.
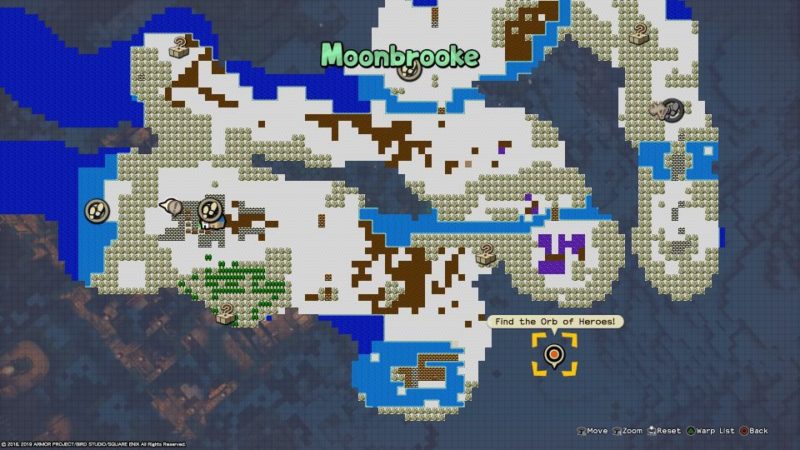
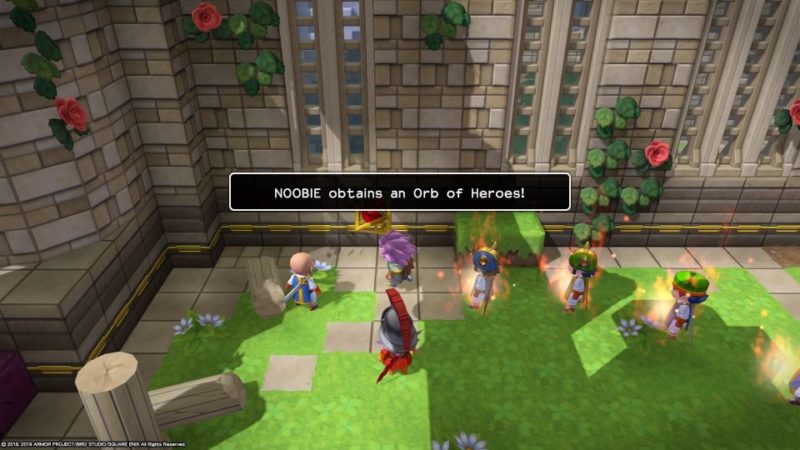
Find the Orb of Heroes
Finally, you need the Orb of Heroes. Head to the marked area.
This time, you’re given the war flag to rally all of the soldiers to help you.
Enter the cave.
While the men are fighting, just wave the flag and they will be healed or buffed.
Keep going up until you reach a dead end. Break the wall with your hammer.
You will then reach some sort of paradise. Glide down to the marked location.
Keep following the marked locations on the map.

You will pass through two Trolls.
Finally, you’ll reach the throne room of the castle.
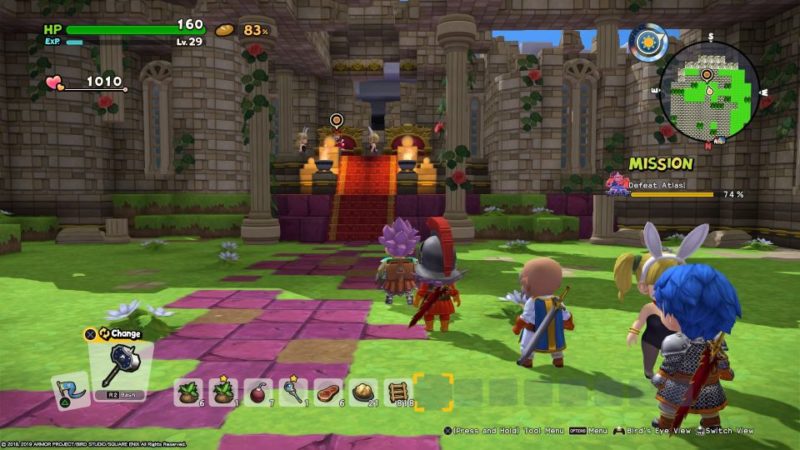
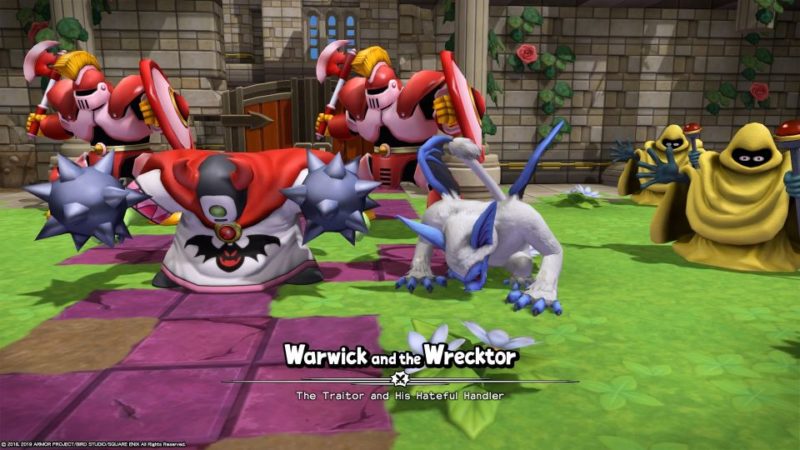
Defeat Warwick and his buddies
It is finally revealed that Warwick is the spy all along.
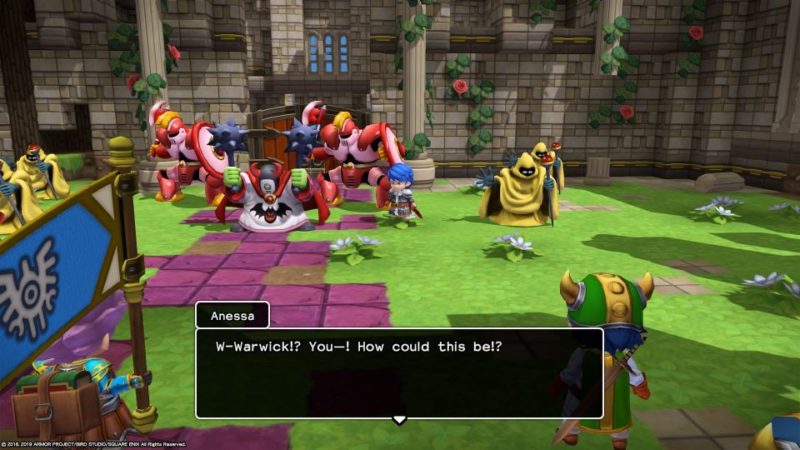
He will turn into a monster.
Defeat him and the rest of the monsters. They’re all pretty weak.
Grab the Orb of Heroes from the dead enemy.
Defend the castle
Go back to your base and you’ll find out that it’s being destroyed.
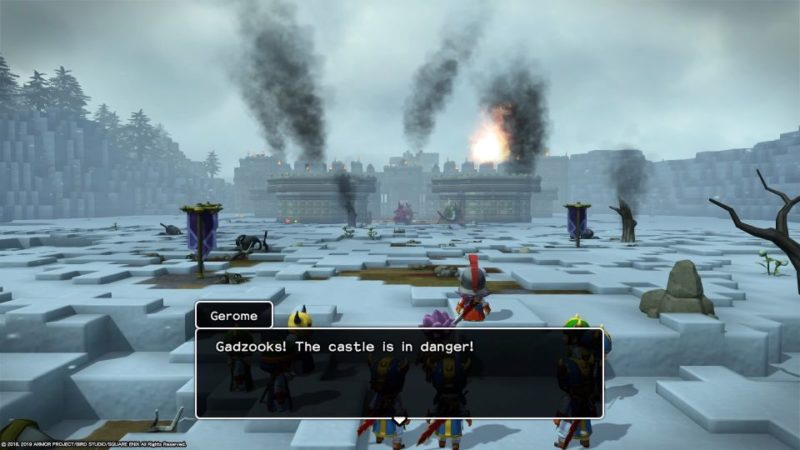
Head back to the castle and defeat the enemies led by the Dread Dragon.

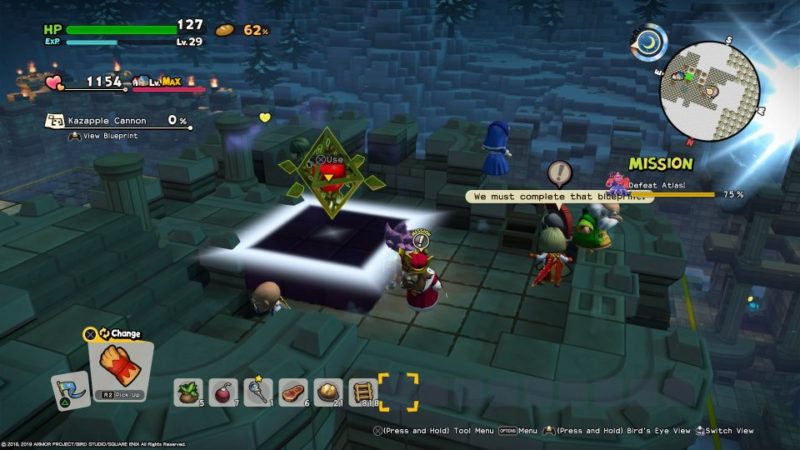
Make the Kazapple cannon
After defeating the enemies, complete the Kazapple cannon.
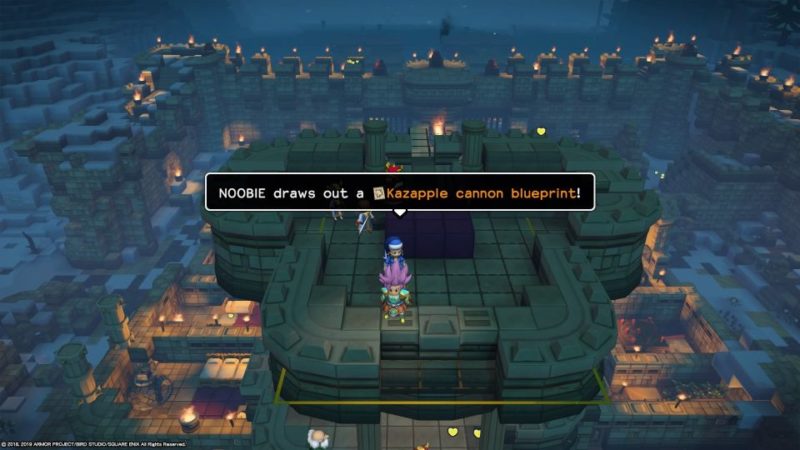
Place the Orb of Heroes on the designated spot.
Free Malroth
You will get the key to the dungeon. Free Malroth but he’ll hate you.
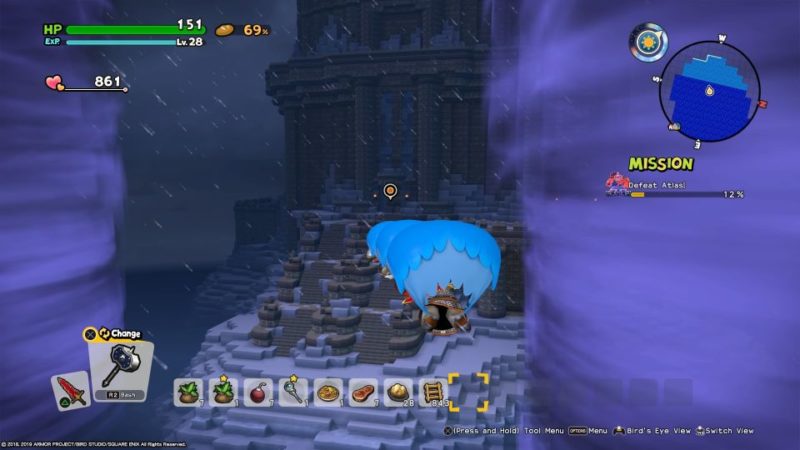
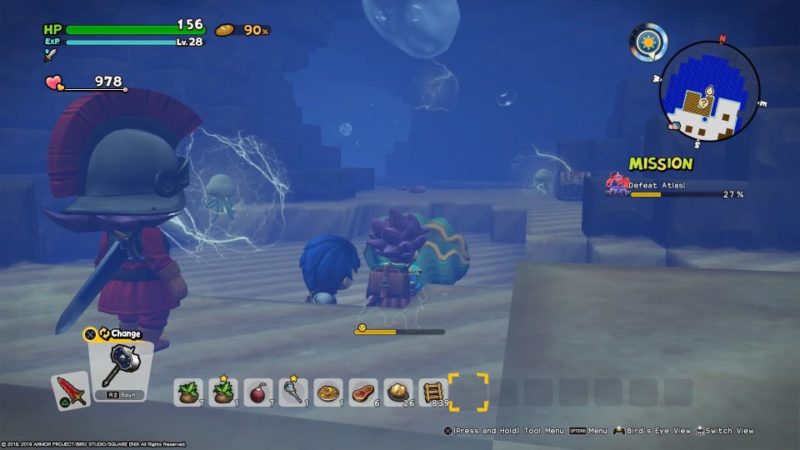
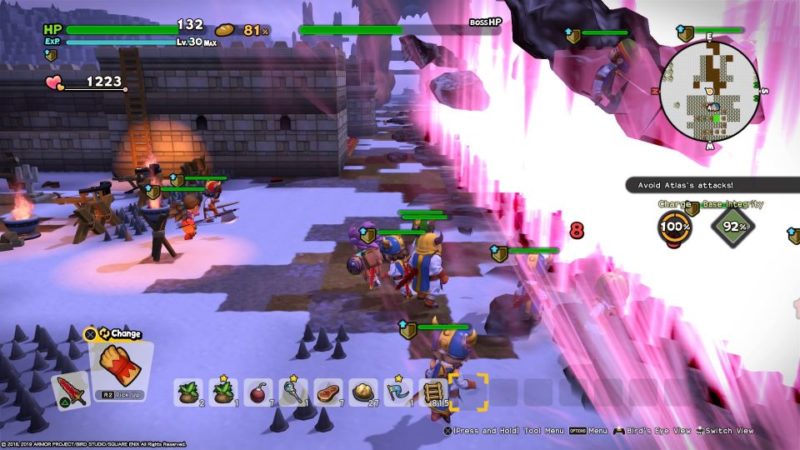
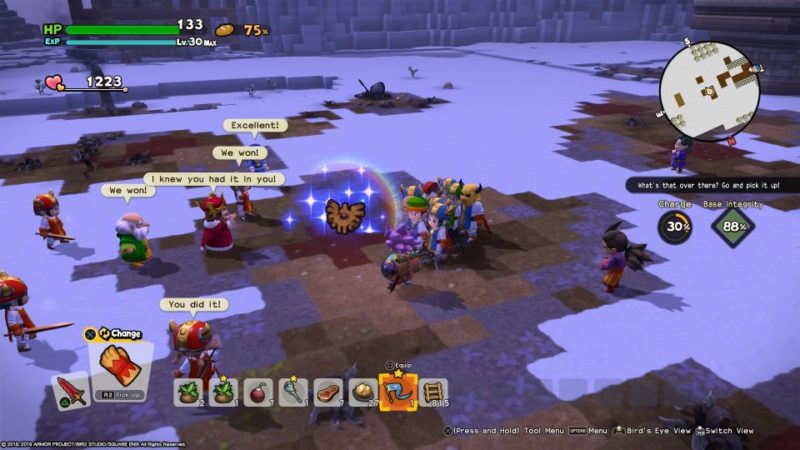
Defeat Atlas
Finally, you’ll face Atlas and his underlings.

Use the cannon and aim at him. He’ll block the attack.

Go to the frontlines
Instead of waiting for the cannon to recharge, head to the frontlines and defeat Atlas’ underlings.
When Atlas gets angry, keep jumping to dodge the wave attacks.
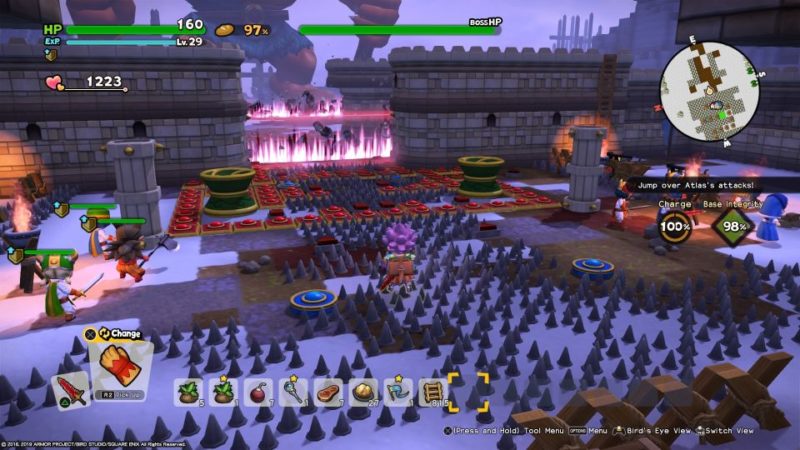
Once he’s tired, go towards him and attack the legs / hands.
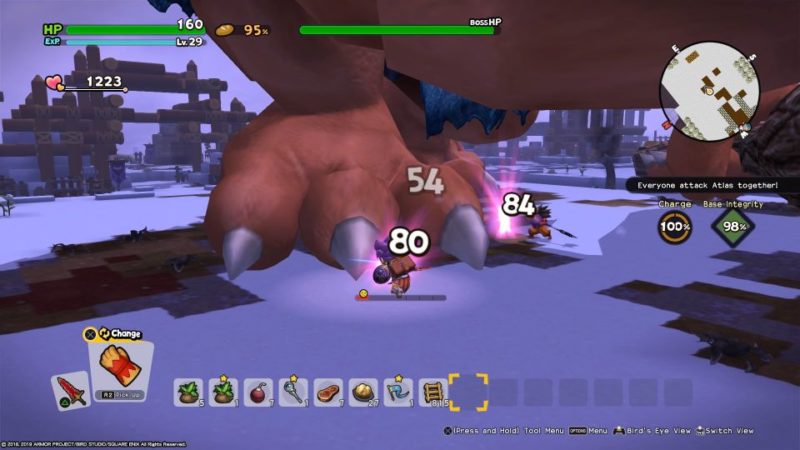
Next, use the cannon and aim at his eye. It will lower his HP to half.

Keep repeating the same tactics and you will defeat Atlas. He may change his wave attacks the 2nd time around.
After Atlas is defeated, grab the Mark from the battlefield.
Place the Mark
Put the Mark on the Beacon of Erdrick.

Talk to Malroth, Anessa and Jeremiah
During the celebration, speak to the three people.
Just enjoy the fireworks.

Recruit people to go back
The next day, talk to some of the townsfolk.
You can recruit some of them back to the Isle of Awakening.
Once you’re ready, sail back to the island.
And that’s the end of Moonbrooke in DQ Builders 2.
Related articles:
Malhalla: Dragon Quest Builders 2 Walkthrough And Guide
Rimey Reef: Dragon Quest Builders 2 Walkthrough & Guide
Blossom Bay: Dragon Quest Builders 2 Walkthrough & Guide
Iridescent Island: Dragon Quest Builders 2 Walkthrough & Guide
Top 13 Best War Movies On Netflix You Can Watch Today