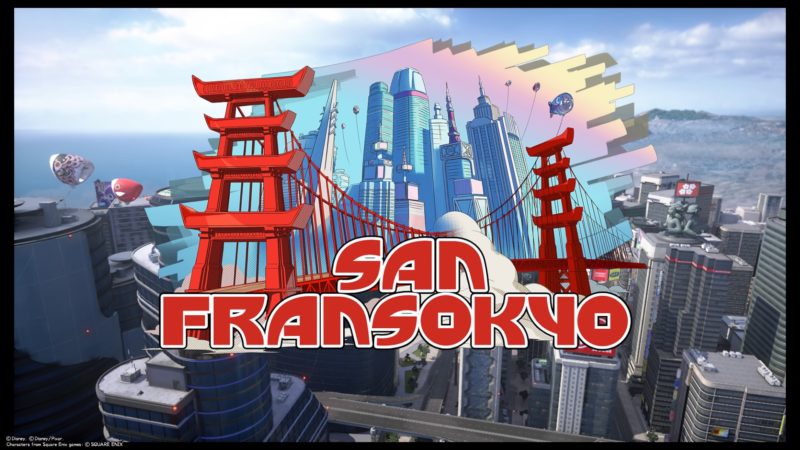
San Fransokyo is the eighth world you will probably visit in Kingdom Hearts 3.
It is based on the world of Big Hero 6 (Baymax, Hiro and friends).
Here’s a walkthrough and guide of San Fransokyo in KH3.
Read also: All Lucky Emblem Locations In San Fransokyo
The story starts with Sora, Goofy and Donald finding themselves in San Fransokyo.
They then meet Hiro and Baymax. As usual, the Heartless appears.
Take out all the Heartless
The first objective is to defeat the Heartless on the bridge. They are mainly flying ones.
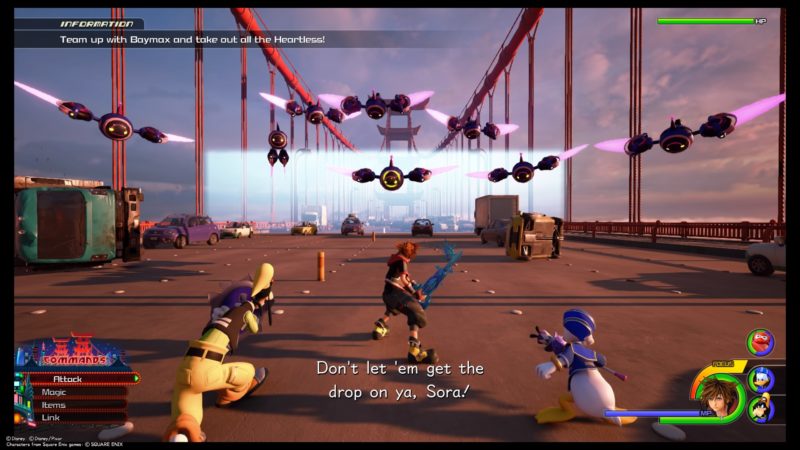
At one point, you can also use the cars as a cover. Press “Triangle” to use a cover shot.
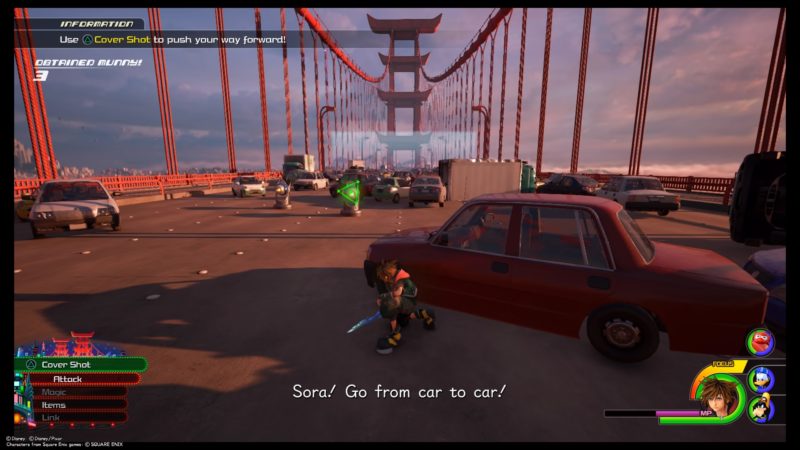
As the lasers are pretty painful, it’s easier to use these cover shots.
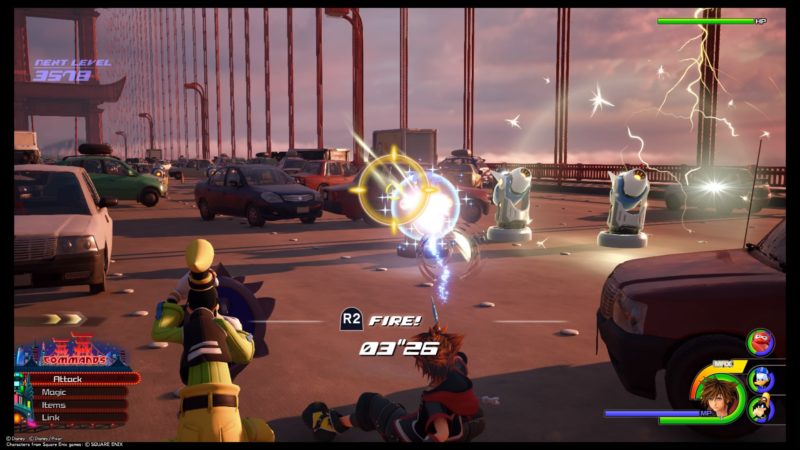
After you’re done, a big Heartless will appear.
It has about twelve health bars, which means it will take some time to bring it down.
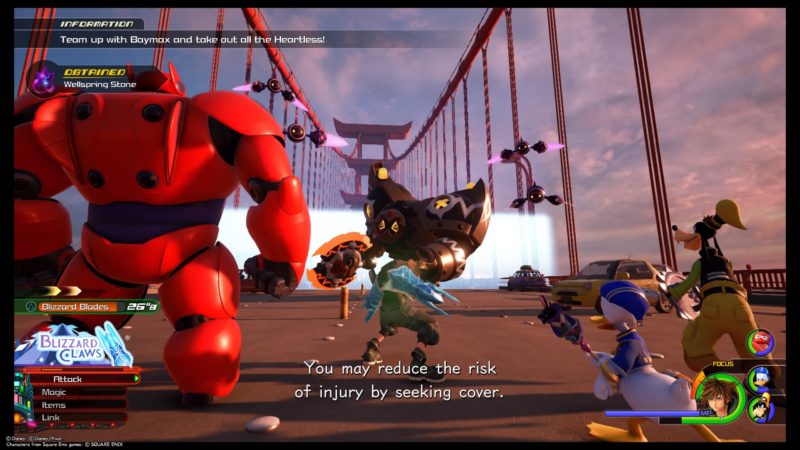
It would be helpful to use Attraction Flows and Link commands to get rid of it quickly.
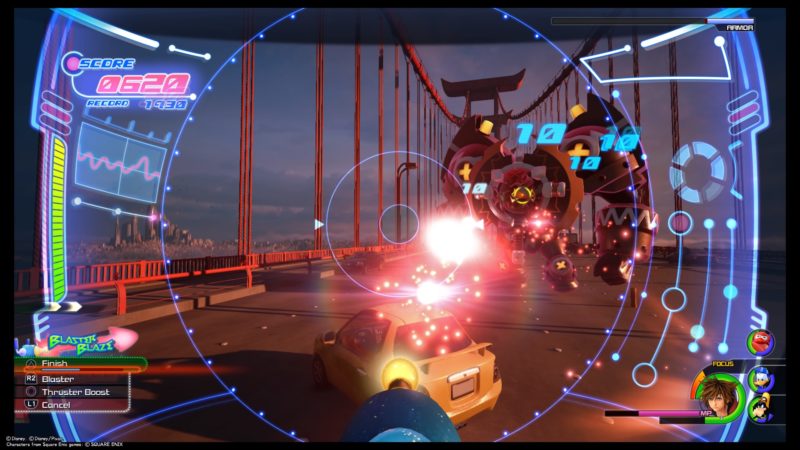
Otherwise, just airstep and hit it directly at its face.
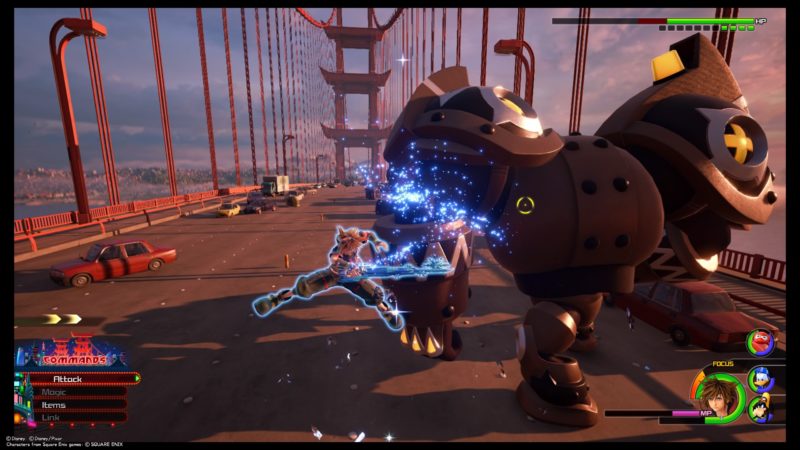
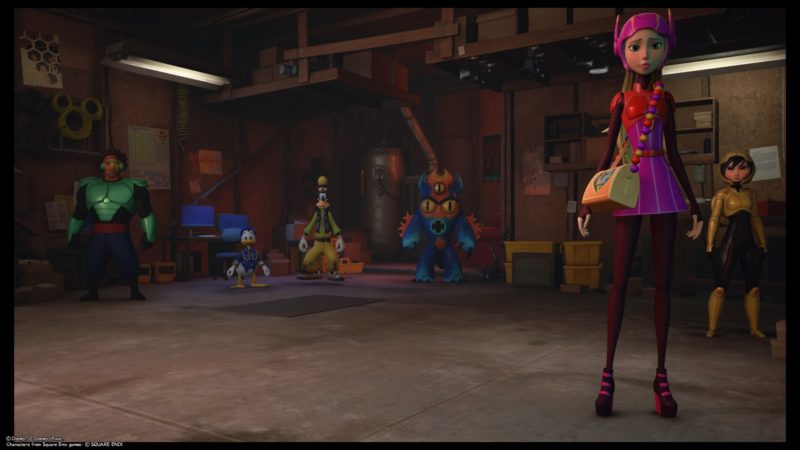
After you’re done, a cutscene appears where Sora, Donald and Goofy meets up with the whole team of Big Hero 6.
You will then be able to access their secret room (which is nothing really). Throughout the entire story, you’ll be using the AR Device (glasses).
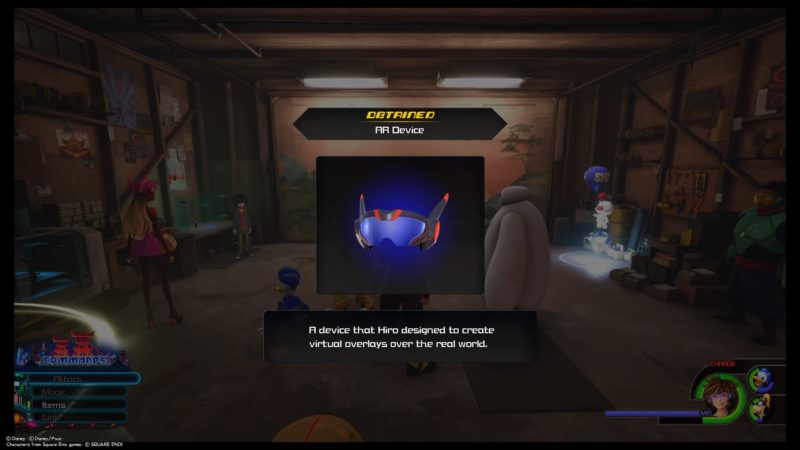
Head to the city
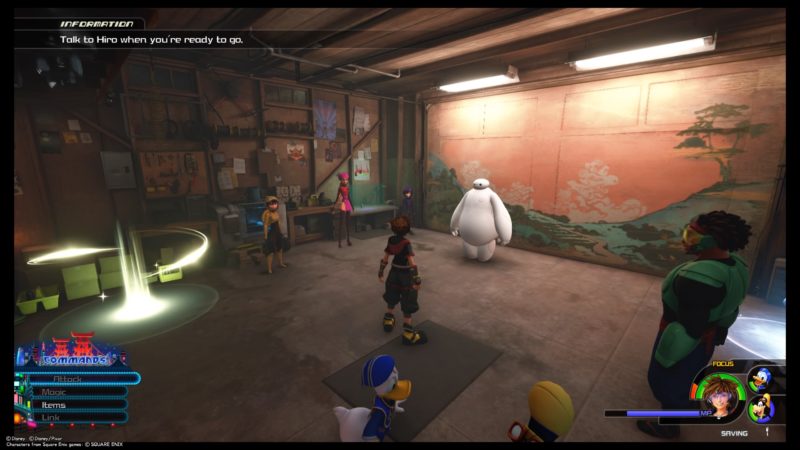
After the cutscene, you can rest awhile first. Save your game if you wish. There’s a lucky emblem in the room.
Once you’re ready, talk to Hiro to go to the city.
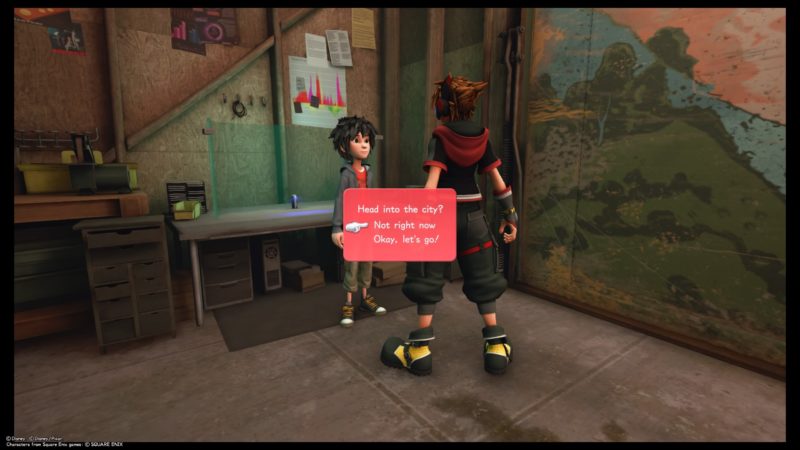
Flash Tracer course
As Big Hero 6 finds it difficult to defeat the Heartless, they need your help.
You will use the AR Device to show them how you take out the Heartless.
The Heartless that spawns are all part of the AR game.
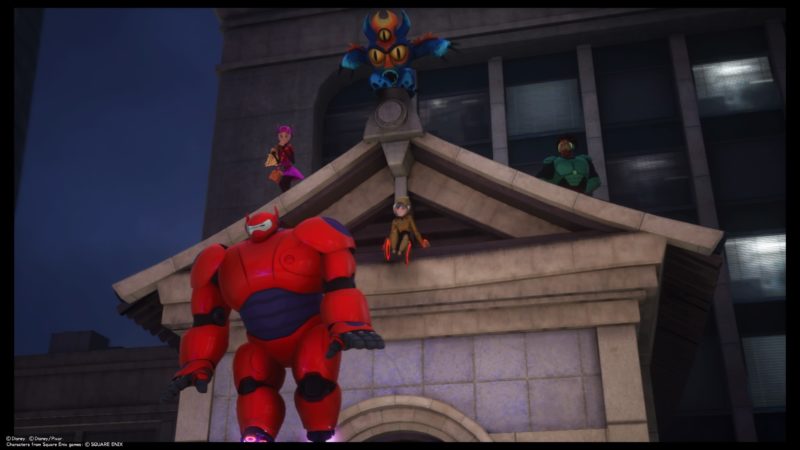
Your objective is to keep following the rings throughout the entire course.
Start running.
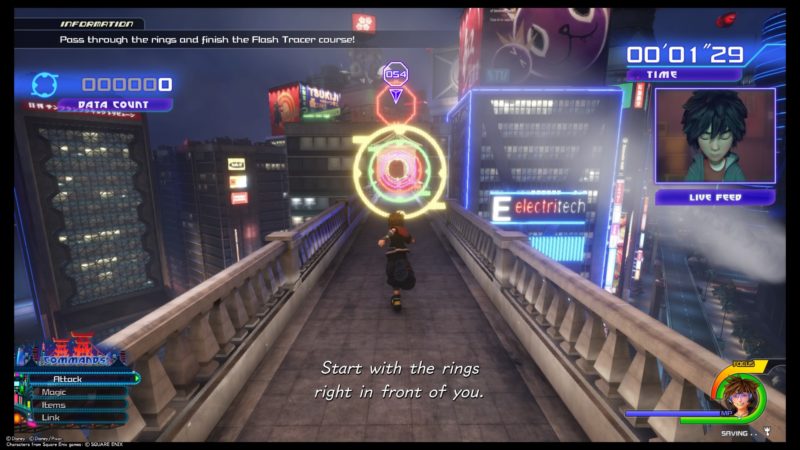
There’ll be different things to do, like falling down, flying up or even airstepping to the next point.
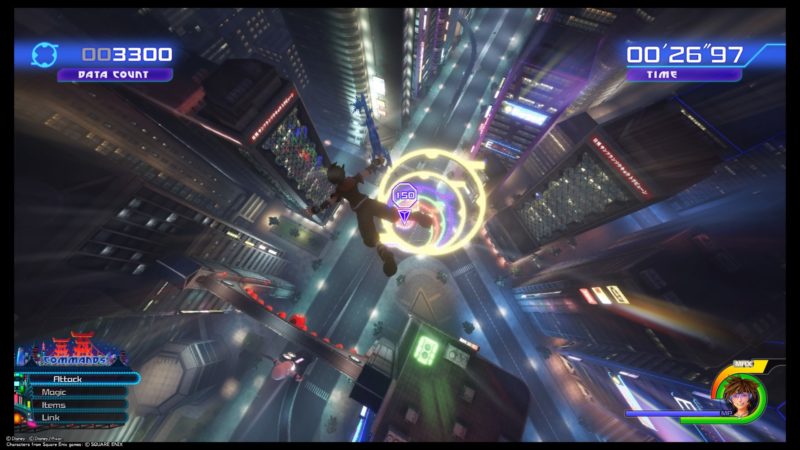
You may also face some Heartless on the way but you don’t need to get rid of all of them.
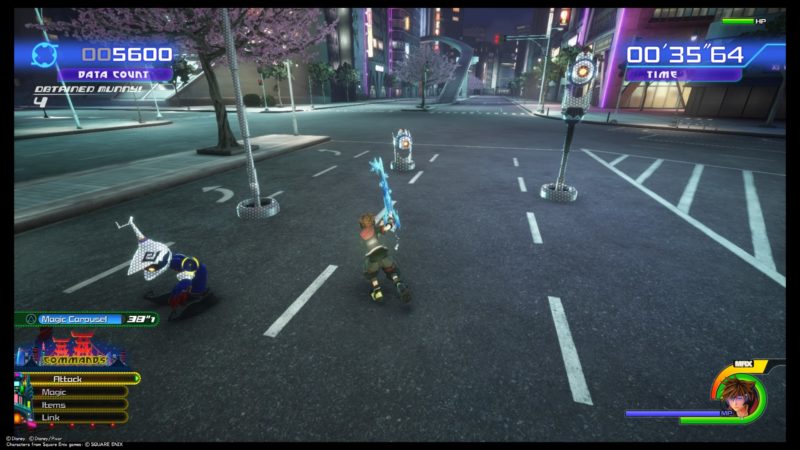
At one point, you will also be sliding through the city. Remember to press “Triangle” to change rails to collect the points.
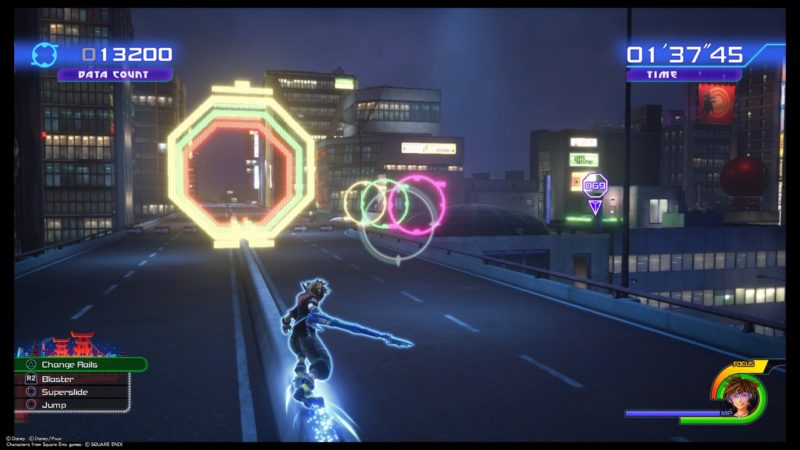
You will also come across a giant ball and you can use it to move around the city. This knowledge will come in handy later.
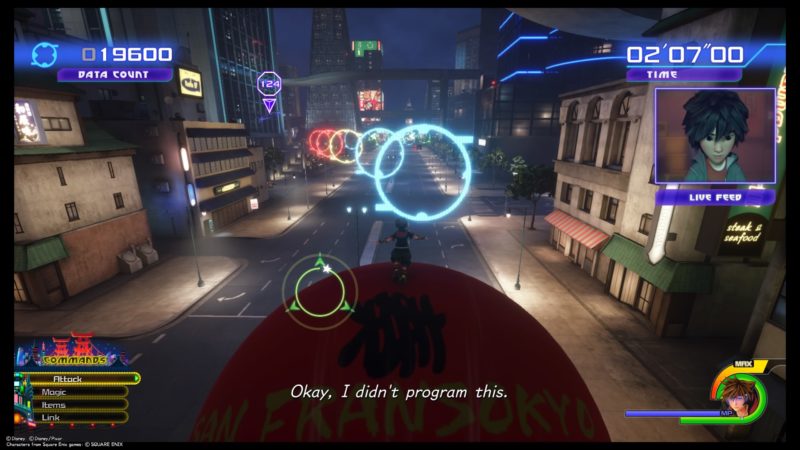
Finally, you have to airstep to get to the next destination, while collecting the rings.
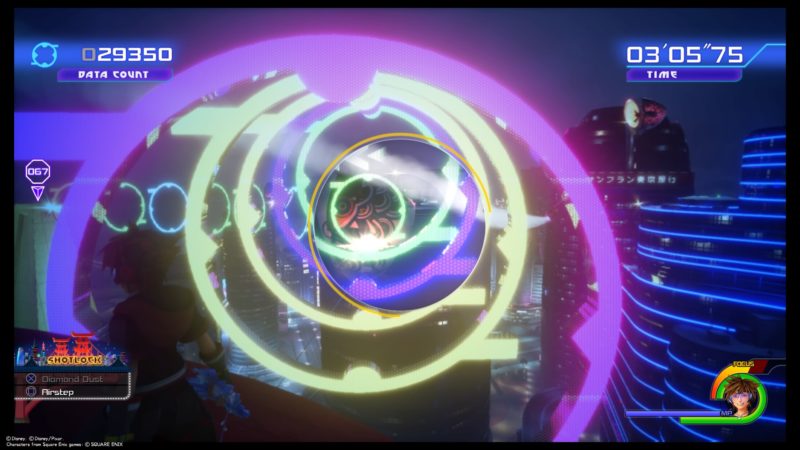
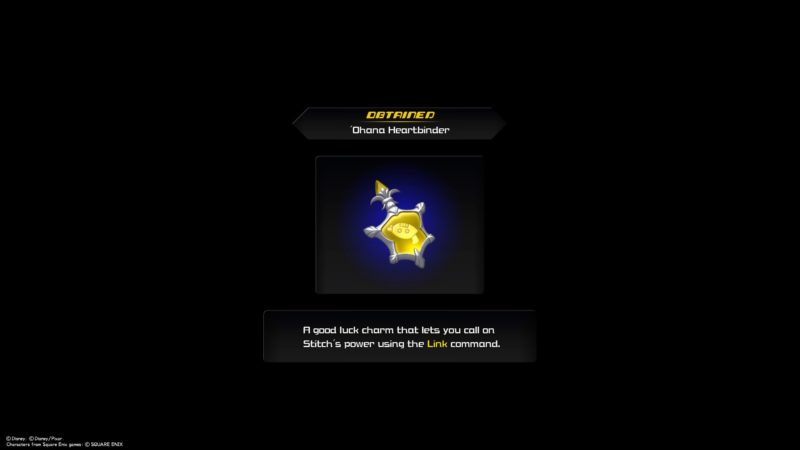
After the Flash Tracer course ends, you will get an Ohana Heartbinder.
It lets you use Stitch’s power under the Link command.
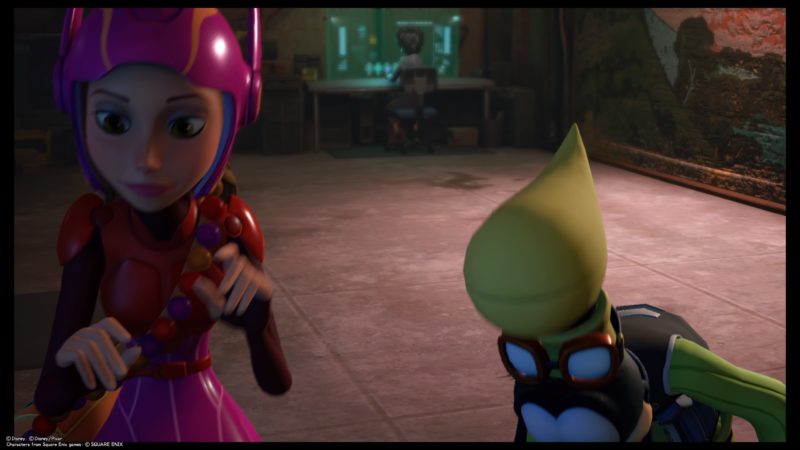
During the cutscene, the members of Big Hero 6 will learn new moves.
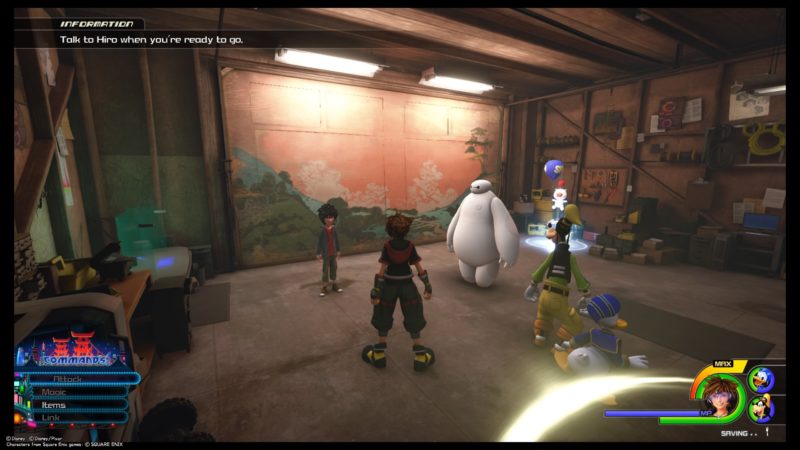
Talk to Hiro when you’re ready
As the bad guys are still out there, you guys have to go out for battle again.
Talk to Hiro when you want to go.
On your AR device, you will see an indicator to tell you where the primary threat is.
Before that, take out the Heartless.
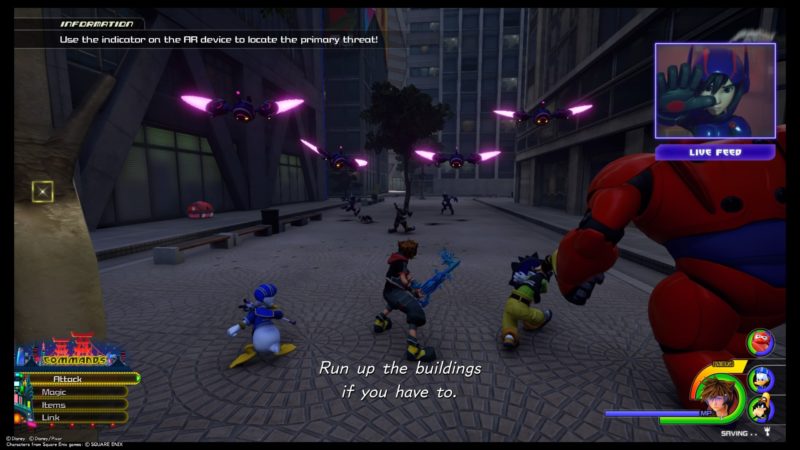
Most of the buildings in San Fransokyo can be climbed up, and there are many points for you to airstep to.
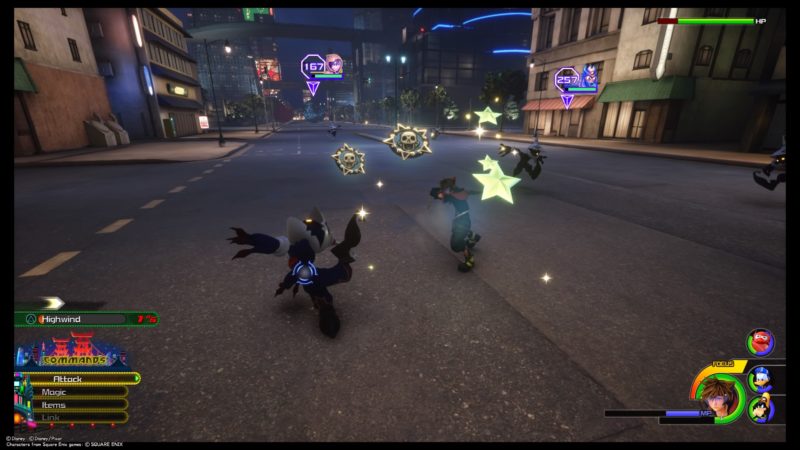
You will also find a lot of Heartless like the ones below.
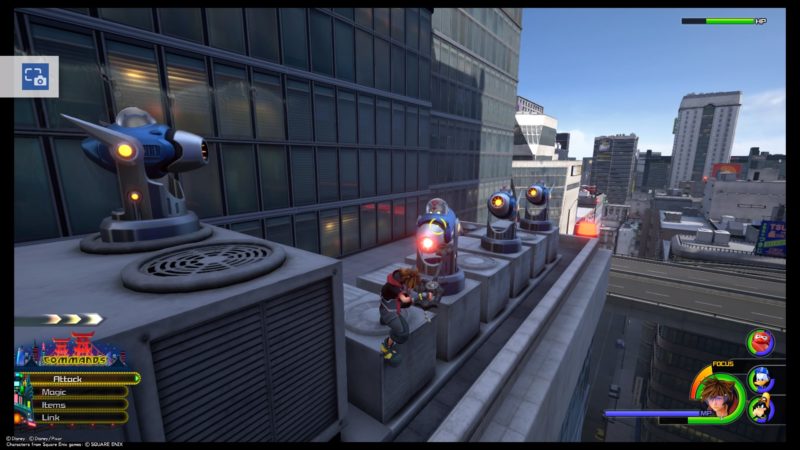
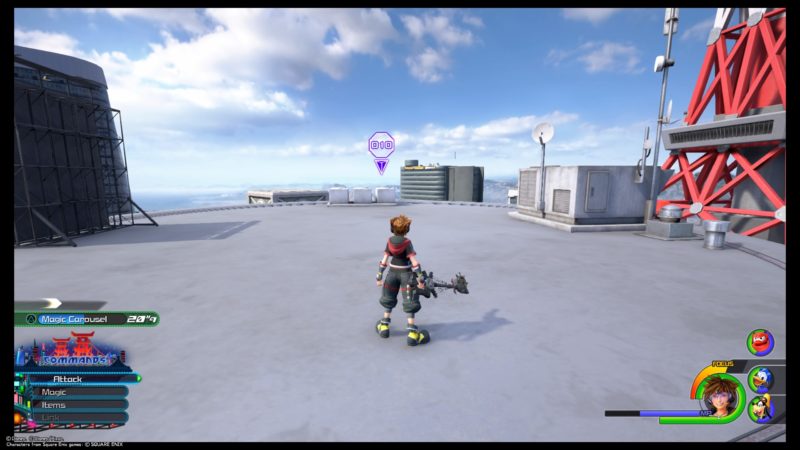
As you can see in the image below, the AR device will tell you the distance of the threat and where it actually is.
Just go towards it.
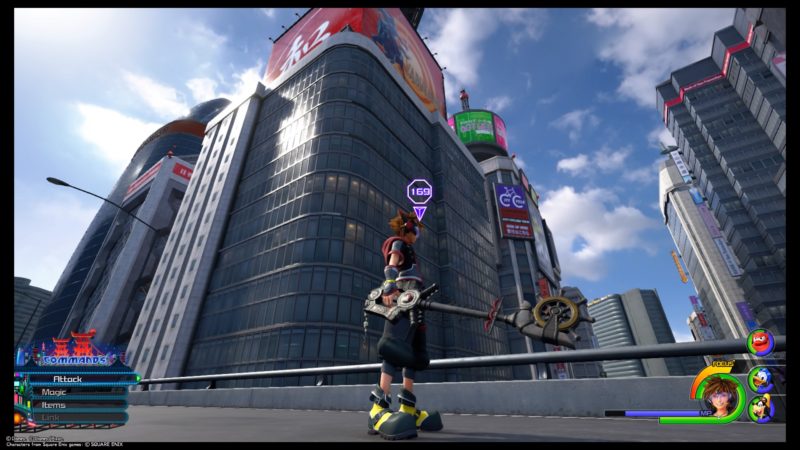
Get to the rooftop and the cutscene starts.
Take out all the Heartless
You will then be greeted with bigger Heartless here. Take out all of them.
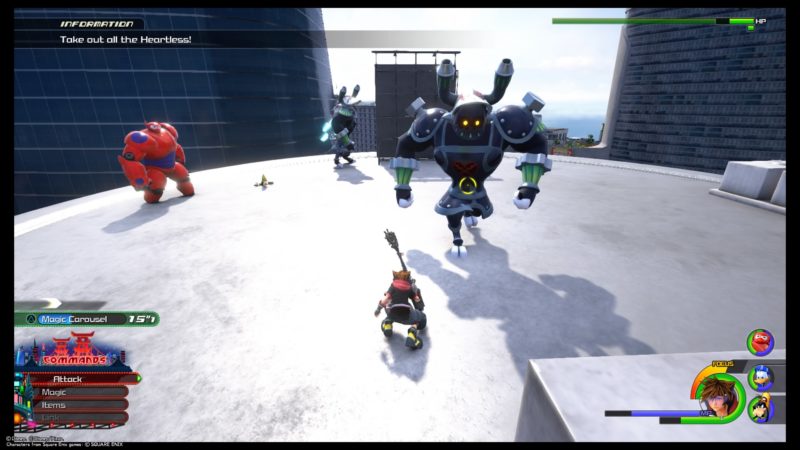
They hit pretty hard, so it’s better to use a Link command or Attraction Flows when possible.
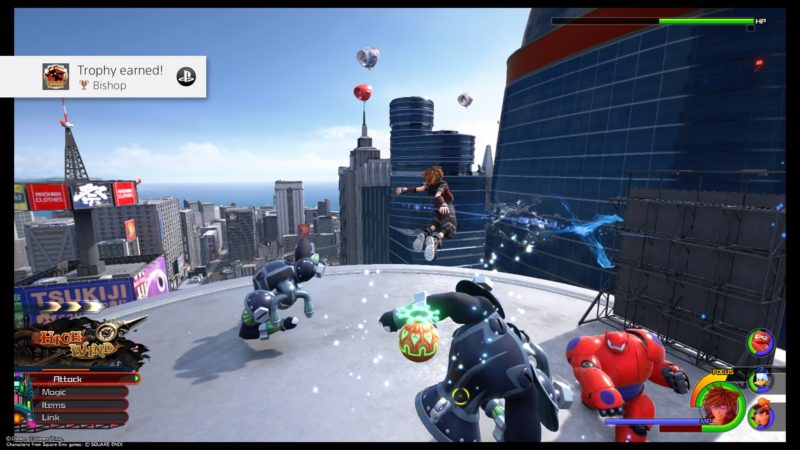
Unfortunately, this is not the end.
Defeat the giant Heartless
A giant Heartless will appear in the city, and you have to defeat it.
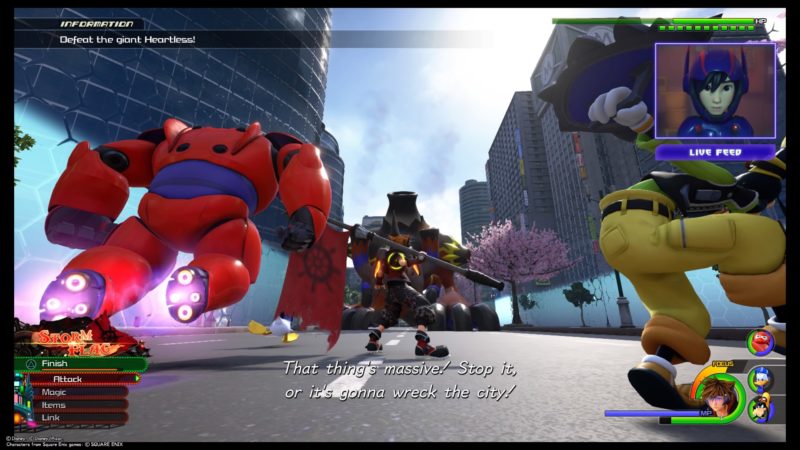
It looks like a wolf-rhino combination with some other weird stuff on it.
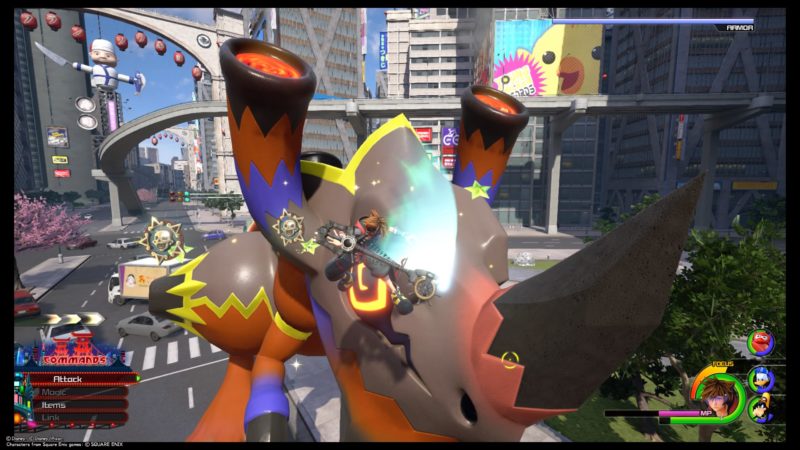
It uses a couple of moves. If you look in the image below, you will see that it has a cloud-thingy on its head. It emits lightning attacks.
Do try to stay away. It also uses fire breathing attacks.
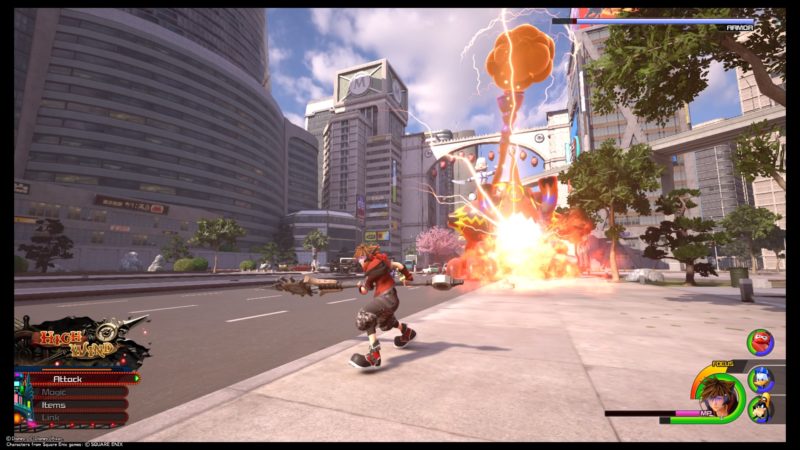
To damage it, airstep to its head and keep hitting.
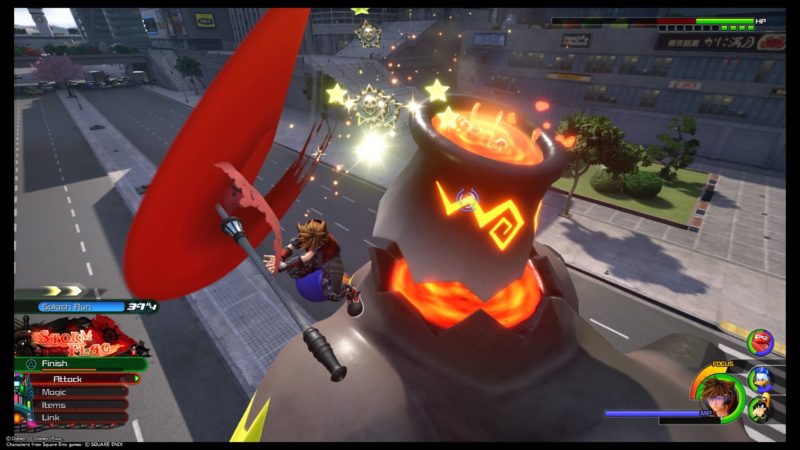
Once its HP has gone down a lot, this giant Heartless will jump up to the rooftop of a building.
Get to the building following the indicator.
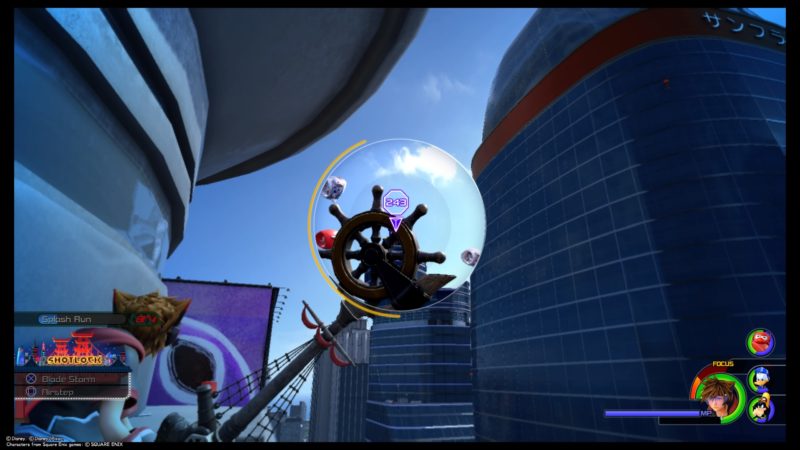
Continue the fight here. As the area is small, it’s hard to avoid its electric attacks.
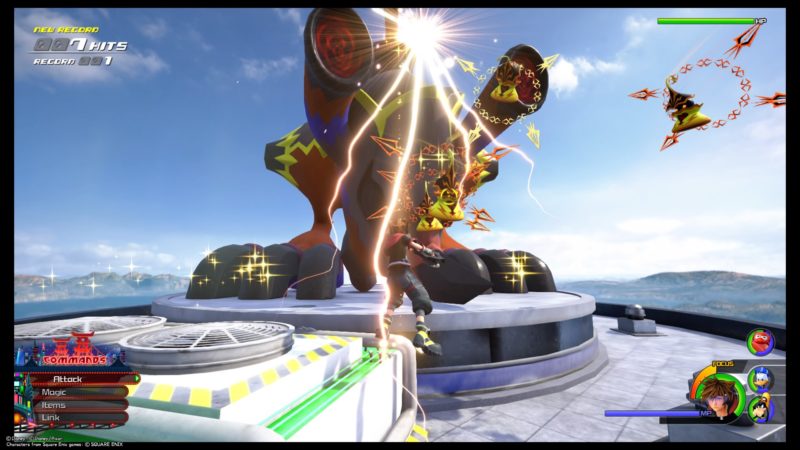
In any case, keep hitting until it dies.
There’ll be a cutscene after, and the gang will later witness a microbot-looking monster around the city.
Go after the microbots
They may or may not be microbots, but you need to look for them.
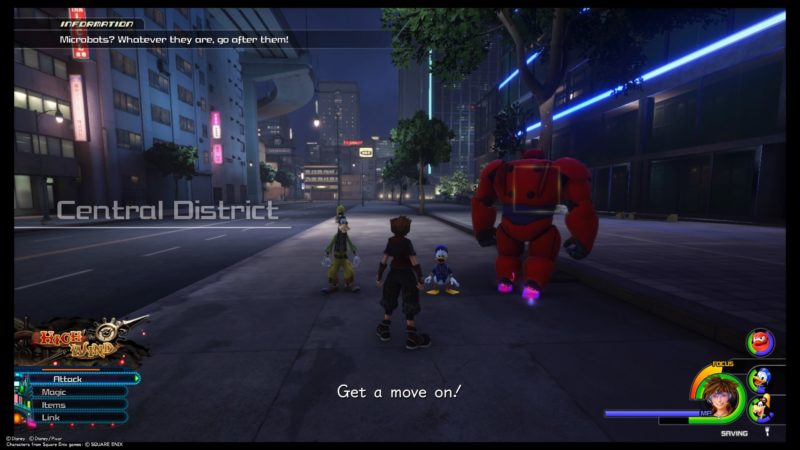
Keep going until Hiro lets you know the exact location.
Follow the indicator there.
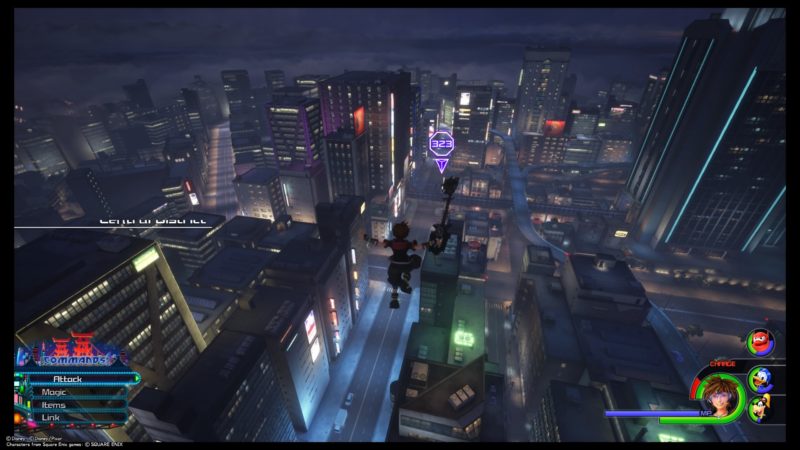
Defeat the mysterious threat
You will then have to face a weird looking microbot monster.
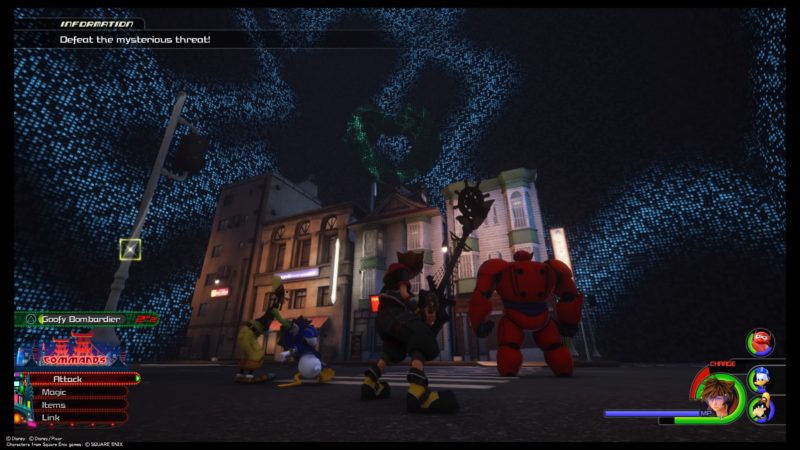
At this point, you can’t damage it yet. It can however, attack you.
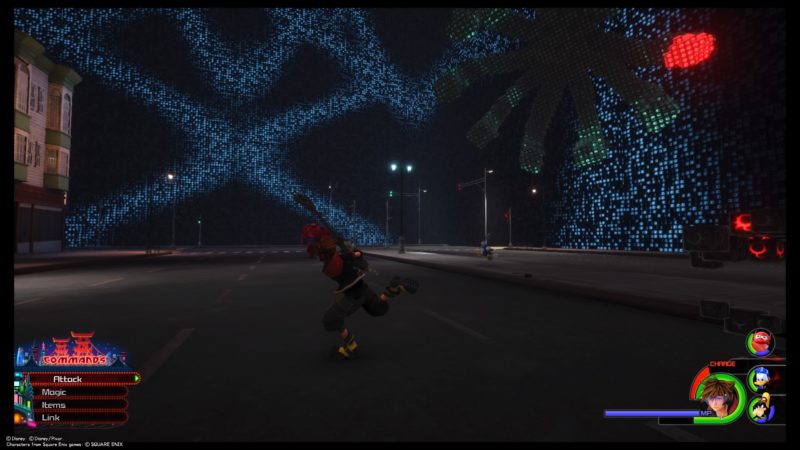
Just dodge until a cutscene appears. Hiro will then find out that there’s a core inside it. You need to damage the core, but that’s for later.
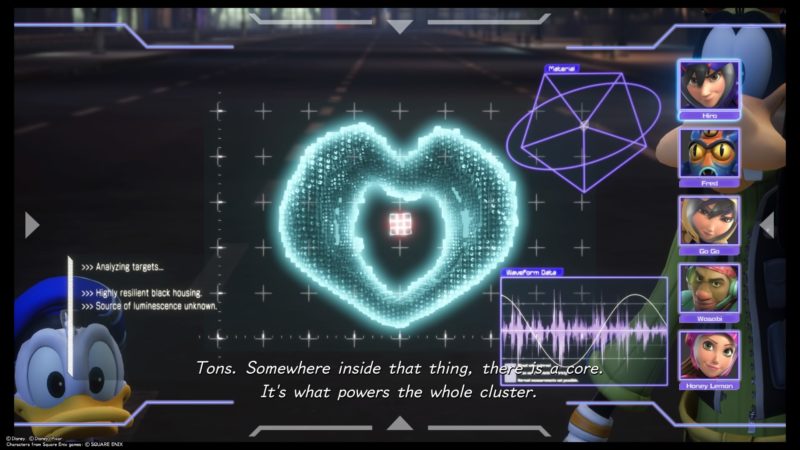
Rescue Big Hero 6
Now, you need to rescue the Big Hero members individually (Honey Lemon, Wasabi, Fred and Go Go).
Their indicators are all shown on the screen. There are three of them to be rescued.
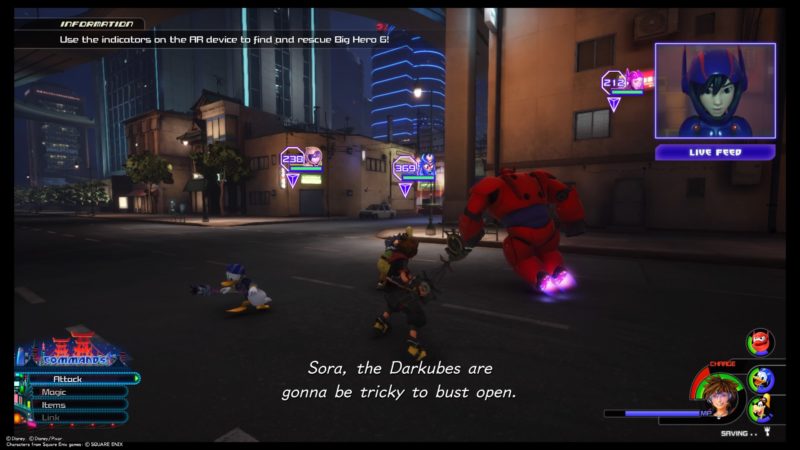
You will also see Heartless on the way, but you can probably avoid them.
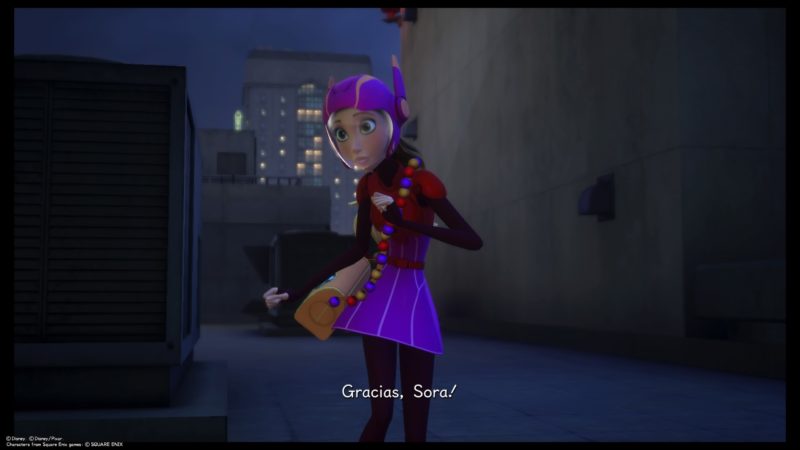
How to rescue Honey Lemon
To help Honey Lemon, you need to get rid of these clusters, like in the image below.
They are either in red or in blue. To remove the blue ones, use a water magic (e.g. waterga).
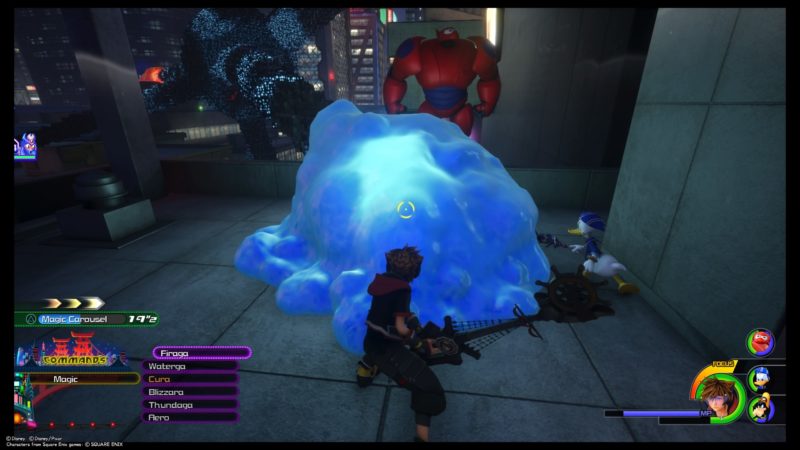
For the red ones, use a fire magic like Firaga.
There’ll be a couple of clusters to remove. Once you’re done, Honey Lemon is free.
How to rescue Fred
Fred will be trapped inside the microbots. To remove the threat, you need to use the poles around it.
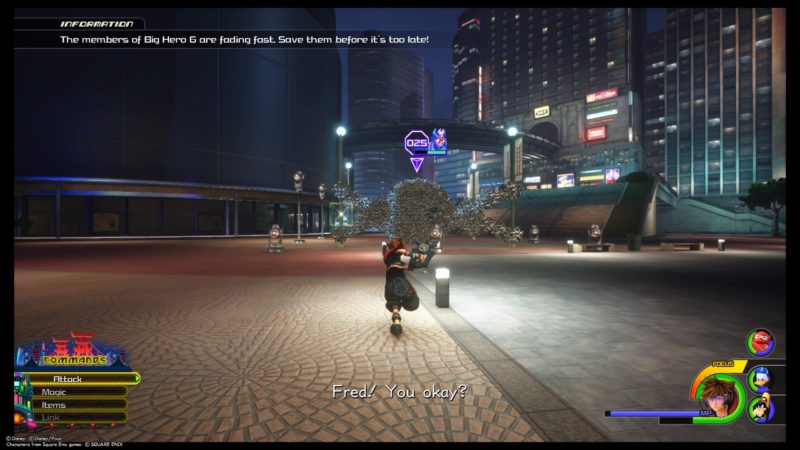
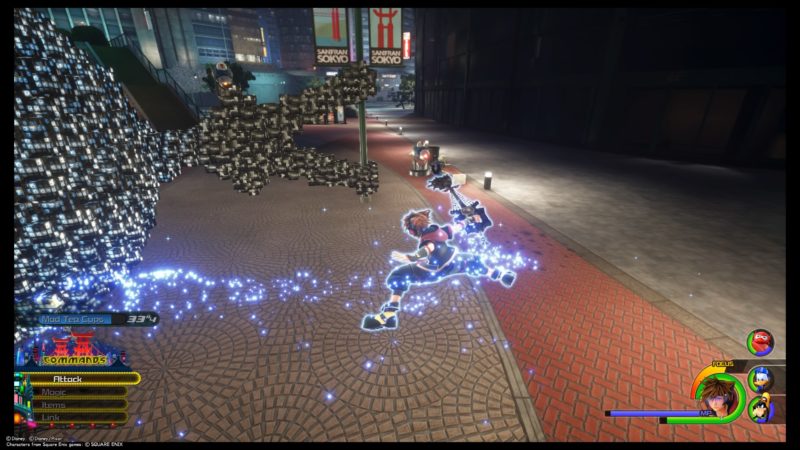
Jump and hold “Square” on the poles to spin, like how you normally use it against the Heartless.
It will destroy the Microbots’ grip for the pole. Keep doing the same thing to all of the poles held by the Microbots.
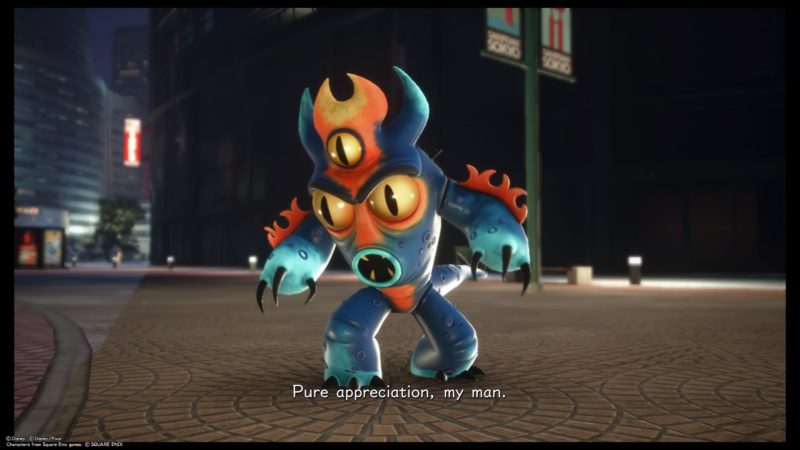
Fred will then be freed.
How to rescue Wasabi
Wasabi is trapped at one of the rooftops.
To rescue him, you need to fly up using the air vents on the rooftop itself (just beside Wasabi).
As you come down, press “Attack” when the prompt appears, and it destroys the Microbots’ grip.
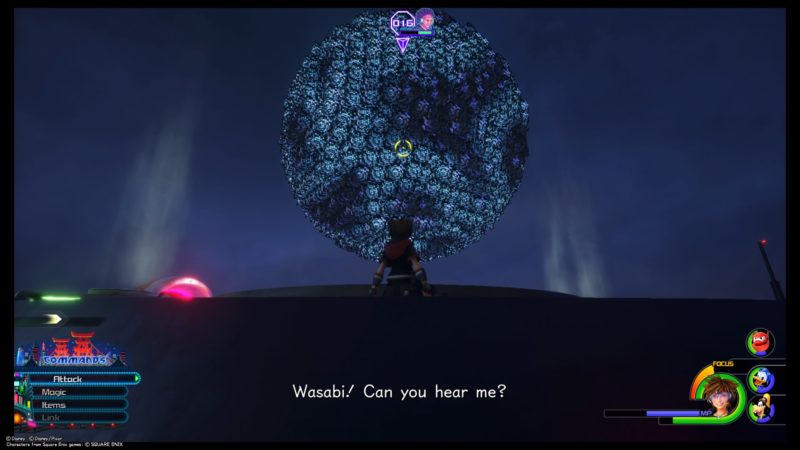
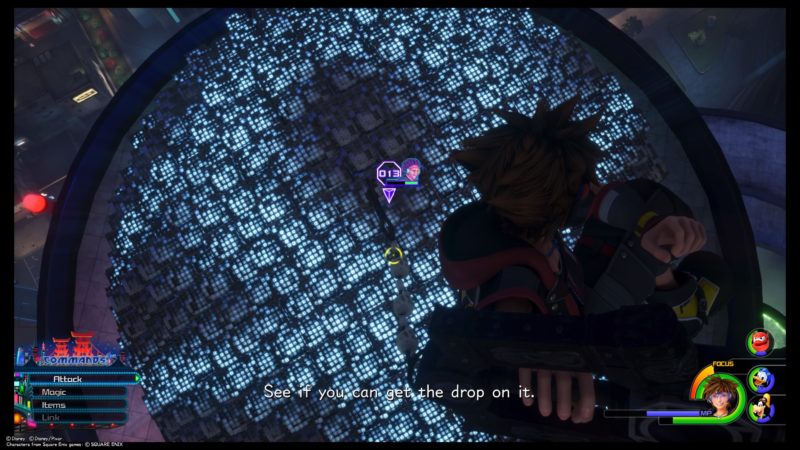
Wasabi will then be free.
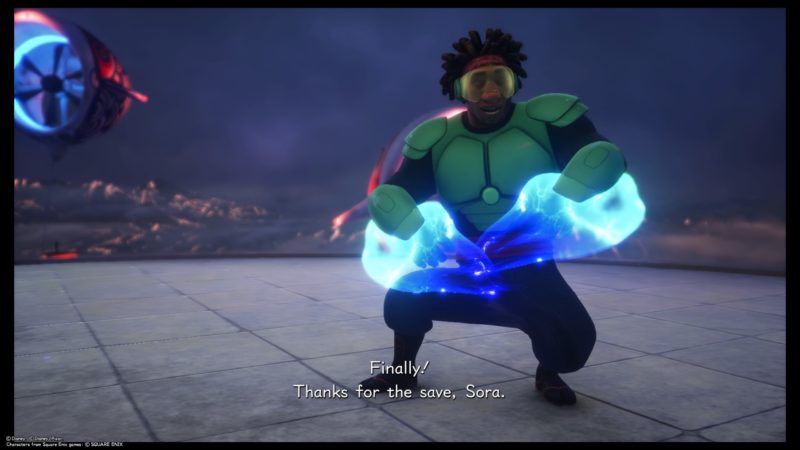
How to rescue Go Go
The final one will be Go Go.
To save her, you need to find the giant ball that you used during the Flash Tracer course.
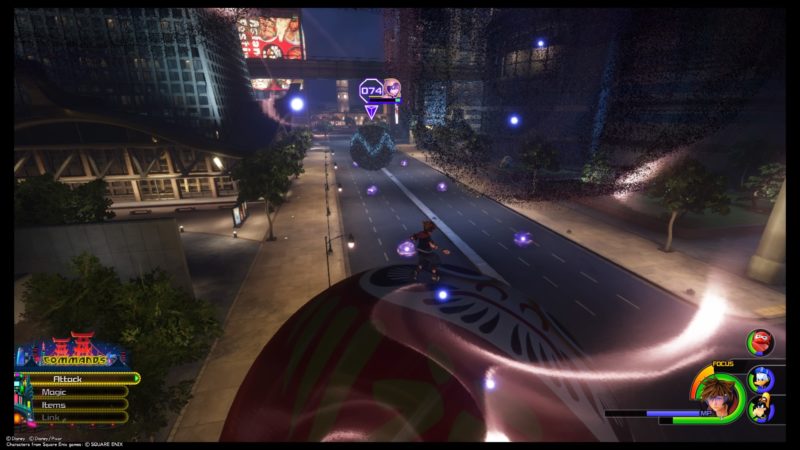
Use it to collide with the ball Go Go is trapped in.
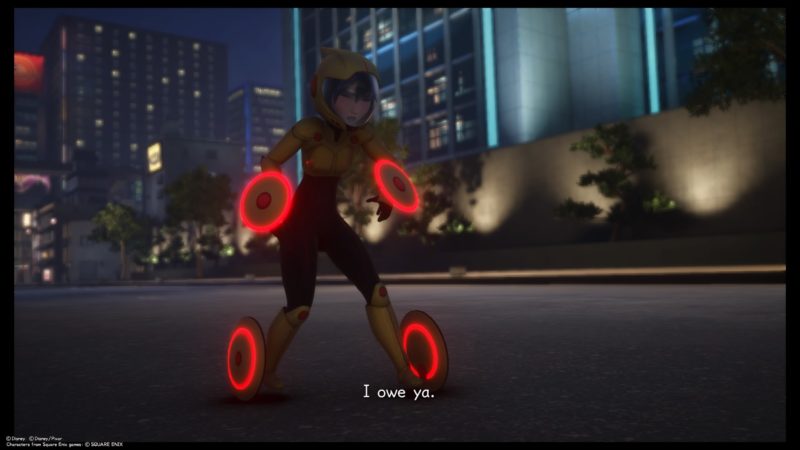
And that’s it for rescuing them.
A cutscene will load and this time, the Microbots will all gather at a spot above the roof.
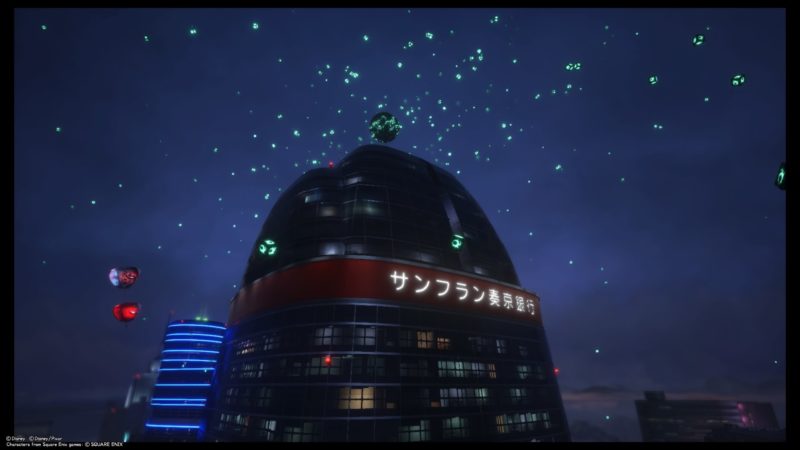
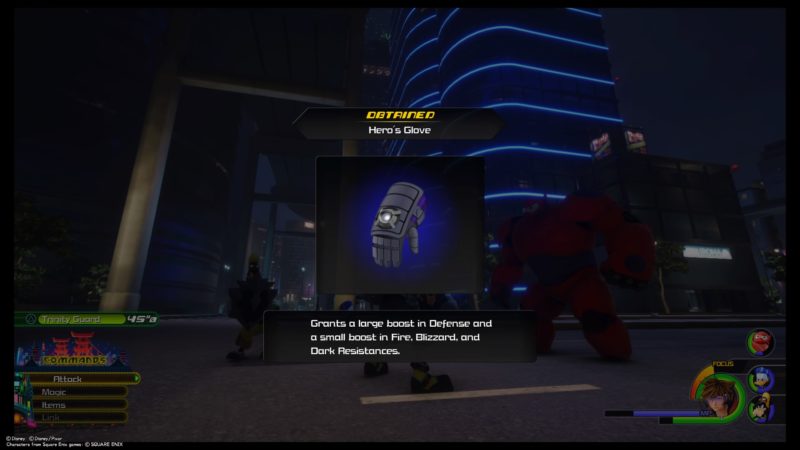
After the cutscene, you’ll get a Hero’s Glove.
Head to where the Darkubes are converging
The microbots are now called the Darkubes, as they aren’t truly microbots.
Head to the Darkubes above the building. Use the indicator.
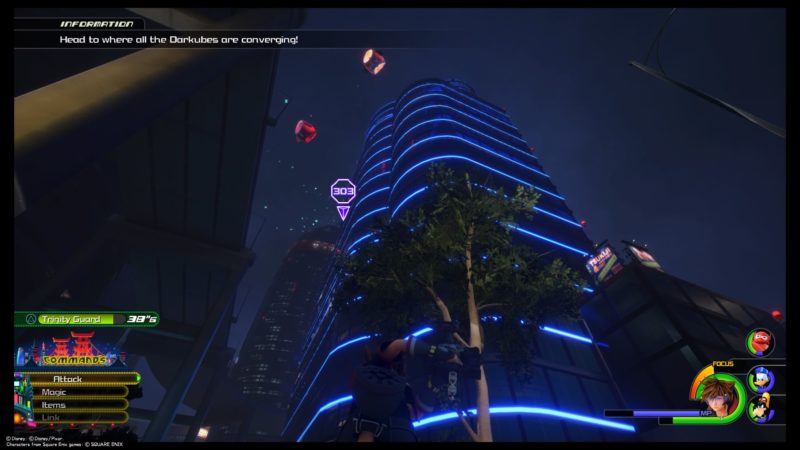
Go near it for the cutscene to load.
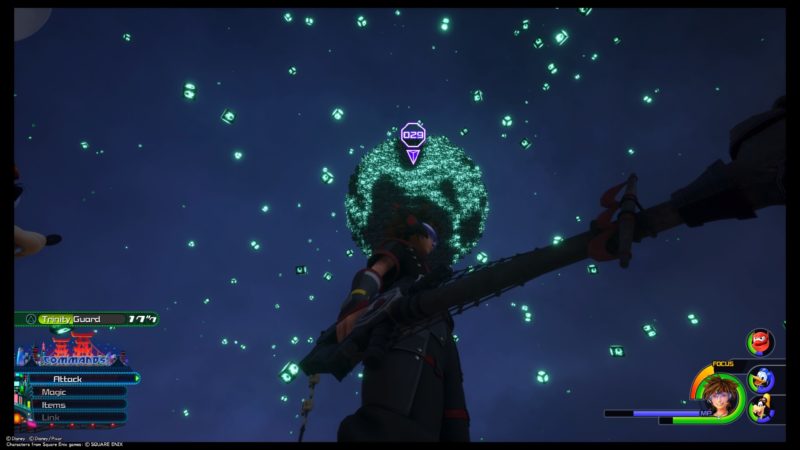
During the cutscene, you will stumble upon Riku who seems to be part of Organization 13.
He may be from the past where he was still evil. Perhaps he’s a replica.
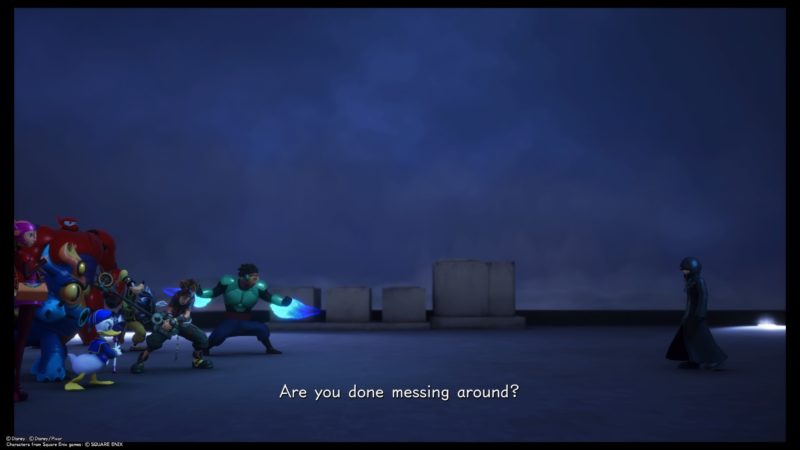
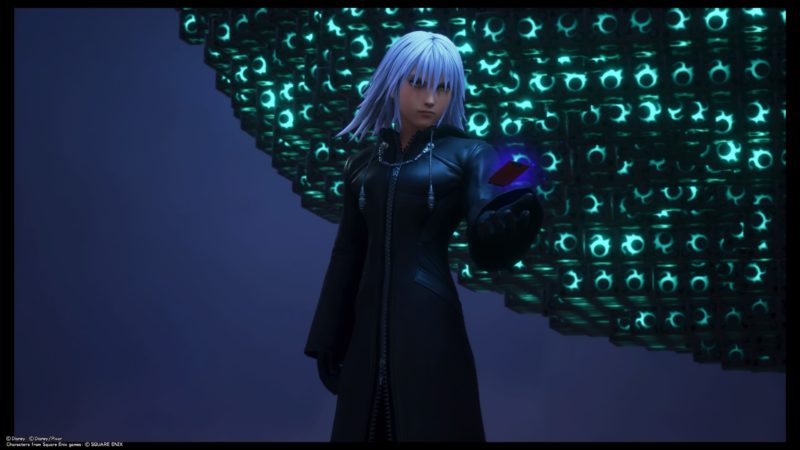
He will then command the Darkubes to attack you guys.
Defeat the Darkubes
This is sort of a boss fight, but it’s not the final one.
To damage the health of the Darkubes, you need to attack its core.
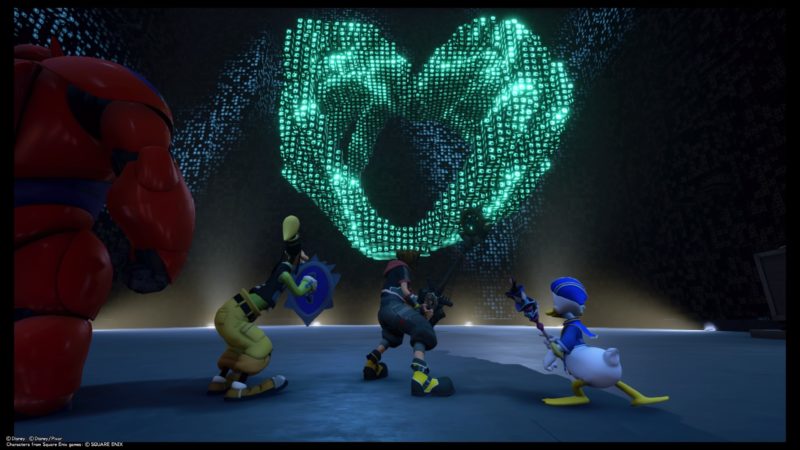
You should see the core inside, mostly protected by the outer layer.
Airstep to it and you can keep attacking it. After some time, the Darkubes turns red and it will start attacking you.
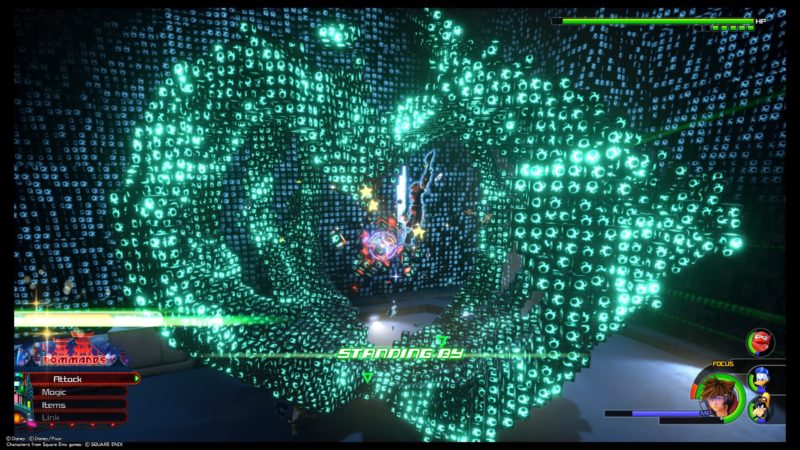
It has two main attacks. One is that it transforms into the shape of a hand and starts punching you. You can dodge it if you press dodge at the right time when it attacks.
Another is its range attack. It shoots out fireballs in the form of Darkubes. These can be avoided as well.
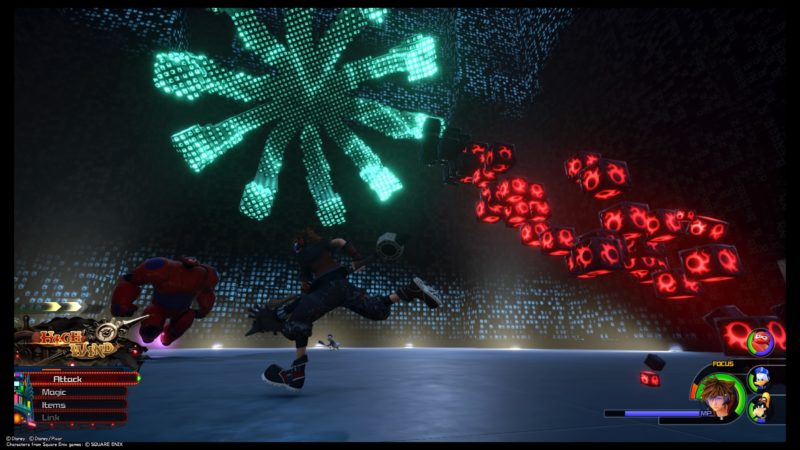
After it stops attacking, it becomes vulnerable for a few seconds (pic below). This is the best time to airstep to it and keep hitting it.
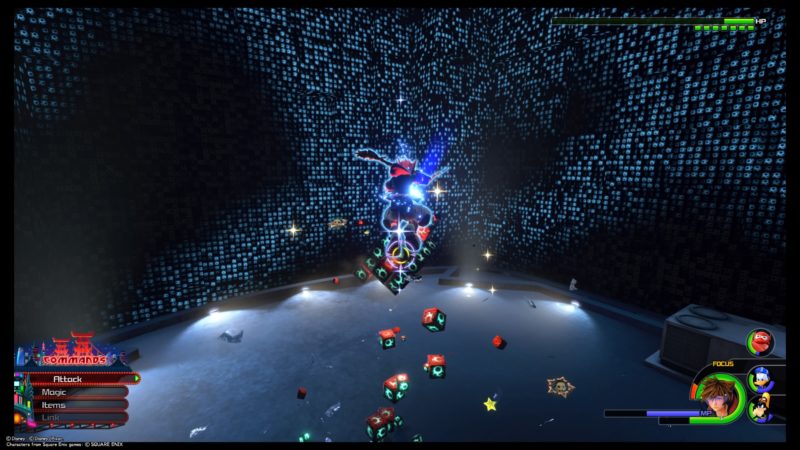
The fight isn’t that tough and the battle is over in a while.
After defeating the Darkubes, there’ll be another cutscene with Riku.
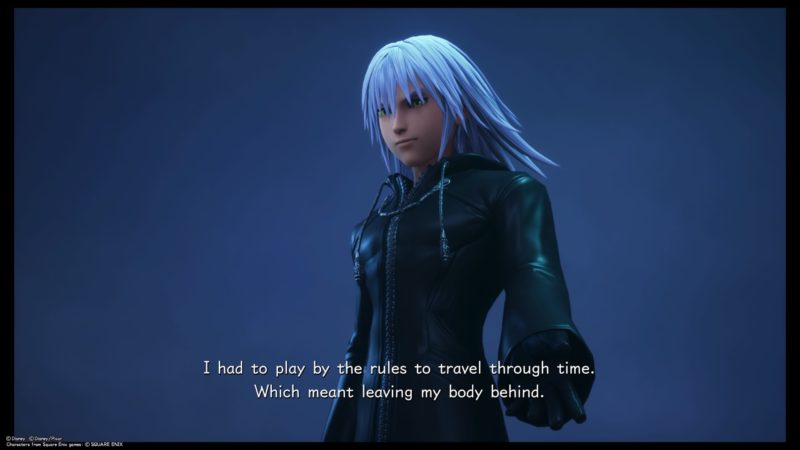
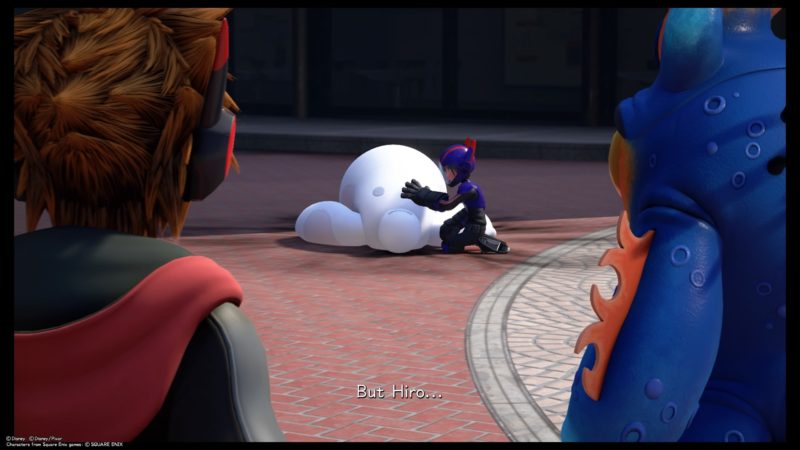
He then reveals that he has the original Baymax’s chip.
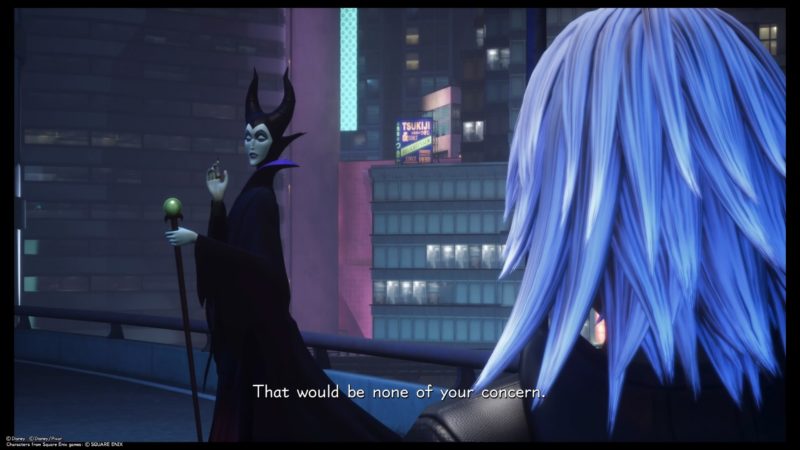
Also in another scene, Riku talks to Maleficent for a bit.
Talk to Hiro when you’re ready
During the last cutscene, the Darkubes have started attacking the city again.
To start the final boss fight, talk to Hiro. You can save first.
This time, Riku brought back the original Baymax and transformed it into some evil robot.
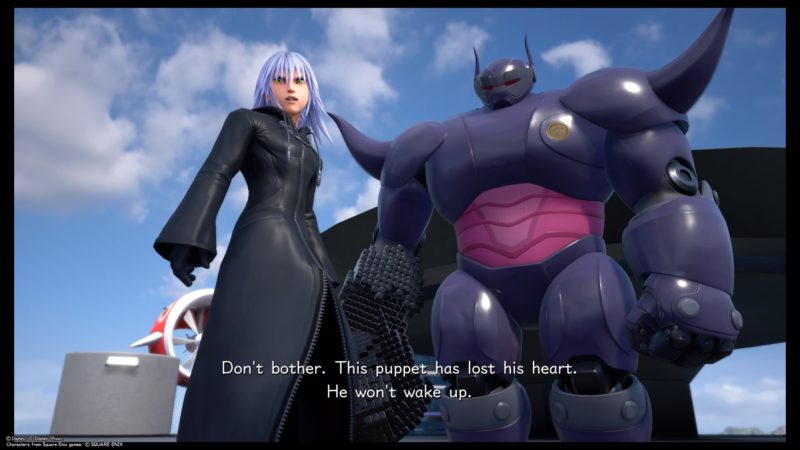
Subdue Dark Baymax
Your last battle is against Dark Baymax. This time, you’re riding on Baymax and the entire fight is on air.
Just keep following it and shooting at it.
Dark Baymax will keep putting obstacles (e.g. air mines) that will damage your health. Luckily, you have a skill (care spray) that can heal yourself.
However, you can’t keep using it as there’s a time limit to it.
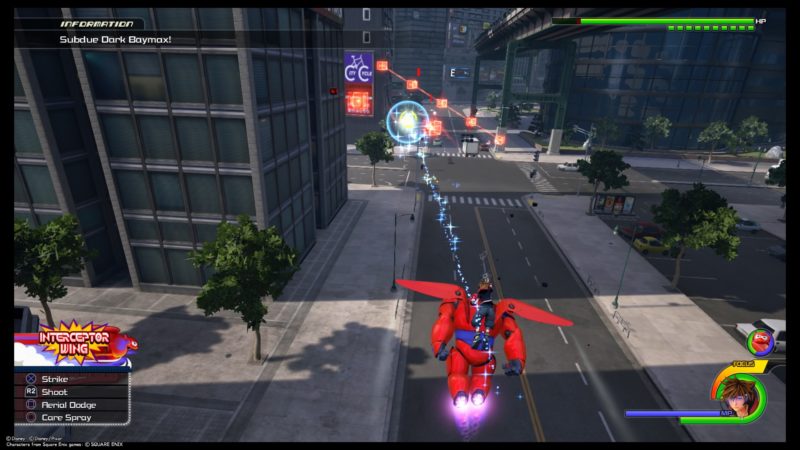
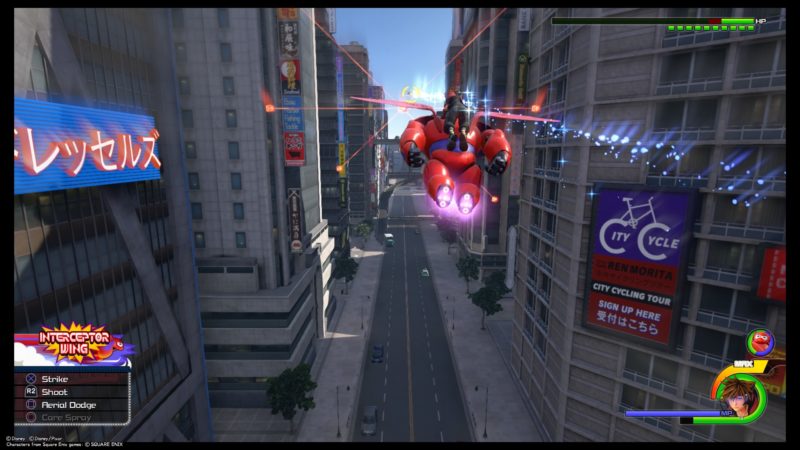
At one point, Dark Baymax will confront you instead of running.
Just repeat what you’ve been doing, i.e. shooting at it. This time, it attacks you quite frequently. Use the aerial dodge and care spray (heal) when necessary.
It’s quite a boring fight, but you’ll eventually defeat it.
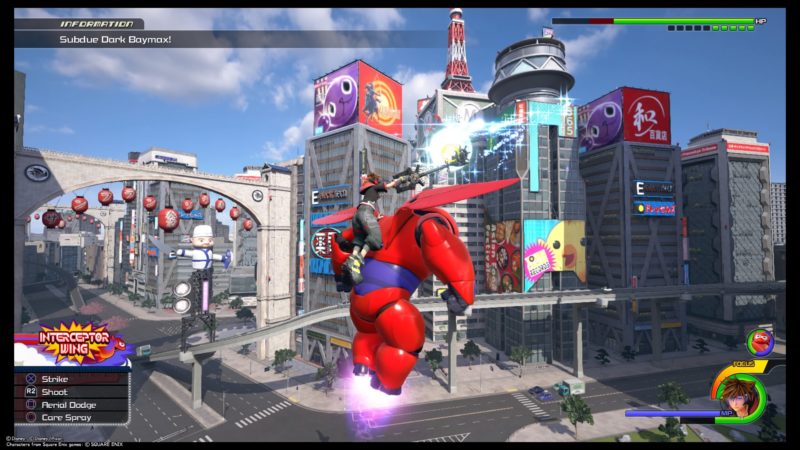
A cutscene loads after you’ve defeated Dark Baymax.
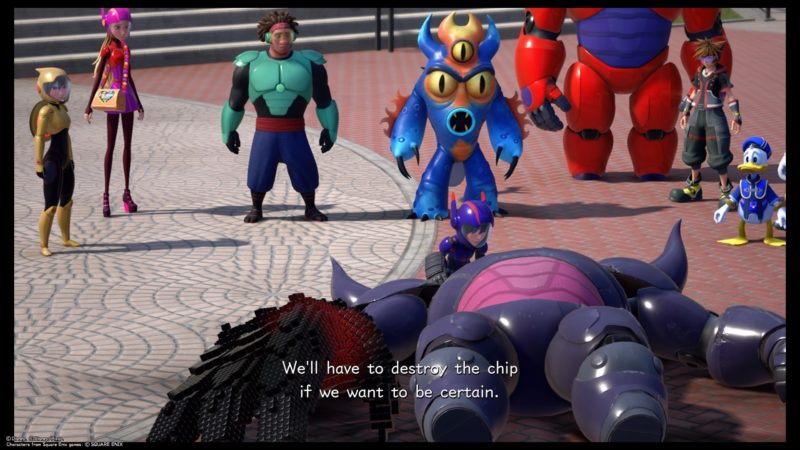
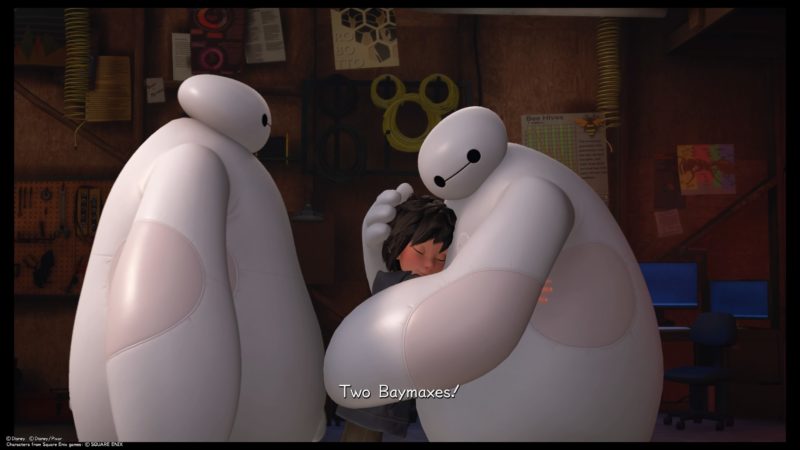
Hiro manages to rescue the original Baymax, and now, there are two Baymaxes.
And that’s the end for San Fransokyo.
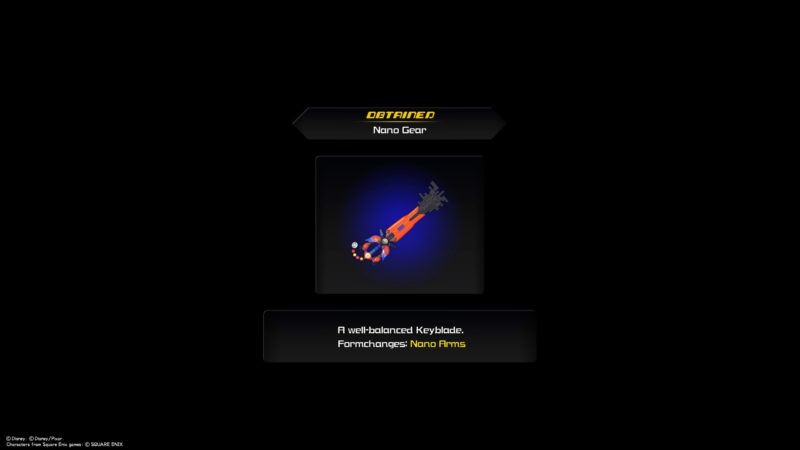
Like other worlds, you will get a new keyblade – Nano Gear. This keyblade is a balanced one between strength and magic.
Hopefully this walkthrough and guide of San Fransokyo in KH3 is useful for you guys.
There’ll be another post on the lucky emblem locations.
Related articles:
Kingdom Hearts 3: The Caribbean – All Lucky Emblems
Thebes And Olympus – All Lucky Emblem Locations
Kingdom Hearts 3: The Caribbean (Walkthrough And Guide)
Kingdom Hearts 3: Arendelle (Walkthrough And Guide)
KH3 – Kingdom Of Corona (All Lucky Emblem Locations)
Kingdom Hearts 3: Monstropolis (Walkthrough And Guide)