The sixth world in Kingdom Hearts 3 is Arendelle and it features the world of Elsa from Frozen.
Sora, Goofy and Donald resumes their adventure and this story is mixed with the real story in Frozen.
Here’s a walkthrough and guide of Arendelle in KH3.

Talk to Elsa
The story begins with Sora, Goofy and Donald finding themselves in this snowy world. They then see Elsa running away and turning everything into ice.
It overlaps with the movie Frozen.
Your first objective is to talk to Elsa, but you need to find her first.
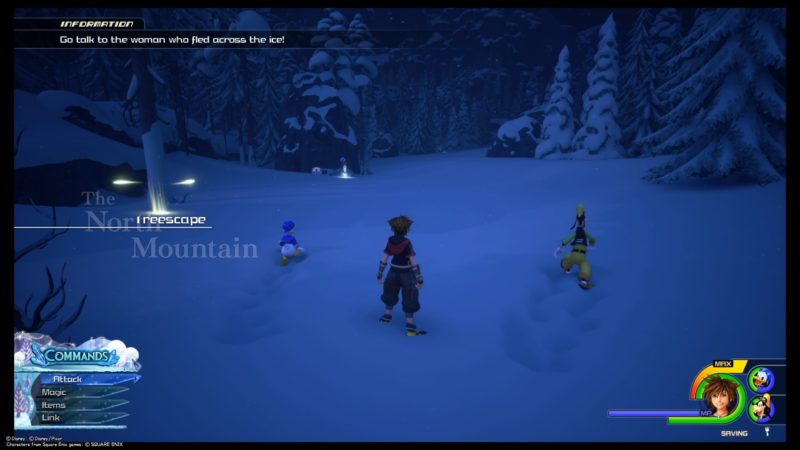
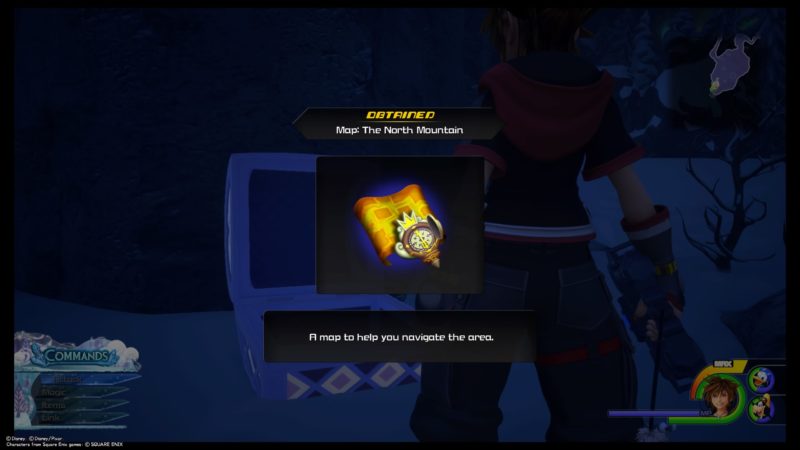
Not far away, you will get the map to the North Mountain from a chest.
As usual, you will stumble upon many Heartless in the journey.
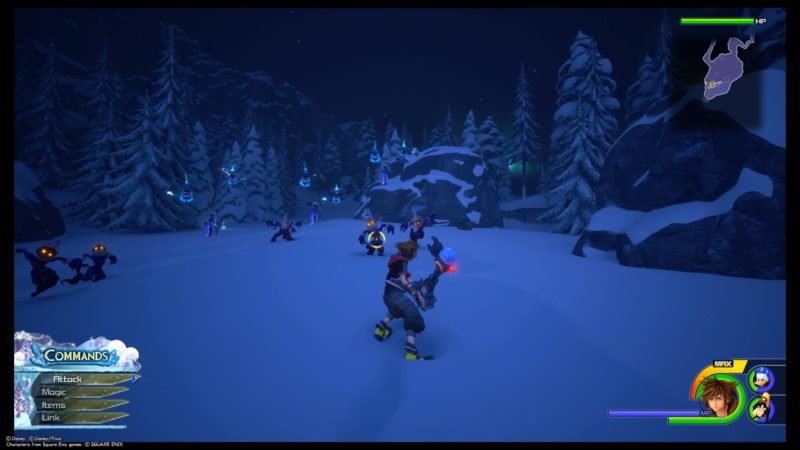
Keep going straight ahead and you will meet more enemies. Defeat them.
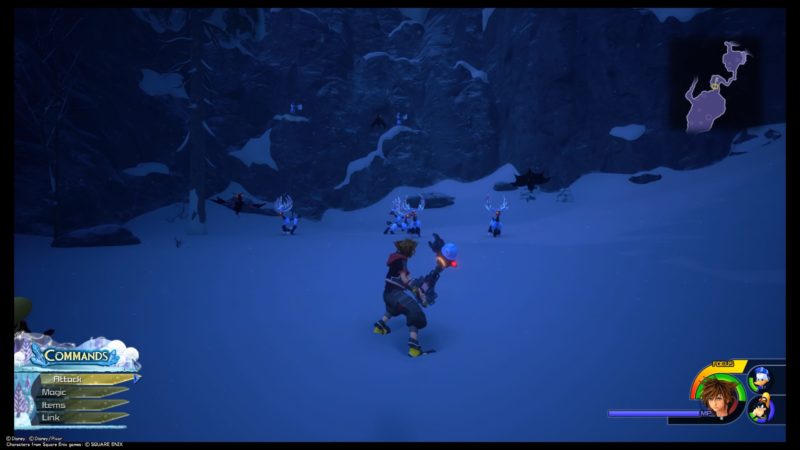
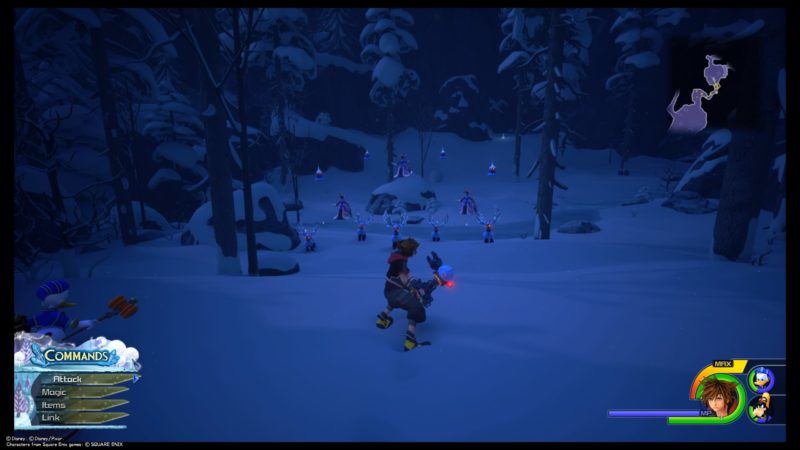
At one point, there’ll be a wall where you can climb up.
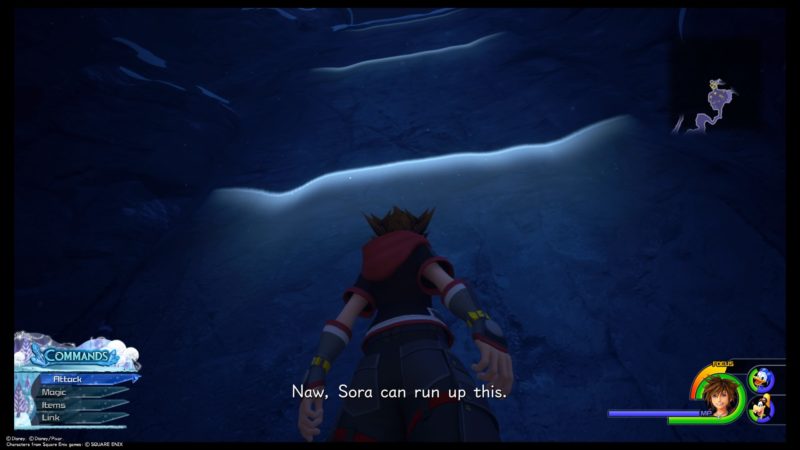
After going up the wall, you will reach an area called the Gorge.
There are two pathways on the Gorge. If you go to the right, you can jump down and find a treasure chest.
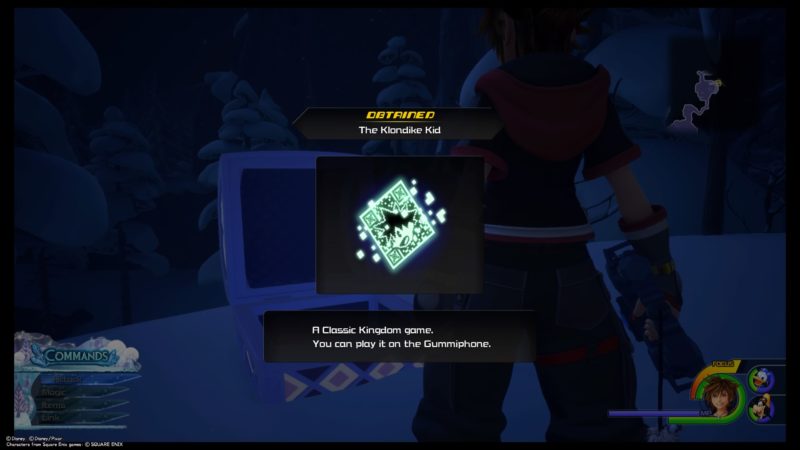
Once you’re done, get back on track and proceed straight.
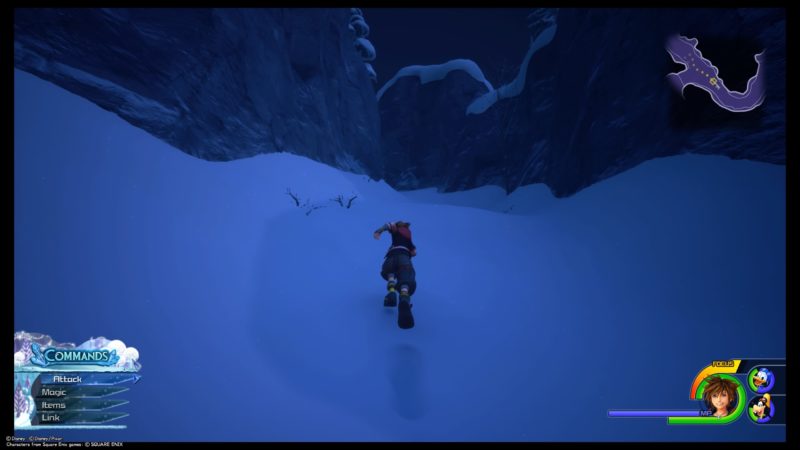
A cutscene will load and you guys will meet Elsa.
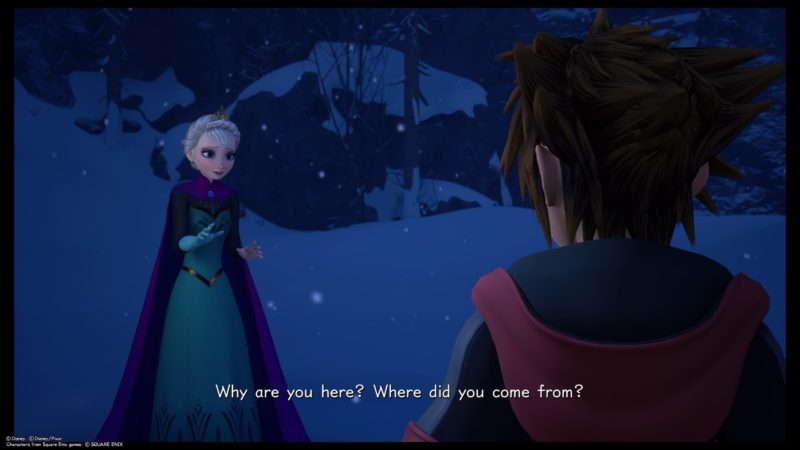
Take out the Heartless
The Heartless will appear and you have to take them out first. They are mainly reindeers and one big dude.
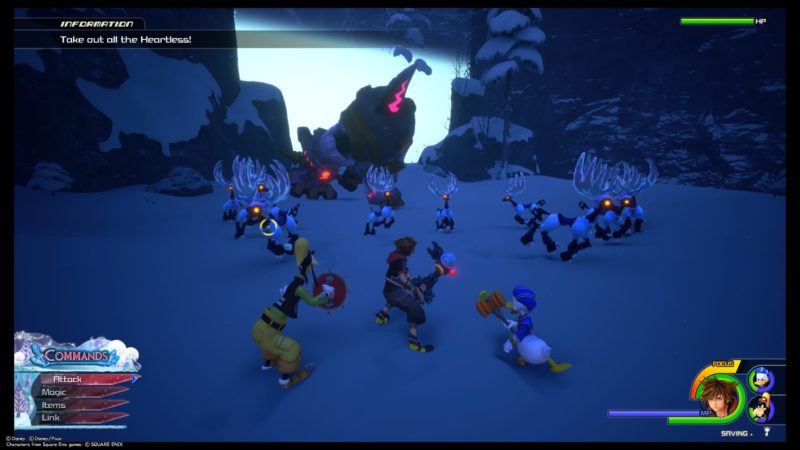
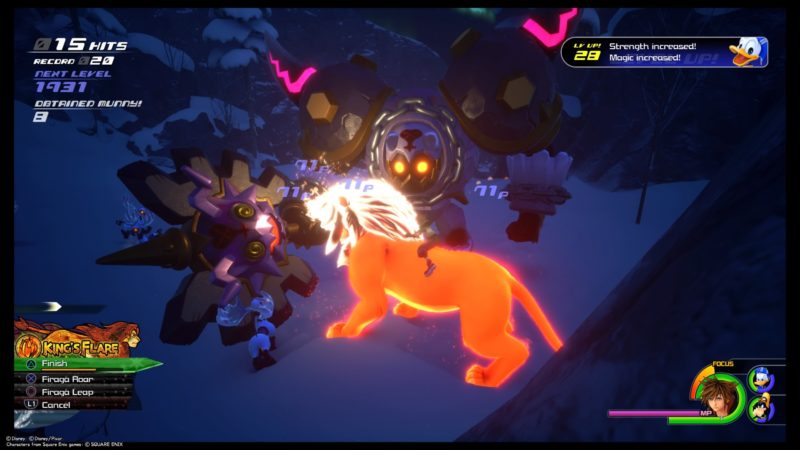
You should use your Link command if you wish to finish them quickly. Simba’s power comes in handy.
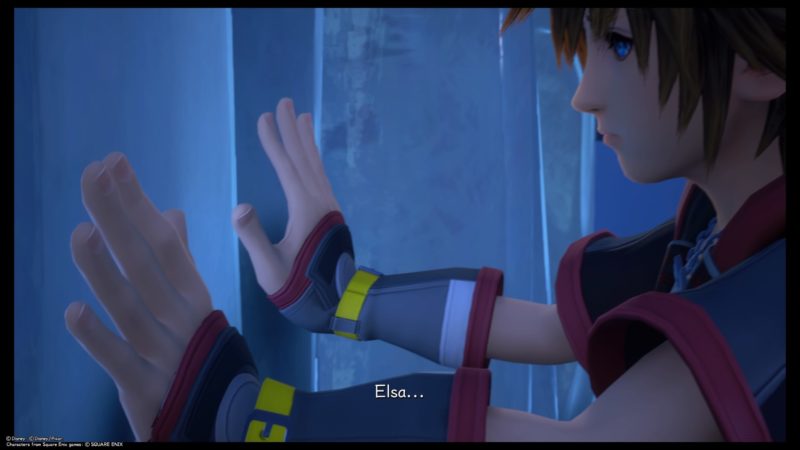
Once you’re done, it goes back to a cutscene. Elsa then shuts you guys out as she wants to be left alone, and creates a huge ice wall.
Larxene, another member of the Organization, appears as usual.
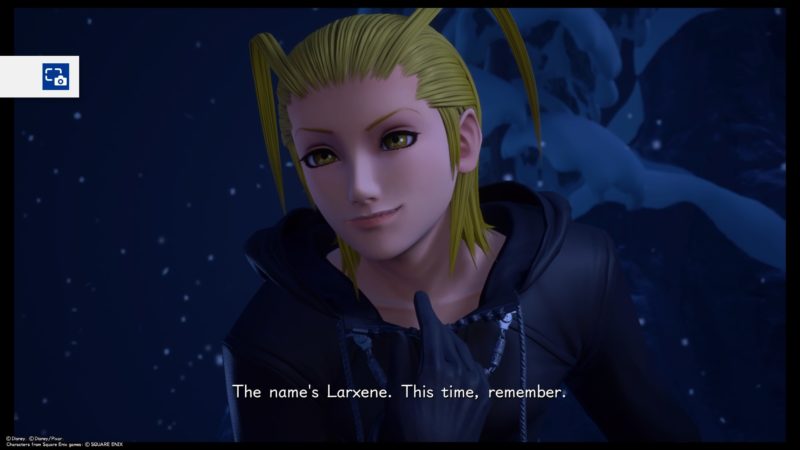
She doesn’t want you guys to interfere with Elsa, and she creates a Labyrinth of Ice trapping you guys in.
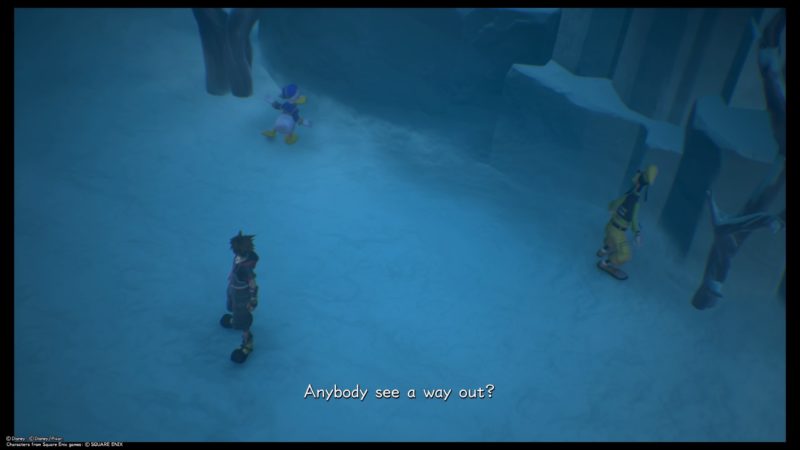
Find a way out of the labyrinth
This place is called the Labyrinth of Ice and it’s actually quite confusing. There are branching pathways inside, but you can definitely get out.
Just try to keep going high up and the exit portal is on the highest floor.
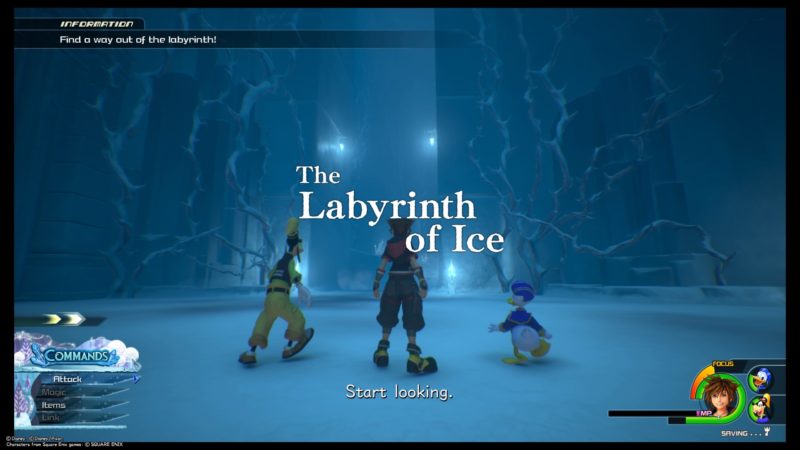
You’ll first encounter many Heartless in the whole area.
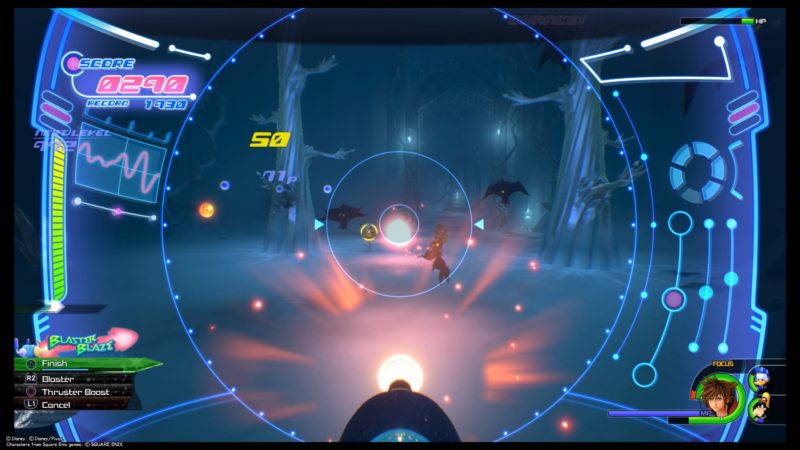
Keep going ahead.
You should see this frozen up wall of plants. Destroy it and it creates a pathway.
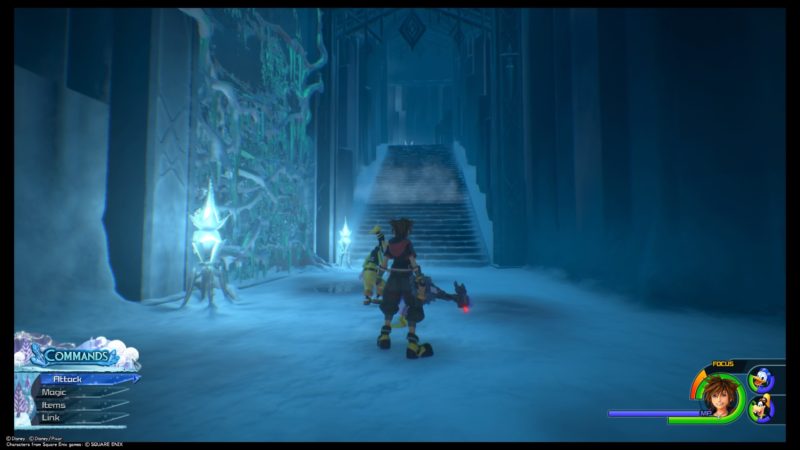
It will lead to a lucky emblem and more Heartless.
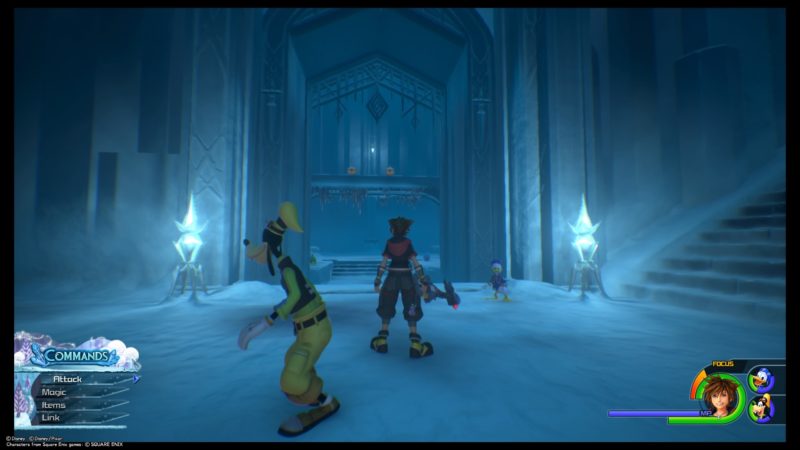
Once you’re done, get back to the main route.
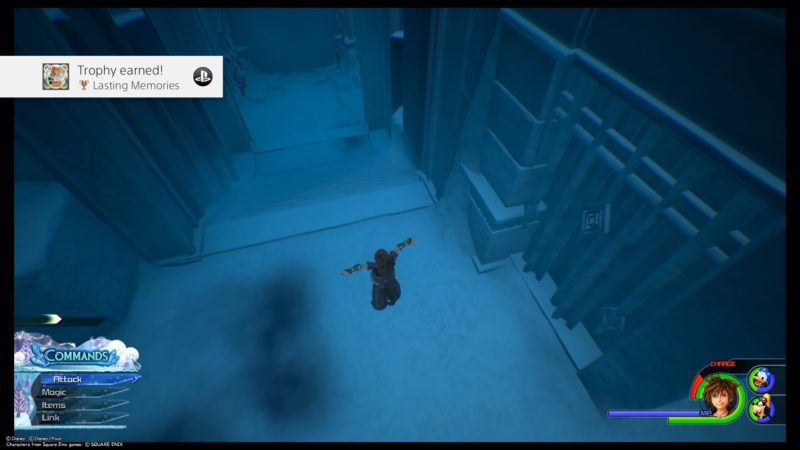
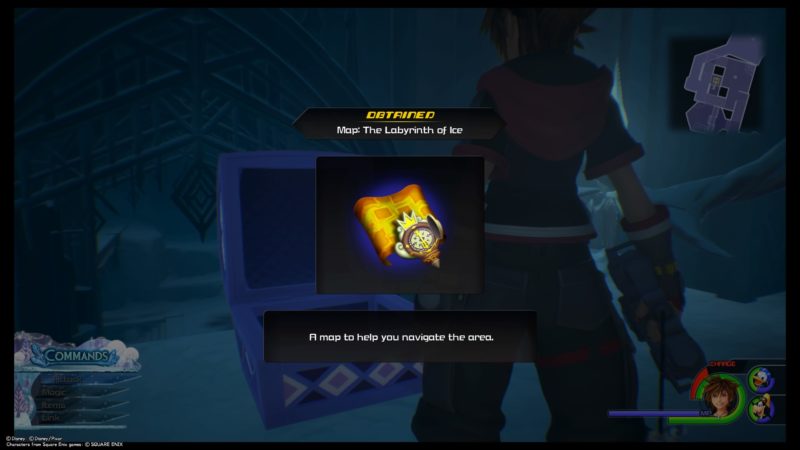
You should find a treasure chest that gives you a map to this place.
Proceed further and you should come across this place, which is like some uneven stairs going up.
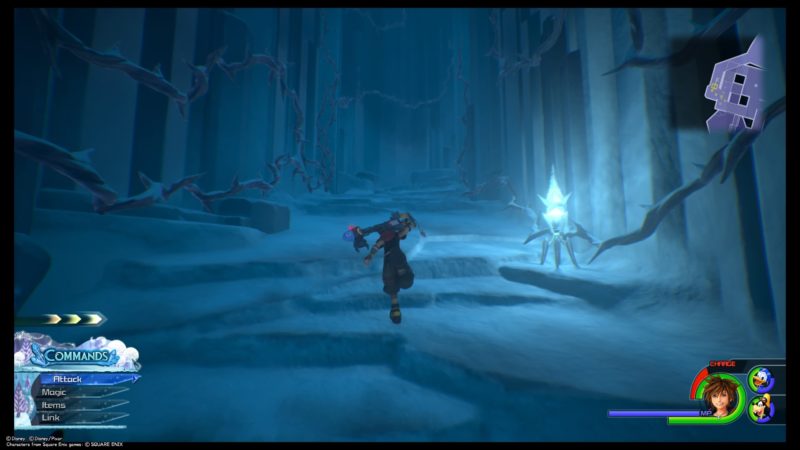
Take out the Nobodies
This time, you have to defeat the Nobodies first. They are tougher than the Heartless.
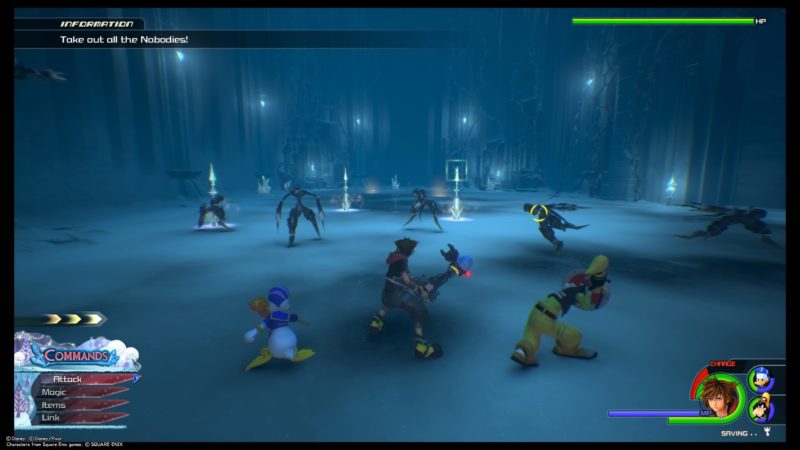
Once you’re done, you’re probably at a dead end. To proceed, you need to spin around this pillar.
The room will move and it creates a pathway.
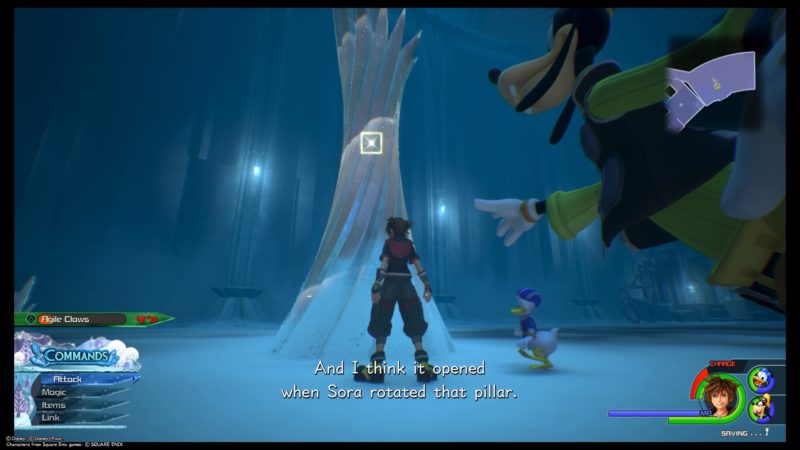
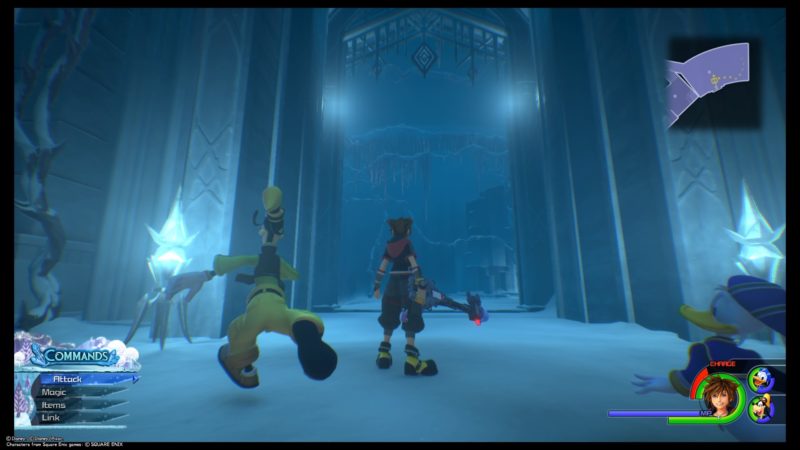
Next, you should reach an area where you can slide down and there’ll be icicles coming up and down. Try avoiding them to not sustain any damage.
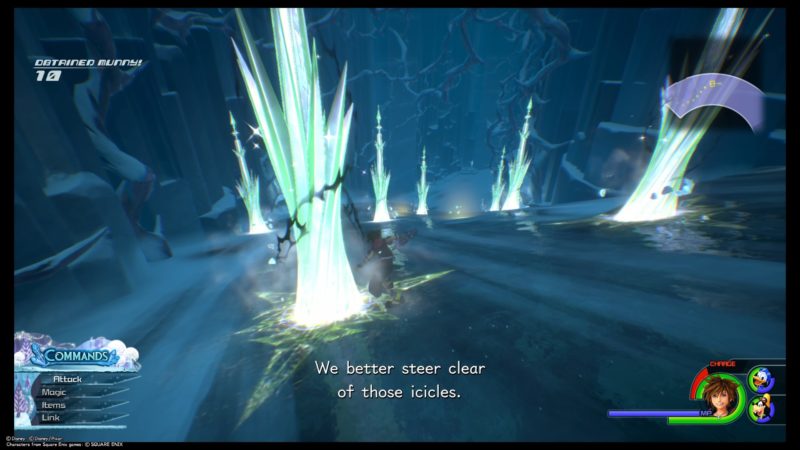
Take out all the Nobodies
Keep going further until you reach another room with more Nobodies to defeat.
Once again, get rid of them.
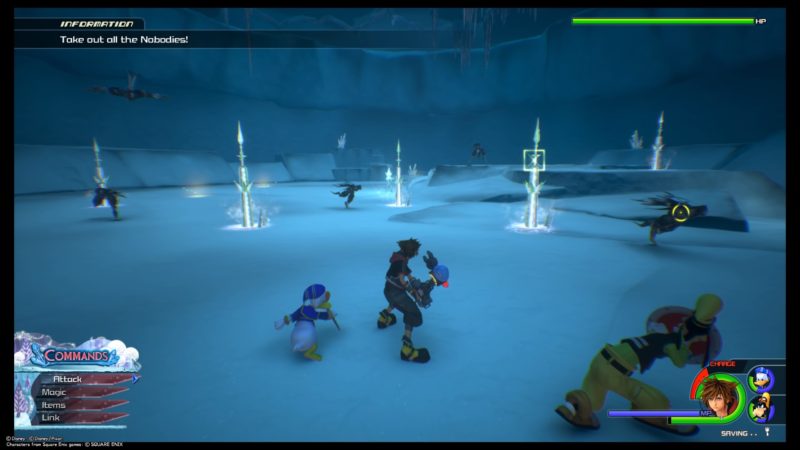
A big pillar then shows up. Similarly, you have to spin around the pillar to move the room for the pathway to open.
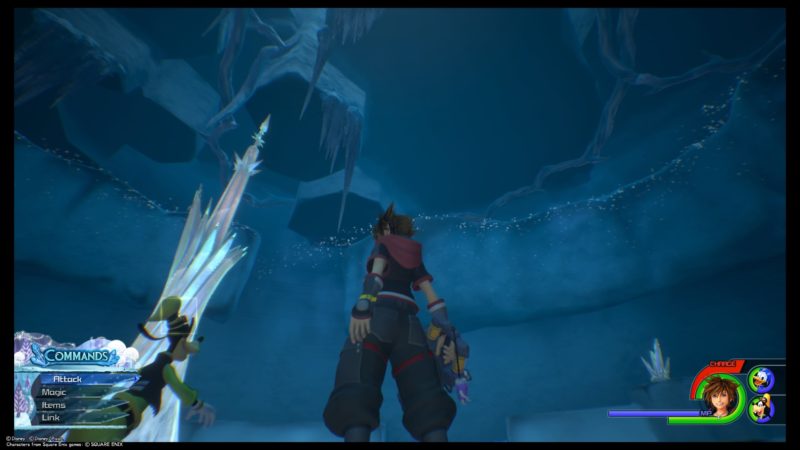
This time, there are two pillars. You can spin around both of them.
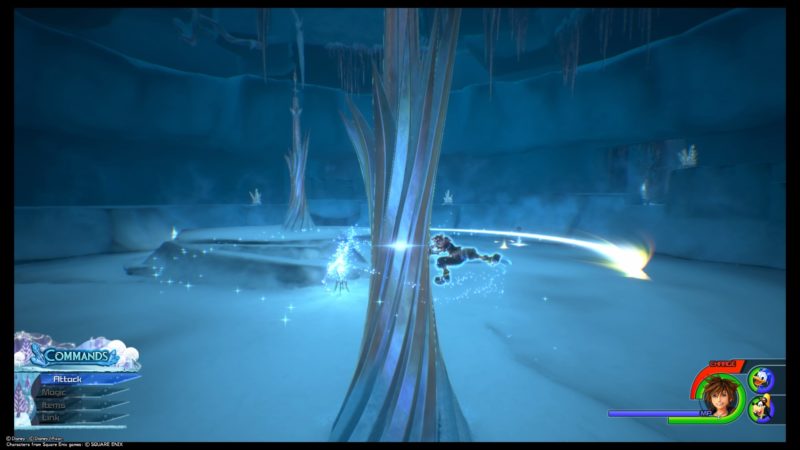
Airstep your way up
You will then come across this place which is a dead end. You need to use shotlock and airstep all the way up.
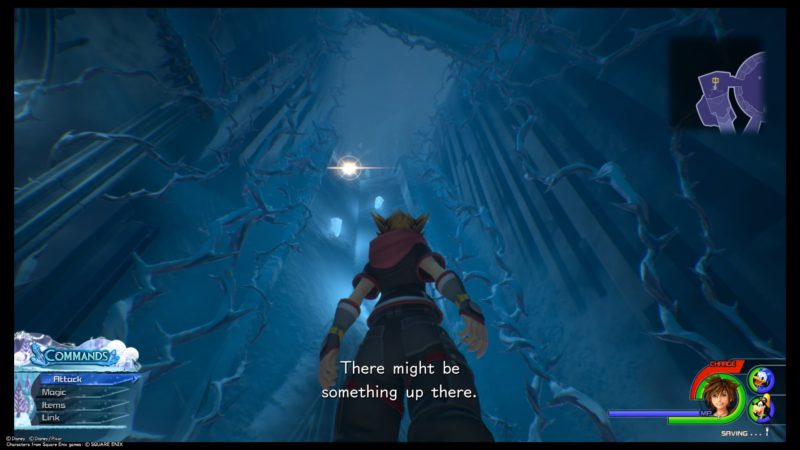
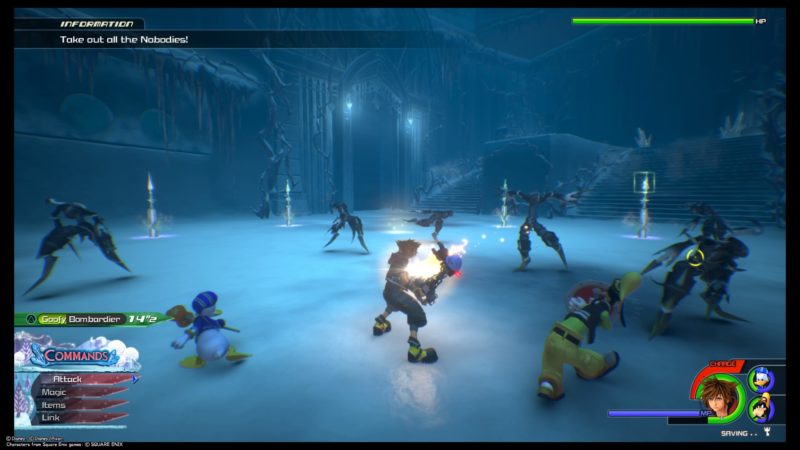
Take out the Nobodies
You should be at one of the higher floors by now. Take out all of the Nobodies here.
When you’re done, there’s yet another pillar here.
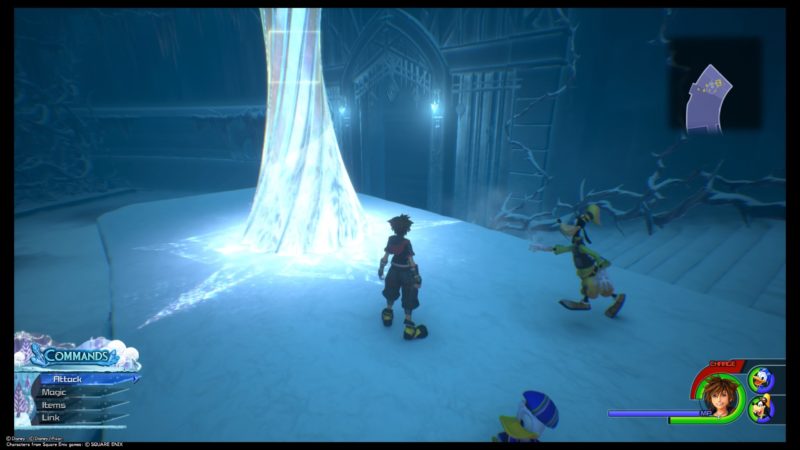
Once the door is open, keep going further ahead.
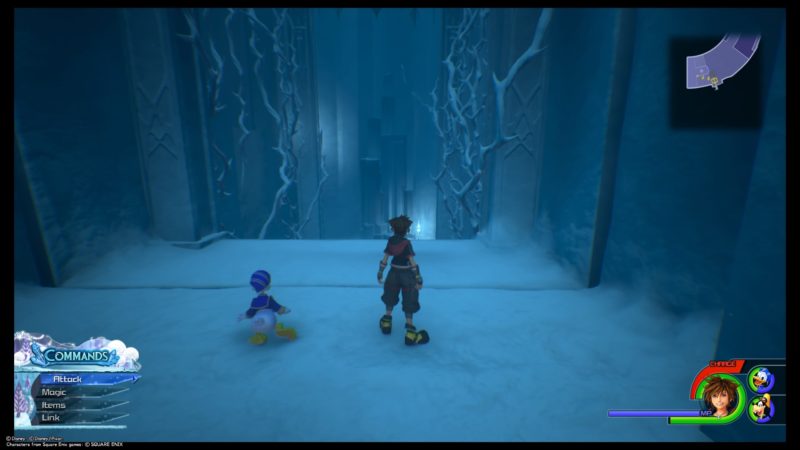
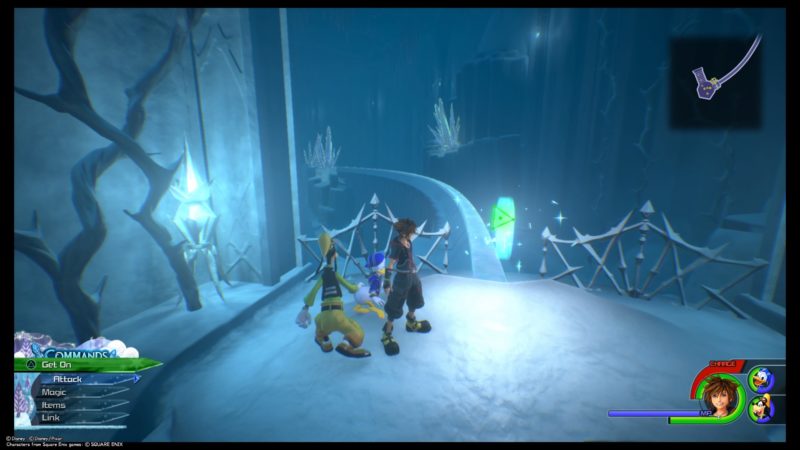
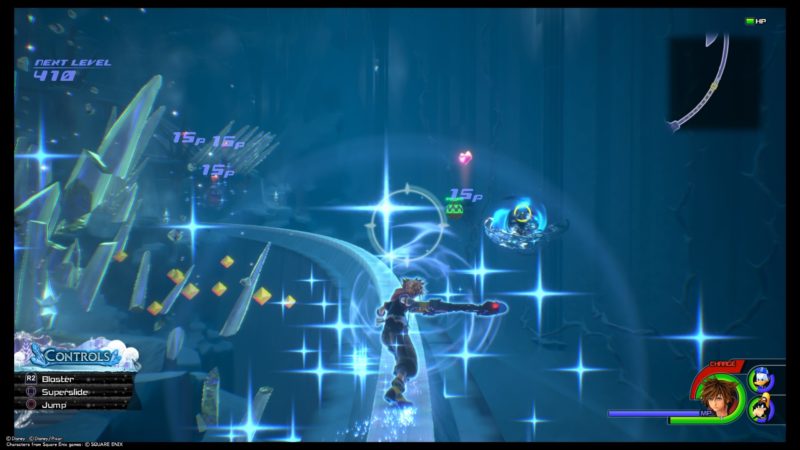
You will now reach an area where you have to slide all the way to the next platform.
During your slide, you have to defeat the enemies that spawn and you can also jump to avoid the attacks.
You will now reach the center of the tower, which is pretty high up.
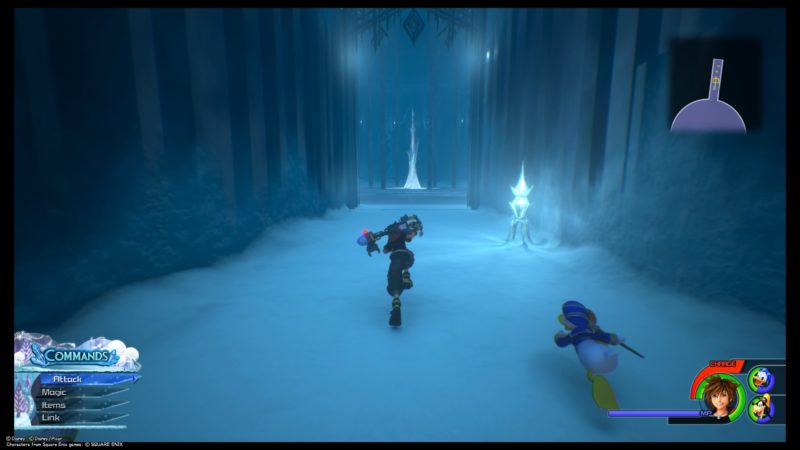
Defeat the Nobodies
When you get there, more of them will spawn.
Take out all of the Nobodies.
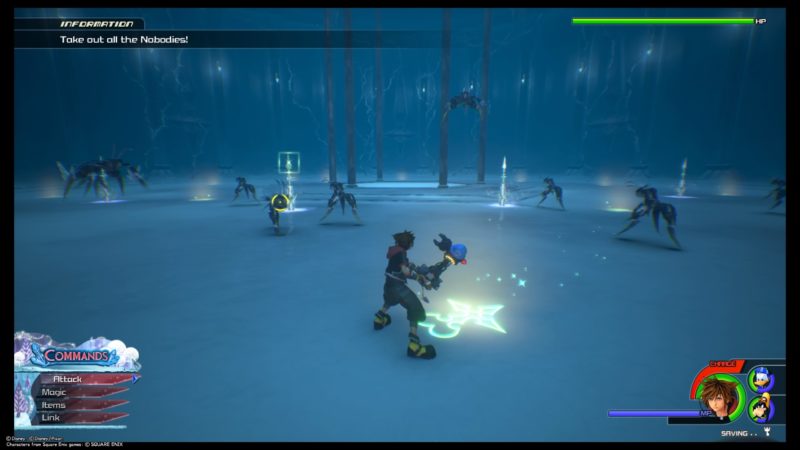
For the last time, a pillar will appear. Spin around it again and this time, it locks the position of the entire Labyrinth of Ice.
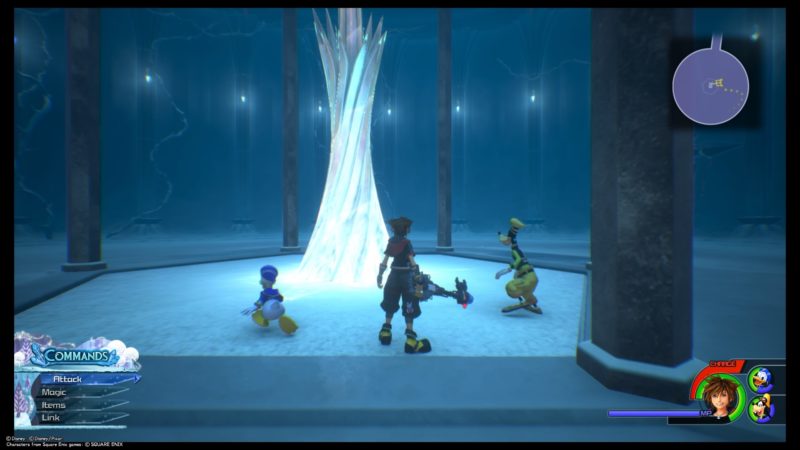
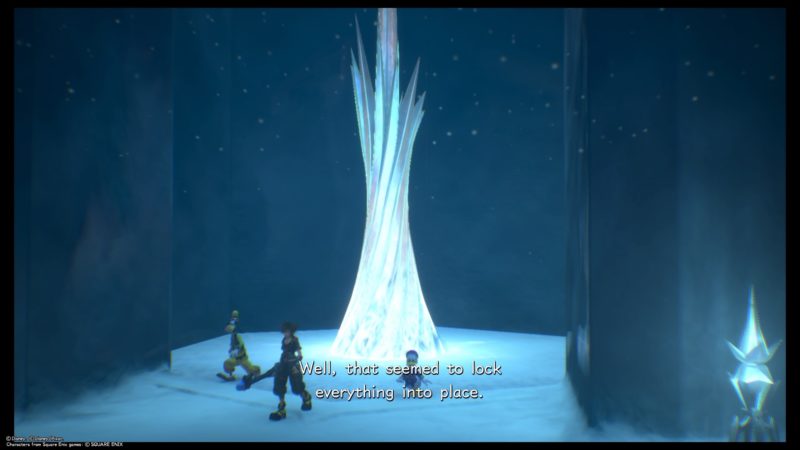
If not mistaken, this works as a lift as well. It brings you even higher.
Three pathways
Now you’ll reach an area with three different pathways.
The right pathway is the one in front of you, but you may want to explore the others as well.
One of the pathways will lead to a lucky emblem.
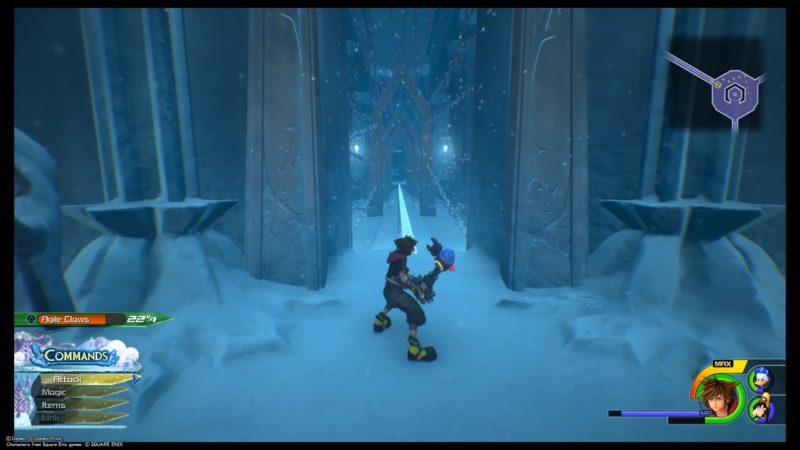
The lucky emblem is as shown below. I’ll have another post on lucky emblems, so don’t worry about it.
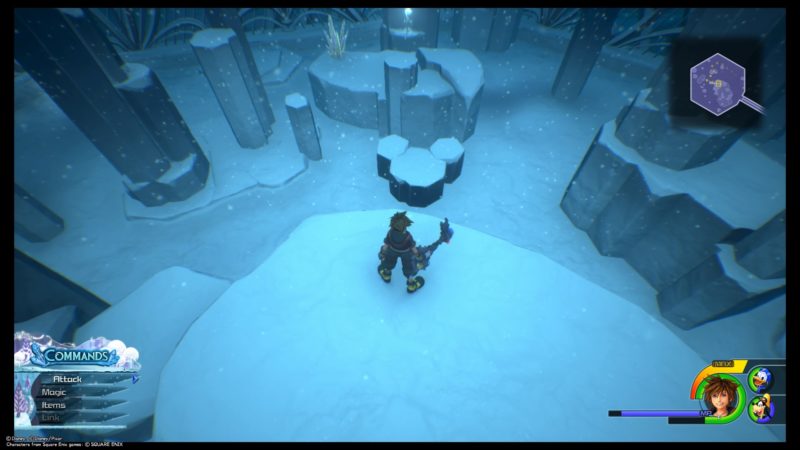
If you take the second pathway, you’ll also see a slide.
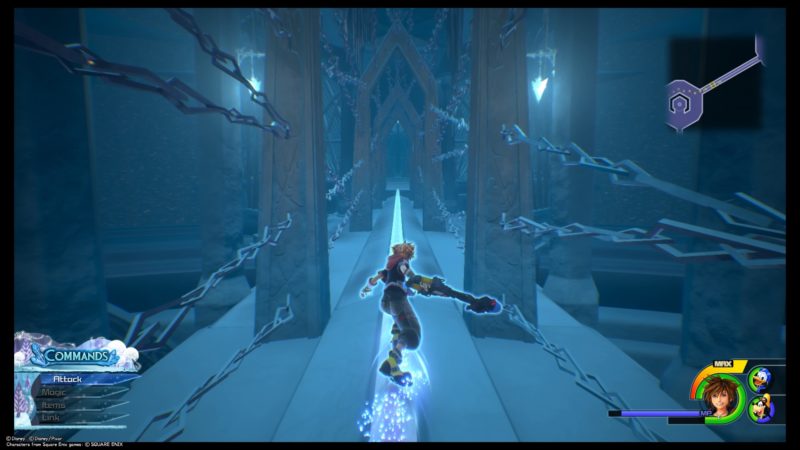
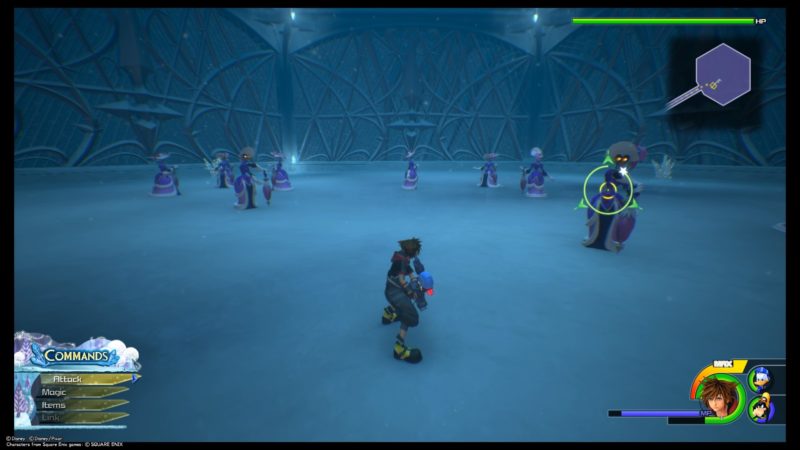
The slide leads you to a big empty room, filled with Heartless.
I don’t think there’s anything good here, but you may want to double check.
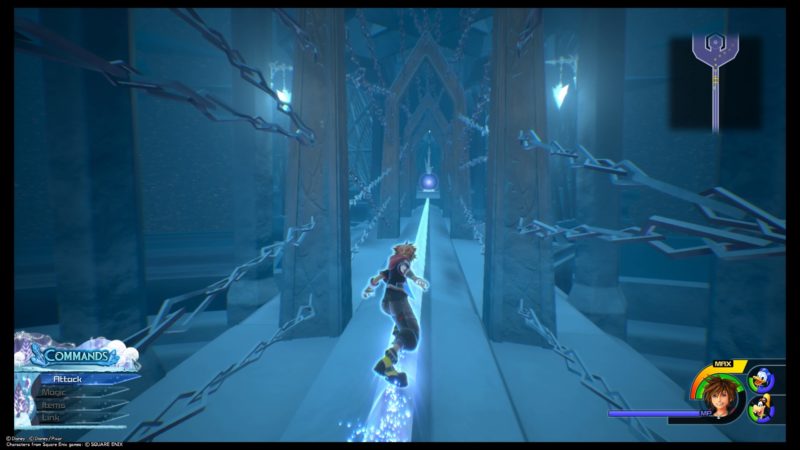
Finally, using the pathway right in front of the “lift” where you appeared leads to the exit portal.
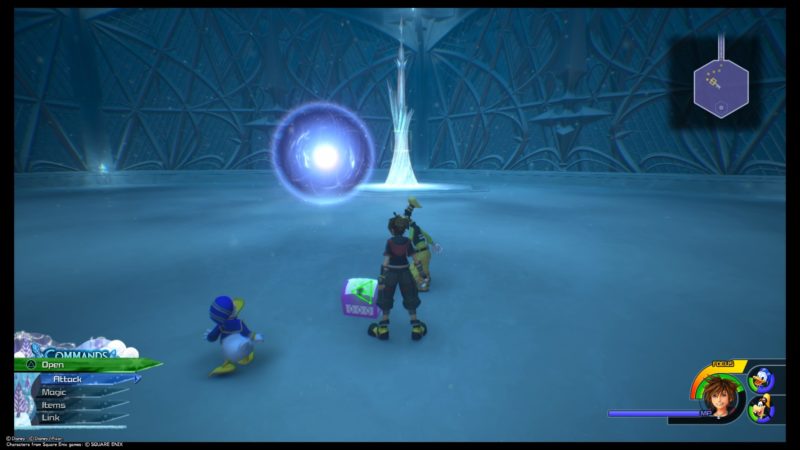
You will find two treasure chests here. Interact with the portal to exit.
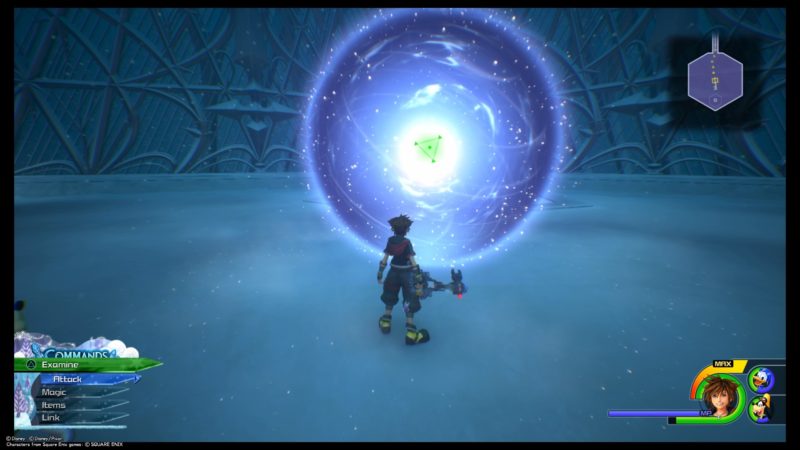
Follow Elsa up the mountain
Once you’re out, you will find yourself in a place called The North Mountain.
Resume your journey to find Elsa.
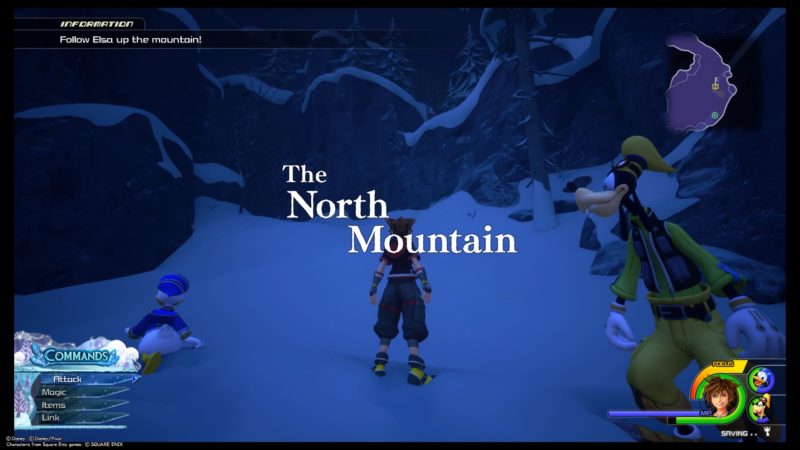
As usual, more Heartless is found along the entire way.
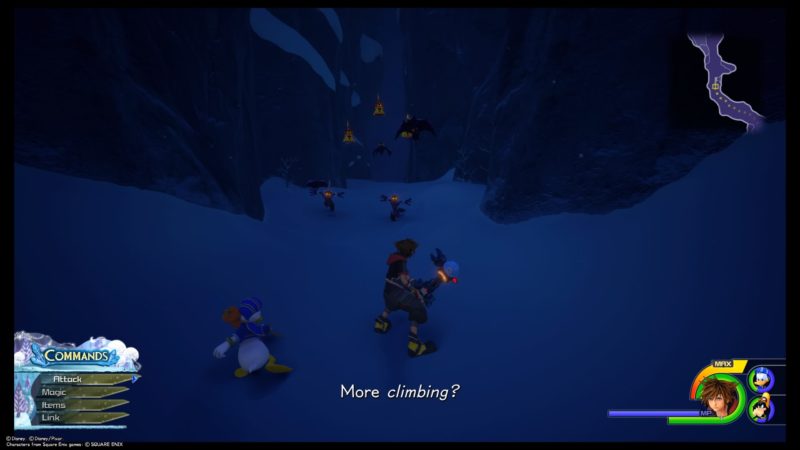
Keep going until you see a wall you can climb up.
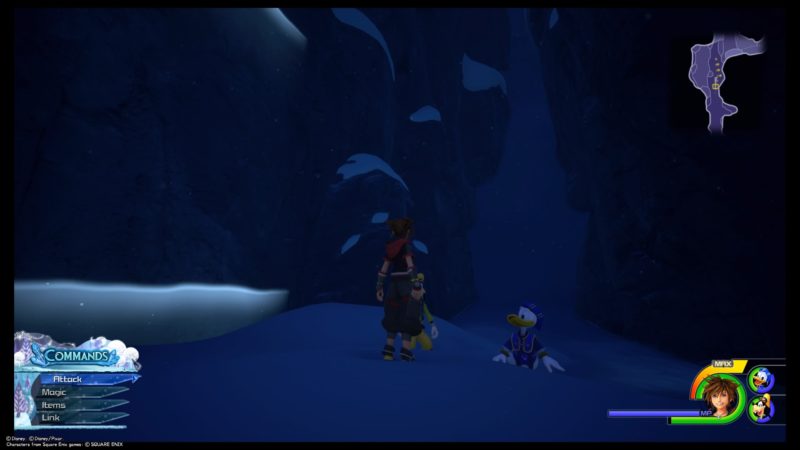
Keep going up. Just follow the map.
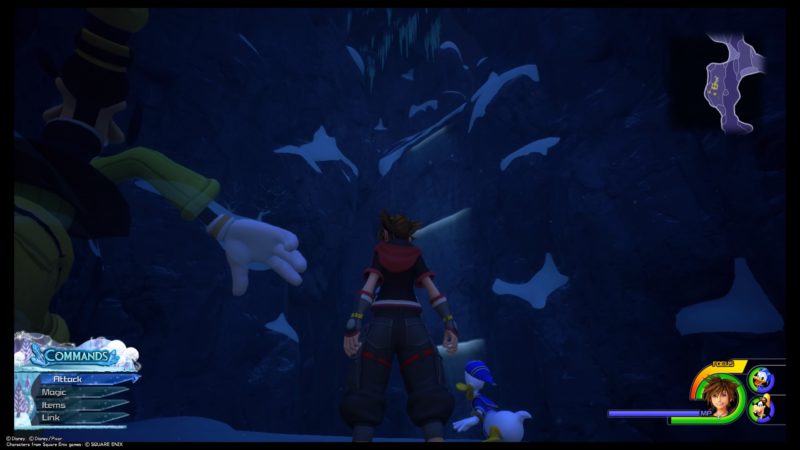
Sometimes, there are detours on the mountain. There’ll be many treasure chests and some lucky emblems.
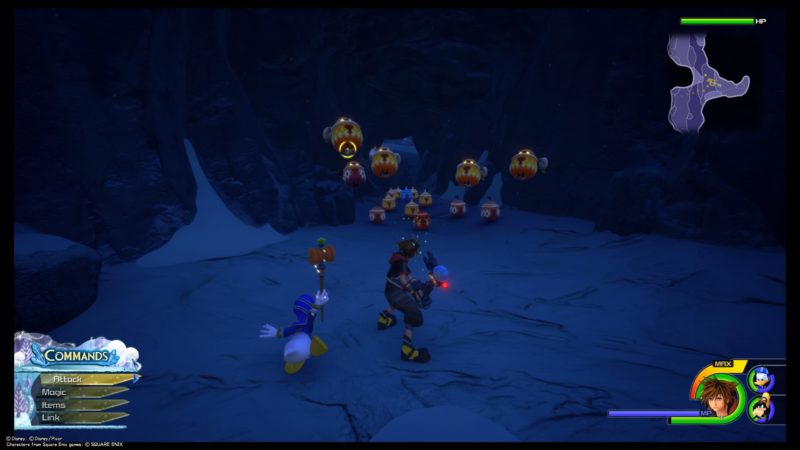
Once you’re done grabbing the chests, get back to the main route.
Airstep up
At one point, you will meet a dead end. You should see a light that allows you to airstep there.
Use your shotlock to do so.
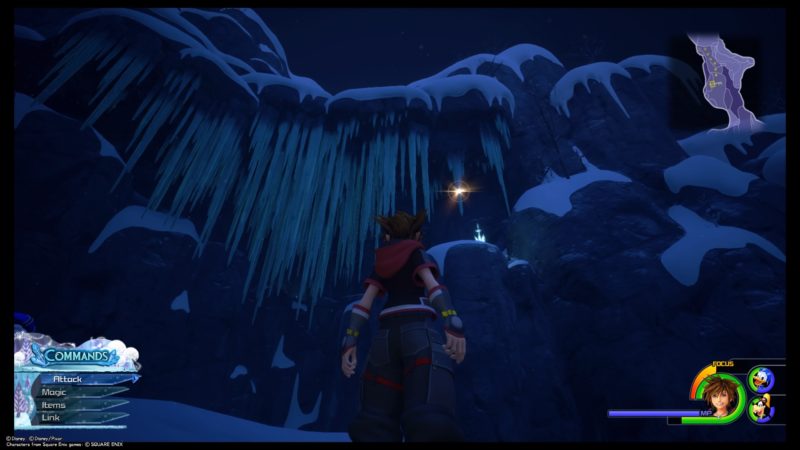
There are plenty of scaleable walls where you can just climb up to the next area.
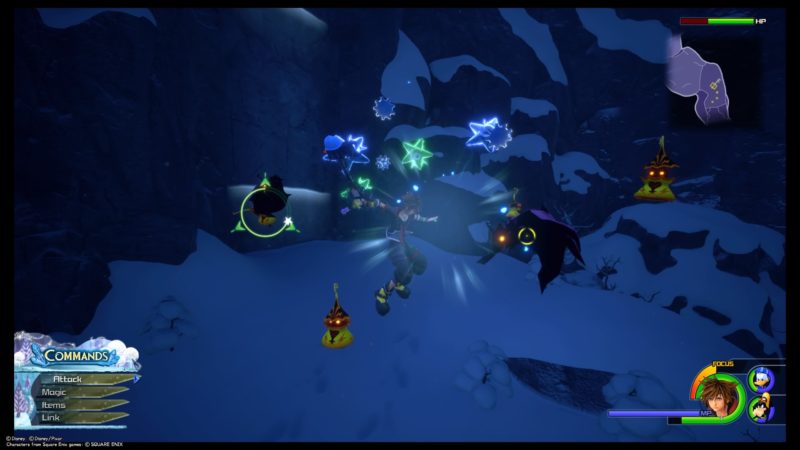
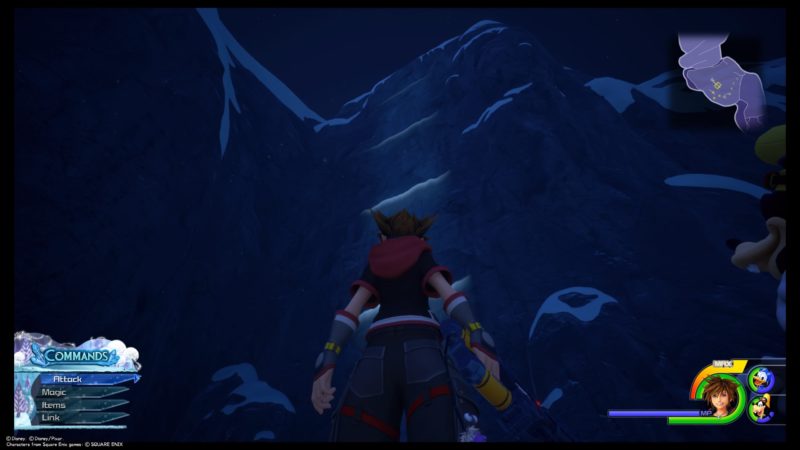
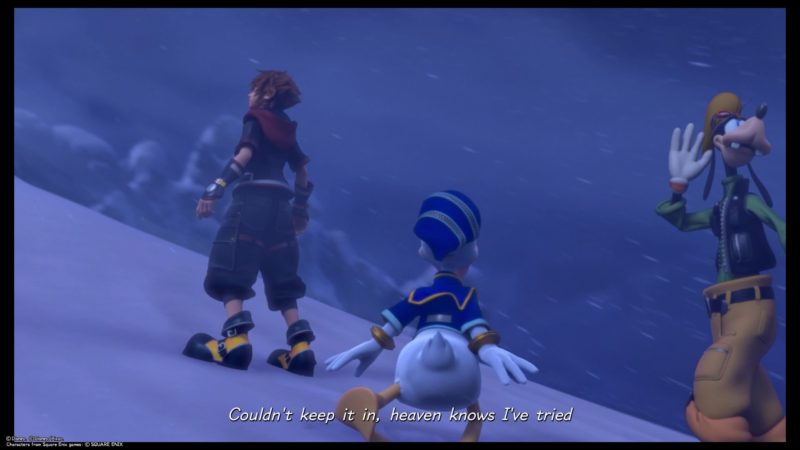
When you’re finally at the destination, a cutscene loads.
This part is pretty much the most watched scene in Frozen, i.e. “Let It Go”. Just enjoy the scene.
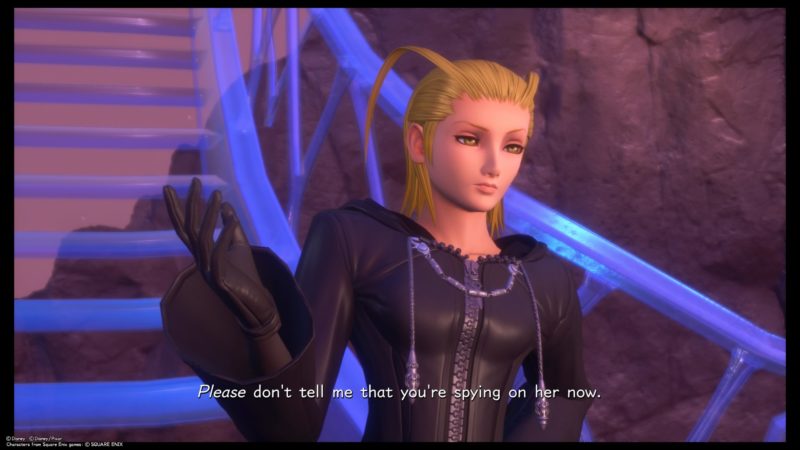
Before you guys can climb up the stairs, Larxene appears again.
Once again, she blocks you guys from finding Elsa, and casts a strong wind to blow you guys down the mountain.
Escape the avalanche
After the cutscene, you’ll find yourselves in the snow. An avalanche then appears with some Heartless probably causing it.
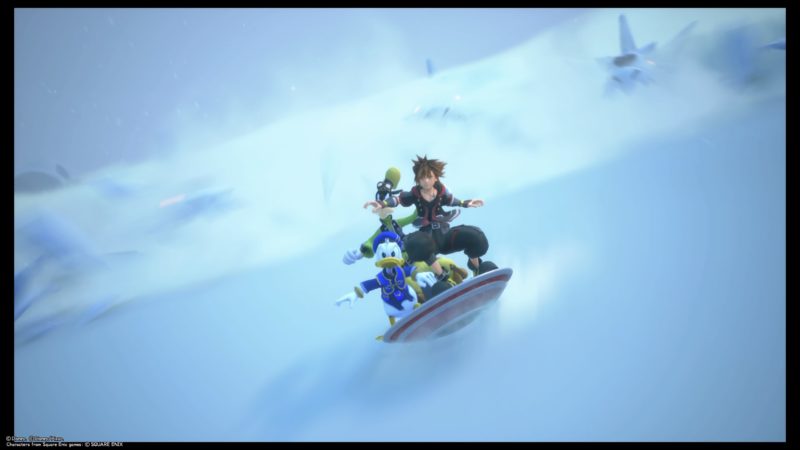
You can only move left and right here, and also jump when applicable.
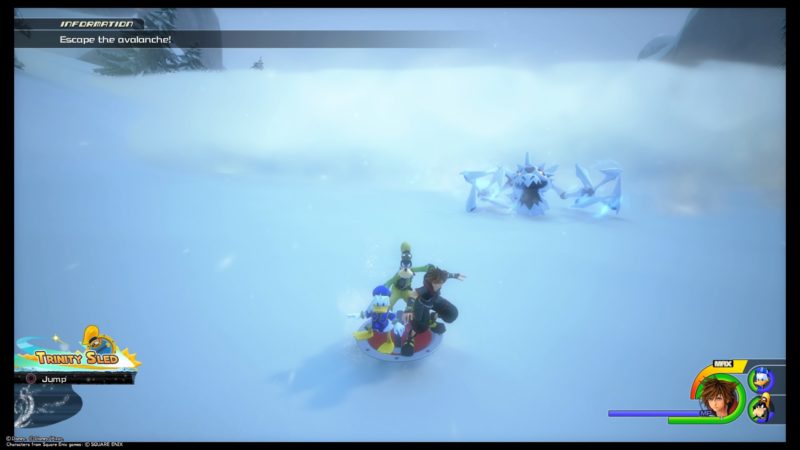
These Heartless monsters can use ice beams. Use jump when applicable to avoid their attacks.
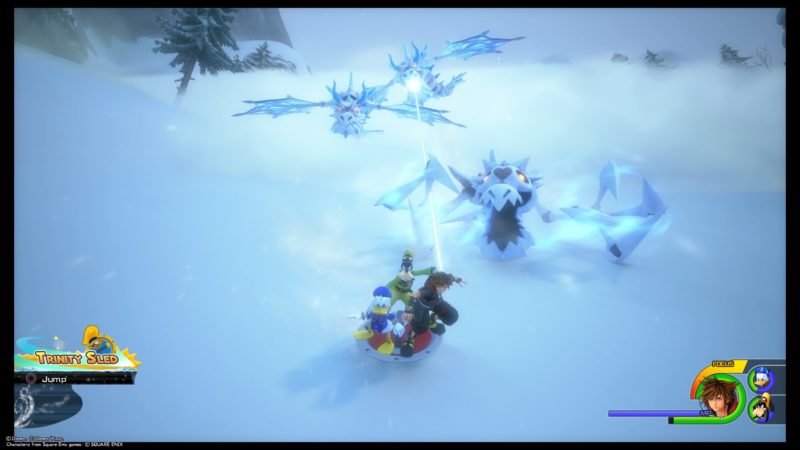
At one point, you’ll fall down even lower.
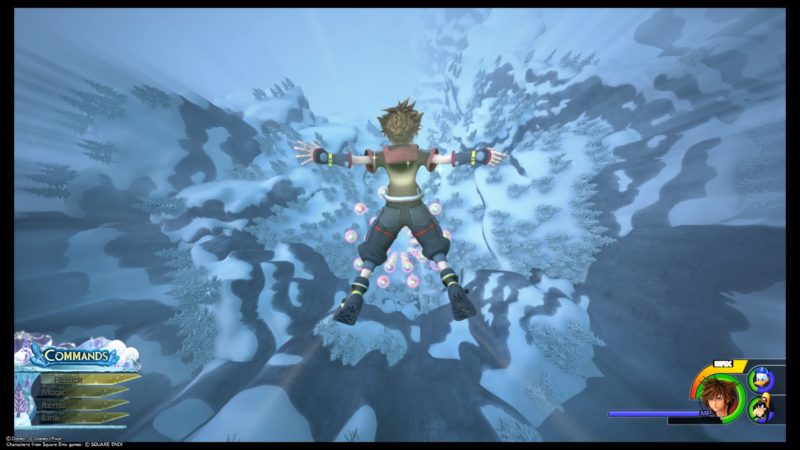
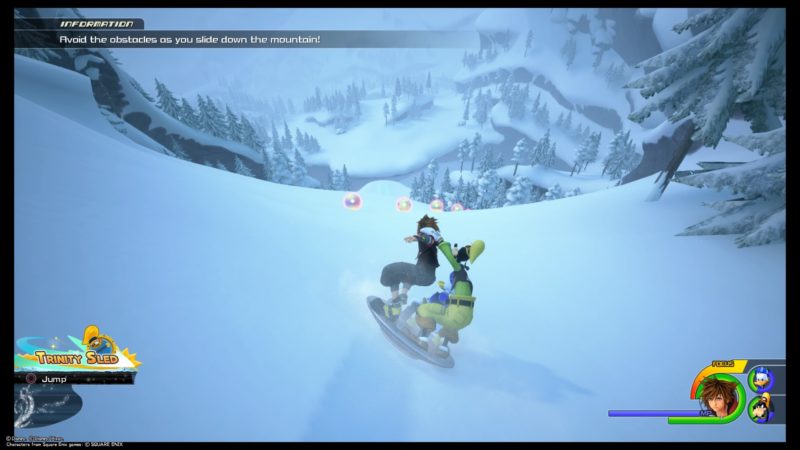
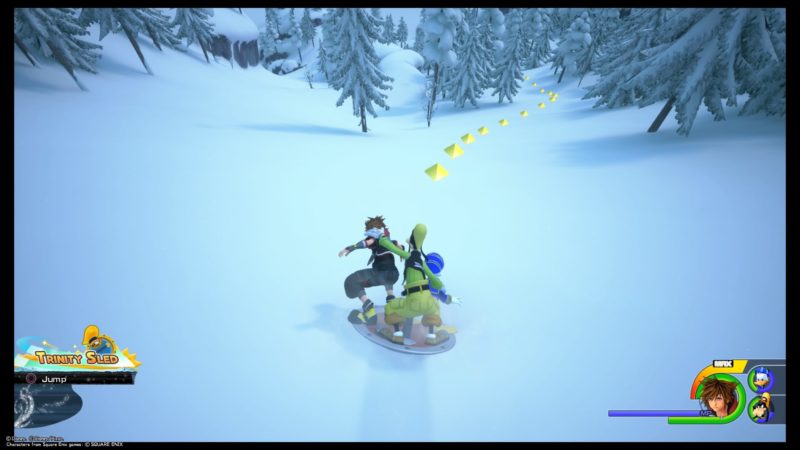
Avoid the obstacles
Now, you have a front view of where you’re going. There’ll be plenty of obstacles like trees or rocks. Avoid them if possible.
Take out the flying Heartless
After you’re done skiing down the mountain, you have to defeat the Heartless.
Their HP isn’t that high but they can use some pretty annoying attacks.
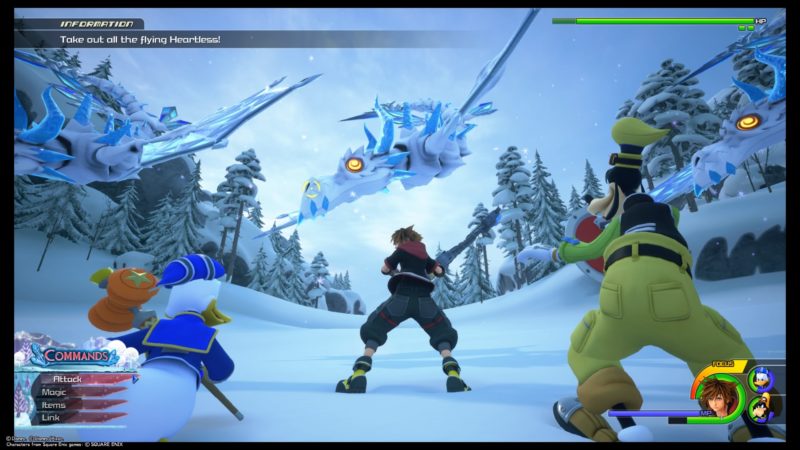
You should utilize your Link command (Simba) to defeat them easily.
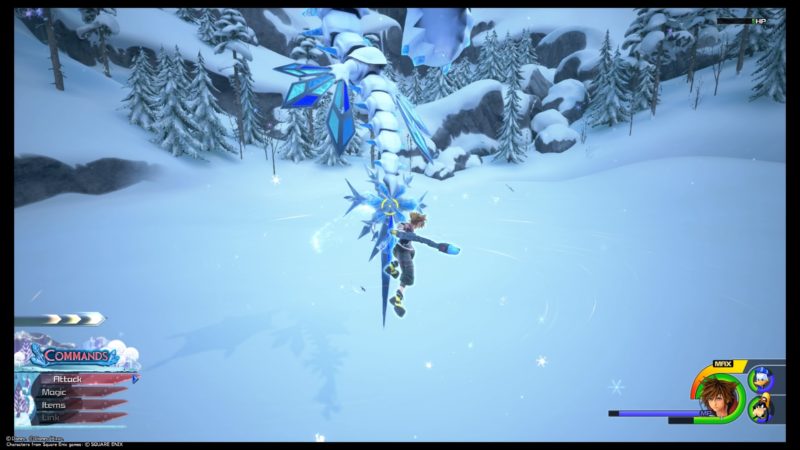
After defeating them, a cutscene appears. The Heartless will run away but you guys will be hit by the avalanche again.
After waking up, you’ll see Olaf.
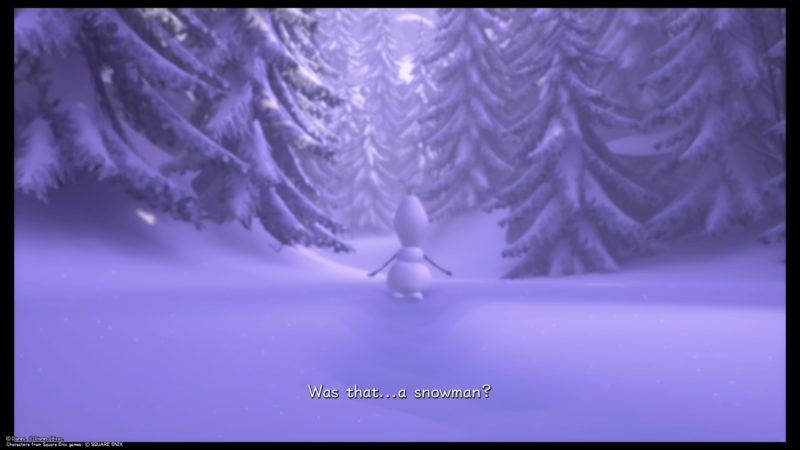
Make your way to Elsa’s palace
Now, resume your journey to look for Elsa at her palace. You will be at the Valley of Ice.
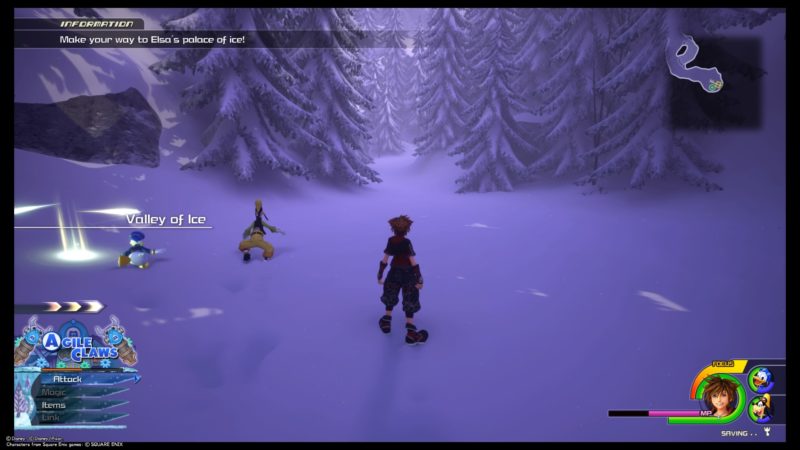
Walk further and a cutscene will load again. This time, you’ll see Olaf, Anna and Kristoff.
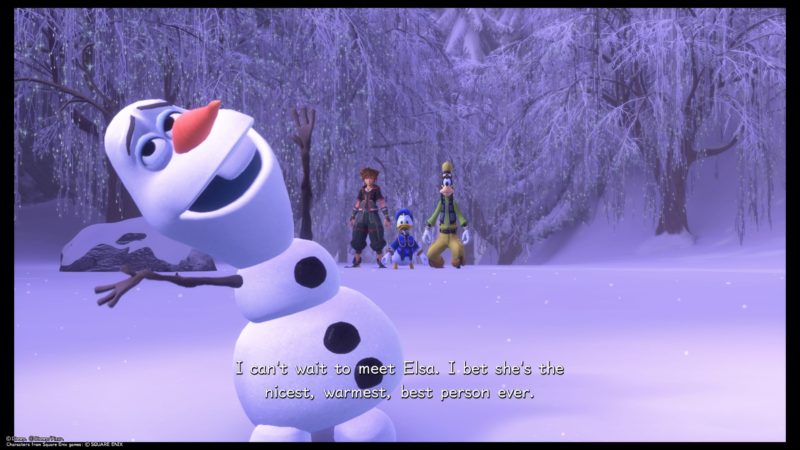
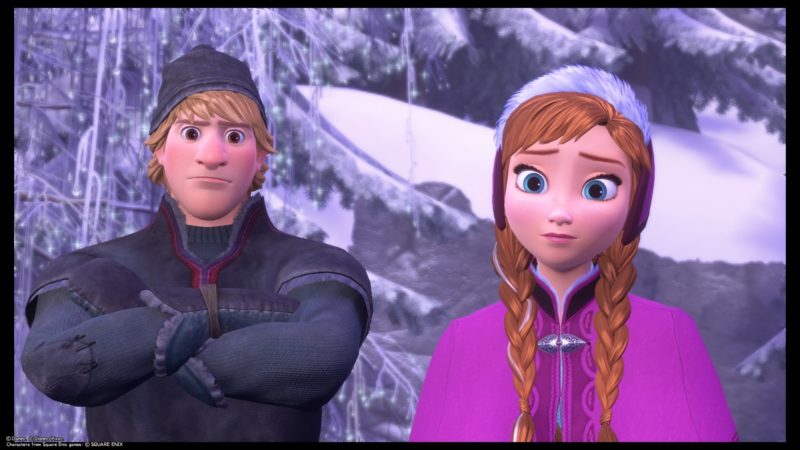
Anna will tell you her story on why Elsa ran away.
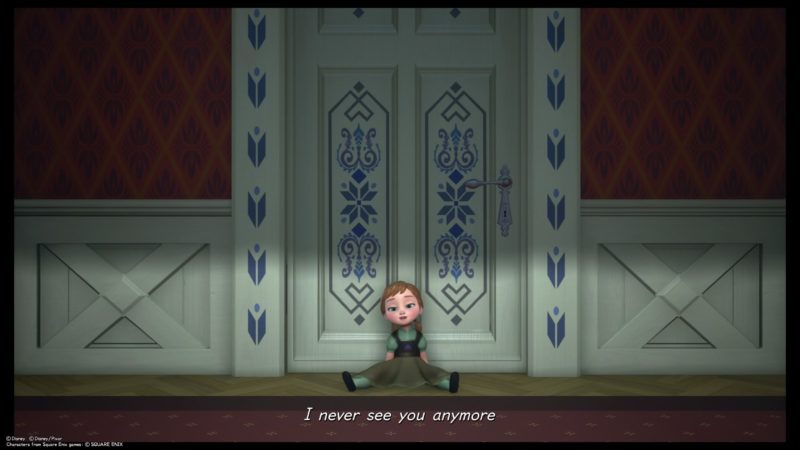
Kristoff then comes running, saying Olaf has been split to pieces. Apparently it was the Heartless’ doing.
Find Olaf’s pieces
Now, you need to find three pieces of Olaf to put him back together.
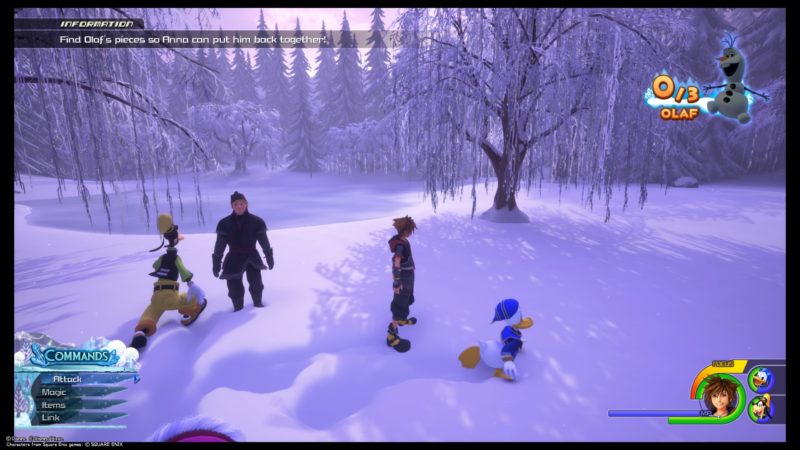
Piece #1
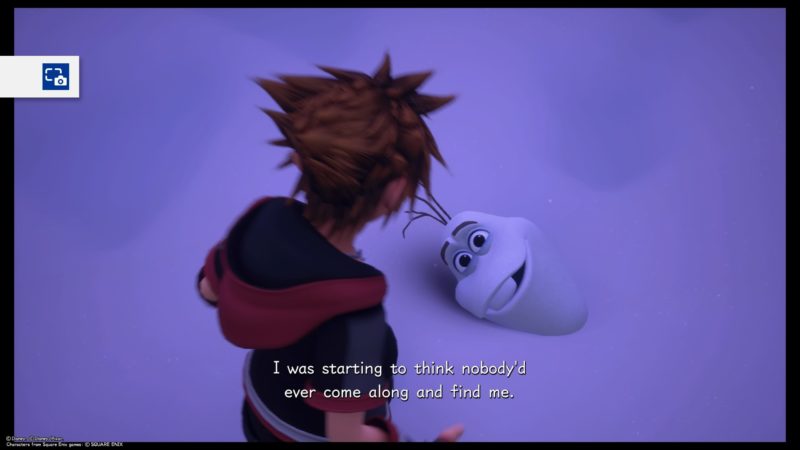
It’s better to get his head first.
You need to look for an ice ball (the one you can jump on and roll it). It’s the same ice ball that is scattered all around this world.
To get Olaf’s head out, you need to roll the ice towards the wall for it to break. Olaf’s head then shows up.
The hint is also obvious – “I’m right under your nose”.
Piece #2
The legs only appear after you’ve found the head. You will find it running around on the frozen lake.
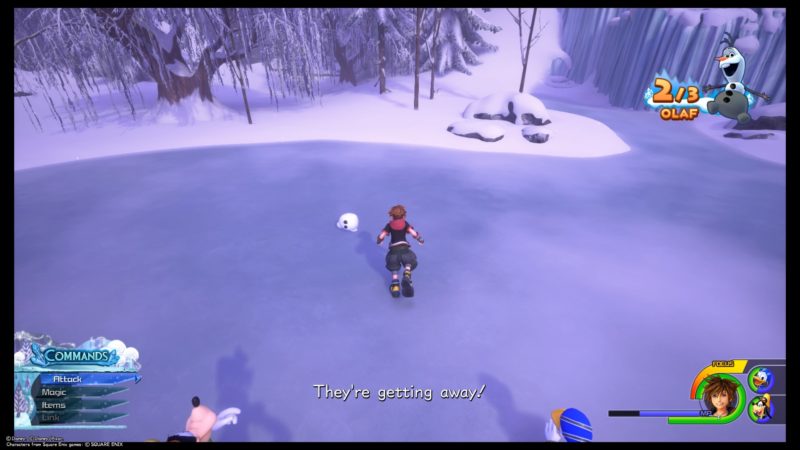
Piece #3
For the third piece, you need to go up the frozen waterfall. Get to the highest point.
Go right and you’ll find yourself sliding down. Immediately after you start sliding down, jump to the small platform on the right.
You will see his body here.
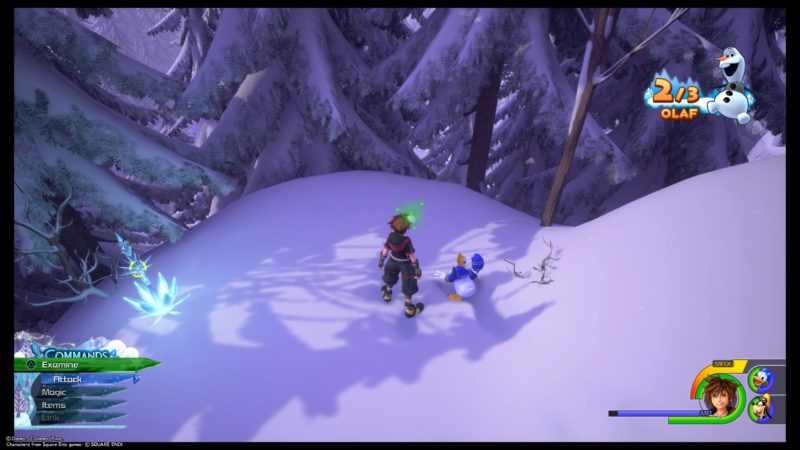
And that’s about it. Anna will piece them back together.
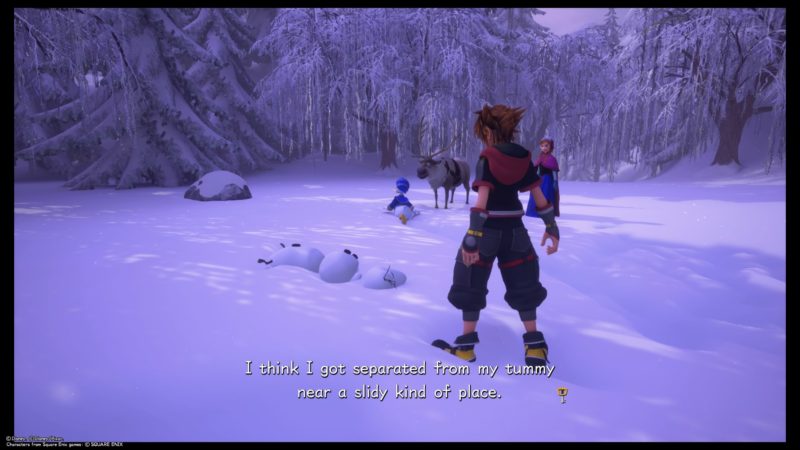
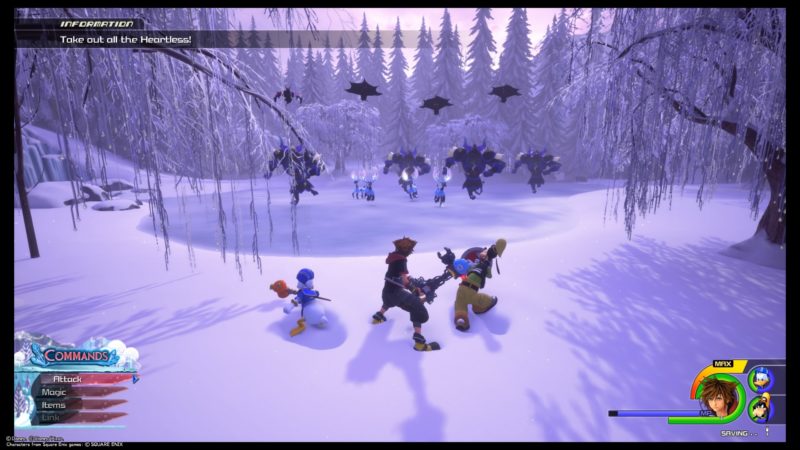
Take out all the Heartless
After the cutscene, you need to take out some Heartless again.
Make your way up to Elsa’s palace
Once you’re done defeating the Heartless, continue on your journey.
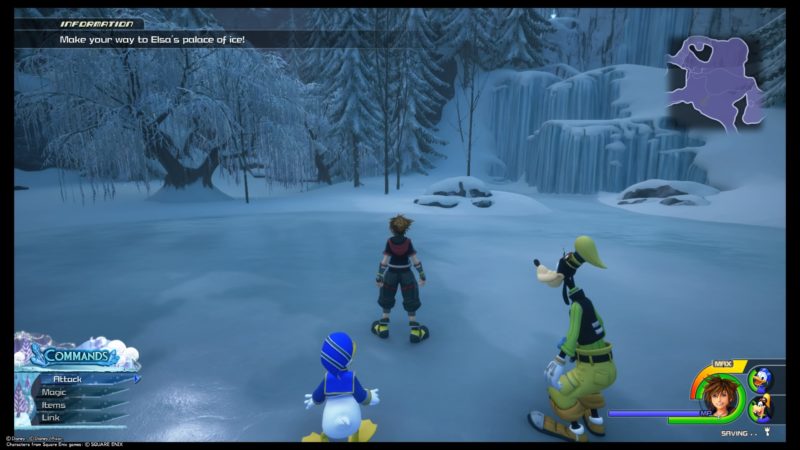
You should get to this area.
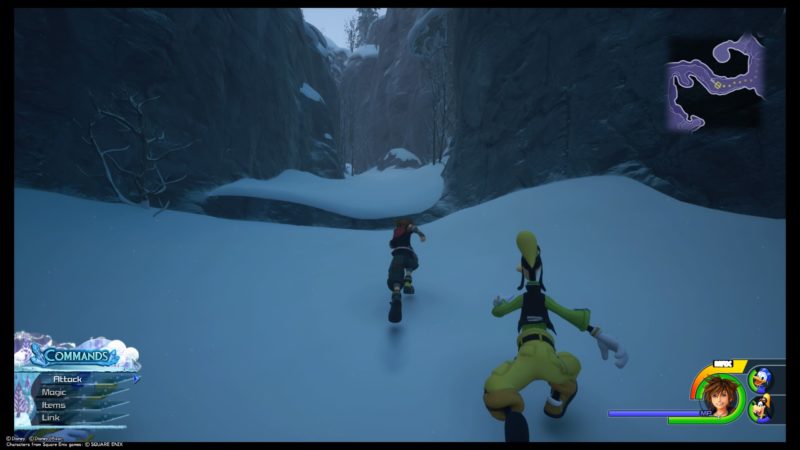
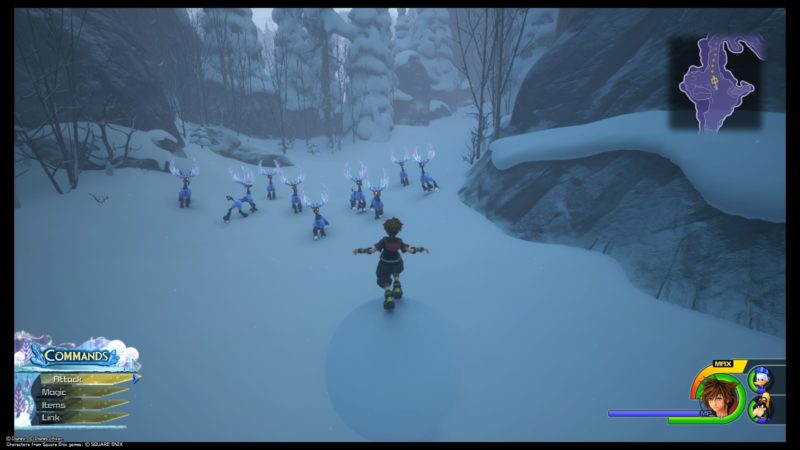
At one point, you have to start climbing up.
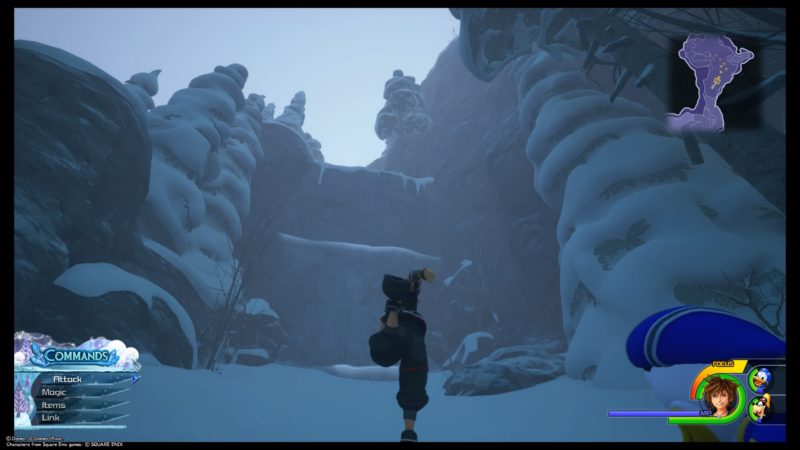
There’ll also be this ‘air portal’ that pushes you up into the air.
You’ll find a couple of these here.
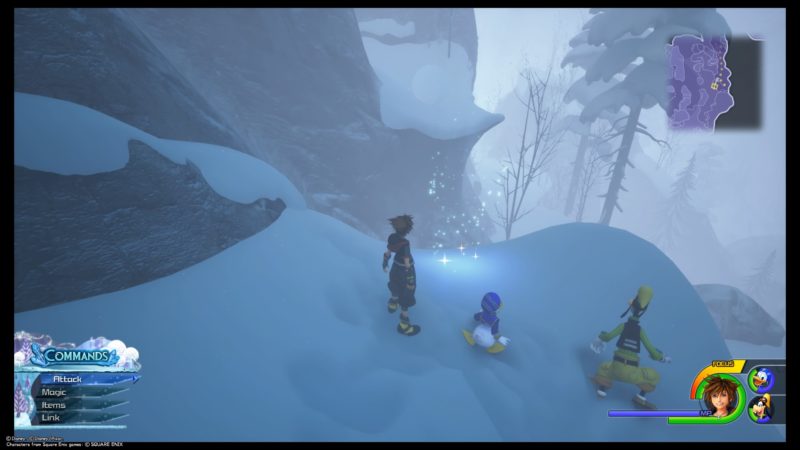
Keep using these air portals to get to the next area.
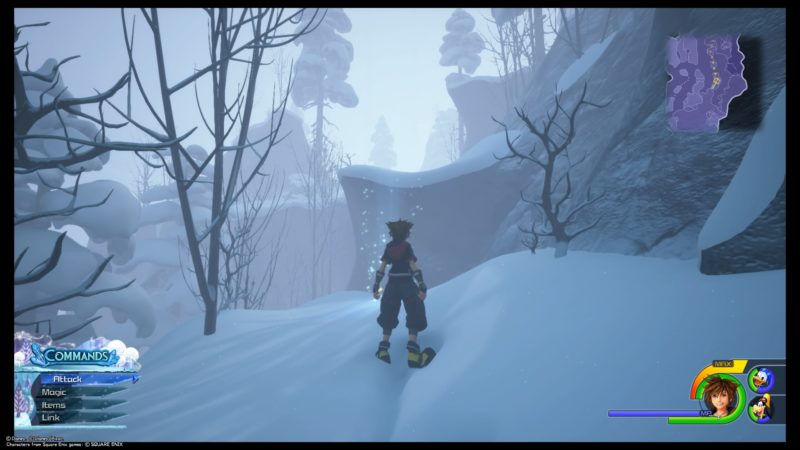
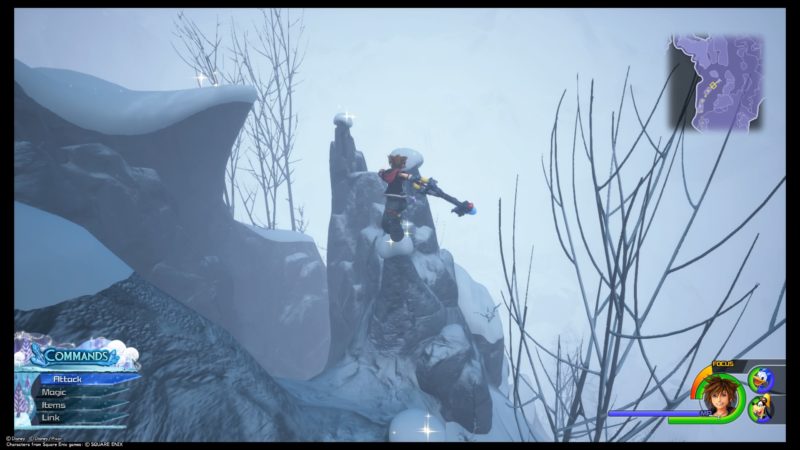
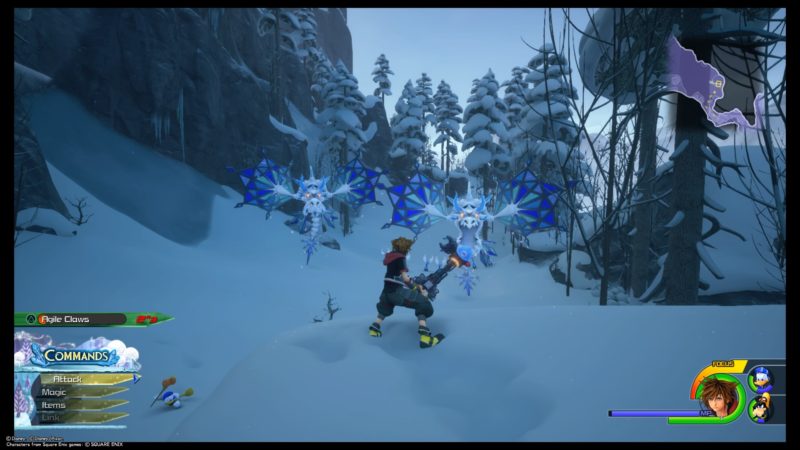
At one point, you can use the air portal to jump to a higher platform. It leads to a treasure chest that gives you a Magician’s Wand+.
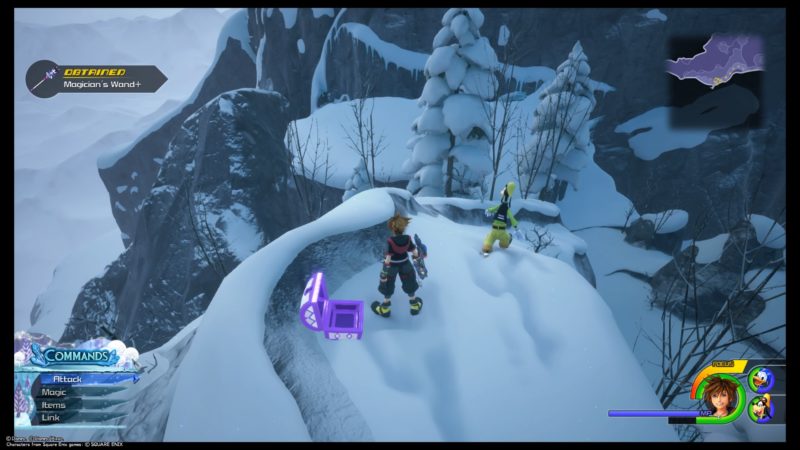
Get back on your journey and climb up the walls.
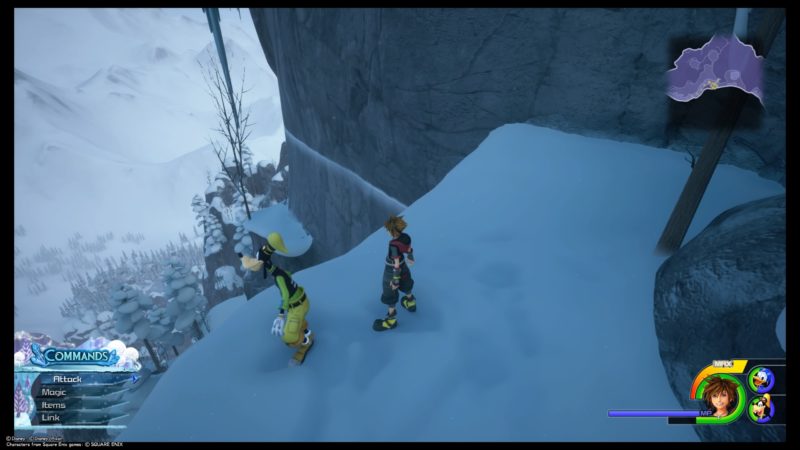
You know you’re in the right direction if you see these frozen walls.
One lucky emblem is here as well.
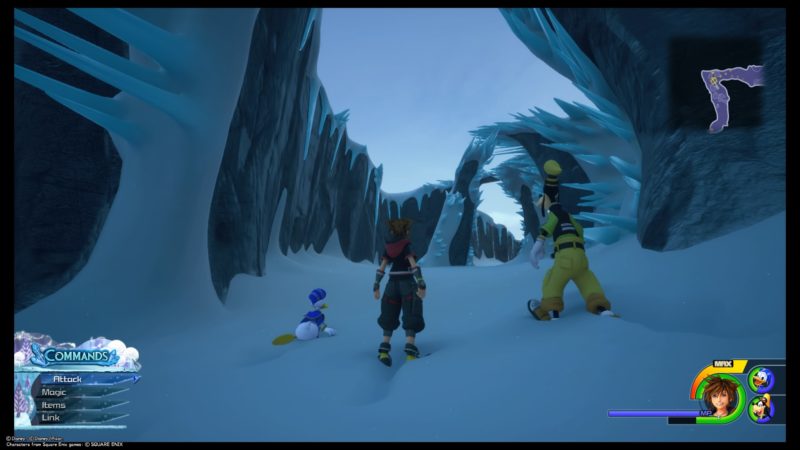
Get to the end and a cutscene loads. For the second time, you’re in front of the stairs to the palace.
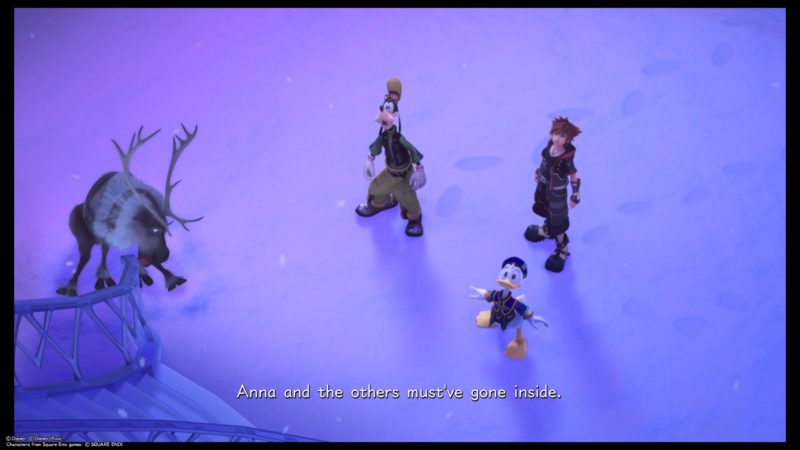
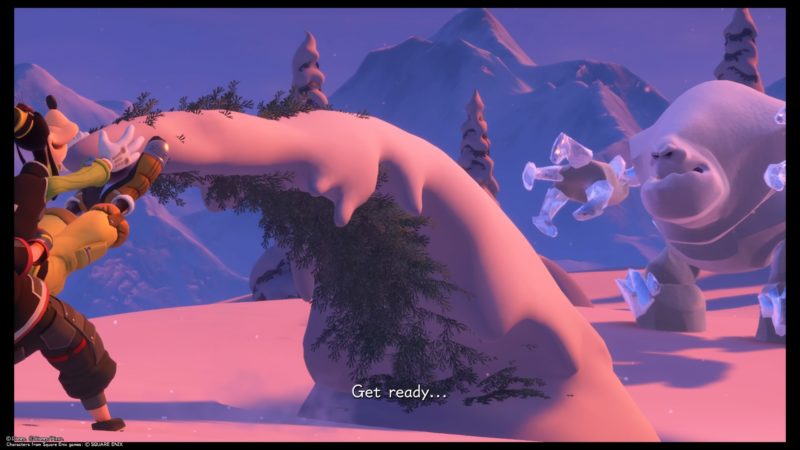
A giant ice monster appears (same as the movie) and throws Anna, Kristoff and Olaf out of the palace.
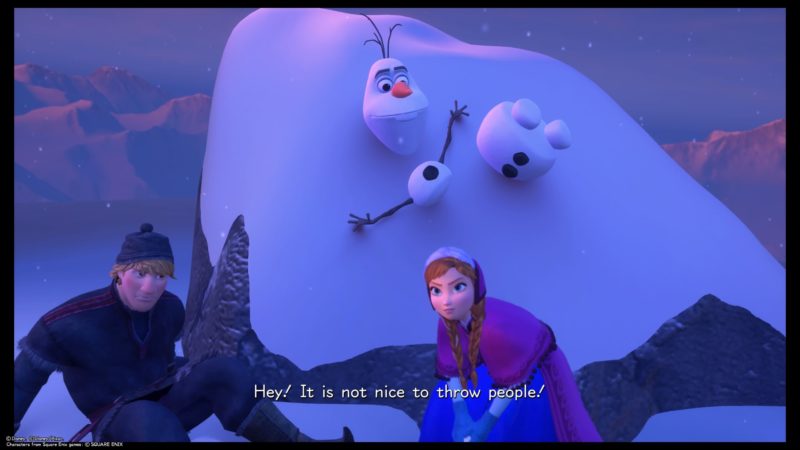
Now, you need to defeat this snow monster.
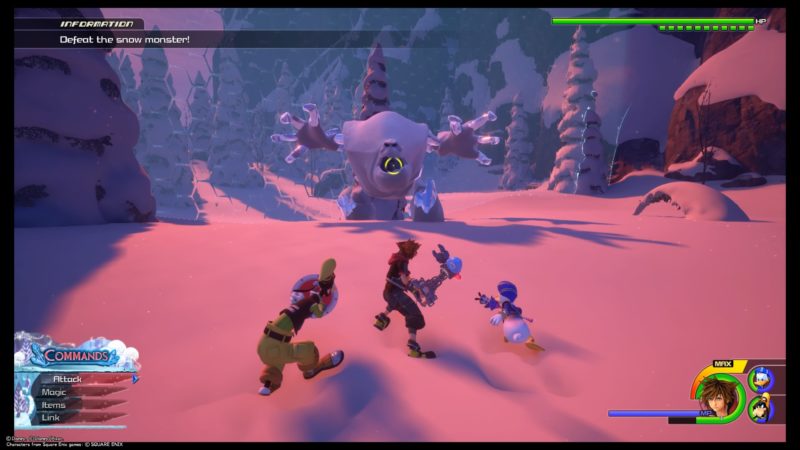
Defeat the snow monster
This snow monster can be pretty tough as its HP is huge.
It has twelve health bars and it takes some time to deplete them.
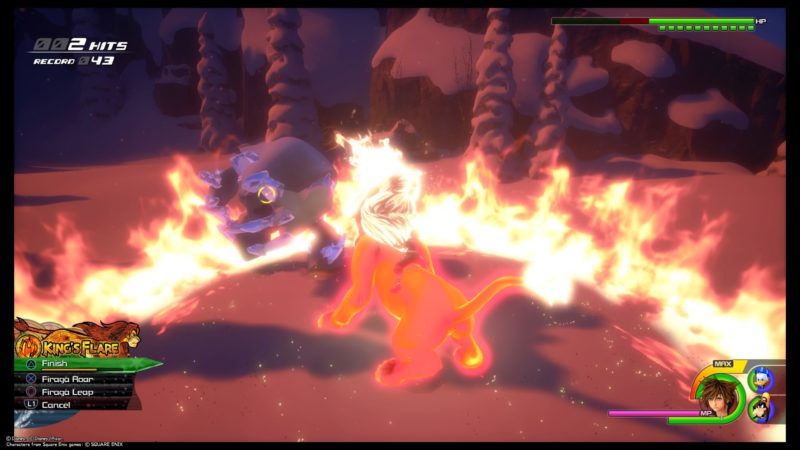
Personally, I love using Simba’s power (link command) for mini boss fights.
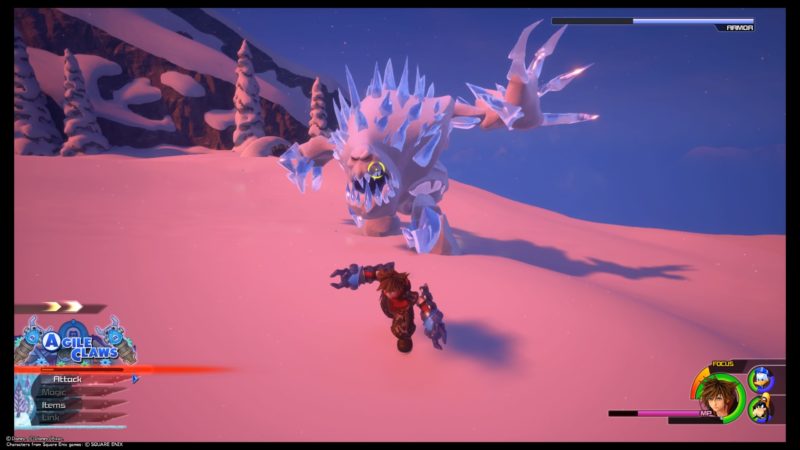
At one point, this snow monster will have spikes on its body which gives it a layer of armor. You need to destroy that layer first.
After defeating the snow monster, a cutscene appears. It will break a part of the mountain, which leads to you guys falling down from the mountain top once again.
Pay Elsa another visit
You’ll find yourself in Snowfield now. Once again, find your way up to see Elsa.
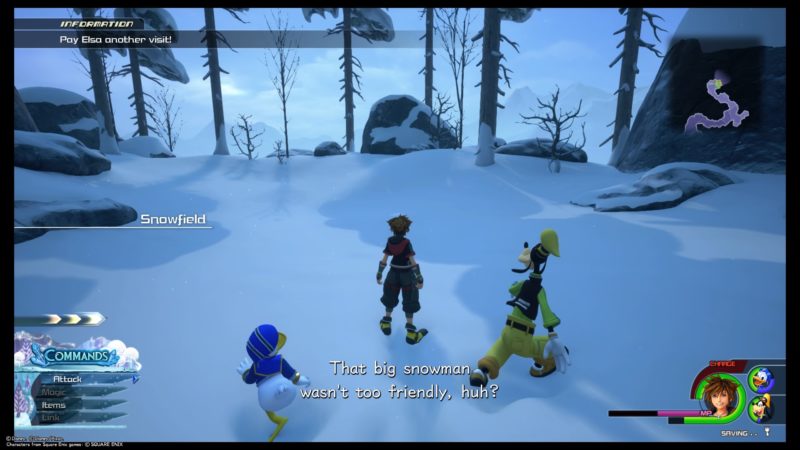
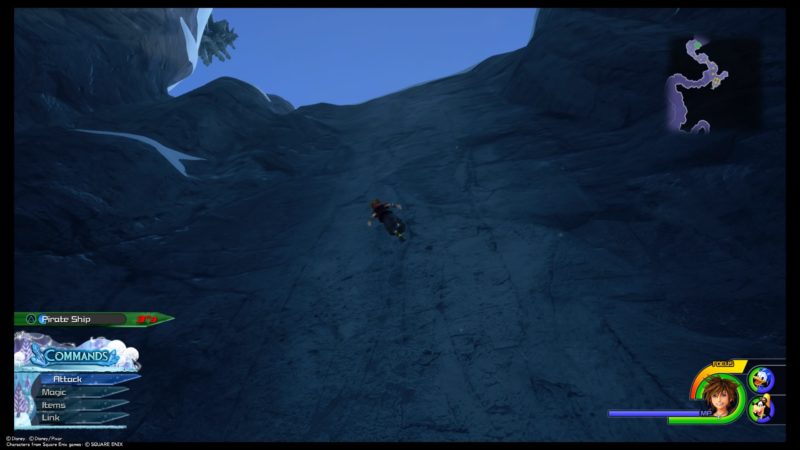
Climb the walls.
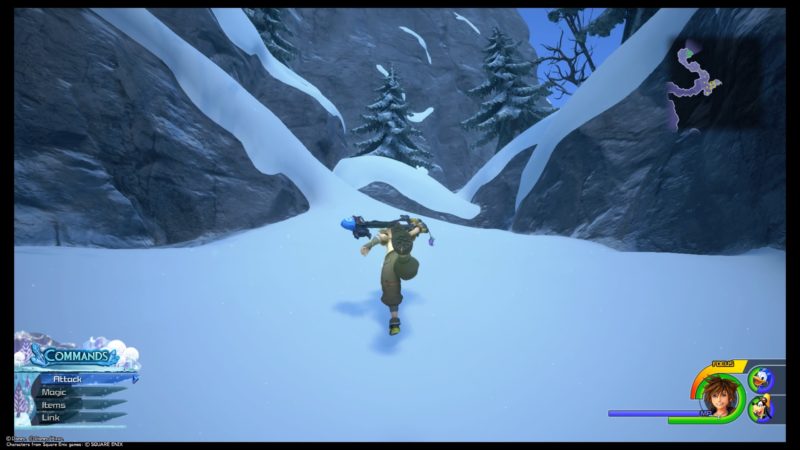
Keep following the pathway using the map.
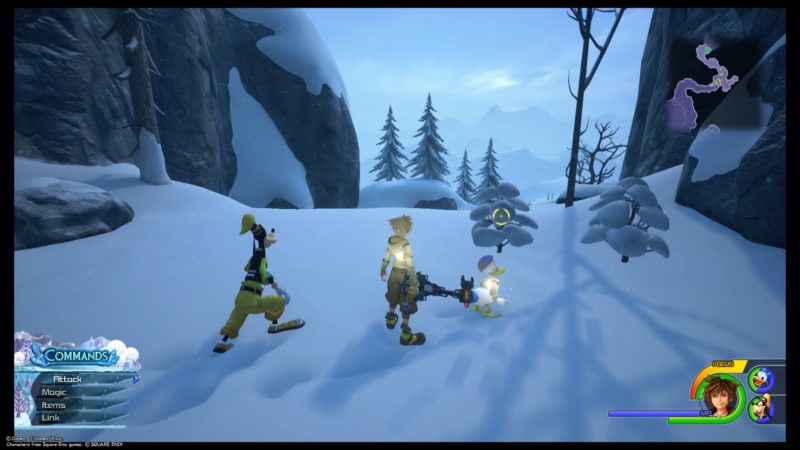
At one point, a cutscene will load. You will see Hans carrying Elsa on his back, going back to the city.
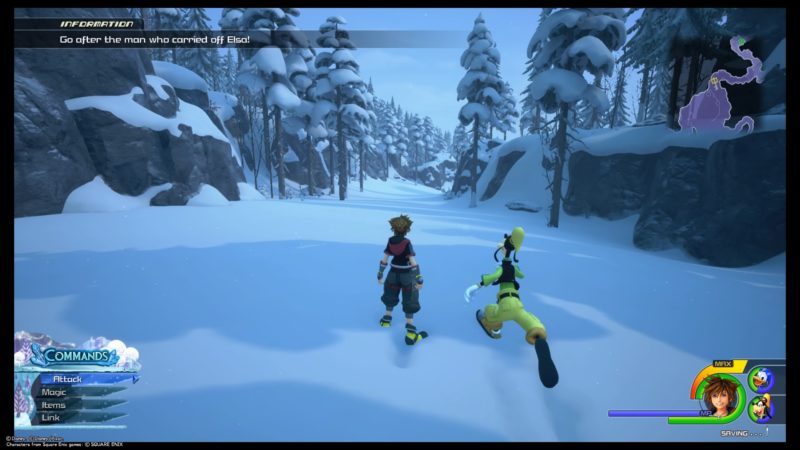
Go after Hans
Hans is the villain in the movie Frozen. Keep going straight to find him.
You will then meet the snow monster again.
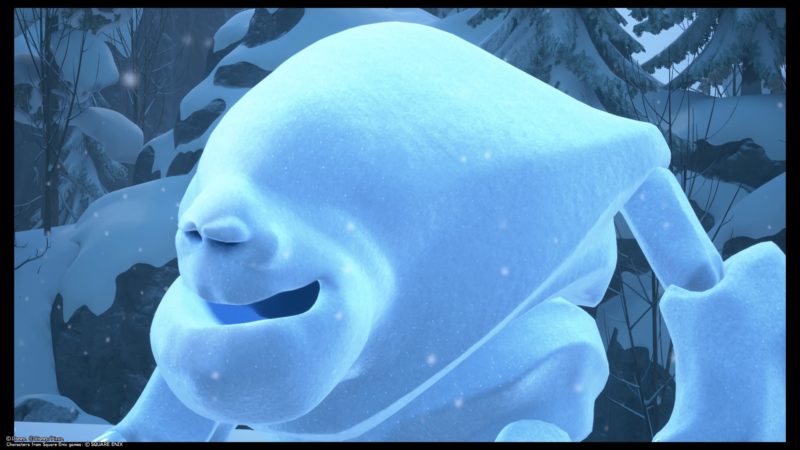
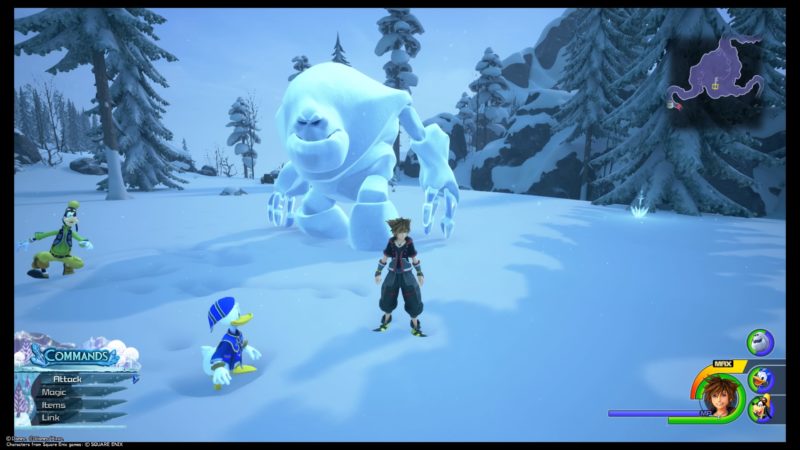
This time, you don’t need to fight it as you guys are in an alliance. The snow monster only wants to save Elsa.
It will become your member for the time being.
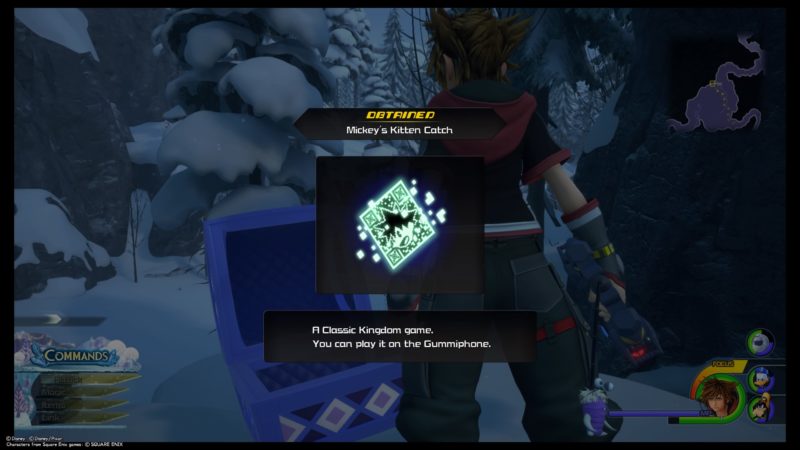
You should also find a treasure chest that gives Mickey’s Kitten Catch mini game in this area.
You’ll know you’re in the right direction when you see a save point and a Moogle shop.
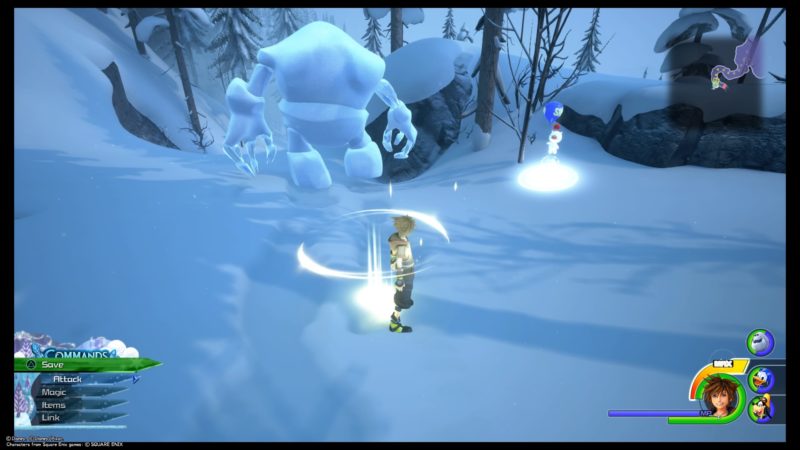
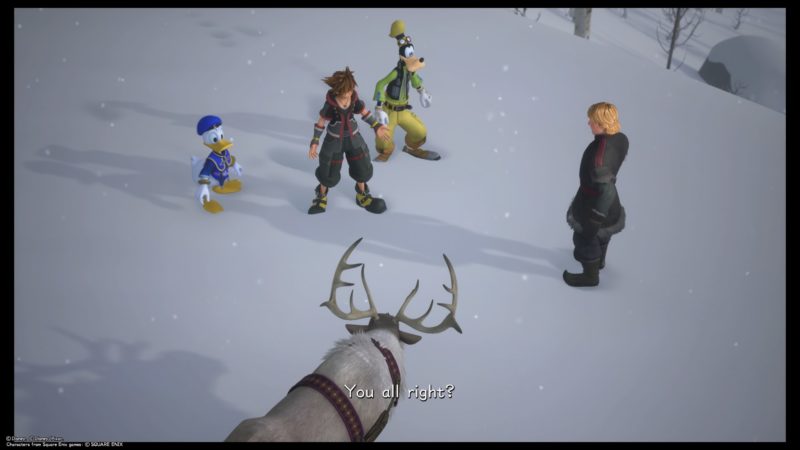
Go past the red line on the map, and a cutscene loads.
You will find Kristoff and Sven. He then rushes into the city after seeing some stormy weather at the city.
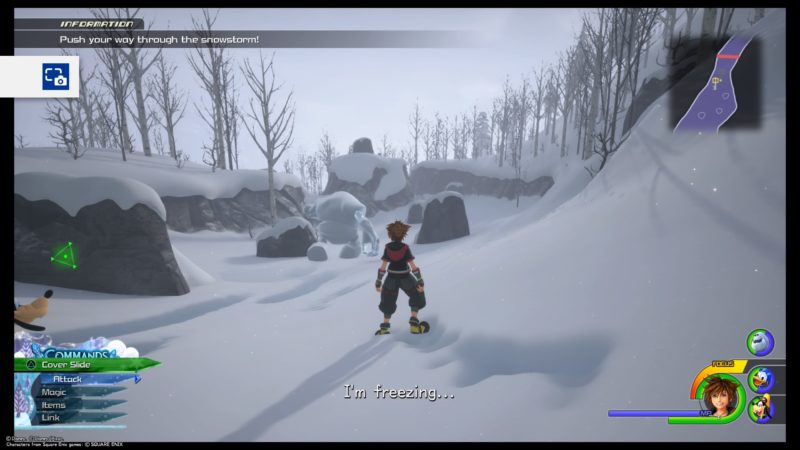
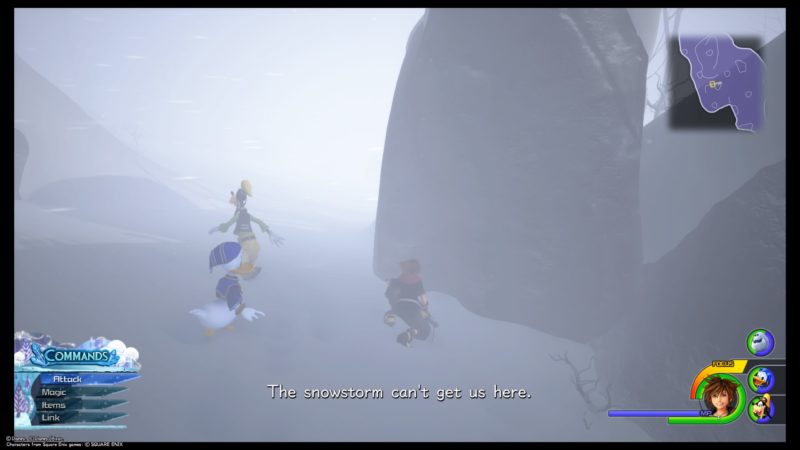
Push your way through the snowstorm
Now, you need to go through the snowstorm.
This part takes time as you need to wait out the strong winds.
When it stops, get behind the rock using “Triangle”.
There’s also a lucky emblem here, but you can’t get it until the storm ends later (which is probably after the main story).
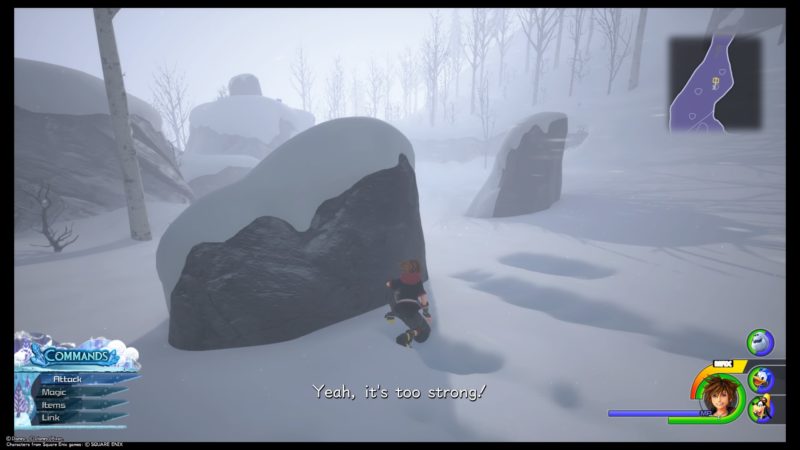
Keep sheltering yourself from the wind and going to the next rock when the wind stops for a moment.
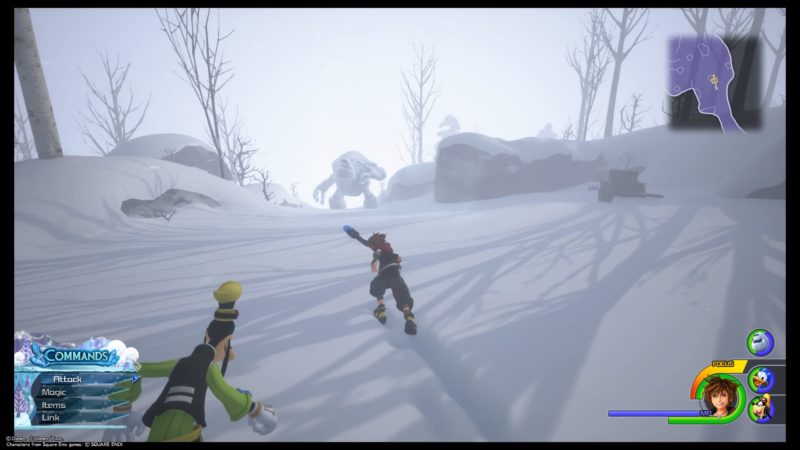
Just follow the map, and you should see the snow monster waiting for you.
It will then shield you for awhile before going to a cutscene.
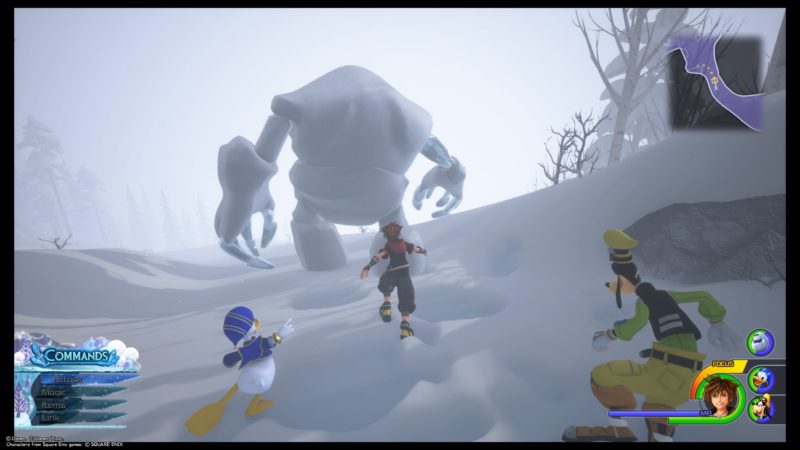
During the scene, Hans attacks Elsa but is blocked by Anna. Anna then turns into ice completely.
The darkness leaves Hans and turns into a giant Heartless.
Defeat the giant Heartless
This is the boss fight of this world. You need to defeat this wolf-like giant Heartless.
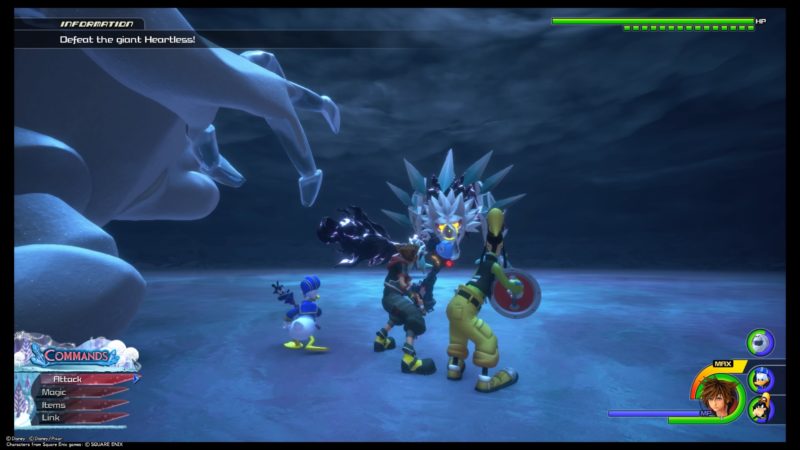
To attack it, use shotlock and airstep to its face. You need to get close to attack.
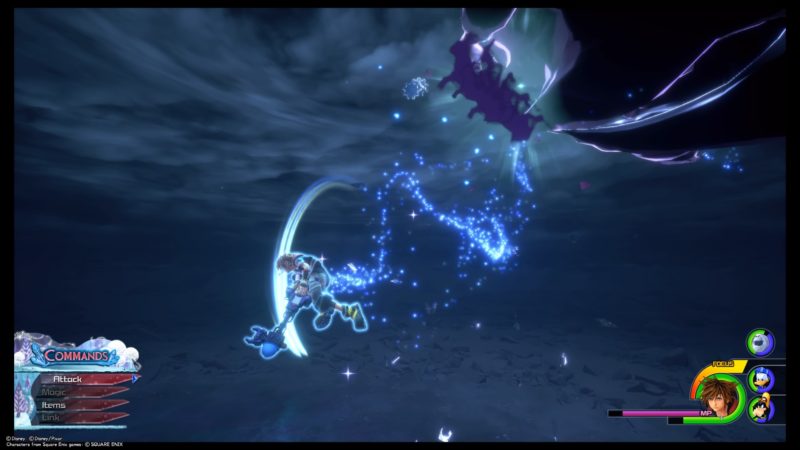
It’s usually hovering above ground, so it’s harder to hit it.
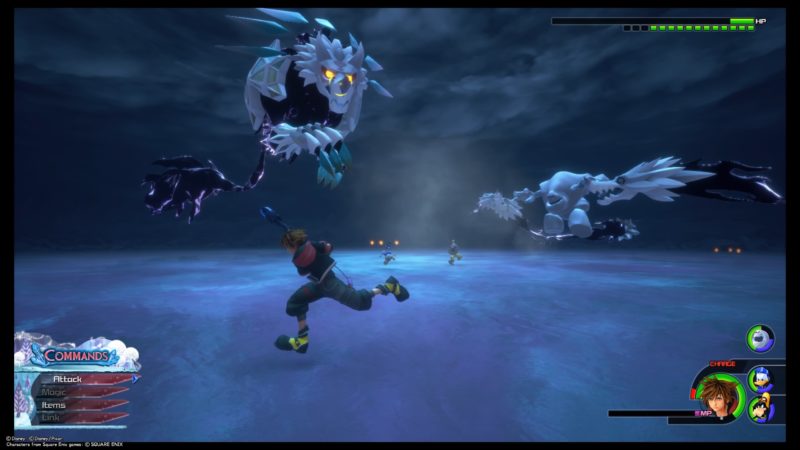
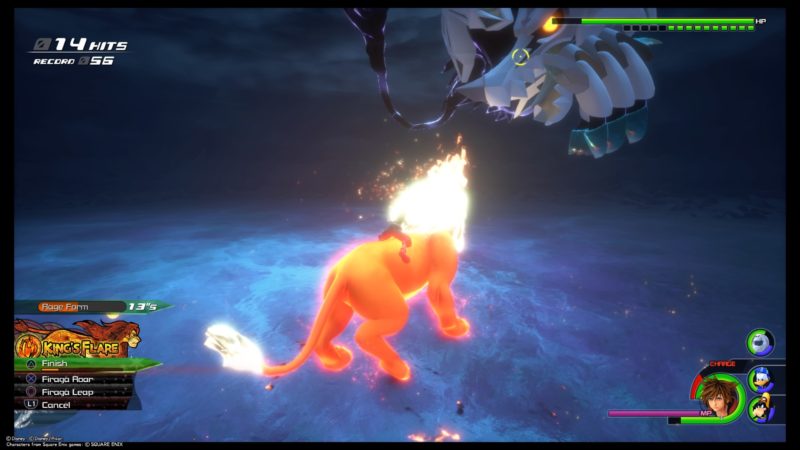
Like all the other bosses, I prefer to use the link command whenever possible to inflict damage, and barely take any damage at the same time.
You can use Simba’s power a couple of times in the fight. This boss has about 16 health bars, so it will take some time.
It also uses another attack where it transforms into a huge ball of darkness.
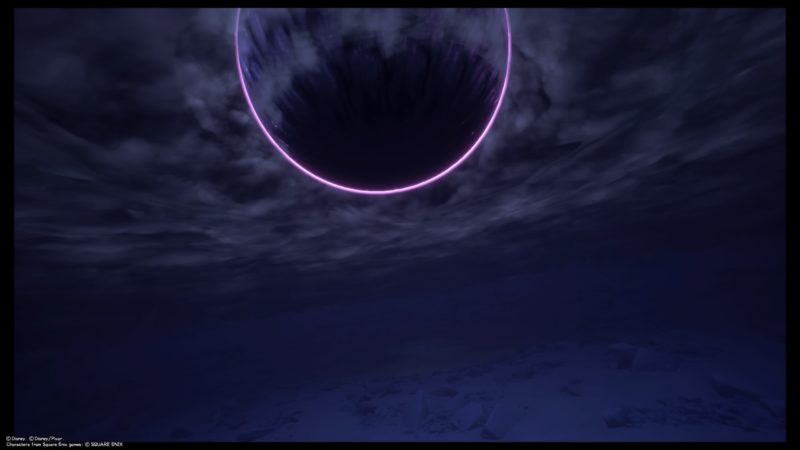
When this happens, many miniature Heartless appears. Keep defeating the small Heartless until a prompt “Subzero Impact” appears.
It’s a skill where the snow monster manages to hold off the ball of energy and Sora uses his keyblade to break it.
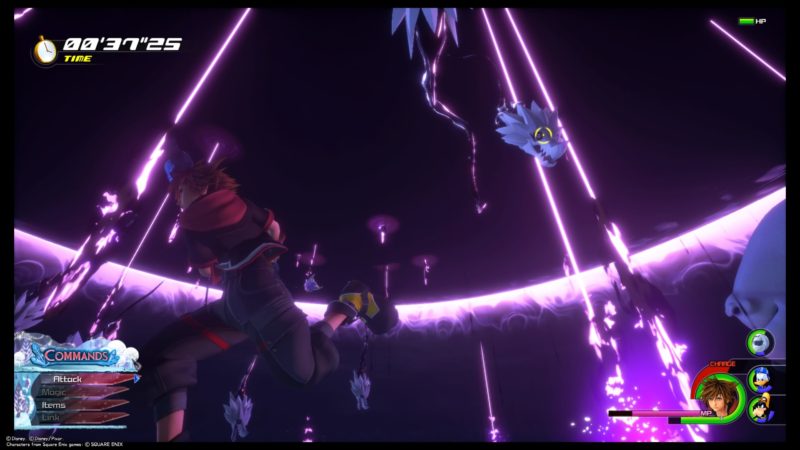
This giant Heartless is likely to use this skill more than once in a fight.
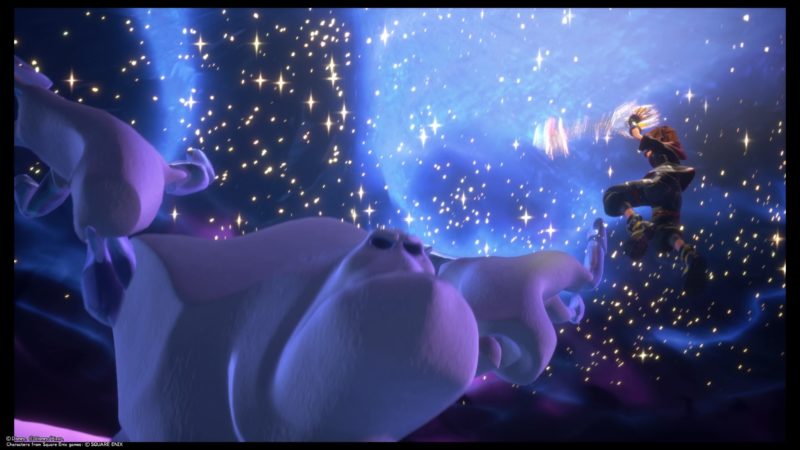
After defeating the giant, a cutscene appears.
Anna gets healed completely in Elsa’s arms, but before Sora and friends run towards them, they get surrounded by darkness.
Larxene appears again to have some chatter with Sora.
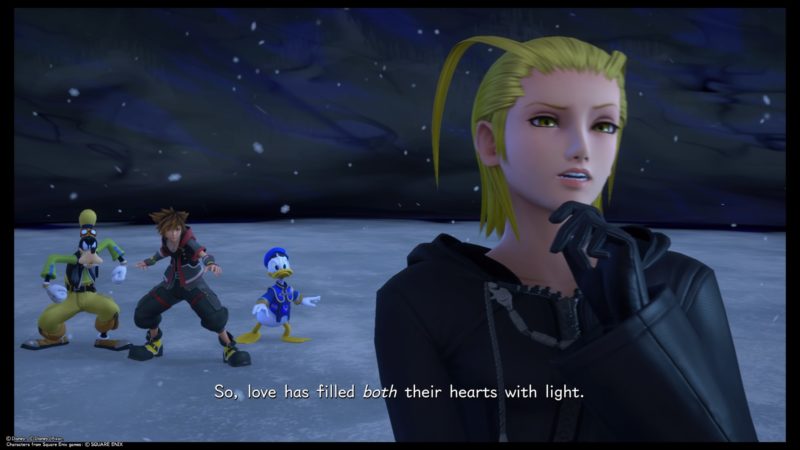
Happy Ending
The main story ends in a happy ending, with Elsa and Anna back together. Everyone else seems fine as well.
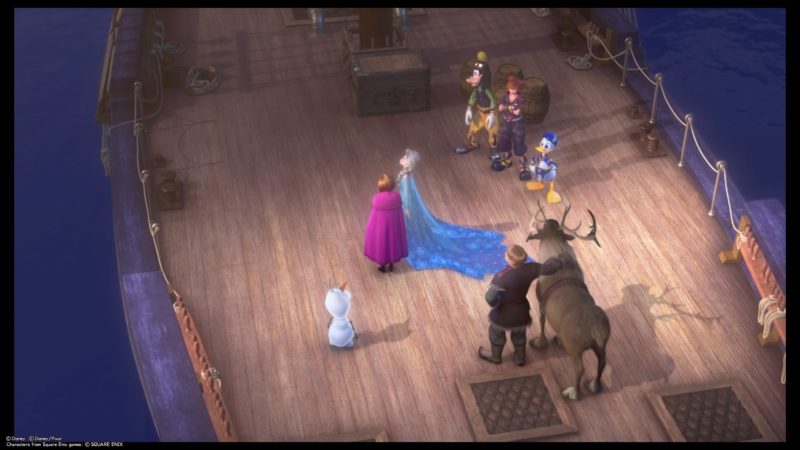

This main story of this world completes here.
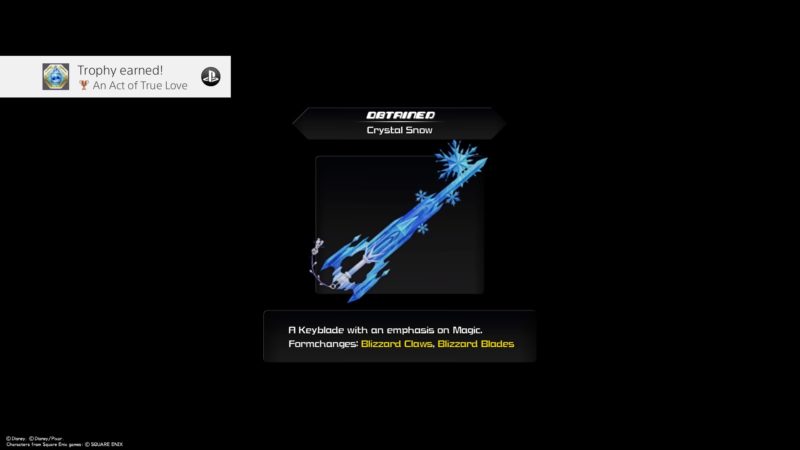
Like other worlds, you will get a new keyblade, i.e. Crystal Snow. This keyblade emphasizes on magic.
Hopefully this walkthrough and guide of Arendelle in KH3 is useful for you.
Related articles:
Kingdom Hearts 3: San Fransokyo (Walkthrough And Guide)
KH3: The Caribbean (Walkthrough And Guide)
Kingdom Hearts 3: Kingdom Of Corona (All Lucky Emblem Locations)
Kingdom Hearts 3: Monstropolis (Walkthrough And Guide)
All Lucky Emblem Locations In Monstropolis
Kingdom Hearts 3: Kingdom Of Corona (Walkthrough And Guide)