Minding Your Own Business is a pretty long side quest available in Hogwarts Legacy.
Your objective is to purchase a shop but you’ll then need to deal with a haunted dungeon within the shop.
Here’s a walkthrough and guide of Minding Your Own Business in Hogwarts Legacy.
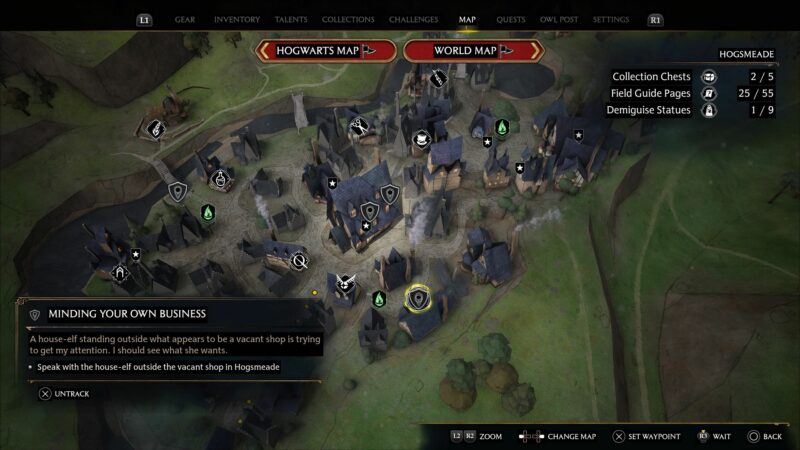
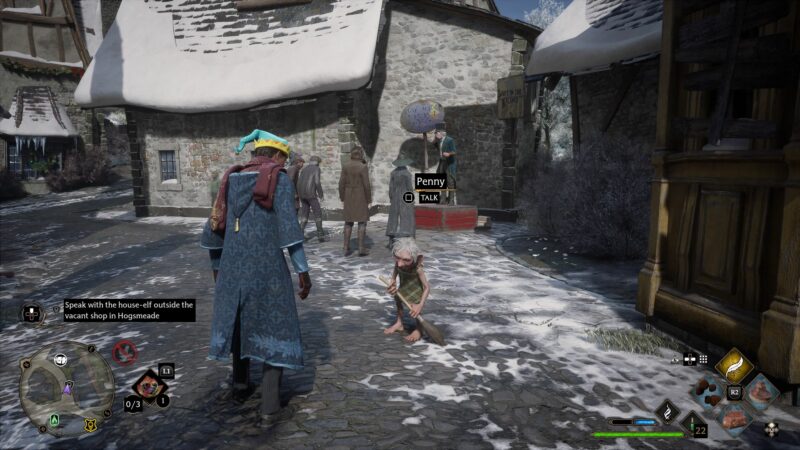
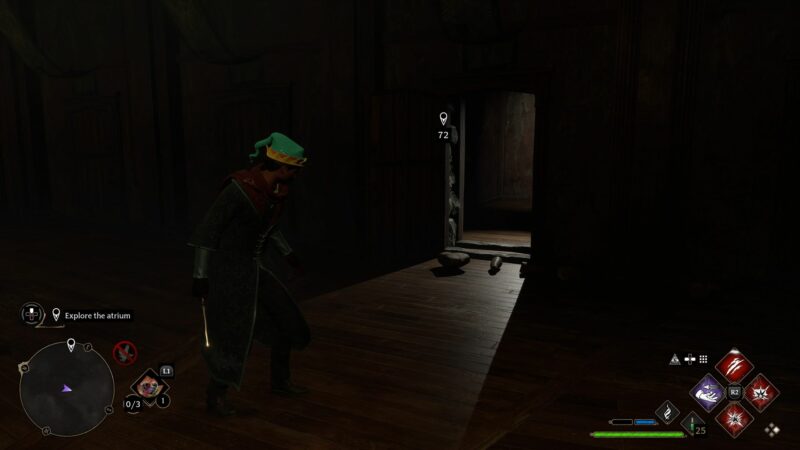
To begin the quest, go to the vacant shop in Hogsmeade marked on the map below.
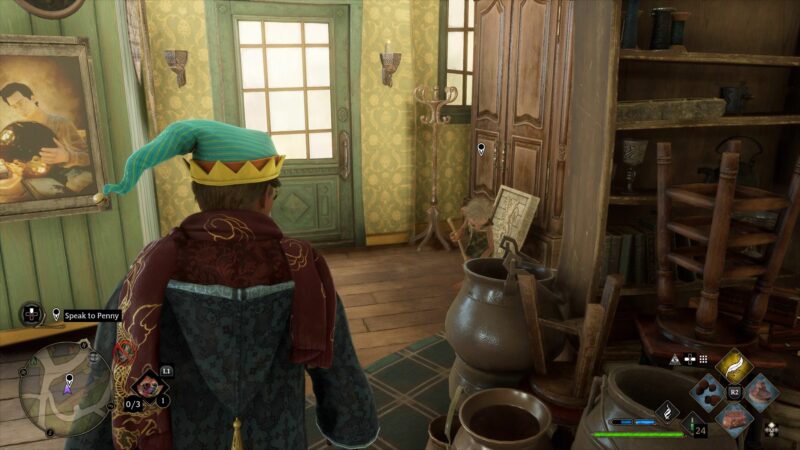
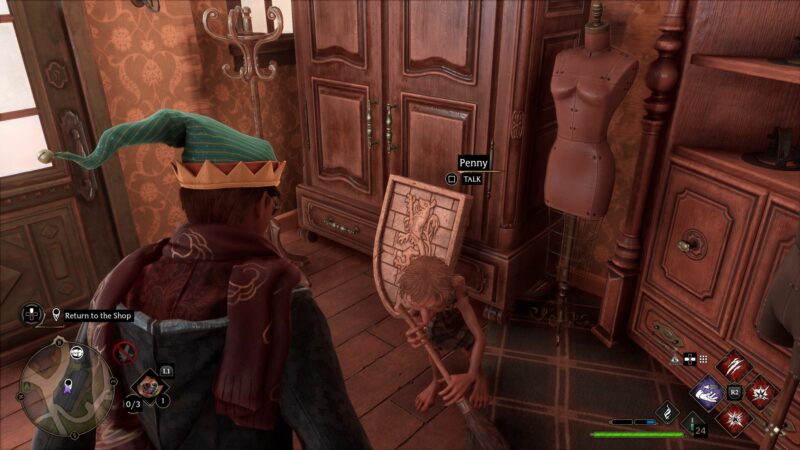
You’ll see Penny the house-elf there. Talk to her.
Speak with Cassandra Mason
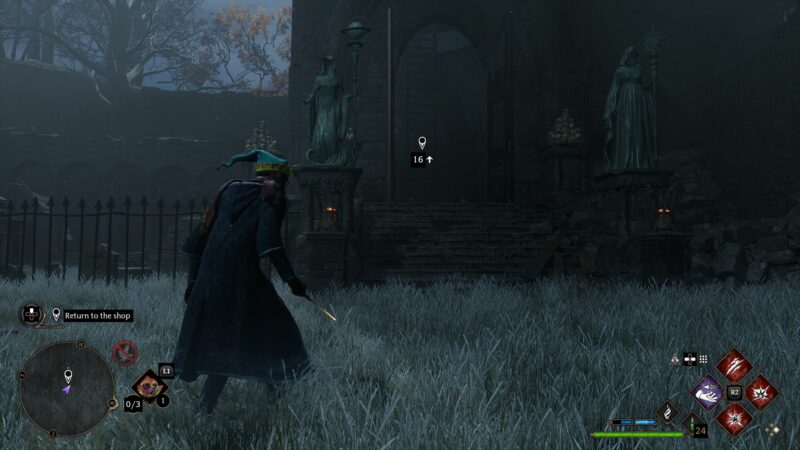
Then, talk to Cassandra Mason. Her location is also on the map.
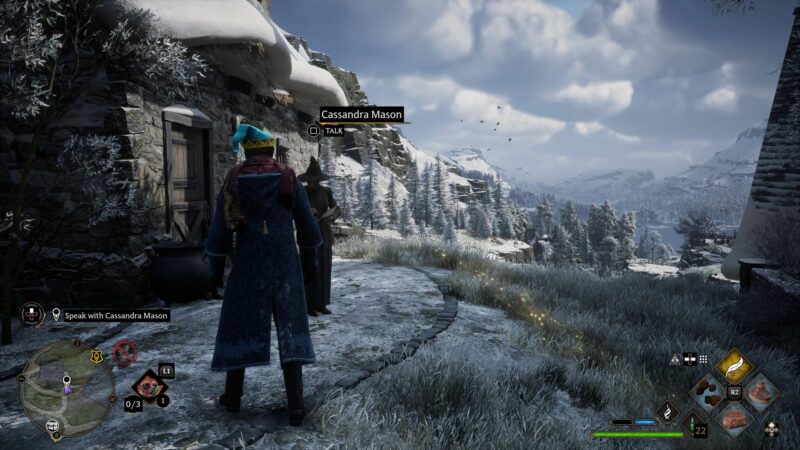
She’ll ask you for 1,500 coins to buy the shop from her.

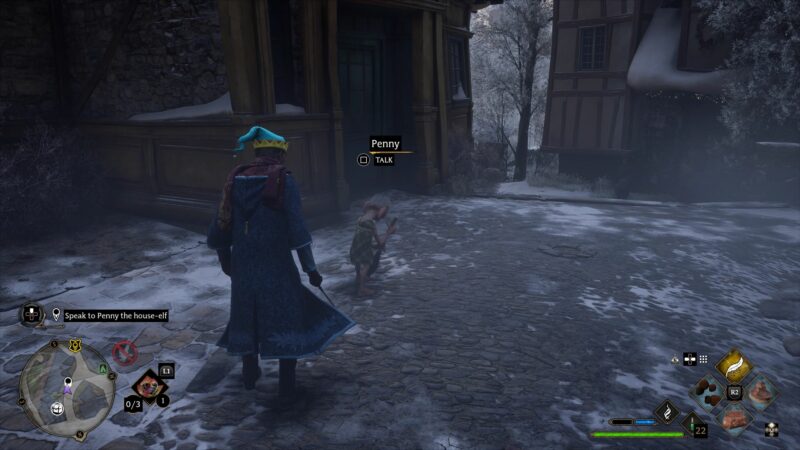
Speak to Penny
Return to Penny at the shop.
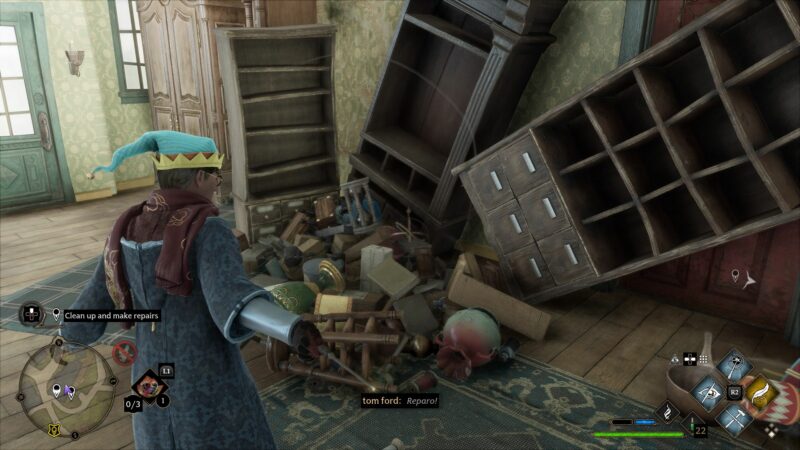
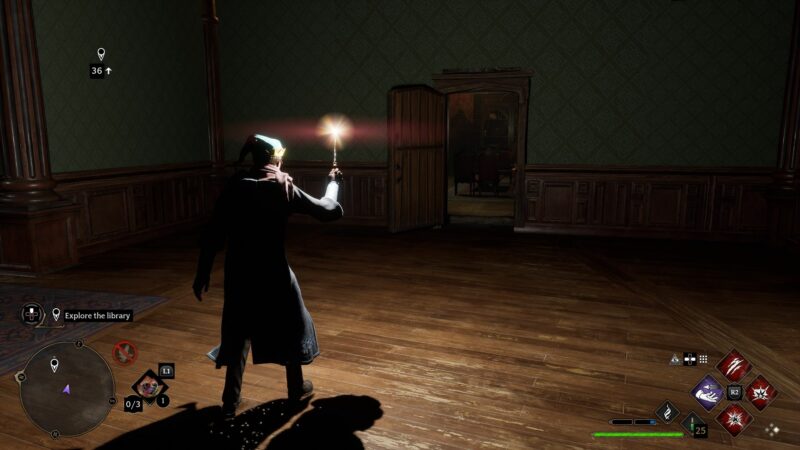
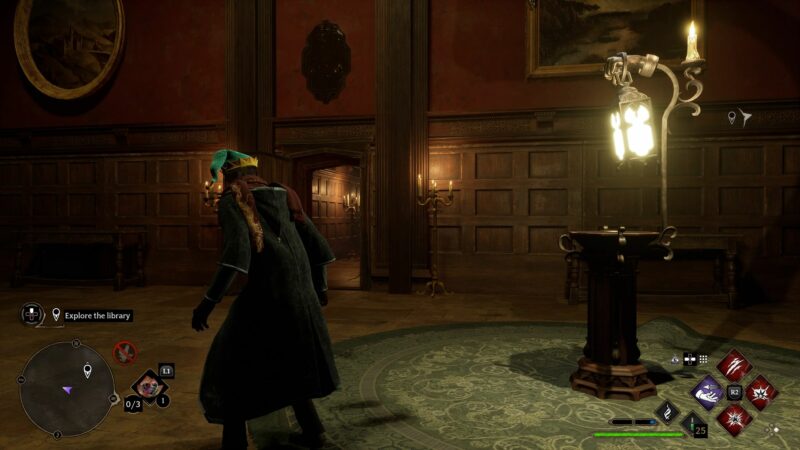
Clean up and make repairs
Enter the shop and use Reparo to make repairs inside.
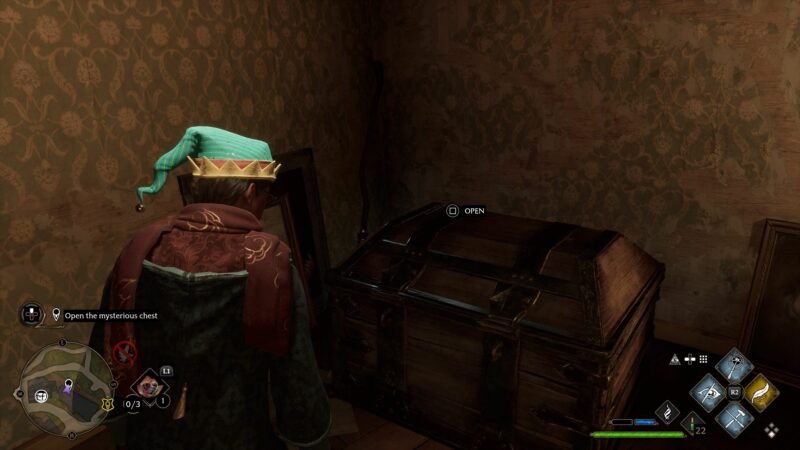
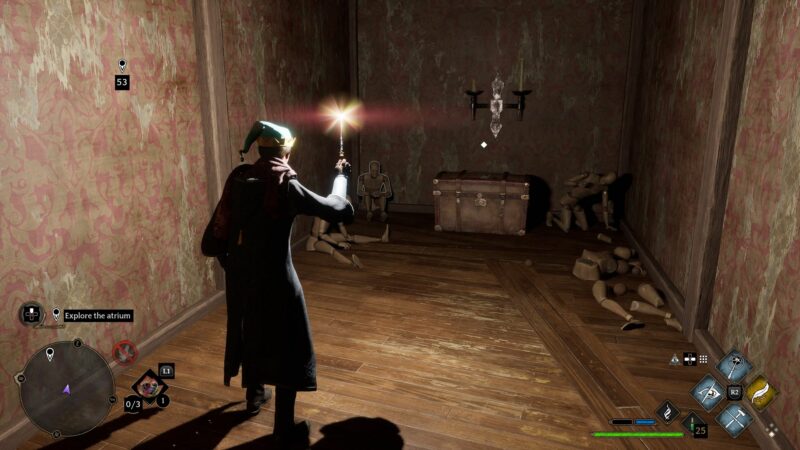
Open the mysterious chest
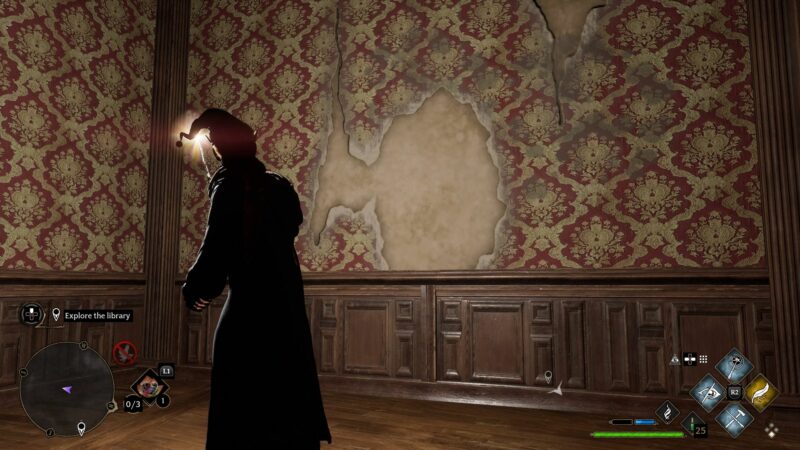
Enter the room at the back and open the mysterious chest. It’s actually more like a dungeon.
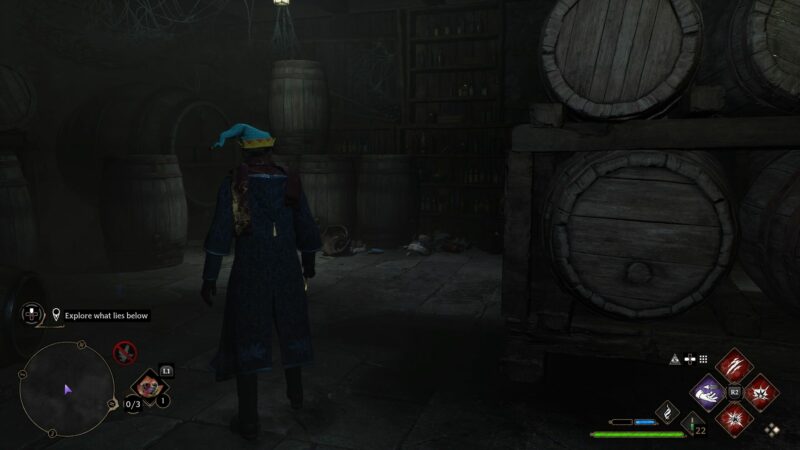
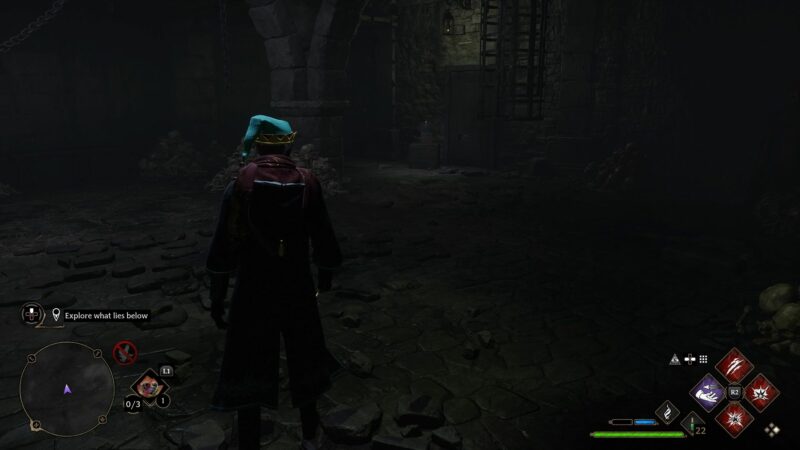
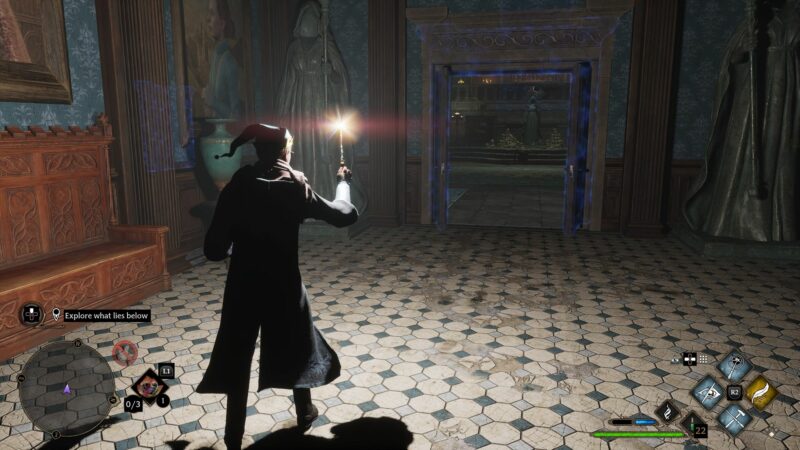
Explore what lies below
Go down the steps and walk around.
You’ll find an elf-sized hat at the end of the room.
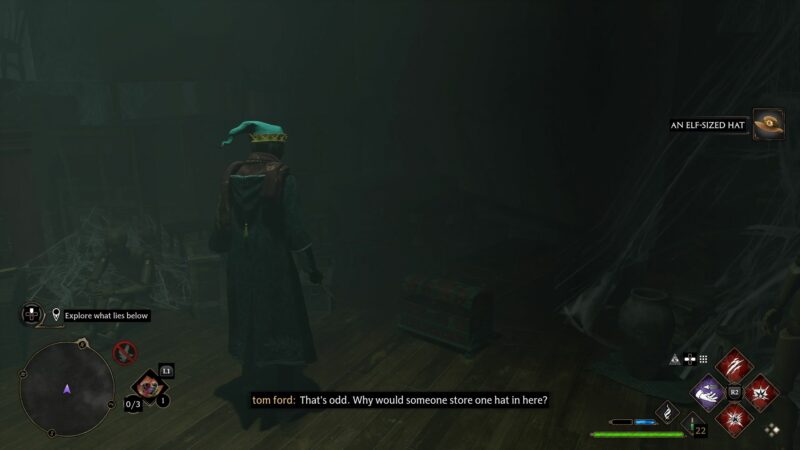
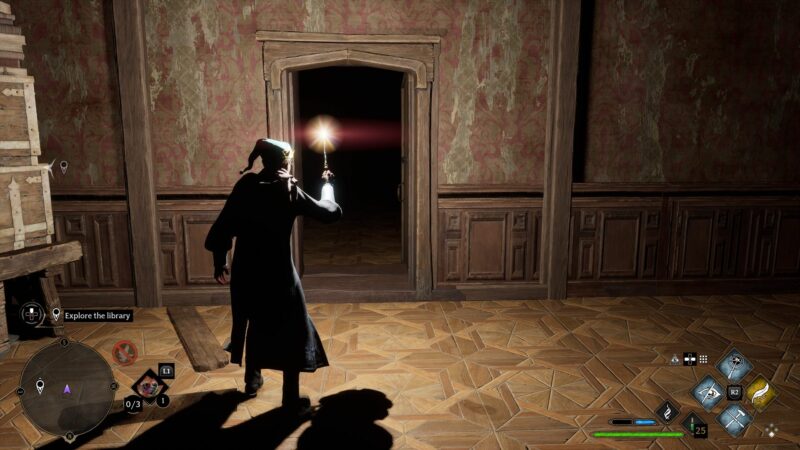
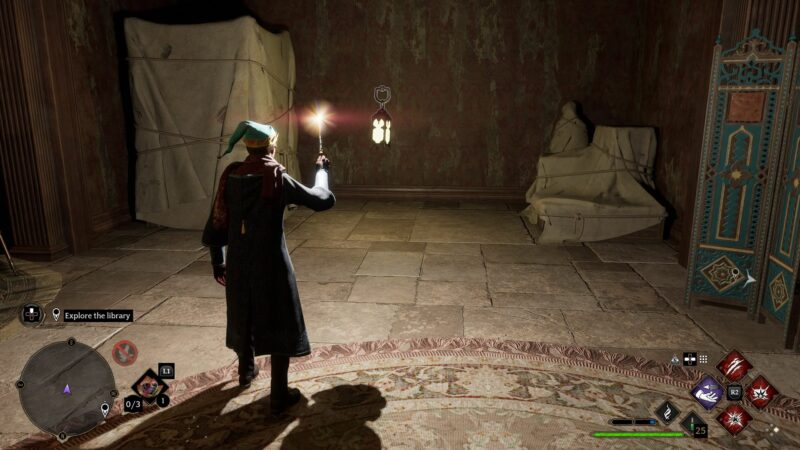
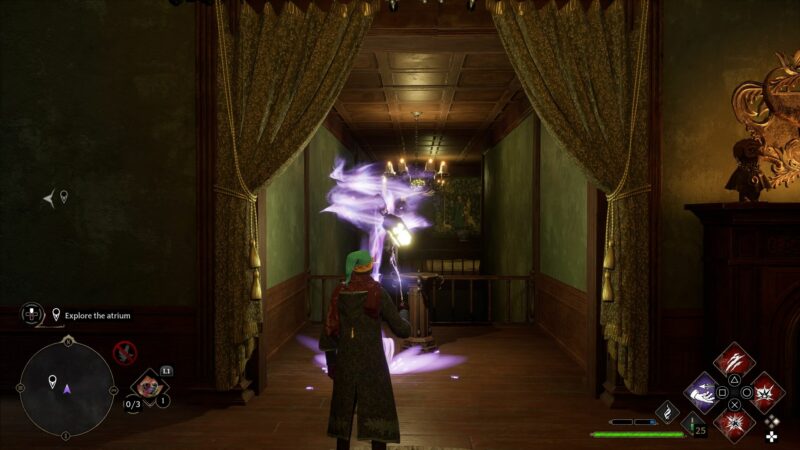
The room then gets dark. Here, you’ll need to rely on Lumos a lot.
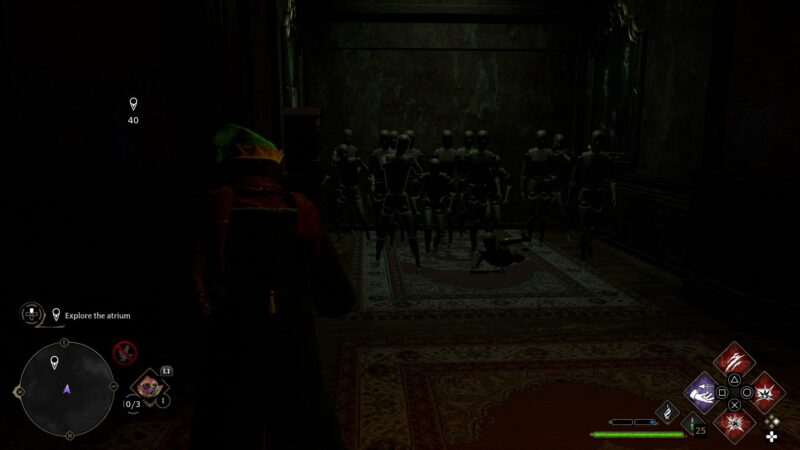
Use it and you’ll see mannequins hanging.
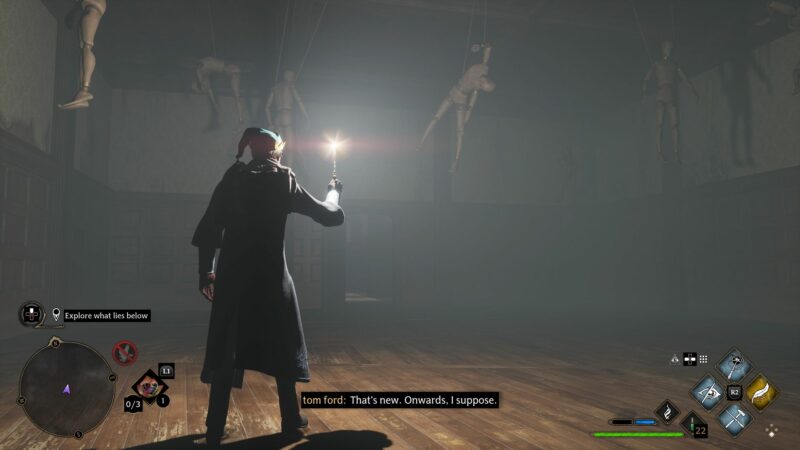
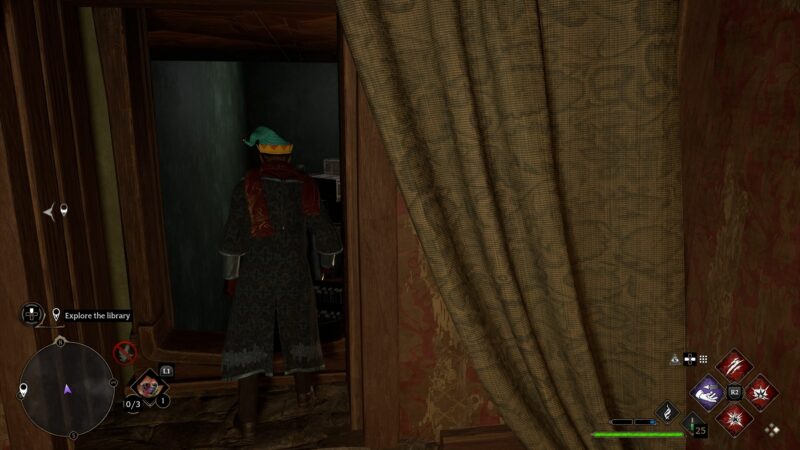
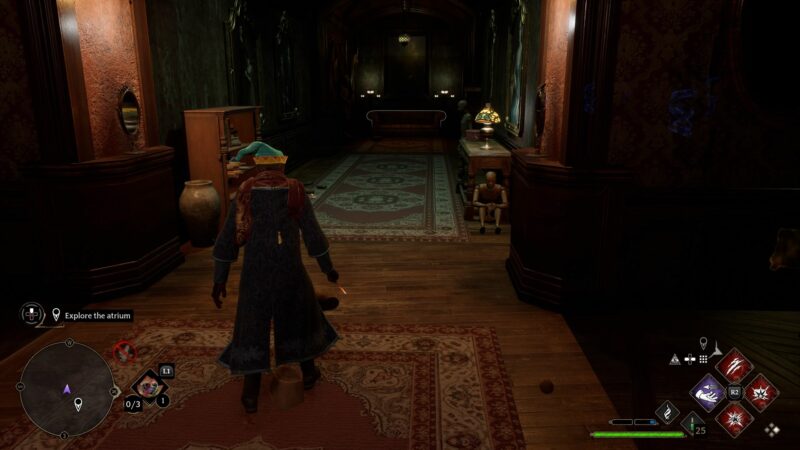
This is where it gets crazy. You’ll be walking around a lot and the room changes a lot. Just need to explore until something changes.
You will then reach a part where a door is locked and one side has a lantern on it.
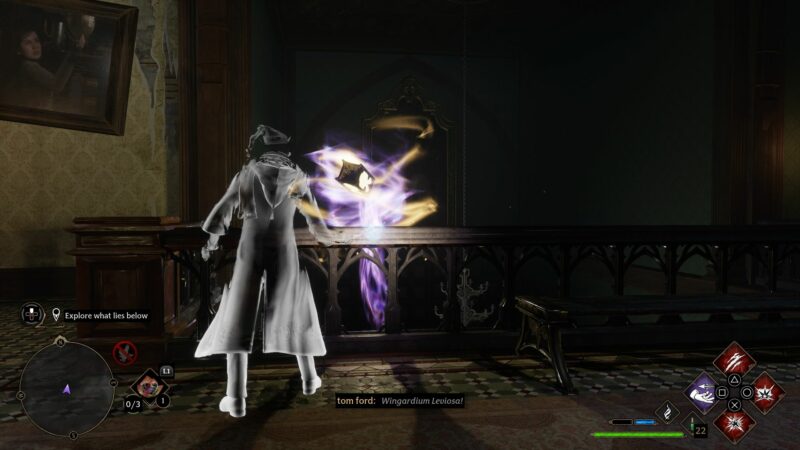
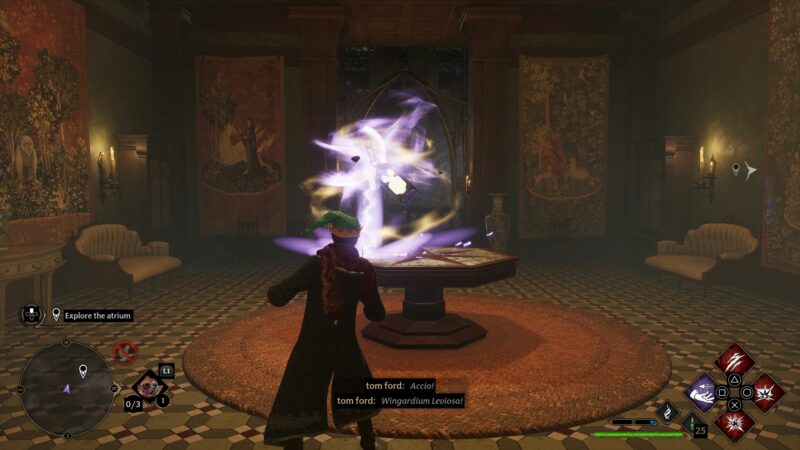
Look for the lantern floating at the side and use Wingardium Leviosa to place it on the stand. The door opens.
Continue exploring ahead.
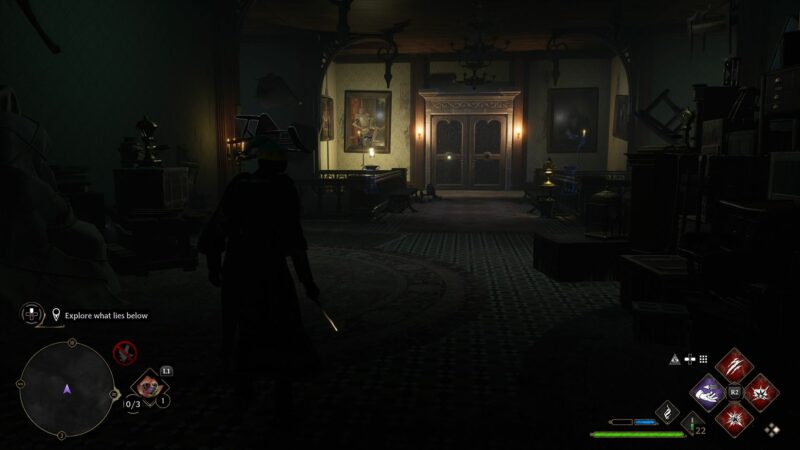
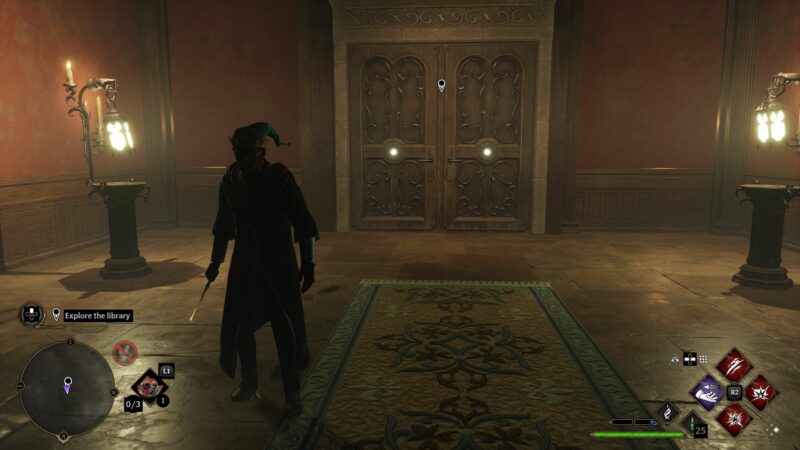
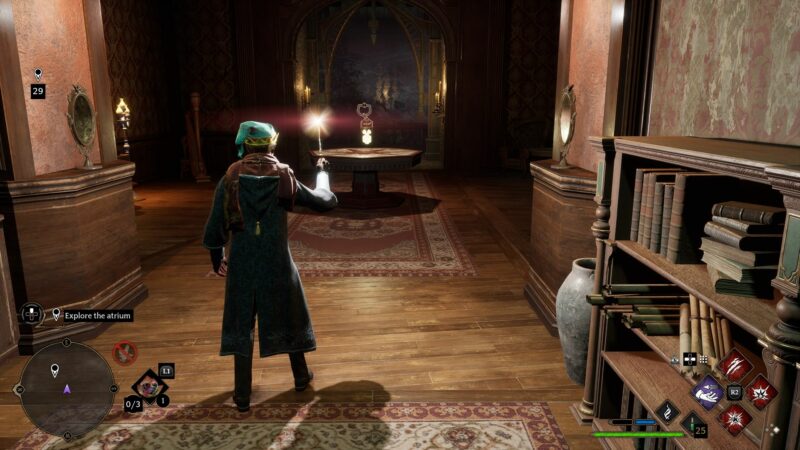
You will then reach a foyer. You will be going around this foyer a lot as each door leads to a different maze.
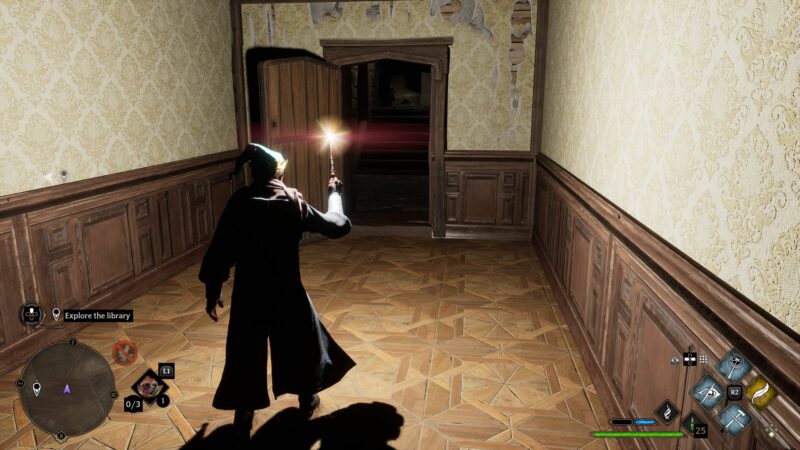
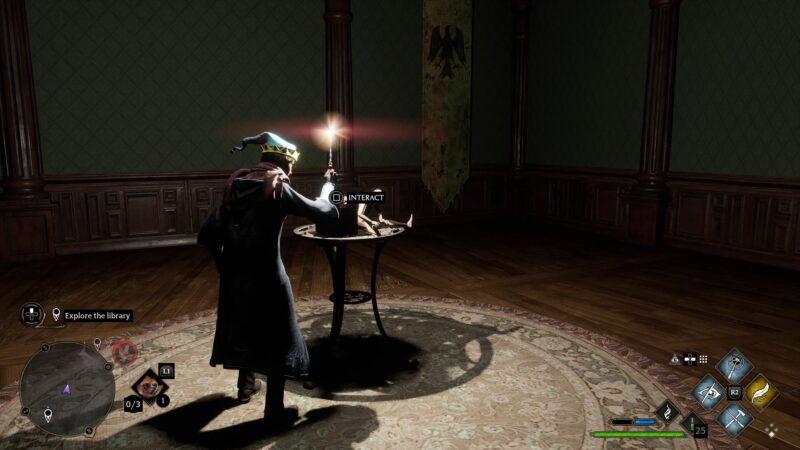
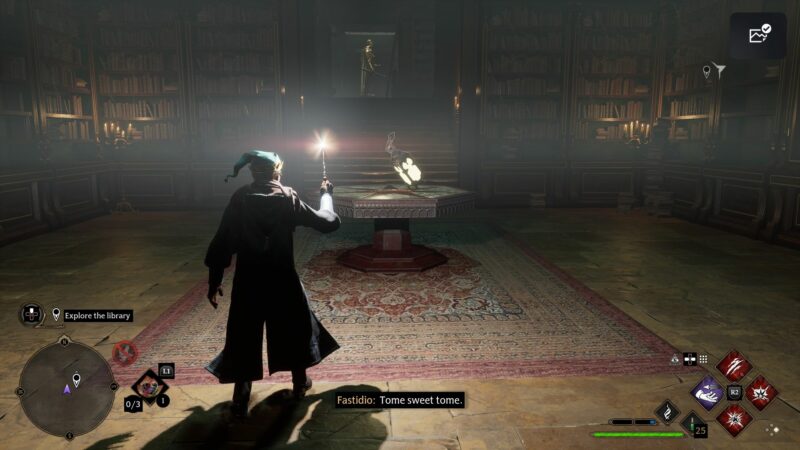
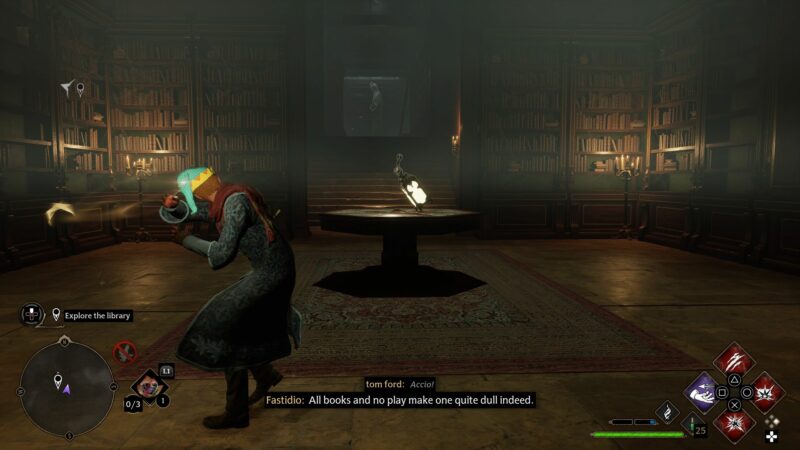
Explore the library
Head to the first door that is open which leads to the library.
Inside the library, you will see a door which needs two lanterns and none of them are here. Explore around the area.
Get the first lantern (library)
You’ll then somehow be trapped in a room with no doors.
After the lights go off, you’ll see plenty of mannequins.

Continue to make your way around.
You will then reach a toybox. Interact with it to open it.
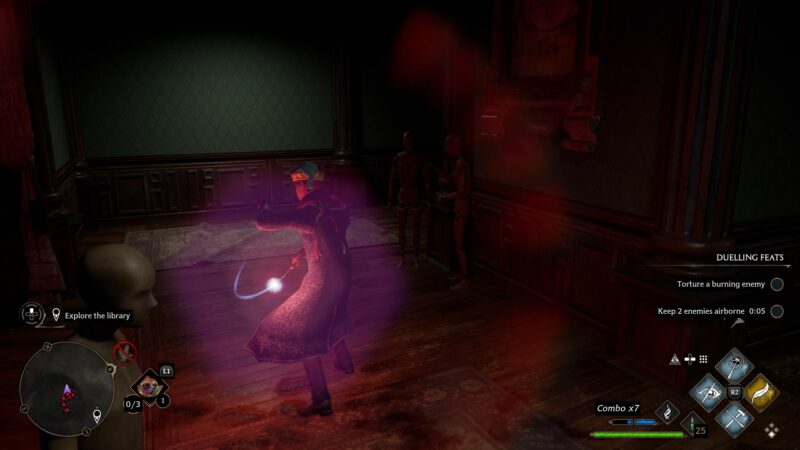
After that, you’ll be attacked by plenty of mannequins. Take them all out.
After the battle, follow the path.
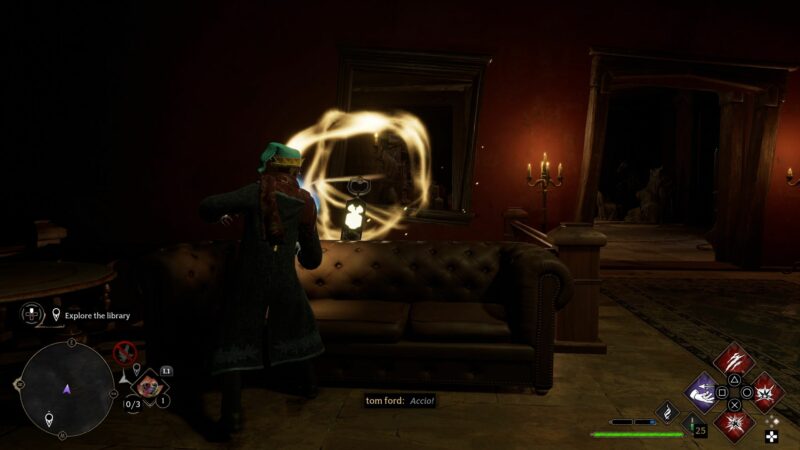
You will then reach a library-type of room with a lantern in the middle. Use Wingardium Leviosa to drag it with you.
Bring it back to the main door and place the lantern on one of the stands.
Get the second lantern (library)
Explore around the library again and look for a path where the walls with portraits will start rotating.
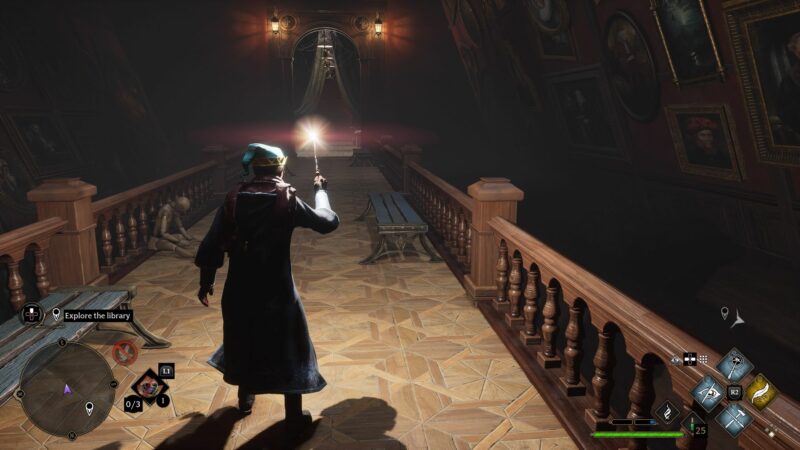
You will reach an overturned room.
Look for the lantern above you and drag it down.
Bring the lantern to the nearest stand.

Place the lantern on the stand.
Now, go back out through the window on the left side.
You’ll reach another room with a lantern.
Drag the lantern with you.
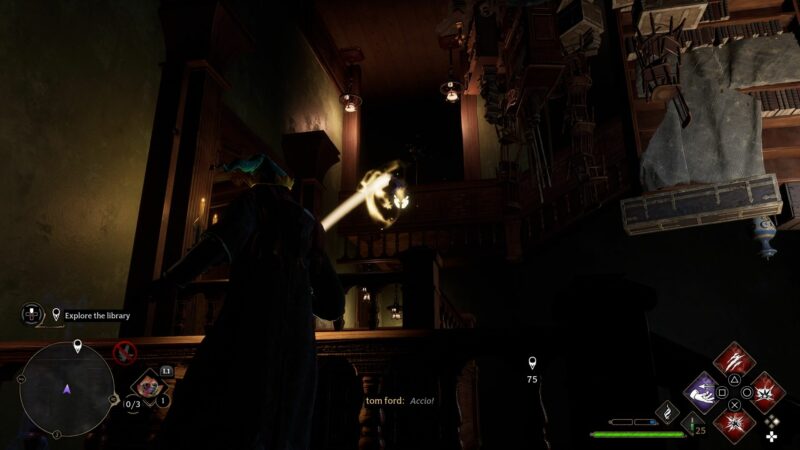
In the next area, you will see a lantern through the window. Use Leviosa again to bring it to you.
Place the lantern on the next stand.
You’ll then reach the library again. Take the lantern.
Bring it back to the main door and you now have both lanterns.
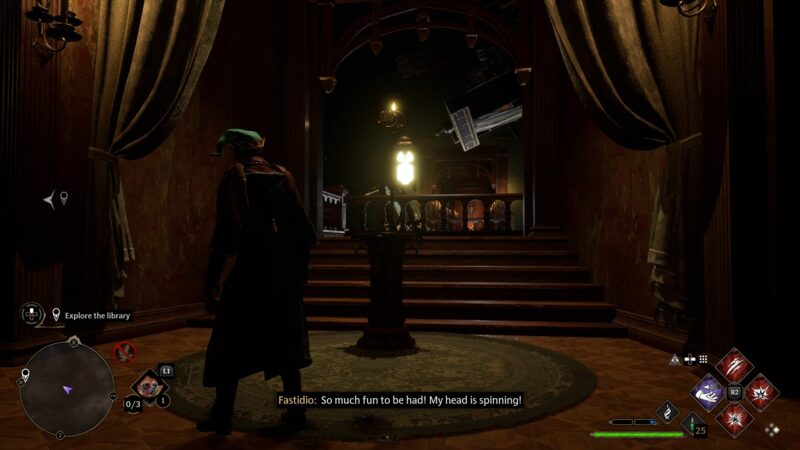
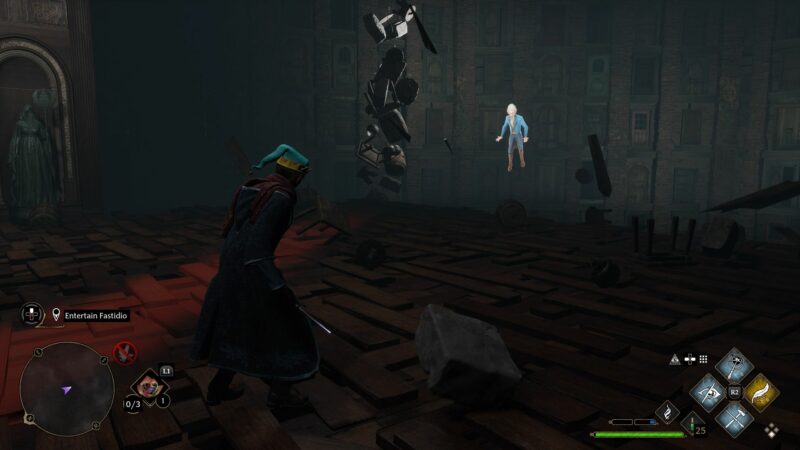
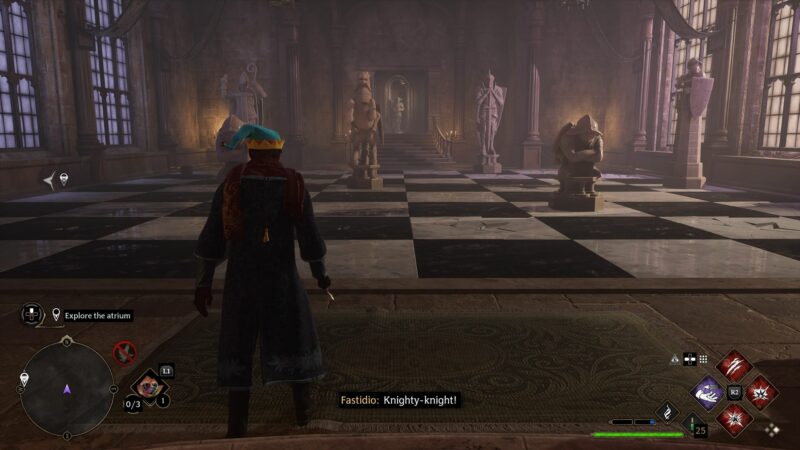
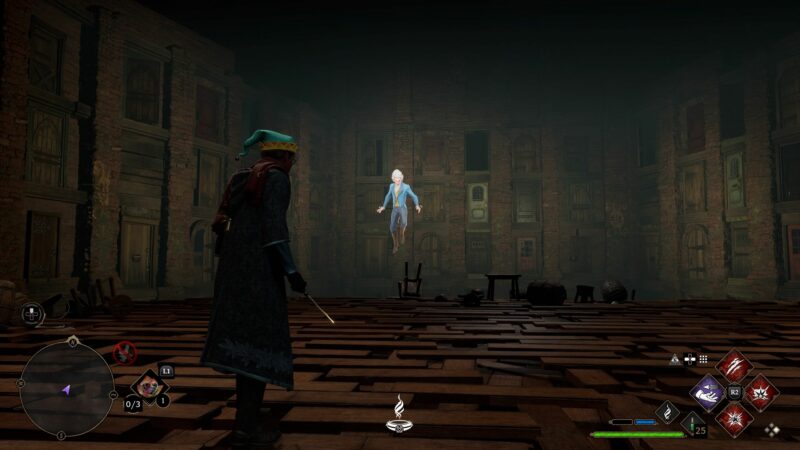
Entertain Fastidio
Follow the path that leads you to Fastidio.
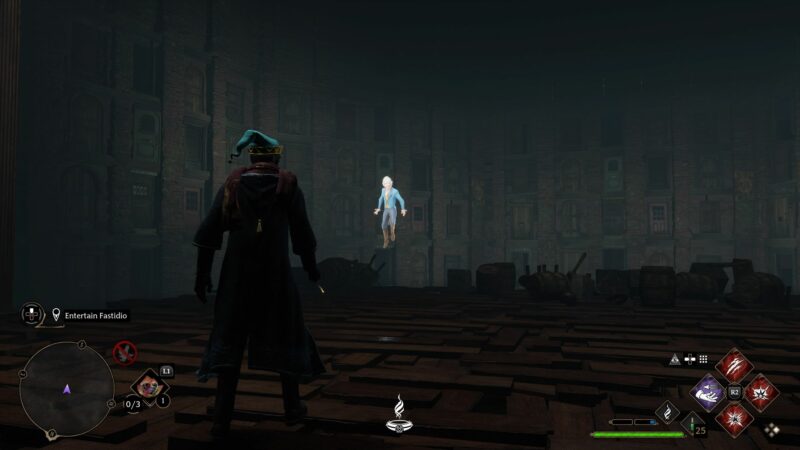
He will summon some objects to throw and slam at you. Survive this part until he’s bored.
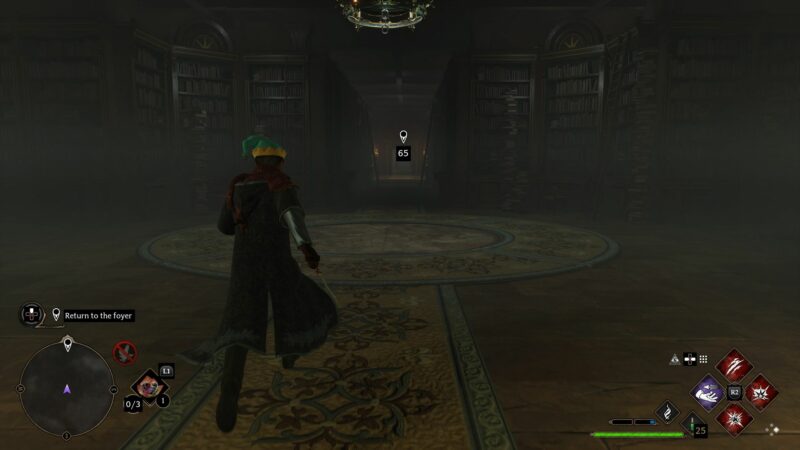
Return to the foyer
Head back to the foyer.
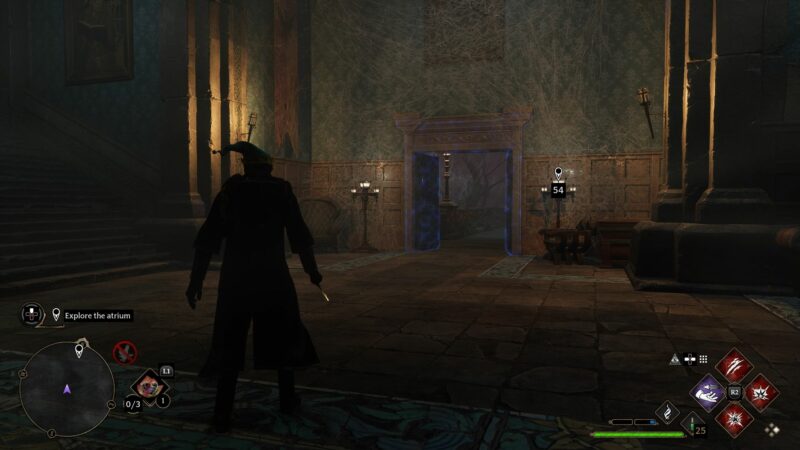
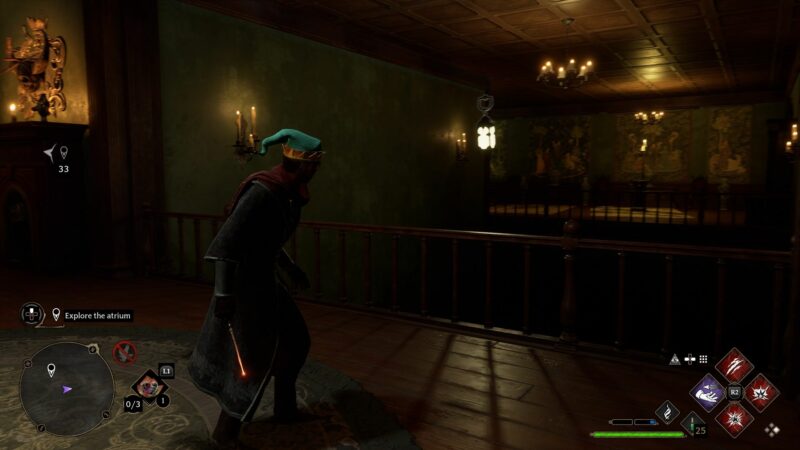
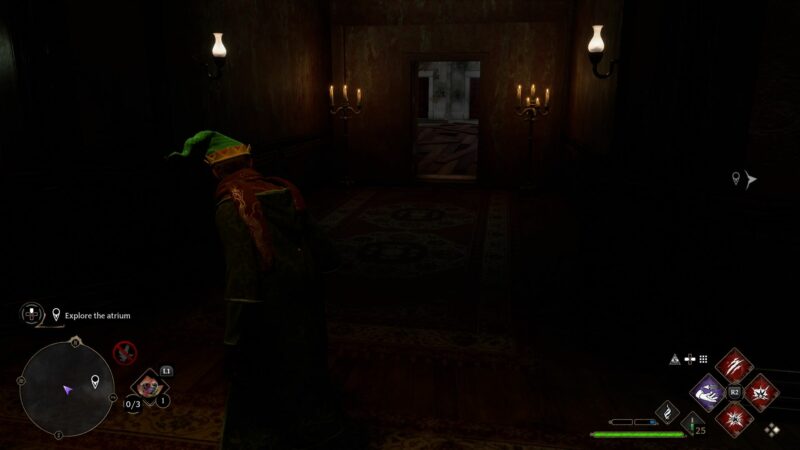
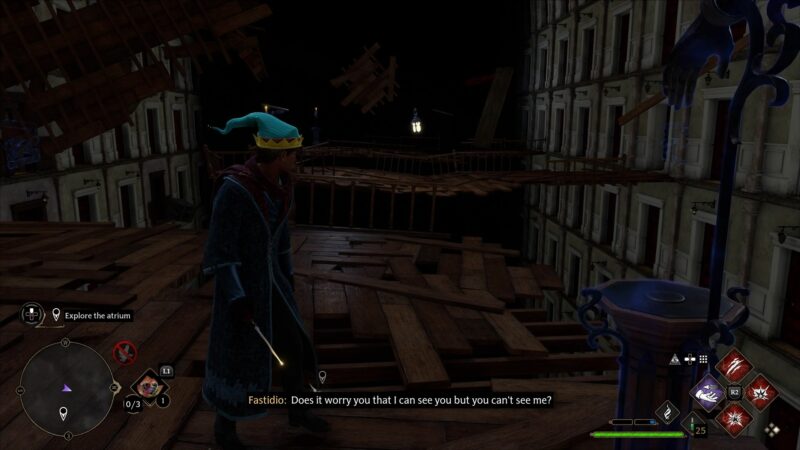
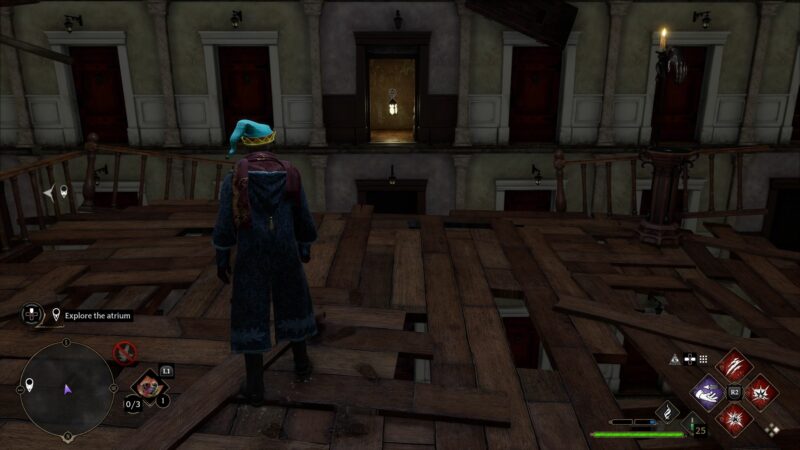
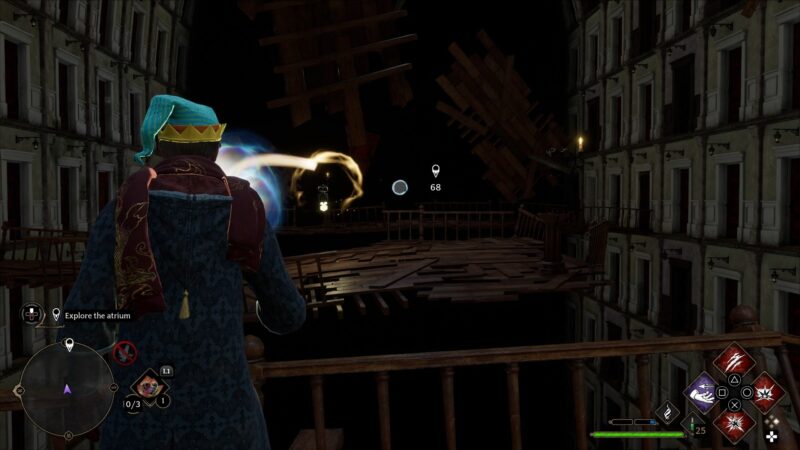
Explore the atrium
The other door will open. Enter the atrium.
In the atrium, you’ll see that two lanterns are missing again.
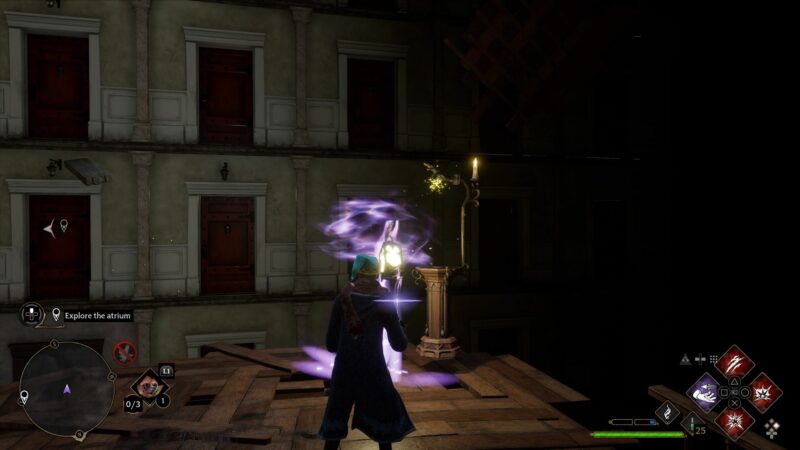
Get the first lantern (atrium)
Like before, you need two lanterns. I went to the right side of the atrium first and there’s a door that leads to a new area.
Take the floating lantern.
Place it on the nearest stand.
Continue following the path and you’ll reach a chess game.
To get through, use Revelio to see the red glowing tiles.
I used the path on the left to avoid all the red glowing tiles.
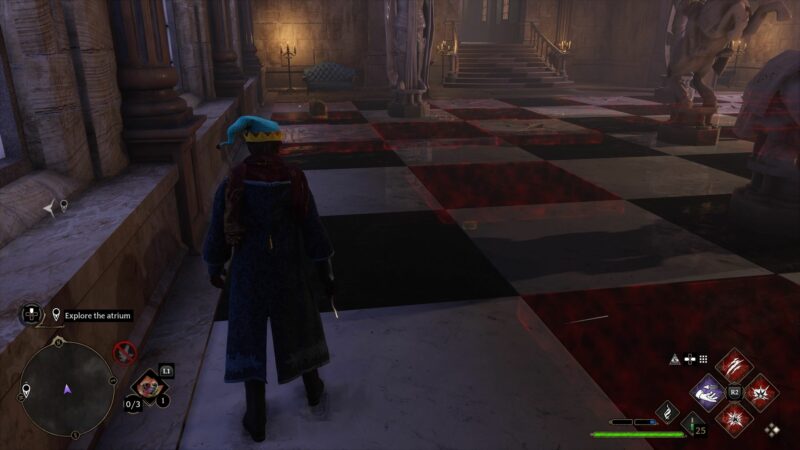
You will now be at the other side of the room. Bring the lantern from earlier to you.
Place it on the next stand. You will be back at the atrium. Bring the lantern to the stand at the main door.
Get the second lantern (atrium)
Now, go to the other side of the atrium. This one’s more creepy.
Here, the room changes a lot and you’ll meet the mannequins again.
You will then reach a part with many doors and three platforms to stand on. Drag the floating lantern to the first stand.
Walk through the door to the next area and go to the second platform. From the second platform, pull the lantern from the opposite door to your stand (second one).
Go back out through the door again and head to the third platform.
There’s no lantern nearby so you’ll need to pull the lantern from the second to the third stand.
Then, pull the lantern from the first to the second stand.
A new path is unlocked. Go through and defeat the mannequins.

You will then come across a chest. Loot it and go back where you came from. The room has changed again.
You’ll see a lantern on the table. Take it and bring it back to the door.
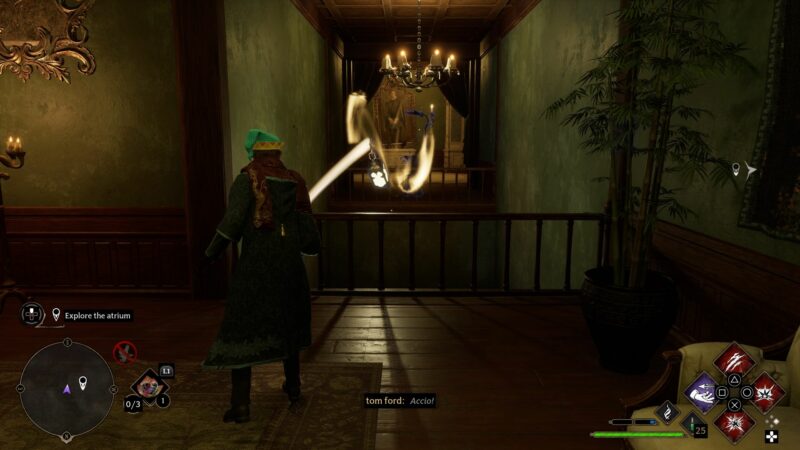
Play with the poltergeist
You’ll meet Fastidio again.
This time, he’ll throw stuff as usual but summon mannequins to fight you.
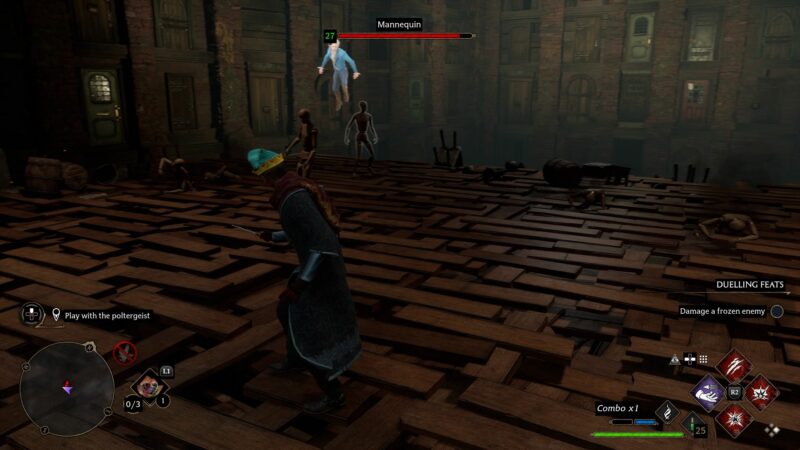
Return to the foyer when you’re done.
Venture beyond the foyer doors
At the foyer, the middle door opens. Venture beyond the foyer doors.

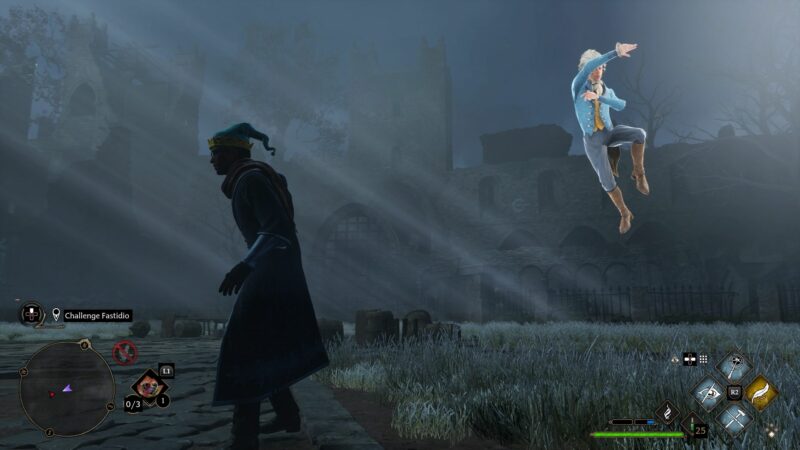
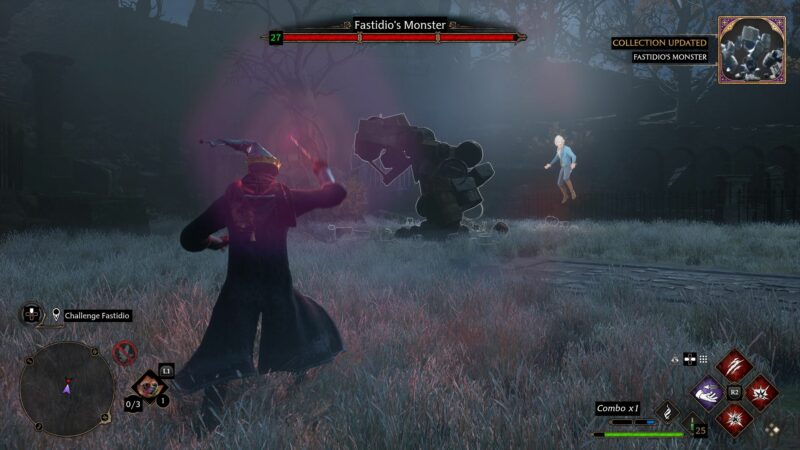
Challenge Fastidio
You will reach an open area. Here, Fastidio challenges you again.
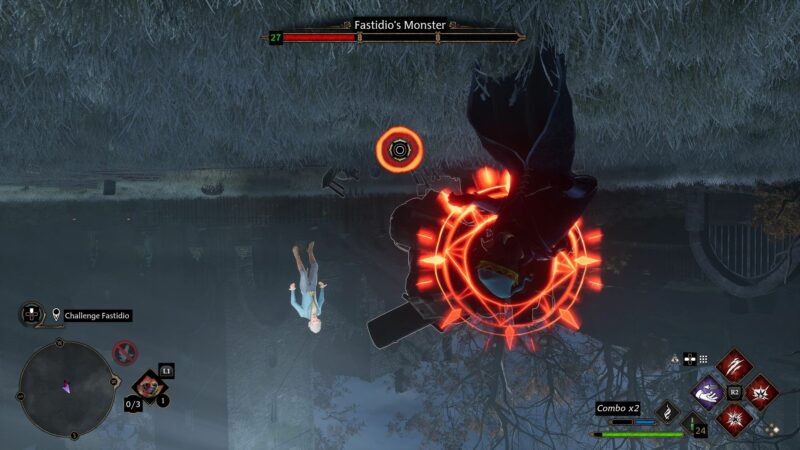
This time, he’ll summon Fastidio’s Monster which has a lot more health. Every time he loses a third of the health bar, something changes.
For the last third of the bar, you have to fight the monster with an upside down screen.
Return to the shop
After beating the monster and making an agreement with Fastidio, return to the shop.
Speak to Penny.
Talk to Officer Singer
Next, find Officer Singer nearby to report on Cassandra.

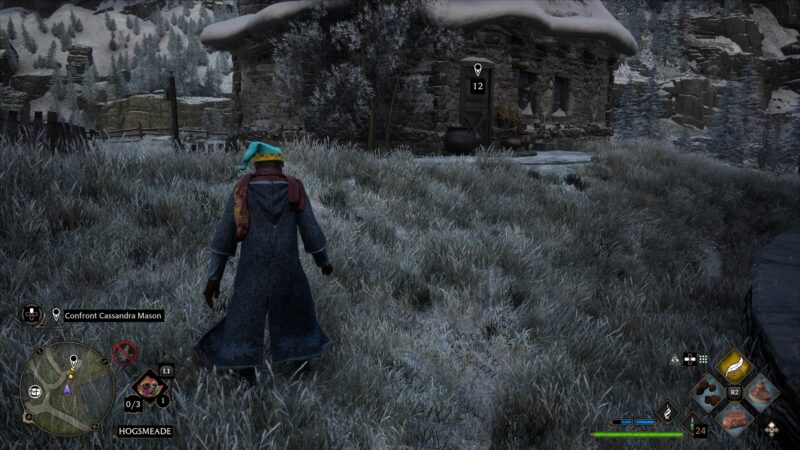
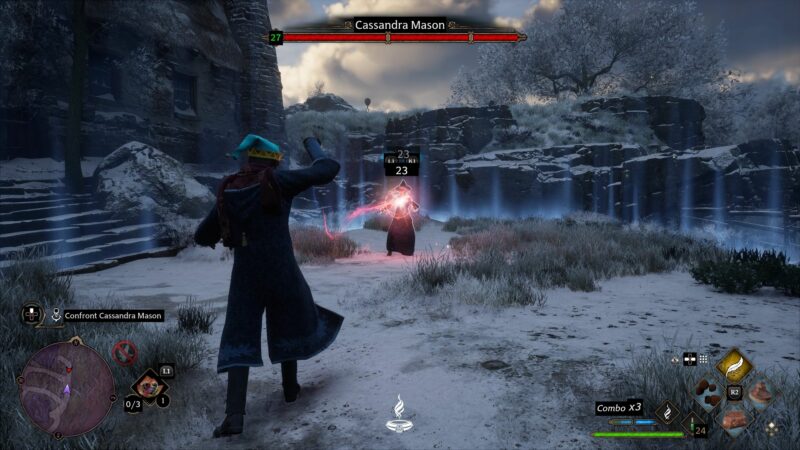
Confront Cassandra Mason
Cassandra then attacks Officer Singer during the cutscene.
You’ll then need to defeat her in a duel. Curses work against her.
Return to the shop
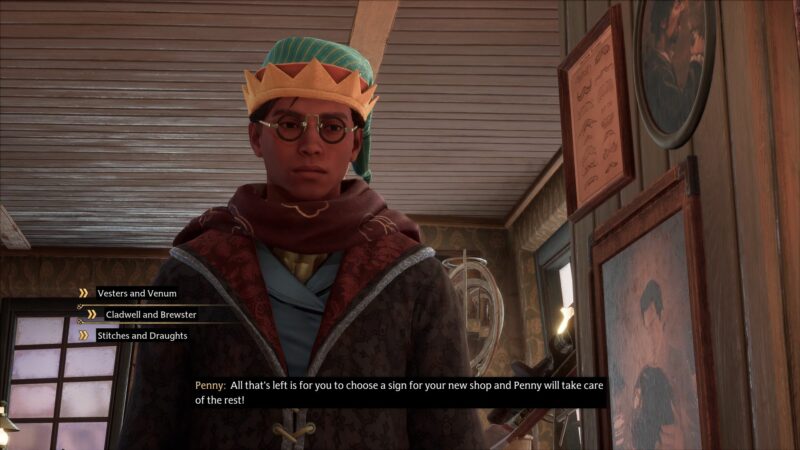
Head back to the shop and talk to Penny.
You will then be able to choose the sign name for your shop:
- Vesters and Venum;
- Cladwell and Brewster; or
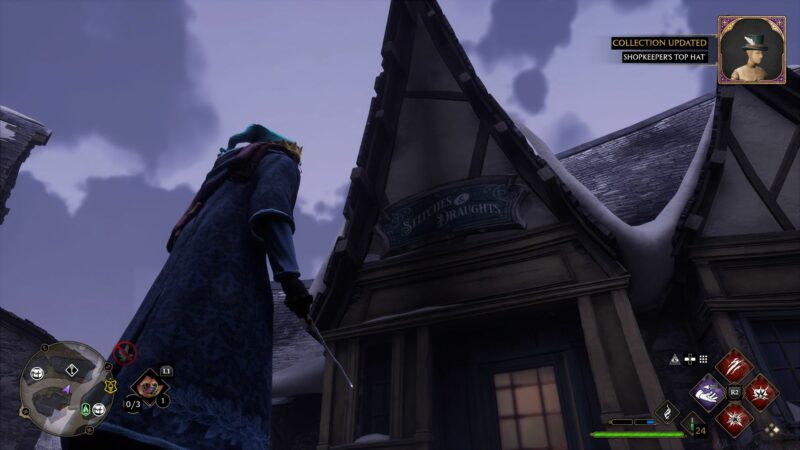
- Stitches and Draughts.
The sign name will then be shown in front of your shop. The quest ends here.
Related articles: