Cold As The Grave is a main mission in Borderlands 3 and is the last mission on Eden-6.
Your task is to get to the vault, defeat Aurelia and eventually defeat the Vault Monster.
Here’s a walkthrough of Cold As The Grave in Borderlands 3.
This mission is recommended for level 28 and above.

Go to Wainwright
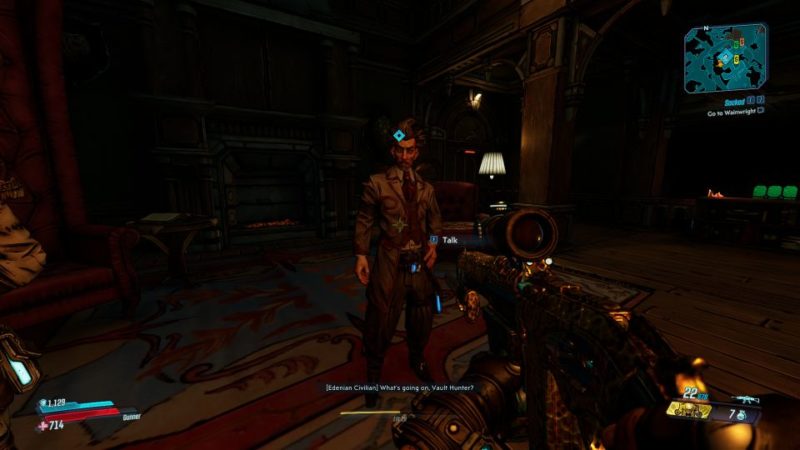
To begin the mission, talk to Wainwright at his place.
Meet Clay
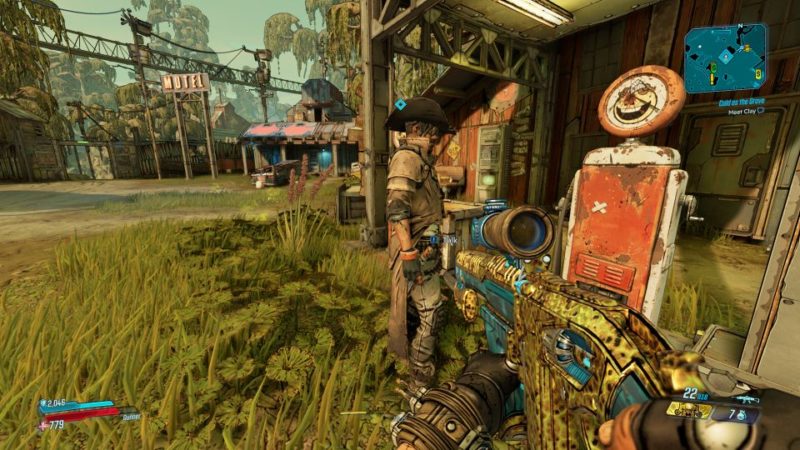
Next, head to Reliance to meet Clay to proceed.
Follow Clay
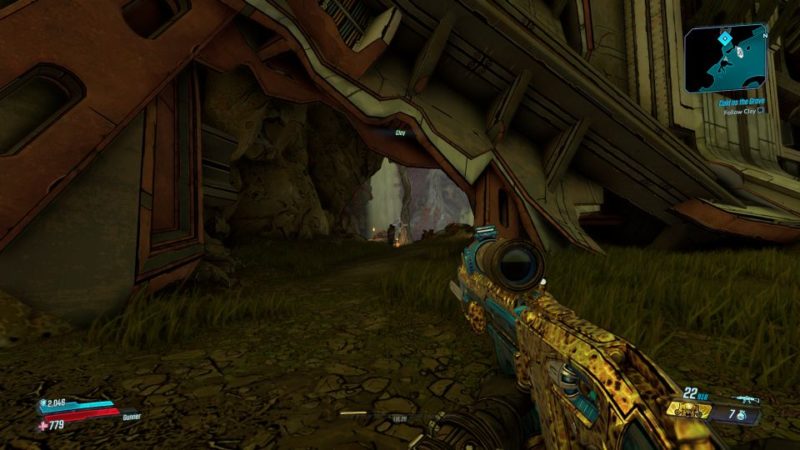
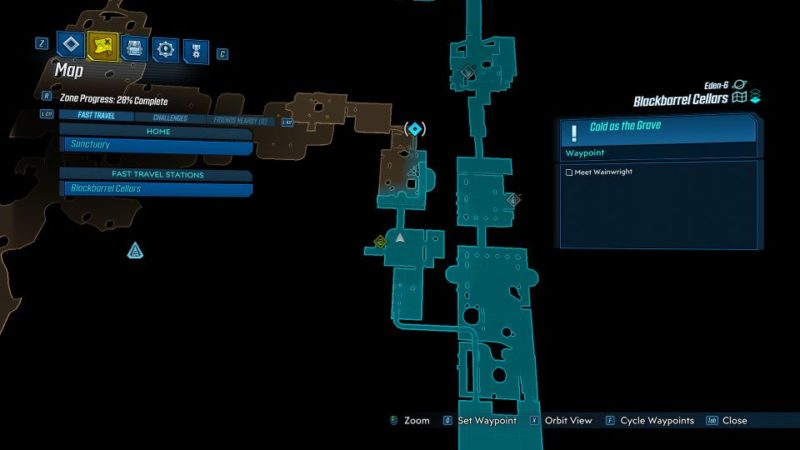
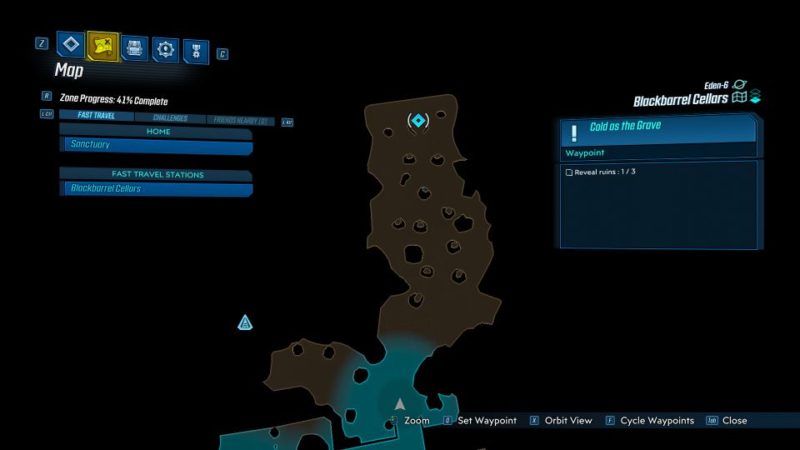
Clay will go to the destination first. Head to the location shown in the map.

Once you’re there, you will see a small gap to go through. Follow Clay.
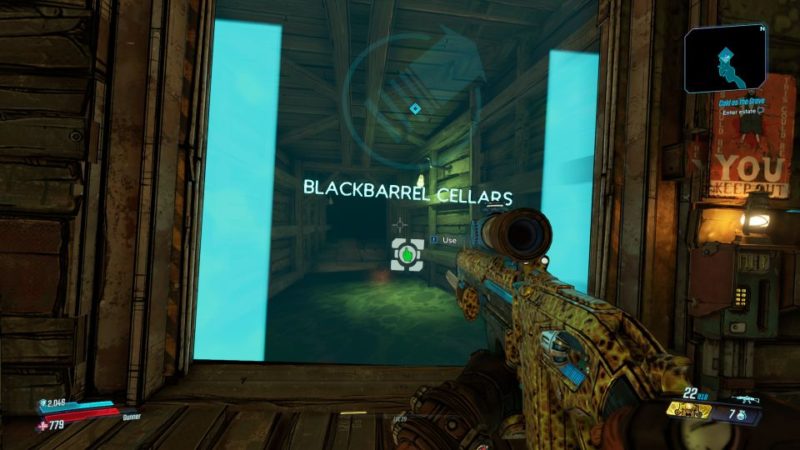
Enter the Blackbarrel Cellars.
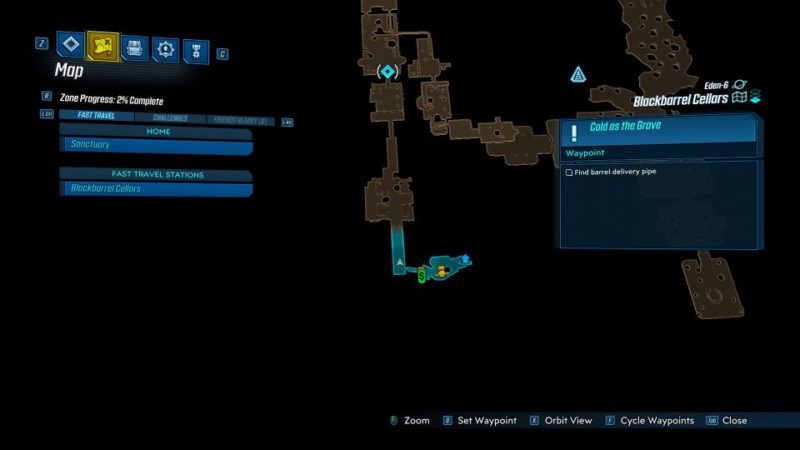
Find barrel delivery pipe
Your first task is to find the barrel delivery pipe. The location is updated as you go along.
Take out the COV dudes inside.
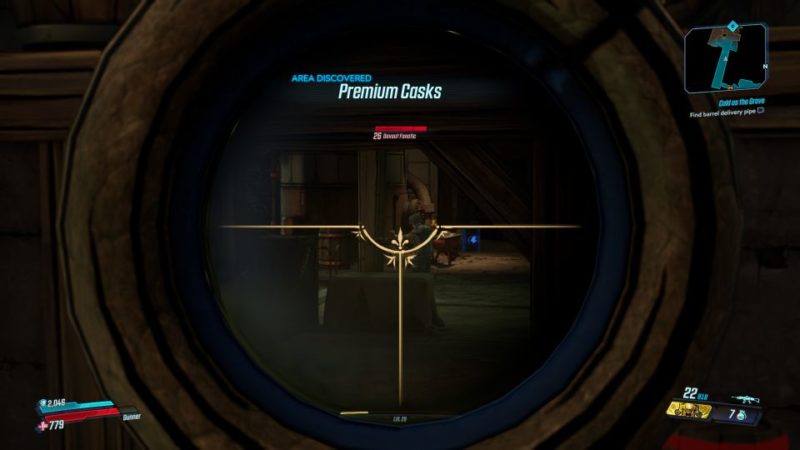
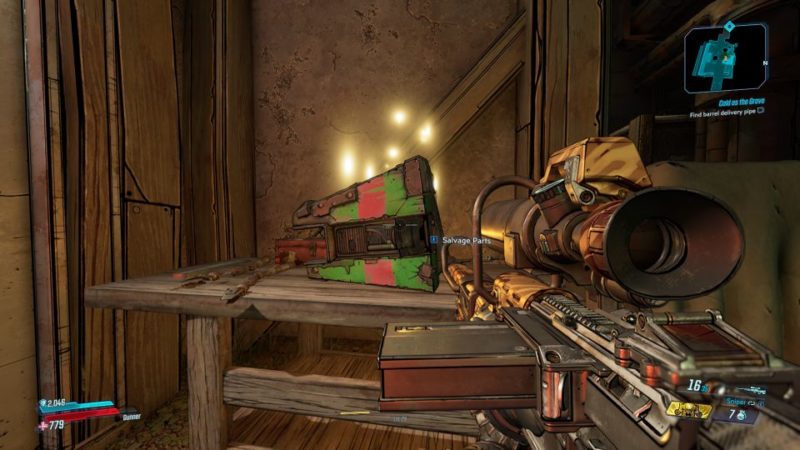
There’s a Dead Claptrap under the planks at the Premium Casks area.
Keep going until you reach this door in the image below.
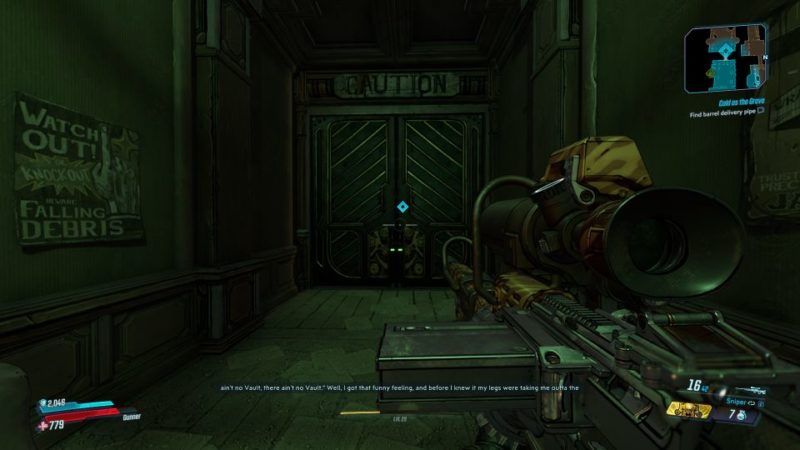
Secure area
This is where the barrel delivery pipe is. Secure the area first from the COV dudes.
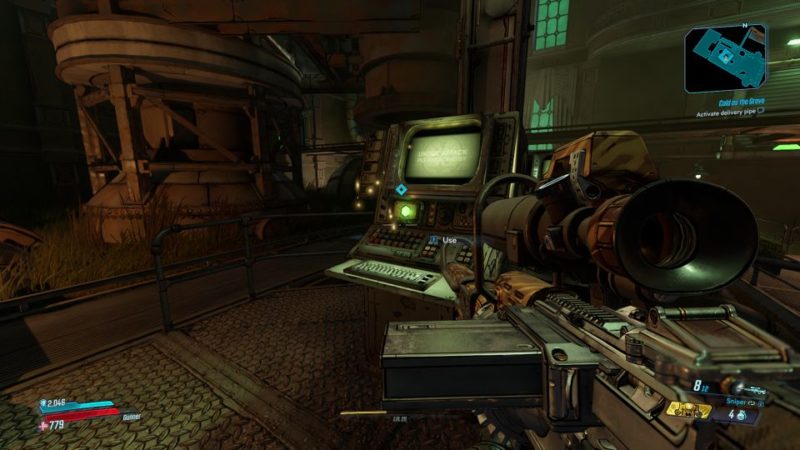
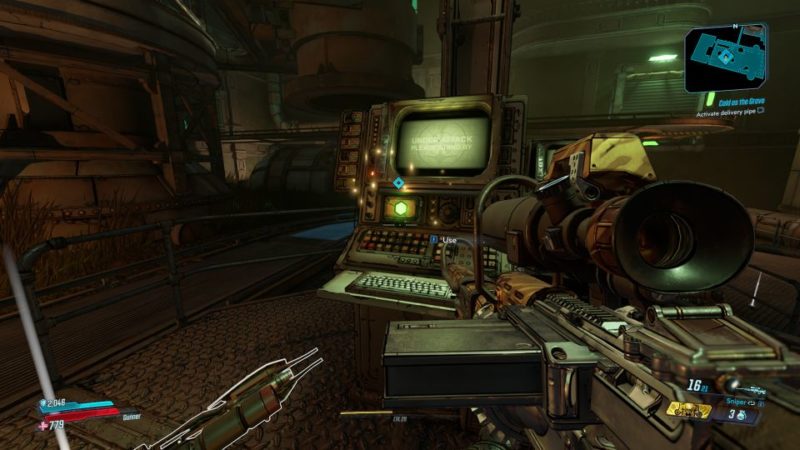
Activate delivery pipe
Next, head to the computer to activate the delivery pipe. You’ll need to do it twice, but both attempts will fail.
Secure area again
More enemies will start coming in. Take them all out first.
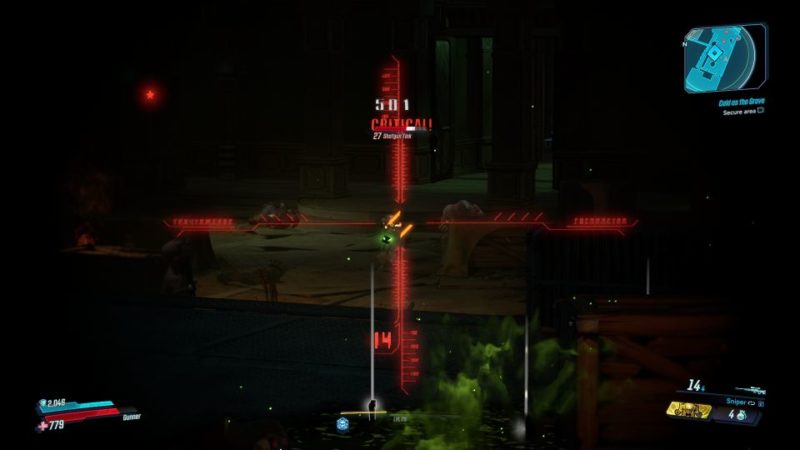
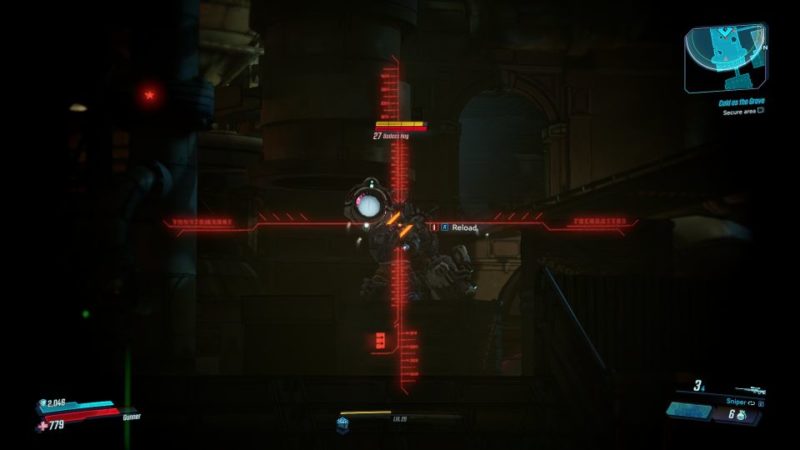
Watch out for the Badass mobs that are much tougher.
Activate delivery pipe again
After securing the area, activate the pipe again.
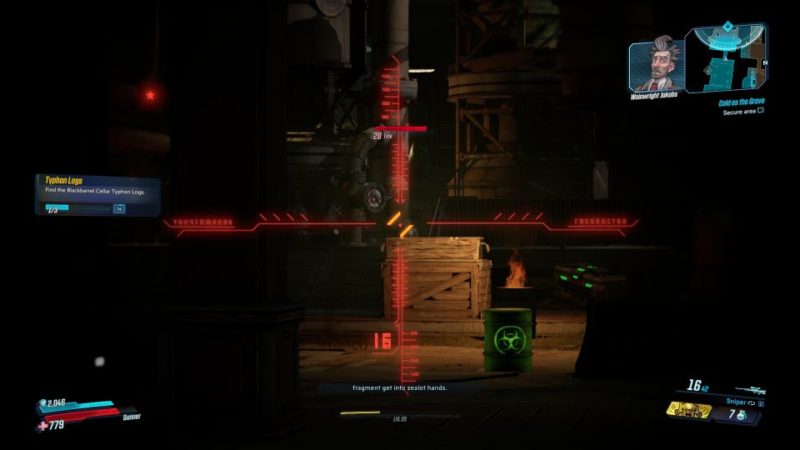
Get vault key fragment
Once the barrel is down, shoot it.
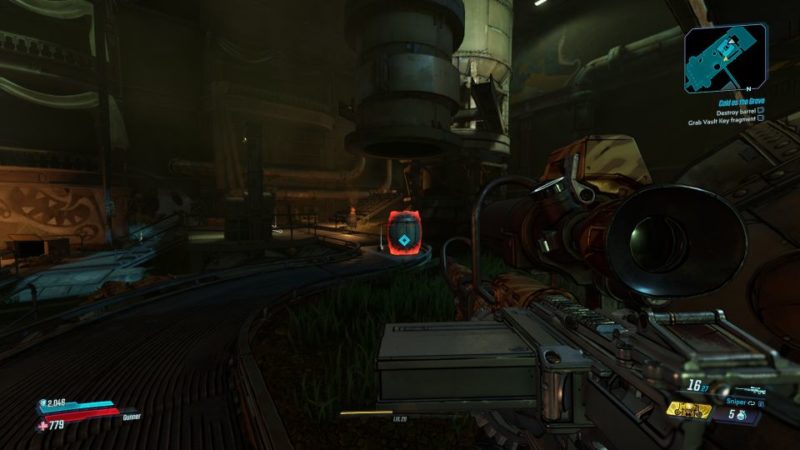
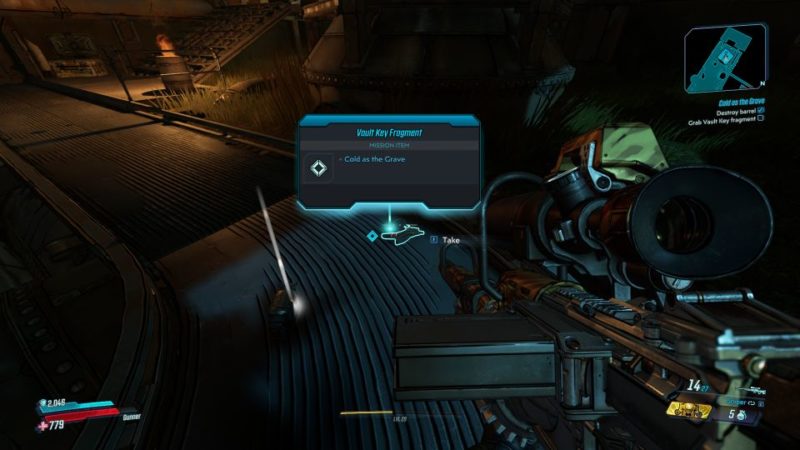
Pick up the vault key fragment from the barrel.
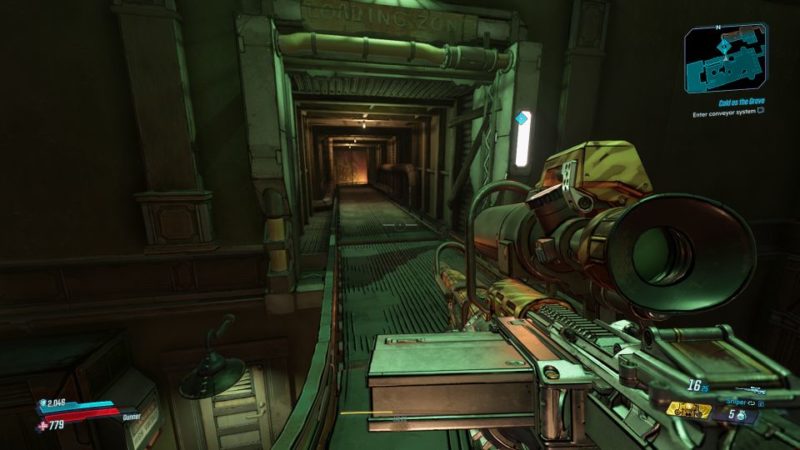
Enter conveyor system
Head towards the conveyor system to meet up with Wainwright and Hammerlock.
Meet Wainwright
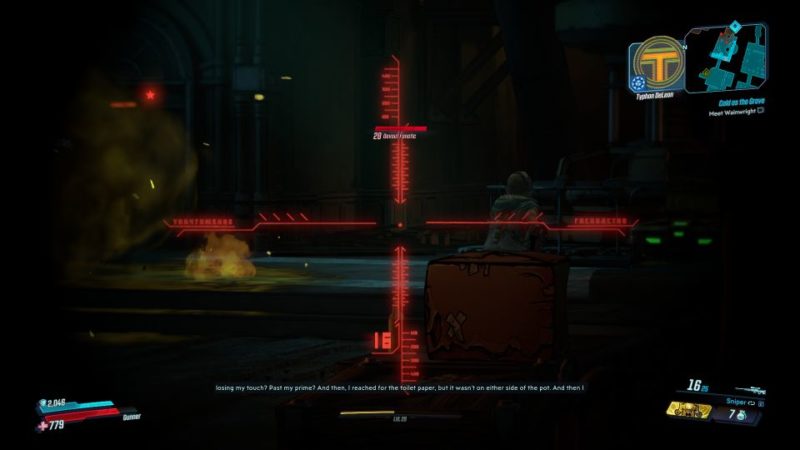
Once you’re in the conveyor system, keep going until you meet Wainwright.
There’ll be enemies to clear first. Wainwright and Hammerlock gets caught by Aurelia.
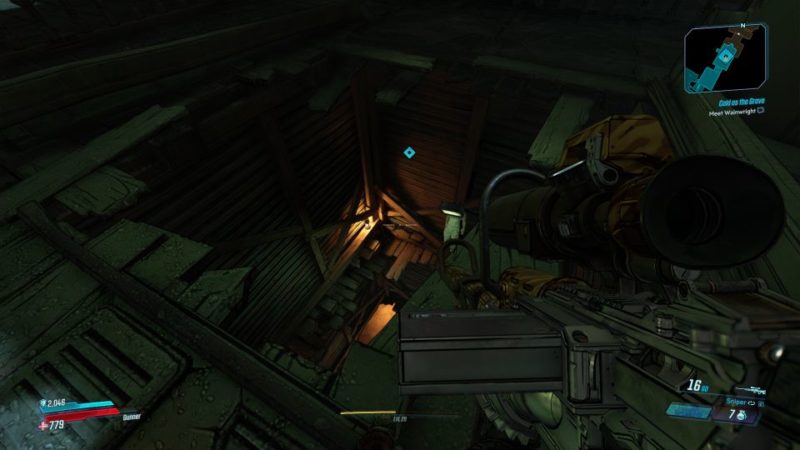
Once you’re ready, jump down to save Wainwright from Aurelia. This is a boss fight, so be prepared first.
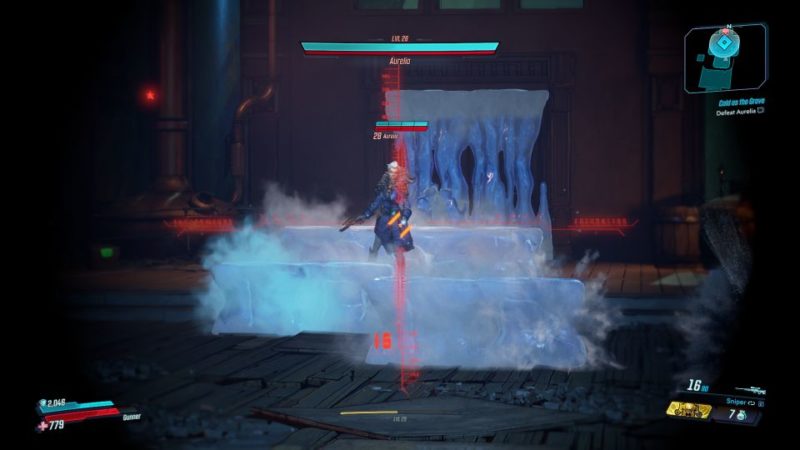
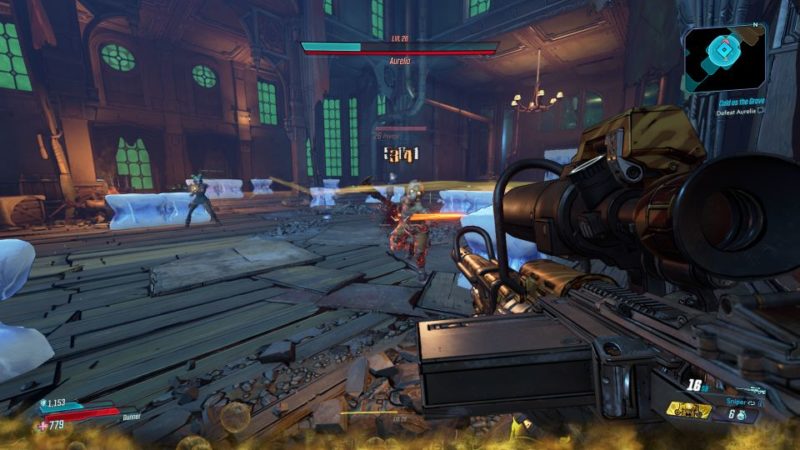
Defeat Aurelia (mini boss)
Once you’re down there, defeat Aurelia.

She’s not that difficult to beat; quite easy if compared to the vault monster.
She uses ice-based attacks, like homing icicles. Just run around to avoid them while shooting at her.
There’ll also be COV dudes as usual that will distract you.
She also uses some ice tornado attacks. These tornadoes move around and you will be thrown away if you get near it.
It’s pretty easy to avoid them though.
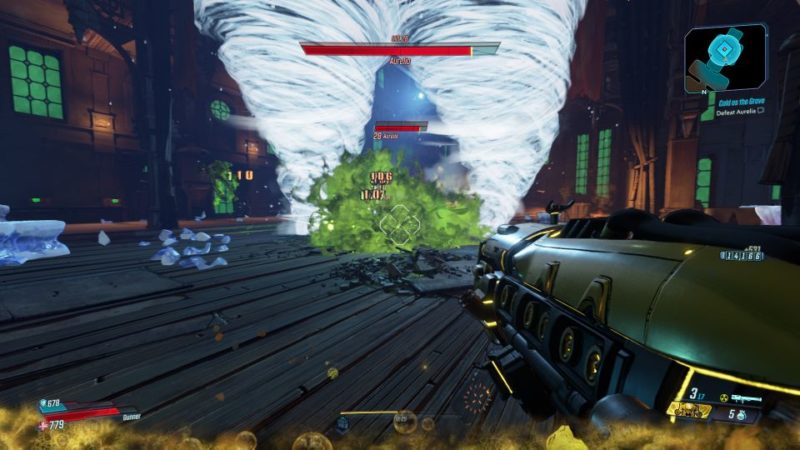
Aurelia will sometimes use an ice barrier which can be destroyed pretty fast. She also has a skill where she becomes immune from attacks for a short period of time.

All in all, a pretty straightforward fight.
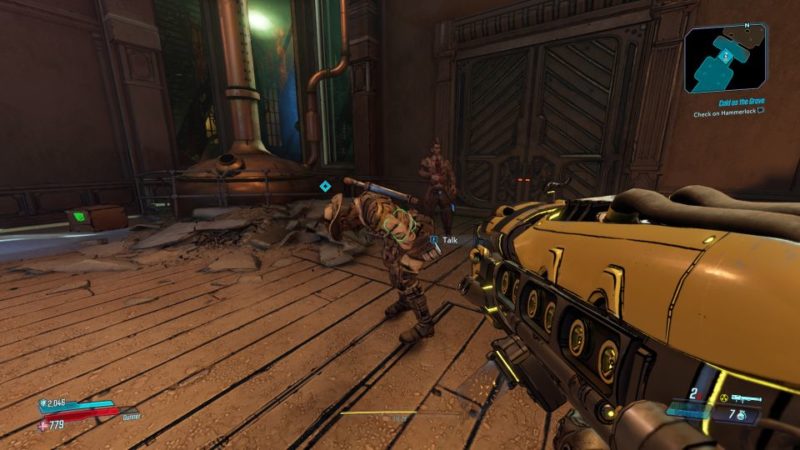
Check on Hammerlock
After beating Aurelia, check on Hammerlock.
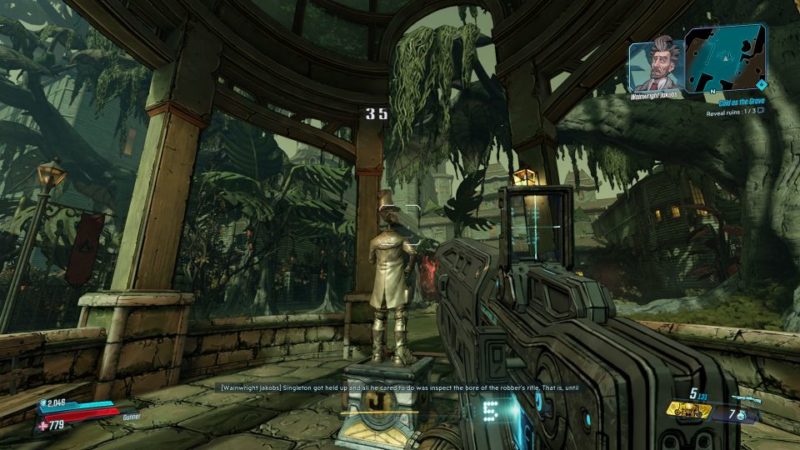
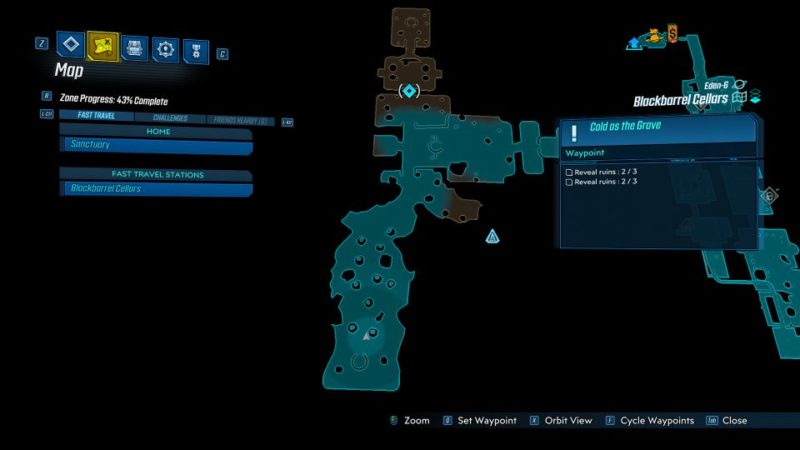
Reveal ruins
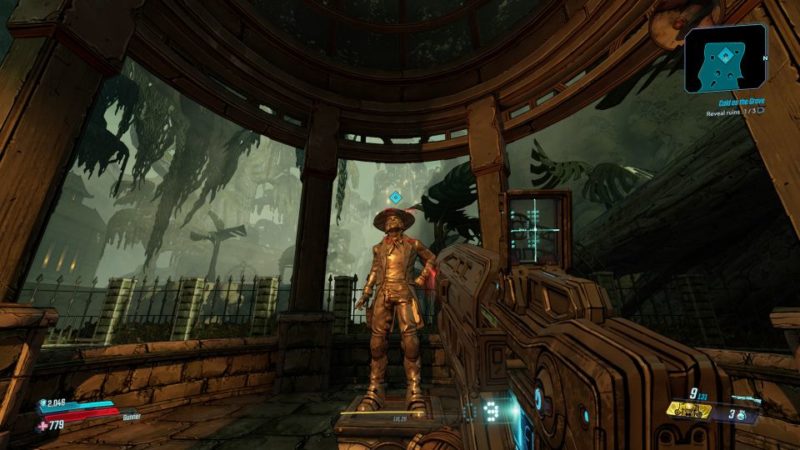
Before you can get to the vault, you need to reveal the ruins. There are 3 of them. The first one is located just outside in the garden.

Go to the statue and shoot at the head or melee it.
The next ruins is located on one side of the garden.
There’ll be creatures along the way.

For this second statue, melee the body.
The last ruins is at the opposite end (inside solarium) from the second statue.
Go through the door into the solarium.
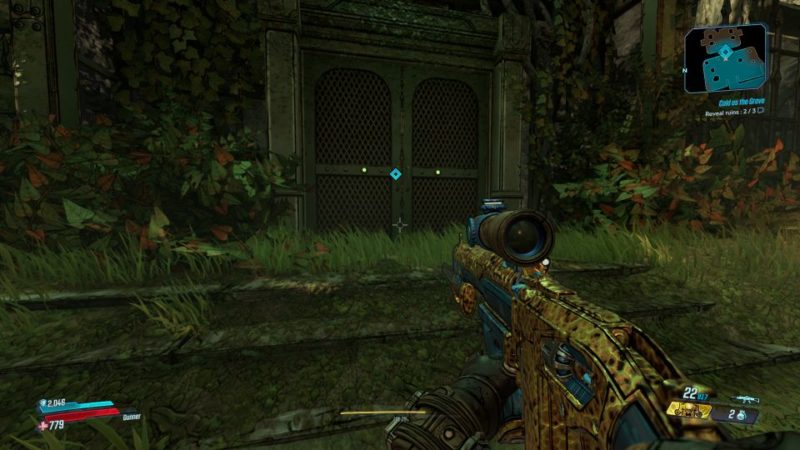
There’ll be plenty of enemies inside the solarium.
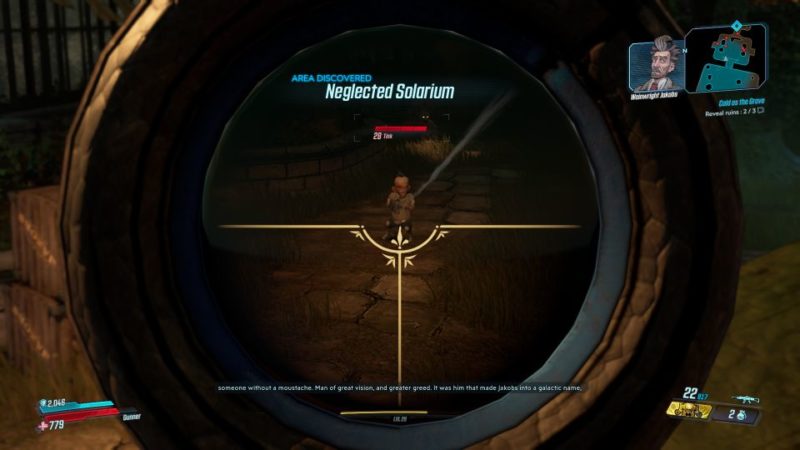
Once the area is secure, head to the statue and melee the statue’s private part.
Activate bridge
After revealing all 3 ruins, head to the location shown below.
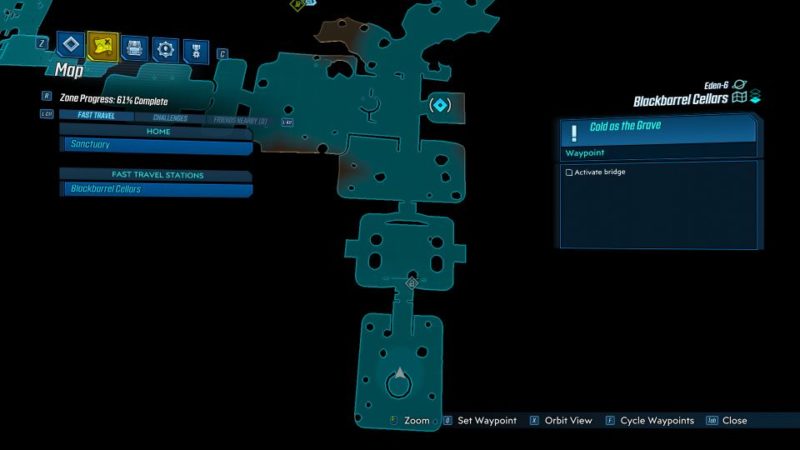
You need to activate the bridge to the vault. Wait for a console to emerge from the pool of water and use it to activate the bridge.
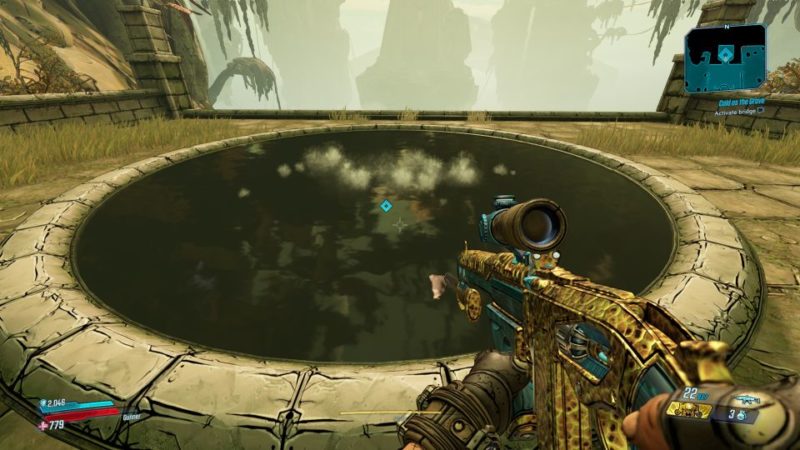
Once the bridge is ready, head to the vault area.
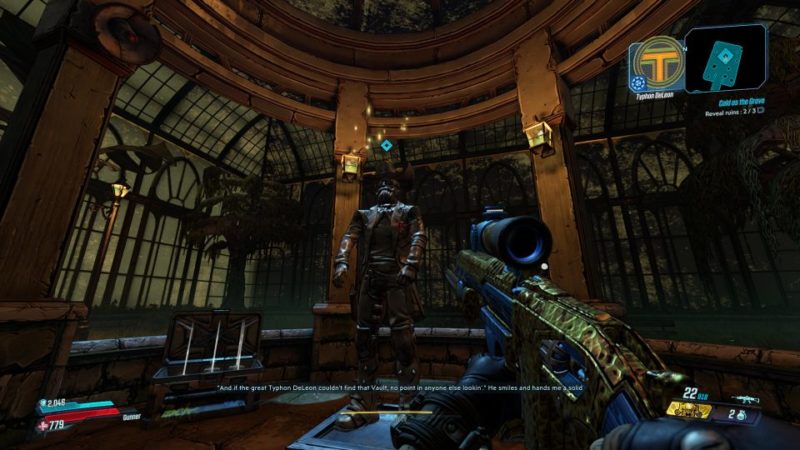
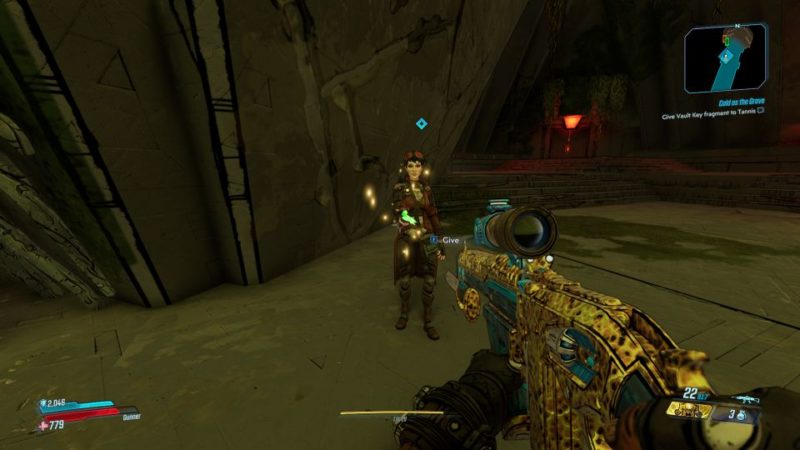
Give vault key fragment to Tannis
You’ll meet Tannis inside. Pass the vault key fragment to her. She’ll make a vault key.
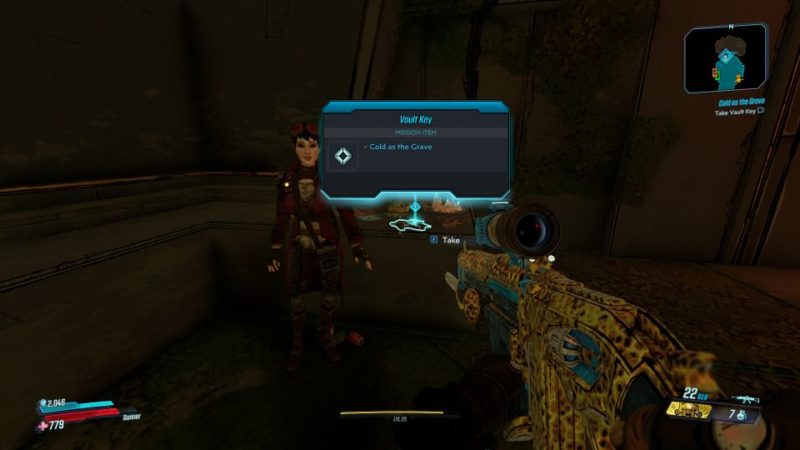
When it’s ready, pick it up from her.
Defeat Grave and Ward (boss)
Once you’re ready, jump down to the vault monster area.
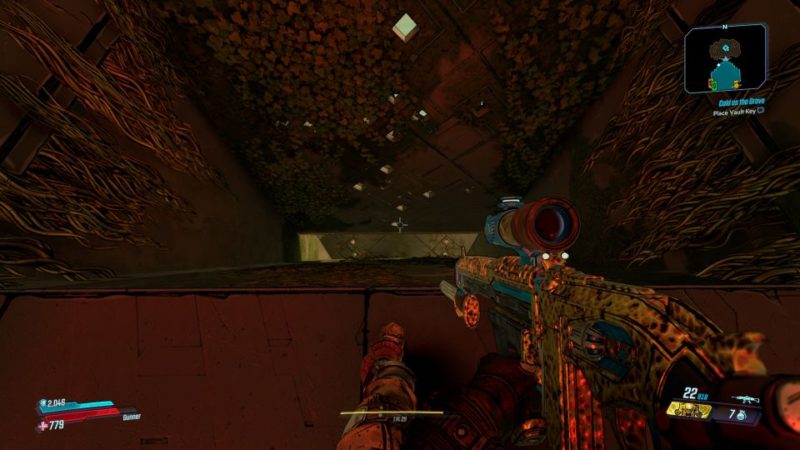
Place the vault key on the platform.
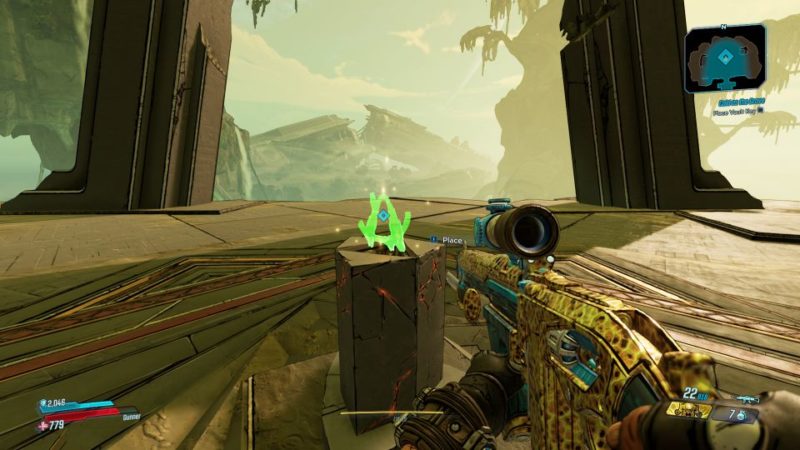
Two monsters will appear: Grave and Ward. They’re not difficult to defeat but it’s not the end here.

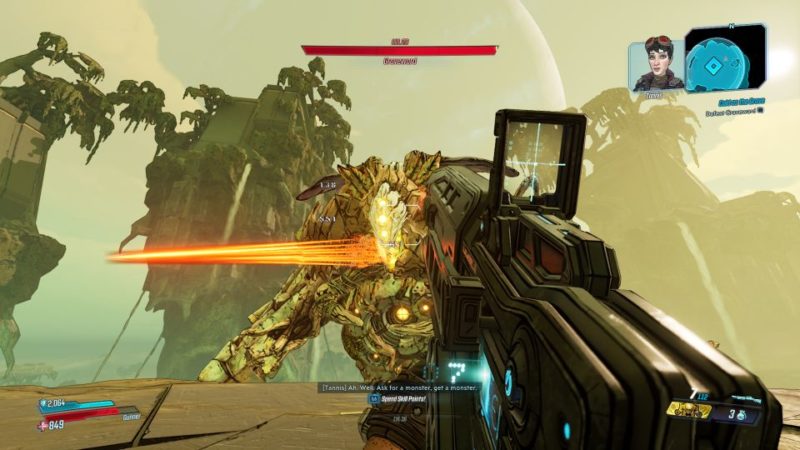
After defeating the two of them, the real boss will show up.
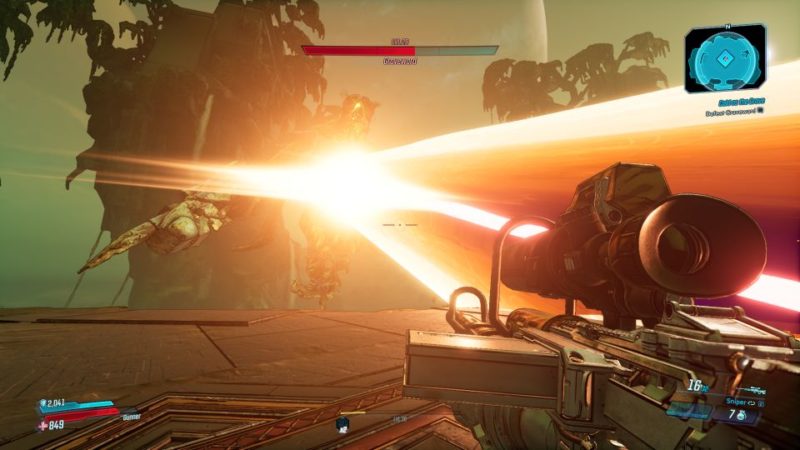
How to defeat The Graveward (vault boss)
You will be introduced to a colossal-sized vault boss – The Graveward.

This boss has a set of moves and it typically follows a certain pattern. There’ll be some moves you need to watch out for.

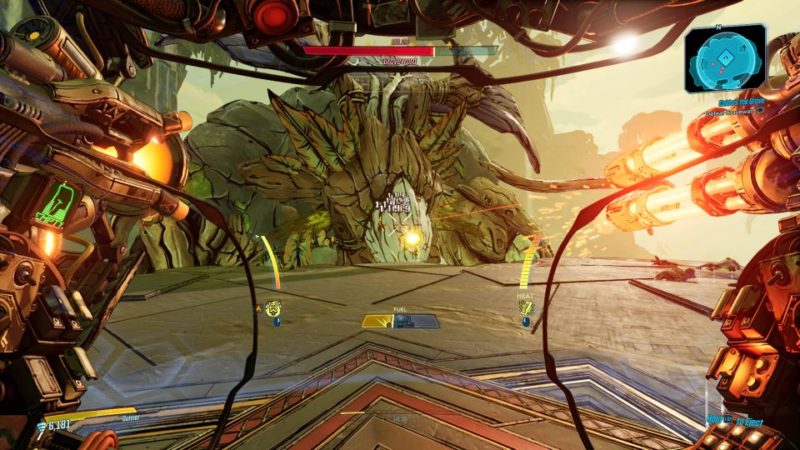
One is that it tilts the entire platform and rains corrosive balls down. To avoid them, hide in the crater (big hole). There are two craters on the platform.
Just don’t fall off the platform or you’ll have to repeat the fight, which happened to me twice.
Graveward uses a lot of corrosive attacks that have a huge radius. If it slams the ground, a big area will be filled with either corrosive or fire effects.
You’ll need to run out of the area to start recovering.
When the boss is not doing any move, you can aim at its head. The damage seems to be the best there.
However, there are moments where you should aim at the orb in its hand. When it attacks the ground but leaves the arm there, it’s the best moment to deal tons of damage.
Shoot at the orb within the rather limited time frame and you’ll do multiple times more damage than usual.
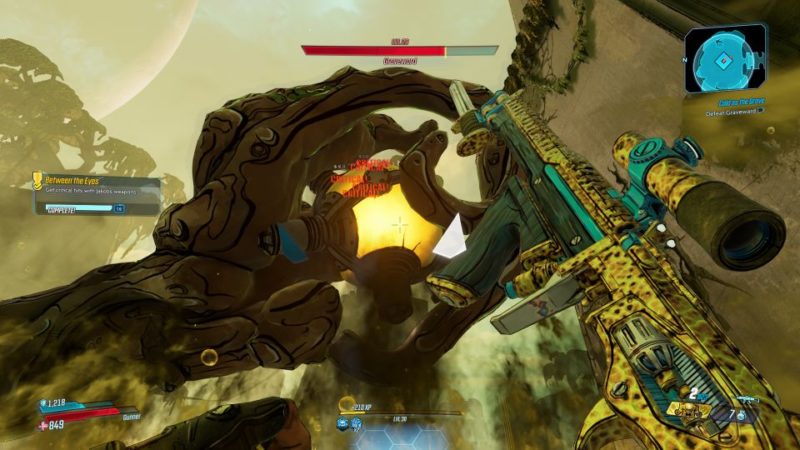
Also, there will be moments where Graveward gets injured and leaves his head on the platform.
Aim at the orbs on its head to deal the best (critical) damage.
After it recovers, it will follow up with a huge fire laser attack. It’ll be hard to avoid but it shouldn’t kill you. Just get out of the fire and you’ll recover.
This fight is essentially on anticipating its moves and doing the same thing repetitively until it dies.
There’ll also be annoying smaller mobs that will attack you.
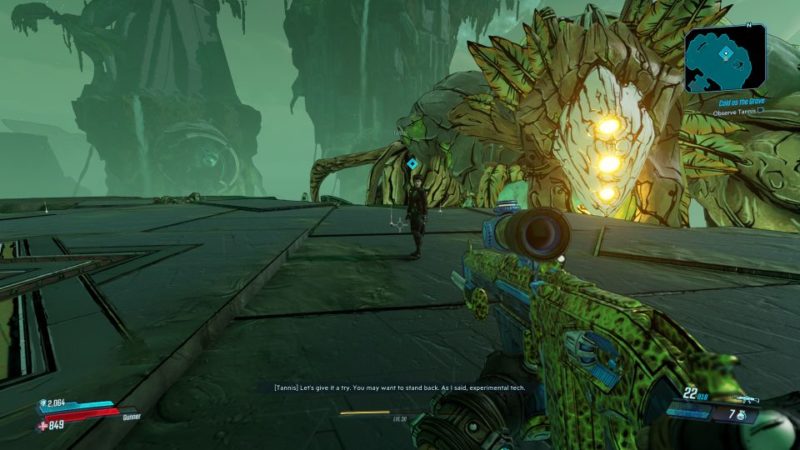
Observe Tannis
After defeating Graveward, observe Tannis as she sucks the power out of this vault monster.
Loot vault
Next, loot the vault.
Pick up the Eridian Synchronizer. It will enable you to have an artifact slot.

There are also other chests to loot.
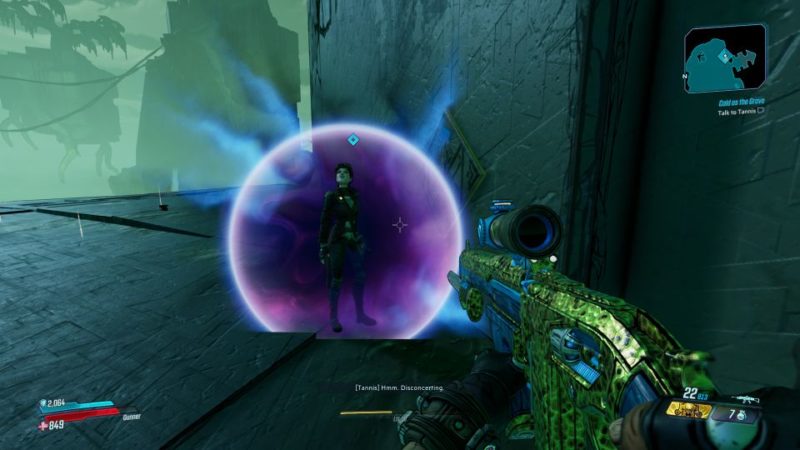
Return to Tannis
Once you’re done, go back to Tannis. She will get kidnapped by the twins.
Talk to Lilith
Go back to Lilith at the Sanctuary.
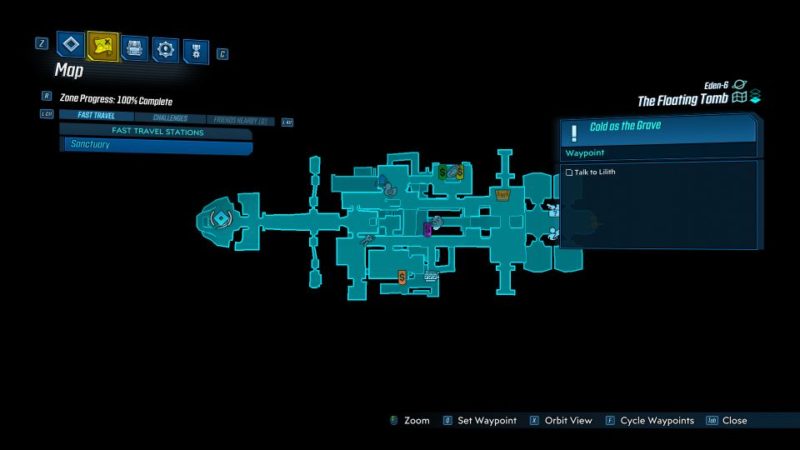
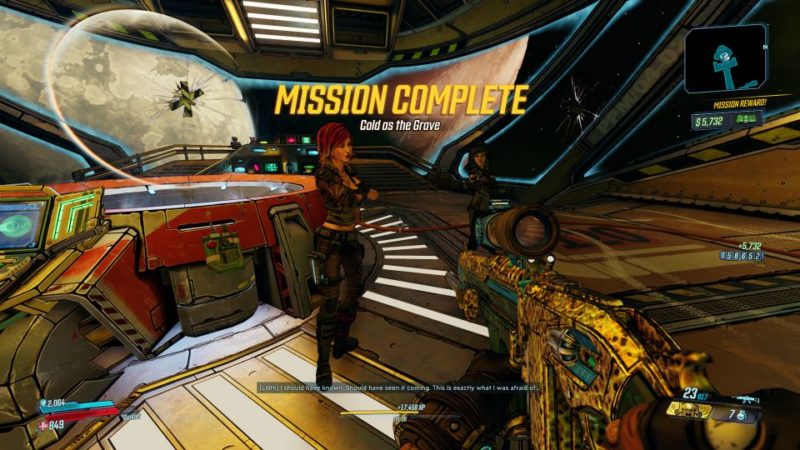
The mission completes here and you’ll start a new chapter in Pandora again.
Related articles:
Skag Dog Days: Borderlands 3 Walkthrough And Guide
How To Respec Skill Points: Borderlands 3 Guide And Wiki
Under Taker Side Mission: Borderlands 3 Walkthrough
How To Get Golden Keys: Borderlands 3 Guide And Wiki
Sell Out (Camera Or Trap): Borderlands 3 Walkthrough