• Skip to main content
  • Skip to secondary menu
  • Skip to primary sidebar
  • Skip to footer
  • HOME
  • NEED SOMETHING REVIEWED?

Ordinary Reviews

Gaming And Entertainment Site

  • GAMING
    • GAME GUIDES
    • UPCOMING RELEASES
    • SIMILAR GAMES
    • HOGWARTS LEGACY
    • HIGH ON LIFE
    • ANIMAL CROSSING: NEW HORIZONS
  • ENTERTAINMENT
    • RECAPS
    • NET WORTH
    • RICHEST WRESTLERS
    • RICHEST RAPPERS
    • RICHEST FOOTBALLERS
    • RICHEST VIDEO GAME COMPANIES
    • RICHEST PRO GAMERS
  • PRODUCTS
    • GAMING GEAR
    • LAPTOPS
    • HOUSEHOLD
    • ELECTRONICS
    • GIFTS
    • TRAVEL GADGETS
    • SERVICES
  • FOOD
  • TRAVEL
  • CRYPTO | NFT

Assassin’s Creed Odyssey: Confiscated (Quest Walkthrough)

Last updated on October 3, 2020 by Alvin L

Confiscated is a side quest in Assassin’s Creed Odyssey that starts after Family Values.

Your task is to help retrieve Supideo’s shield after you’re done with his sword earlier.

Here’s a brief walkthrough of Confiscated in AC Odyssey.

confiscated

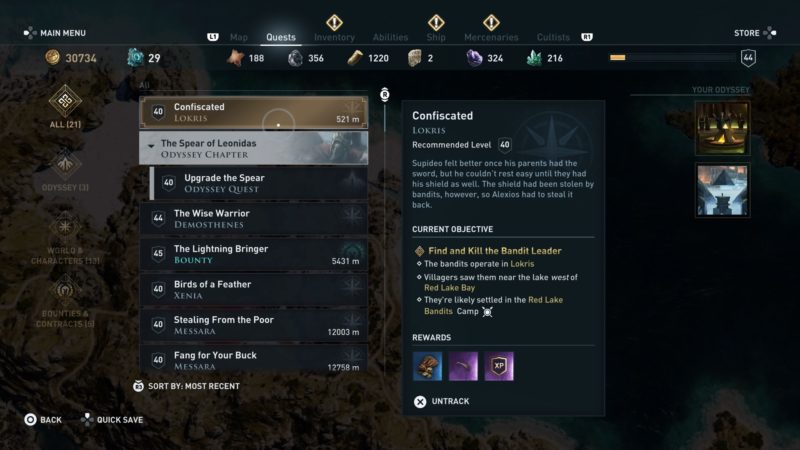
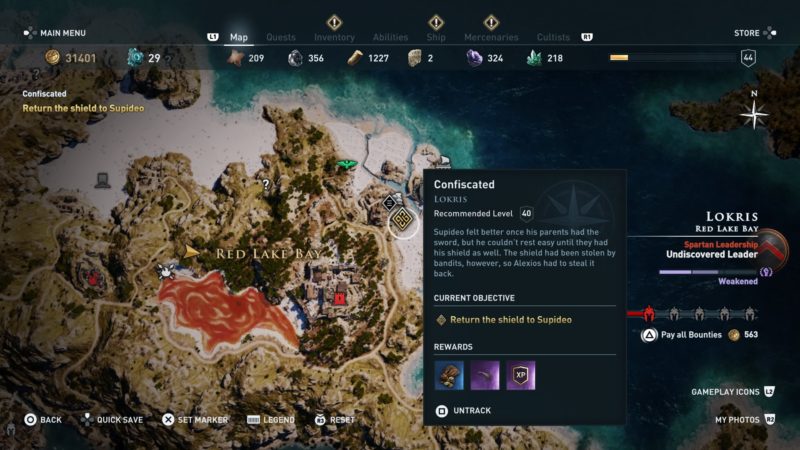
This quest is recommended for those level 40 and above, but it may differ according to your own level.


Find and kill the bandit leader

As Supideo’s shield was apparently taken by the bandit leader, you have to kill him to retrieve the shield.

The exact location of the bandit camp is shown in the map below, marked as the quest symbol. They are located in the Red Lake Bandits Camp.

ac-odyssey-confiscated

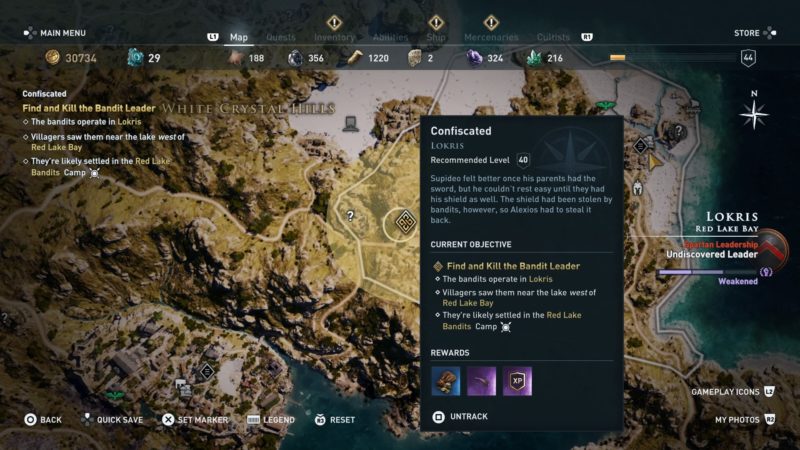
As you arrive, you’ll notice that the water in the lake is completely red. The camp is just beside the lake.

ac-odyssey-confiscated-quest-guide

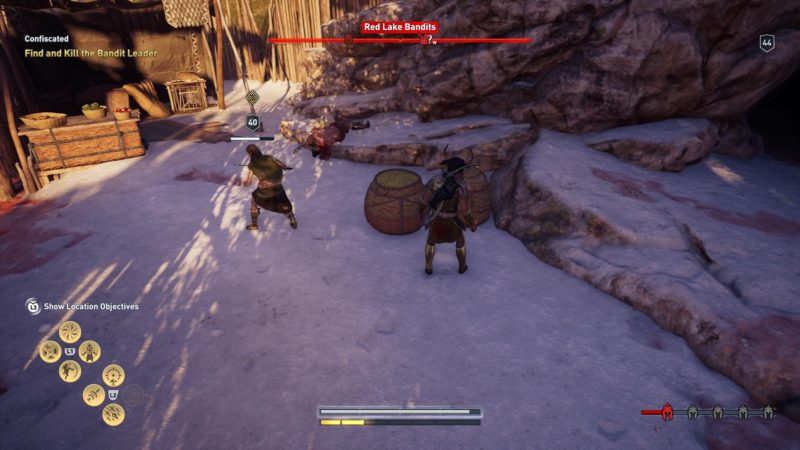
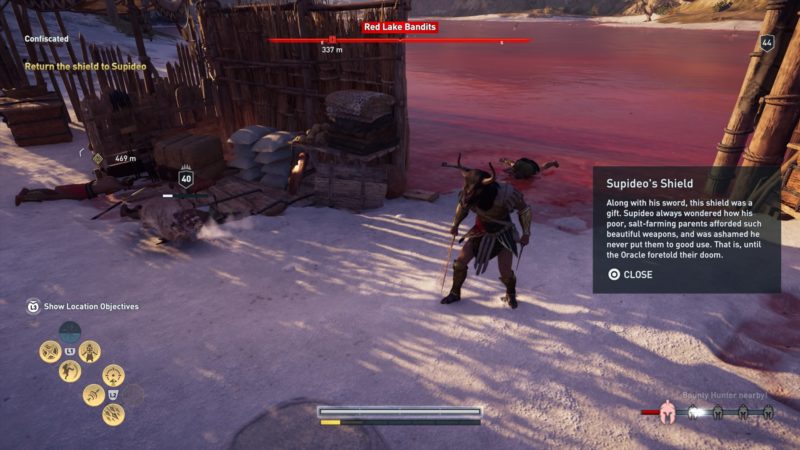
You can kill all of the Red Lake bandits if you want to. Most importantly, get rid of the leader and loot the shield.

ac-odyssey-confiscated-quest-walkthrough

There are also other items to loot here.

ac-odyssey-confiscated-walkthrough

Once you’ve retrieved Supideo’s shield, return to him.


Return the shield to Supideo

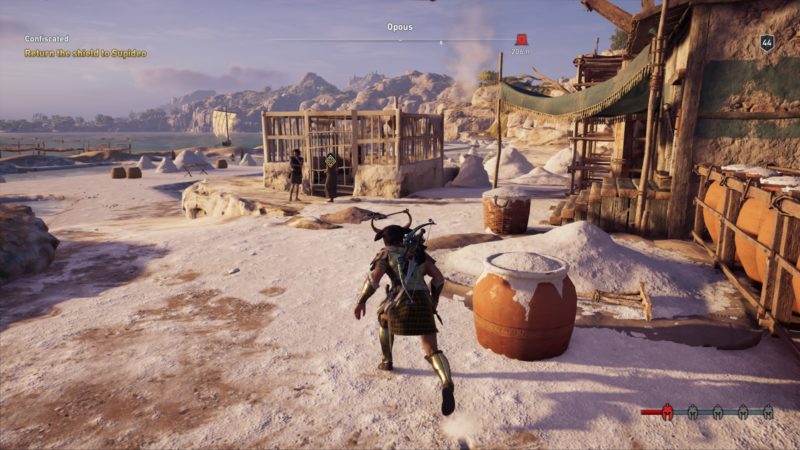
Get back to where Supideo was in the cage. His location is shown in the map below.

assassins-creed-odyssey-confiscated-guide

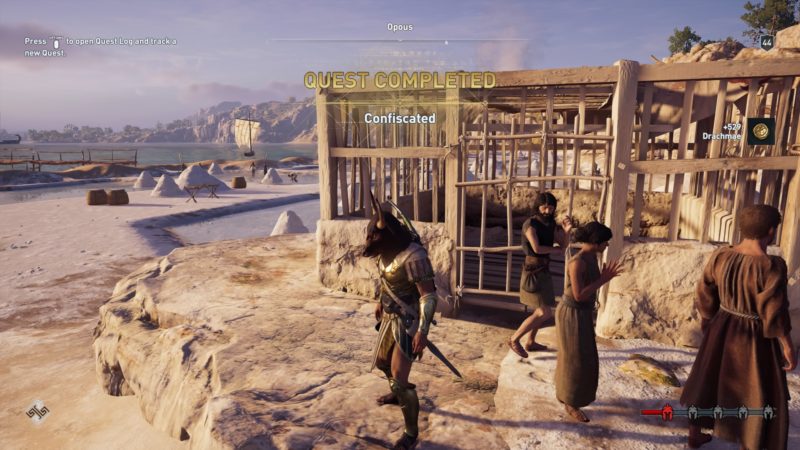
Get near the cage and the cutscene automatically loads again.

assassins-creed-odyssey-confiscated-quest-guide

After the cutscene, the quest completes and he leaves the cage. You will earn some drachmae as quest rewards.

assassins-creed-odyssey-confiscated-walkthrough


Related articles:

Assassin’s Creed Odyssey: Across The Border (Walkthrough)

AC Odyssey: Heitor’s Gonna Hate (Walkthrough)

Assassin’s Creed Odyssey: The Fall Of Deianeira (Walkthrough)

Assassin’s Creed Odyssey: Breaking Bread (Walkthrough)

AC Odyssey: Bravely Ran Away (Walkthrough)

Assassin’s Creed Odyssey: By The Fates (Walkthrough)

Assassin’s Creed Odyssey: He Waits (Kill The Minotaur)

Filed Under: Assassin's Creed Odyssey, Gaming

About Alvin L

Alvin spends most of his time either absorbing content or creating content.

Primary Sidebar

Footer

Amazon Affiliate Disclaimer

Ordinary Reviews is a participant in the Amazon Services LLC Associates Program, an affiliate advertising program designed to provide a means for sites to earn advertising fees by advertising and linking to amazon.com.

Social Media

Facebook / LinkedIn / Pinterest / YouTube

Latest Posts

  • Hogwarts Legacy: The House Cup Walkthrough & Guide
  • Hogwarts Legacy: Summoner’s Court Match 5 Guide
  • Hogwarts Legacy: Harlow’s Last Stand Quest Walkthrough
  • Hogwarts Legacy: Weasley’s Watchful Eye Walkthrough
  • Hogwarts Legacy: In The Shadow Of Friendship Walkthrough
  • ABOUT
  • CONTACT US
  • PRIVACY POLICY
  • DISCLAIMER

Copyright © 2023 Ordinary Reviews · All Rights Reserved ·