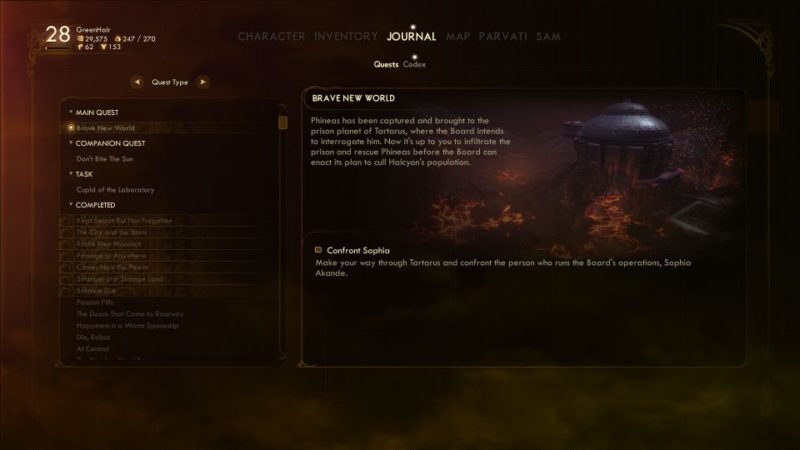
Brave New World is a main quest in Obsidian’s The Outer Worlds and the final quest for this line.
Your task is to go to Tartarus, defeat Sophia Akande and rescue Phineas Welles.
Here’s a walkthrough of Brave New World in The Outer Worlds.
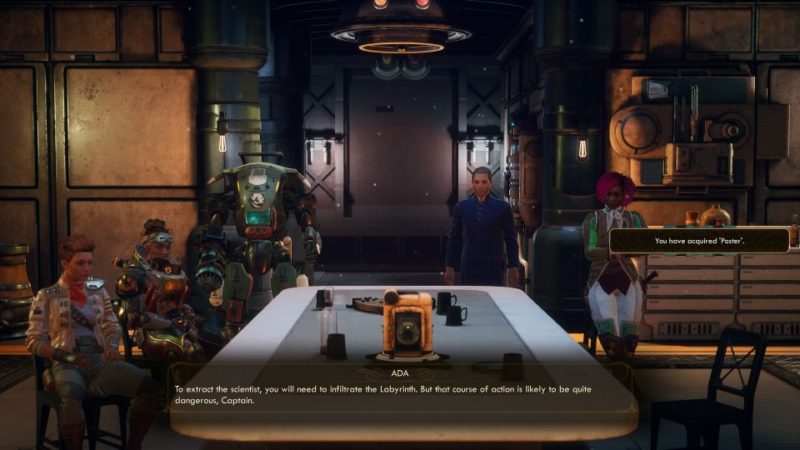
Talk to your crew
The first objective before you depart is to talk to your crew.
Go to Tartarus
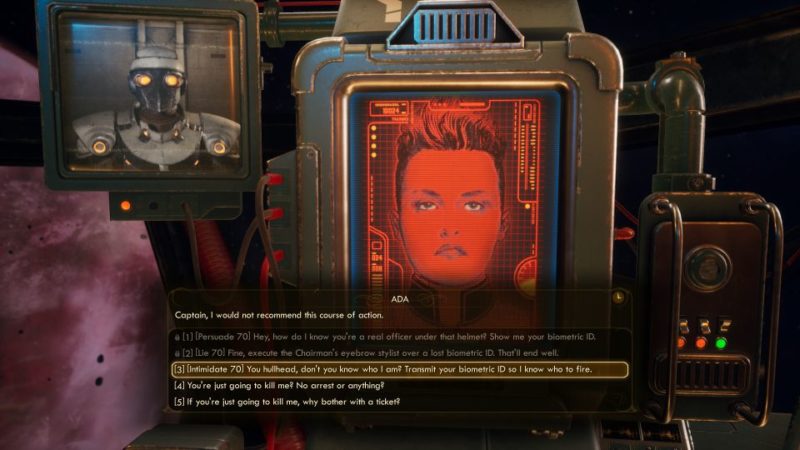
Once you’re ready, head over to Tartarus. You’ll get a warning sign that it’s the point of no return.

After landing, you’ll get a message from the corporate guard saying you’ll be arrested and killed for not having the ID.
You can intimidate / persuade or lie to him. We chose to intimidate him and he let us be.
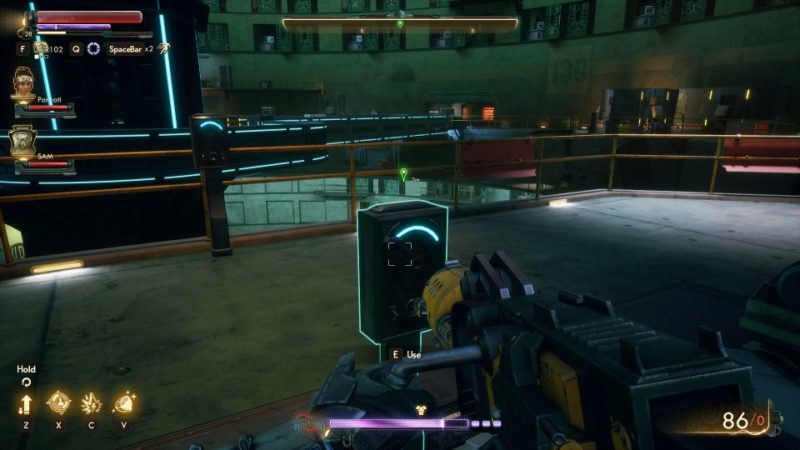
Head to The Pit
At the docking bay, there’ll be plenty of enemies. Depending on how you play the game, your allies will help you.
In our case, the Groundbreaker group came to fight in the docking bay.
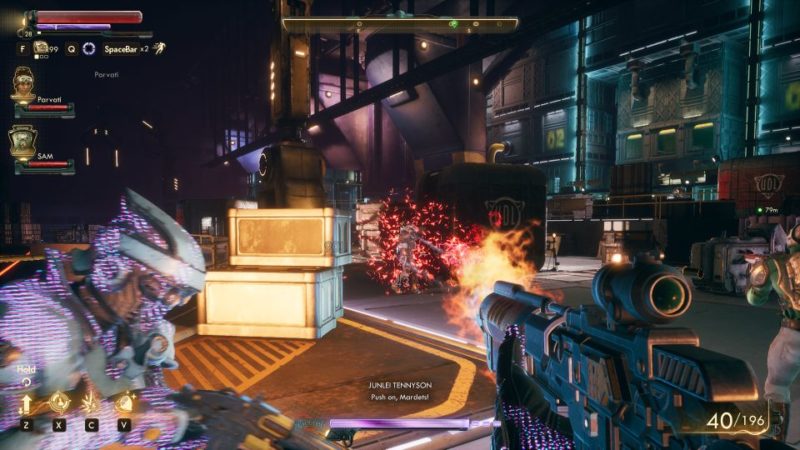
Head towards the elevator to proceed.
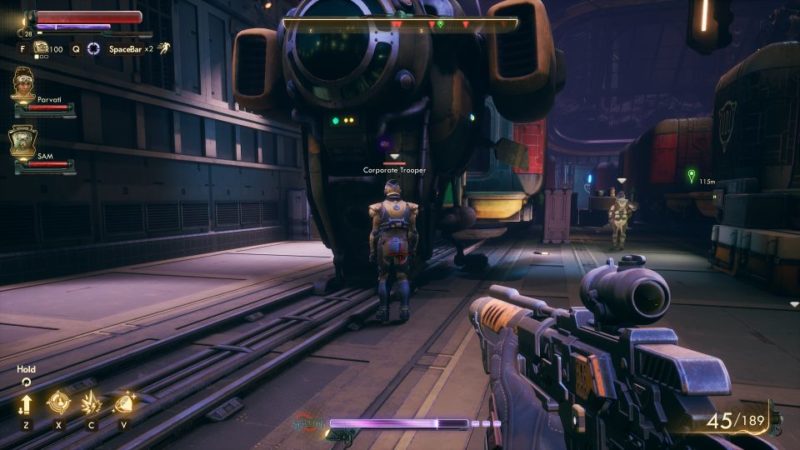
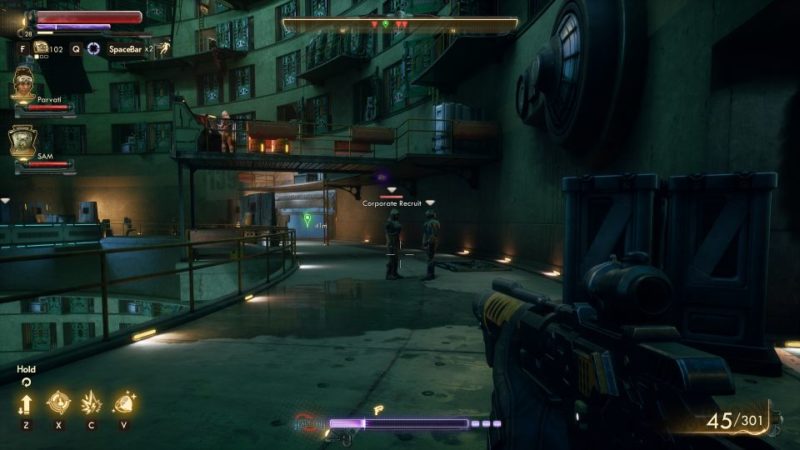
You will reach the cargo yard. There’ll be guards again in the area.
If you have the ID, try walking past most of them.
Head to the main gate.
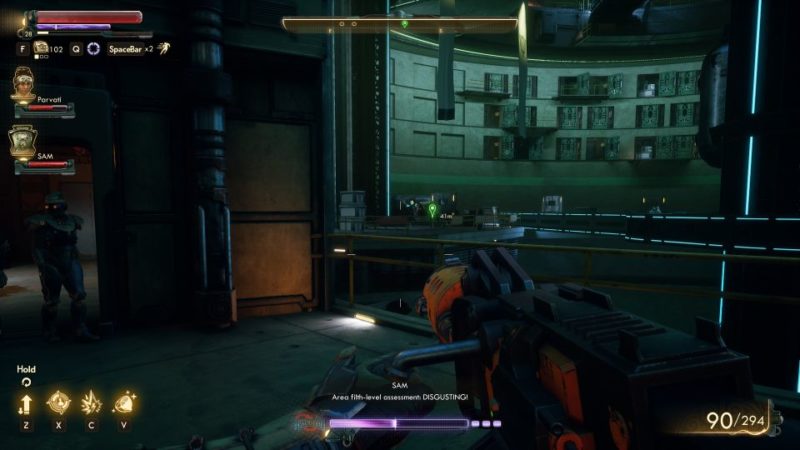
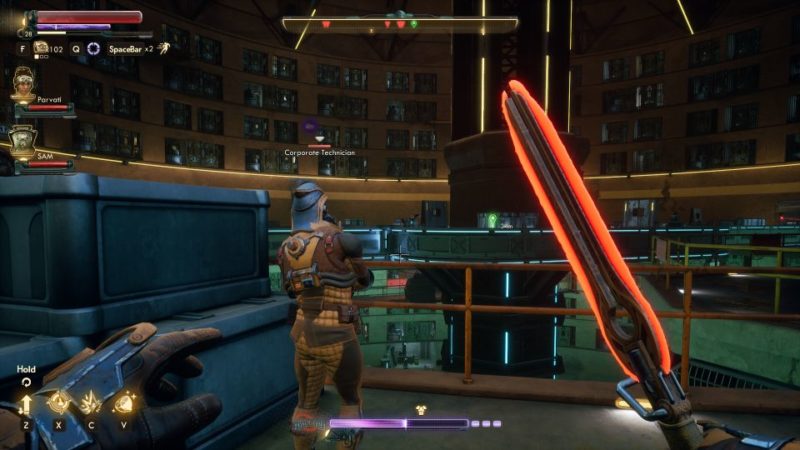
You should now be in The Pit. This place is circular and there are many levels to it.
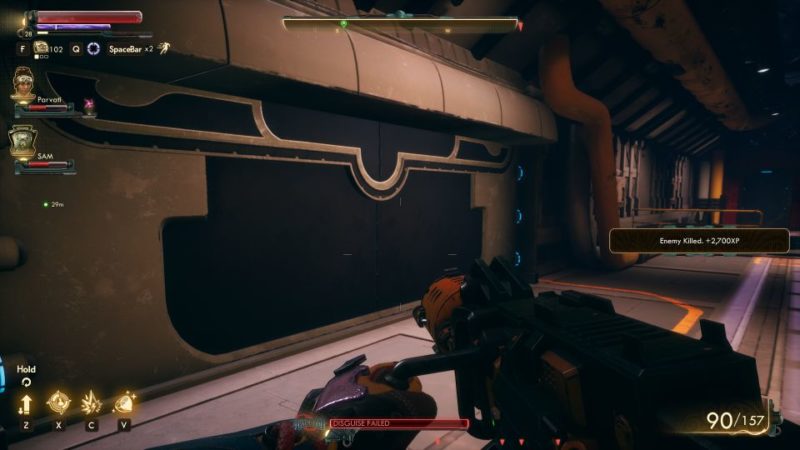
In each level, you will come across more corporate guards.
You can try to walk past them or kill them all.
Continue searching for Phineas
Head to the elevator and continue going up.
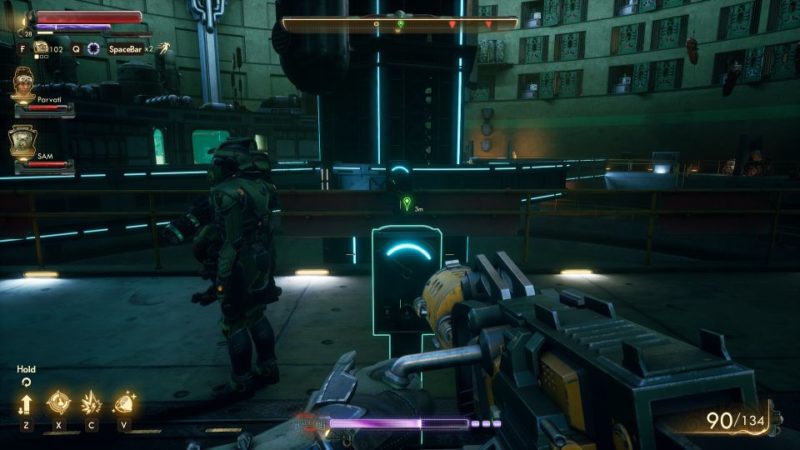
Here, our allies from MSI came to help. Your job is to keep taking the elevator up all the way.
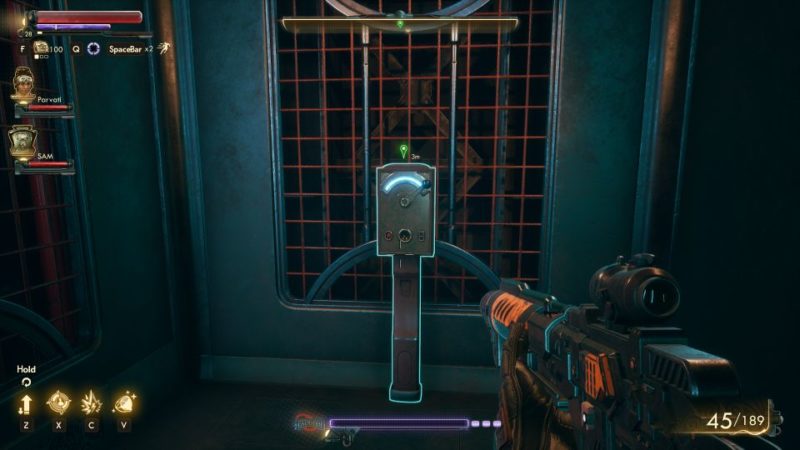
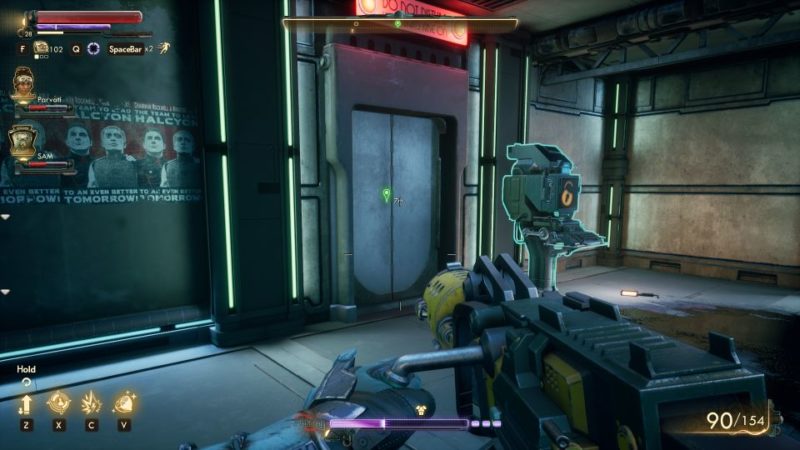
Keep going until you reach this door. Use the terminal to unlock the door.
Deal with Chairman Rockwell
You will find Rockwell inside. We chose to just kill him after the conversation although you can leave him be.

Go all the way up
After dealing with Rockwell, continue heading upwards.
More corporate guards await.
Go to the elevator at the middle of The Pit. Use it to reach the top.
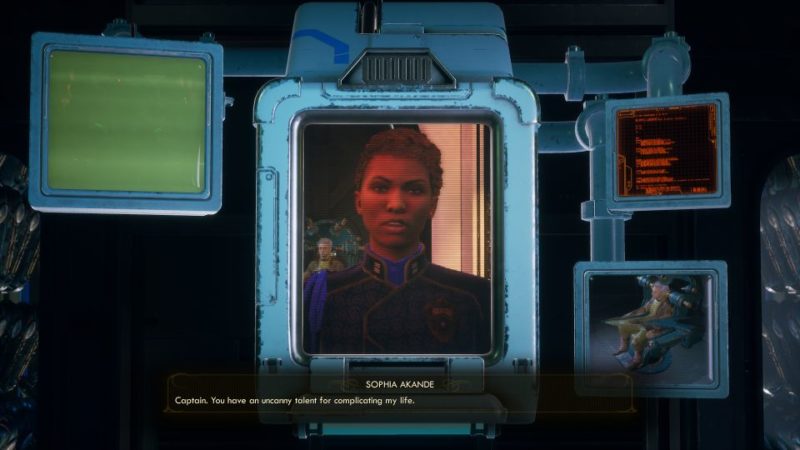
You will then be greeted by Sophia Akande on the comms.
Though we never tried it, you can apparently avoid a fight with R.A.M if you choose the right options in the conversation.
But it requires really high level conversational skills.
Defeat RAM and the drones
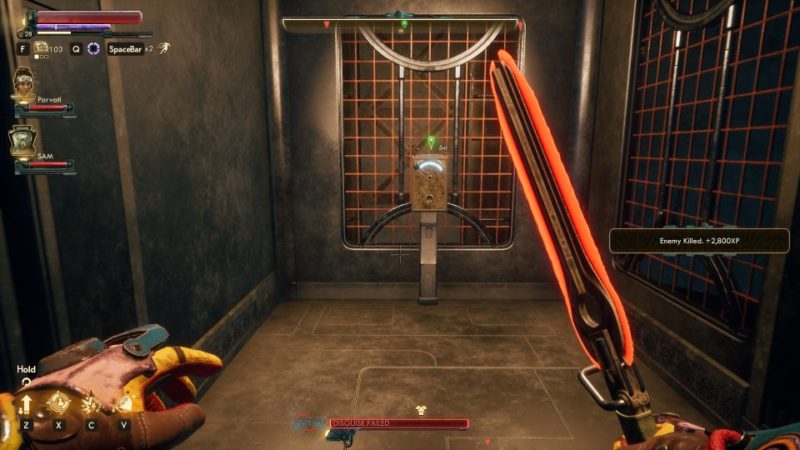
Otherwise, you’ll have to defeat RAM and the battle drones to proceed.

RAM uses a shield and is hard to kill. The hardest part of this battle is not RAM itself but the horde of battle drones that will come to attack you.
It’s best to use elemental weapons against mechanicals.
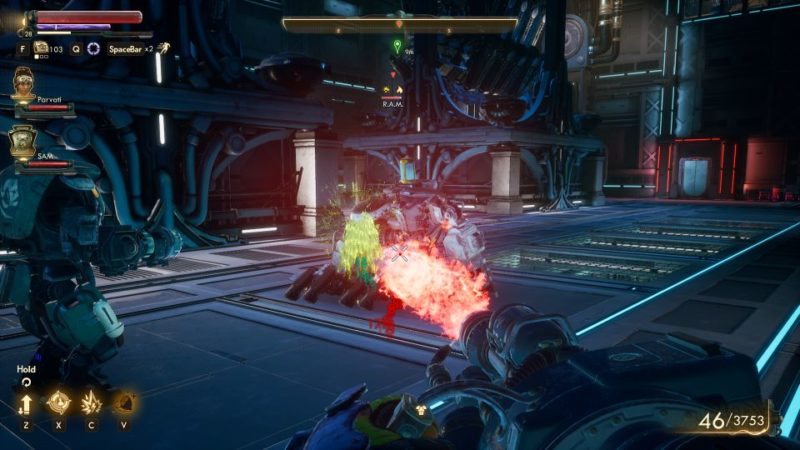
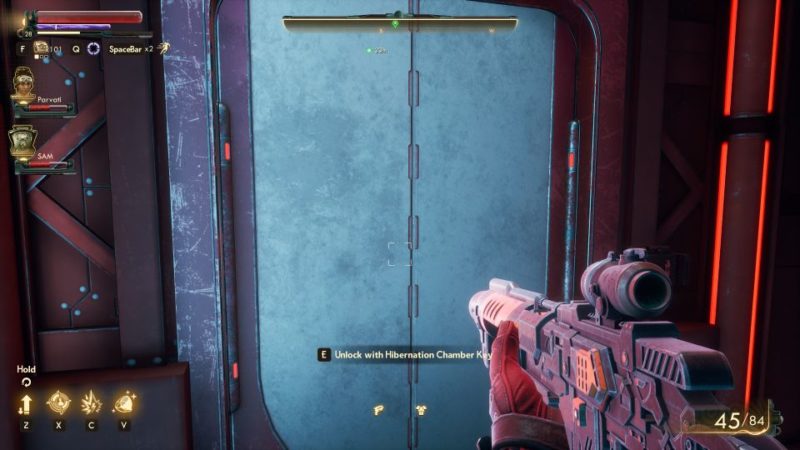
Take the hibernation chamber key from RAM’s body.
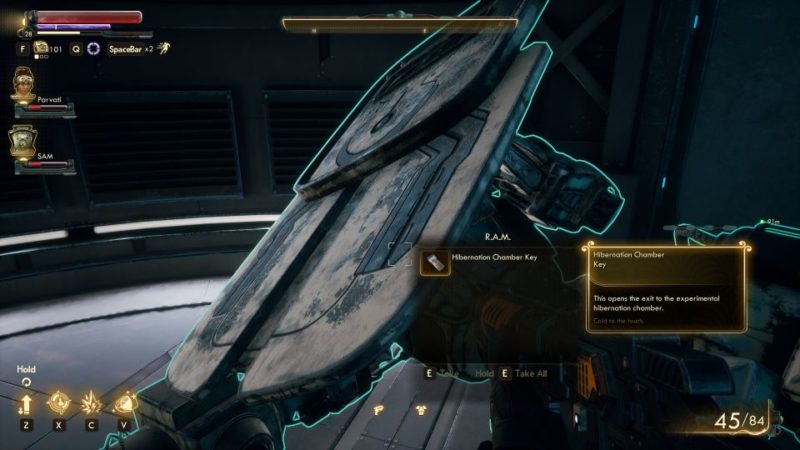
Meet Sophia Akande
Use the key to unlock the door.
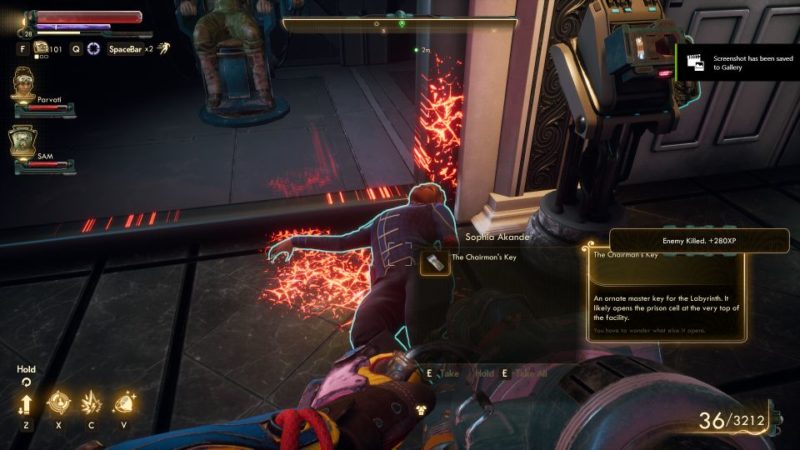
Inside, you’ll meet Sophia Akande who has been waiting for you. Take her out.
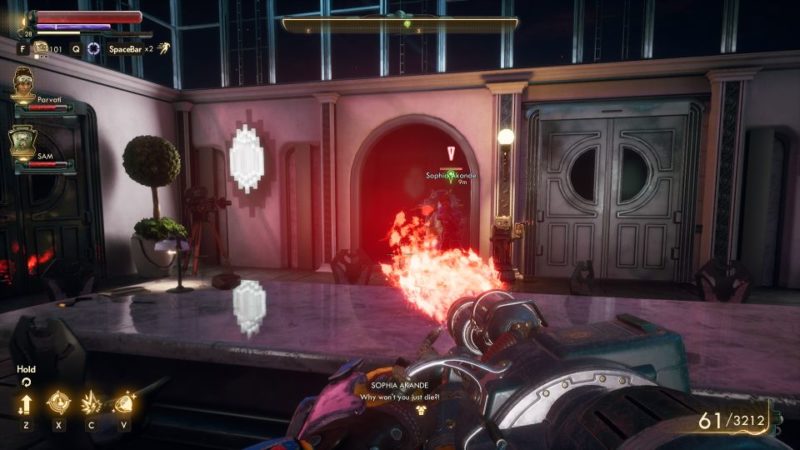
Grab the Chairman’s key from her.
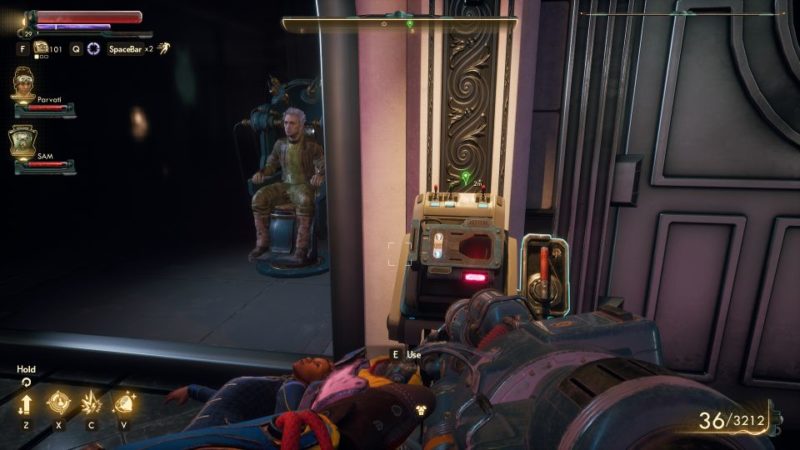
Rescue Phineas
Using the console, rescue Phineas from the chamber.
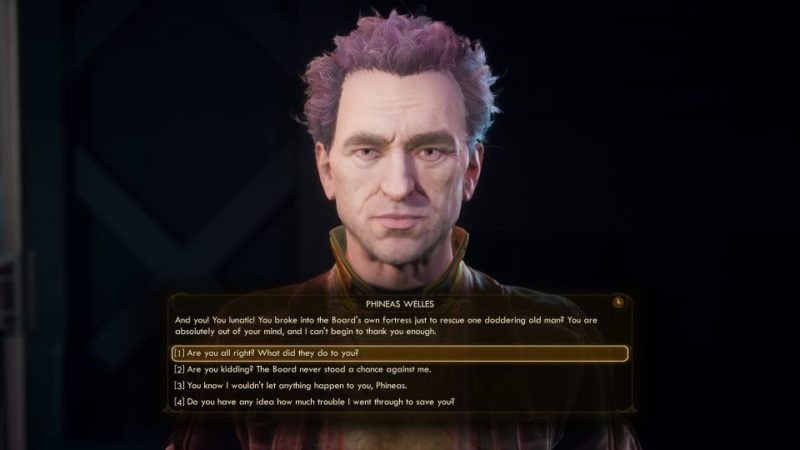
This is where the main story ends.
After the conversation, you’ll be given a story on what had happened years after this incident on Tartarus, and it also depends on your choices in the game.
The end credits come after.
Related articles:
Make Space Suits, Won’t Travel: The Outer Worlds Guide
Don’t Bite The Sun: The Outer Worlds Walkthrough
Kept Secret But Not Forgotten: The Outer Worlds Walkthrough
The City And The Stars: Outer Worlds Walkthrough
The Chimerist’s Last Experiment: The Outer Worlds Walkthrough