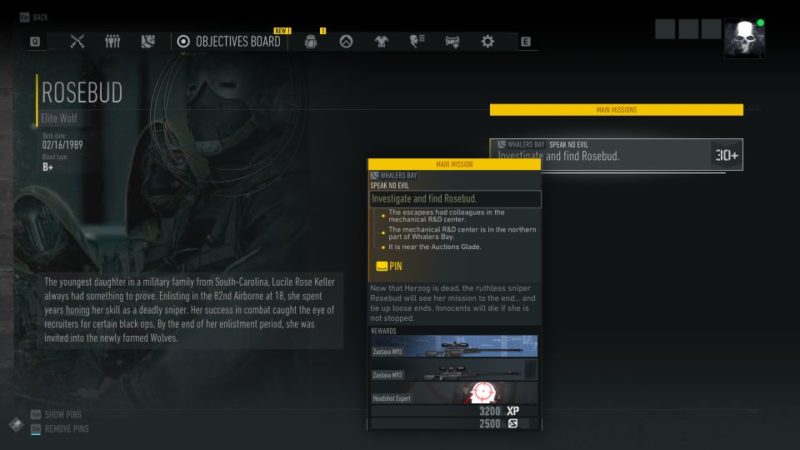
Speak No Evil is a mission under Rosebud in Tom Clancy’s Ghost Recon: Breakpoint.
Your task is to locate Rosebud and eliminate her before she kills others.
Here’s a walkthrough of Speak No Evil in Ghost Recon Breakpoint.
Recommended gear score = above 30.
Skip all the way to the end for the exact location of Rosebud if you wish to skip all the intel gathering.
Head to Mechanical R&D Center
First of all, go to the Mechanical R&D Center in Whalers Bay.
The exact location is shown below.
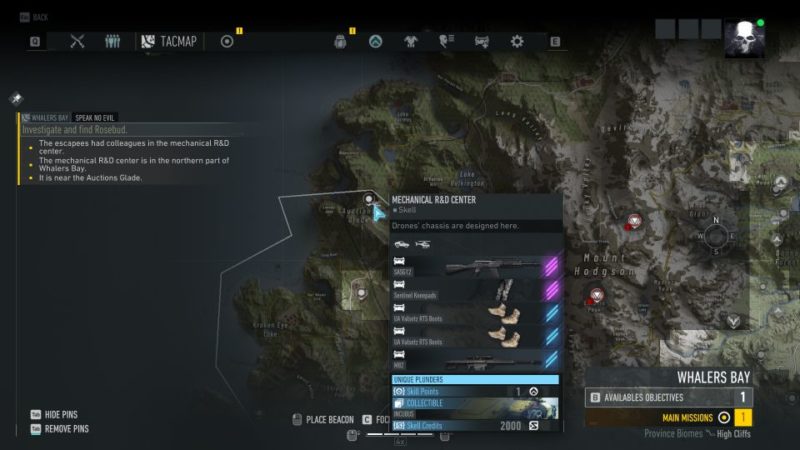
You can grab a helicopter there.
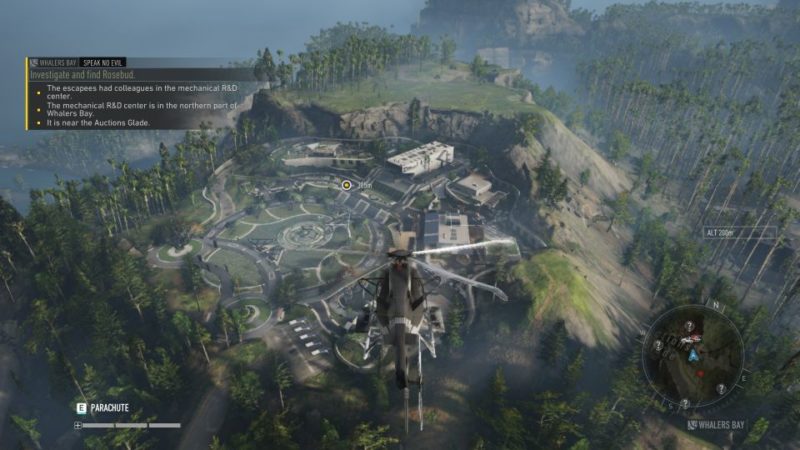
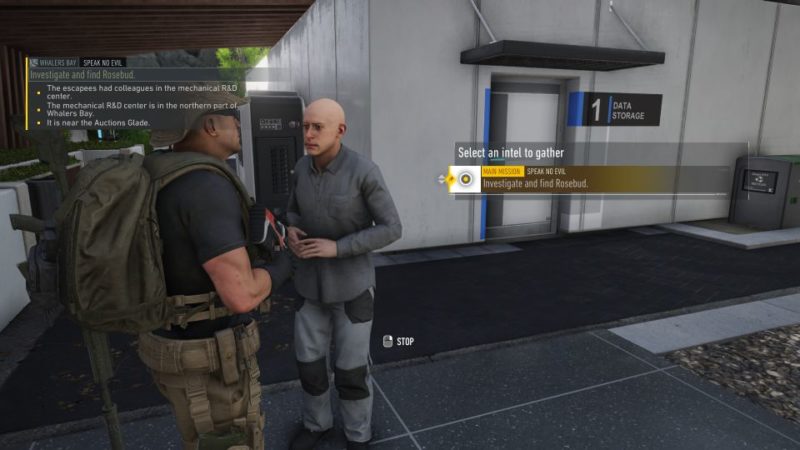
Gather intel from civilian
Here, you need to gather intel on Rosebud’s location.
The escapees have colleagues in this area.
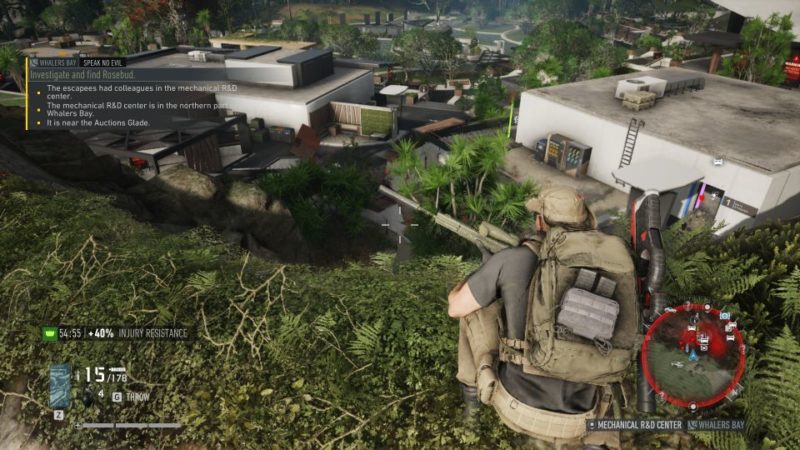
Some of the civilians here will give you intel.
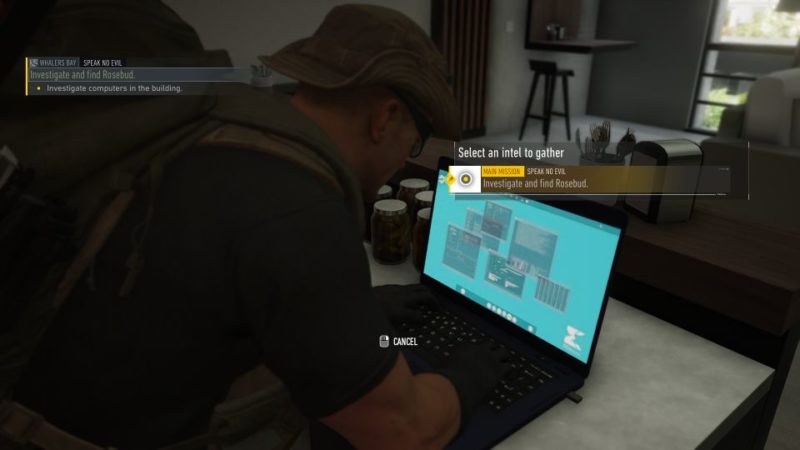
Investigate computer
Next, you need to find for a computer that will bring you more intel for Rosebud.
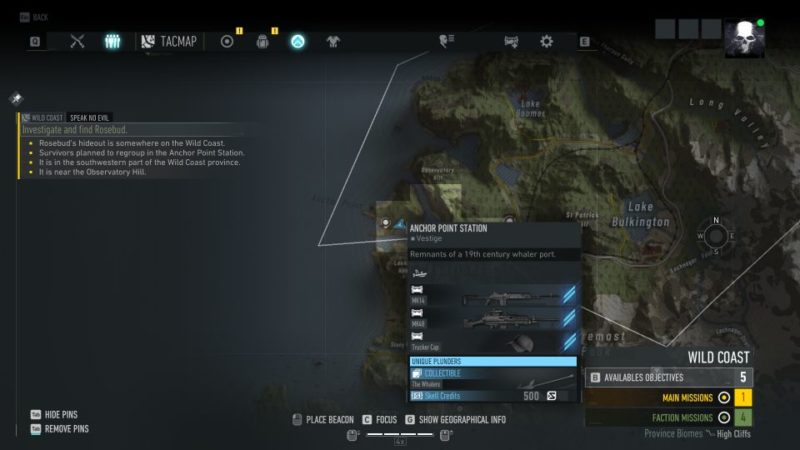
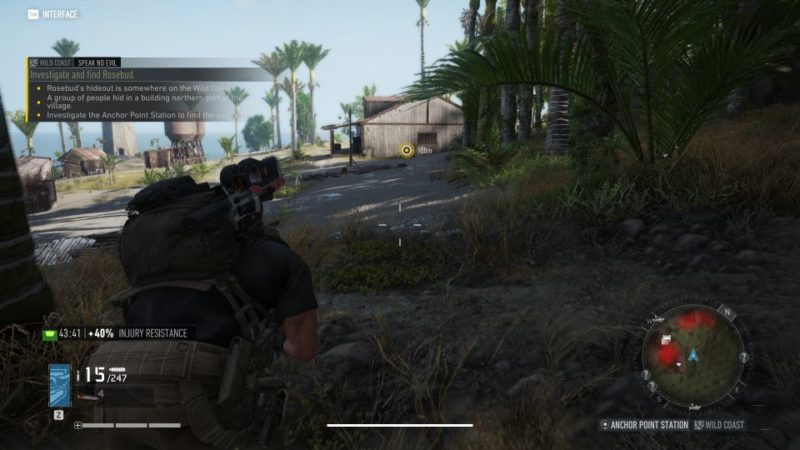
Go to Anchor Point station
The clues will bring you to Anchor Point station, which is on the Wild Coast province.
It’s in the most western side of the area.
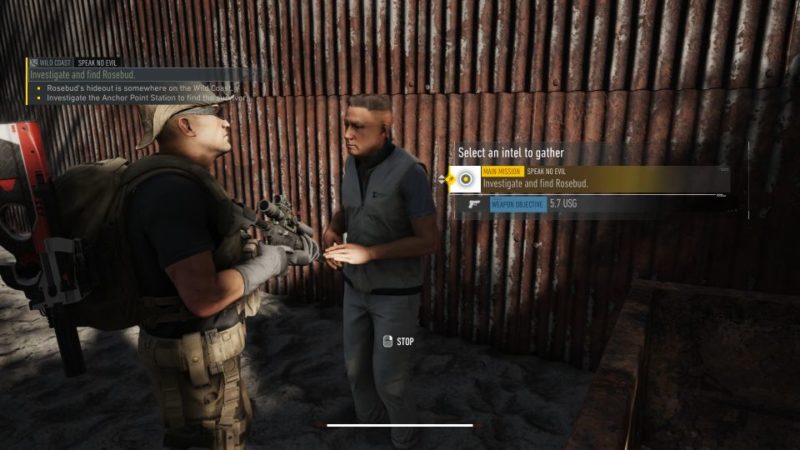
Gather intel
There’ll be a couple of intel sources in this area.
You will get a clue from a civilian here.
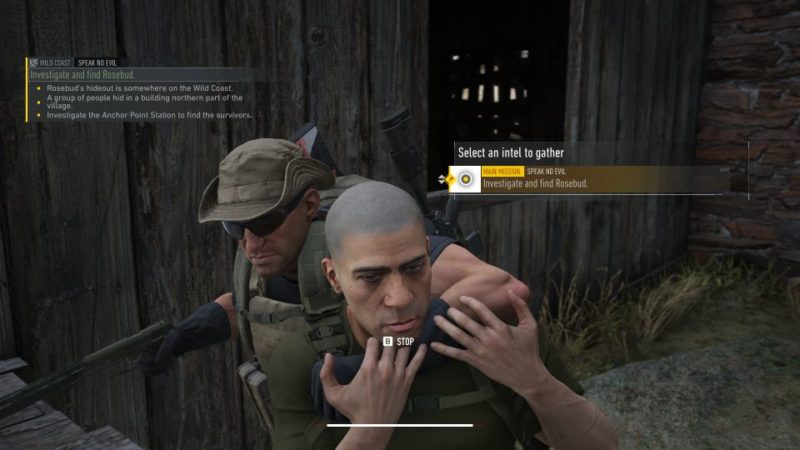
Next, head to the northern building.
You’ll be able to interrogate some of the enemies if you bring them down by shooting at their legs.
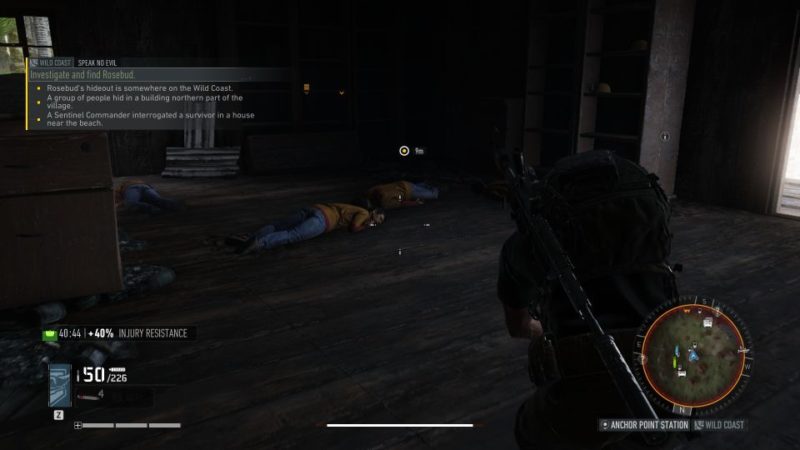
Inside the building, there’ll be a couple of dead civilians. Gather intel by interacting with one of the dead bodies.
Finally, go to the house near the beach where a Sentinel Commander interrogated a survivor.
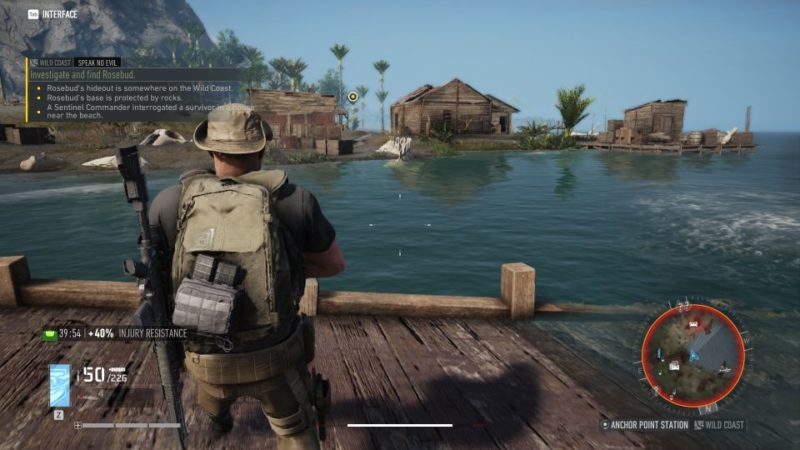
Shoot the commander’s legs until he falls. Grab and interrogate him for more info on Rosebud.

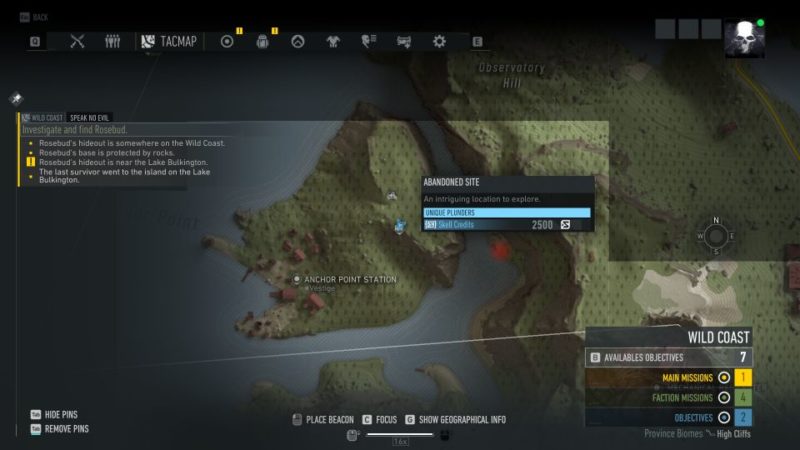
Look for the survivors
You’ll get info on two survivors who ran away.
The first one is located in the Abandoned Site. The exact location is shown below, marked by the blue player location.
It’s in the forest just northeast of Anchor Point station.
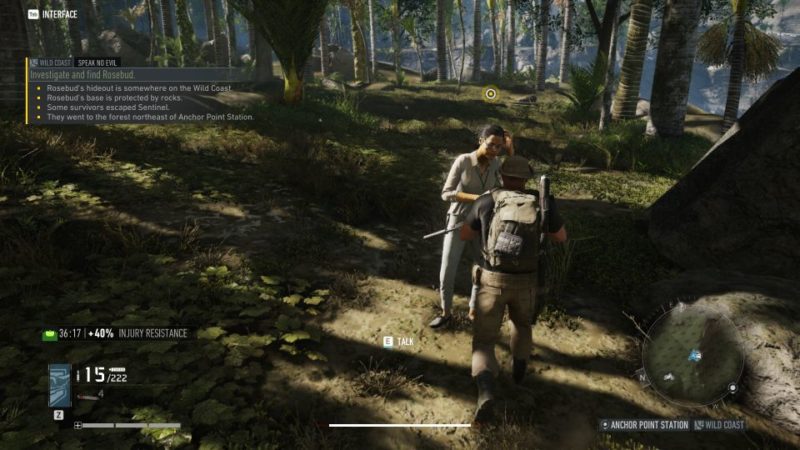
Speak to her.
Next, head to Lake Bulkington to find the other survivor, who is located right in the middle of the lake.
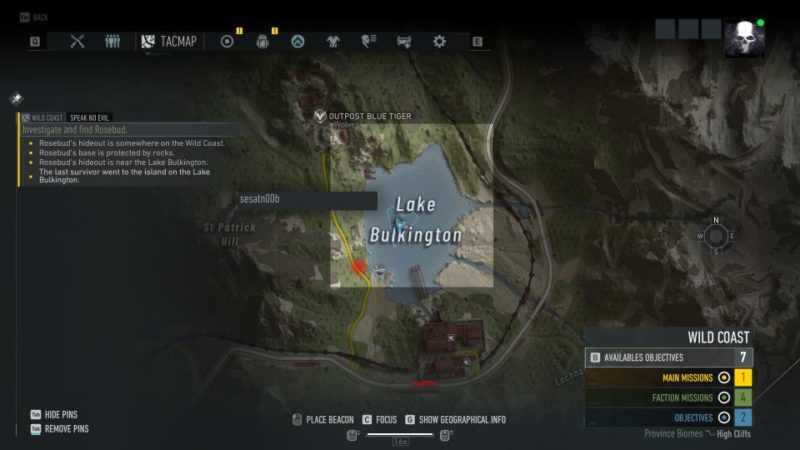
You can land your helicopter at the small island.

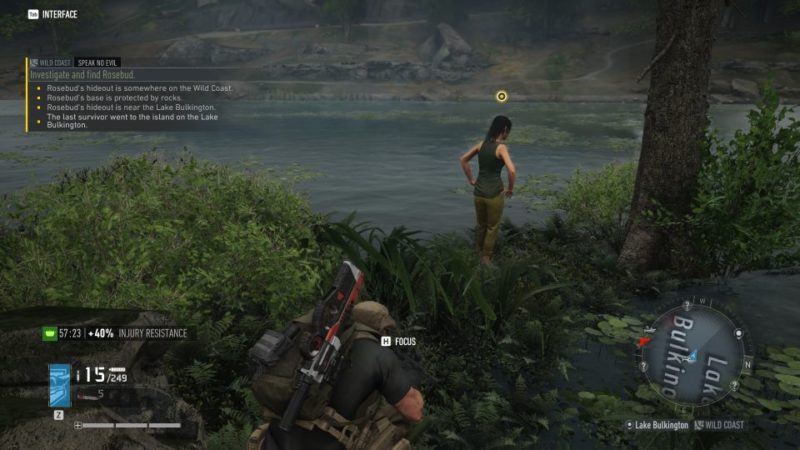
Speak with the lady who is at the bottom of the mini island.
Locate Rosebud
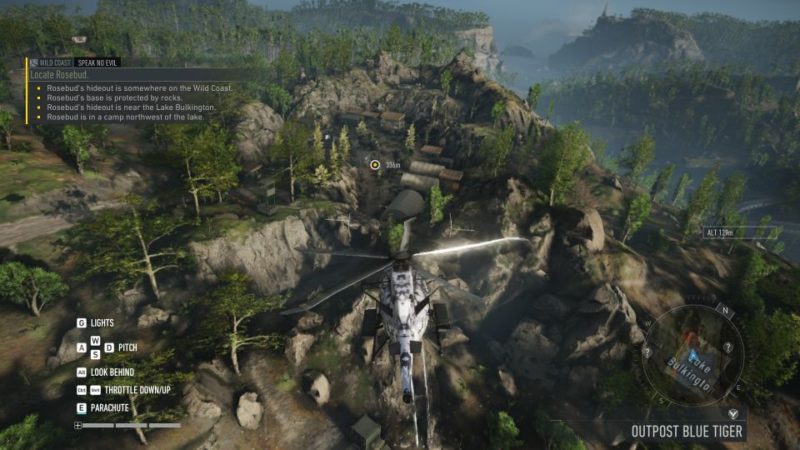
Now, this is the exact location of Rosebud. She’s hiding in Outpost Blue Tiger, which is filled with Wolves. It’s northwest of Lake Bulkington.
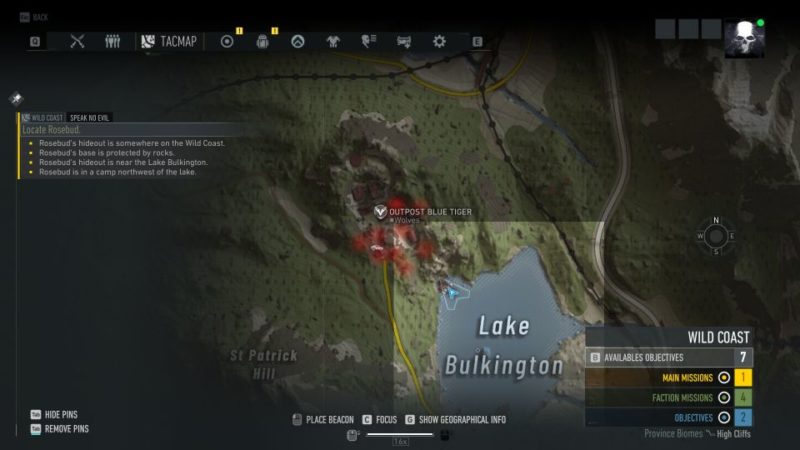
You can land your helicopter nearby. The base is protected by the rocks.
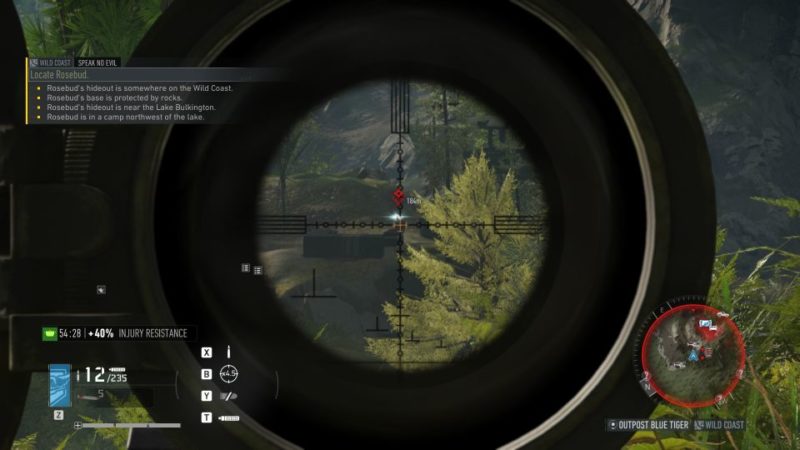
There’ll be plenty of snipers here, and as Wolves, they’re all elites.
It’ll be harder than the regular Sentinels.
Kill Rosebud
Rosebud is also within the enemies. Take her out like you do any sniper.
Secure the area as well.
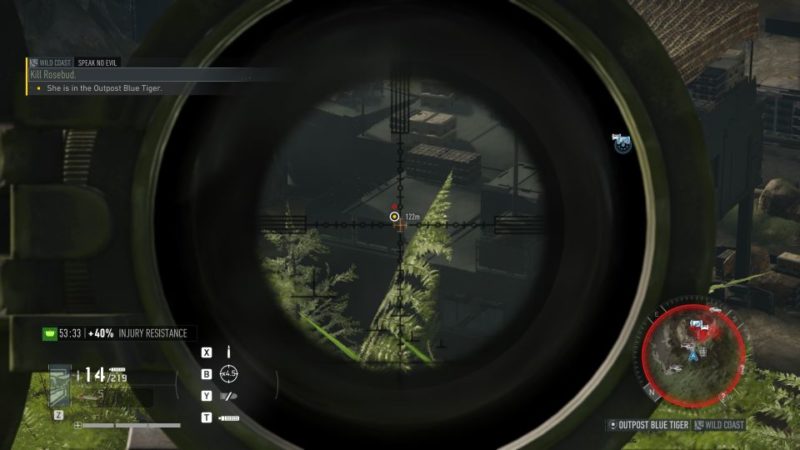
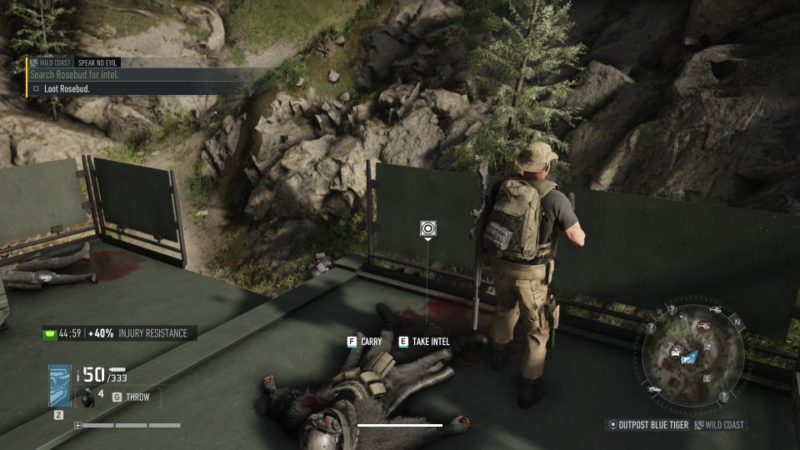
You’ll need to loot intel from her body.
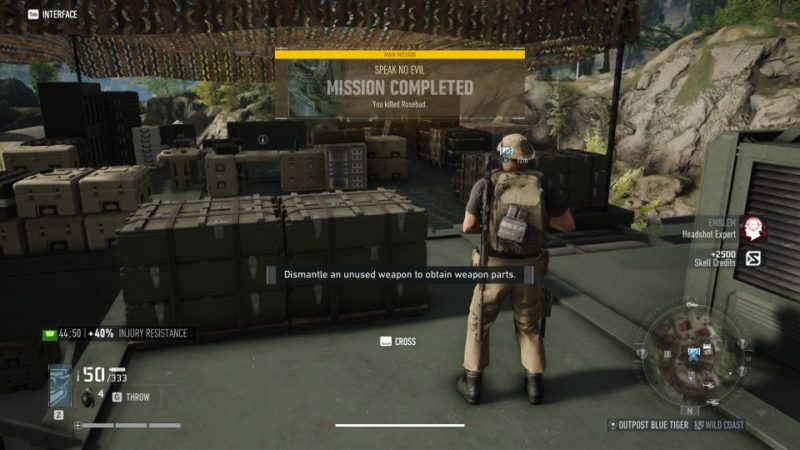
The mission ends here. You’ll get an emblem and some Skell Credits.
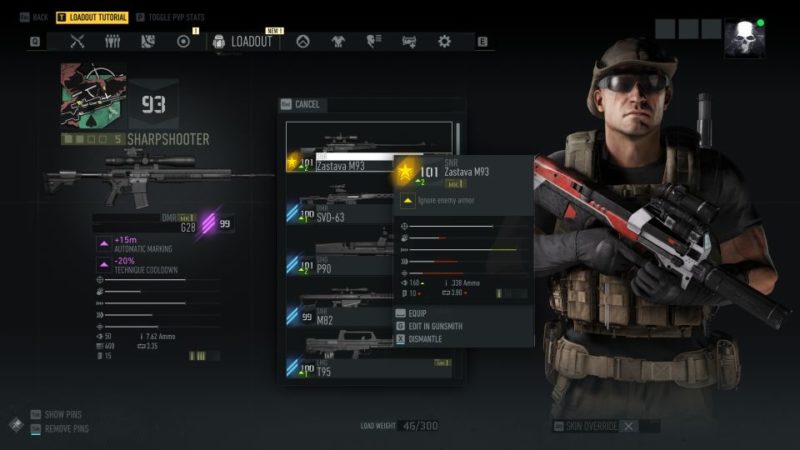
Nearby, there’s also a cache that gives you Zastava M93 which is a sniper rifle. You’ll also get the blueprint.
It’s good because the perk is that it ignores the enemy’s armor.
Related articles:
Coldish Heart: Ghost Recon Breakpoint Walkthrough
Speak No Evil: Ghost Recon Breakpoint Walkthrough
A Great Escape: Ghost Recon Breakpoint Walkthrough
Show Me The Way: Ghost Recon Breakpoint Walkthrough
Mountain Siege: Ghost Recon Breakpoint Walkthrough