• Skip to main content
  • Skip to secondary menu
  • Skip to primary sidebar
  • Skip to footer
  • HOME
  • NEED A GAME REVIEWED?

Ordinary Reviews

Gaming And Entertainment Site

  • GAMING
    • GAME GUIDES
    • FINAL FANTASY XVI
    • HOGWARTS LEGACY
    • HIGH ON LIFE
    • ANIMAL CROSSING: NEW HORIZONS
  • ENTERTAINMENT
    • RECAPS
  • PRODUCTS
  • FOOD
  • TRAVEL
  • CRYPTO | NFT
    • AIRDROPS

Rogue Tunnel Nero Checkpoint: Days Gone Walkthrough

Last updated on October 3, 2020 by A L

Rogue Tunnel NERO Checkpoint is one of the checkpoints on the western side.

Your task is to restore power to the NERO building at Rogue Tunnel.

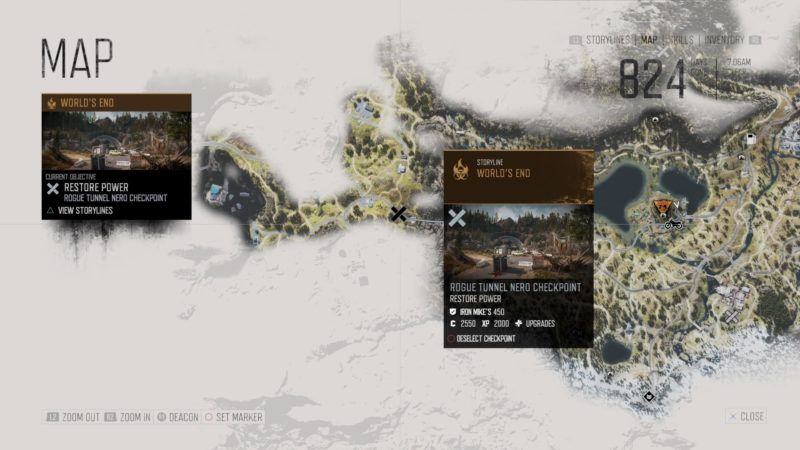
Here’s a walkthrough of Rogue Tunnel NERO Checkpoint in Days Gone.


Go to Rogue Tunnel

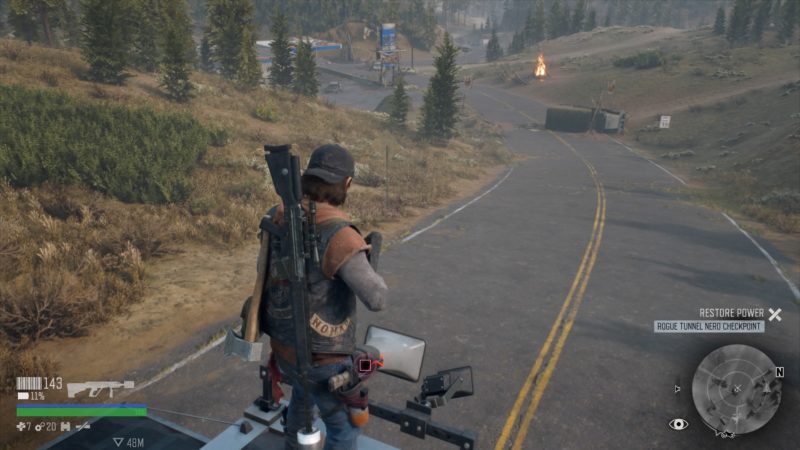
This place is very near the Rippers camp, so you can expect to see plenty of Rippers near the tunnel.

The location is shown in the map below, west of Lost Lake.

days-gone-rogue-tunnel-nero-checkpoint


Kill the Rippers

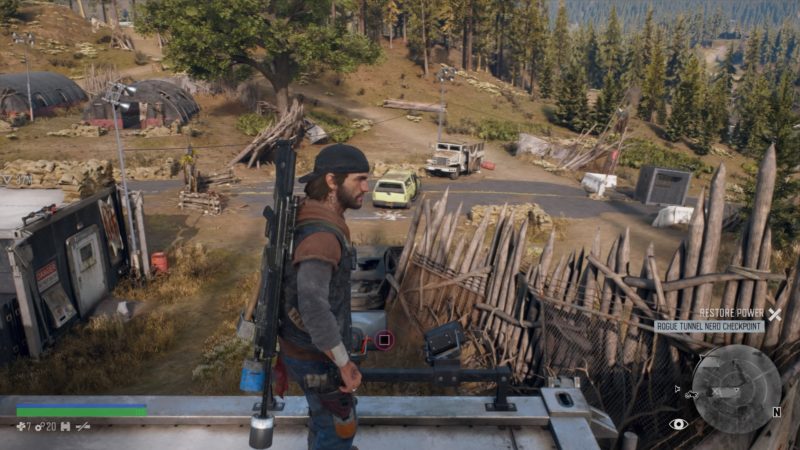
As you get there, you’ll likely meet Rippers. Kill all of them.

days-gone-rogue-tunnel-nero-checkpoint-guide

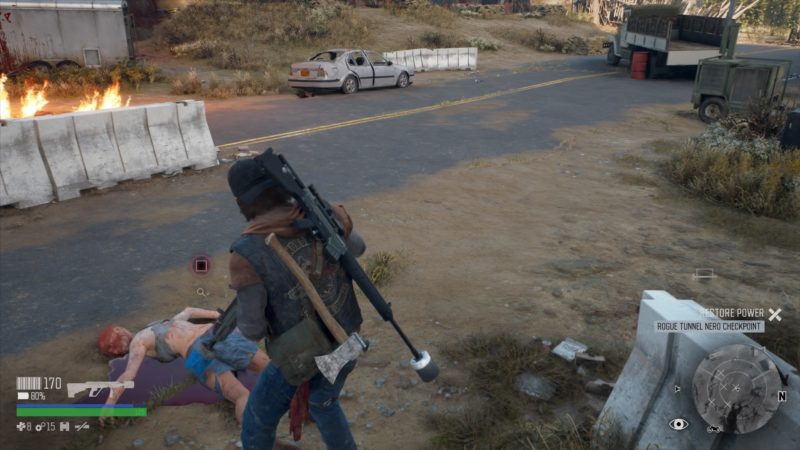
There are some hiding on the rooftops, as well as those using machine guns.

days-gone-rogue-tunnel-nero-checkpoint-how-many-speakers

Furthermore, Rippers on motorcycles will pass by every minute or so. You may need to hide if you wish to avoid more fighting.


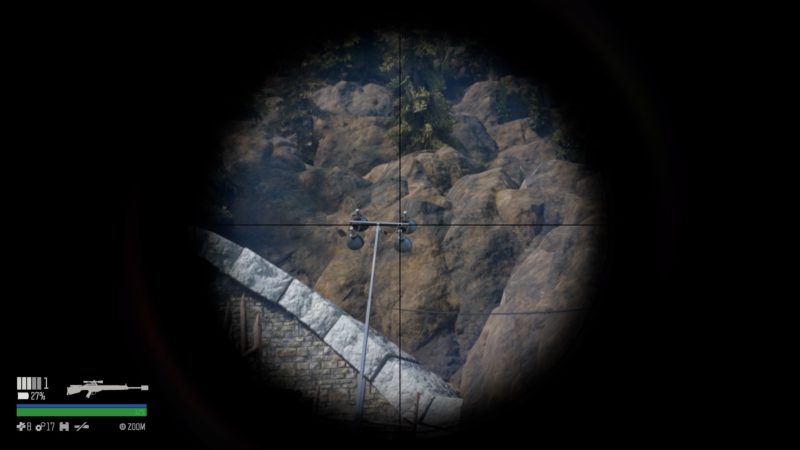
Disable all loudspeakers

Before starting the generator, disable all loudspeakers to avoid freakers from coming.

There are a couple of speakers on the NERO buildings. There are actually two buildings.

days-gone-rogue-tunnel-nero-checkpoint-guide-tips

days-gone-rogue-tunnel-nero-checkpoint-quest

days-gone-rogue-tunnel-nero-checkpoint-mission

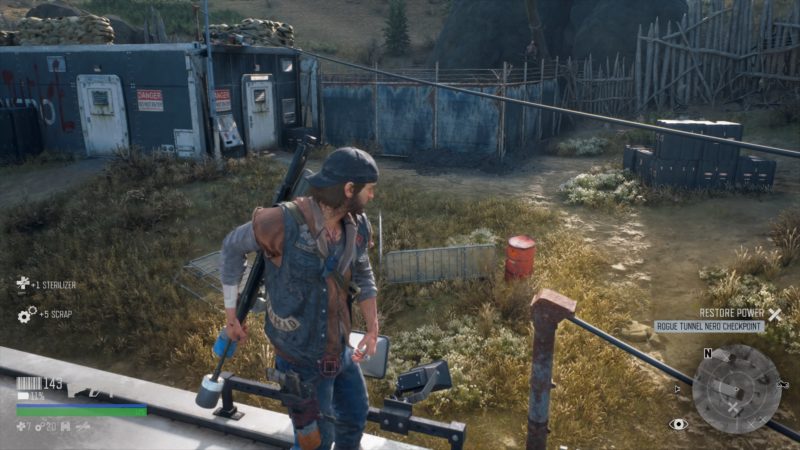
There is also one loudspeaker far away, on a guardhouse, on the opposite direction of the tunnel.

days-gone-rogue-tunnel-nero-checkpoint-walkthrough

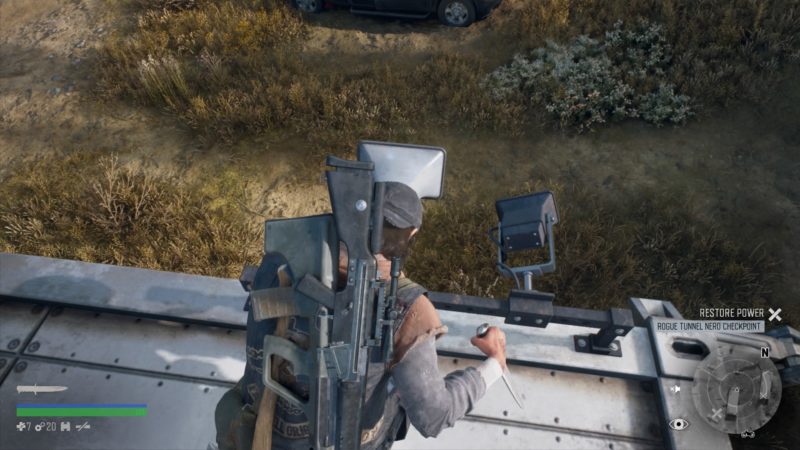
You need to look for the speakers on the poles as well (image below). I missed one and it attracted swarmers.

days-gone-rogue-tunnel-nero-checkpoint-tips-guide

Shoot the speaker down (image is after the speaker has been shot down).

days-gone-rogue-tunnel-nero-checkpoint-tips


Refuel the generator

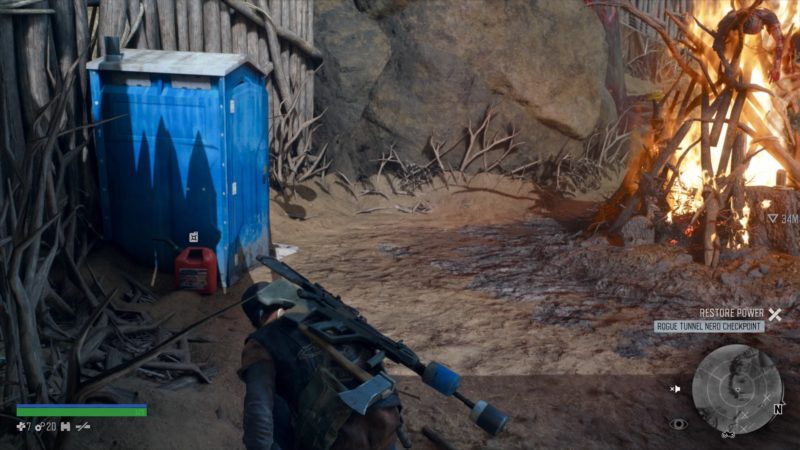
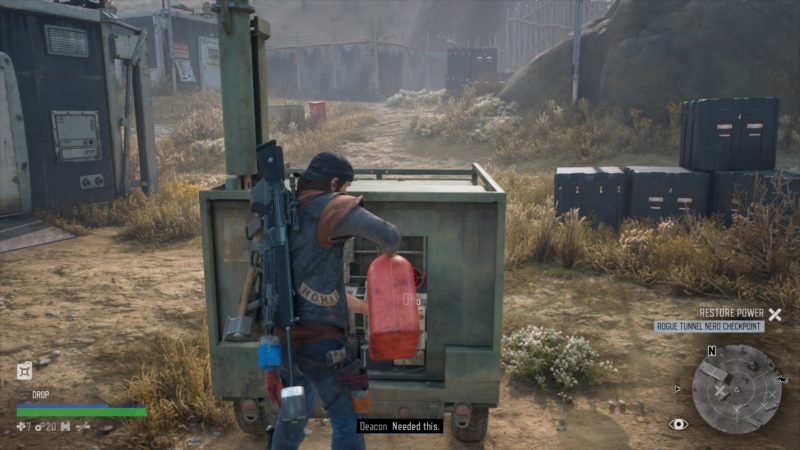
After dealing with the speakers, grab a fuel can near the bonfire.

days-gone-rogue-tunnel-nero-checkpoint-mission-guide

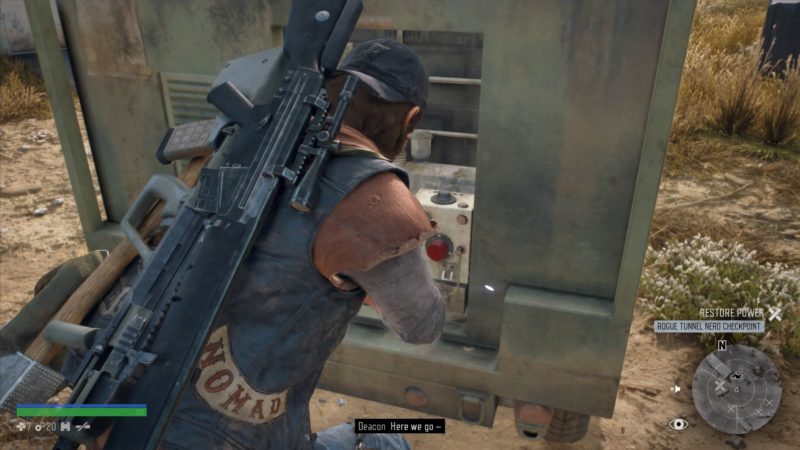
Refuel the generator to 100%. Start the generator.

days-gone-rogue-tunnel-nero-checkpoint-mission-walkthrough  

It won’t work the first time as the circuit failed. Interact with it again to fix it.

days-gone-rogue-tunnel-nero-checkpoint-walkthrough-guide


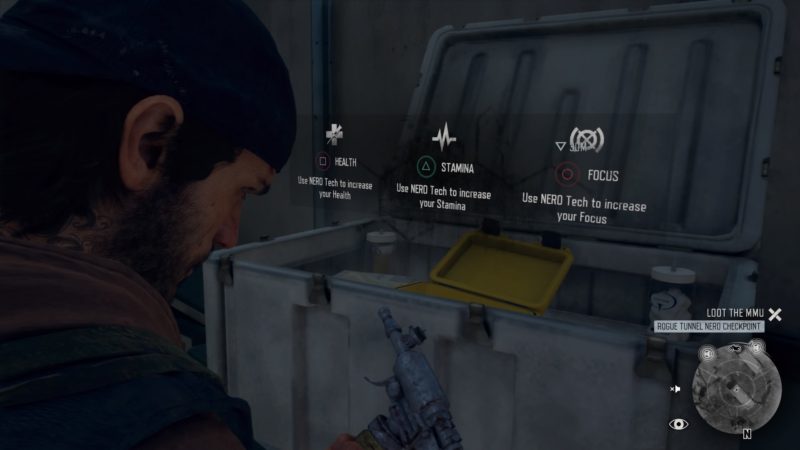
Get the NERO injector

Once the generator starts working, enter the building (further from you) to get the NERO injector.

days-gone-rogue-tunnel-nero-checkpoint-wiki

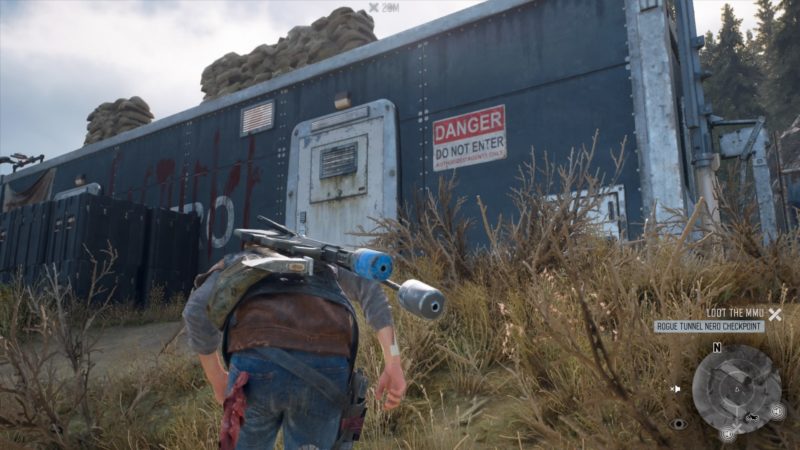
You can use it to increase your stats permanently.

days-gone-rogue-tunnel-nero-checkpoint-wiki-and-guide  

And that’s it.


Related articles:

A War We Can Win: Days Gone Walkthrough

Without Being Seen (And Series Of Missions) – Days Gone

Where Is Jeremy – On Tonight’s Menu: Days Gone Wiki

Old Sawmill Nero Checkpoint: Days Gone Wiki

A Score To Settle: Days Gone Walkthrough

Don’t Get Caught: Days Gone Walkthrough

Give Me A Couple Days: Days Gone Walkthrough

Filed Under: Days Gone, Gaming

About A L

AL spends most of his time either absorbing content or creating content.

Primary Sidebar

Footer

Social Media

Facebook / Pinterest / YouTube

Latest Posts

  • How To Potentially Qualify For The Scroll Airdrop (Guide)
  • How To Potentially Qualify For The Spellborne Airdrop
  • Carv Protocol Airdrop Guide: How To Earn Rewards
  • Forge Airdrop Guide: How To Potentially Earn Rewards
  • How To Farm Points For The Parcl Airdrop On Solana
  • ABOUT
  • CONTACT US
  • PRIVACY POLICY
  • DISCLAIMER

Copyright © 2025 Ordinary Reviews · All Rights Reserved ·