• Skip to main content
  • Skip to secondary menu
  • Skip to primary sidebar
  • Skip to footer
  • HOME
  • NEED A GAME REVIEWED?

Ordinary Reviews

Gaming And Entertainment Site

  • GAMING
    • GAME GUIDES
    • FINAL FANTASY XVI
    • HOGWARTS LEGACY
    • HIGH ON LIFE
    • ANIMAL CROSSING: NEW HORIZONS
  • ENTERTAINMENT
    • RECAPS
  • PRODUCTS
  • FOOD
  • TRAVEL
  • CRYPTO | NFT
    • AIRDROPS

Santiam Tunnel Nero Checkpoint: Days Gone Wiki

Last updated on October 3, 2020 by A L

Santiam Tunnel NERO Checkpoint is one of the checkpoints you have to clear.

This pretty much involves starting up the generator and so on.

Here’s a guide on Santiam Tunnel NERO Checkpoint in Days Gone.

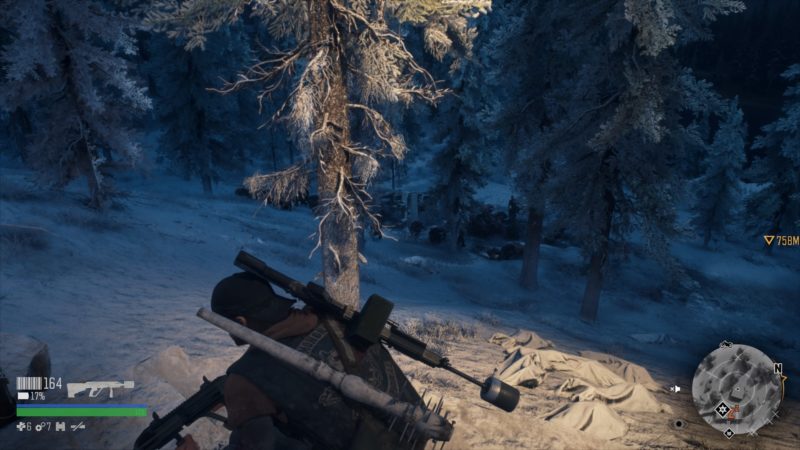
Before we start, do note that you shouldn’t park your bike near the lorry behind the NERO checkpoint (image below).

After you activate the generator, you’ll find a small horde here.
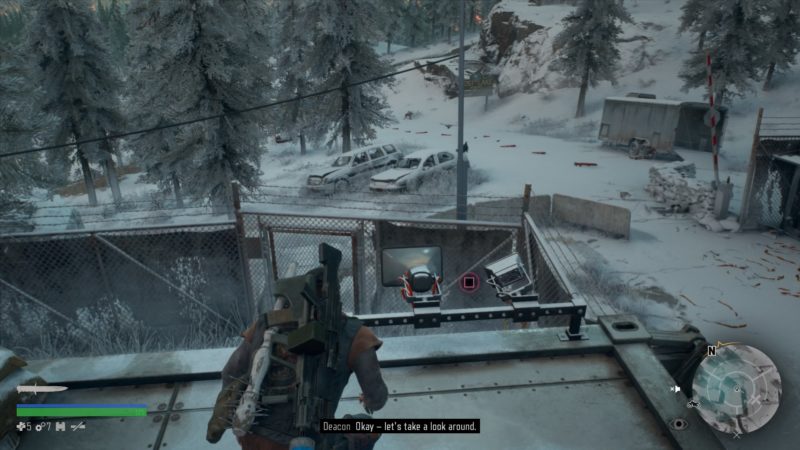
days-gone-santiam-tunnel-nero-checkpoint-tips


Get to the location

Your first task is to get to the location. It’s south of Lost Lake.

days-gone-santiam-tunnel-nero-checkpoint

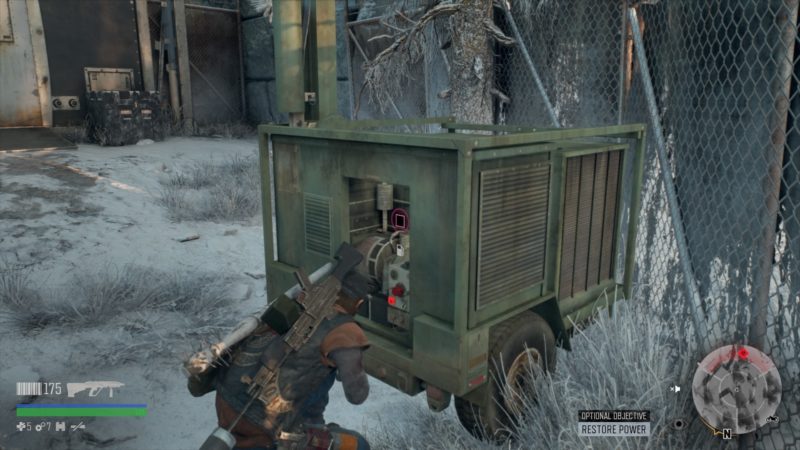
You’ll find the generator behind the building. It’s accessible from the back.

days-gone-santiam-tunnel-nero-checkpoint-guide


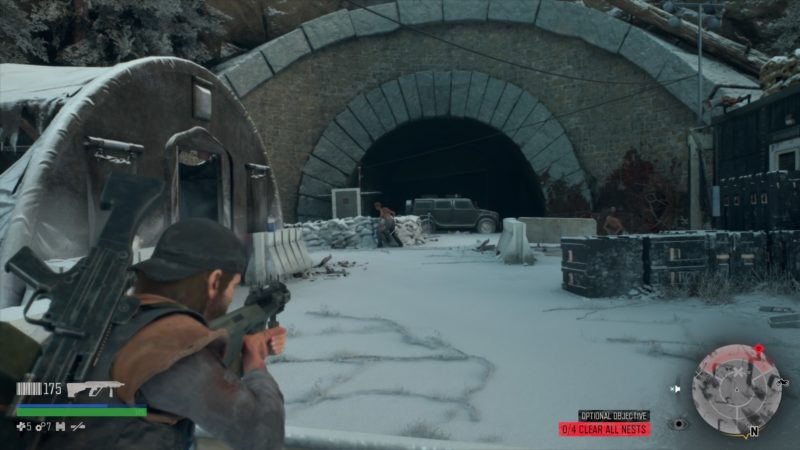
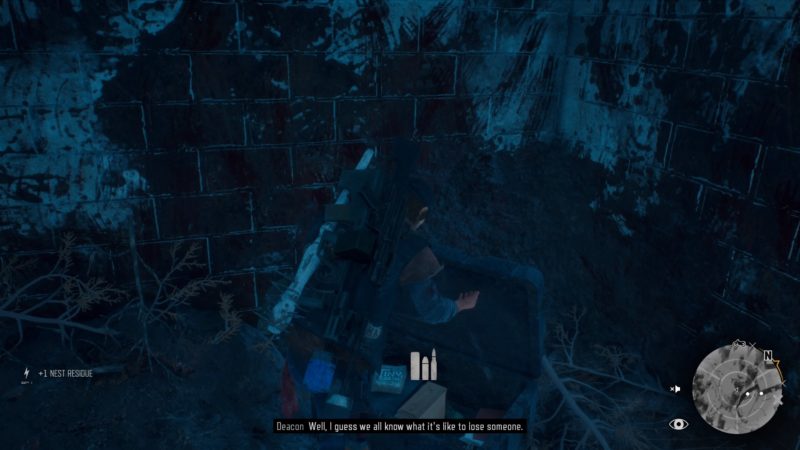
Destroy the nest and clear the freakers

Before getting the necessary items, you should clear the nest and freakers first. They can be a nuisance.

days-gone-santiam-tunnel-nero-checkpoint-where-is-fuse


Disable the loudspeakers

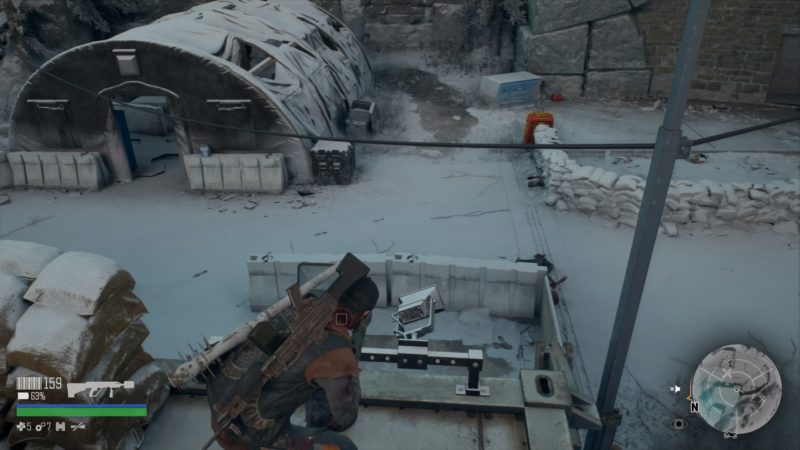
There are only two loudspeakers for this checkpoint. Both of them are above the NERO building.

days-gone-santiam-tunnel-nero-checkpoint-disable-alarm

days-gone-santiam-tunnel-nero-checkpoint-where-is-gas-tank.


Look for the fuse

As the fuse is blown, you need a replacement. Interact with the fuse box first and you’ll see footsteps.

The footsteps may bring you to the dead body right outside the NERO building fences, towards the side of the building.

days-gone-santiam-tunnel-nero-checkpoint-how-to-start-generator

You’ll get more footsteps after interacting with the corpse. You can find the fuse inside a box in a small room.

The room is at the nest where you burned, just outside the tunnel.

days-gone-santiam-tunnel-nero-checkpoint-walkthrough

Bring the fuse to the box and fix it.
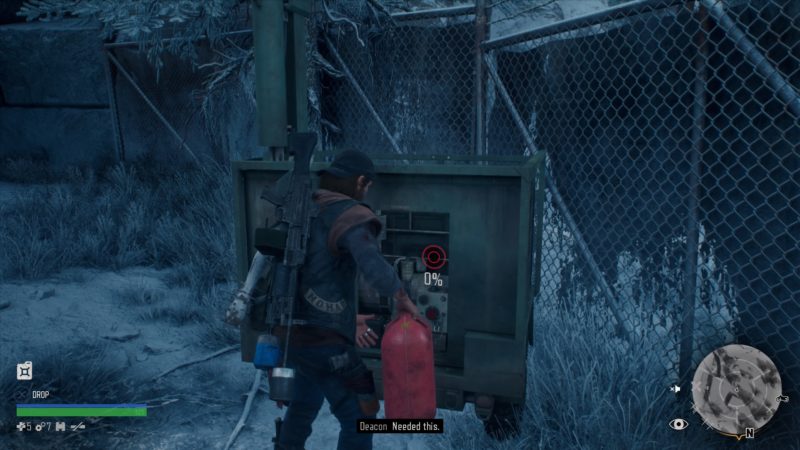
 

Get the fuel

To refuel the generator, get the fuel can inside the long tent.

days-gone-santiam-tunnel-nero-checkpoint-walkthrough-guide

Go towards the back and refuel the generator. Start the generator.

days-gone-santiam-tunnel-nero-checkpoint-wiki


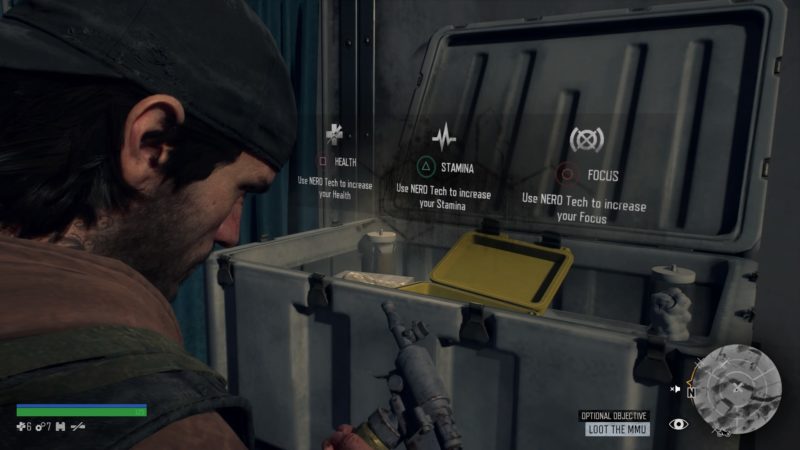
Get the NERO injector

Enter the building and look for the NERO injector. It increases your stats permanently.

days-gone-santiam-tunnel-nero-checkpoint-wiki-and-guide

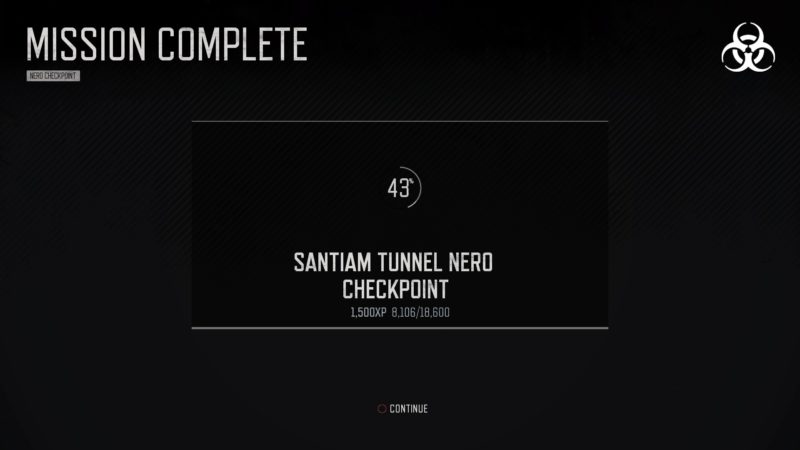
The mission completes here. You’ll get 1,500 XP for this.

days-gone-santiam-tunnel-nero-checkpoint-wiki-tips


Related articles:

Drinking Himself To Death: Days Gone Walkthrough

It Was On Me: Days Gone Walkthrough

Moments Of Lucidity: Days Gone Walkthrough

Gone Fishing: Days Gone Walkthrough

On Herod’s Birthday: Days Gone Walkthrough

I Got A Job For You: Days Gone Walkthrough

Coming Into Town: Days Gone Walkthrough

Filed Under: Days Gone, Gaming

About A L

AL spends most of his time either absorbing content or creating content.

Primary Sidebar

Footer

Social Media

Facebook / Pinterest / YouTube

Latest Posts

  • How To Potentially Qualify For The Scroll Airdrop (Guide)
  • How To Potentially Qualify For The Spellborne Airdrop
  • Carv Protocol Airdrop Guide: How To Earn Rewards
  • Forge Airdrop Guide: How To Potentially Earn Rewards
  • How To Farm Points For The Parcl Airdrop On Solana
  • ABOUT
  • CONTACT US
  • PRIVACY POLICY
  • DISCLAIMER

Copyright © 2025 Ordinary Reviews · All Rights Reserved ·