• Skip to main content
  • Skip to secondary menu
  • Skip to primary sidebar
  • Skip to footer
  • HOME
  • NEED SOMETHING REVIEWED?

Ordinary Reviews

Gaming And Entertainment Site

  • GAMING
    • GAME GUIDES
    • UPCOMING RELEASES
    • SIMILAR GAMES
    • HOGWARTS LEGACY
    • HIGH ON LIFE
    • ANIMAL CROSSING: NEW HORIZONS
  • ENTERTAINMENT
    • RECAPS
    • NET WORTH
    • RICHEST WRESTLERS
    • RICHEST RAPPERS
    • RICHEST FOOTBALLERS
    • RICHEST VIDEO GAME COMPANIES
    • RICHEST PRO GAMERS
  • PRODUCTS
    • GAMING GEAR
    • LAPTOPS
    • HOUSEHOLD
    • ELECTRONICS
    • GIFTS
    • TRAVEL GADGETS
    • SERVICES
  • FOOD
  • TRAVEL
  • CRYPTO | NFT

You Twisted My Arm: Days Gone Walkthrough

Last updated on October 3, 2020 by Alvin L

You Twisted My Arm is a series of missions in Bend Studio’s Days Gone.

Your task is to spy for O’Brian one last time and get information on Sarah.

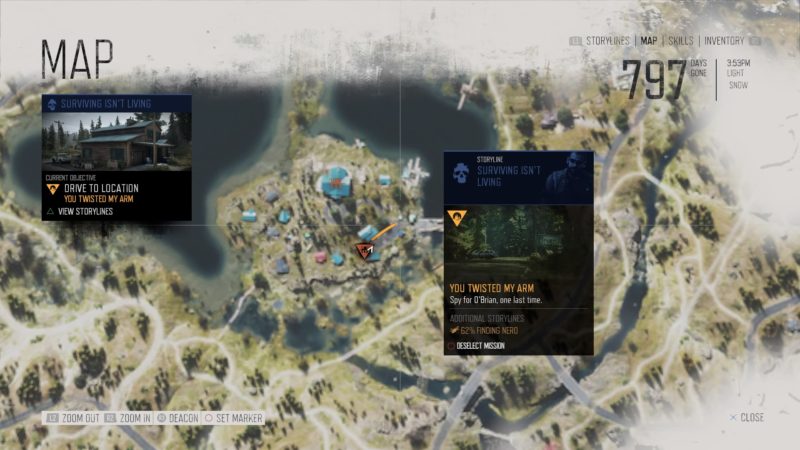
Here’s a walkthrough of You Twisted My Arm in Days Gone.

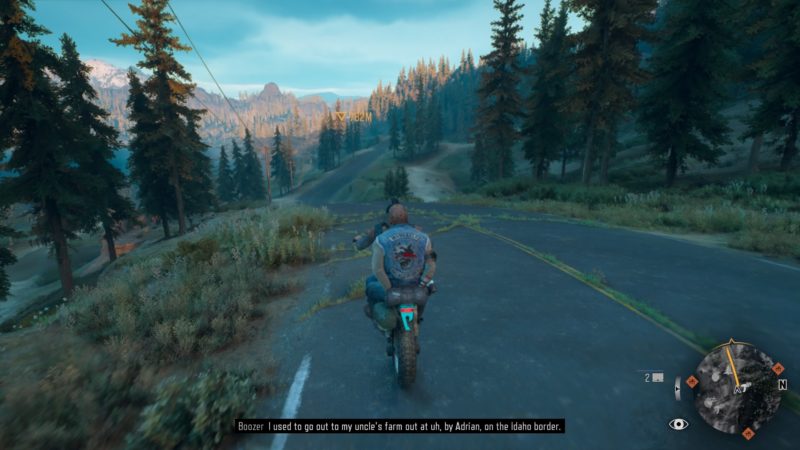
To begin the mission, get your bike and go to the gate of Lost Lake.

days-gone-you-twisted-my-arm

This time, Boozer will be joining you.

days-gone-you-twisted-my-arm-guide

days-gone-you-twisted-my-arm-guide-tips

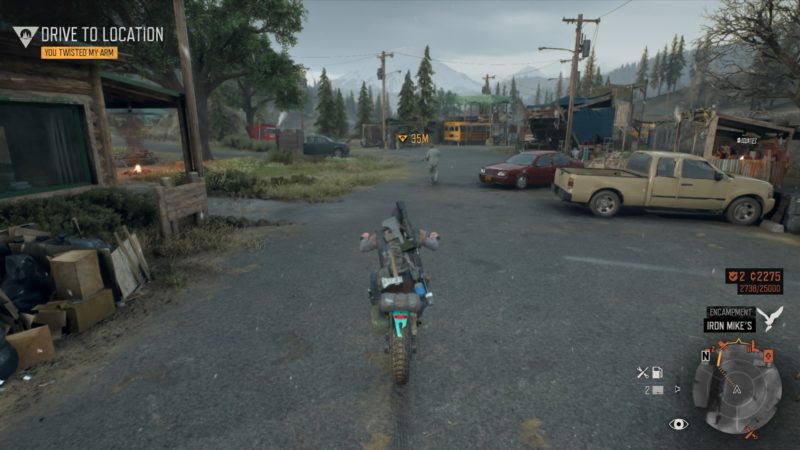
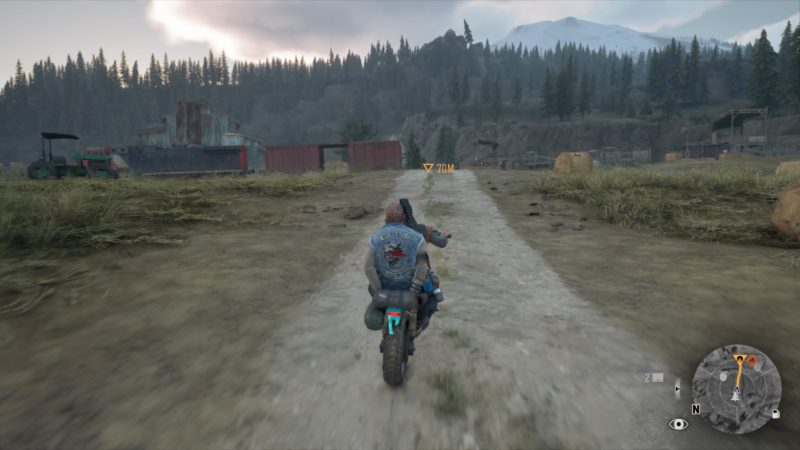
Now, ride all the way to the west of Lost Lake.

days-gone-you-twisted-my-arm-mission

days-gone-you-twisted-my-arm-mission-guide

Keep riding until you reach this building.

days-gone-you-twisted-my-arm-mission-walkthrough

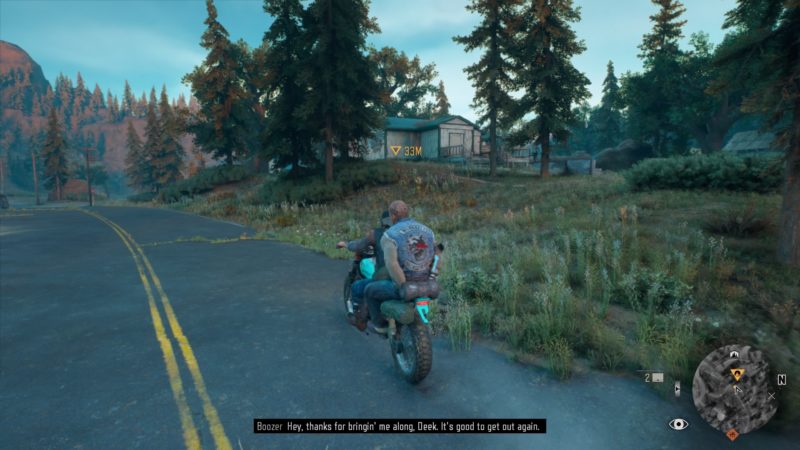
A cutscene will load. You will then see a helicopter landing with a group of NERO officers.

days-gone-you-twisted-my-arm-mission-wiki

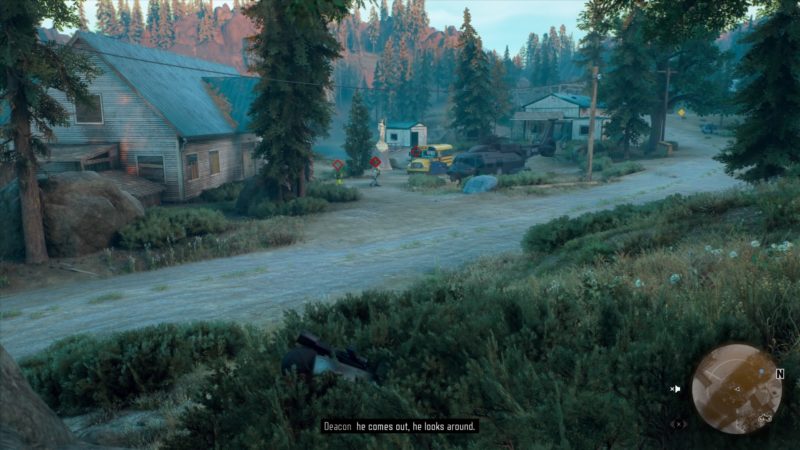
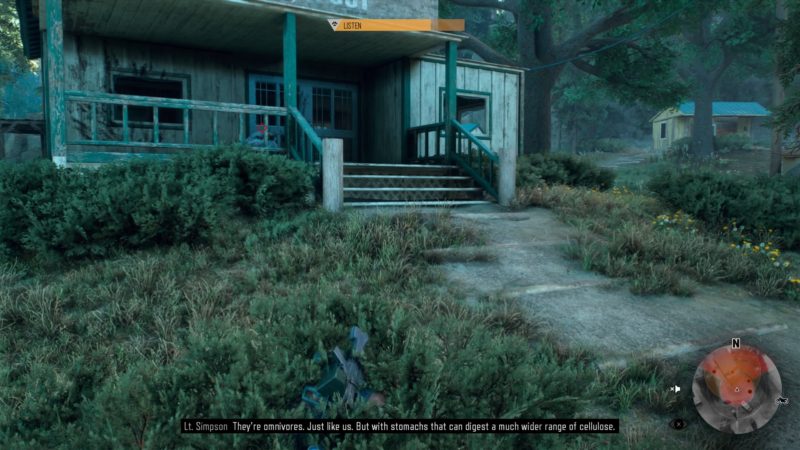
As usual, you need to spy on the researcher. Avoid the line of sight of the officers and hide in this bush.

days-gone-you-twisted-my-arm-walkthrough

After sometime, the researcher will walk away. You need to follow him closely, or you’ll have to restart the mission.

The man will stop at the porch of this building. Hide in this bush until your job is complete.

days-gone-you-twisted-my-arm-walkthrough-guide

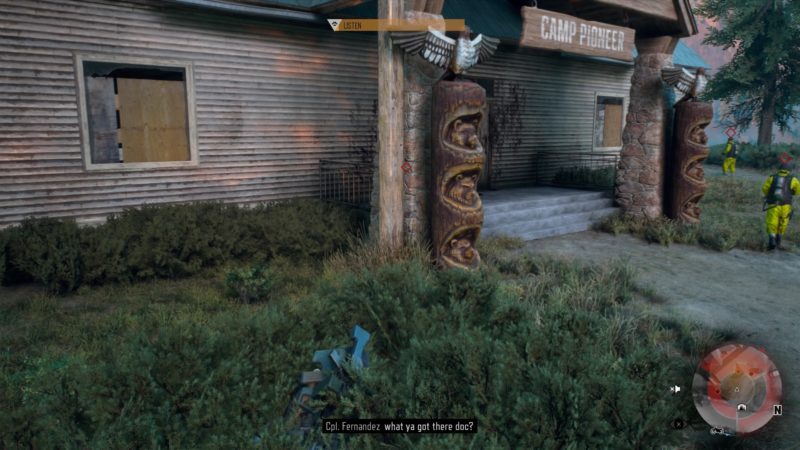
Next, go back to your bike.

days-gone-you-twisted-my-arm-wiki

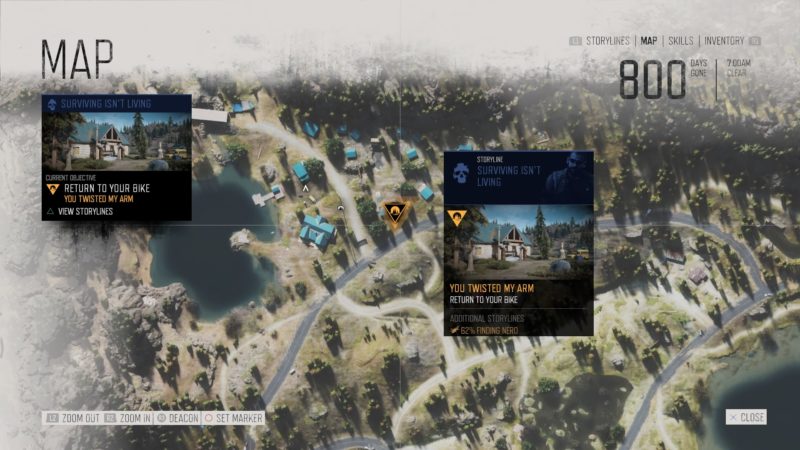
You can go a big round behind the building to avoid the NERO officers.

days-gone-you-twisted-my-arm-wiki-and-guide


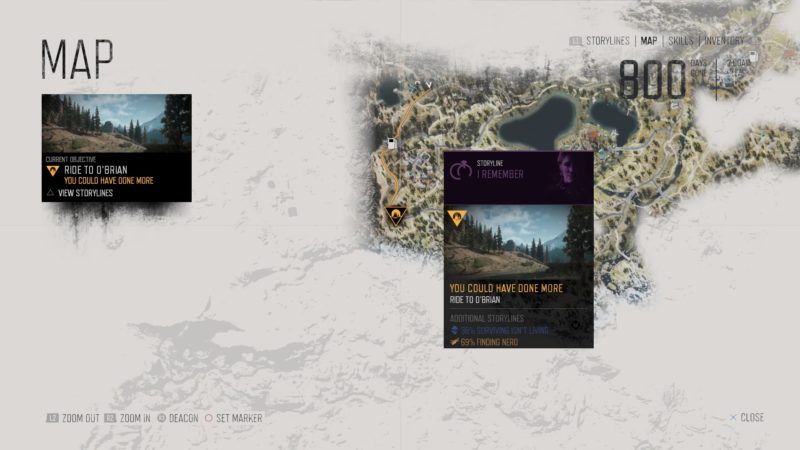
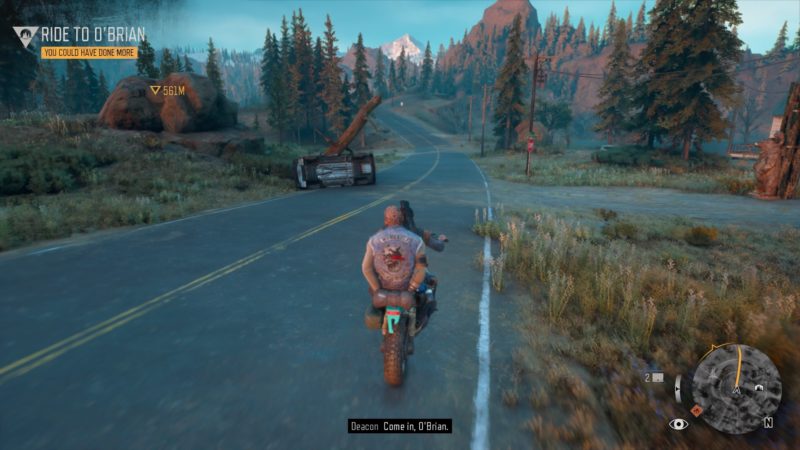
You Could Have Done More

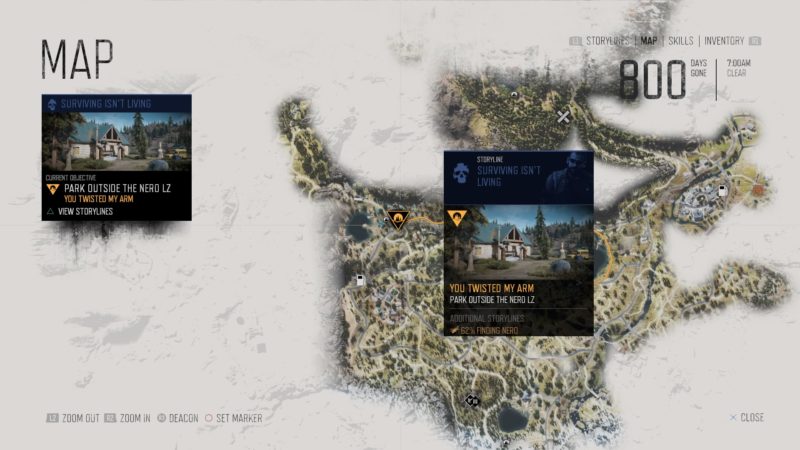
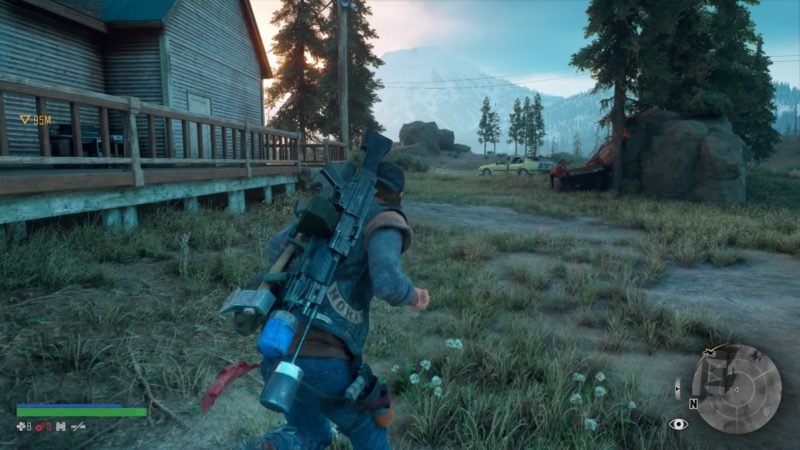
A new mission starts when you reach your bike. You have to meet up with O’Brian.

The location is shown in the map.

days-gone-you-twisted-my-arm-tips.

days-gone-you-could-have-done-more

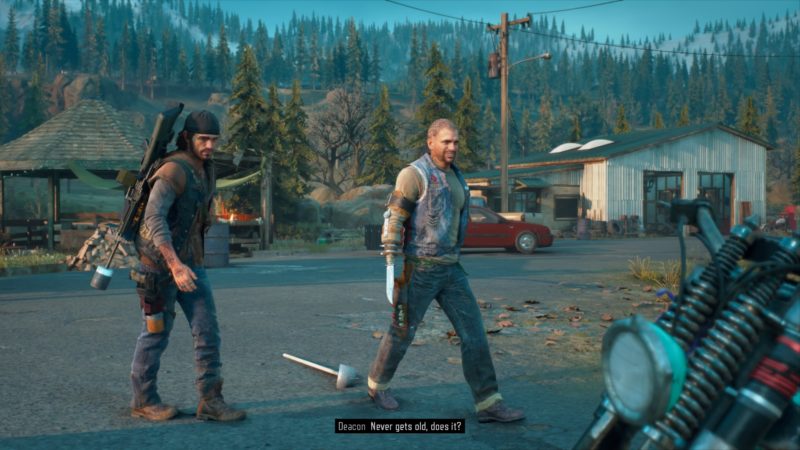
After the cutscene, walk towards the helicopter. Boozer will stay behind.
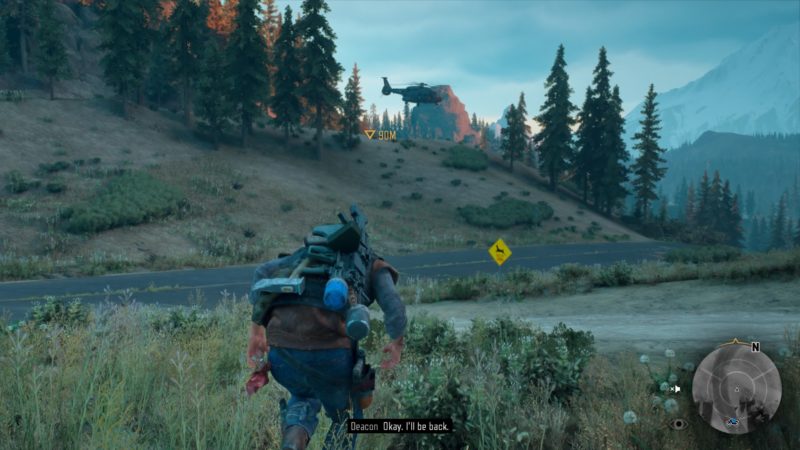
days-gone-you-could-have-done-more-guide

Talk to O’Brian.

days-gone-you-could-have-done-more-guide-tips

A cutscene will load again. This time, O’Brian has more information on Sarah and where she went to, but she’s probably dead.

Her camp was overrun.

Now, get back to Boozer at the bike.

days-gone-you-could-have-done-more-mission


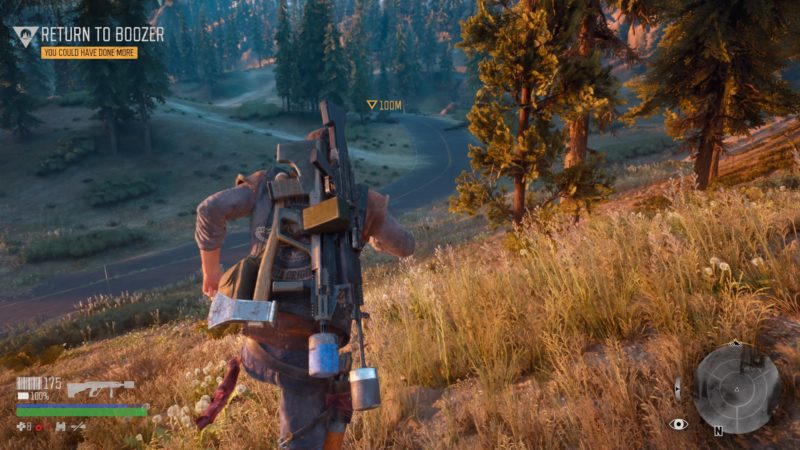
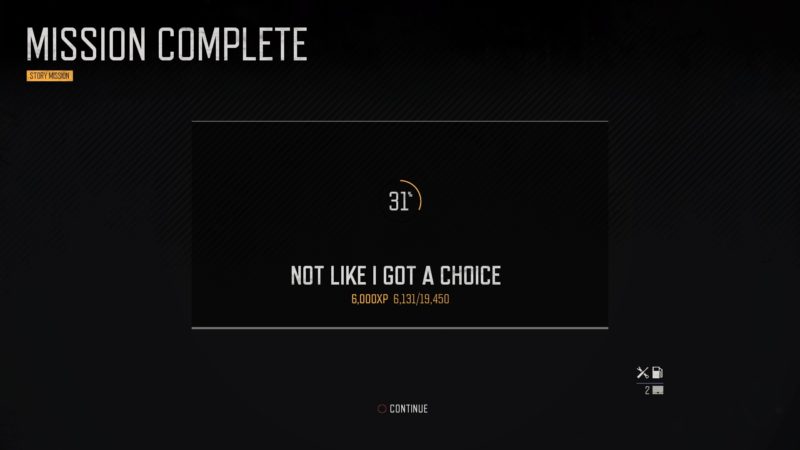
Not Like I Got A Choice

After reaching the bike, a new mission loads. Boozer is nowhere to be found. To track him, use survival vision.

days-gone-you-could-have-done-more-mission-guide.

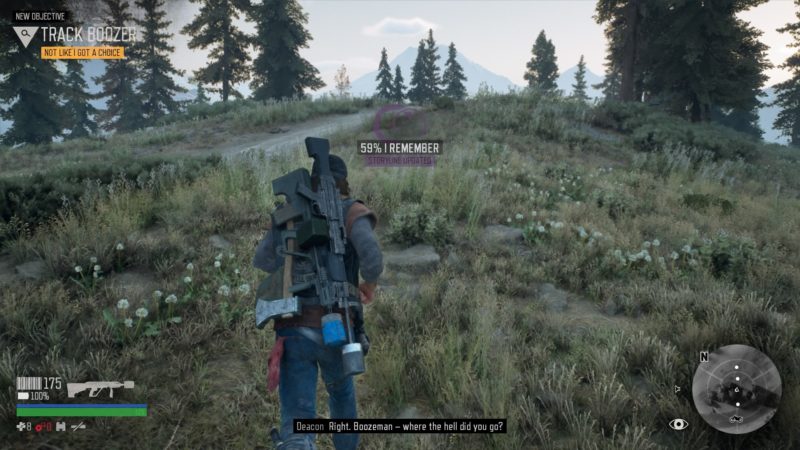
Interact with the Ripper corpses.

days-gone-you-could-have-done-more-mission-walkthrough

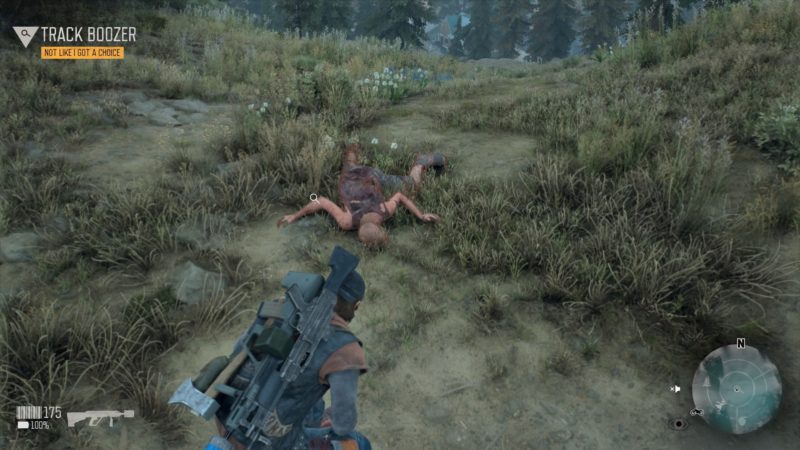
Keep going and you’ll find a dead dog here. Interact with it and follow the footsteps again.

days-gone-you-could-have-done-more-quest

Keep going until you reach a building where you can see Boozer’s icon in the radar. Jump in through the window and a cutscene will load.

days-gone-you-could-have-done-more-quest-guide

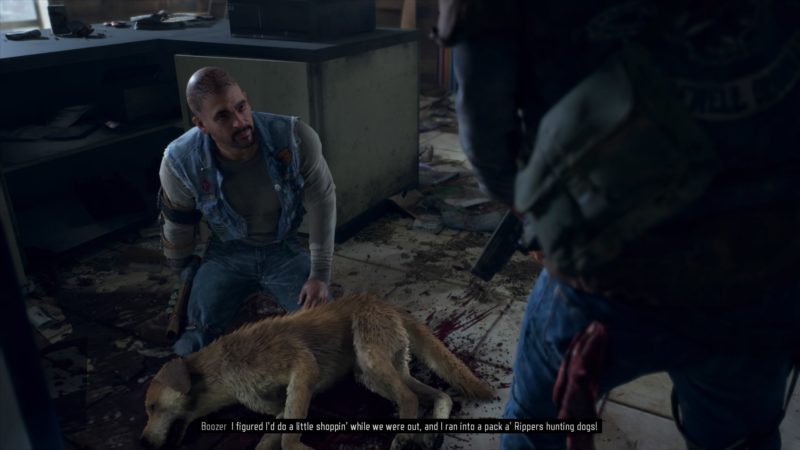
After the cutscene, you have to kill the Rippers. Your job is to keep him alive. His HP is shown at the top of the screen.

days-gone-not-like-i-got-a-choice

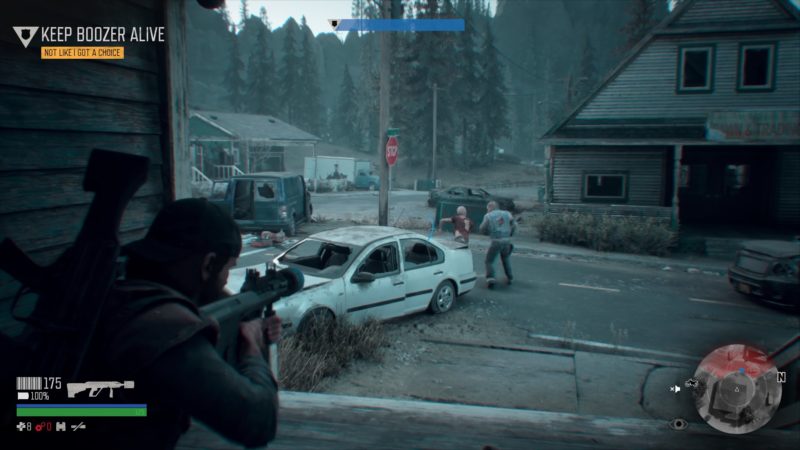
Keep following him and kill the Rippers before they kill Boozer.

days-gone-not-like-i-got-a-choice-guide

After the area is secure, return to your bike.

days-gone-not-like-i-got-a-choice-guide-tips

Next, take Boozer back to work at the Iron Mike farm.

days-gone-not-like-i-got-a-choice-mission-walkthrough

days-gone-not-like-i-got-a-choice-walkthrough

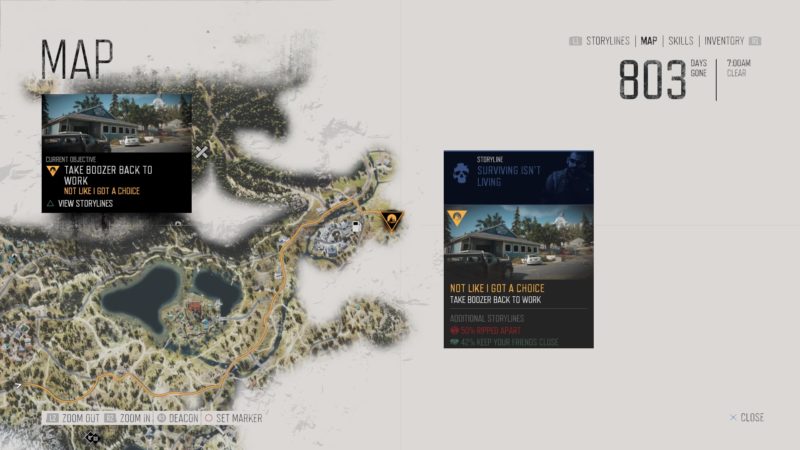
The mission completes after reaching the farm. You will earn 6,000 XP in total for the series of missions.

days-gone-not-like-i-got-a-choice-wiki


Related articles:

Better To Light One Candle: Days Gone Walkthrough

No Beginning And No End: Days Gone Walkthrough

It Was On Me: Days Gone Walkthrough

Santiam Tunnel Nero Checkpoint: Days Gone Wiki

Moments Of Lucidity: Days Gone Walkthrough

Gone Fishing: Days Gone Walkthrough

I Got A Job For You: Days Gone Walkthrough

Filed Under: Days Gone, Gaming

About Alvin L

Alvin spends most of his time either absorbing content or creating content.

Primary Sidebar

Footer

Amazon Affiliate Disclaimer

Ordinary Reviews is a participant in the Amazon Services LLC Associates Program, an affiliate advertising program designed to provide a means for sites to earn advertising fees by advertising and linking to amazon.com.

Social Media

Facebook / LinkedIn / Pinterest / YouTube

Latest Posts

  • Hogwarts Legacy: The House Cup Walkthrough & Guide
  • Hogwarts Legacy: Summoner’s Court Match 5 Guide
  • Hogwarts Legacy: Harlow’s Last Stand Quest Walkthrough
  • Hogwarts Legacy: Weasley’s Watchful Eye Walkthrough
  • Hogwarts Legacy: In The Shadow Of Friendship Walkthrough
  • ABOUT
  • CONTACT US
  • PRIVACY POLICY
  • DISCLAIMER

Copyright © 2023 Ordinary Reviews · All Rights Reserved ·