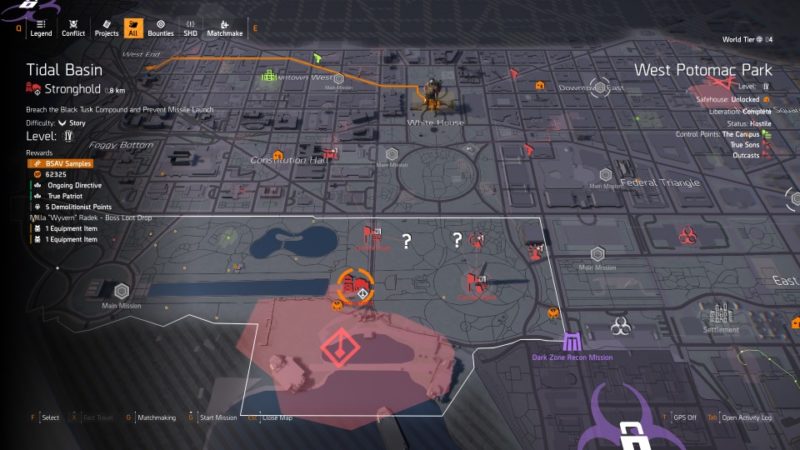
Tidal Basin is the toughest stronghold in Tom Clancy’s The Division 2.
Your task is to infiltrate the stronghold and find out what the Black Tusks are up to.
Here’s a walkthrough of Tidal Basin in The Division 2.
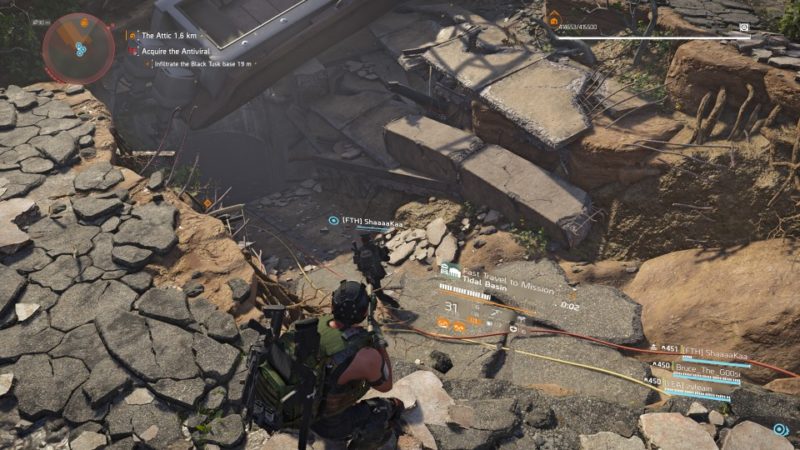
Infiltrate the Black Tusk base
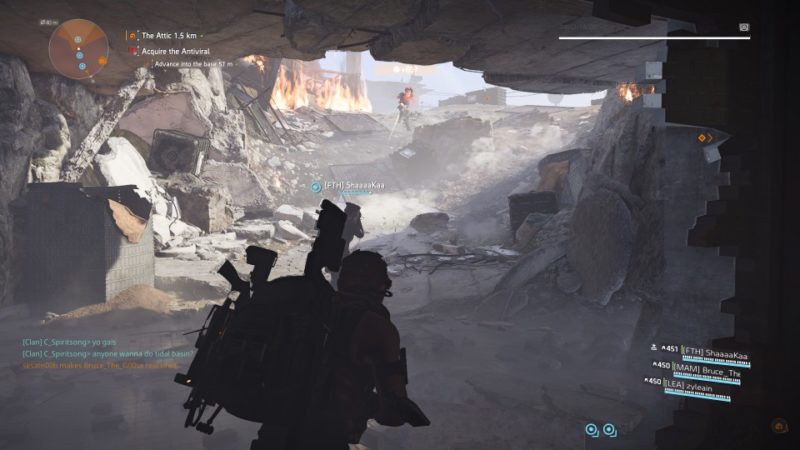
Your main objective is infiltration. Get into the base through this underground passageway.
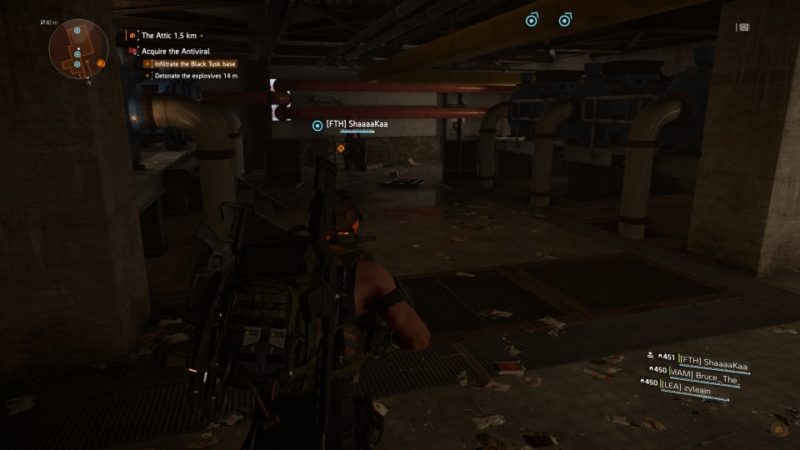
Detonate the explosives
Once inside, you need to find the explosives and detonate them.
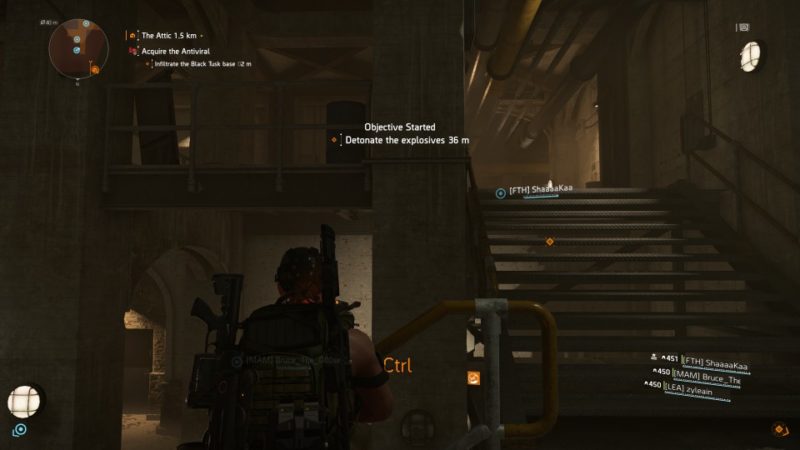
You have to detonate the explosives on the wall in the image below.
Once a hole has been blown open, keep going and you’ll find hostiles. You should also be outdoors again.
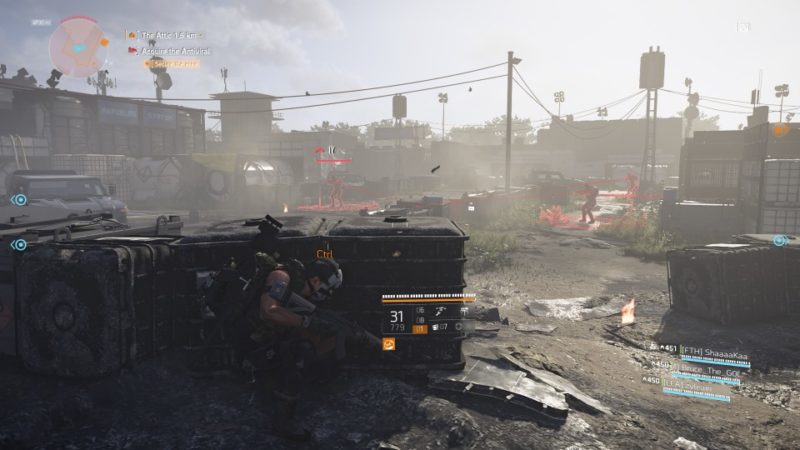
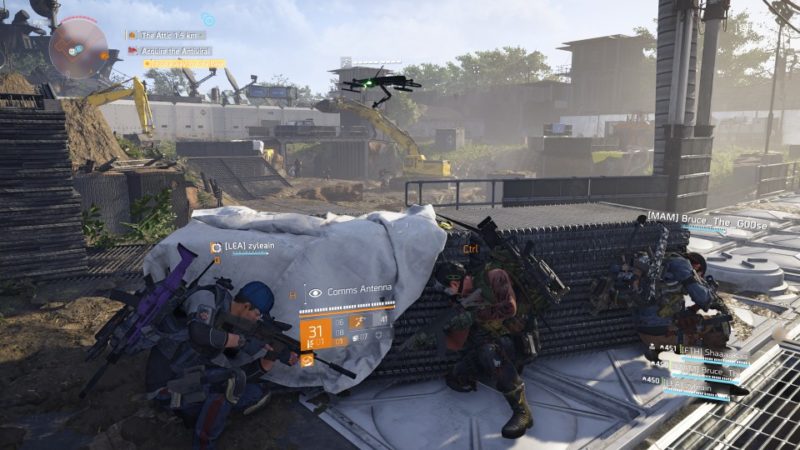
Secure the area
You will come across an open space. Secure the area.
Circumvent the turret defenses
Find a way into the base
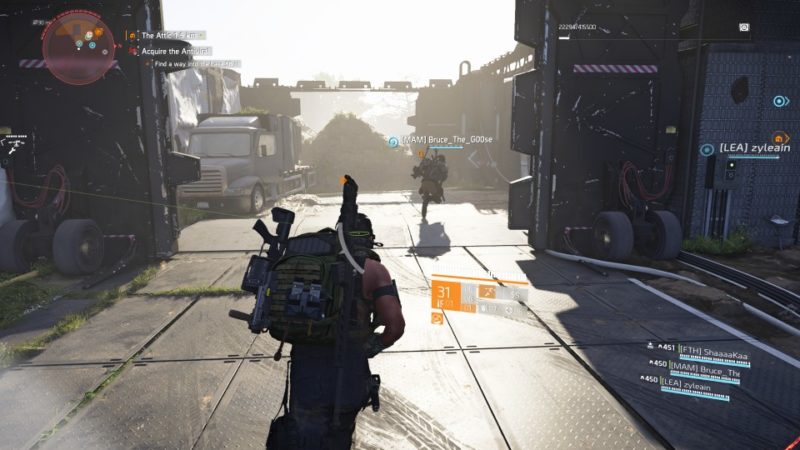
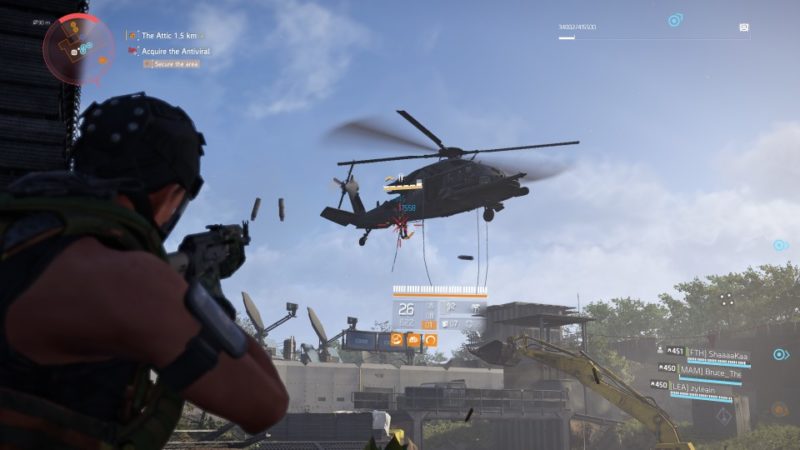
You should come across another open area filled with hostiles. Secure the area.
More hostiles will be brought in with a chopper.
Reach the comms area
Now, get to the comms area.

Secure the comms area
Once again, you have to eliminate the hostiles in this area.
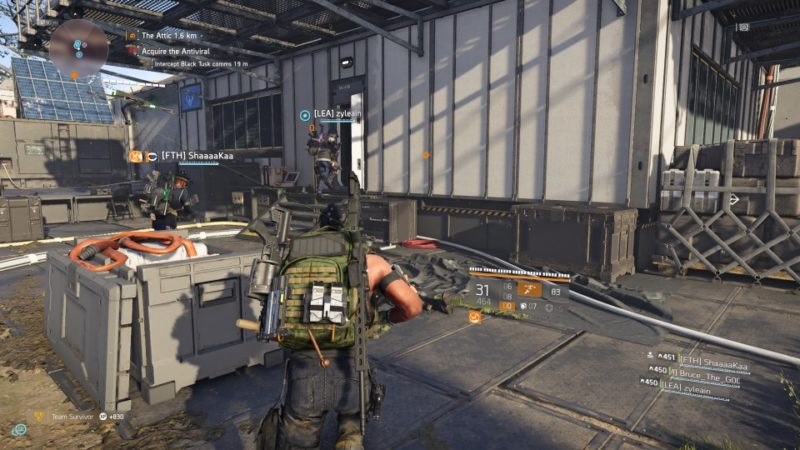
Intercept Black Tusk comms
Once the area is secure, get inside this building and intercept their comms. It’s sort of a computer.
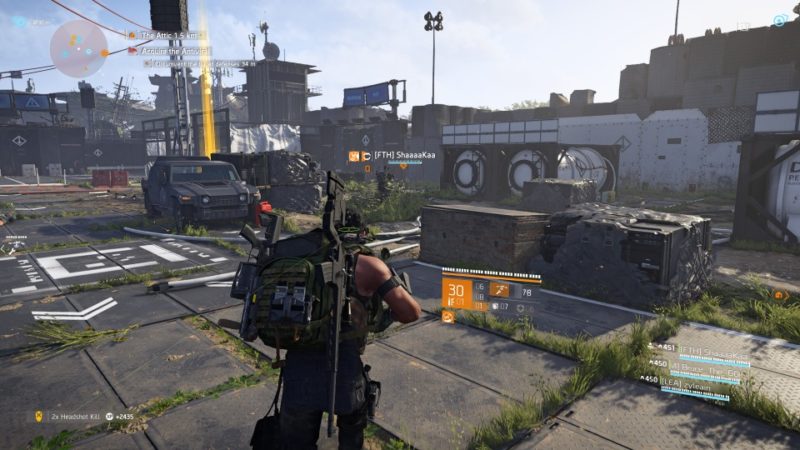
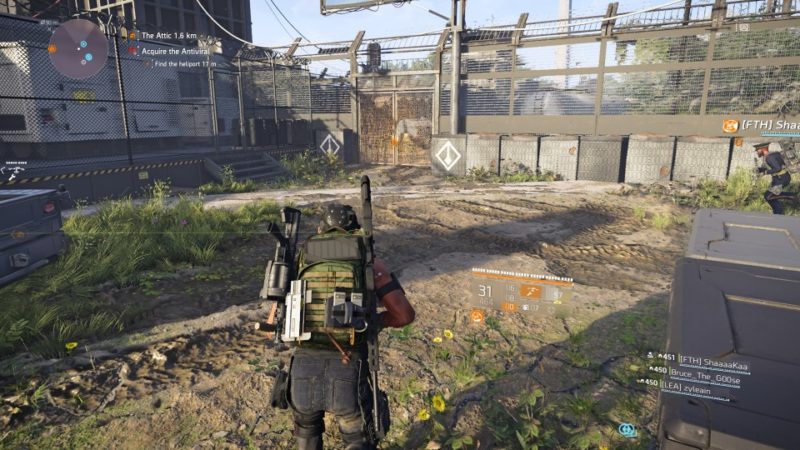
Find the heliport
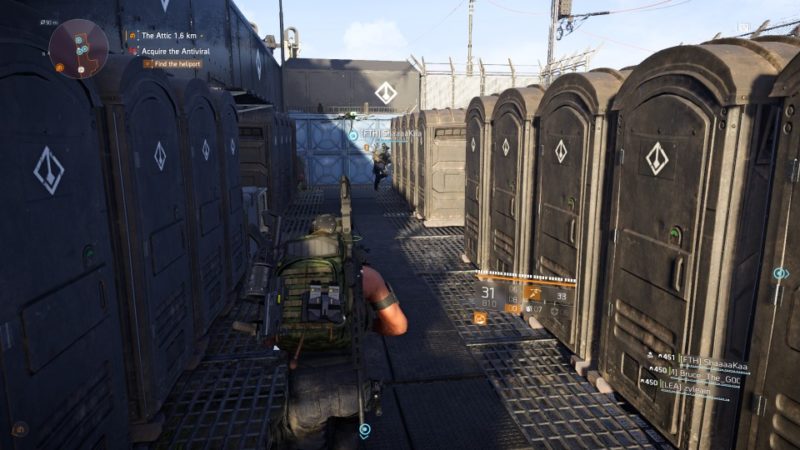
Next, you have to find the heliport. Go through this gate in the image below.
Keep going and you’ll have to walk by this area.
Secure the heliport and destroy the helicopters
At the heliport, you will meet plenty of hostiles and three helicopters.
You have to destroy all of the helicopters either by shooting or by using grenades.
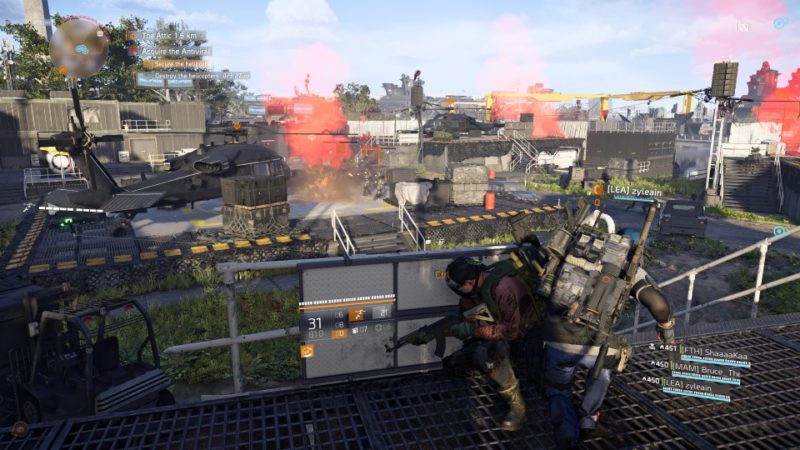
Once the choppers are down, secure the area by eliminating the remaining hostiles.
Reach the main gate area
Now, get to the main gate area.
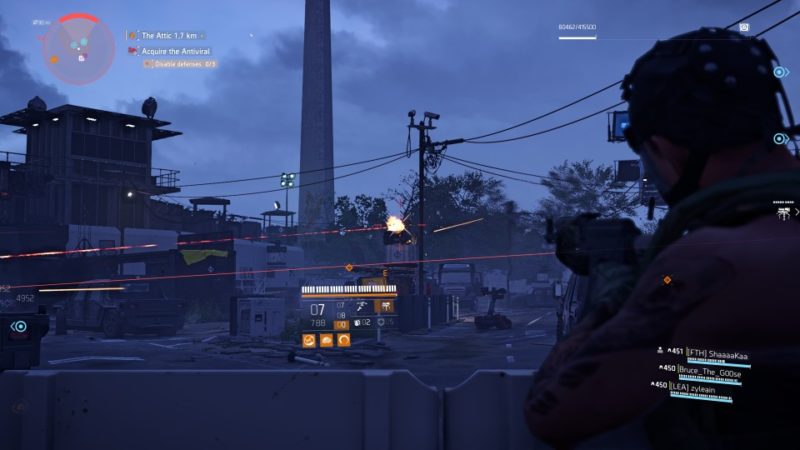
Disable defenses
You will reach another open area. This time, there’ll be three defense mechanisms you have to disable and many hostiles.
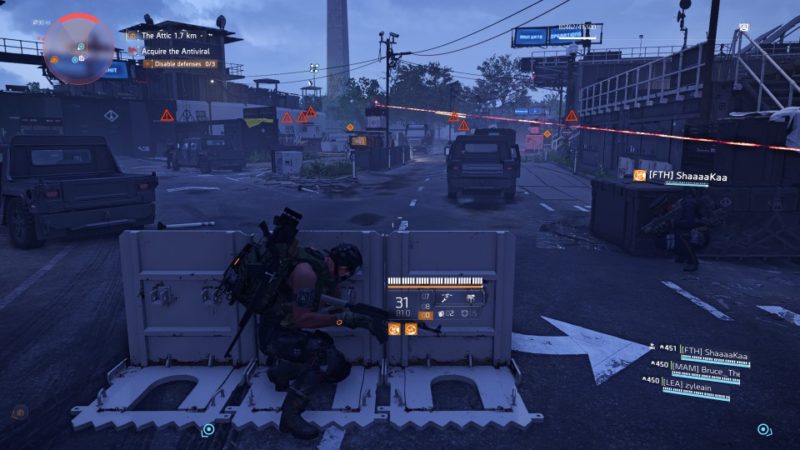
You can disable the defenses by shooting at the circuit of the defense mechanism.
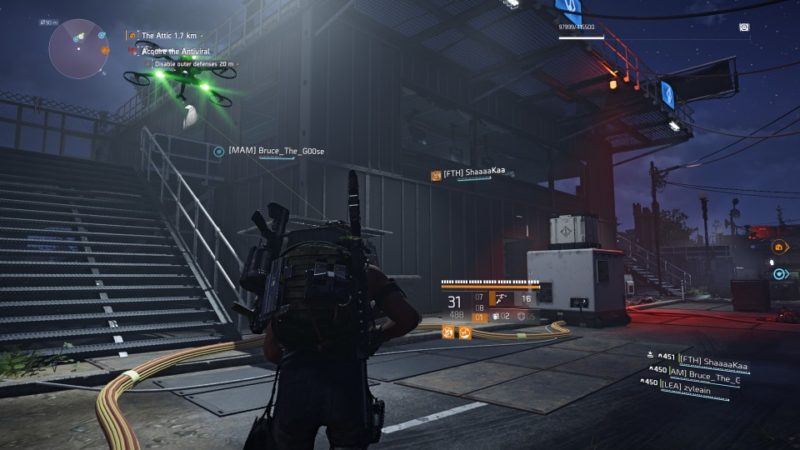
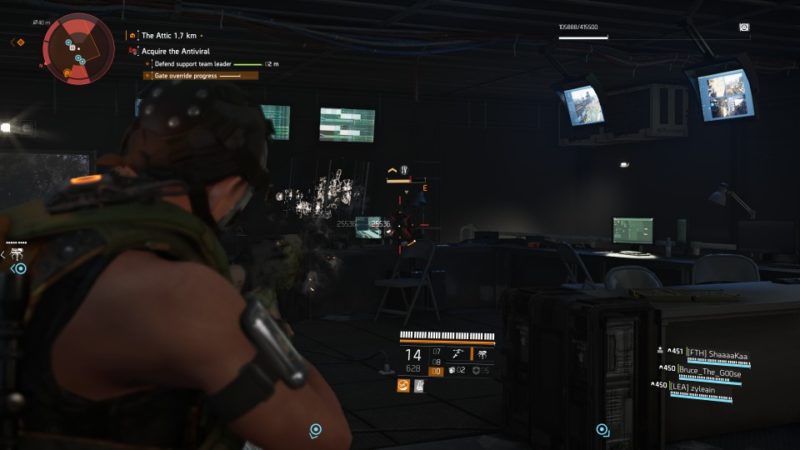
Disable outer defenses
Once the area is secure, disable the outer defenses. In order to do so, get to this building, which is sort of the control room.
Defend support team leader
Inside the control room, you will meet the support team leader. Keep him alive by eliminating the incoming Black Tusk forces.
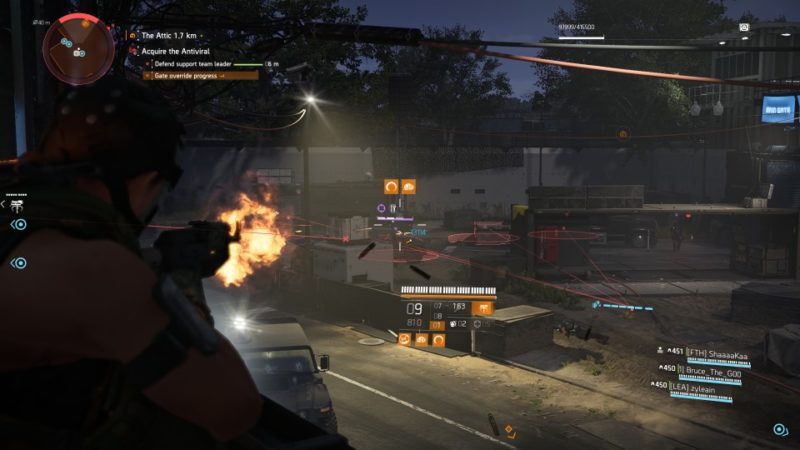
The enemies will come from more than one side. In a team of four, you’ll probably have to cover different sides.
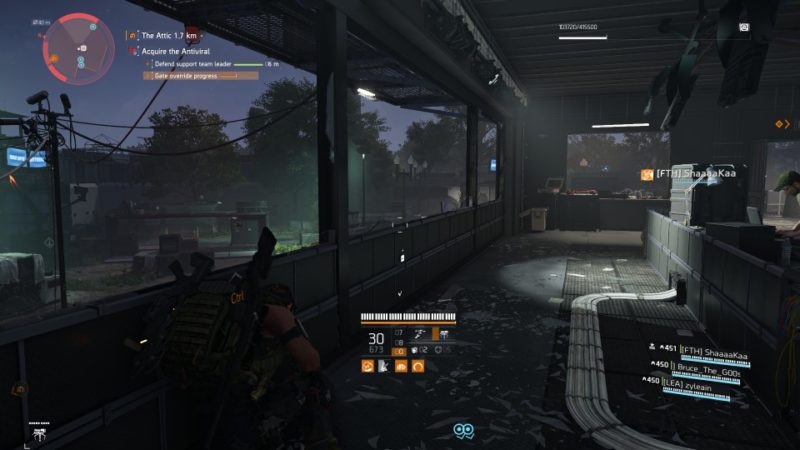
The hostiles will also climb up into the building to kill the support leader.
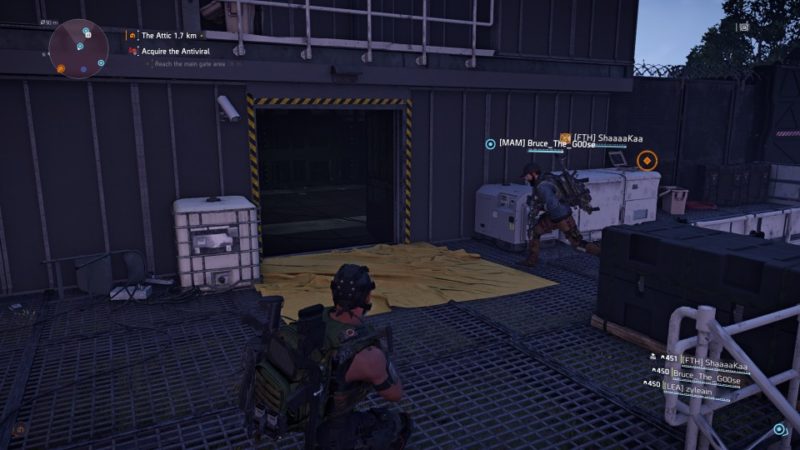
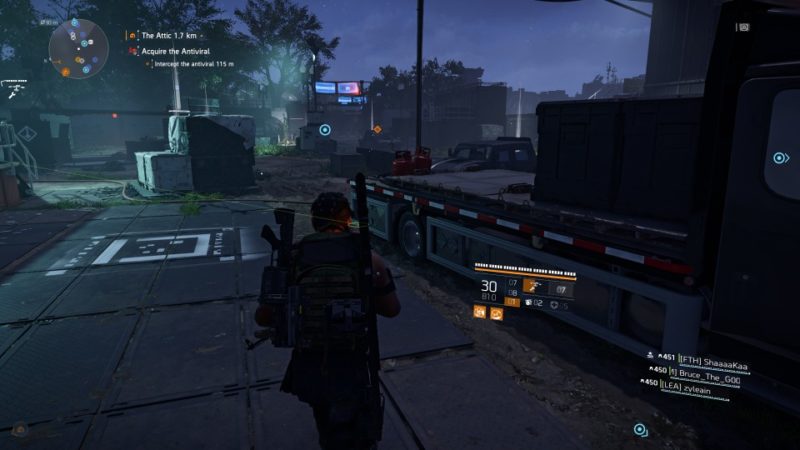
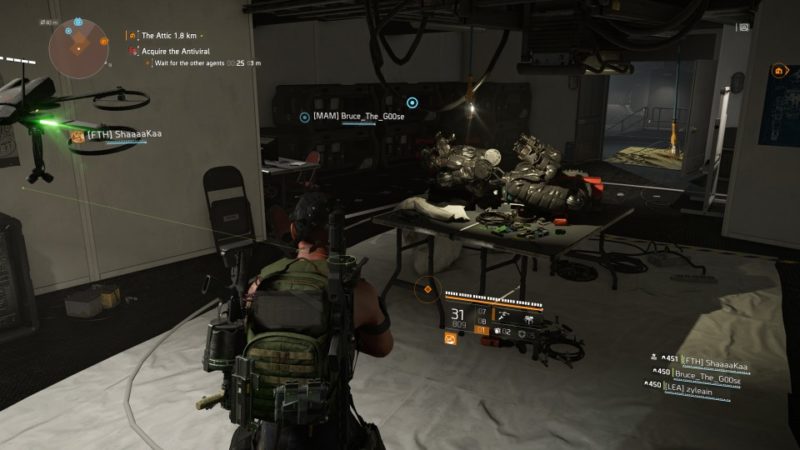
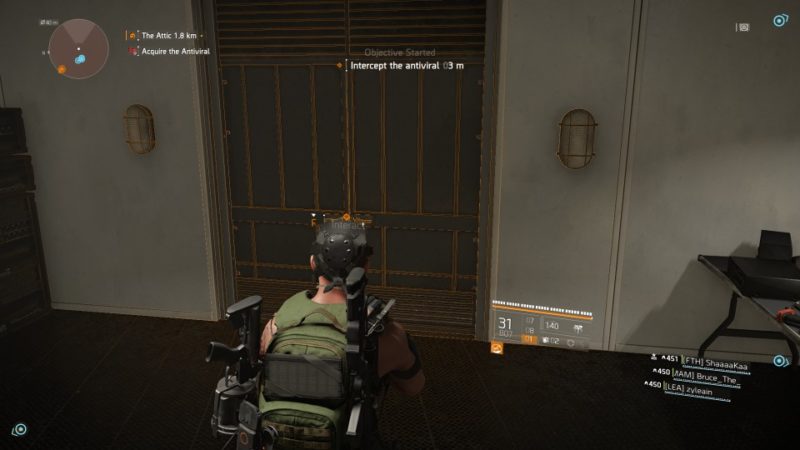
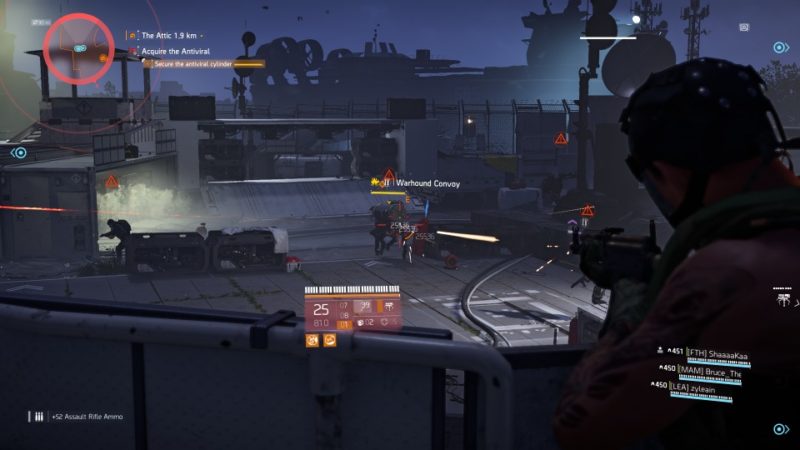
Intercept the antiviral
After overriding the gate, you have to intercept the antiviral. Keep going forward.
Keep going until you find this room. Wait for everyone to proceed.
Once they’re all inside, you can use this door to get to the next area.
There’ll be more hostiles in this open area. Secure the place.
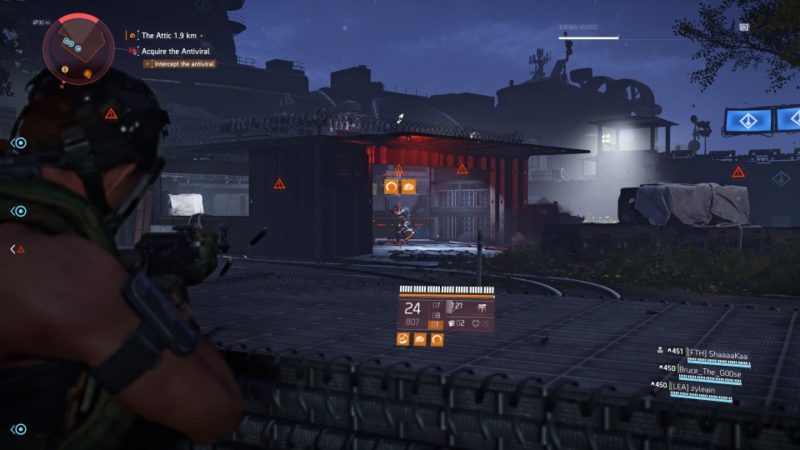
Keep going ahead and securing the area.
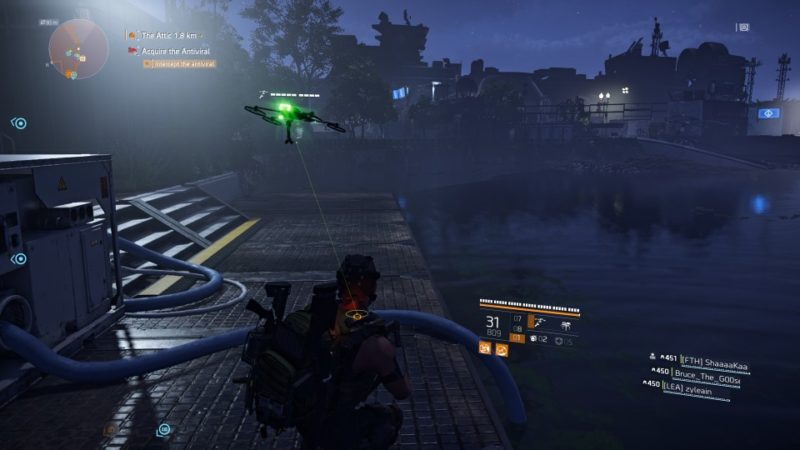
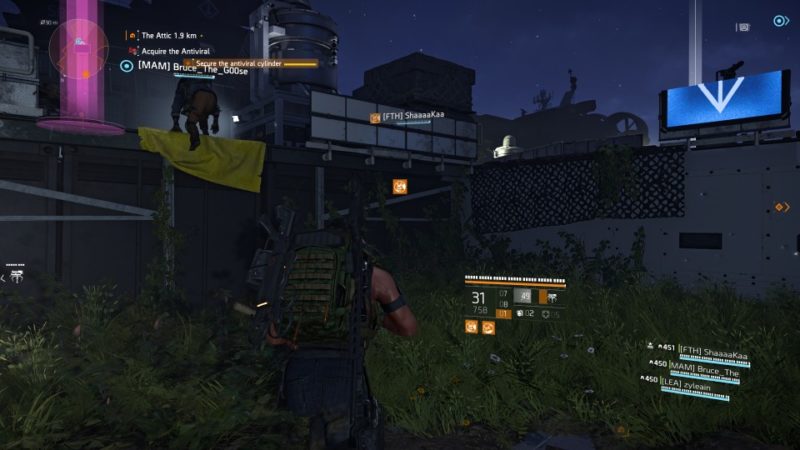
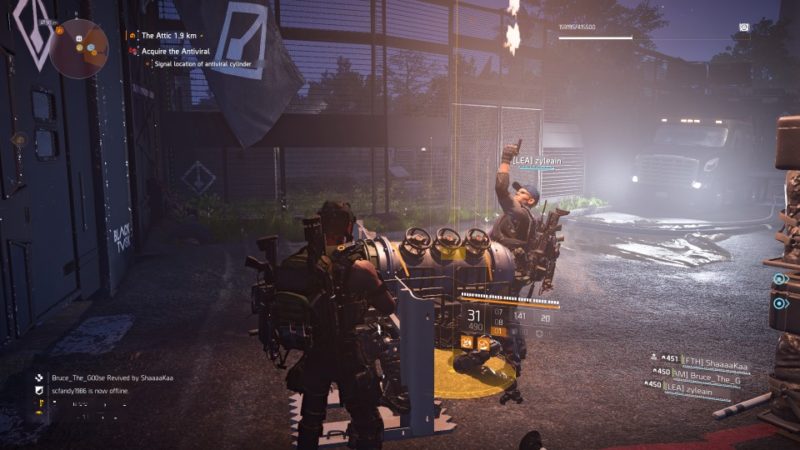
Signal location of antiviral cylinder
Once the place is secure, get to the cylinder and fire the flare.
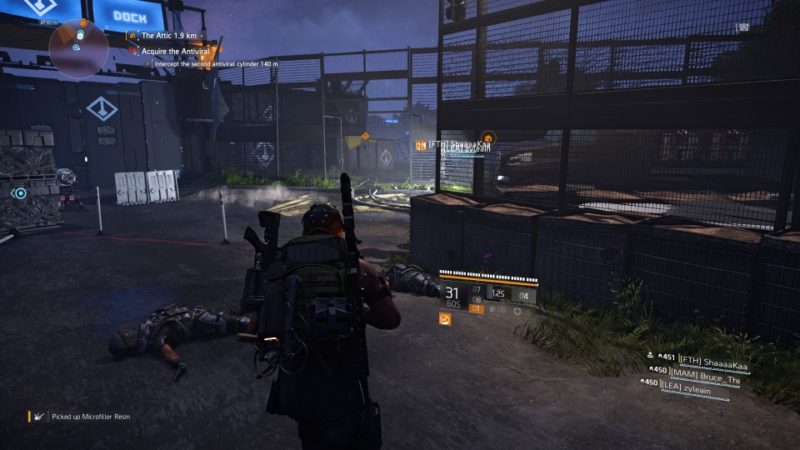
Intercept second antiviral
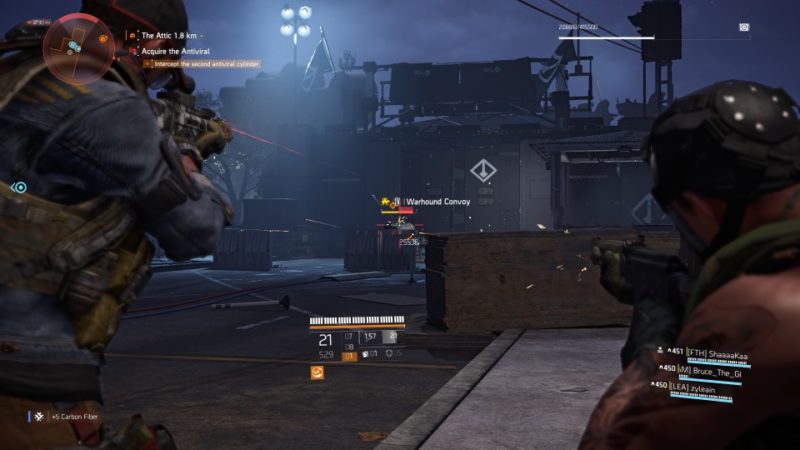
Next, you have to secure another antiviral. Keep going ahead.
You should reach a bridge with hostiles all over. Secure the area.
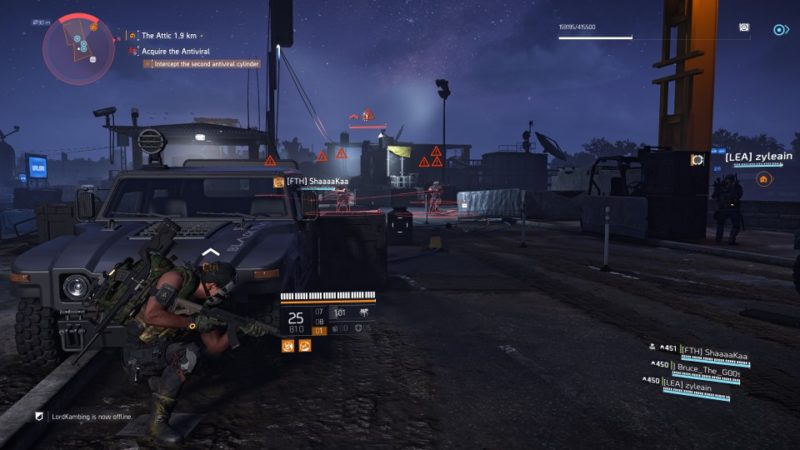
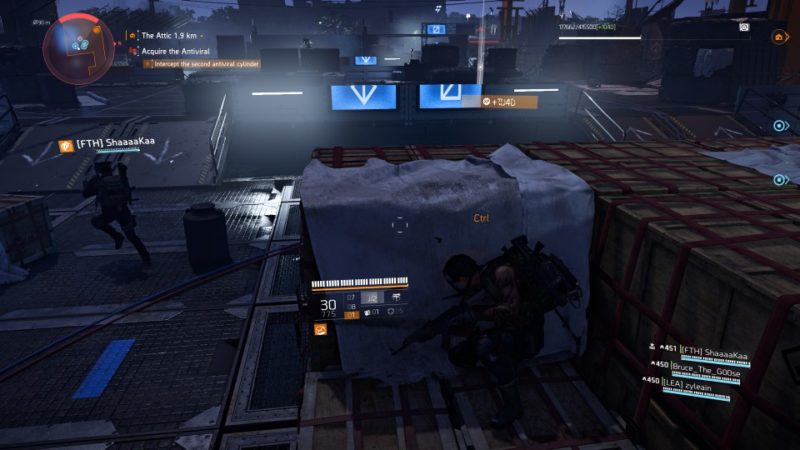

Keep going forward while eliminating all hostiles.
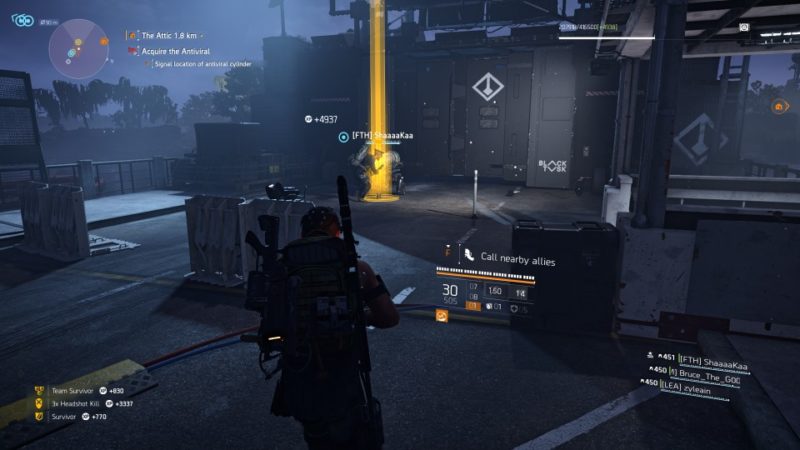
Signal location of second antiviral
Once the area is secure, fire a flare to signal the location of the second antiviral.
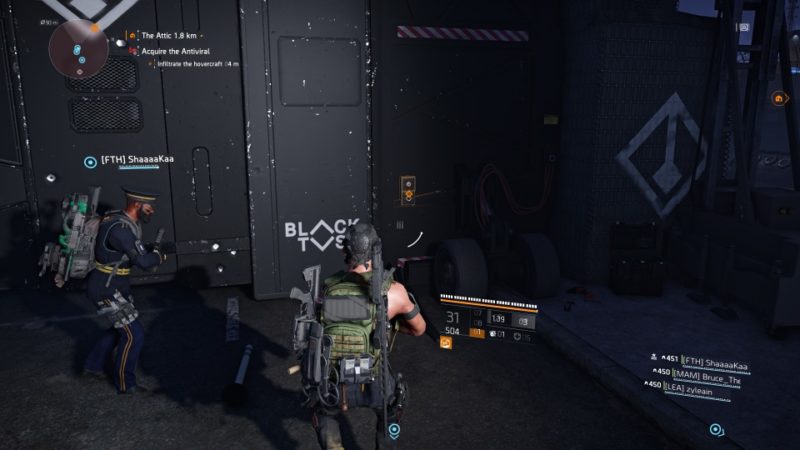
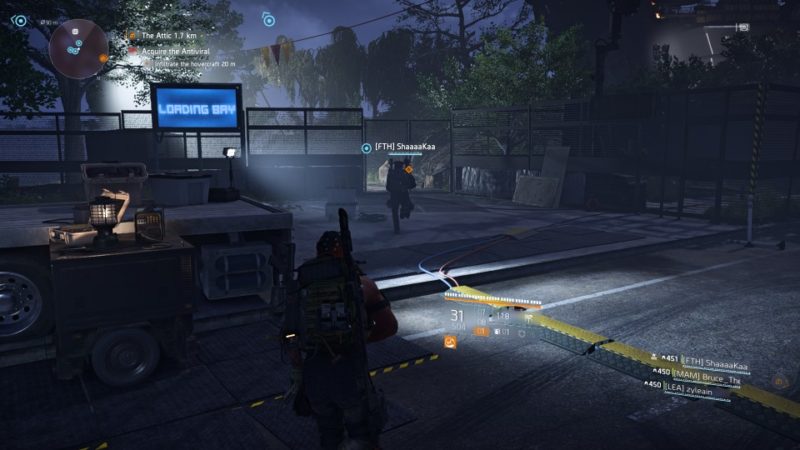
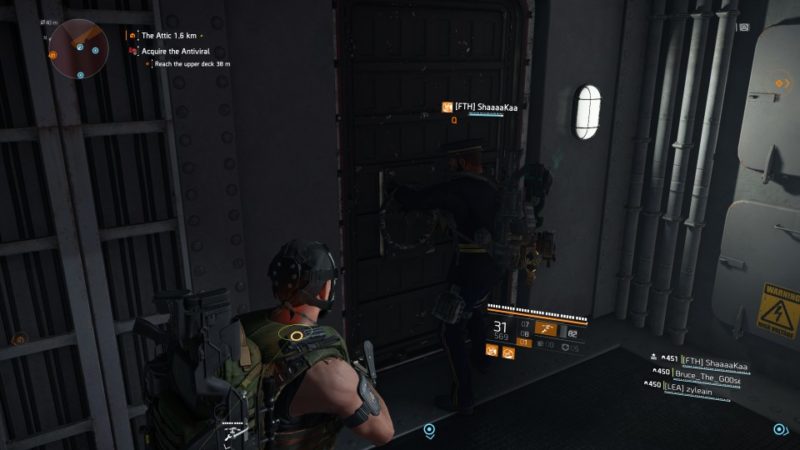
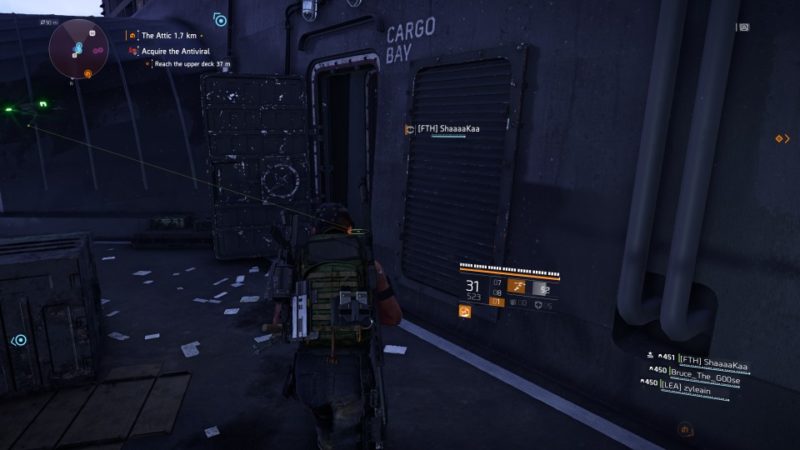
Infiltrate the hovercraft
Next, infiltrate the hovercraft. Go through the door in front of you.
More enemies await here.
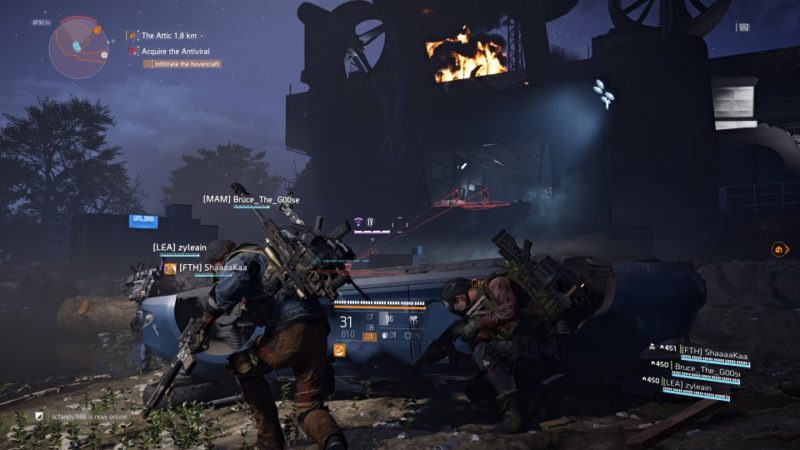
Once they’re dead, climb up into the hovercraft.
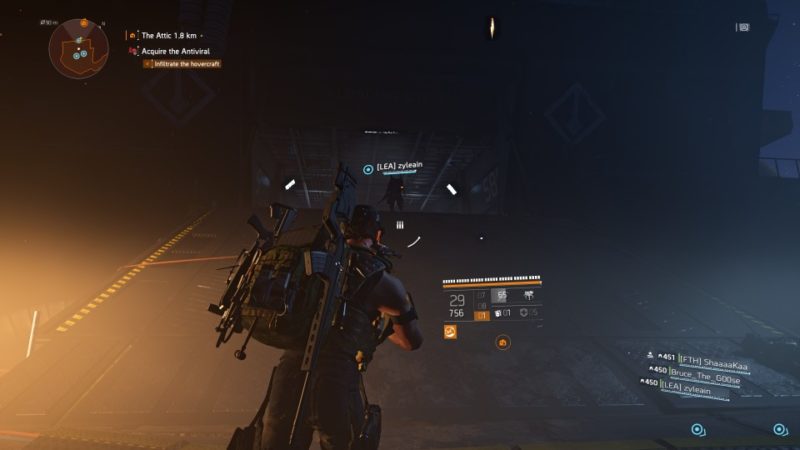
Secure the hovercraft
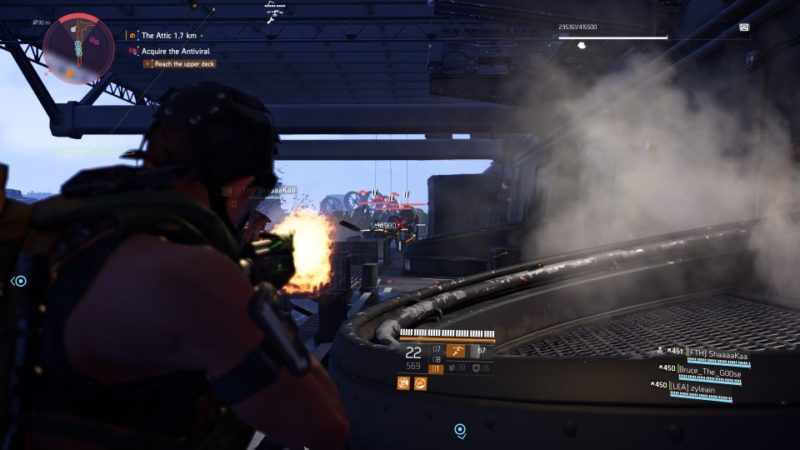
Inside the hovercraft, expect more hostiles. Secure the area.
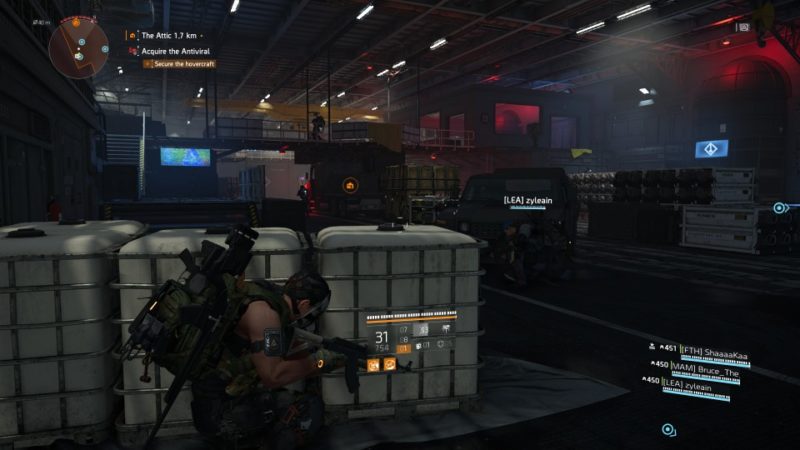
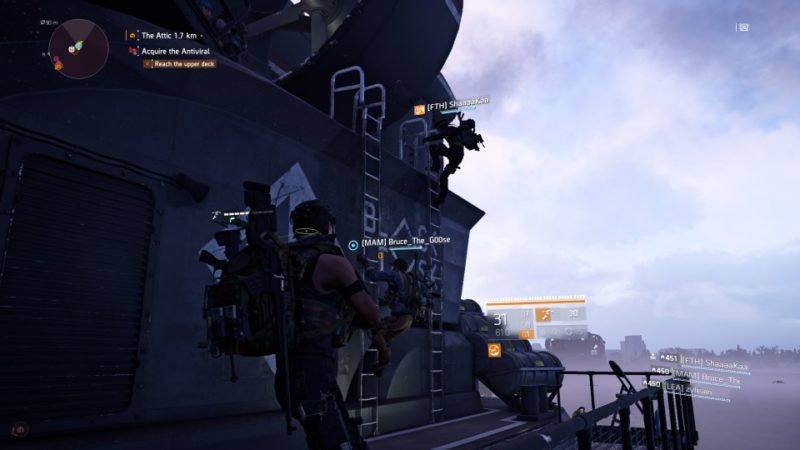
Reach the upper deck
Once the area is secure, get to the upper deck.

You should reach an outdoor space on the hovercraft. Kill the hostiles while you progress ahead.
Keep going and get inside this door.
Climb up the ladder.
You should now reach a room. Just wait there as the story unfolds.

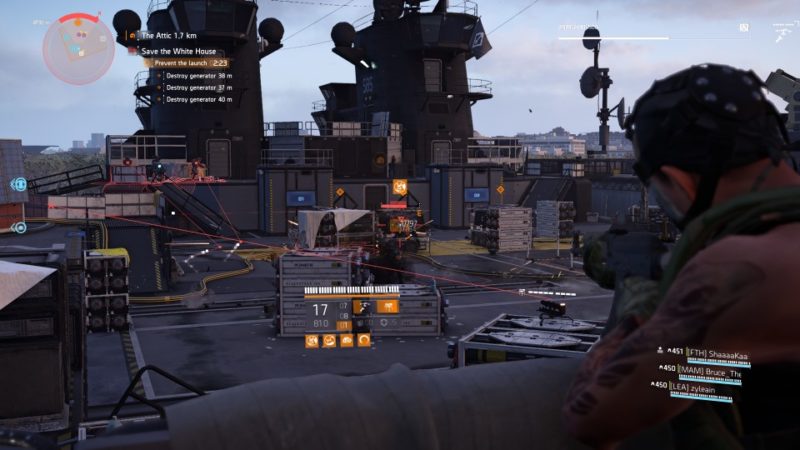
Destroy three generators
This is where your final battle place will be. It’s also the toughest because some objectives have a time limit.
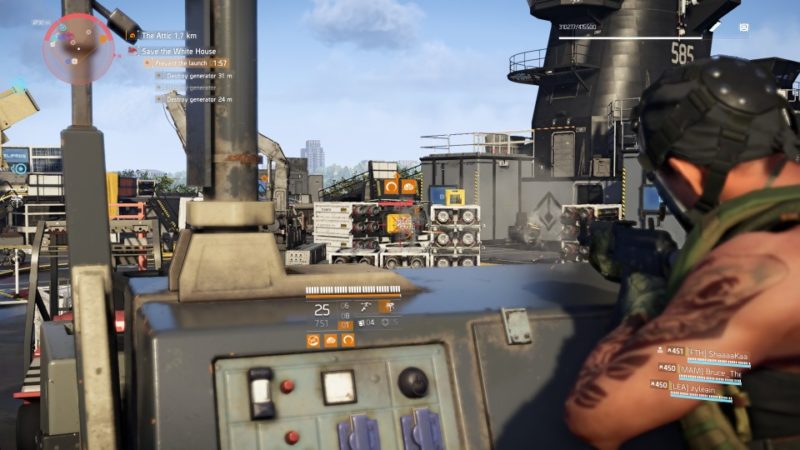
The first thing you have to do is to destroy the three generators.
To get rid of them, shoot at the yellow circuit box on the generator. You’ll have to get to the side of the generator to see it.
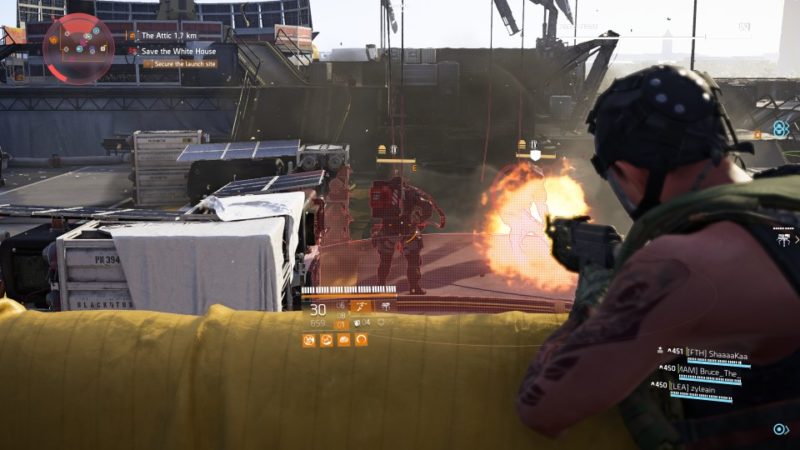
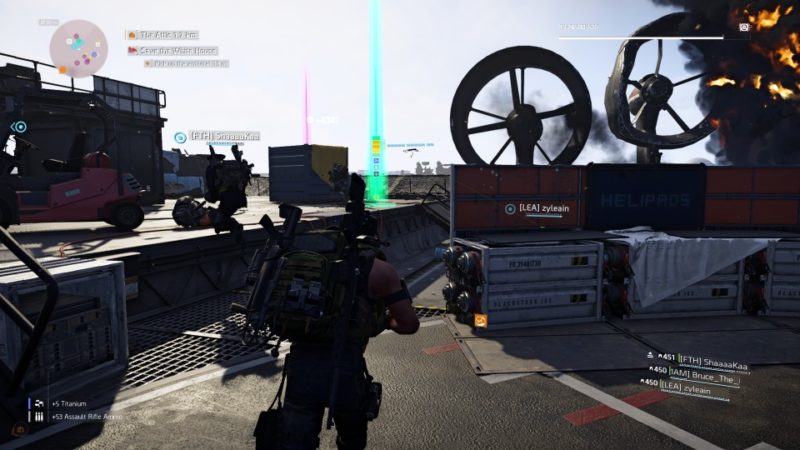
Secure the launch site
After destroying the generators, a helicopter will come in, bringing a couple of heavily armored hostiles in.
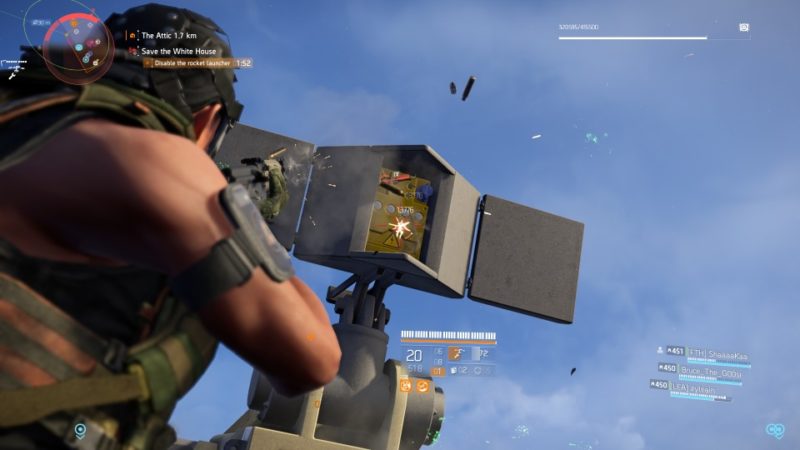
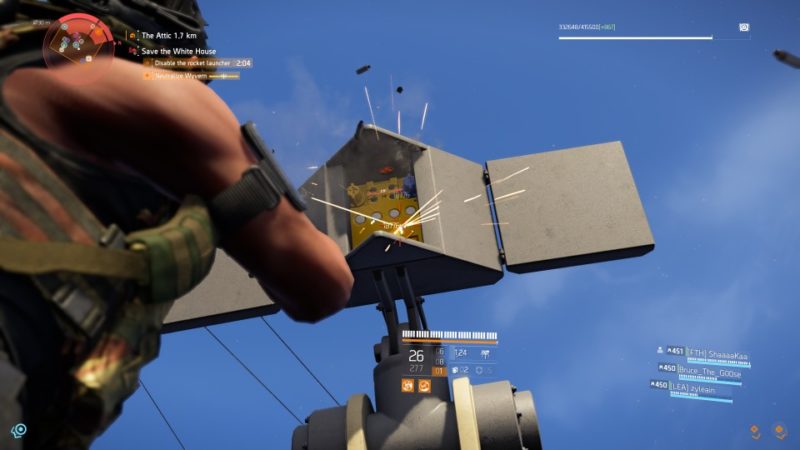
Disable the rocket launcher
You’ll now have to disable the rocket launcher. There’s a time limit for it.
You can probably destroy it by shooting at this yellow box.
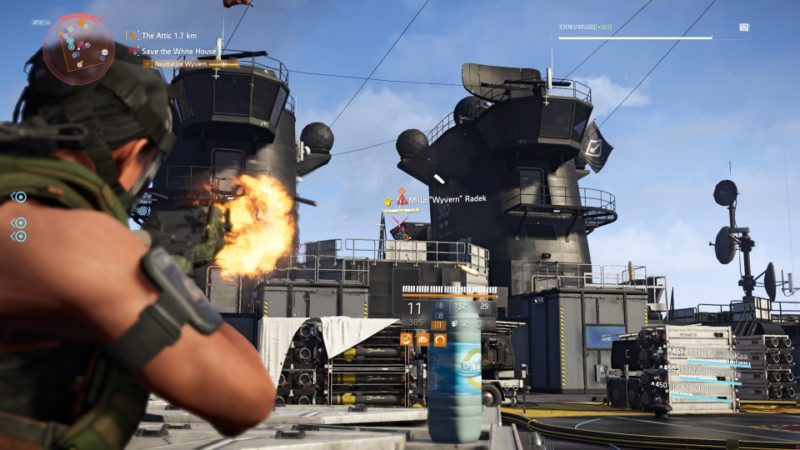
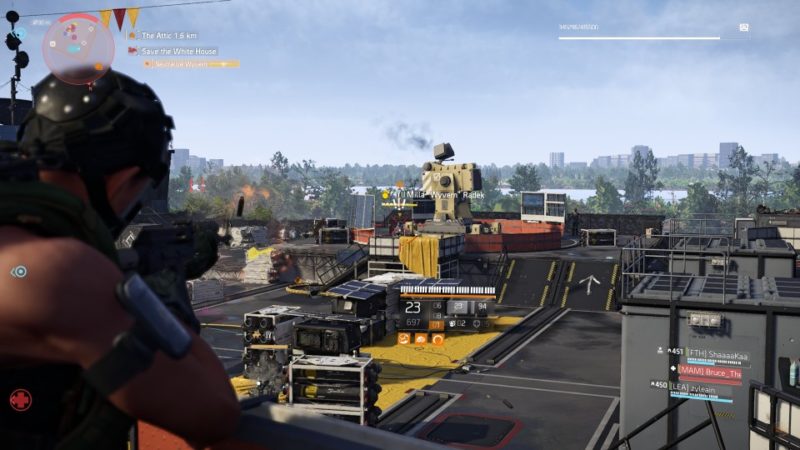
Neutralize Wyvern
Next, Wyvern will show up. Her armor is insanely strong, which takes almost all bullets to kill her.
She also uses a grenade launcher and sort of spams continuously. It can be annoying.
Disable the other rocket launchers
While you’re busy with the Wyvern and other hostiles, you’ll need to disable the other rocket launchers as well.
If unsure as to how to stop it, just shoot at anything on the launcher that has a HP bar.
Kill Wyvern
If you fail to stop the launcher in time, you’ll have to restart from the previous checkpoint.
If you succeed, continue trying to kill Wyvern.
After she dies, there’ll be plenty of loot from her.
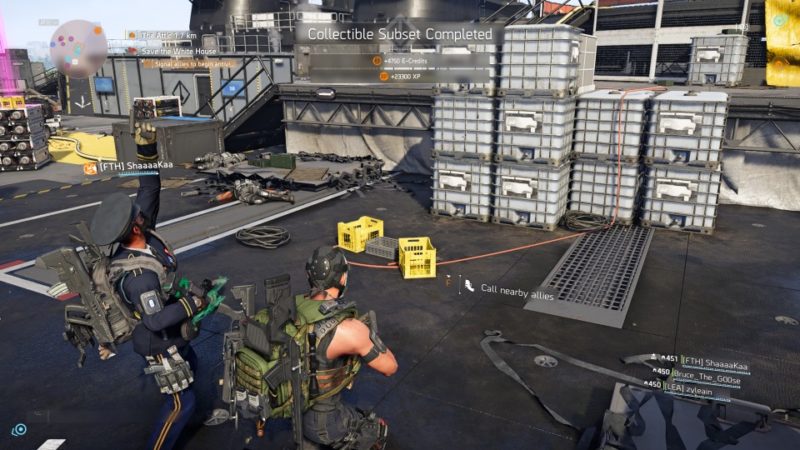
The stronghold mission completes here.
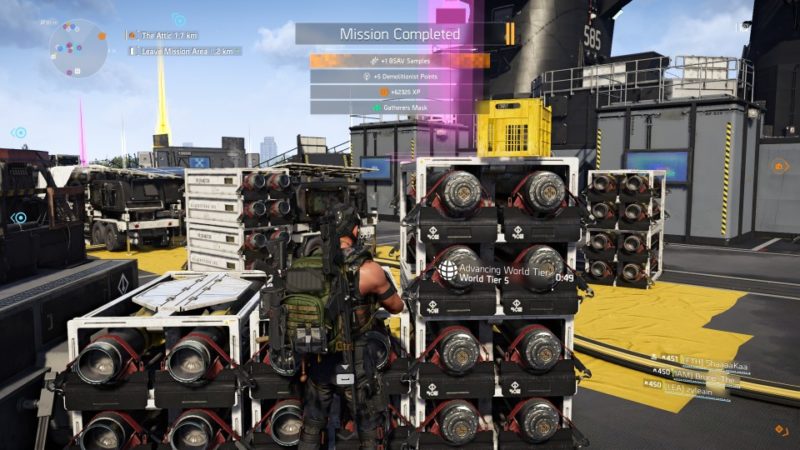
You should be teleported to World Tier 5.
Related articles:
Peace Movement Bounty – The Division 2 Walkthrough
Wolf Pack Bounty – The Division 2 Walkthrough
Gatehouse Facility – The Division 2 Walkthrough
Embers Movement Bounty – The Division 2 Walkthrough
How To Get The Revenant And Midas Masks – Division 2 Wiki