The Pentagon is the latest main mission in episode 2 of Tom Clancy’s The Division 2.
Your task is to enter the Pentagon to eliminate the Black Tusks and stop the drilling.
Here’s a walkthrough of The Pentagon in Division 2.
To begin the mission, you need to finish the side mission Pentagon Breach first.
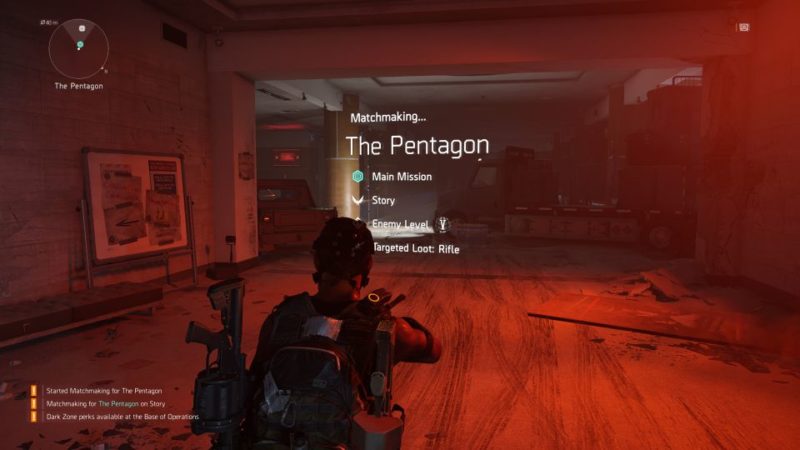
Restore the power
Your first objective is to restore power. Head to the elevator. Force it open and jump down.
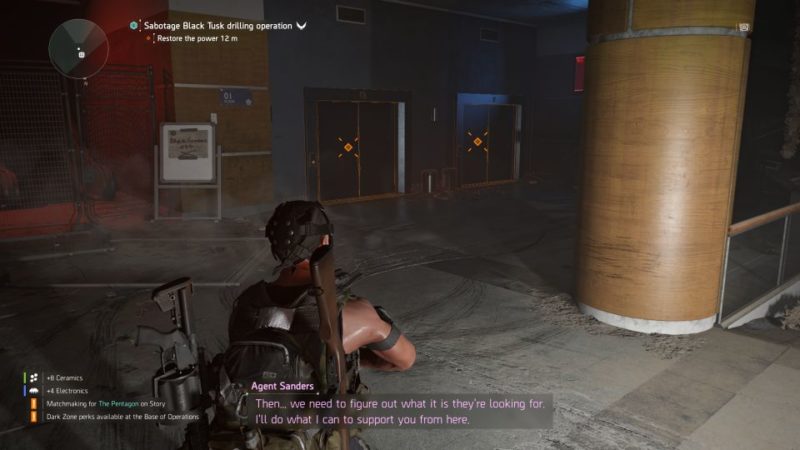
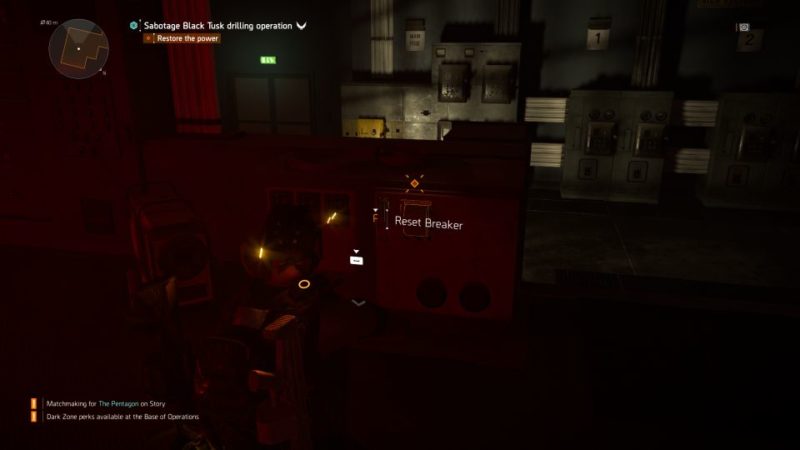
In the room below, you have to reset the breaker.
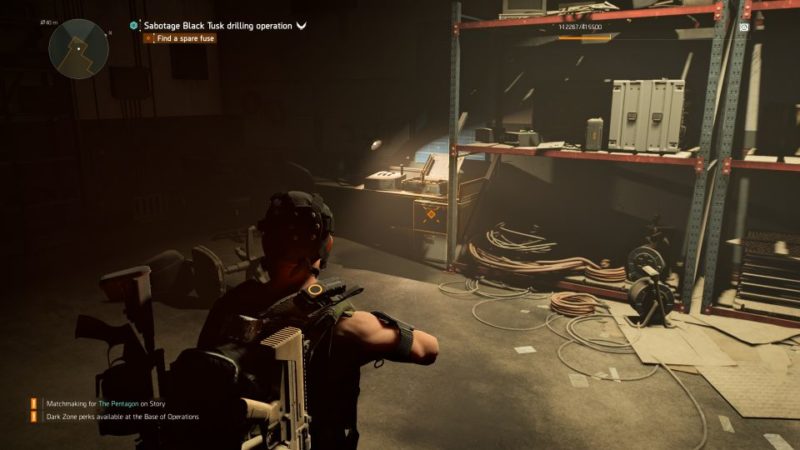
Find a spare fuse
As you need a new fuse, head to one of the small rooms. There’s a spare fuse inside.
Replace the fuse
Next, replace the broken fuse.
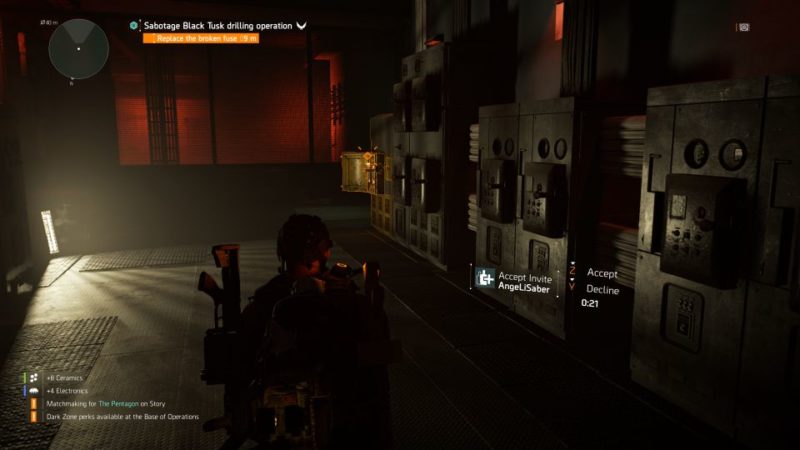
Once the power is back on, continue ahead.
Find explosives
Now, you need to find explosives.
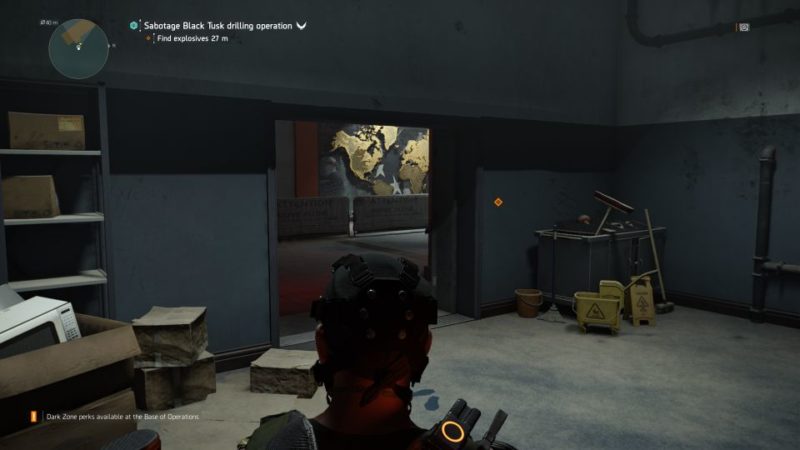
Keep going until you find a drone here. Destroy it.
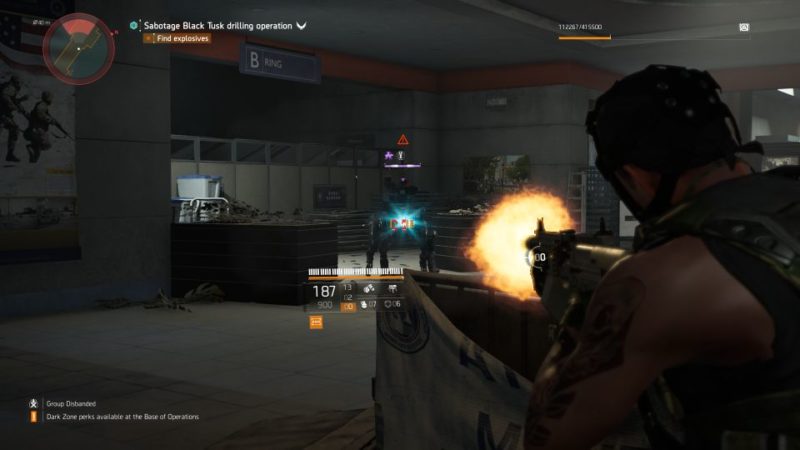
Continue walking until you reach the food court.
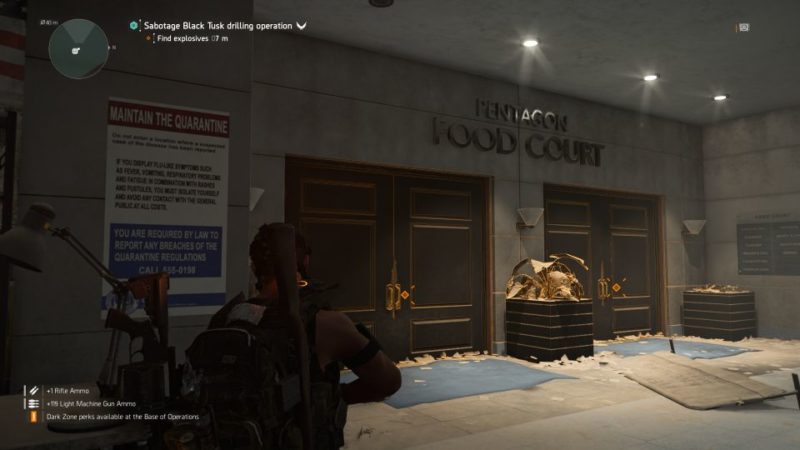
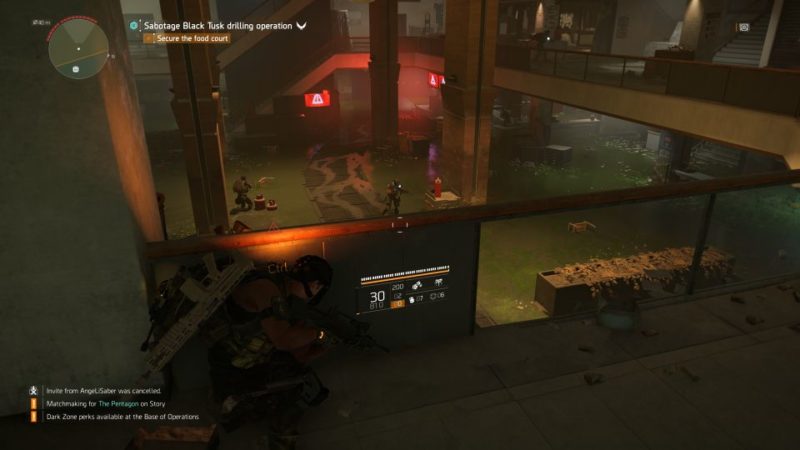
Secure the food court
More Black Tusk operatives are inside the food court. Secure the area.
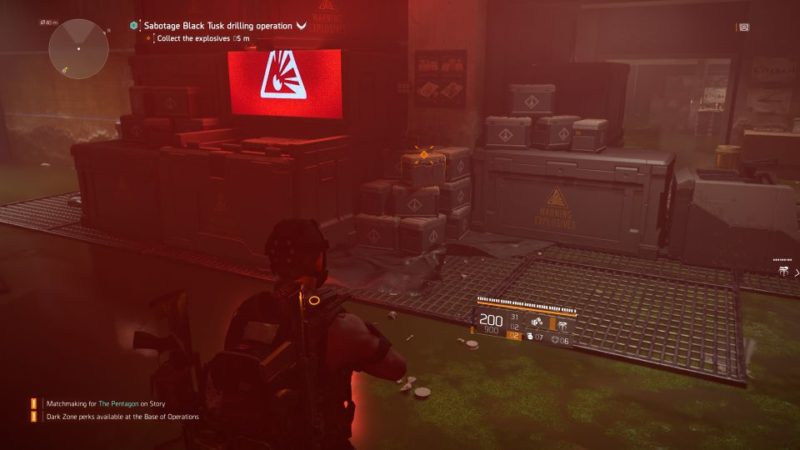
Collect the explosives
After securing the area, take the explosives from the ground floor.
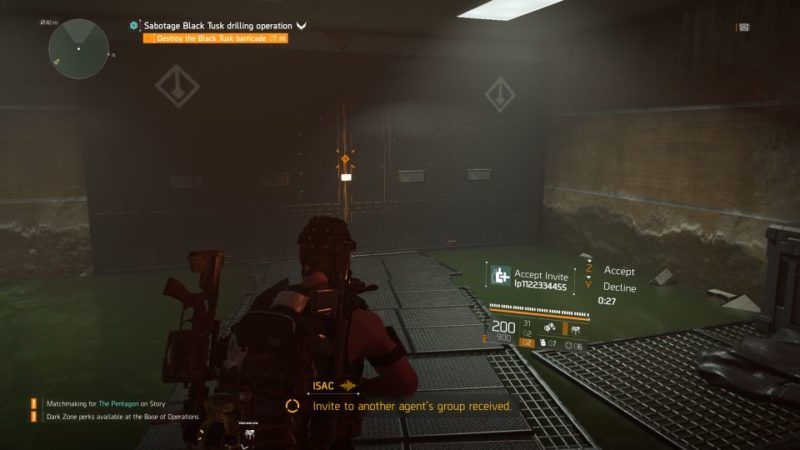
Use the explosives to destroy the barricade nearby.
Destroy the drilling rig
Your next objective is to destroy the drilling rig. Keep walking until you reach the outdoor area.
This is a no respawn zone.
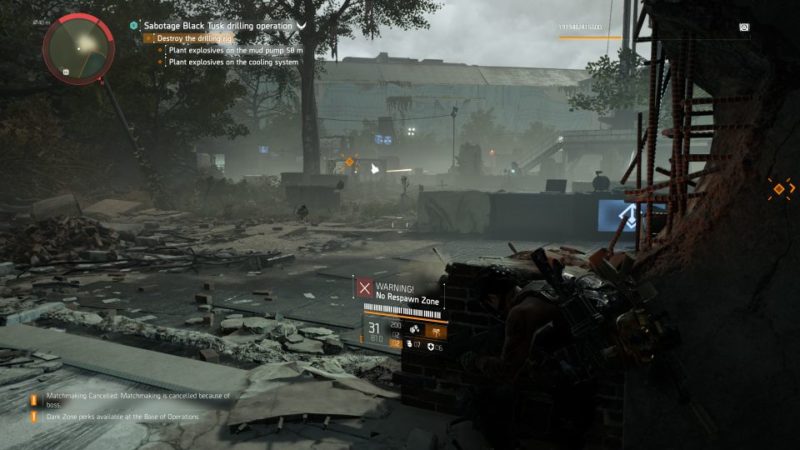
Secure the area first.
To destroy the rig, you need to first plant two explosives, one on each side.
After the first explosion, more enemies will come. Take them out first. Plant the second explosive.
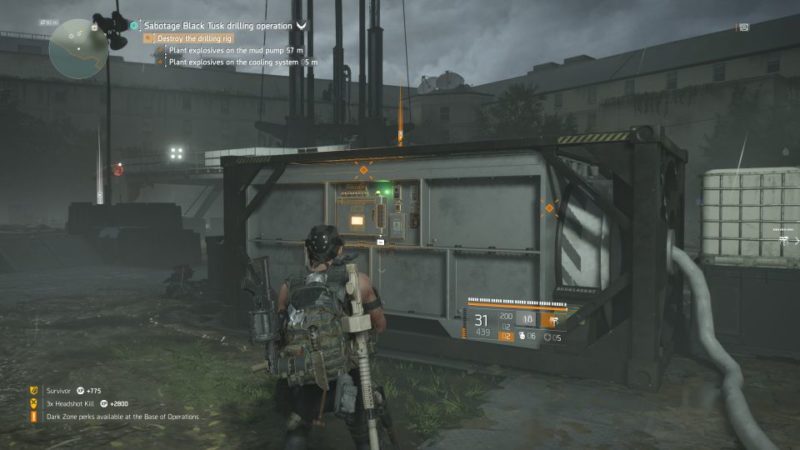
Next, you need to destroy the vertical motor. It’s located in the middle of the tower.
More enemies will come as you try to destroy the motor.
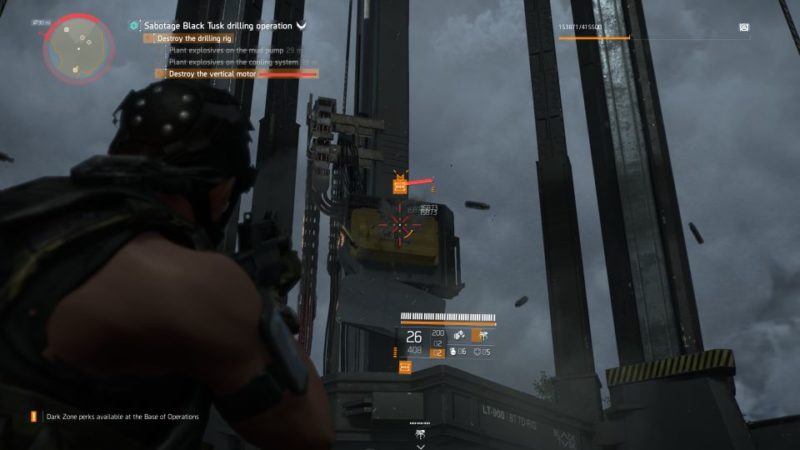
Secure the area and eliminate Figgs
After taking out the motor, continue securing the area.
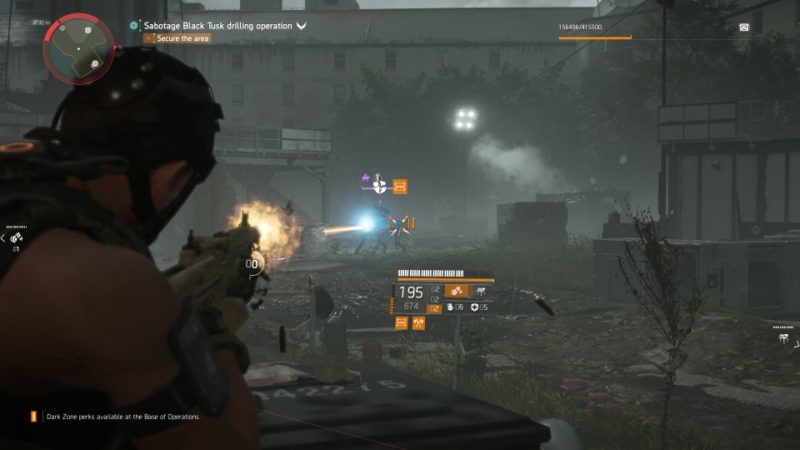
The first mini boss will arrive – John “Architect” Figgs. Kill him.
There’ll be another heavily armored elite here using a minigun. It’s better to take him out first.
Figgs is quite easy to deal with, but you need to watch out for his grenade launcher. He shoots 3 grenades at a time.
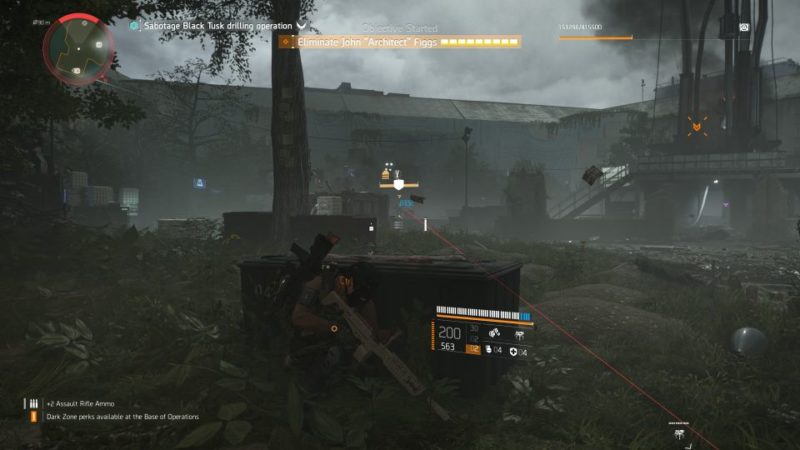
Reach the Pentagon servers
Once you’re done, head to the Pentagon servers via the ‘Fuel Station’ door.
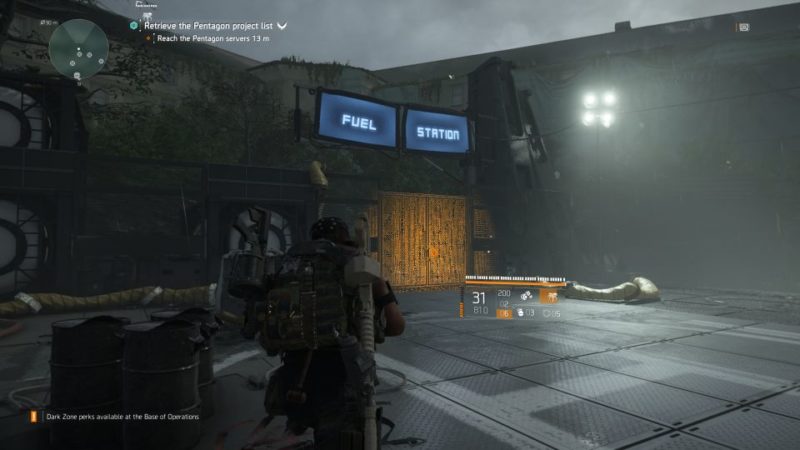
Keep going until you reach a bigger room with Black Tusk forces.
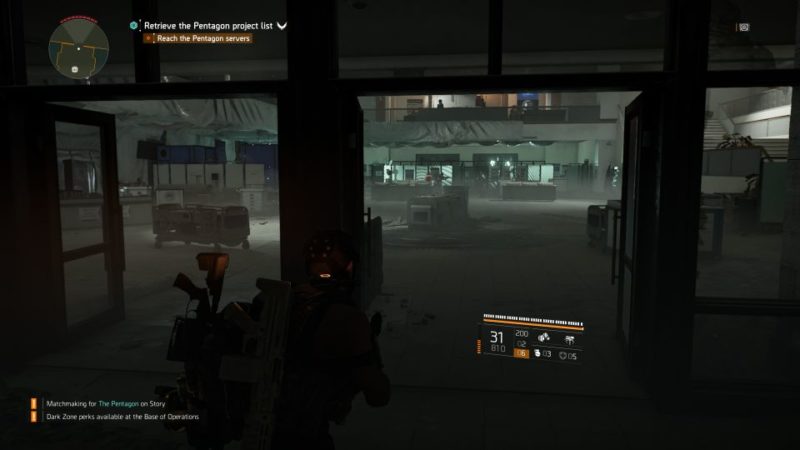
Secure the area.
Once you’re done, head to the computer. Bypass lockdown.
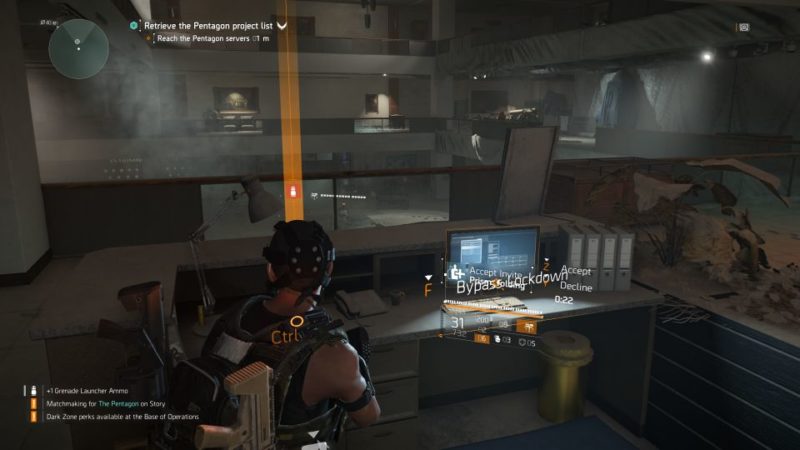
Survive until lock is lifted
You will need to wait about 40 seconds until the lock is lifted. While waiting, kill the reinforcements.
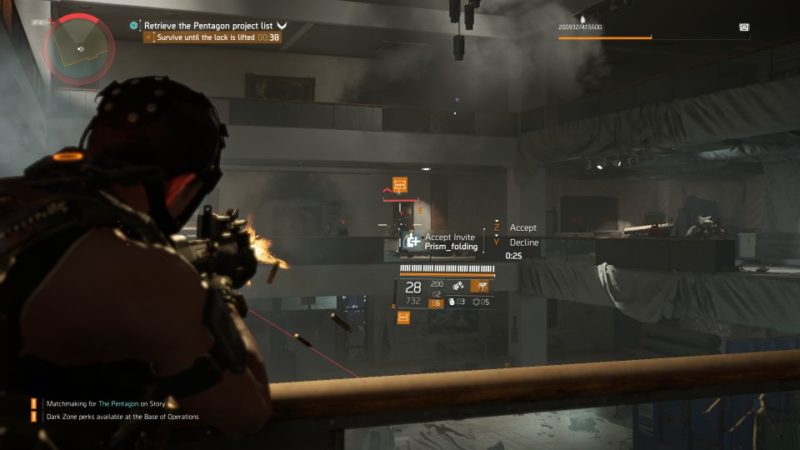
Continue to Pentagon servers
Next, head to the gate and continue going to the servers.
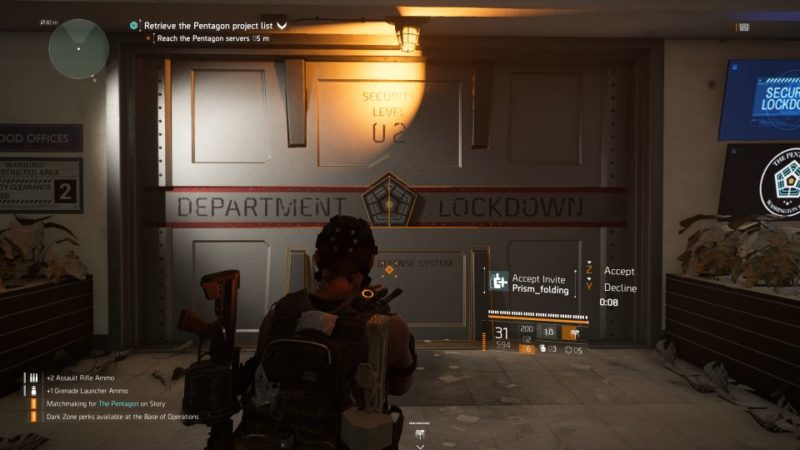
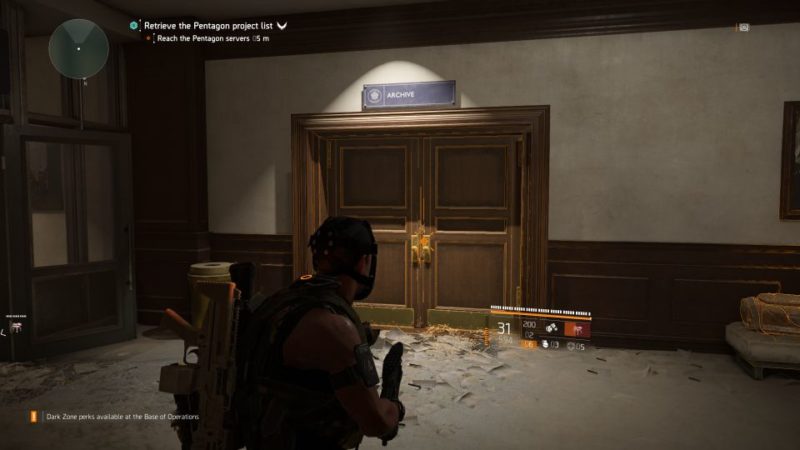
Walk until you reach the ‘Archive’. Keep going.
You’ll reach the International Affairs room.
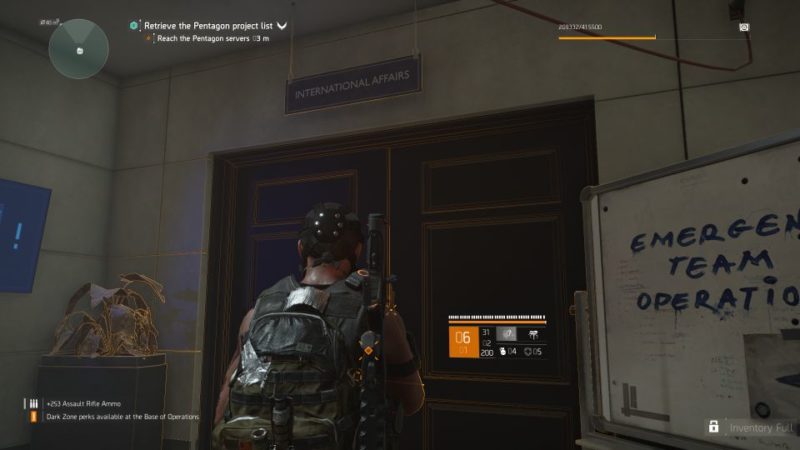
Inside this room, more Black Tusk awaits.
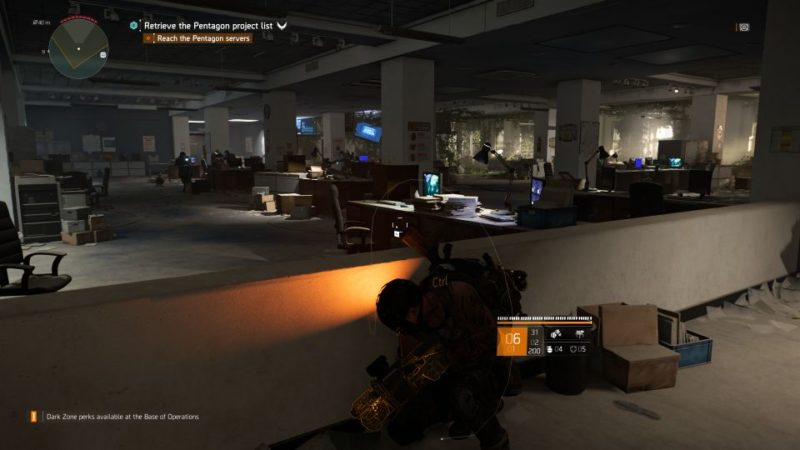
Once the area is secure, go to the War Room.
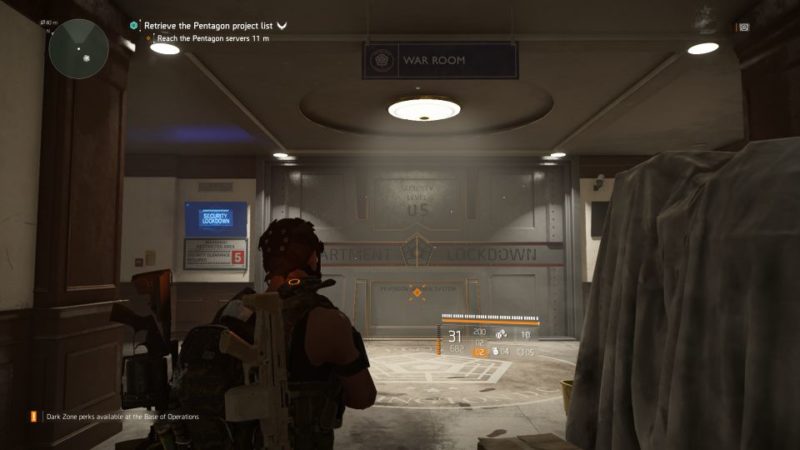
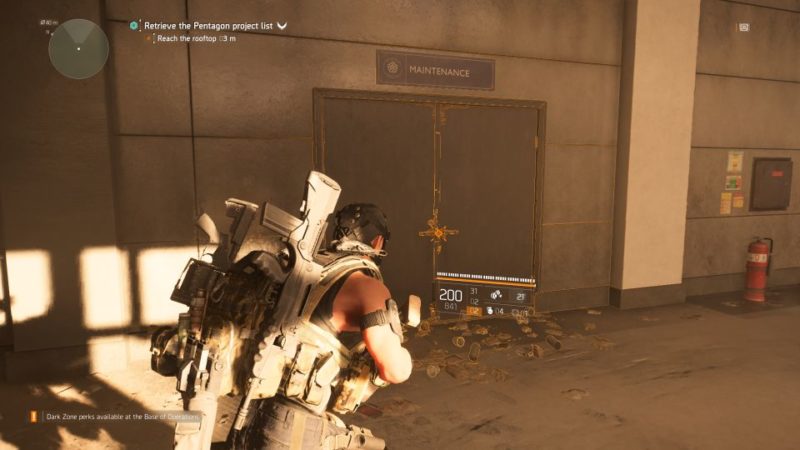
The War Room is empty. Look for the ‘Maintenance’ door inside the War Room.
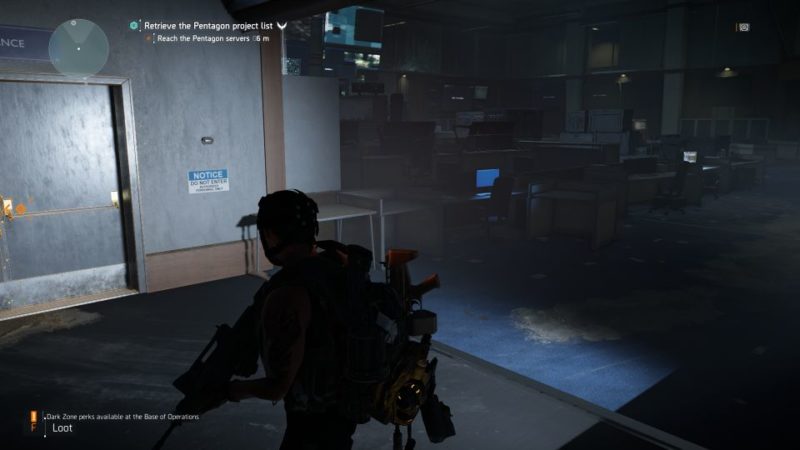
You should finally reach the server room.
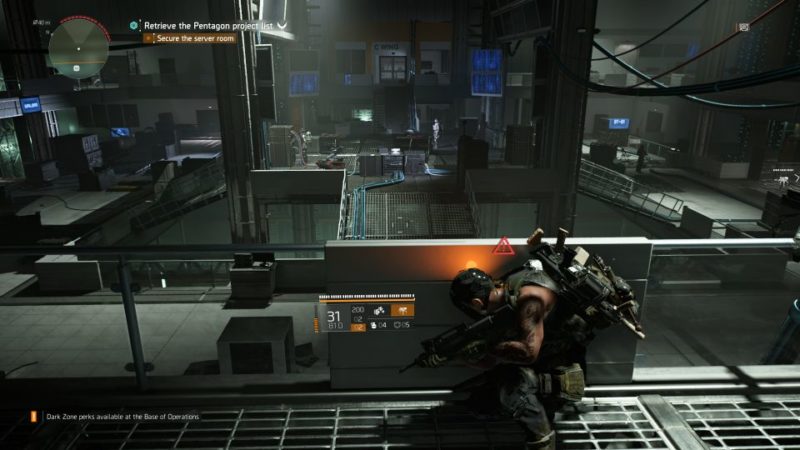
Secure the server room
Inside this room, more Black Tusk operatives will be waiting. Secure the area first.
Download the project list
Next, download the project list using the computer in the middle.
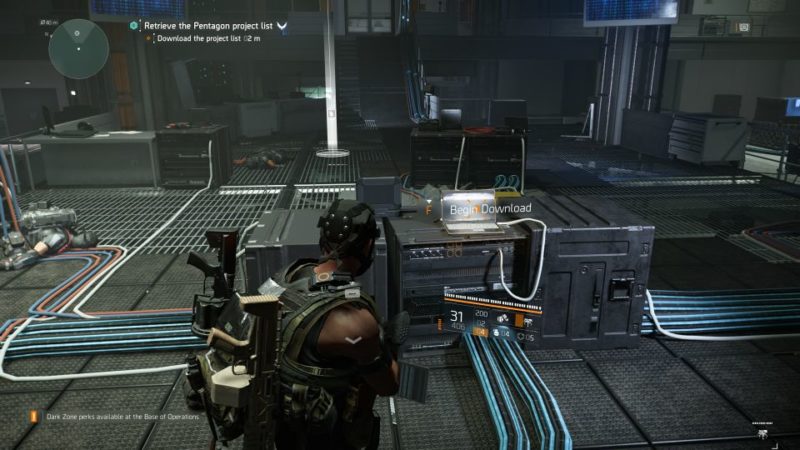
Be prepared as the second mini boss will appear.
Eliminate Ben “Mega” Reinhold
After using the computer, more enemies will come in. Two EMP generators will be activated, one on each floor.
You will need to destroy the EMP generators as they interfere with your Division devices.
Also, you need to kill Ben “Mega” Reinhold plus his soldiers while doing so.
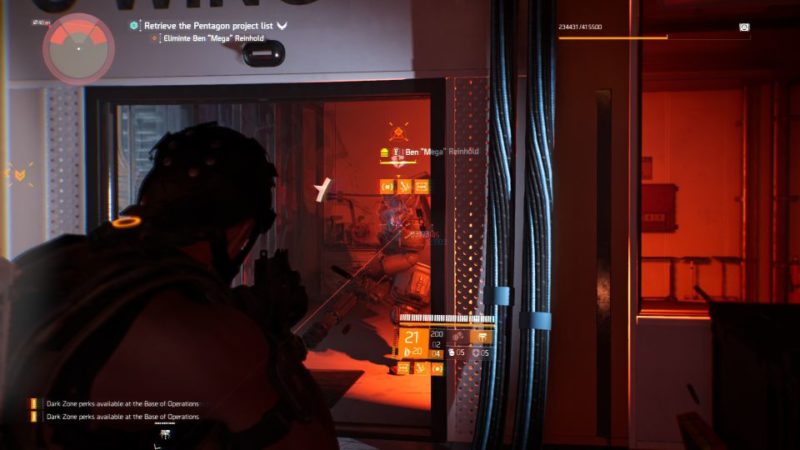
Take out the EMP generator at Wing C (same place where Ben came out).
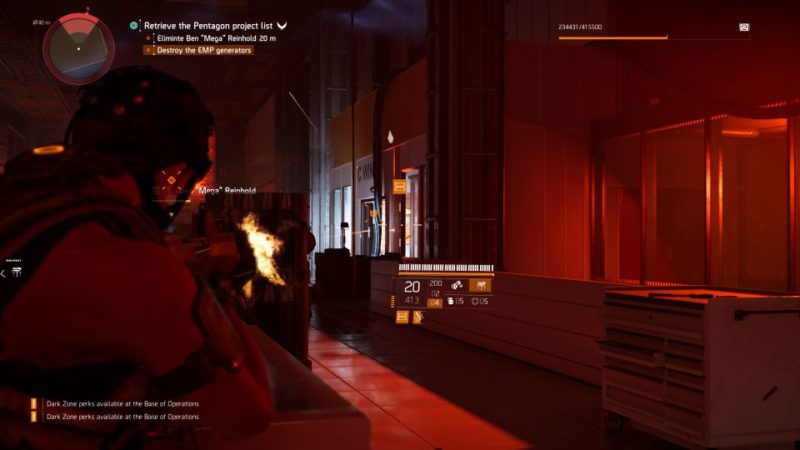
The other generator is one floor below, and you just need to shoot at it to destroy it, since the room’s not accessible.
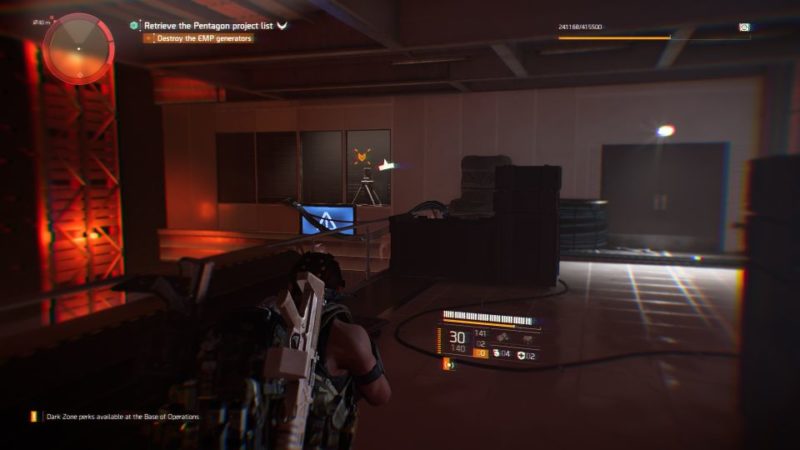
Reach the rooftop
Once the area is secure, go to the rooftop.
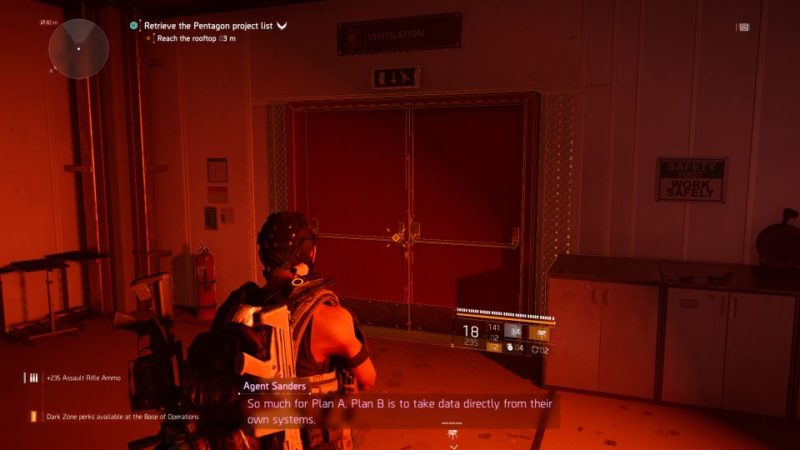
You will be introduced to the third mini boss, i.e. the Marauder drone. This is not the boss fight yet. It will leave after some time.
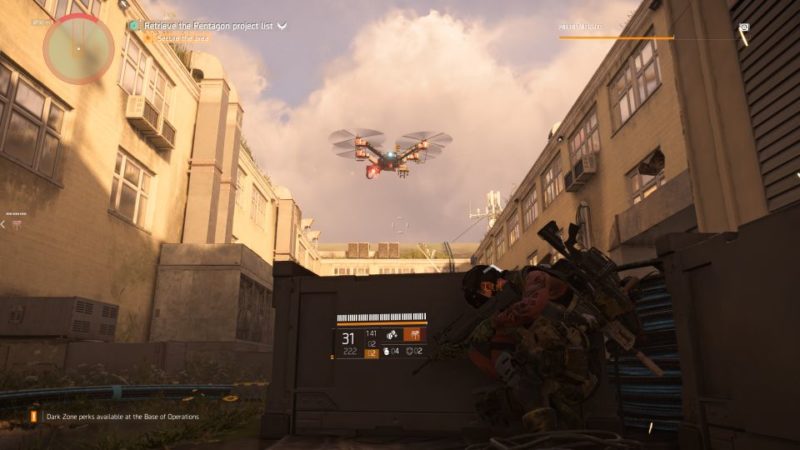
Continue heading to the roof.
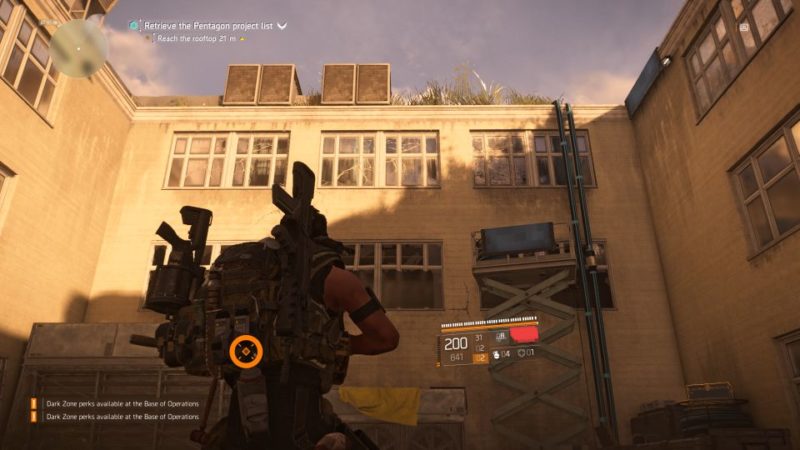
Go through the ‘Maintenance’ door.
Secure the rooftop
Keep going until you reach the rooftop. It’s a no respawn zone. Secure the area first.
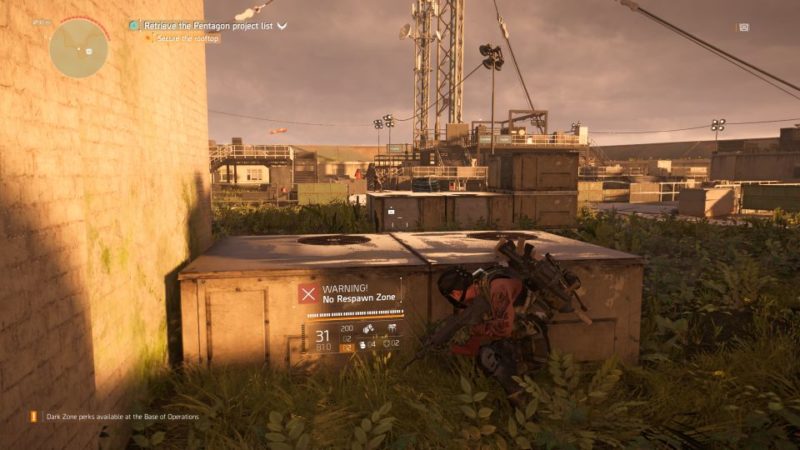
Once again, the drone will appear but only for awhile.
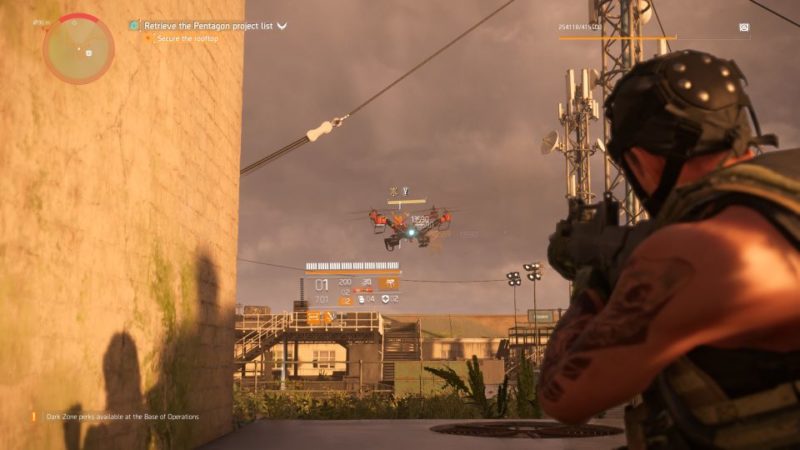
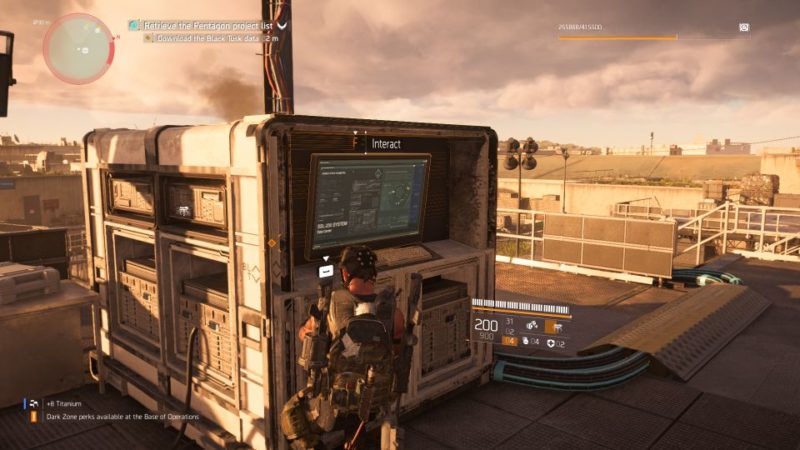
Download the Black Tusk data
Once the area is secure, head towards the terminal at the top. Download the Black Tusk data.
You will have to defend it once you start downloading.
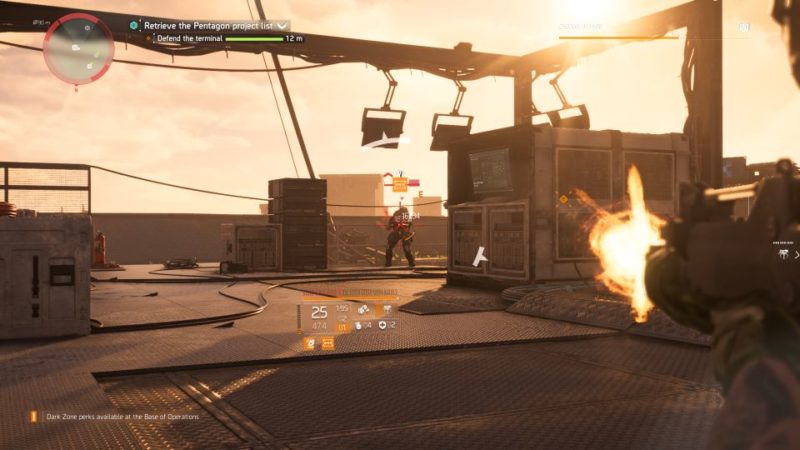
Defend the terminal
More reinforcements will start coming in. Take them all out.
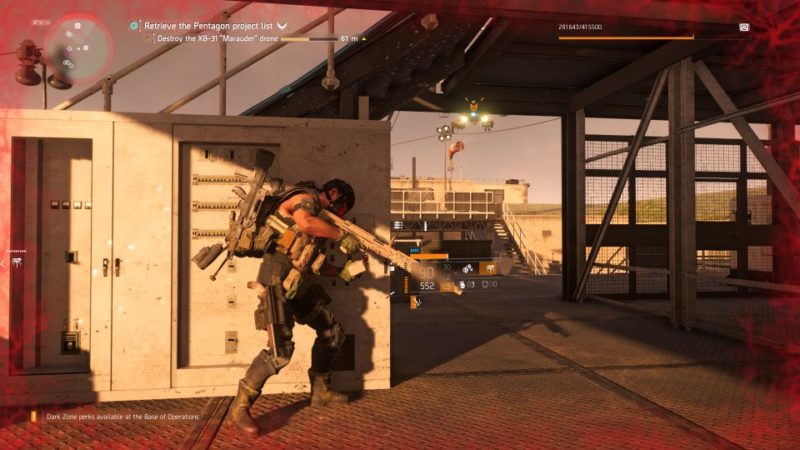
Destroy the Marauder drone
While dealing with land units, you also need to destroy the Marauder drone.
The best way to deal with it is to find shelter. Go to the floor below the terminal to get some shelter.
This drone always does the same movements. It will launch four rockets, followed by a gattling gun attack.
In between rockets, you can land some shots. Also, it keeps going left and right.
After the drone is down, exit the mission area.
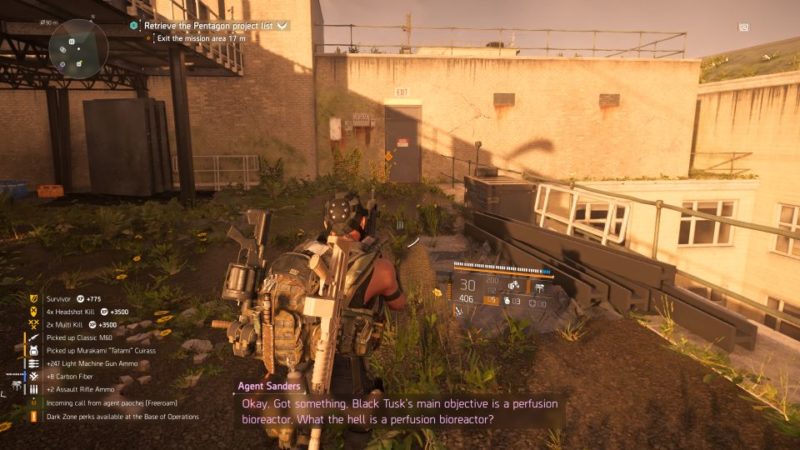
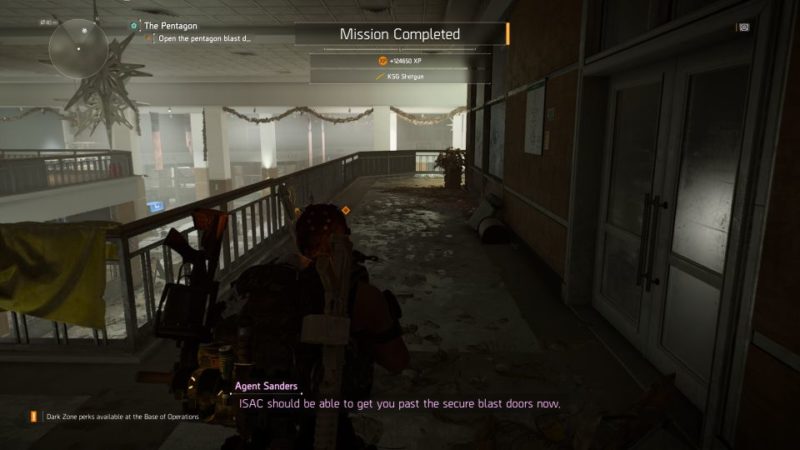
The mission completes after the cutscene.
Related articles:
Cross The Line: Ghost Recon Breakpoint Walkthrough
Don’t Kill The Messenger: Ghost Recon Breakpoint Guide
IED Terminals (Kenly Student Union) – Division 2 Walkthrough
Communications Jamming Hub (Kenly Student Union) – Division 2
Twisted Nerves: Ghost Recon Breakpoint Walkthrough