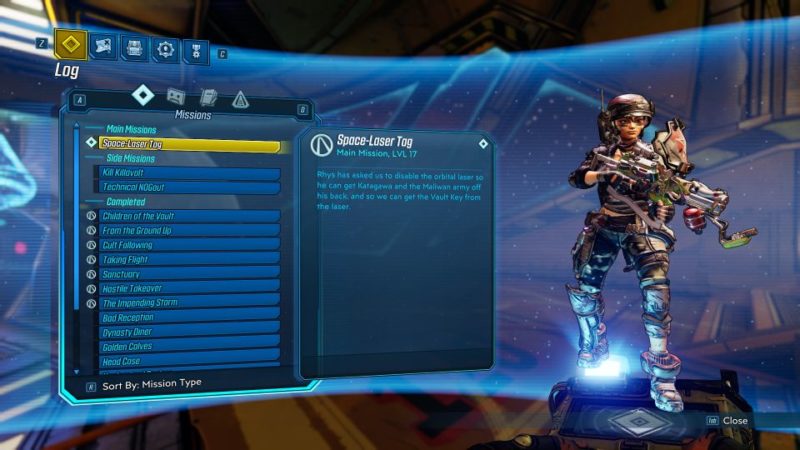
Space-Laser Tag is a main mission in Promethea in Borderlands 3.
Your task is to help Rhys defeat Katagawa by taking over control of the lasers.
Here’s a walkthrough of Space-Laser Tag in Borderlands 3.
This mission is recommended for level 17 and above.
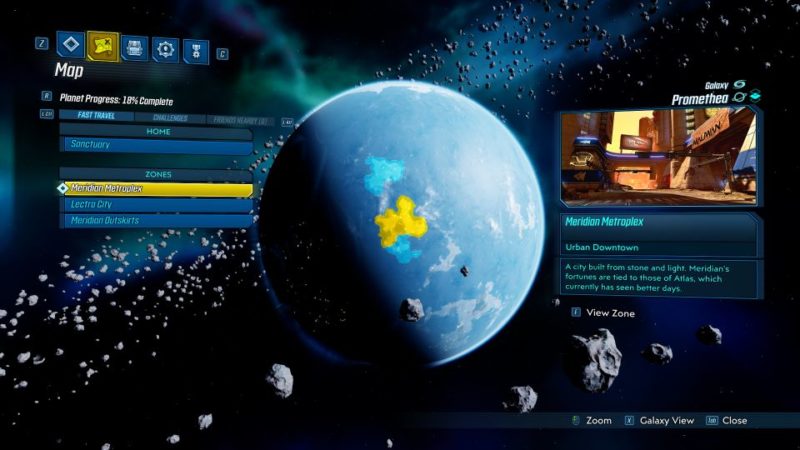
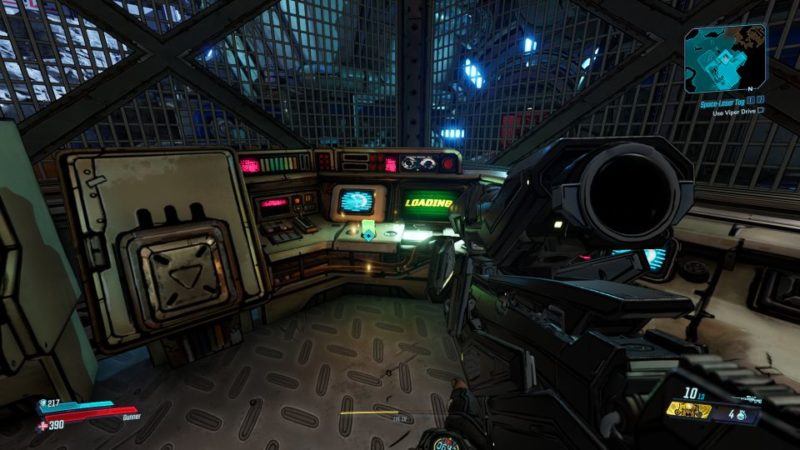
Head to Meridian Metroplex
Meet Rhys at the Meridian Metroplex on Promethea.
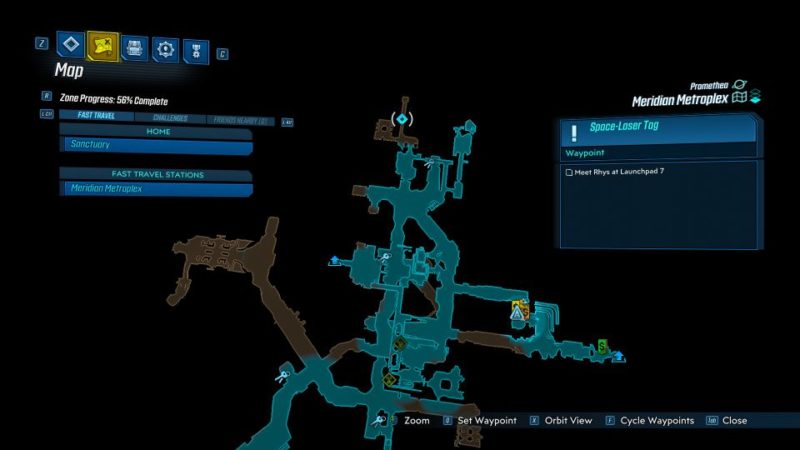
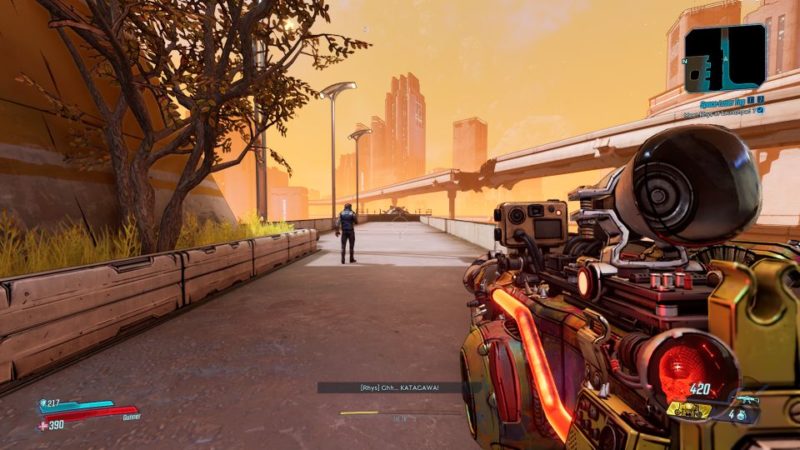
Get to Launchpad 7
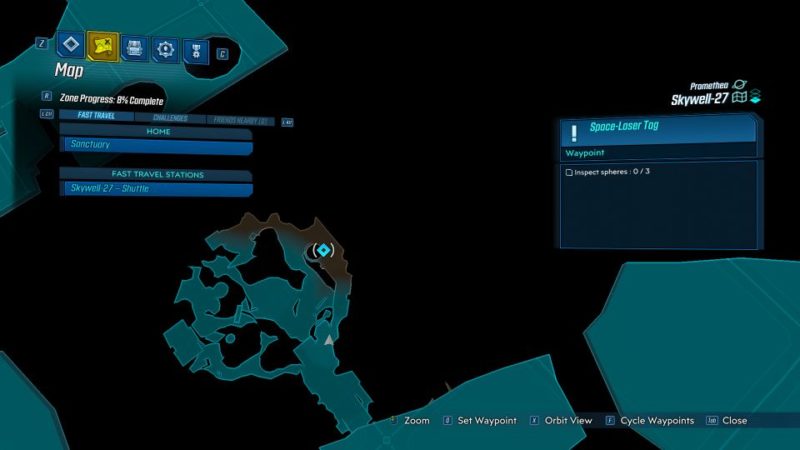
Rhys is at Launchpad 7. The location is shown in the map below.
While heading there, you may need to clear some of the Maliwan forces.
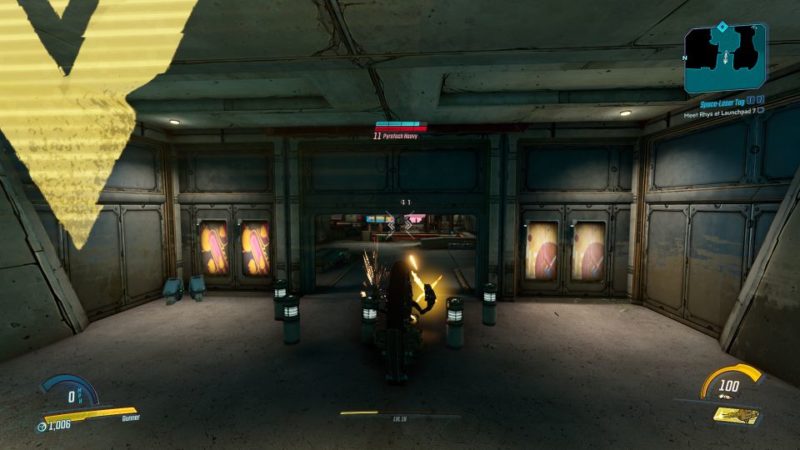
Walk towards the end and a cutscene will load.
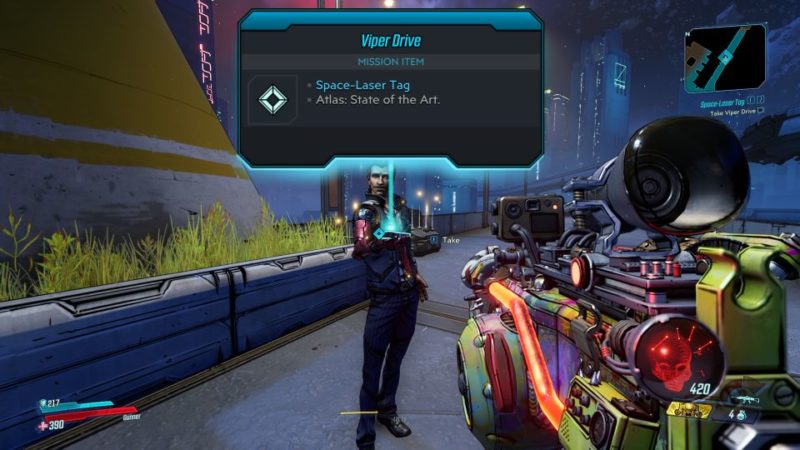
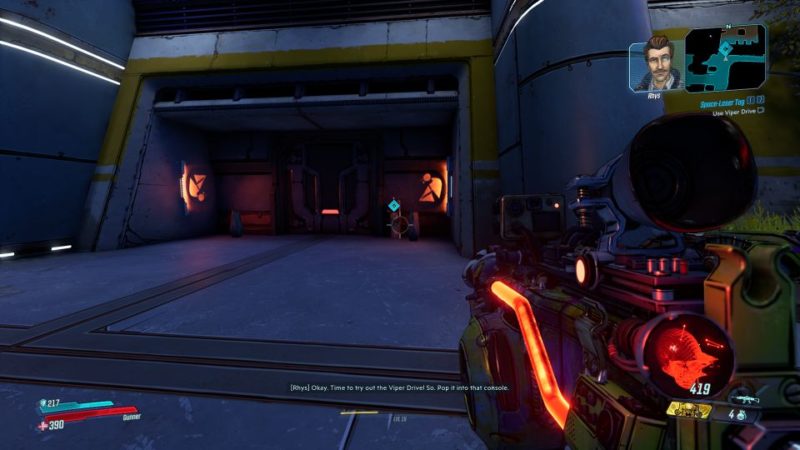
Take Viper Drive
Grab the Viper Drive from Rhys.
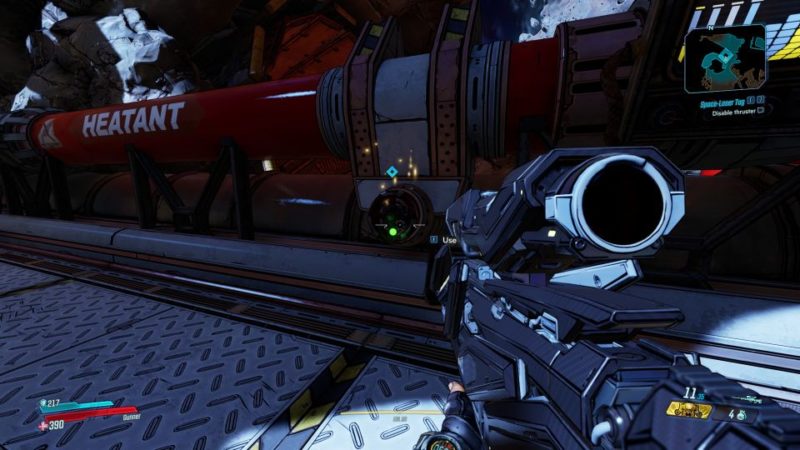
Use the Viper Drive at the gate to steal a ship belonging to the Maliwans.
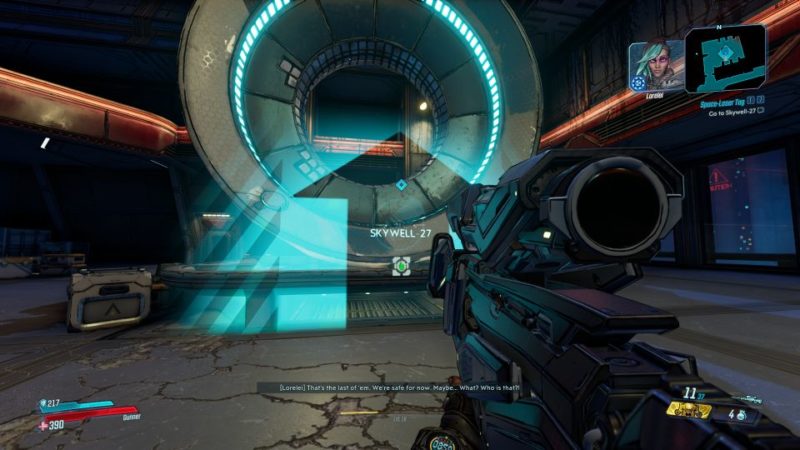
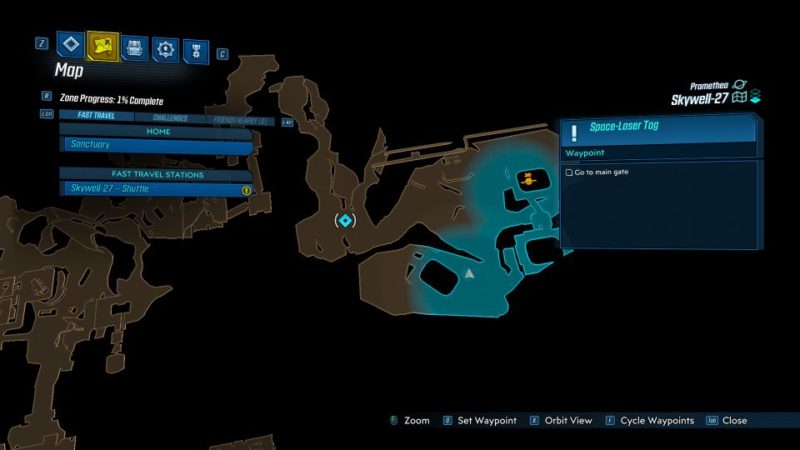
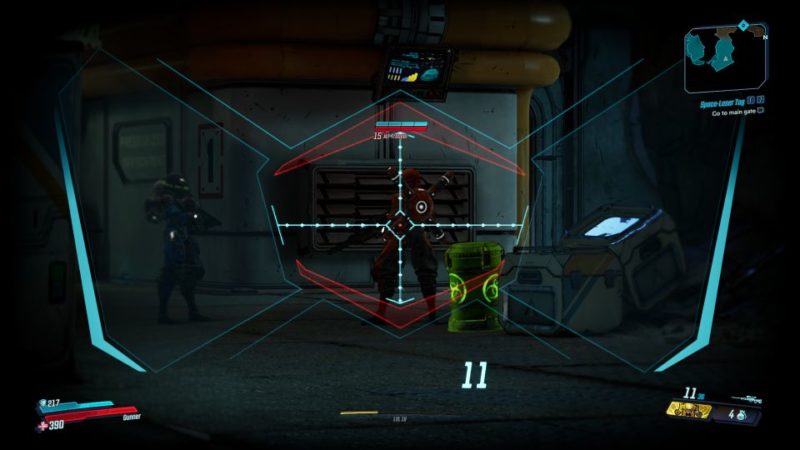
Go to Skywell 27
After the gate opens, you’ll see a couple of enemies. Take them all out.
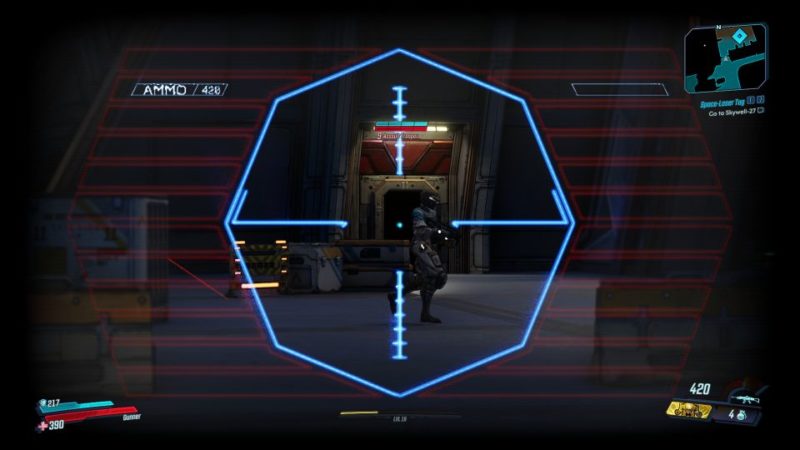
Go towards Skywell 27 – the ship.
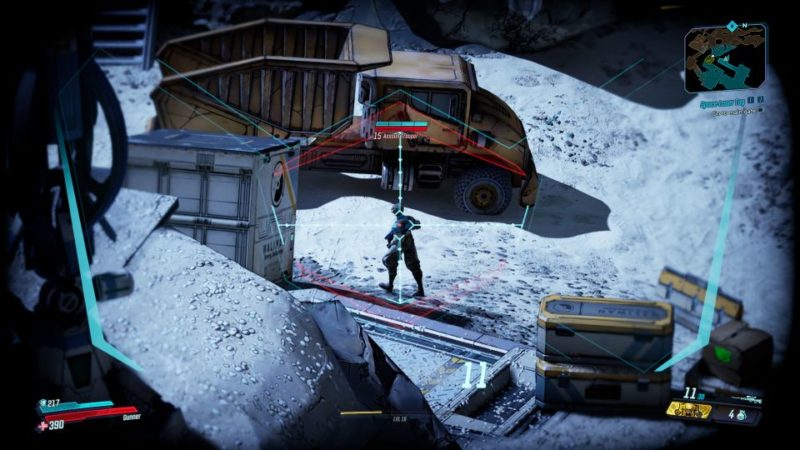
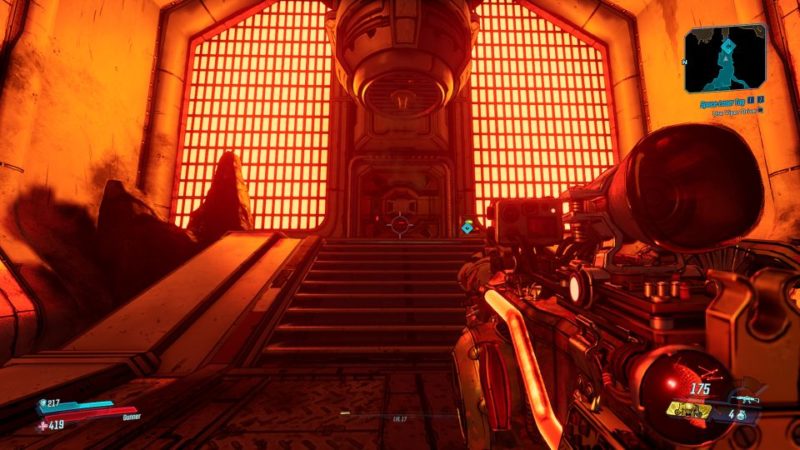
Go to the main gate
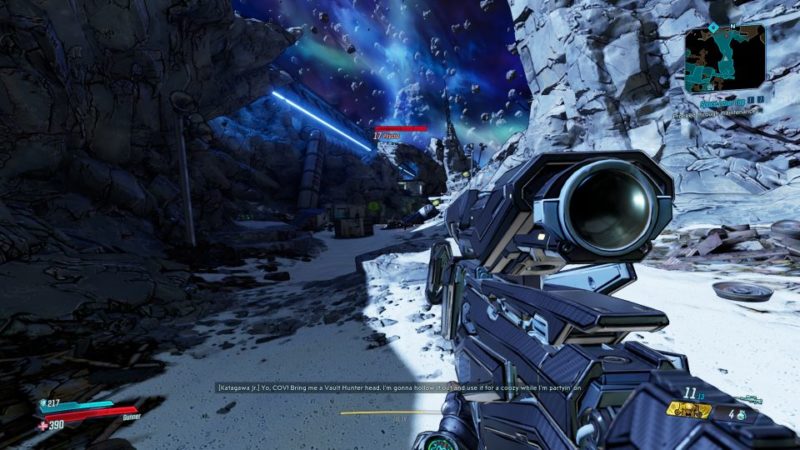
You’ll be transported to another part of space. Get to the main gate. The location is shown in the map, but will be updated as you progress.
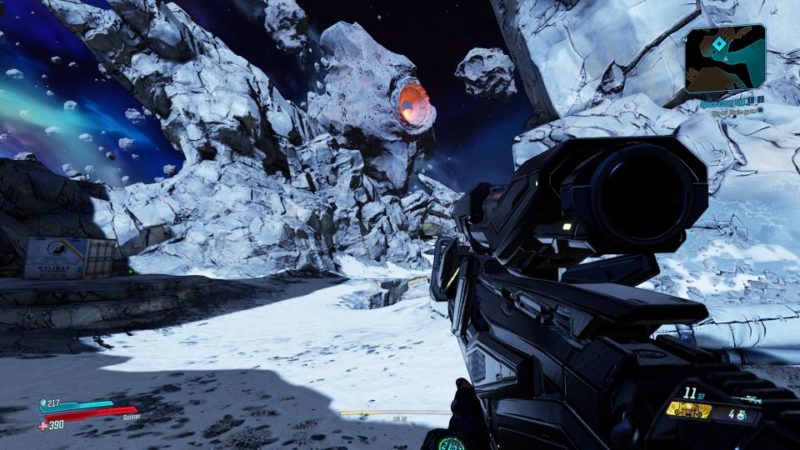
As the gravity is different here, you can jump much further. Sprint and jump to reach platforms that are far away.
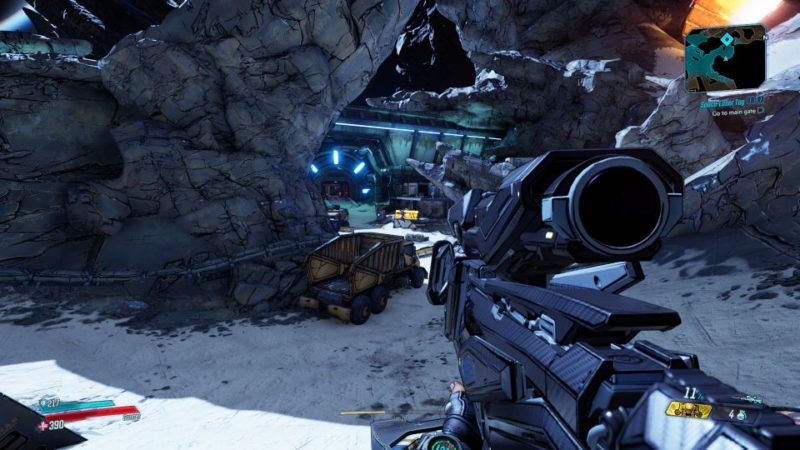
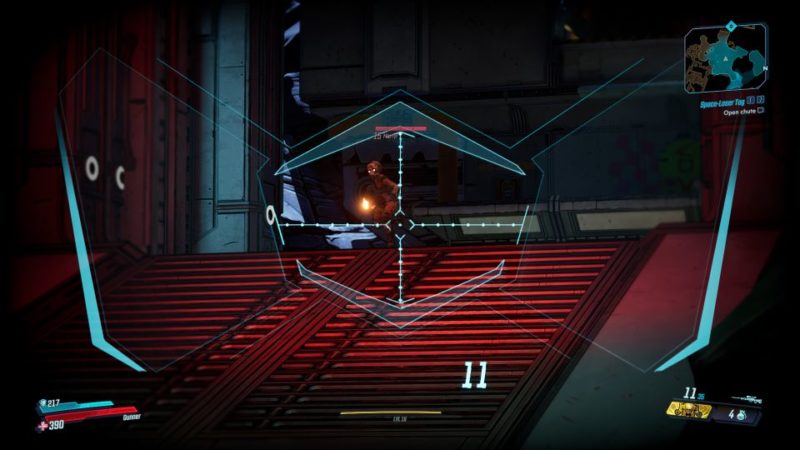
Along the way as usual, there’ll be plenty of mobs to kill.
Keep clearing groups of mobs and proceed further towards the main gate.
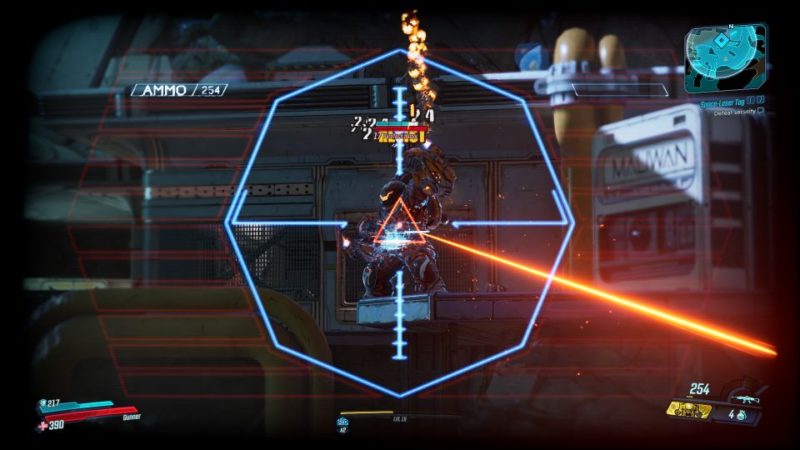
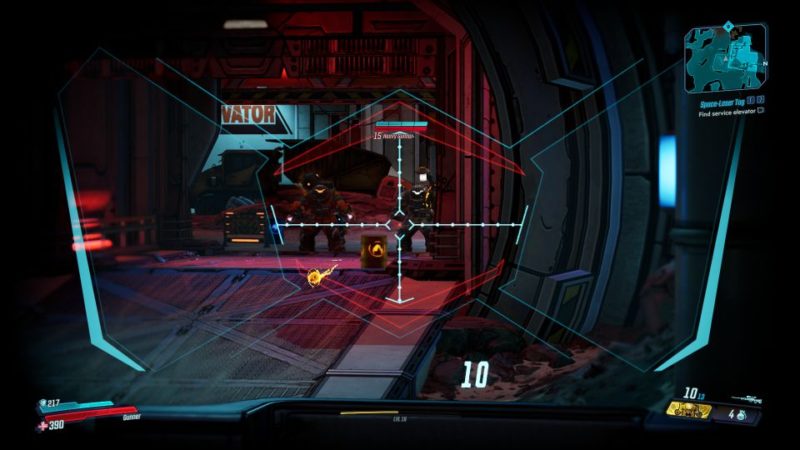
Defeat security
At the gate, there’ll be even more security forces. Clear them all out. Watch out for the heavies that are hard to kill due to high shield / HP.
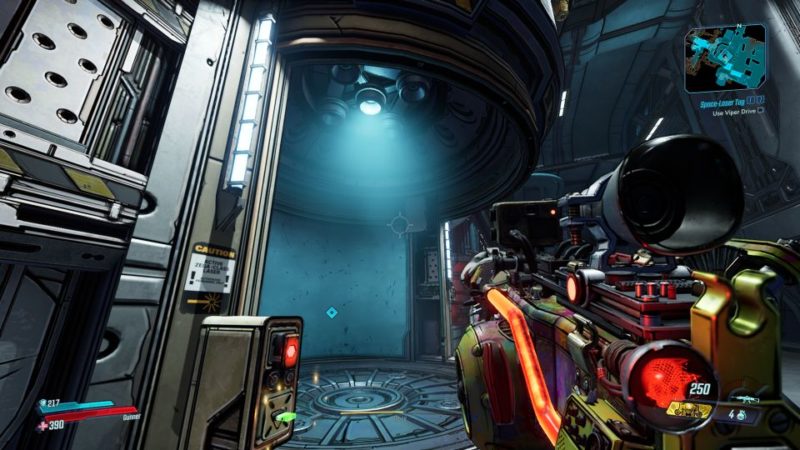
Use Viper Drive
Once the area is secure, head towards the control room.
Use the Viper Drive.
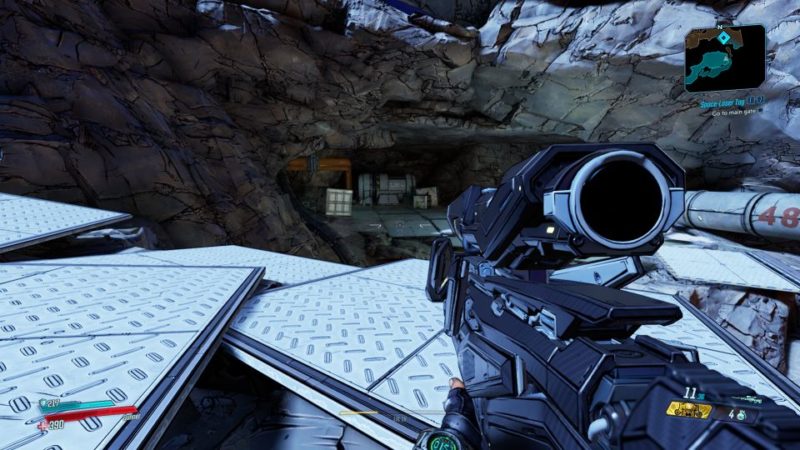
Find service elevator
The main gate will open but more enemies will appear. Take them all out.
Once they’re dead, head towards the end and you’ll find an elevator.
Press the button.
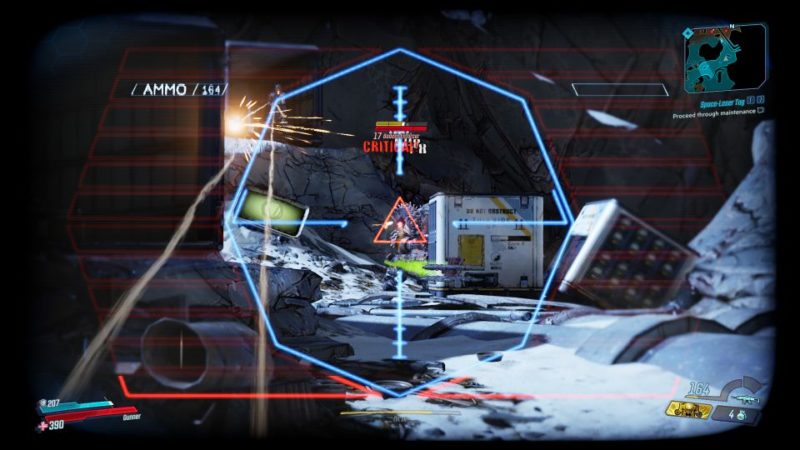
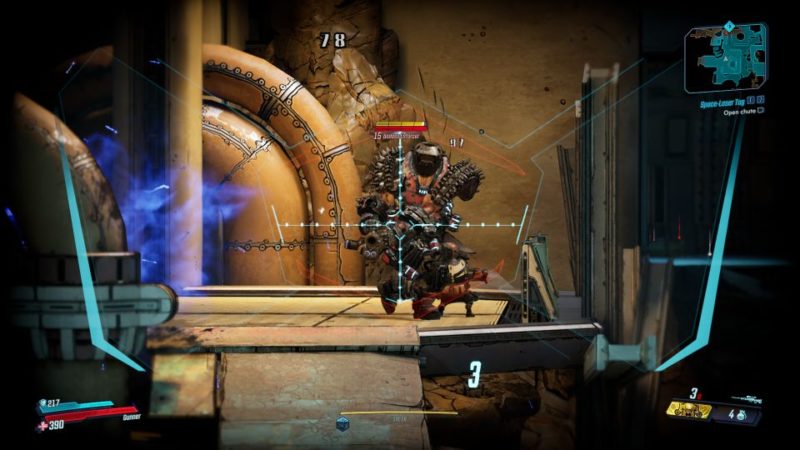
Defeat security
There’ll be a few waves of enemies in this area that you need to eliminate.
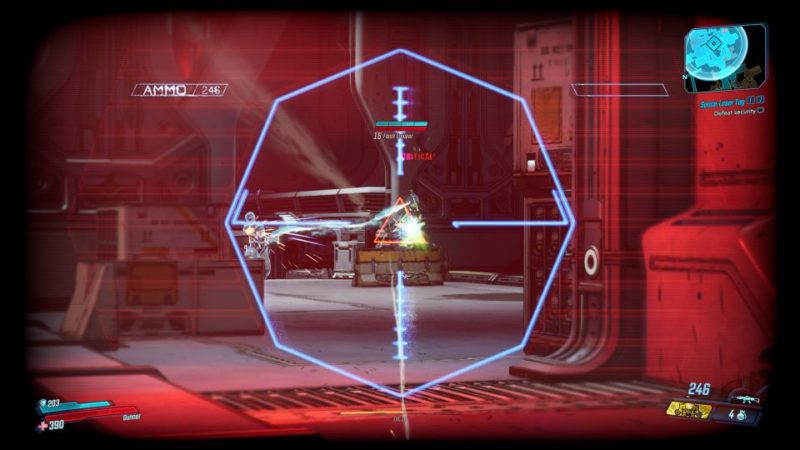
Watch out for those badass enemies that are pretty much elites compared to the regular mobs.
Go through ventilation ducts
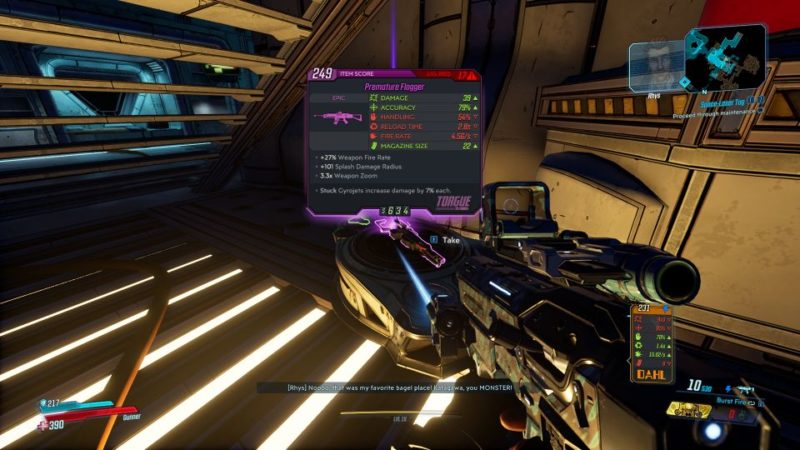
Next, you’ll need to head through the ventilation ducts. However, before you go, head towards the left and to the bottom floor.
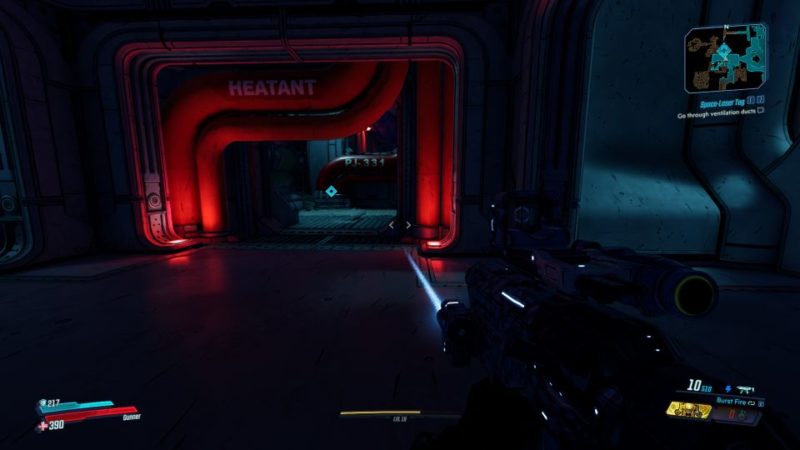
There’s a special chest here under the stairs and you may find an even better weapon.
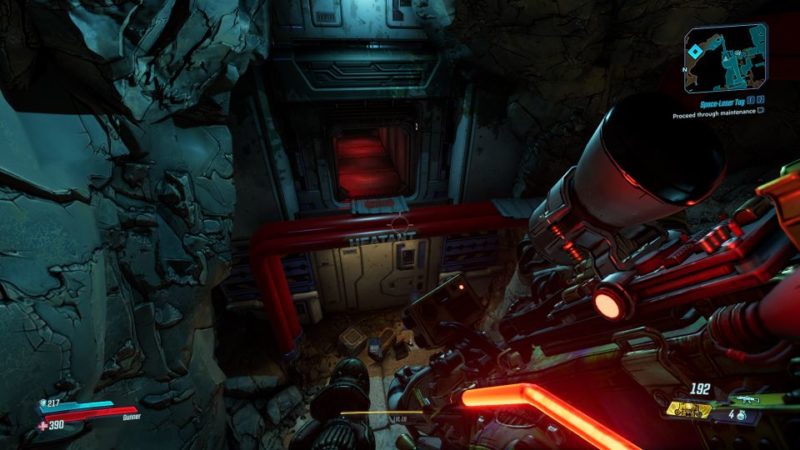
Proceed through maintenance
Once you’re done, go through the ducts. You’ll then need to head through maintenance. To get to the next side, you’ll need to climb up the platform at the beginning of the area.
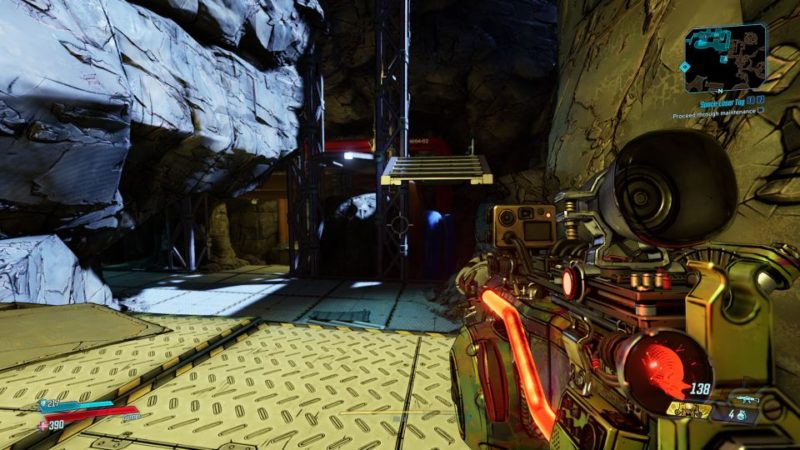
From the platform, you can jump to the next location above the ducts.
You’ll then be out here again. Continue heading through maintenance while clearing the enemies.
At one point, you’ll need to go through the thruster area. Jump towards the thruster first.
Wait for the short interval to cross the area and to the next platform.
Disable thruster
Once you’re past the thruster, disable it using the button at the ducts.
Open chute
The next objective is to open the chute inside the building. Before that, you’ll have to clear the enemies again.
Once the area is finally clear, head to the lever at the top. Use the lever to open the chute.

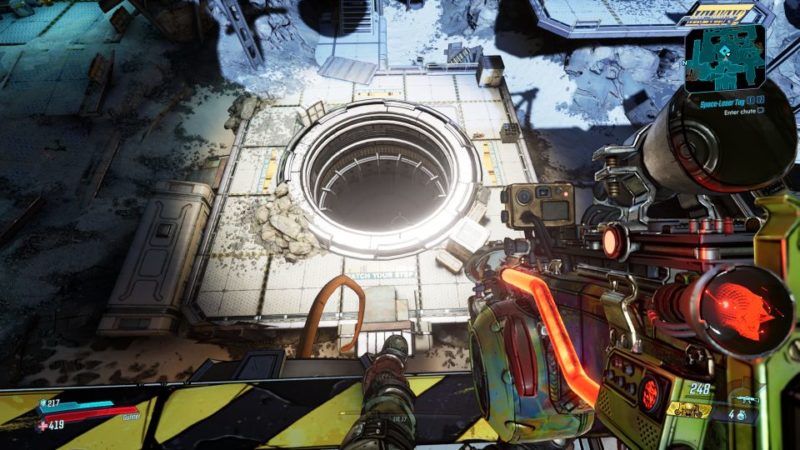
Enter chute
Jump into the chute just below you.
Use Viper Drive
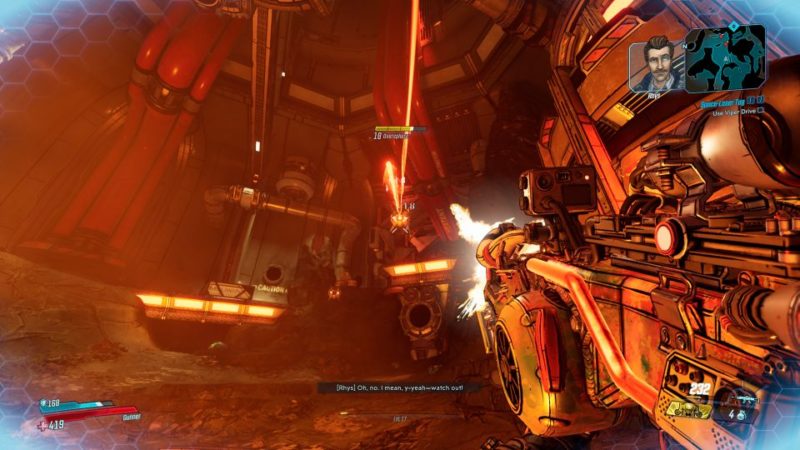
Once you’re down here, you will be greeted by some spherical enemies. Kill them first.
Once the enemies are dead, head towards the location shown in map.

Get to the end and use the Viper Drive.
After using the Viper Drive, more enemies will come. Take them all out.
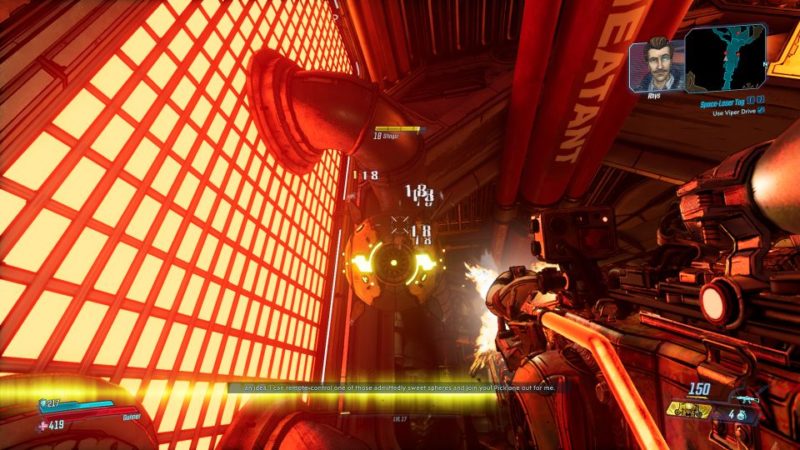
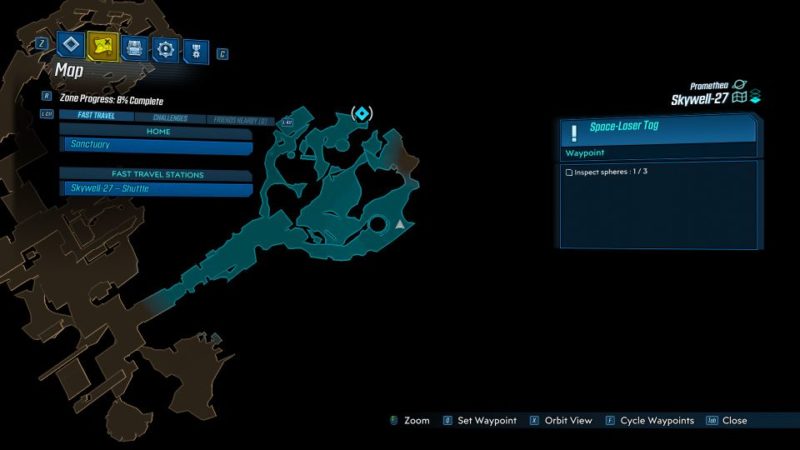
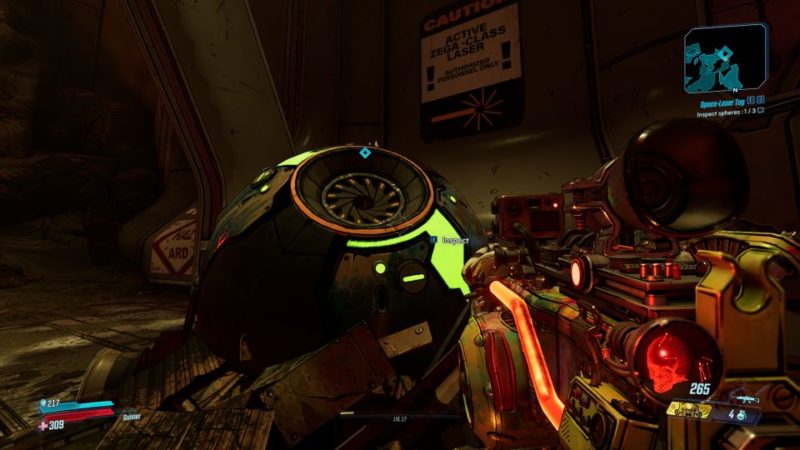
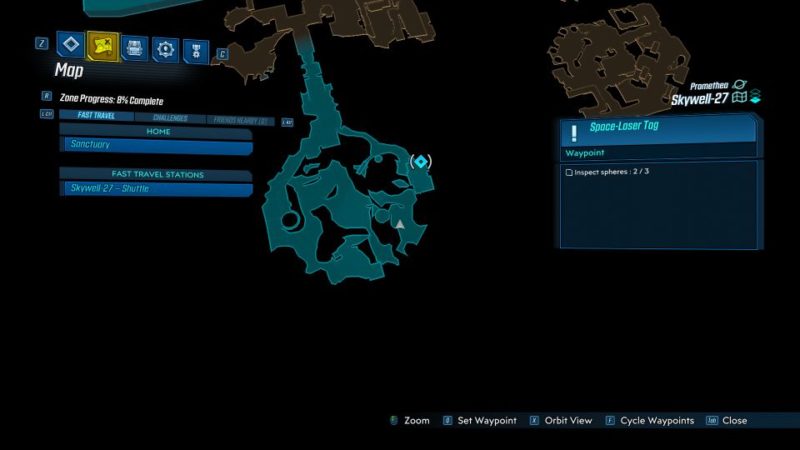
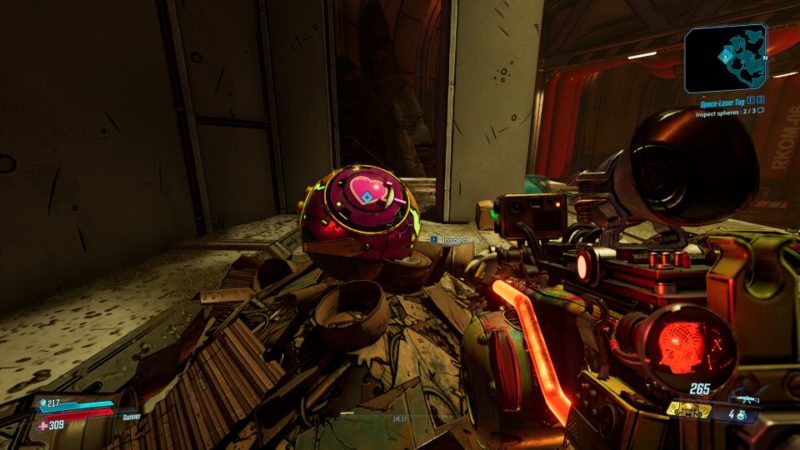
Inspect spheres
You now need to inspect 3 spheres for Rhys. The first one is shown below.
Inspect it and Rhys will say that it’s not suitable.

Get to the second sphere.
Inspect again and Rhys will complain that it’s too huge.
The final sphere is as shown in the map.
Inspect this one and Rhys will use it.
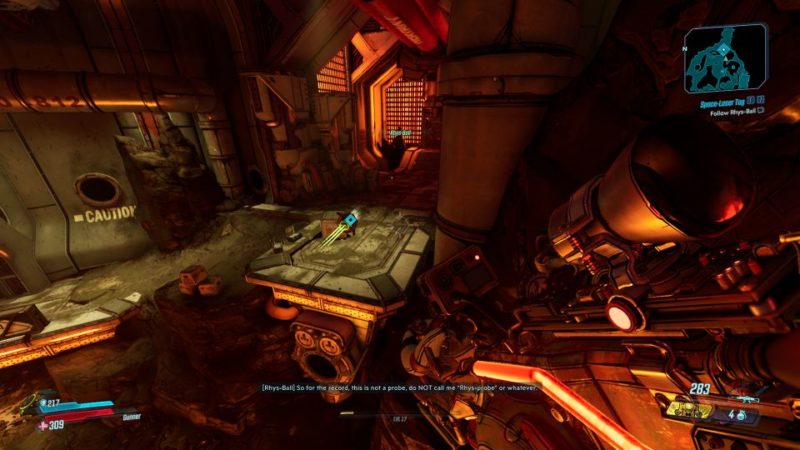
Follow Rhys-ball
Follow the Rhys-ball to the next area.
Clear the way
You’ll come across more enemies in the Observation Deck. Clear the way by killing them all.
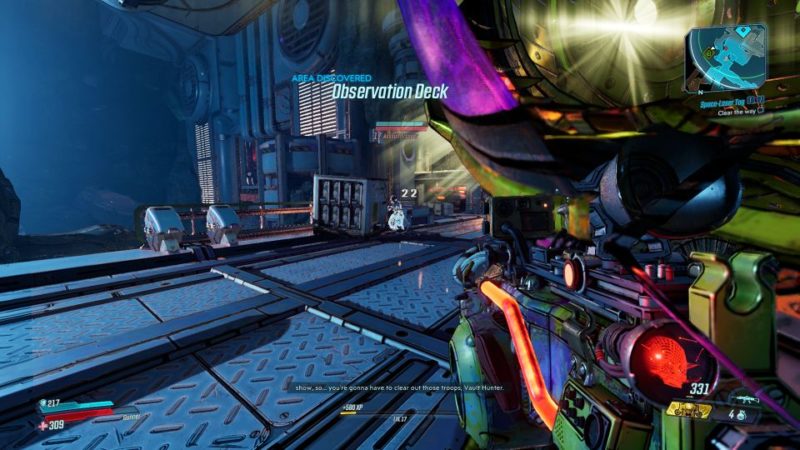
Continue following the ball.

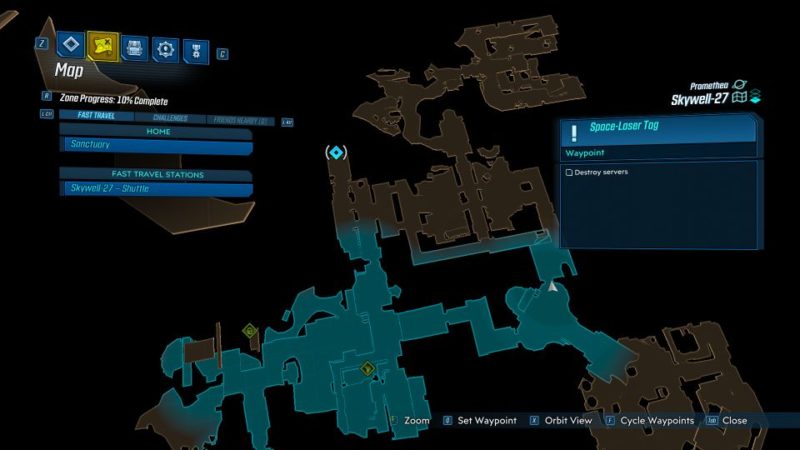
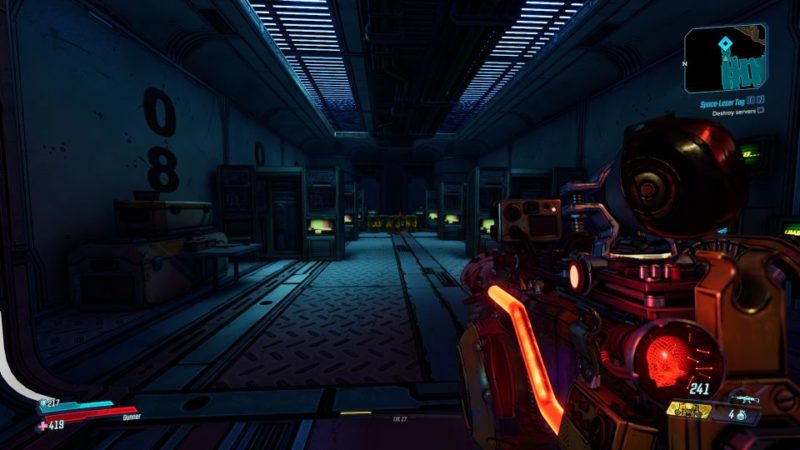
Destroy the servers
The next objective is to destroy the servers. The location is provided in the map.
As you get close to the servers, you’ll meet a stronger soldier. This one isn’t too tough as there aren’t other enemies to annoy you.
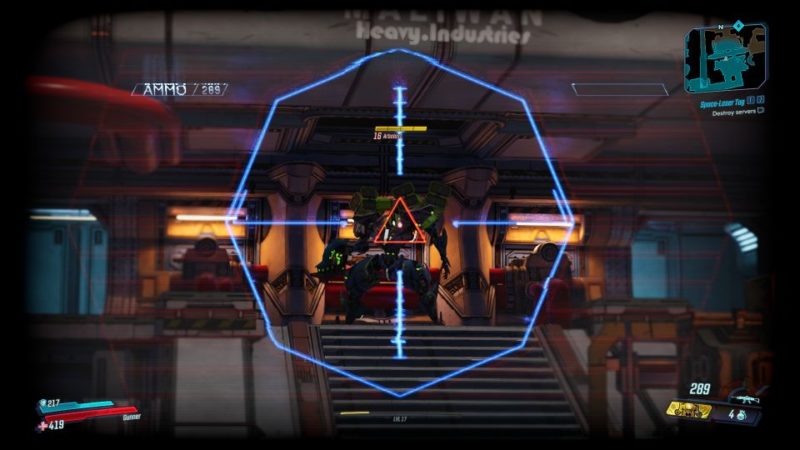
Once the area is secure, shoot at the corrosive barrels near the servers to destroy them.
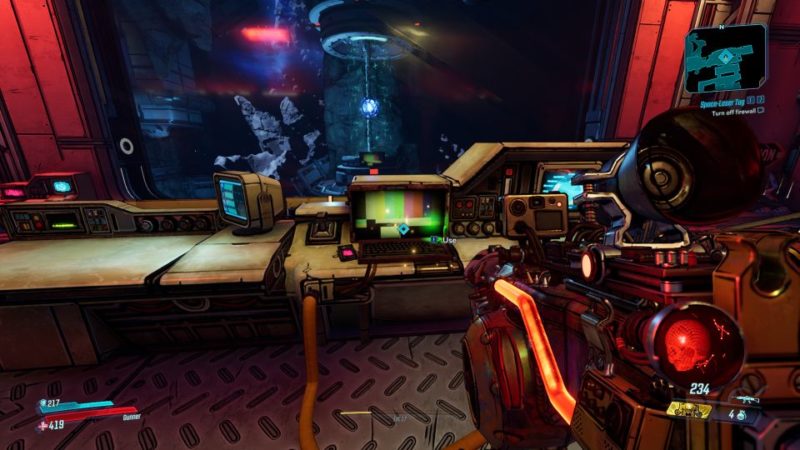
Turn off firewall
Next, get to the computer to turn off the firewall.
Take elevator to control room
Go back to Rhys-ball. Follow him to the elevator.
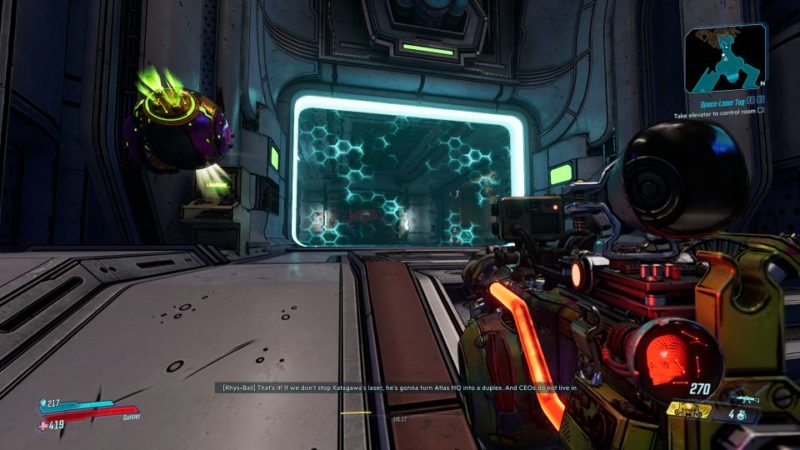
Enter the elevator and press the button to use it.
Secure control room
Inside the control room, you’ll have a ‘mini-boss’ with many enemies waiting for you. Kill them all.

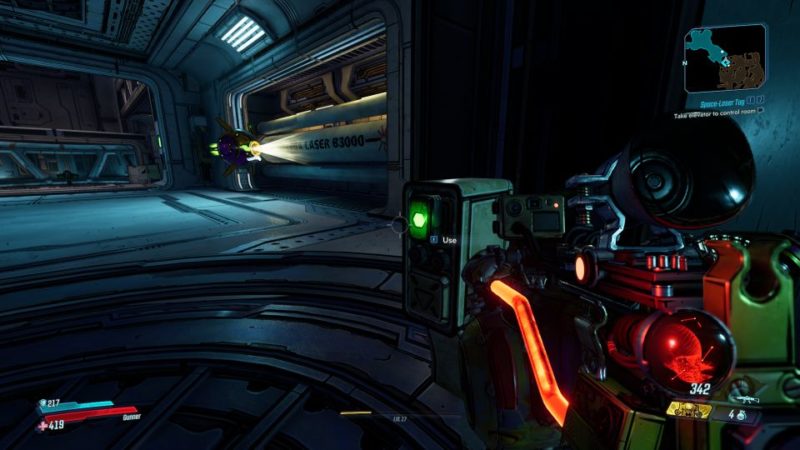
Fire laser
After securing the control room, you need to fire the laser at Katagawa’s ship. If you do so, you’ll be entering the boss fight.
So be prepared first.
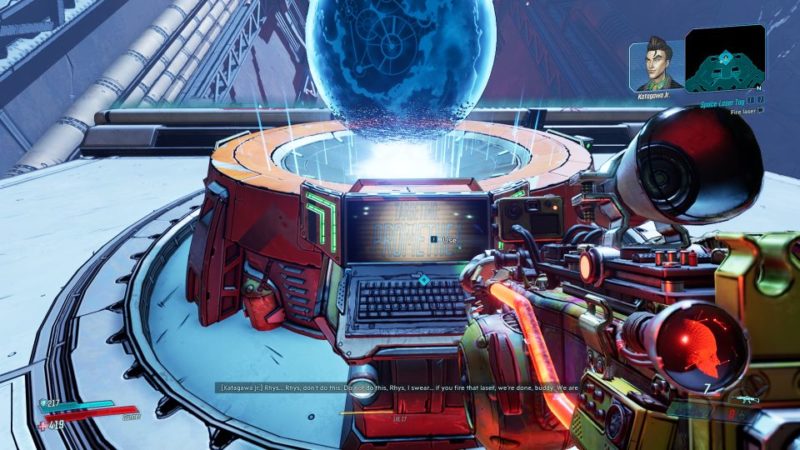
There’ll be a cutscene where Katagawa Ball is introduced. He’s the boss for this chapter.

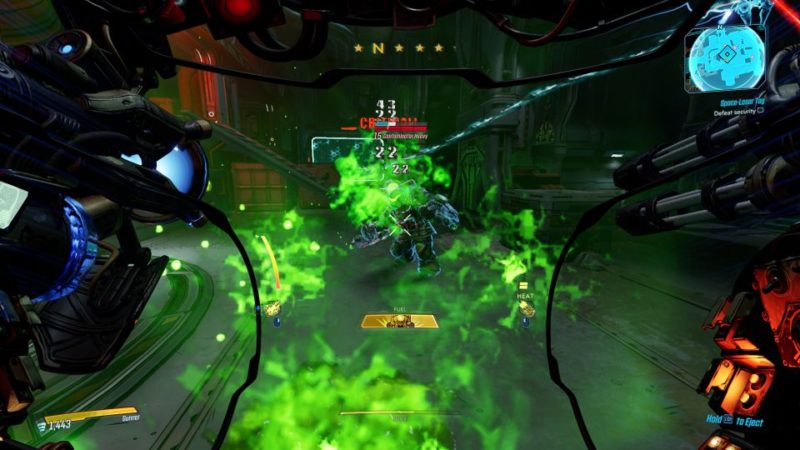
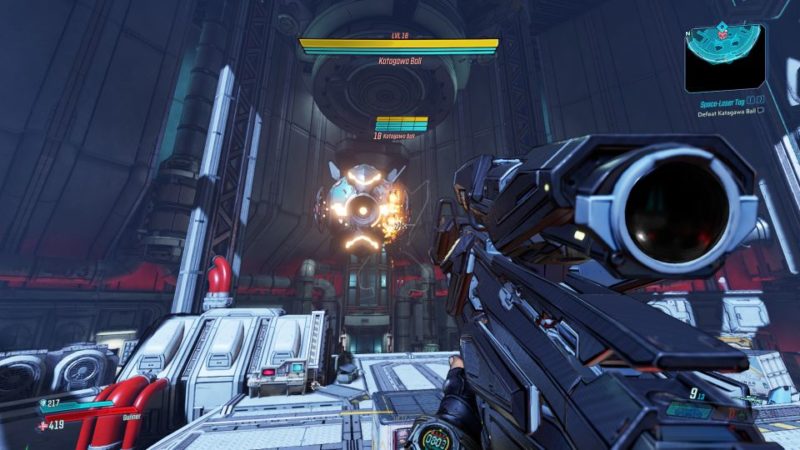
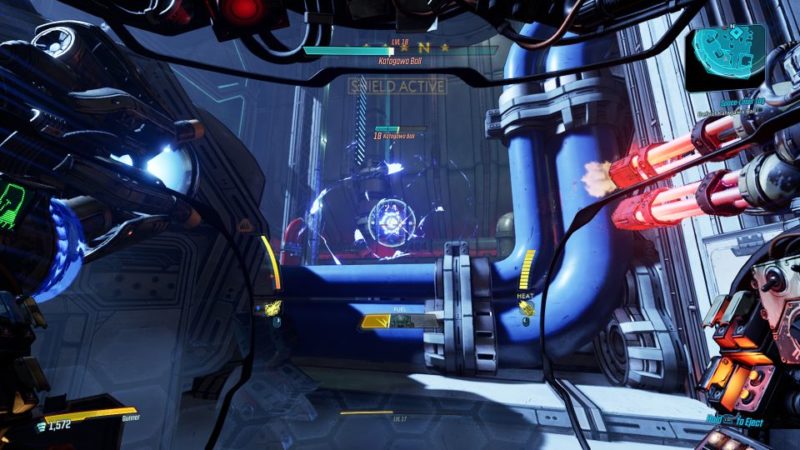
Defeat Katagawa Ball (boss)
This boss fight is pretty tough at first but once you’re used to the movements, it’s not too difficult.
It basically has three layers of shield, the yellow (first) one being the hardest to break.
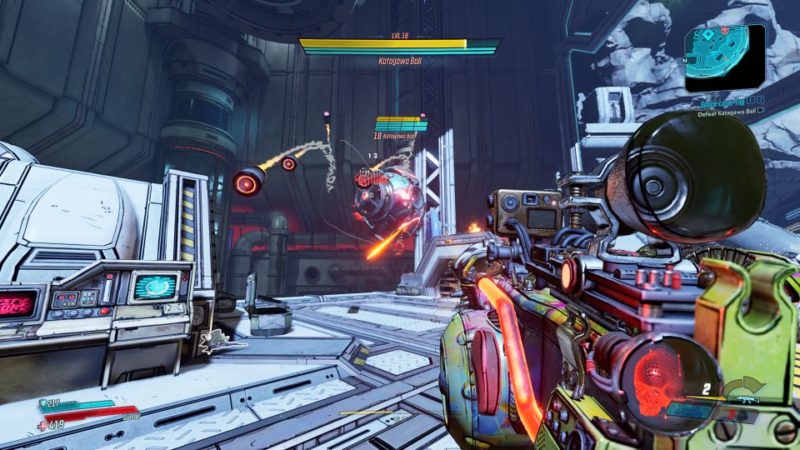
Once you’re done with the first layer, the second health layer is slightly easier. The third one is so much easier that he’ll die in a couple of seconds.
Once you’ve broken through the first layer of health, it’ll be much easier.
The key is to avoid getting hit by his fireballs or lightning lasers.
One fireball is enough to melt your shield. Avoid them completely.
Use the obstacles around the map to prevent getting hit, and sneak in a few shots when he’s not firing.
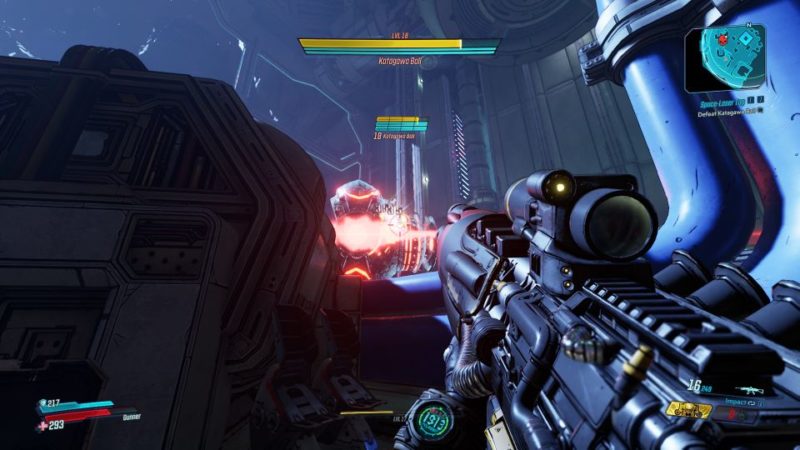
After the two layers of health is gone, you’ll kill him in seconds.
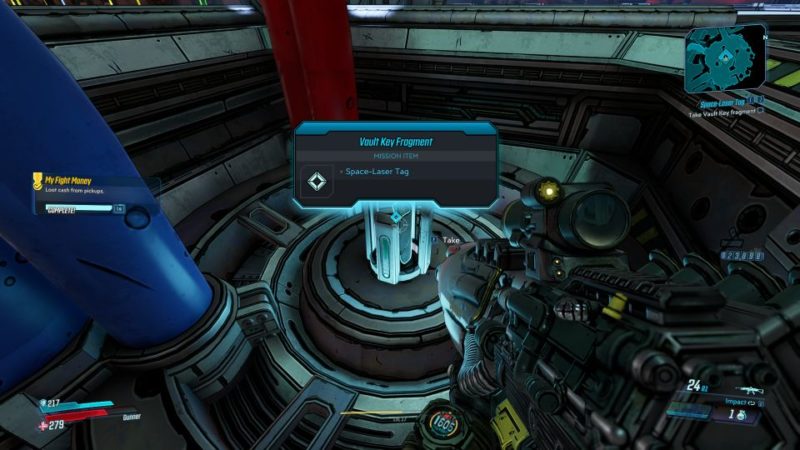
Pick up the vault key fragment
Once the boss is dead, take the vault key fragment.
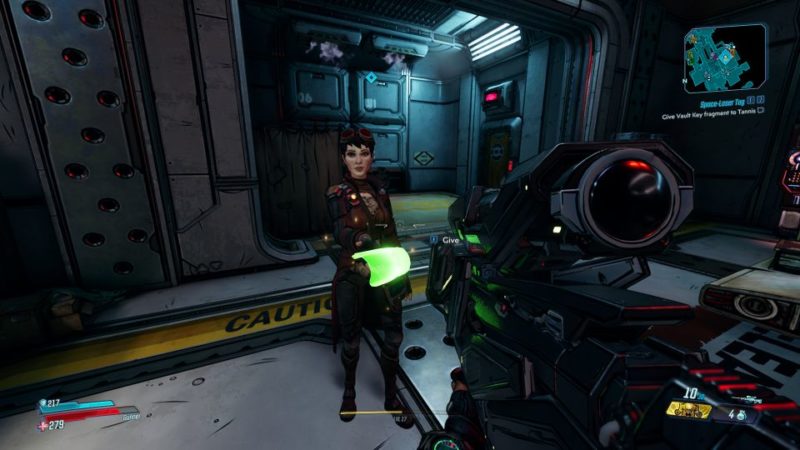
Give fragment to Tannis
Head back to Sanctuary to pass the key fragment to Tannis in her own lab.
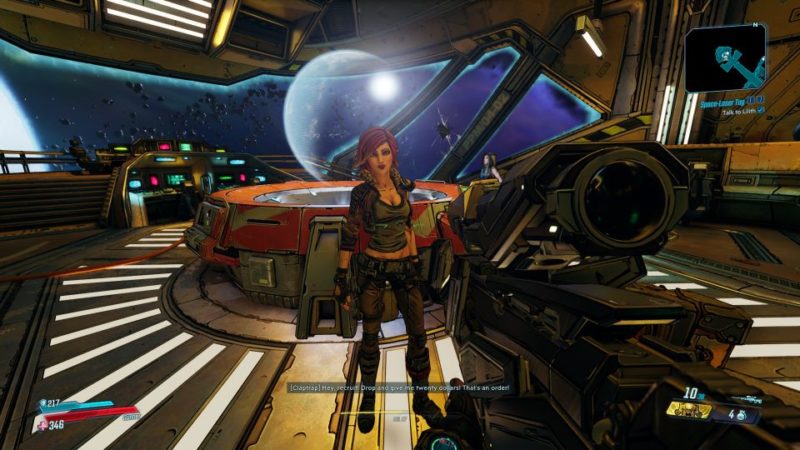
Talk to Lilith
The mission completes after talking to Lilith.
Related articles:
Invasion Of Privacy: Borderlands 3 Walkthrough And Guide
Atlas, At Last: Borderlands 3 Walkthrough And Guide
Porta Prison: Borderlands 3 Walkthrough And Guide
Technical Nogout: Borderlands 3 Walkthrough And Guide
Proof Of Wife: Borderlands 3 Walkthrough And Guide