Radio Free Monarch is a main quest in Obsidian’s The Outer Worlds.
Your task is to find Nyoka at Stellar Bay and get her to bring you to the information broker.
Here’s a walkthrough of Radio Free Monarch in The Outer Worlds.
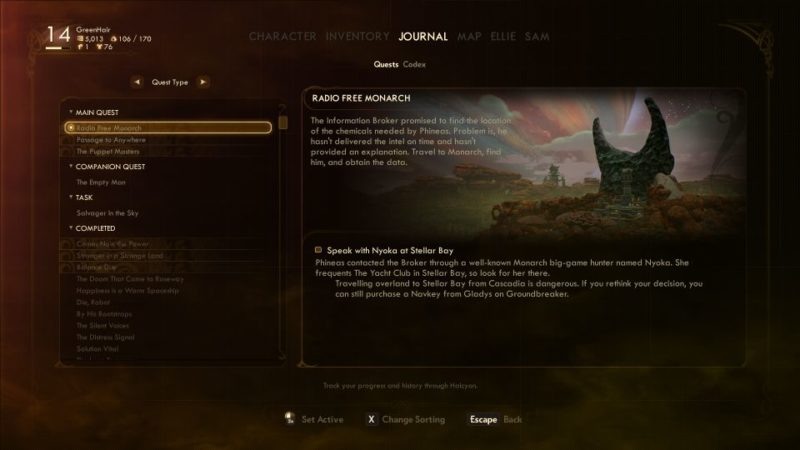
This quest begins while traveling to Monarch.
Reach Stellar Bay
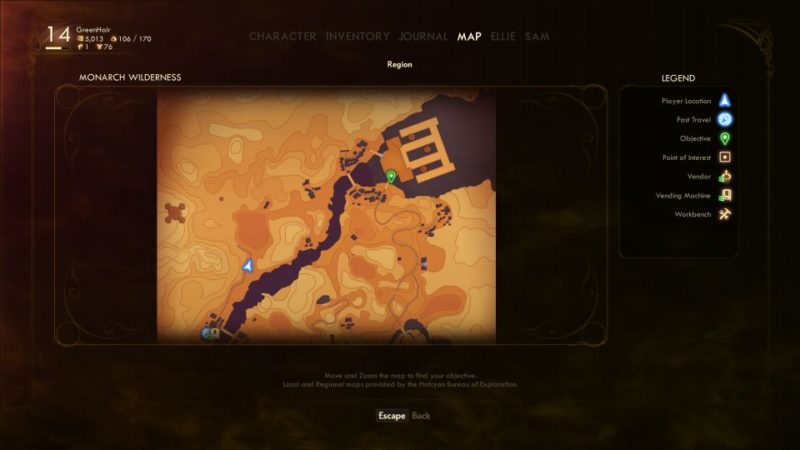
You have to get to Stellar Bay. If you had the Navkey from Gladys, then it’s so much easier.
If you chose to save on the funds instead, then you’ll need to walk all the way north to Stellar Bay from Cascadia.
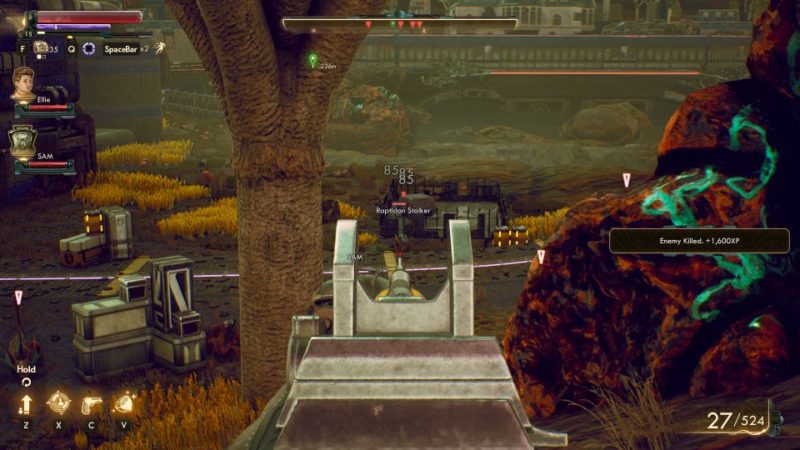
There’ll be plenty of creatures along the way, which makes the journey difficult depending on your difficulty.
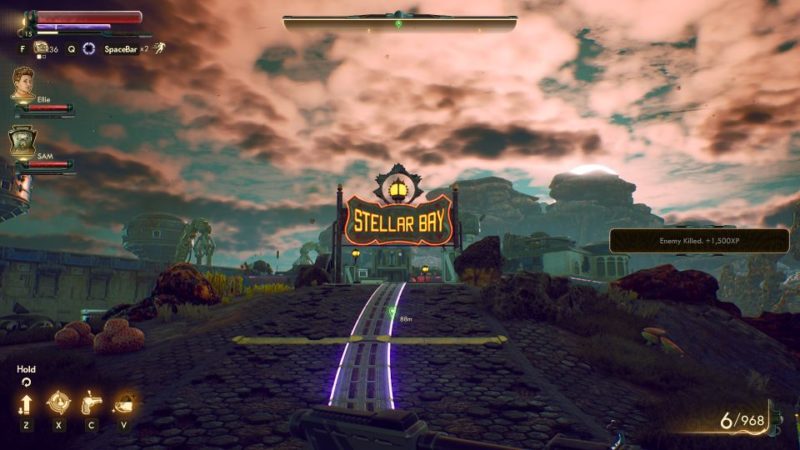
You’ll then come across the big Stellar Bay signage.
Talk to Nyoka
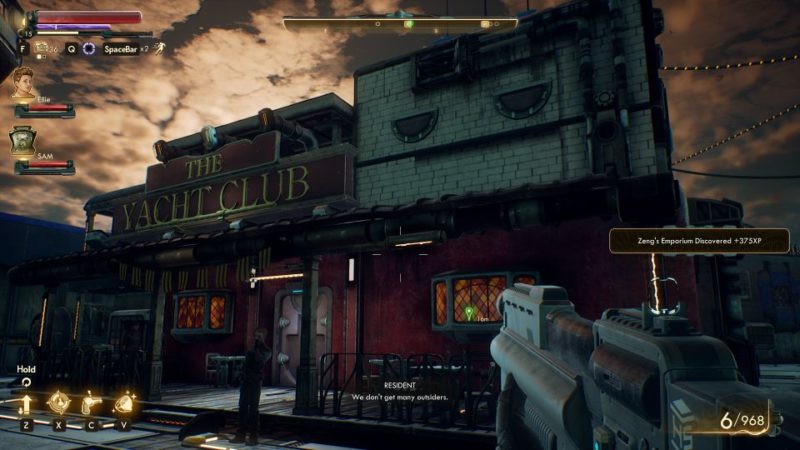
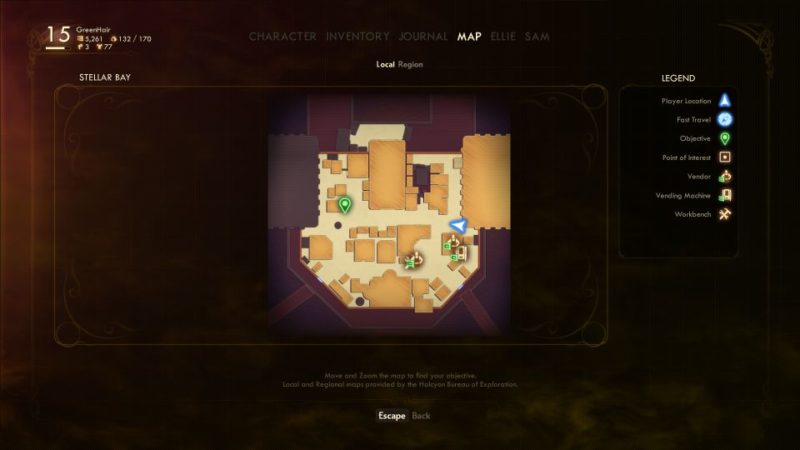
Look for Nyoka at the bar.
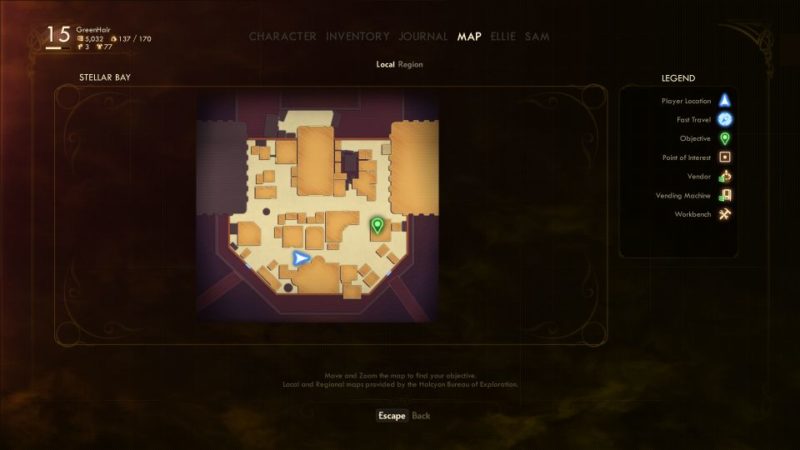
She’s in the Yacht Club.
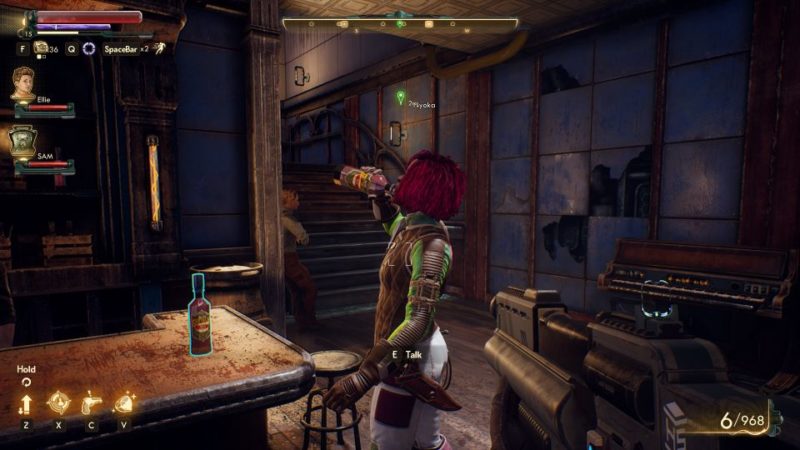
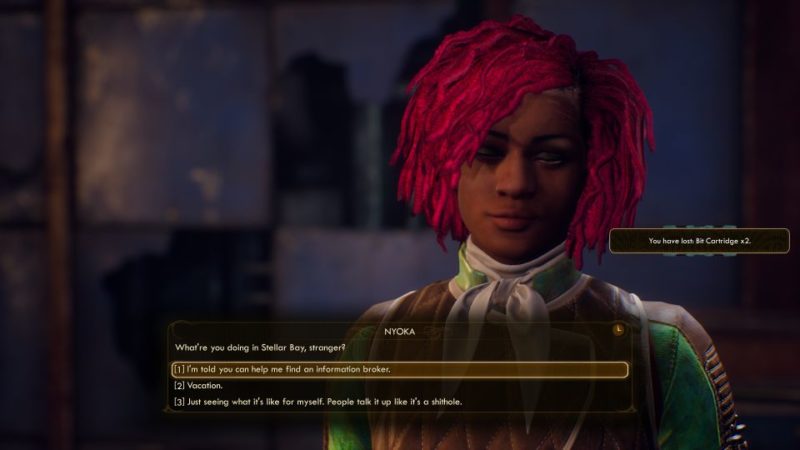
Tell her about finding an information broker.
Get Caffenoid for Nyoka
Your next objective is to get Caffenoid for Nyoka. This part overlaps with a side quest named Passion Pills.
Head over to Abigail Edwards, the one in charge of giving out medicine.
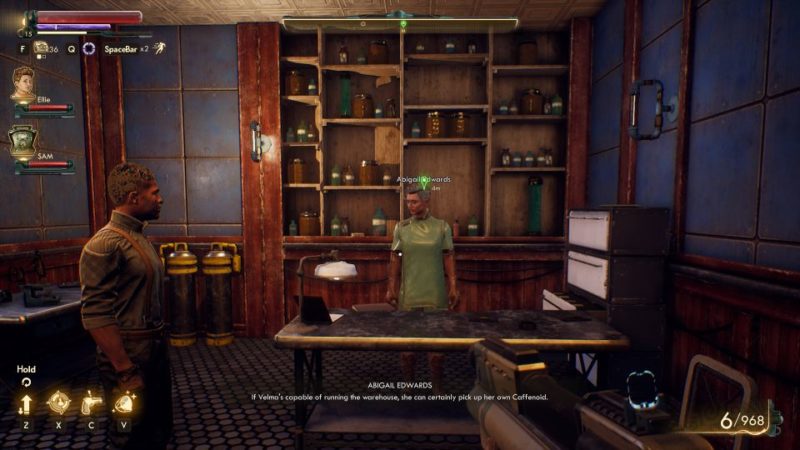
Talk to her about Caffenoid.
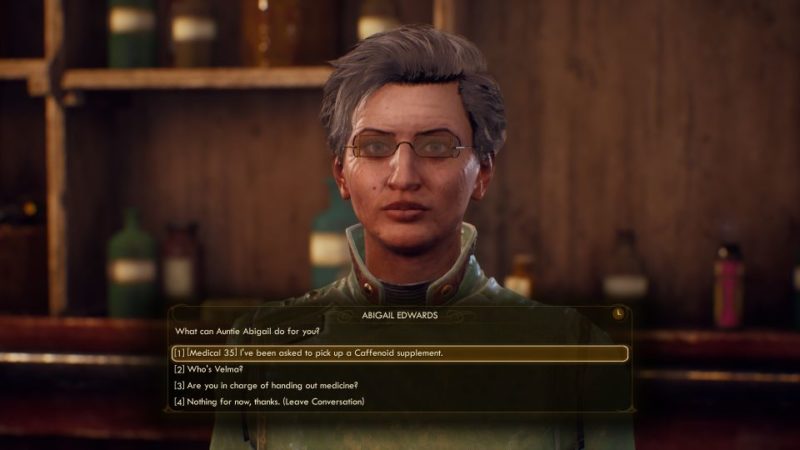
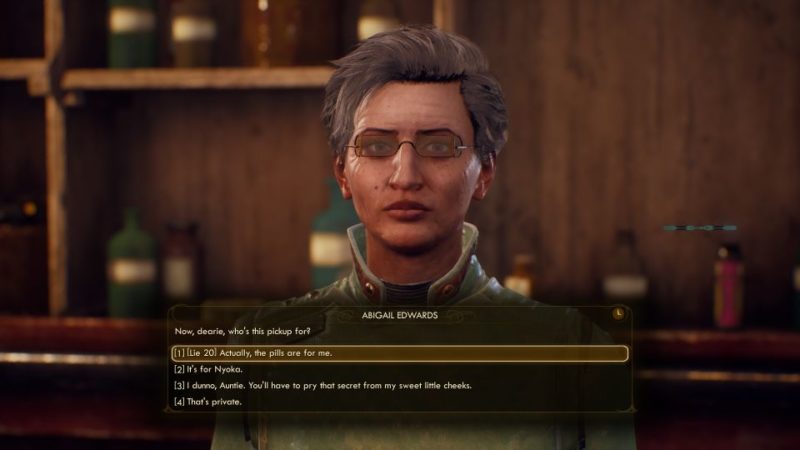
She’ll keep asking who actually needs the Caffenoid, but you’ll probably have no choice but to say Nyoka.
How to get the Caffenoid
There are a couple of ways to do this.
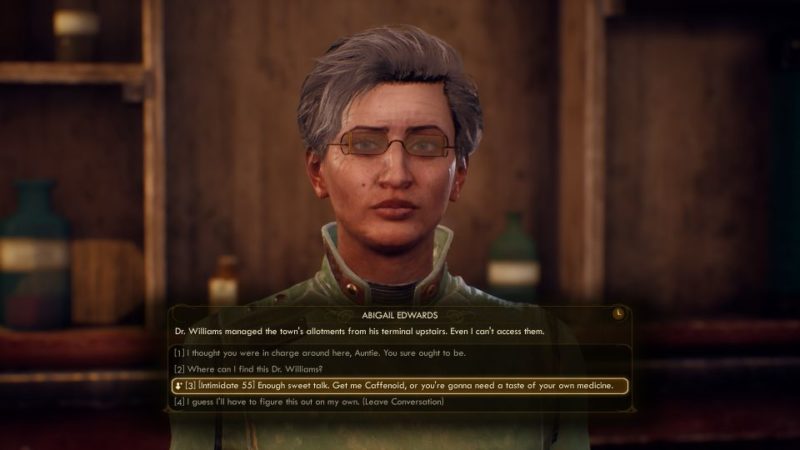
You can force her to open the door to the medicine room by intimidating her.
This will make her angry but it gets the job done.
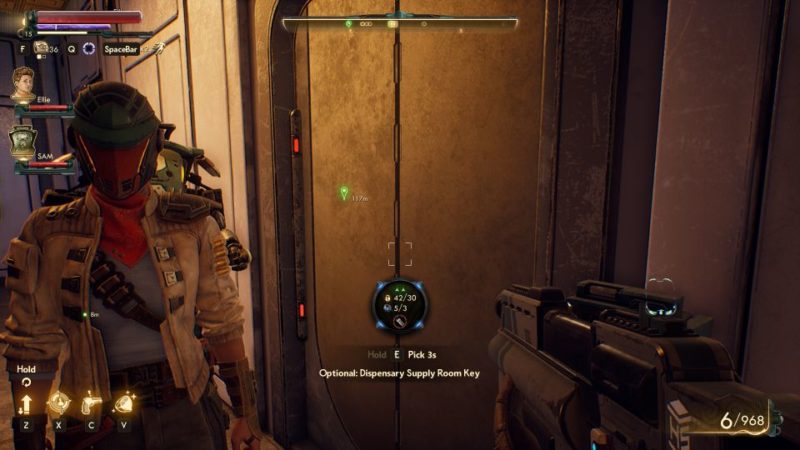
Another way is to go to the medicine room upstairs and lockpick the door yourself.
This one requires 30 lockpicking and 3 mag-picks.
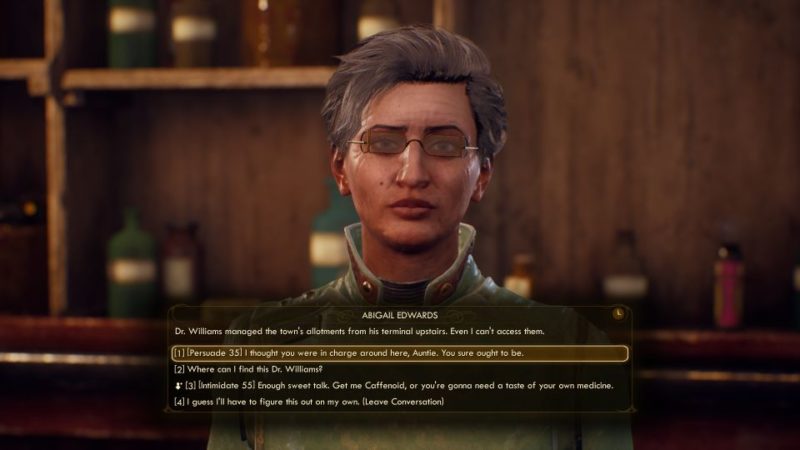
Another alternative would be to sweet talk her and she’ll tell you about Dr. Williams who has the other key to the medicine room.
Dr. Williams would be the longest way to get the room unlocked as his dead body is outside Stellar Bay.
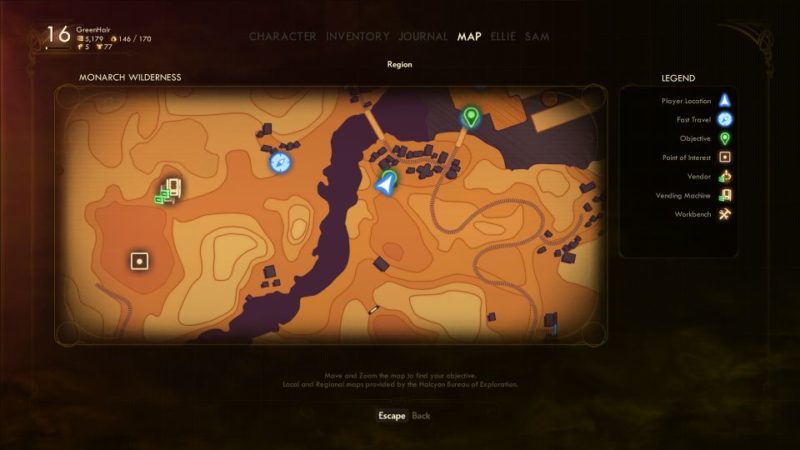
You would have to find the body, kill the creatures around him and loot the supply room key.
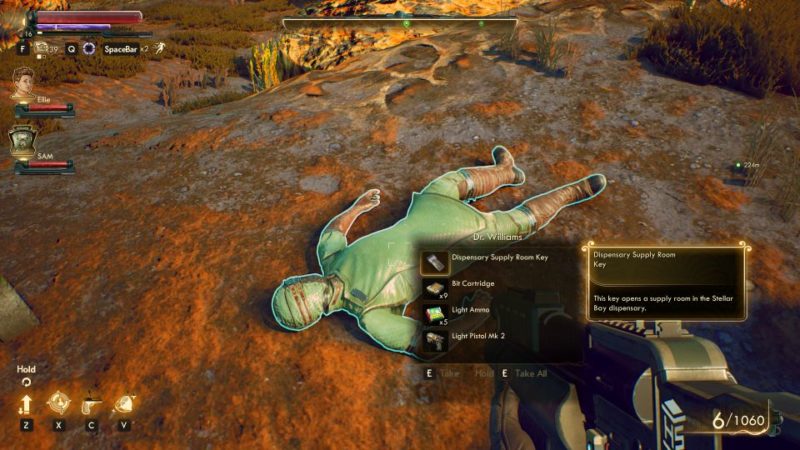
Whichever way you choose, take the Caffenoid from the shelf in the medicine supply room.
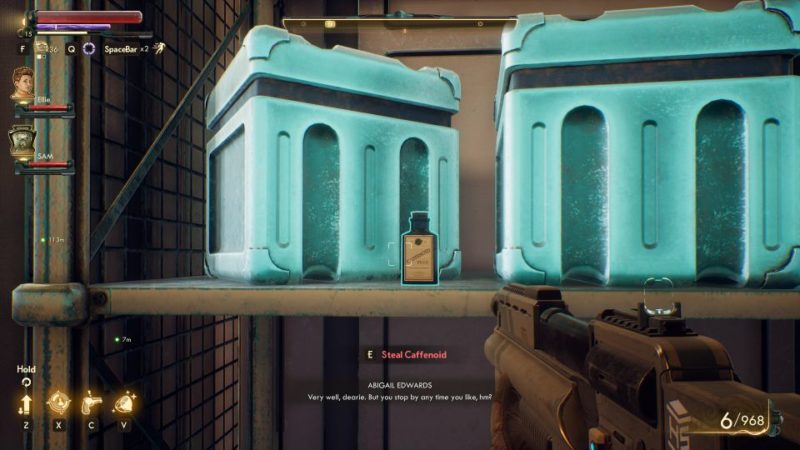
Return to Nyoka
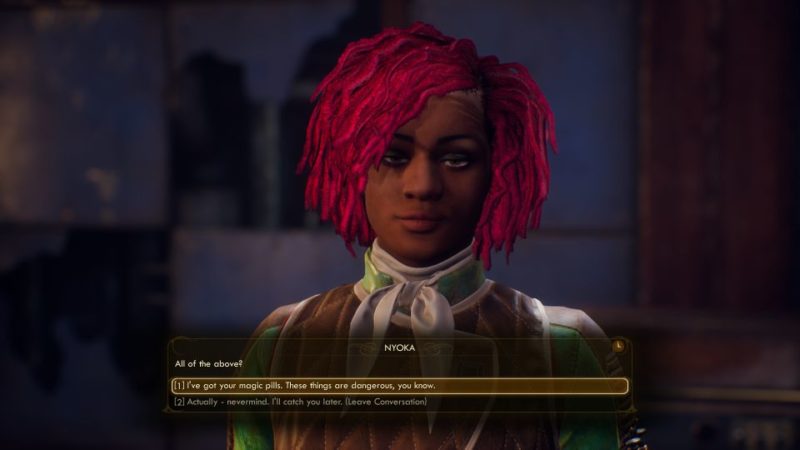
Give the Caffenoid to Nyoka.
Go to Devil’s Peak Station
Your next objective is to head to Devil’s Peak Station to meet Hiram Blythe.
It’s located south of Stellar Bay.
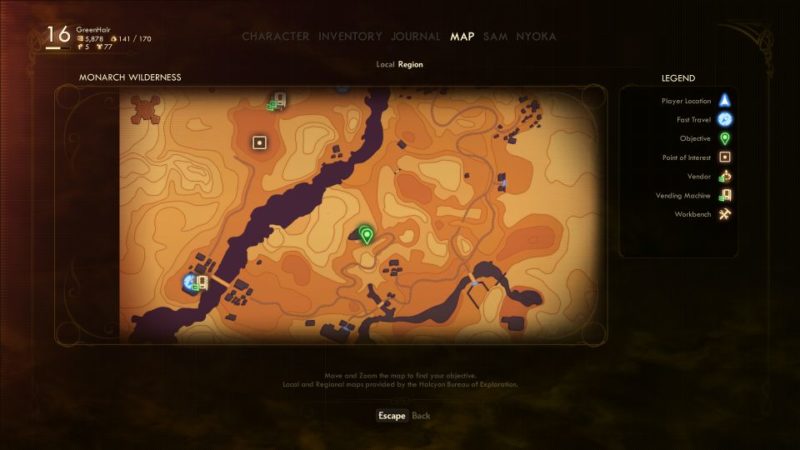
There’ll be two ways to get there, through the cavern or the hill.
The cavern is apparently the easier option with easier creatures to handle.
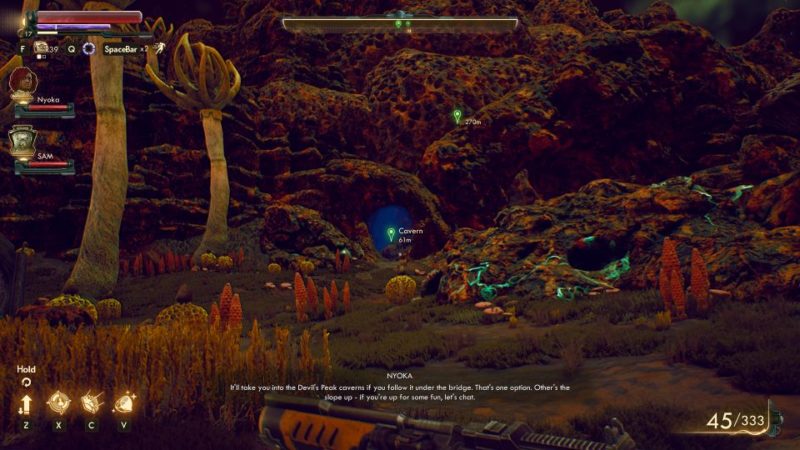
We chose the cavern route.
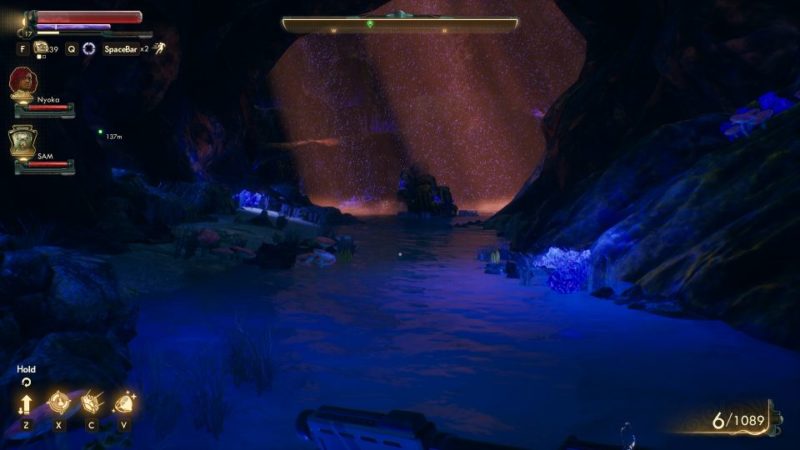
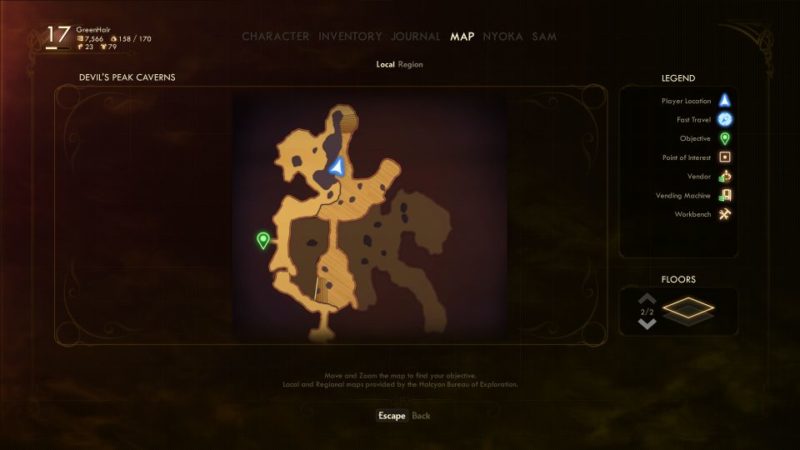
You need to find the bridge up to the exit, as shown in the map.
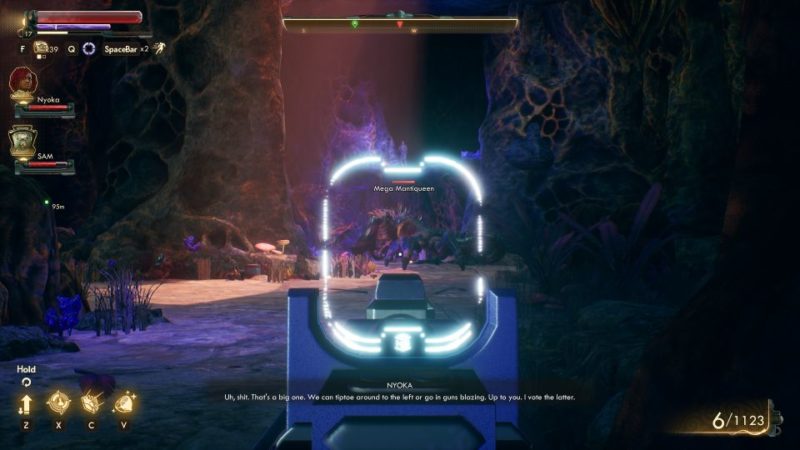
Along the way, you’ll come across a Mega Mantiqueen. You can avoid it by tip-toeing at the side, but if you do fight it, you will unlock a side quest.
Keep going until you see the exit.
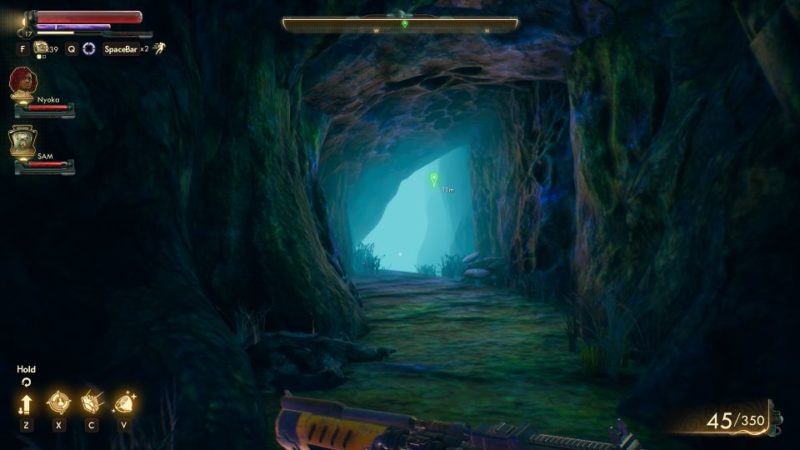
Finally, you’ll see the Devil’s Peak Station.
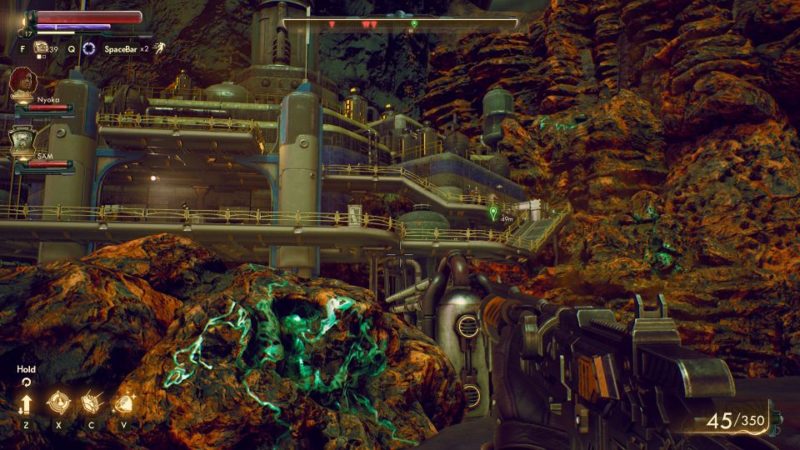
Clear out the marauders
There will be plenty of marauders outside the station. Clear the area.
Once the area is secure, enter the station.
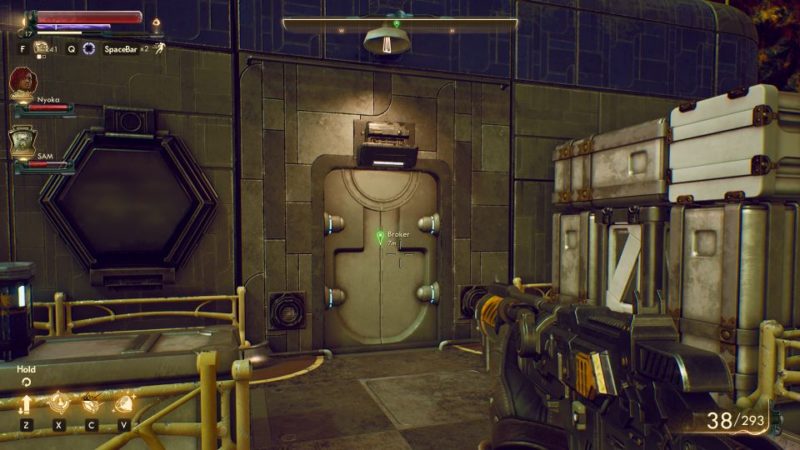
There’ll be more marauders inside the station itself. Secure the area.
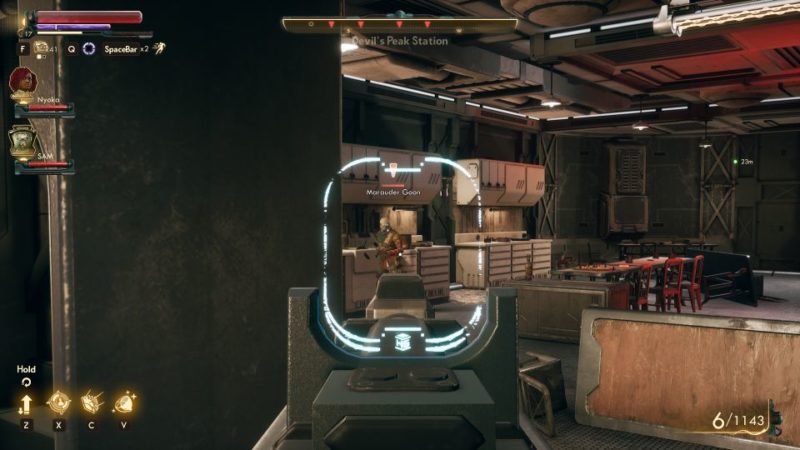
Go until you reach a comms device to talk to Hiram.
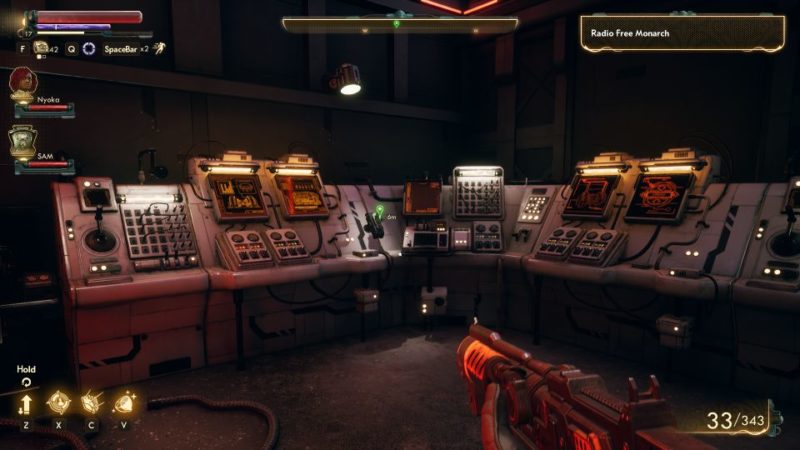
Look for Hiram Blythe
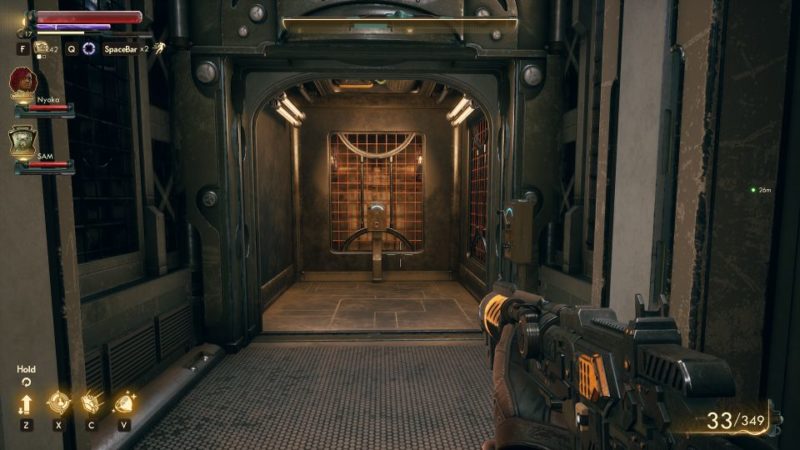
Continue finding a way up. You can use the elevator.
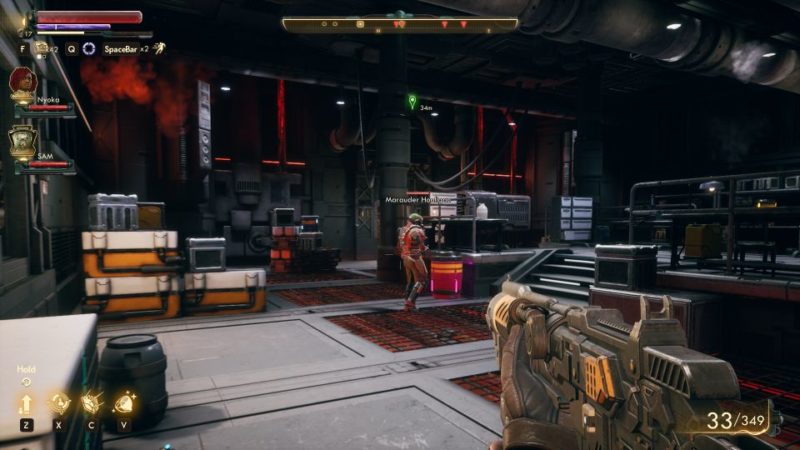
Continue killing the marauders as you look for Hiram.
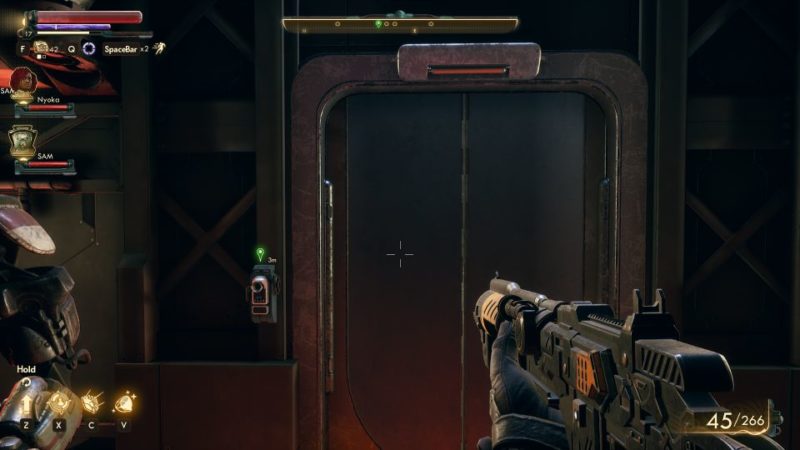
Finally, you’ll reach the door to Hiram. Use the comms to communicate with him.
Hiram will ask for your help to ask both Sanjar of MSI and Graham of Iconoclasts to stop broadcasting on the radio.

Ask Sanjar to stop broadcasts
You can ask either Sanjar or Graham first. It doesn’t matter.
You can find Sanjar at the main building of Stellar Bay.
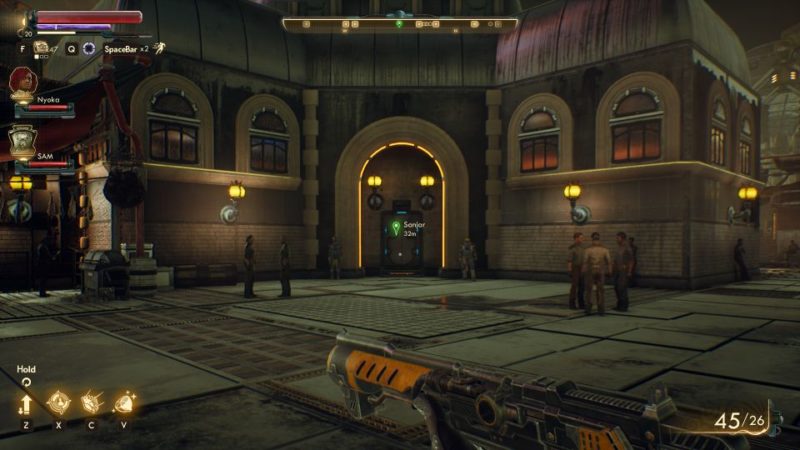
To get him to stop, you need to complete the following side quests:
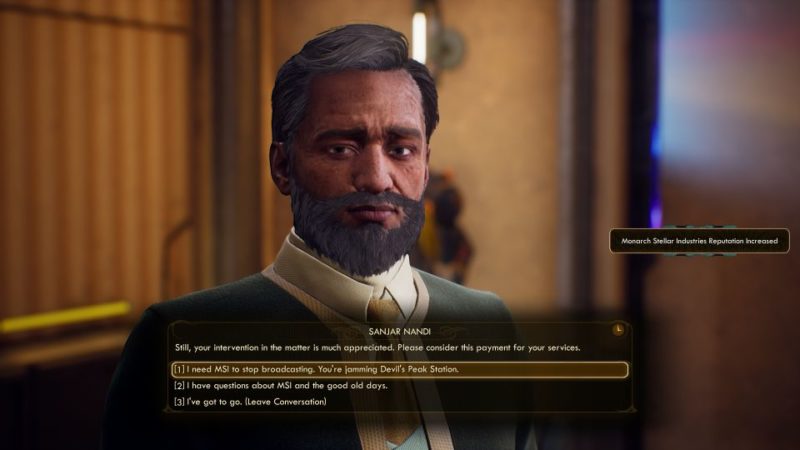
Ask Graham to stop broadcasts
Next, get to Amber Heights to meet Graham.
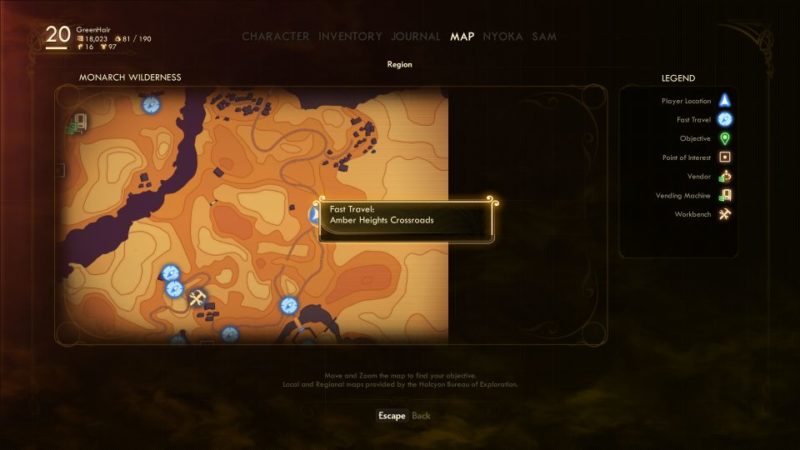
You’ll find him in the upper floor of the main building.
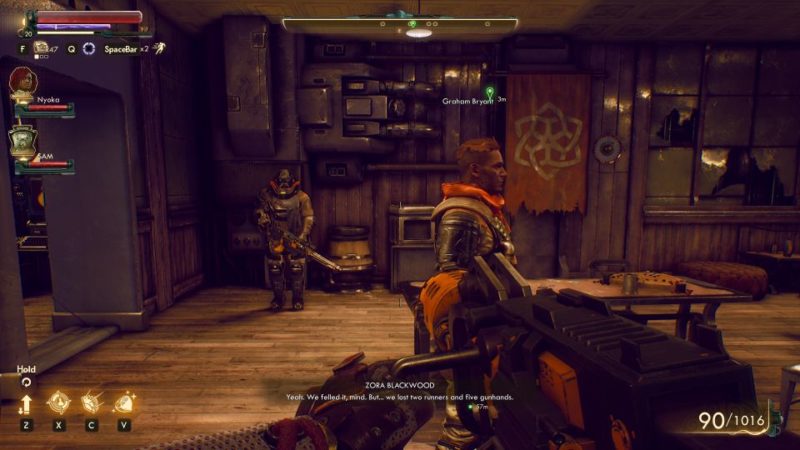
Similarly, he’ll require you to complete two side quests before he can stop broadcasts:
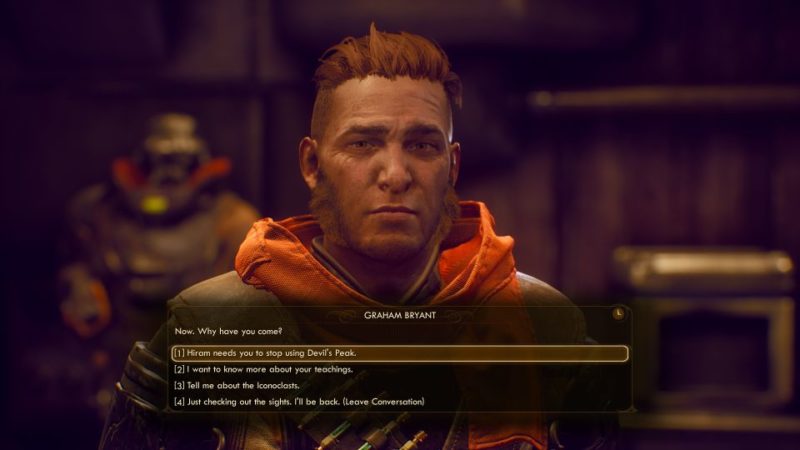
Return to Hiram
Once you’ve convinced both Graham and Sanjar to stop, return to Hiram Blythe at Devil Peak’s Station.
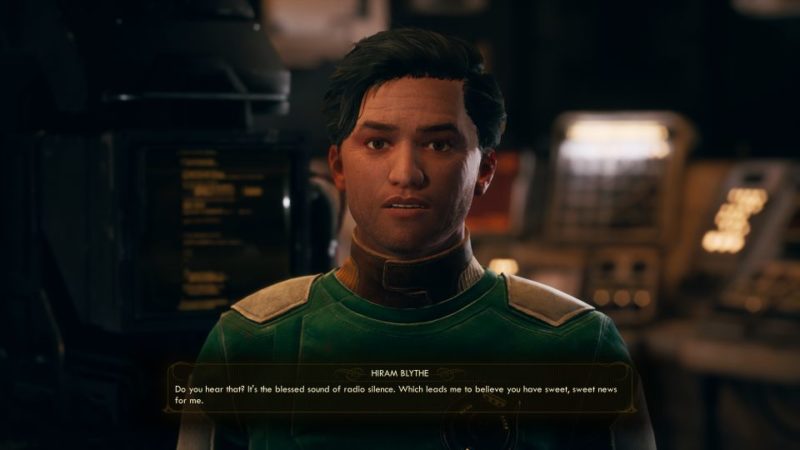
He’ll ask you to fix something first.
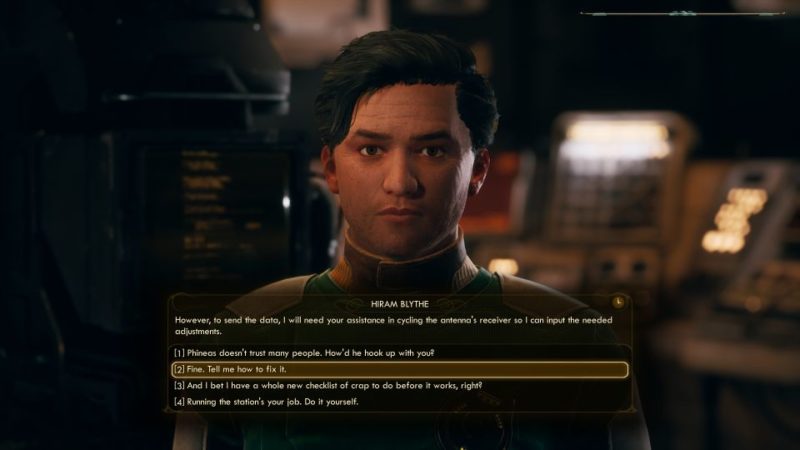
Use the relay
All you need to do is to go out of the station and find the lever.
Turn the lever to use the relay.
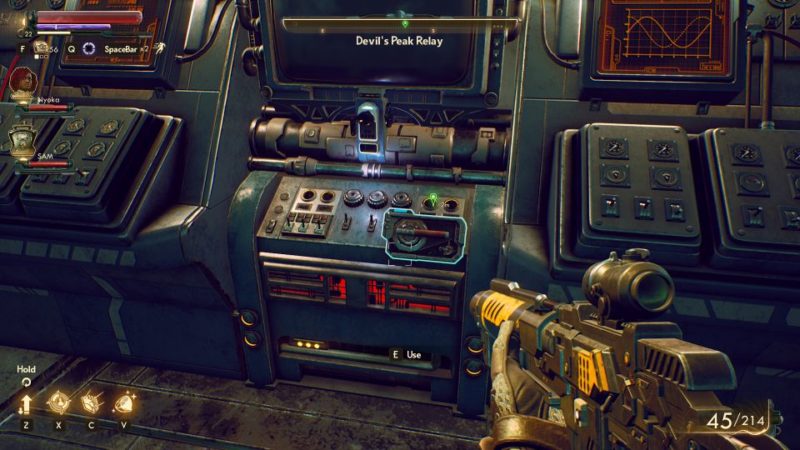
Meet Phineas
Next, fly to Phineas’ Lab to meet Phineas.
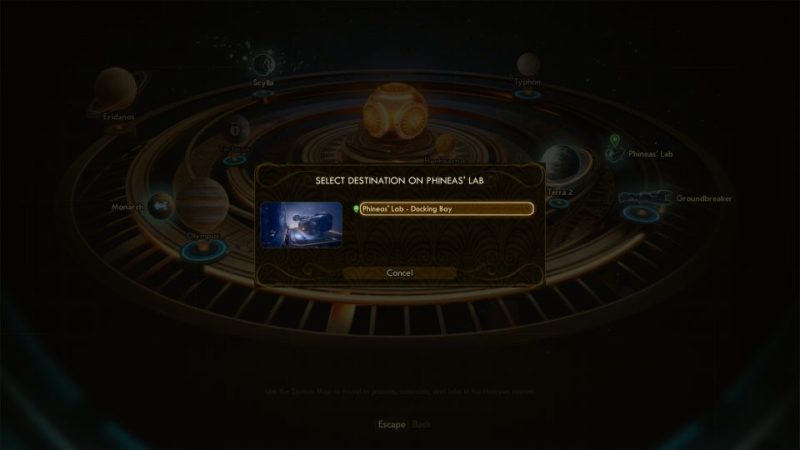
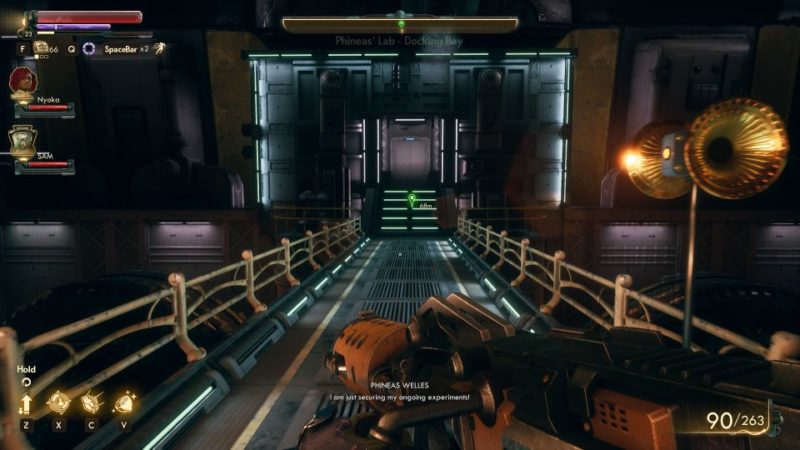
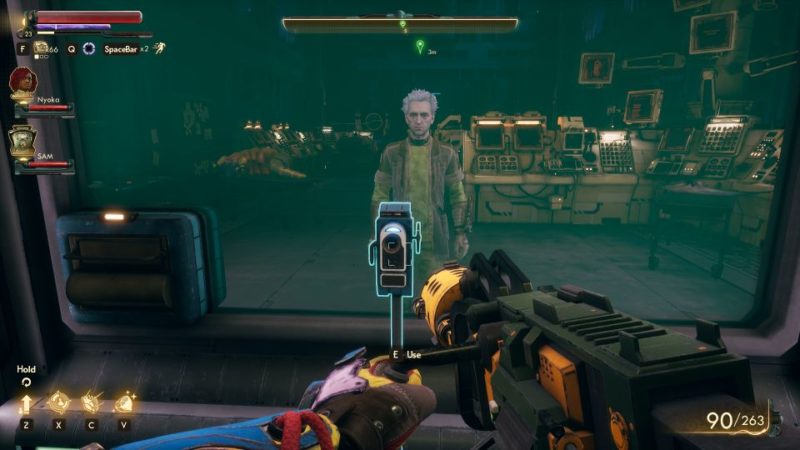
Talk to him via the comms and the quest completes here. You’ll be asked to go to Byzantium.
Related articles:
Cupid Of The Laboratory: The Outer Worlds Walkthrough
At Central: The Outer Worlds Walkthrough
Slaughterhouse Clive: The Outer Worlds Walkthrough
A Family Matter: The Outer Worlds Walkthrough
Canid’s Cradle (Sanjar Or Graham): The Outer Worlds