Horse Lake Nero Checkpoint is one of the side missions in Days Gone.
Your task is to restore power to the generator at the Nero checkpoint.
Here’s a walkthrough of Horse Lake Nero Checkpoint in Days Gone.
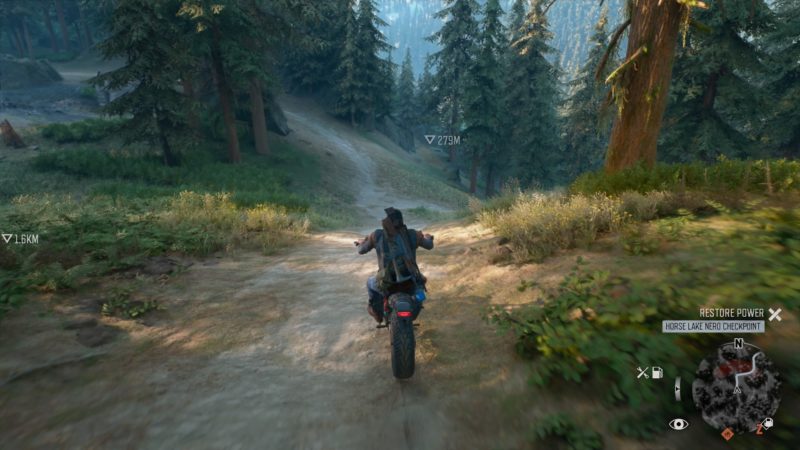
Get to the checkpoint
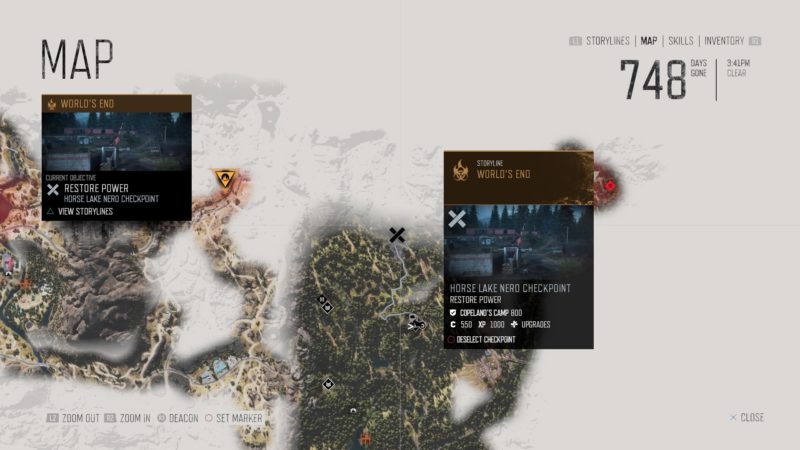
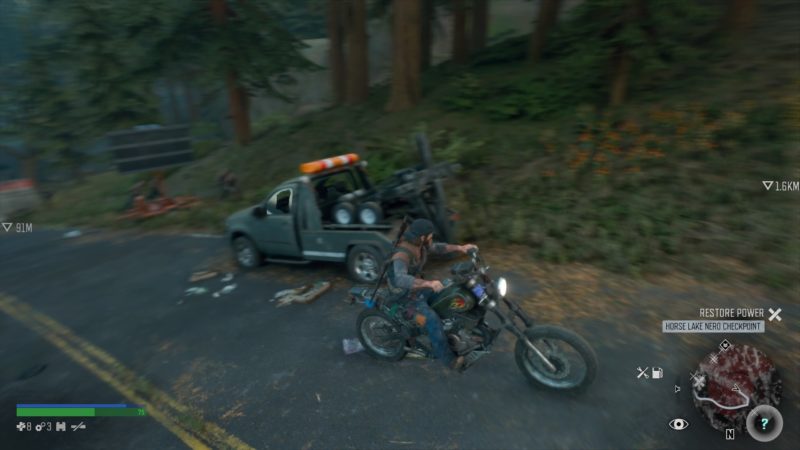
Your first objective is to reach the checkpoint. It’s located just north of O’Leary Mountain safehouse, as shown in the map below.
Find a way to start the generator
Your main mission is to start the generator.
Be careful of the abandoned train carriages. One of them has a freaking horde inside of it. If not careful, they’ll all chase after you.
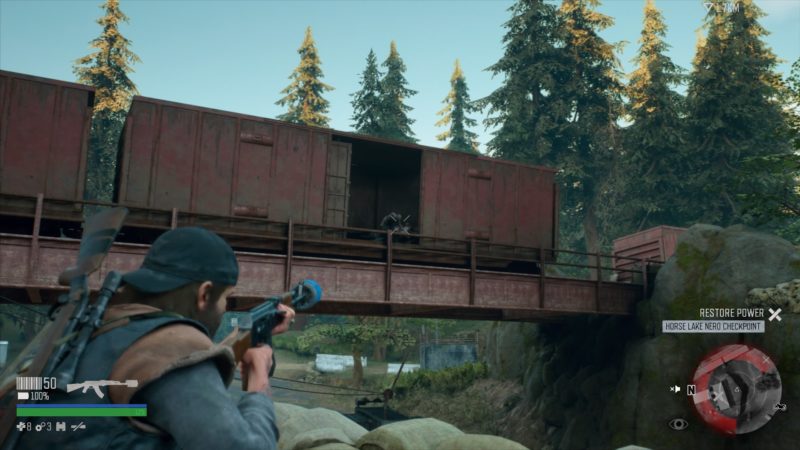
Kinda like what happened to me.
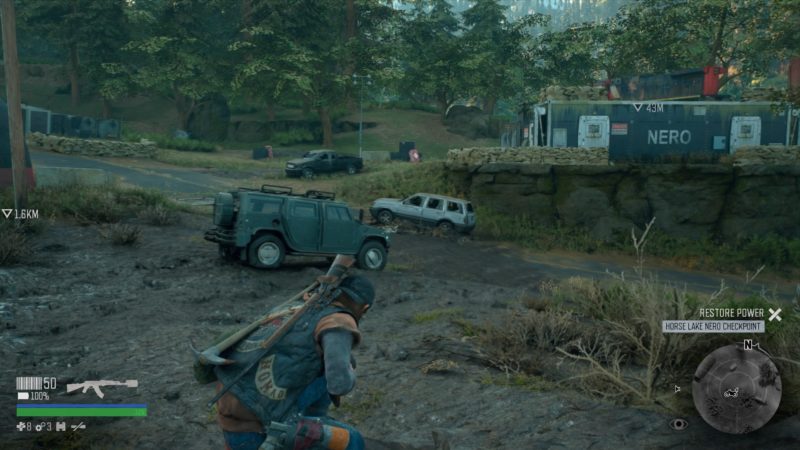
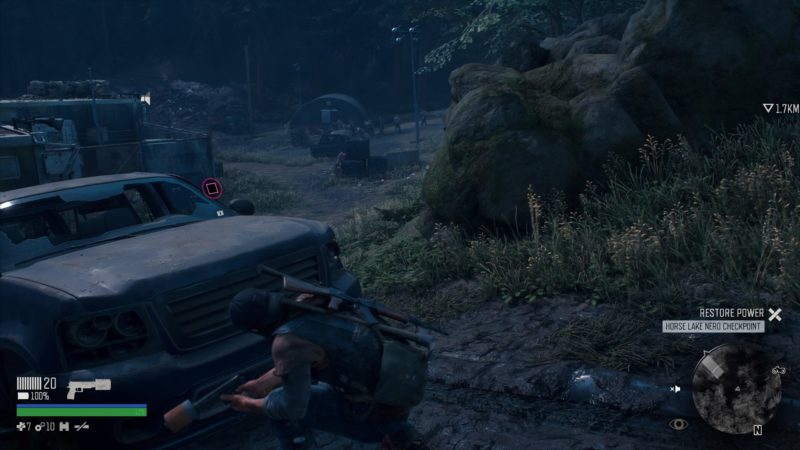
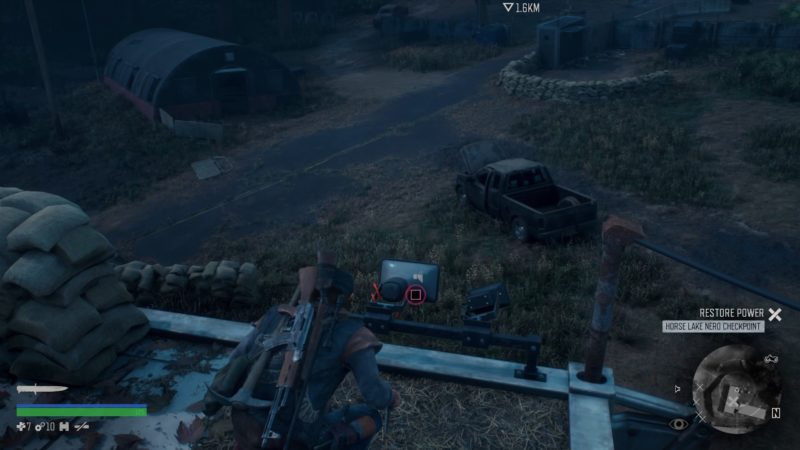
Horde aside, you need to get into the compound to reach the generator.
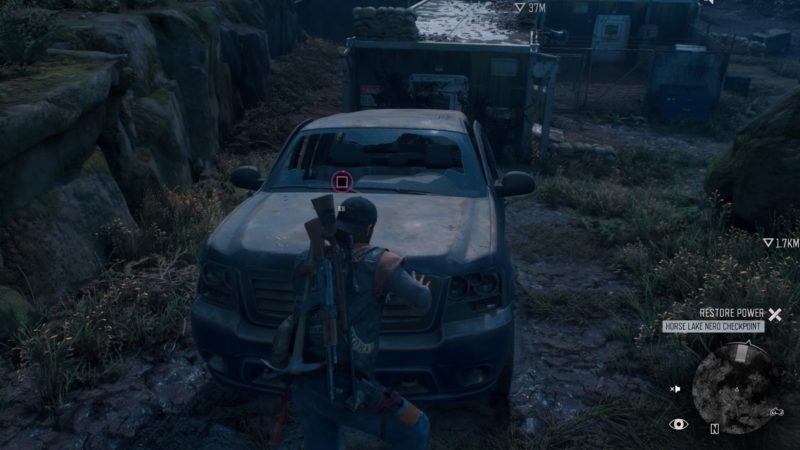
Push the vehicle
Get to the vehicle at the left side of the building. Push it until it’s really close to the building.
After pushing it for awhile, you may notice the horde all coming out.
Just let them be while you push quietly. There may be marauders passing by once in awhile, grabbing the attention of the freakers.
Now, you’ll have a way to the rooftop and eventually to the generator.
Disable all alarms / loudspeakers
If you start the generator, the alarms will sound and the horde will come.
Disable all three alarms. I made the mistake of disabling only two.
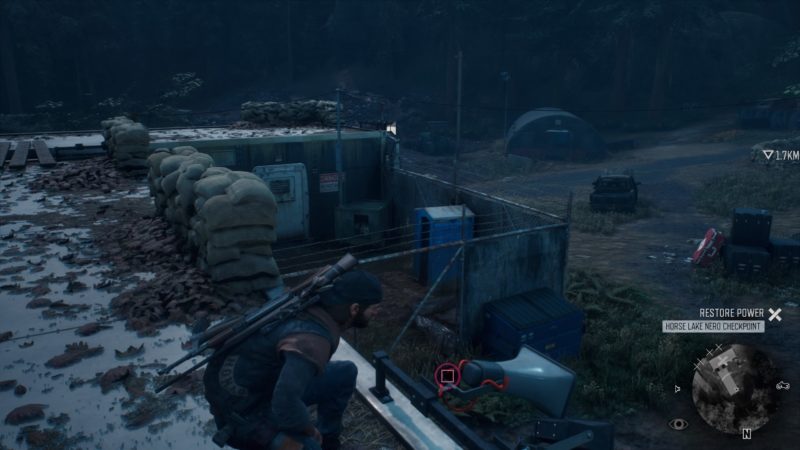
There are two of these loudspeakers / alarms on the rooftop. The third one is hidden elsewhere, maybe on a pole.
Refuel the generator
After disabling the alarm, find fuel. Get to the train tracks and there’s a fuel can just nearby.
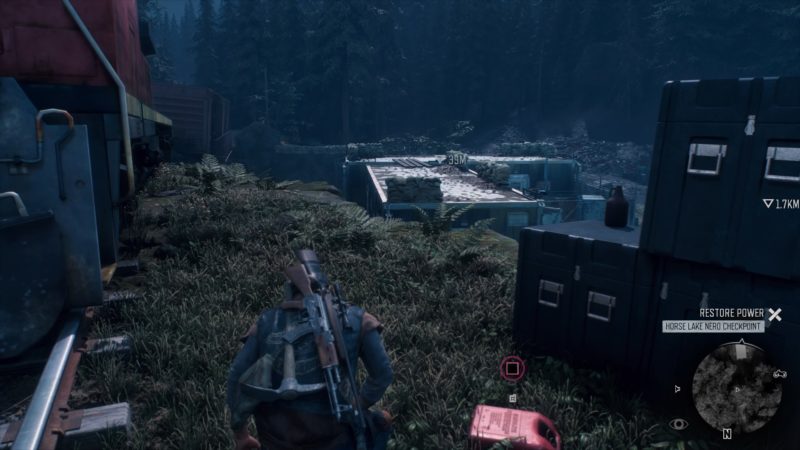
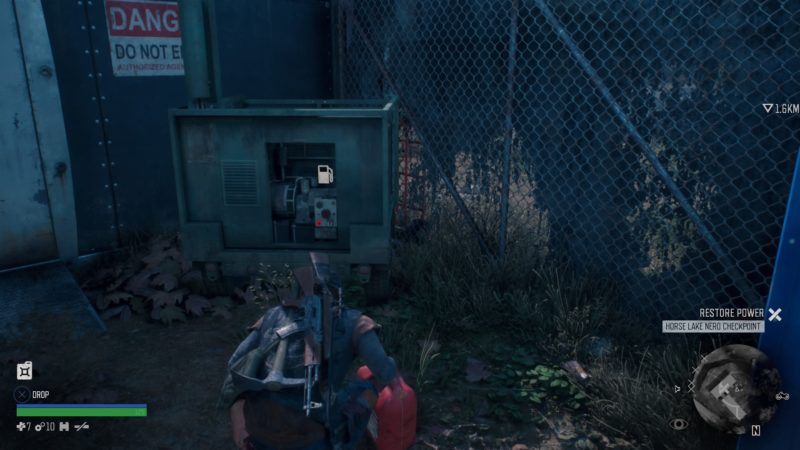
Grab the fuel can, climb onto the car and eventually to the rooftop. From the rooftop, jump to the compound and refuel the generator.
Once it’s ready, start the generator.
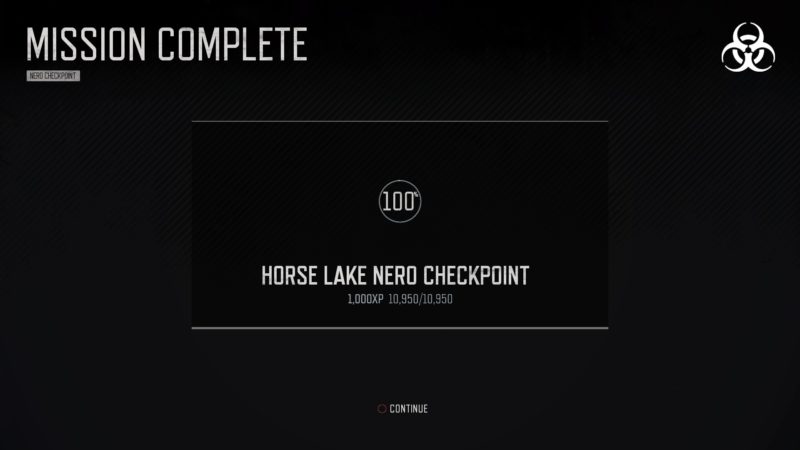
Enter the building and you’ll find some items. The best item is probably the NERO injector that gives you a permanent stat boost.

The mission completes here. You’ll get 1,000 XP for this.
Related articles:
Searching For Something: Days Gone Walkthrough
Nice And Bloody: Days Gone Walkthrough
Price On Your Head – To Choose Tucker Or Copeland: Days Gone