Horn of Plenty is a mission you will encounter in Tom Clancy’s Ghost Recon: Breakpoint.
Your task is to help Shelby of Polymorph Modeling get some components back.
This is a walkthrough of Horn of Plenty in Ghost Recon: Breakpoint.
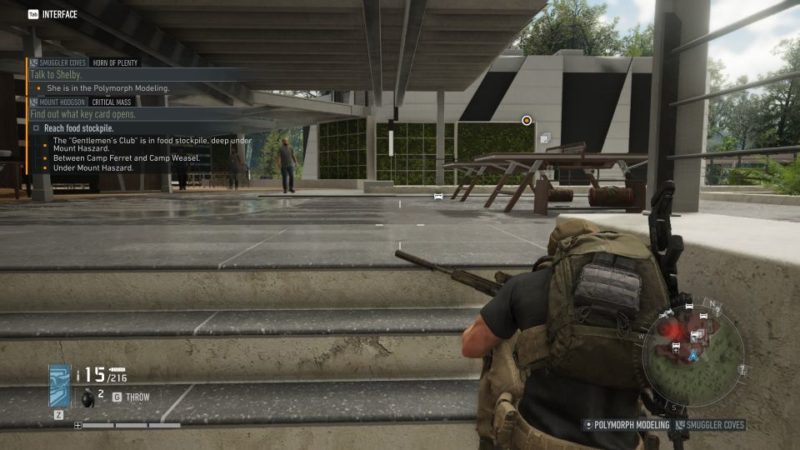
Reach Polymorph Modeling
Your first objective is to head to Polymorph Modeling which is within Smuggler Coves.
The exact location is shown in the map below.

You should see a couple of enemies in the building but most of the NPCs here are friendlies.
Go upstairs and speak to Shelby.
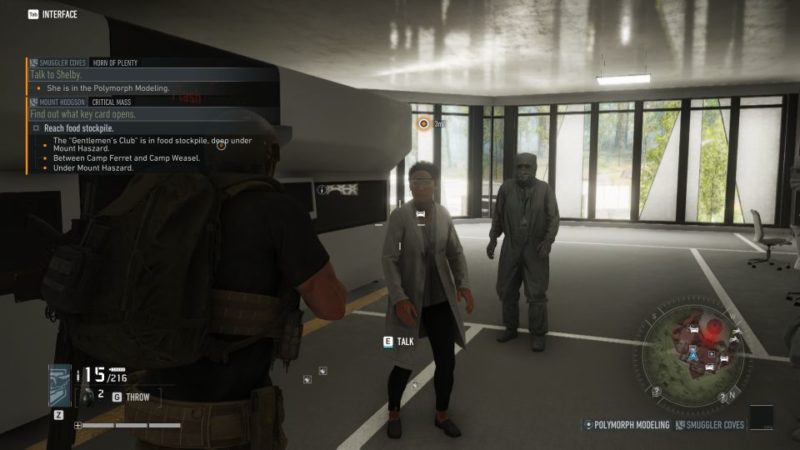
You’ll be asked to get some items back from the Sentinels.
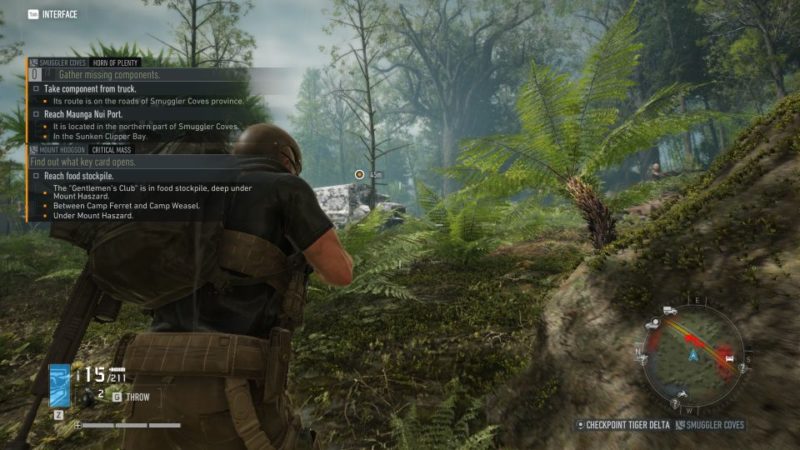
Gather component from truck
The first one is to find the truck. It will be traveling on the main road of Smuggler Coves.
Below is where I found the truck. It won’t stop for you and you’ll have to chase after it.
After killing the enemies inside the truck, head to the back of the truck and grab the component.

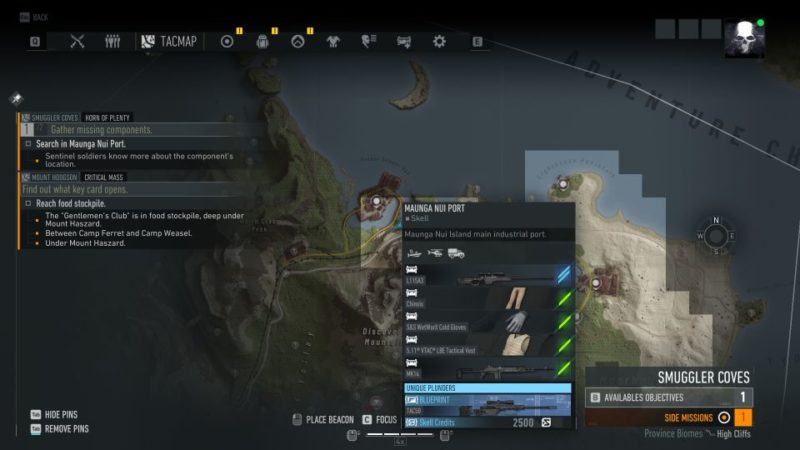
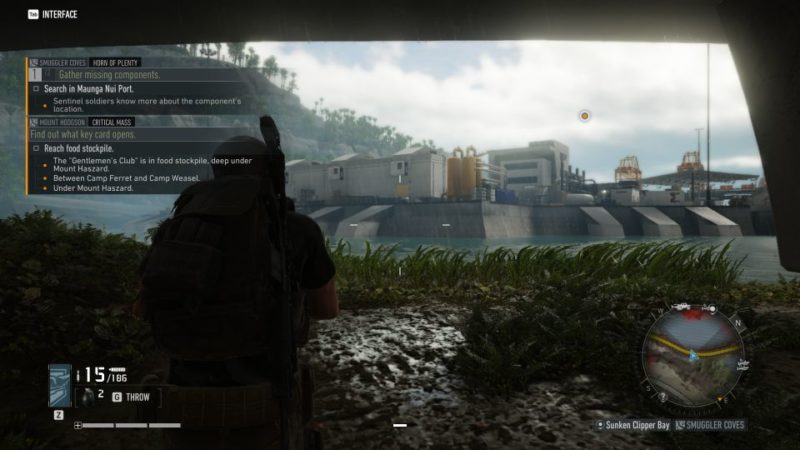
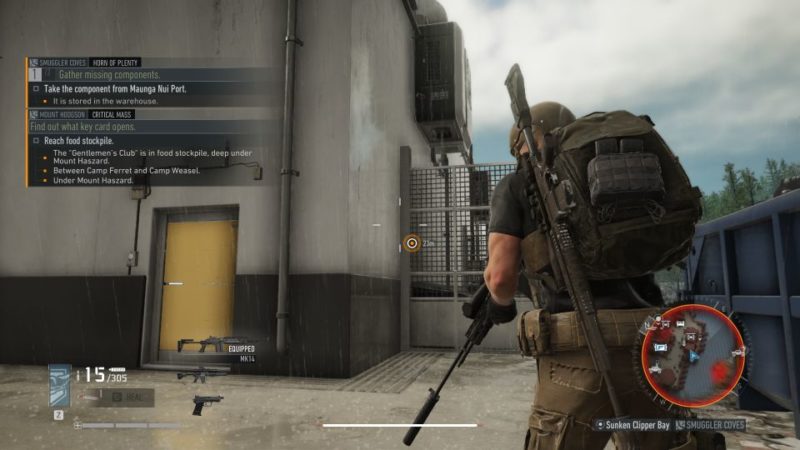
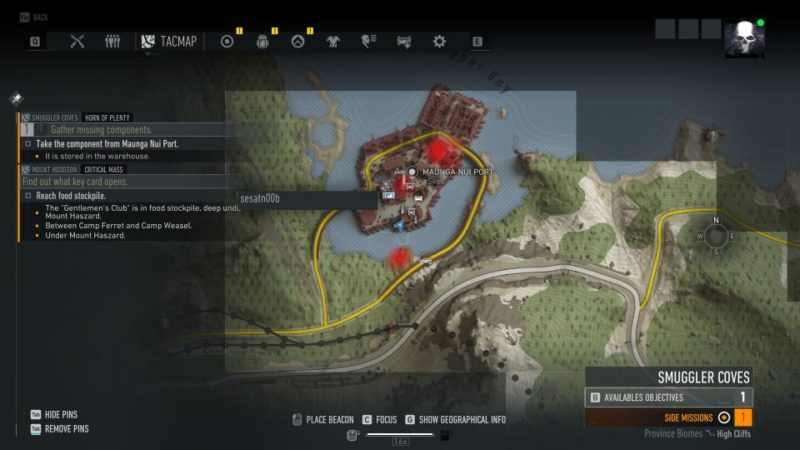
Search in Maunga Nui Port
Next, head to Maunga Nui Port which is in the northern area of Smuggler Coves. The location is as shown below.
The whole area is heavily guarded, but you can kill all of them if you wish to.
You need to target soldiers with the intel symbol on their head. Shoot the legs until they can’t move.
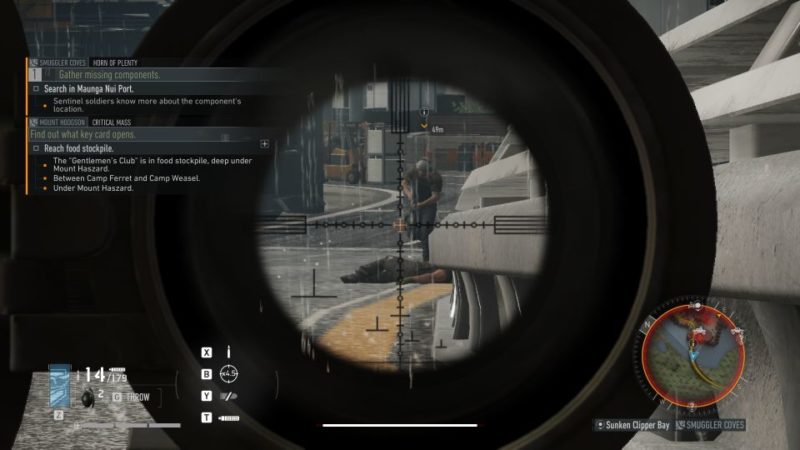
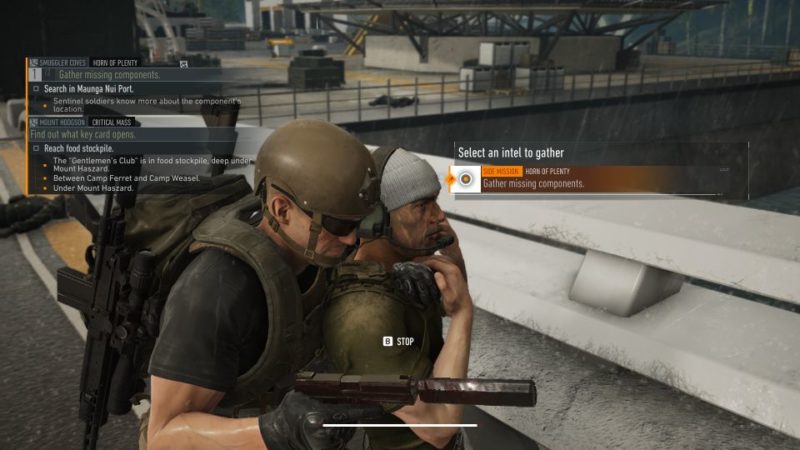
Grab the soldier and interrogate him to get the intel.
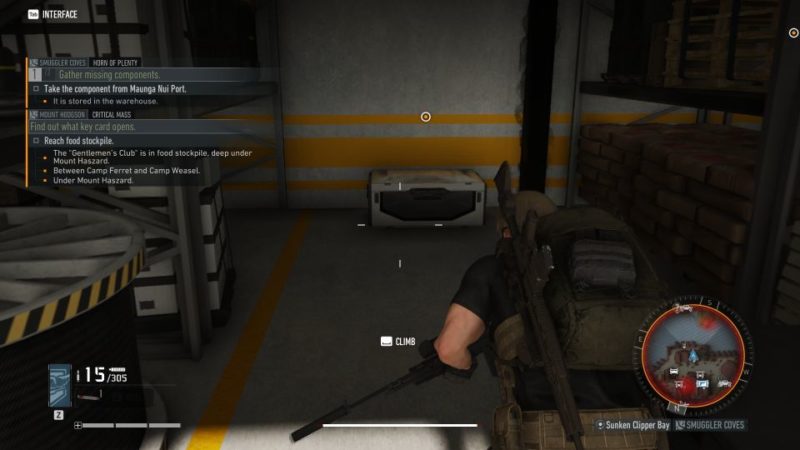
Enter the warehouse
You’ll get intel that the item is in the warehouse. Head into the nearby building.
The exact location of the warehouse is shown below, marked by the player location in blue.
Open the chest to get the component.
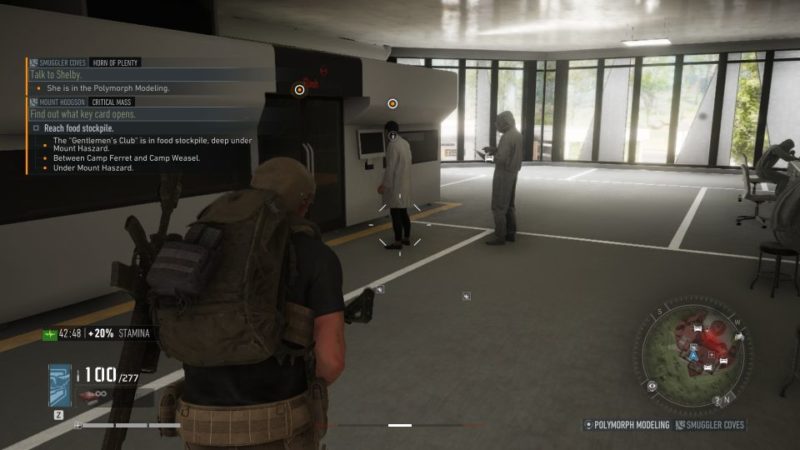
Return to Shelby
Go back to the Polymorph Modeling building to speak with Shelby.
She’ll ask for additional help.

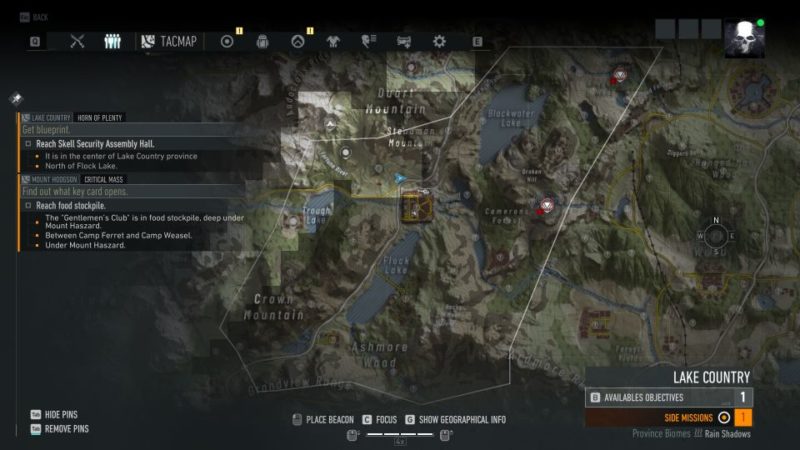
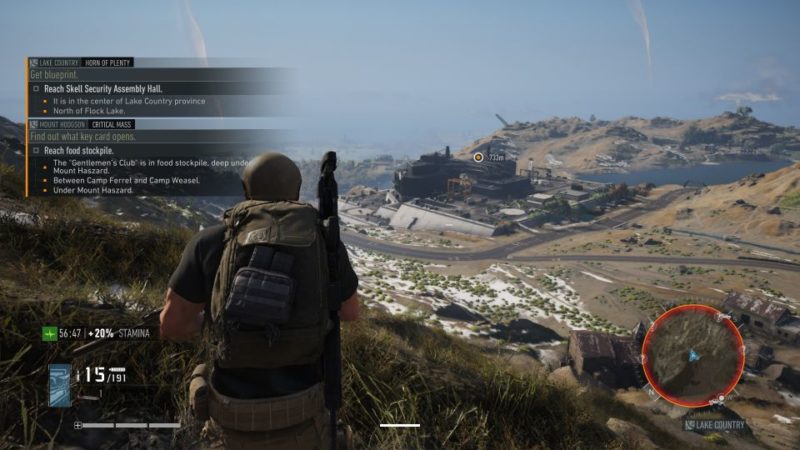
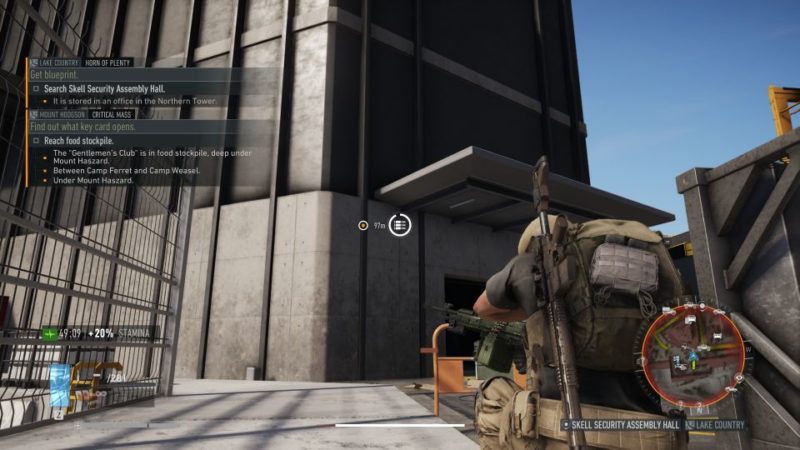
Reach Skell Security Assembly Hall
This time, you need to get to the assembly hall. It’s in the middle of Lake Country province.
The exact location is shown in the map below, marked by the player location.
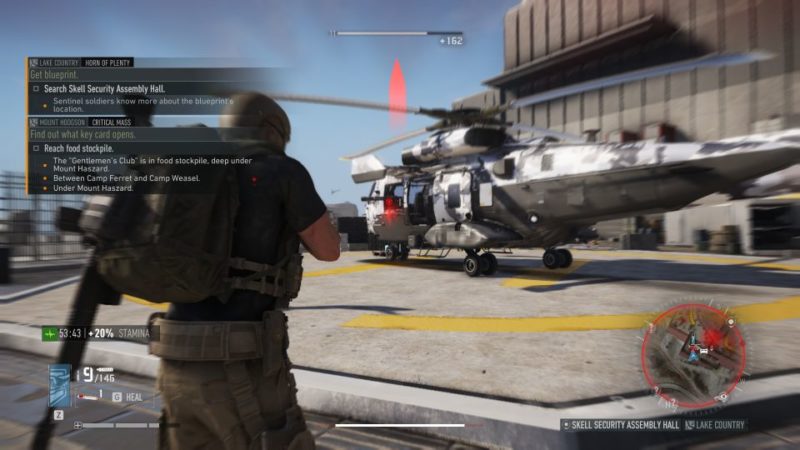
You should see a compound with some buildings inside of it (image below).
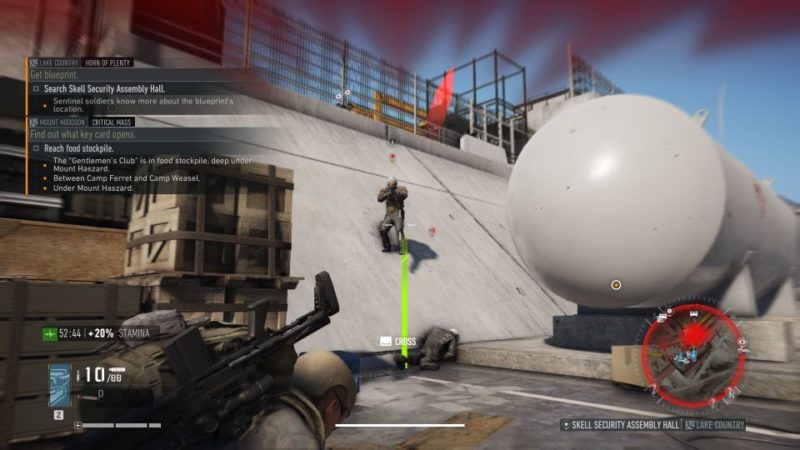
Gather intel
Get inside and once again target the Sentinels who have intel by shooting at their leg.
It will probably alert the rest. Take them all out.
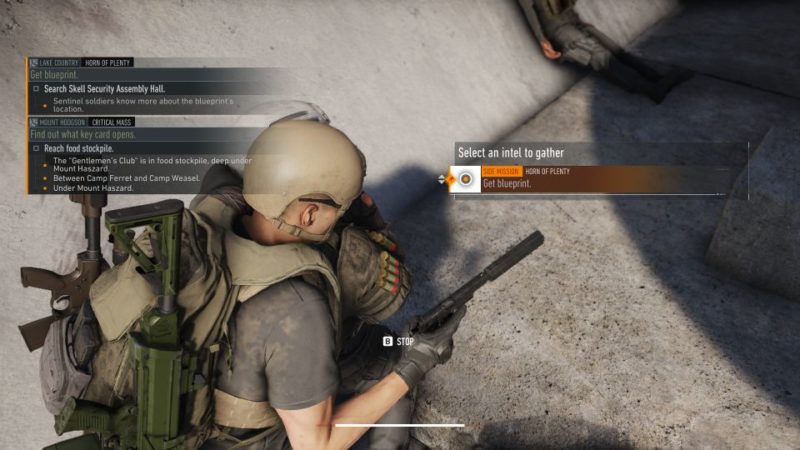
Once the Sentinel is down, grab him and interrogate him to get intel.
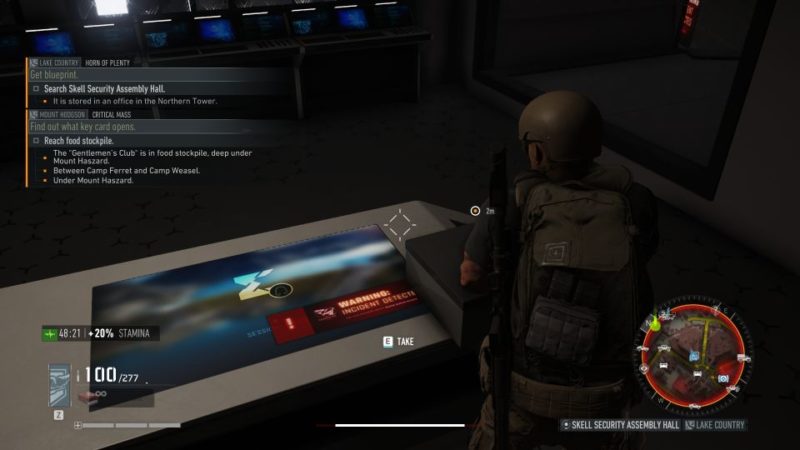
Enter the Northern Tower
Head to the Northern Tower to find the blueprint.
You’ll see it near a screen.
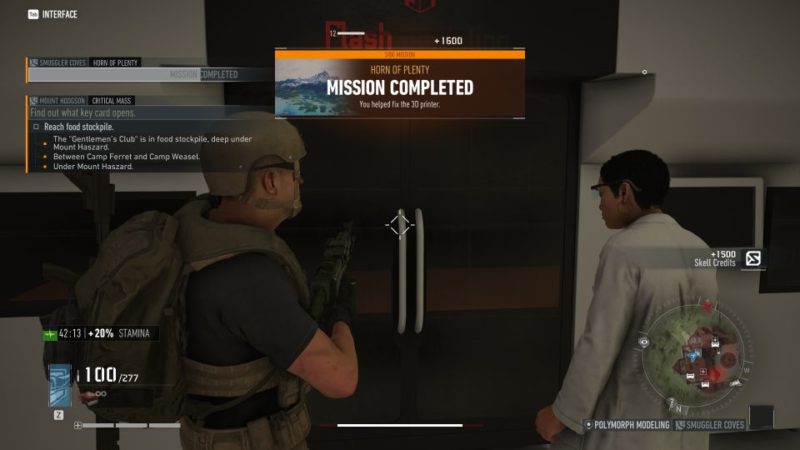
Talk to Shelby
Head back to Polymorph Modeling to talk to Shelby.
The mission ends here. You will earn Skell Credits as reward.
Related articles:
The Enemy Of My Enemy: Ghost Recon Breakpoint Walkthrough
Weapons Of Revenge: Ghost Recon Breakpoint Walkthrough
A New Perspective Walkthrough: Ghost Recon Breakpoint
Back To The Basics: Ghost Recon Breakpoint Walkthrough
One Man’s Hell: Ghost Recon Breakpoint Walkthrough