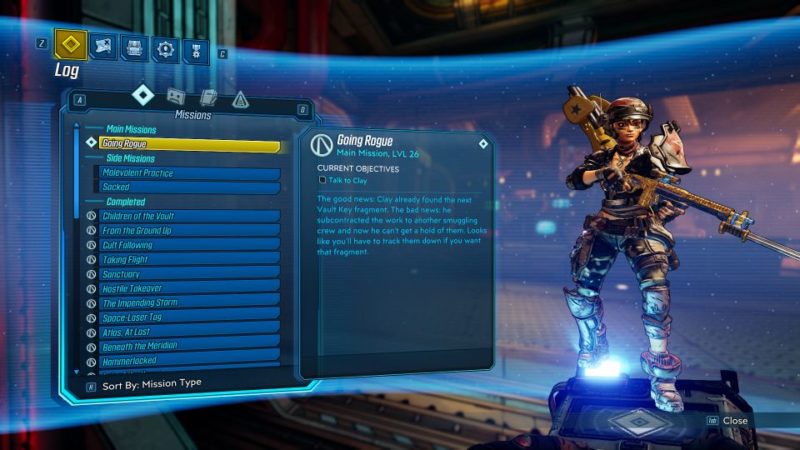
Going Rogue is a main mission in Borderlands 3 which starts on the planet of Eden-6.
Your task is to look for the next vault fragment by getting help from Clay.
Here’s a walkthrough of Going Rogue in Borderlands 3.
This mission is recommended for level 26 and above.
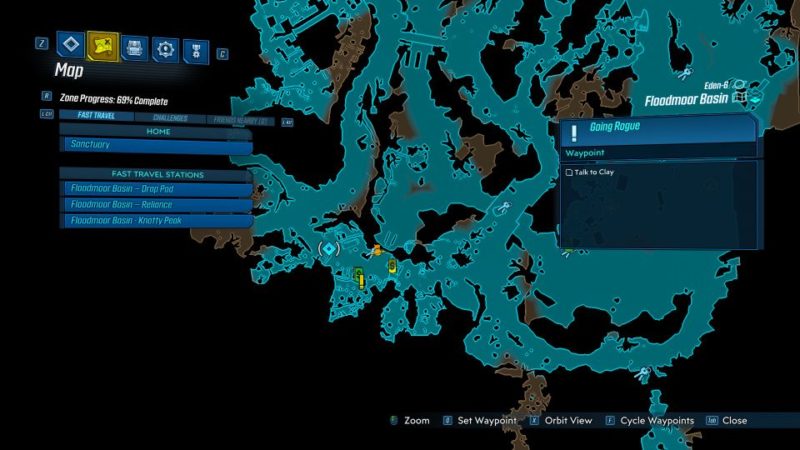
Talk to Clay
Your first objective is to speak to Clay at Reliance.
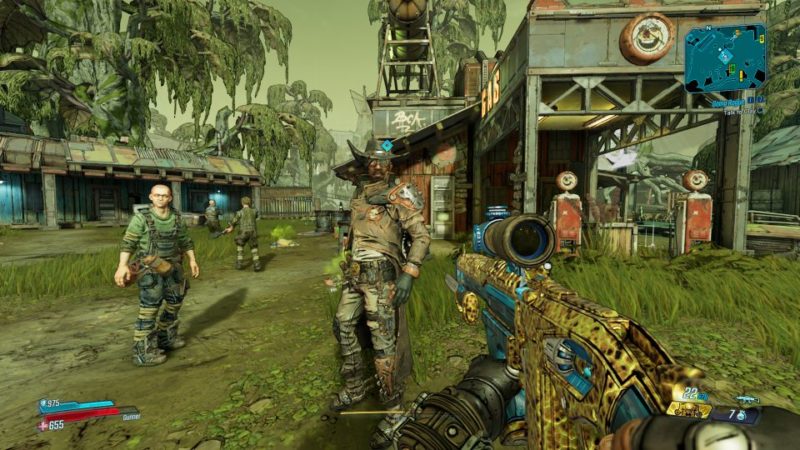
Grab the gun Rogue-Sight from Clay.
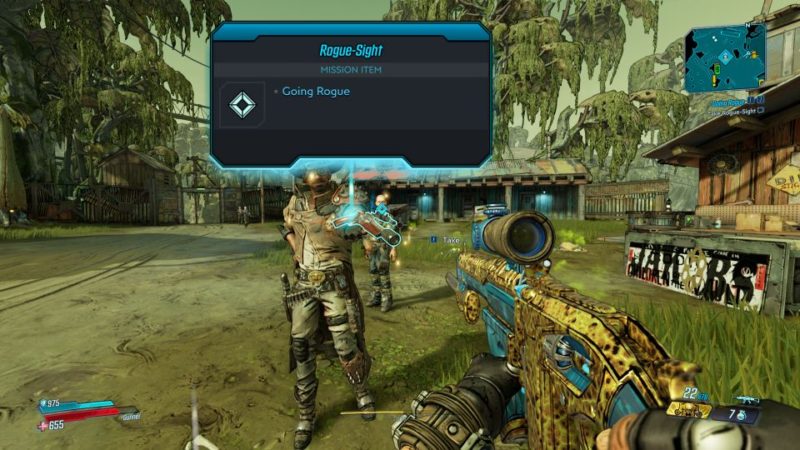
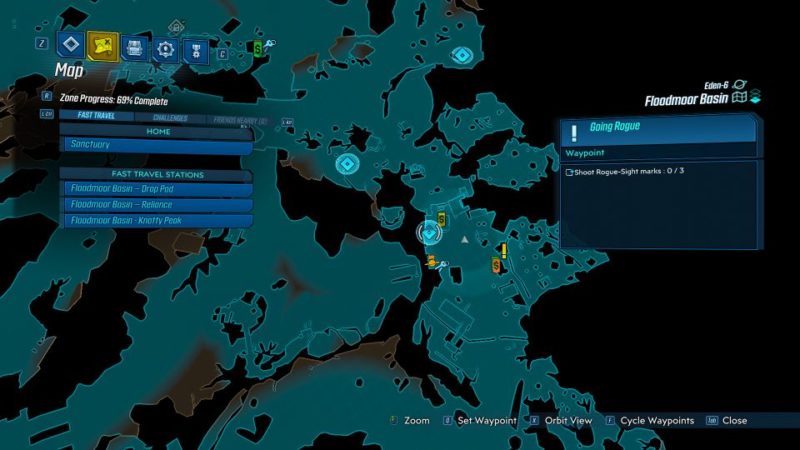
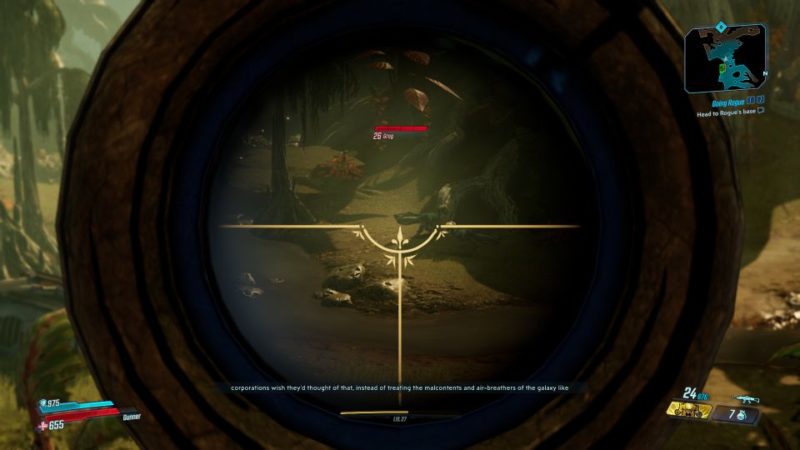
Shoot Rogue-Sight marks (optional)
There’s an optional objective in the beginning. Shoot 3 Rogue-Sight marks as shown in the map.
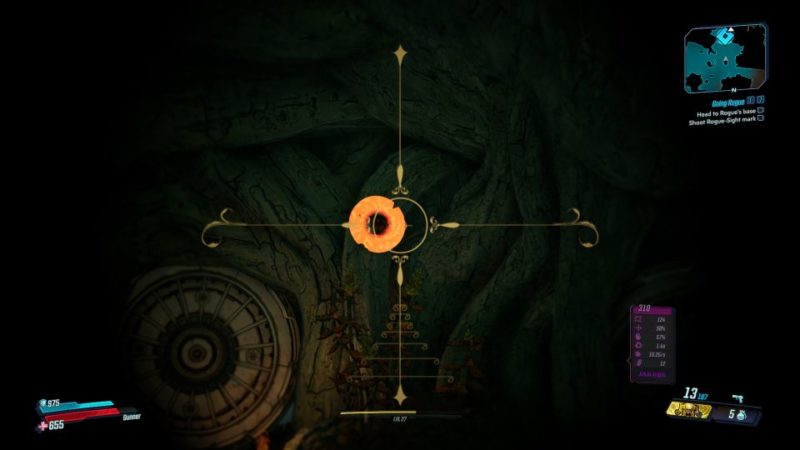
You won’t see the marks until you use the scope of the Rogue-Sight pistol. Shoot the mark to reveal the actual product.
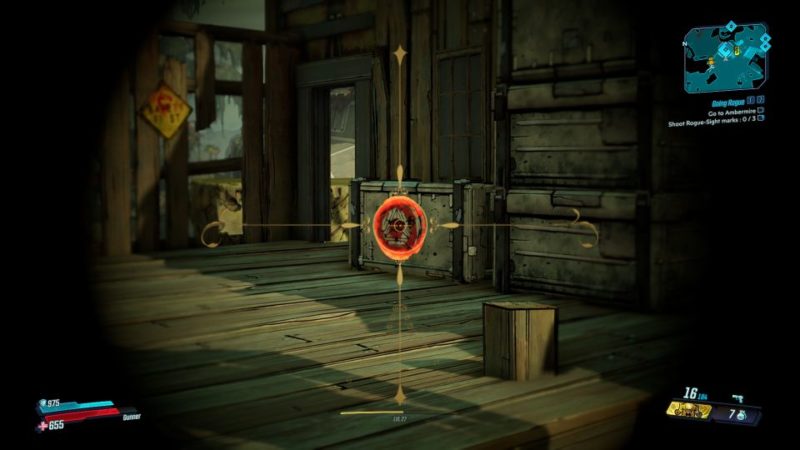
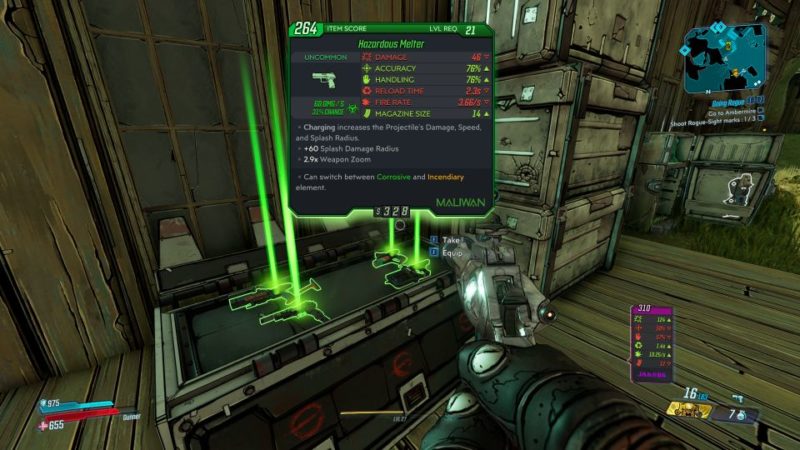
You’ll get a chest full of weapons. Repeat the same thing for the other two marks.
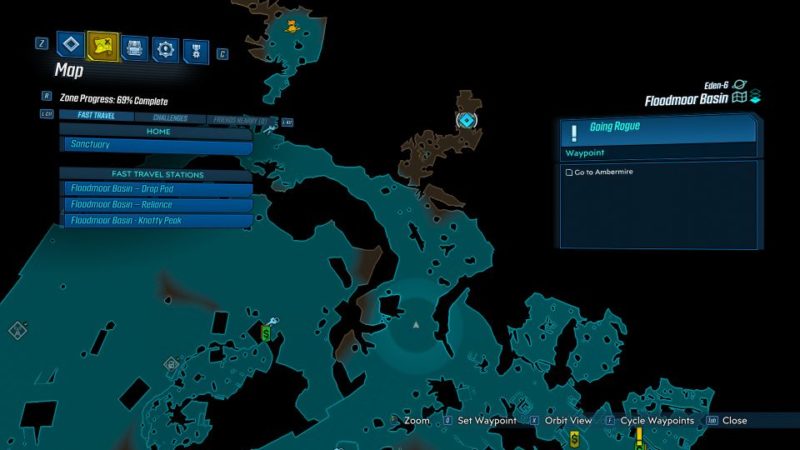
Go to Ambermire
Once you’re done, head to Ambermire. The location is shown in the map below.
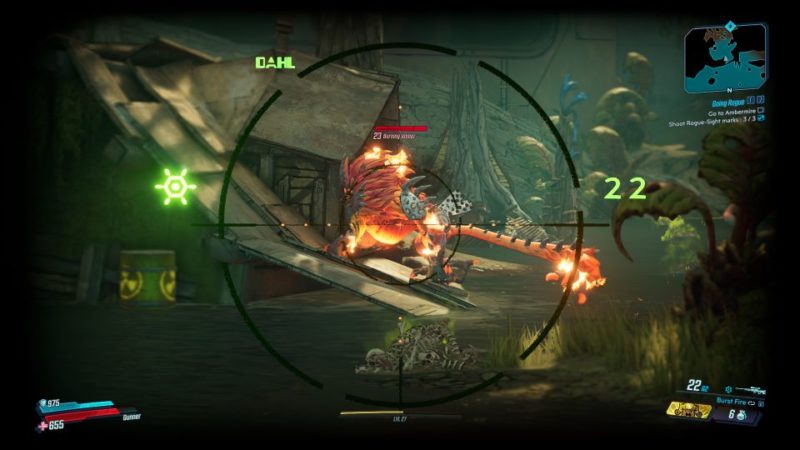
You’ll encounter creatures along the way there.
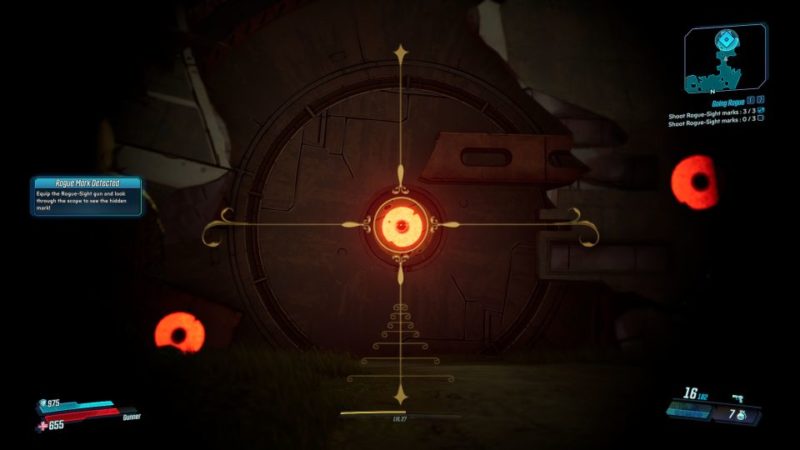
When you finally reach the gate to Ambermire, you’ll need to use Rogue-Sight again.
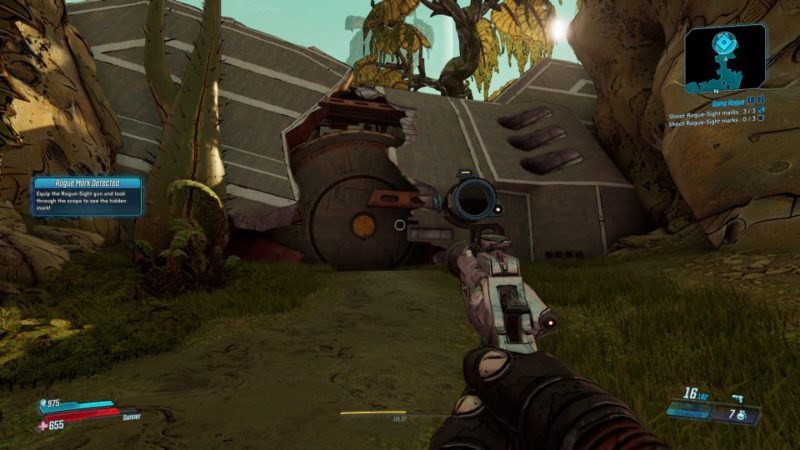
Use the scope and you’ll see 3 marks. Shoot all of them.
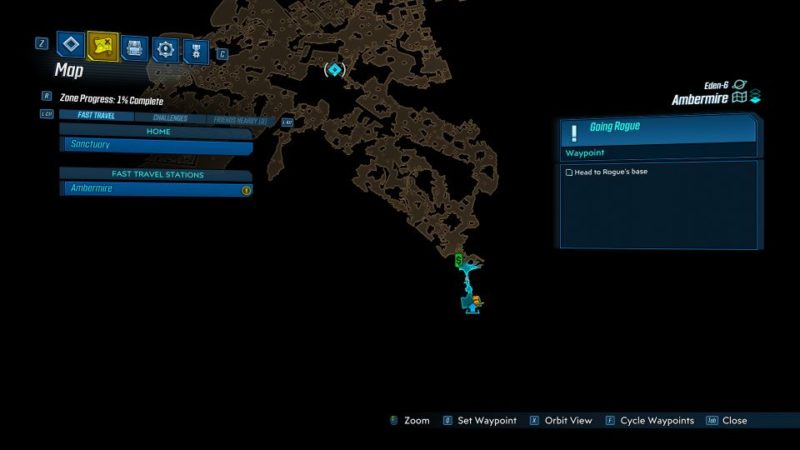
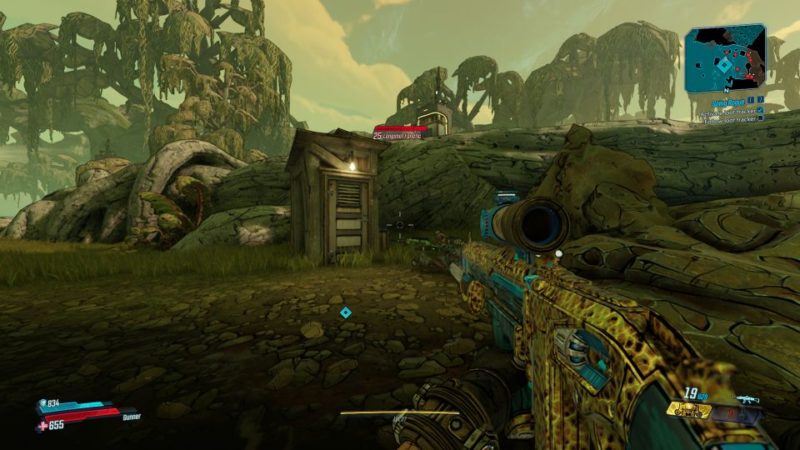
Head to Rogue’s base
After reaching Ambermire, head to the Rogue’s base. The location is provided in the map.
You can run through the enemies if you don’t wish to fight.
You’ll then reach a door which is locked. Shoot the mark with Rogue-Sight to open the door.
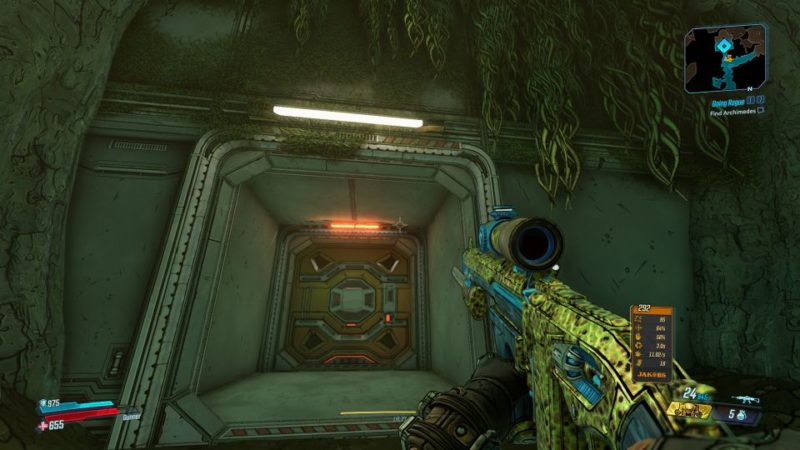
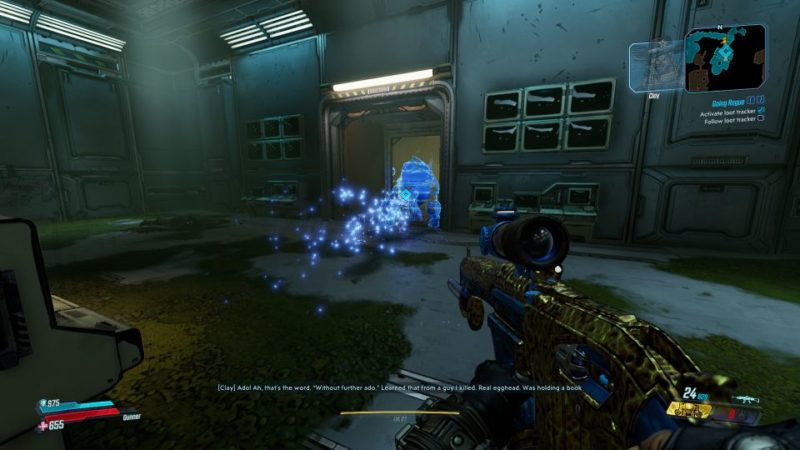
Find Archimedes
You need to find Archimedes (Clay’s friend) inside the Rogue base.
Use the switch to turn on the lights.
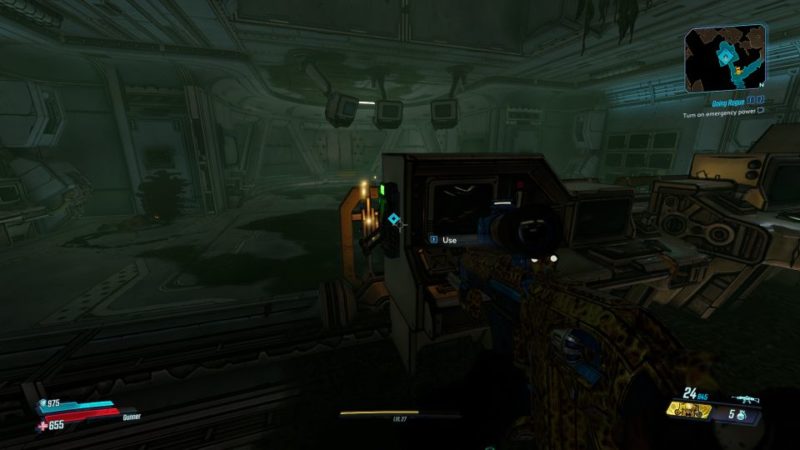
After the lights are on, you’ll see bodies on the ground. Interact with all of them to find Archimedes.
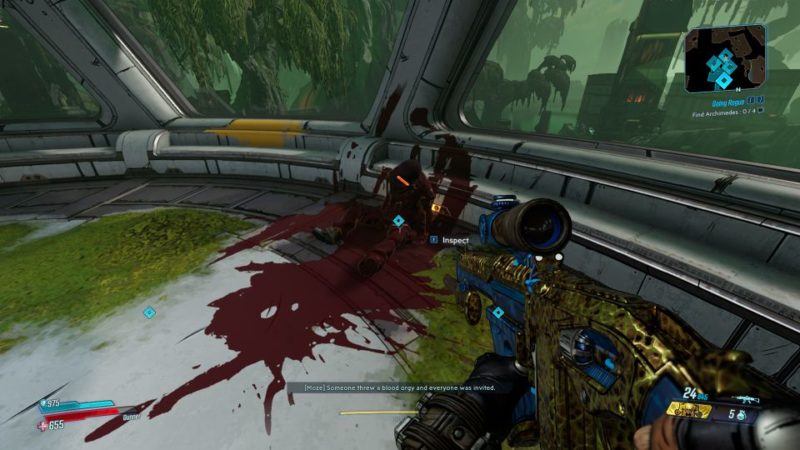
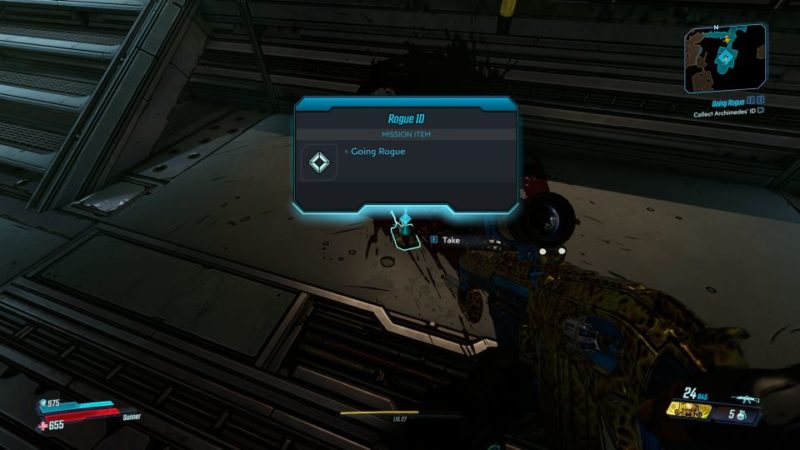
Finally, you’ll see his ID on one of the bodies. Take Archimedes’ ID.
Activate security console
To track who took the vault fragment from the Rogue base, use the security console.
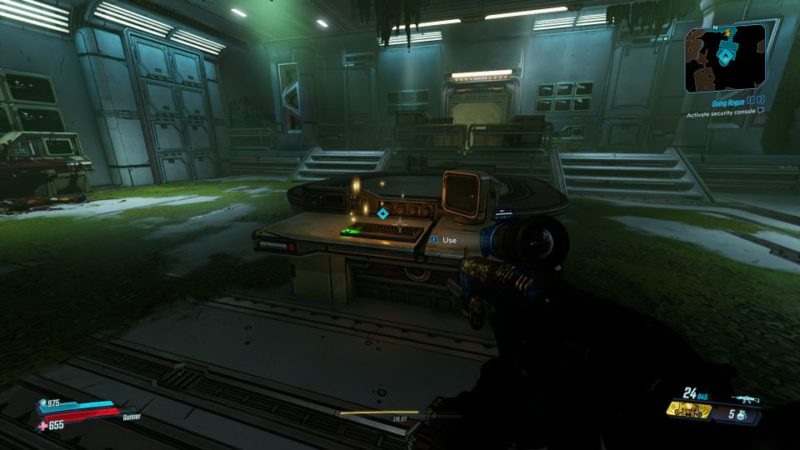
Unfortunately, it doesn’t work unless you have other IDs.
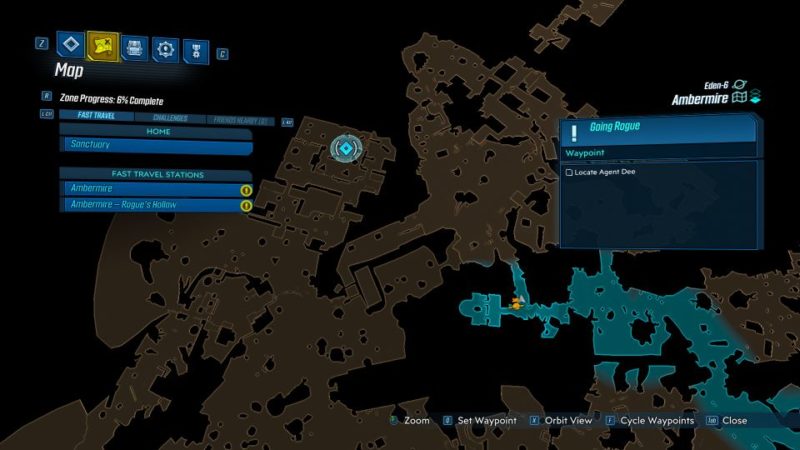
Locate Agent Dee
There are three IDs that you need. The first one is from Agent Dee. His location is shown in the map below.
When you reach the area, there’ll be some COV enemies. Take them out.
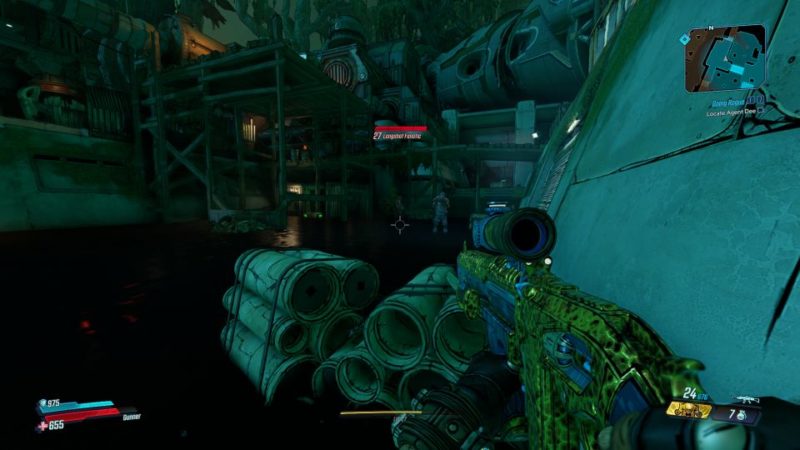
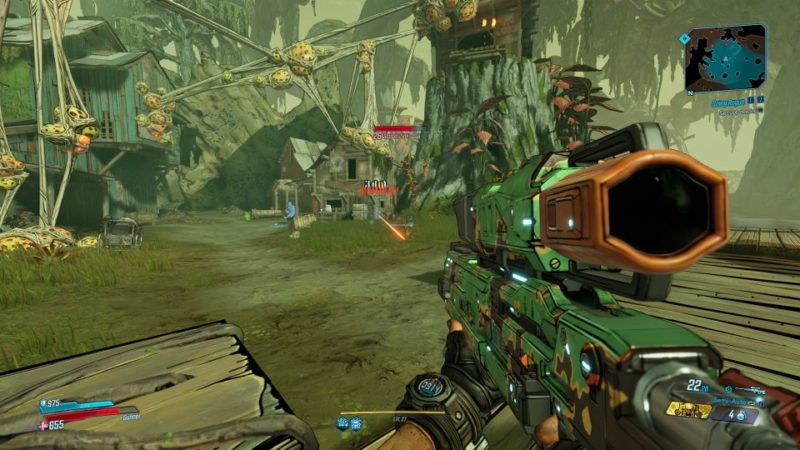
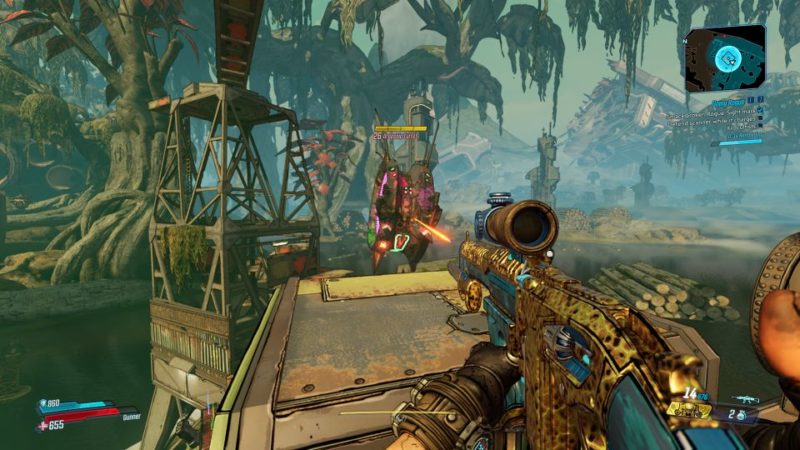
As you get to Agent Dee, you’ll see some COV officers surrounding “her”.
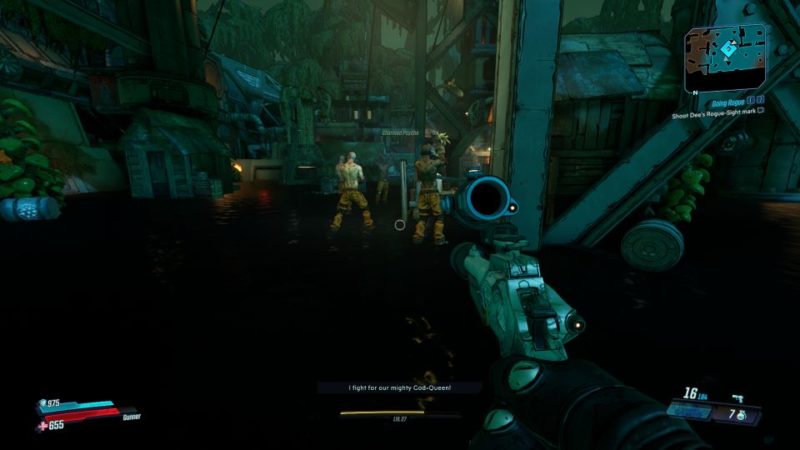
To reveal his true form, shoot the mark on the building behind Agent Dee. You’ll need to prepare to start killing once you do so.
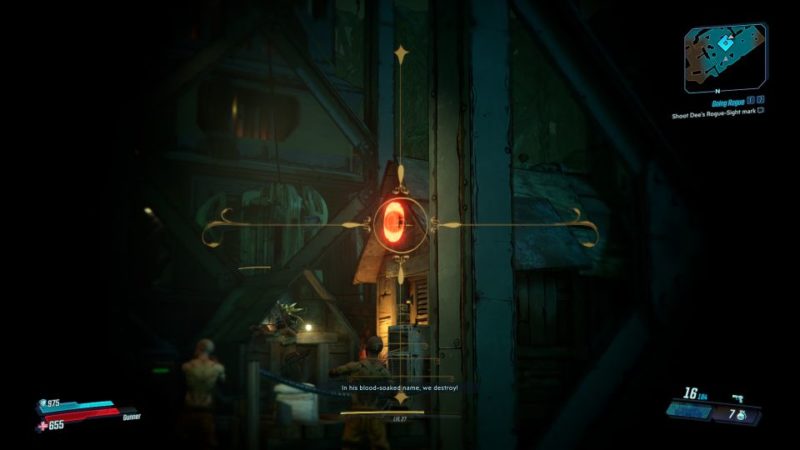
Agent Dee is actually a huge dude instead. Kill all of the COV enemies who are now infuriated.
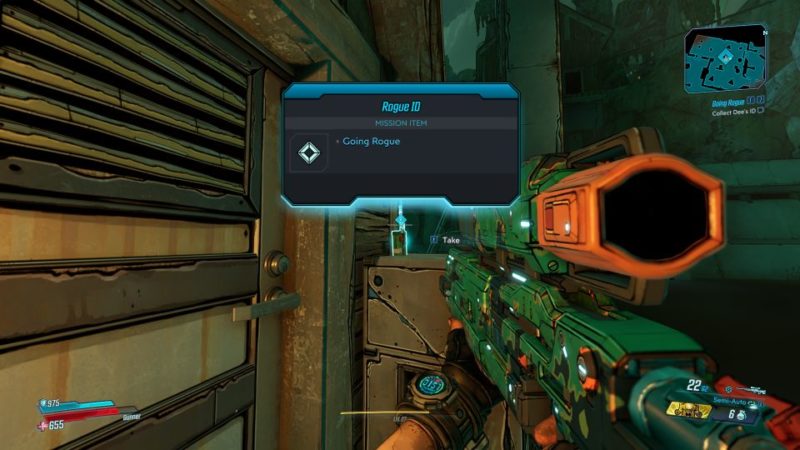
Collect Dee’s ID
Pick up his ID.
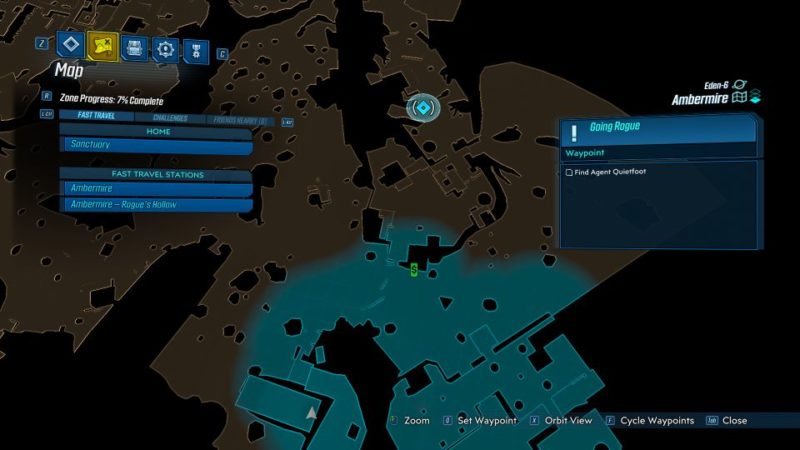
Check dead drop (Quietfoot)
Next, you need to check on the dead drop by Agent Quietfoot. The location is shown below.
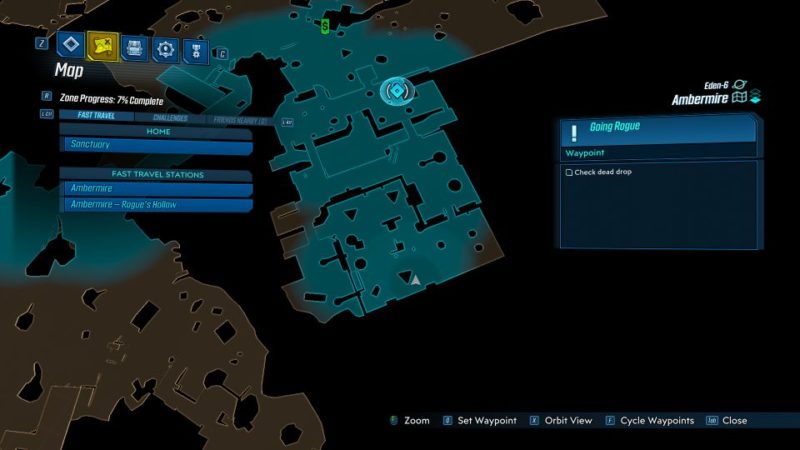
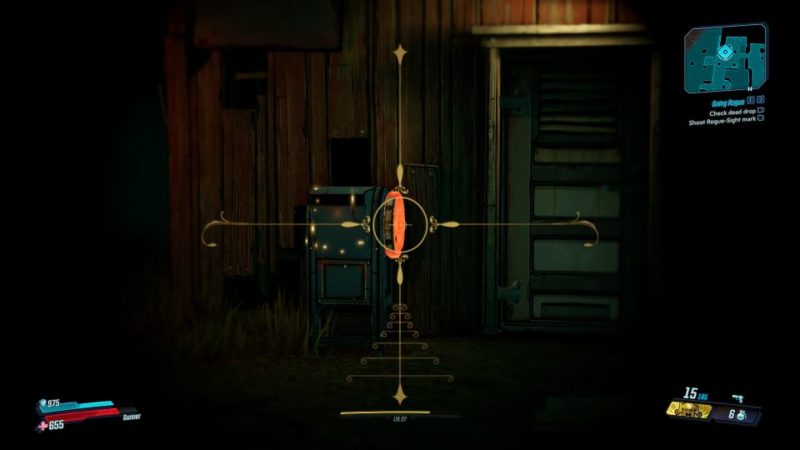
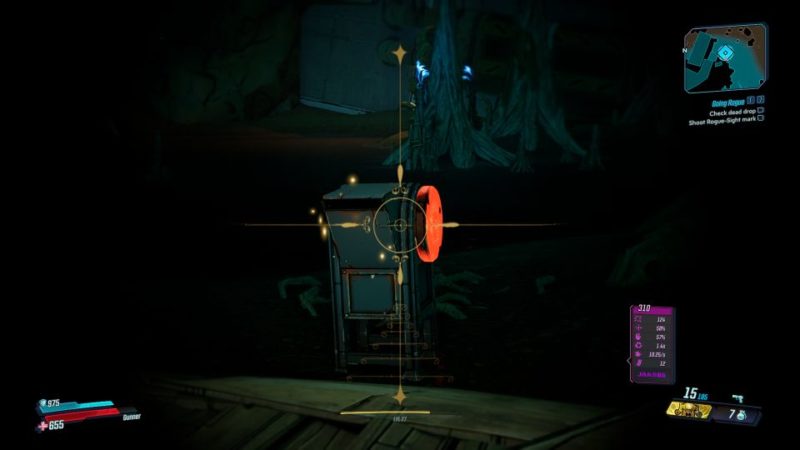
You’ll see a postbox. Shoot the mark to reveal it. Pick up Quietfoot’s Dead Drop.
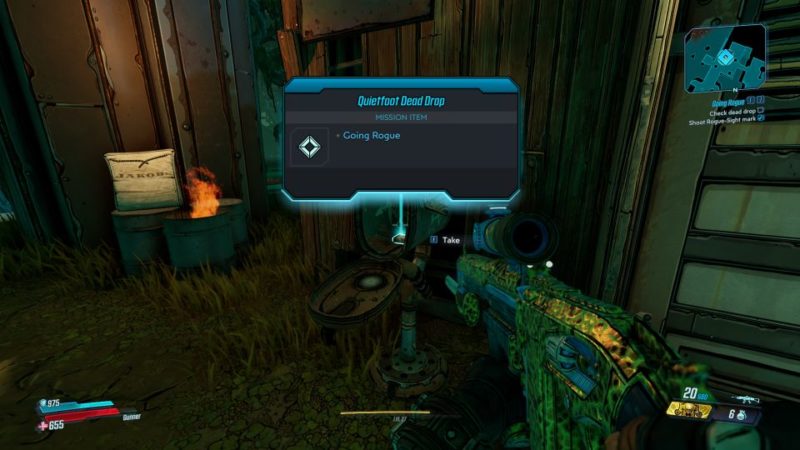
After hearing the first tape, head to the next location as shown in the map.
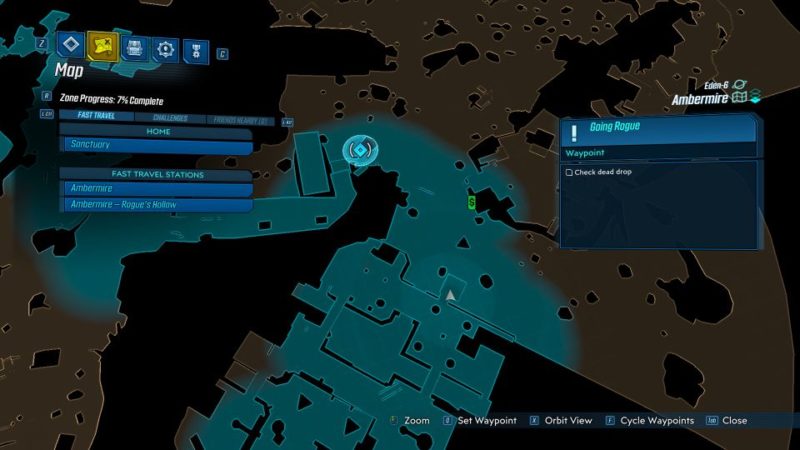
Similarly, shoot the mark and pick up the dead drop.
Find Agent Quietfoot
You need to now find Agent Quietfoot. His location is marked on the map.
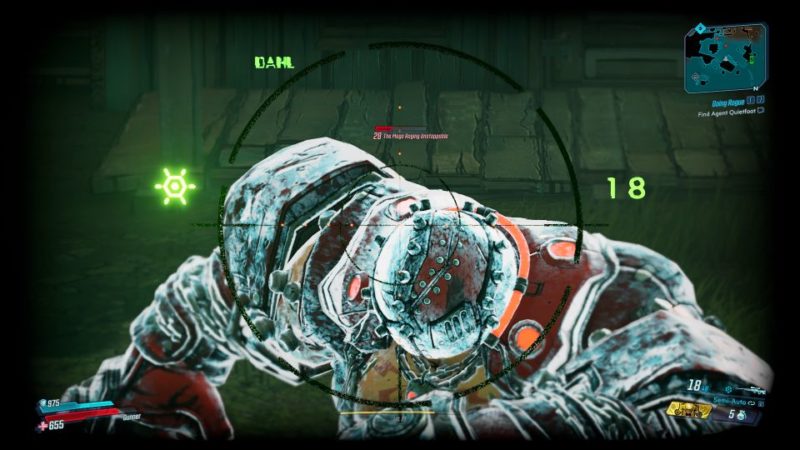
Along the way, there’ll be plenty of enemies. Kill them all.
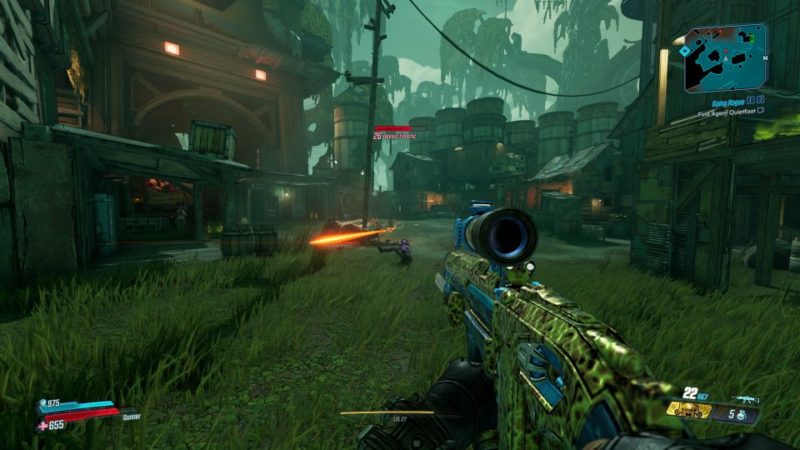
There may be elites as well, like this dude below.
Release cage
Finally, you’ll reach his location. Use the lever to release the cage.
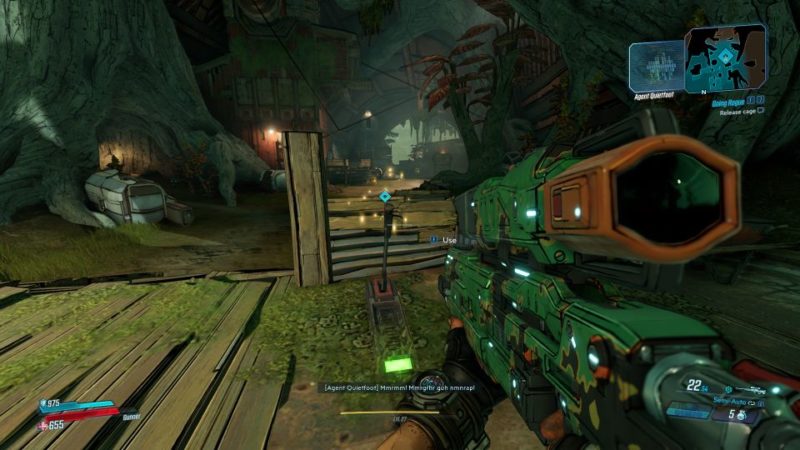
As the cage falls, you will see the agent strapped with tons of bombs. The bombs will explode and he dies.
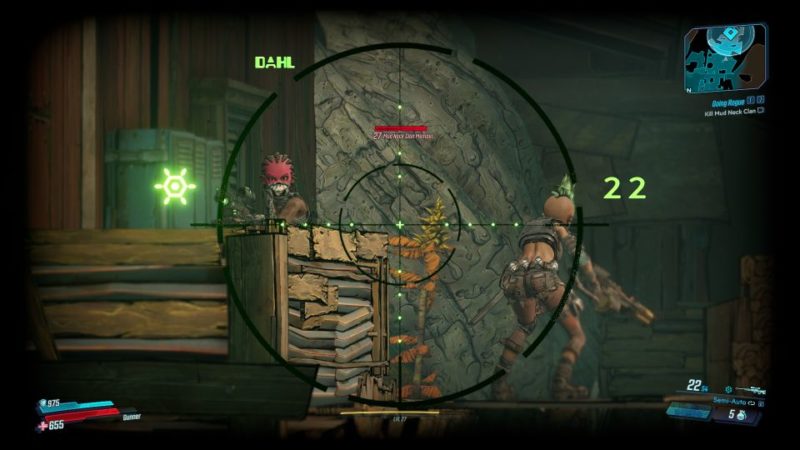
Kill Mud Neck Clan
Take out the Mud Neck Clan who is responsible for his death.
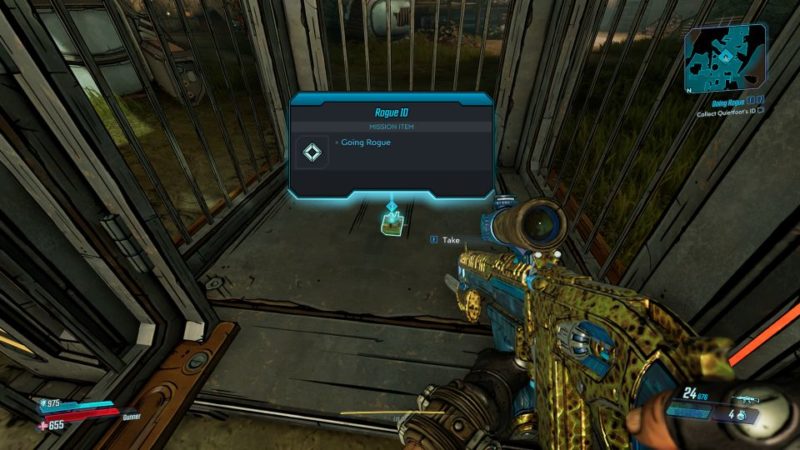
Take Quietfoot’s ID
Once the area is secure, pick up Quietfoot’s ID in the cage.
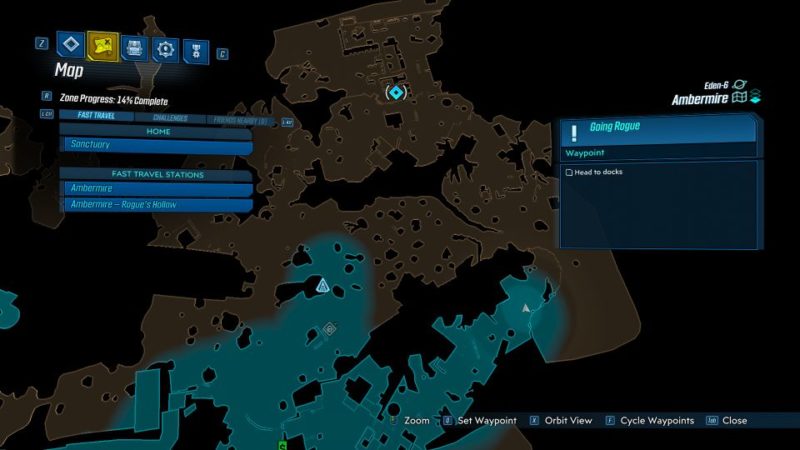
Head to docks
You need to get the final ID. Head to the docks. The location is shown in the map below.
Secure docks
As you reach the docks, secure the area from the enemies.
After the first wave, there’ll be more enemies coming from the pod.
Move ship scanner into place
Your next objective is to move the ship scanner into place by using the controls.
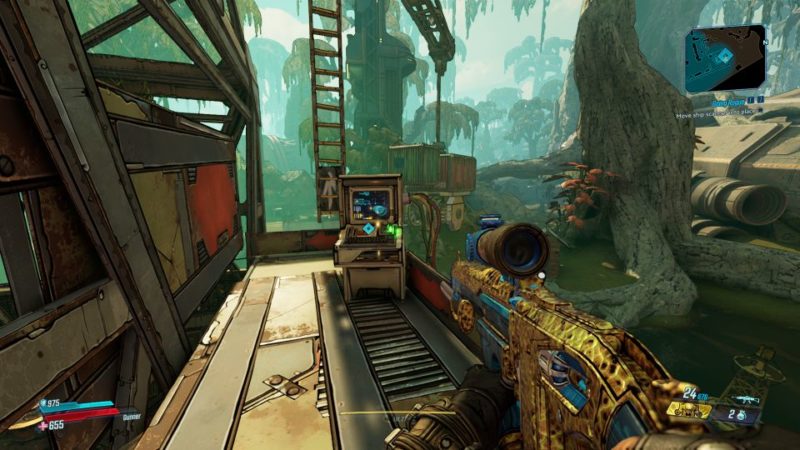
Get to ship scanner
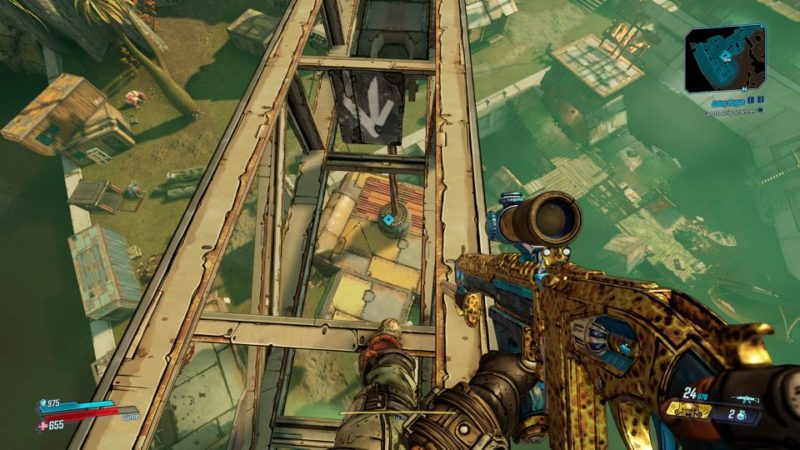
Climb up the ladder and head to the top of the crane. Walk towards the end of the crane.
Jump onto the ship scanner below.
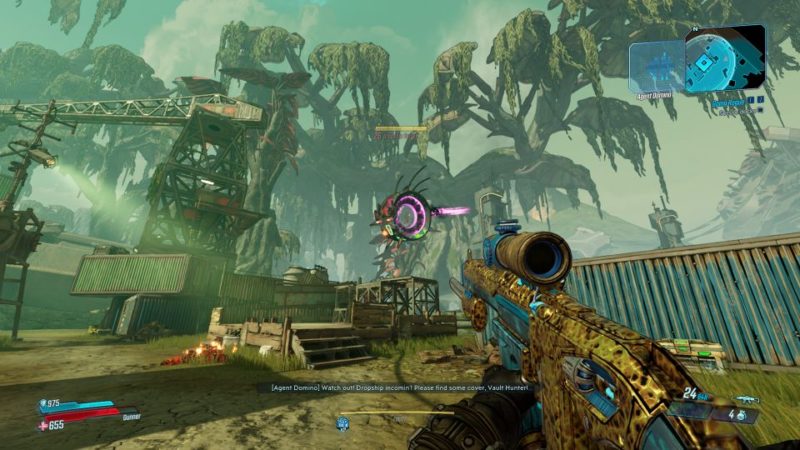
Defend scanner while it charges
While waiting for the scanner to charge, defend it as enemy reinforcements will appear.
Also, kill all of the cultists that are located on the ground.
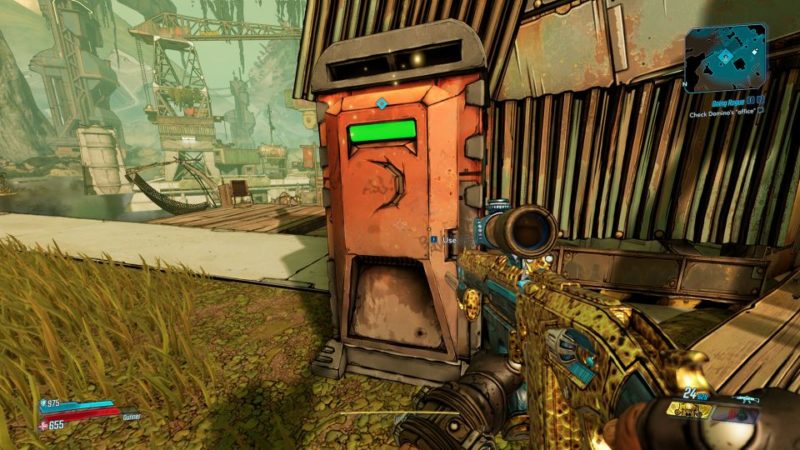
Check Dominos’ office
Look for Dominos’ ID at his ‘office’. It’s just a toilet booth. Open it and the ID will drop.
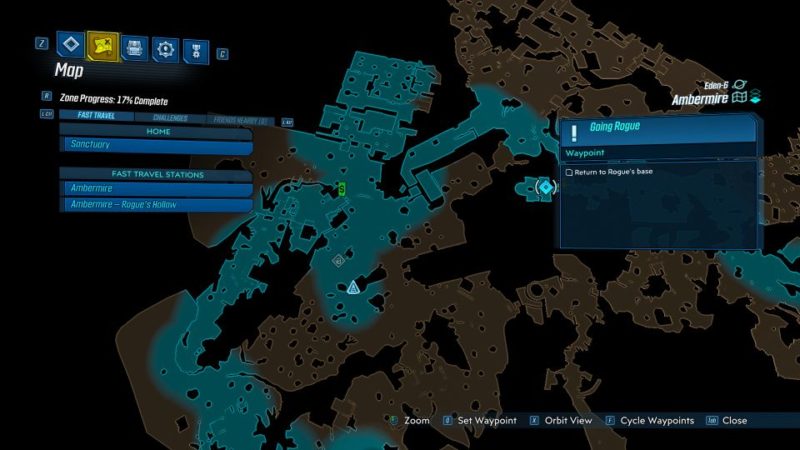
Return to Rogue’s base
Go back to the Rogue’s base.
Scan IDs
Next, place the IDs in the appropriate section to scan them.
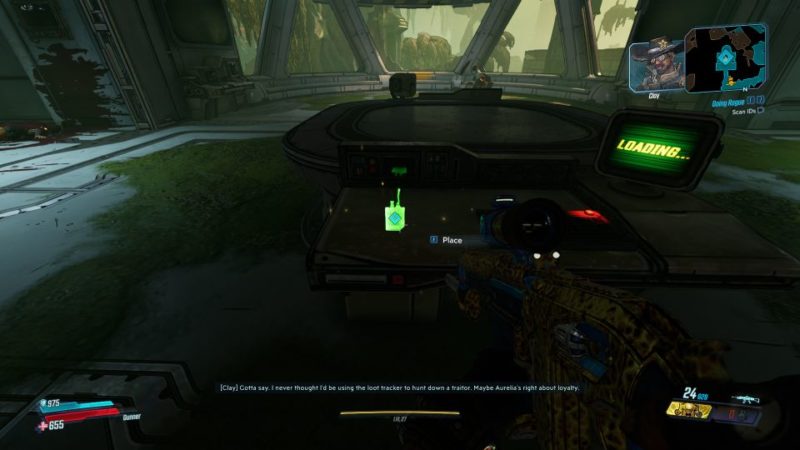
Activate and follow loot tracker
You’ll have to activate the loot tracker which is actually a jabber.
Follow it all the way.
You’ll meet tons of enemies along the way but the jabber will aid you in killing them as well.
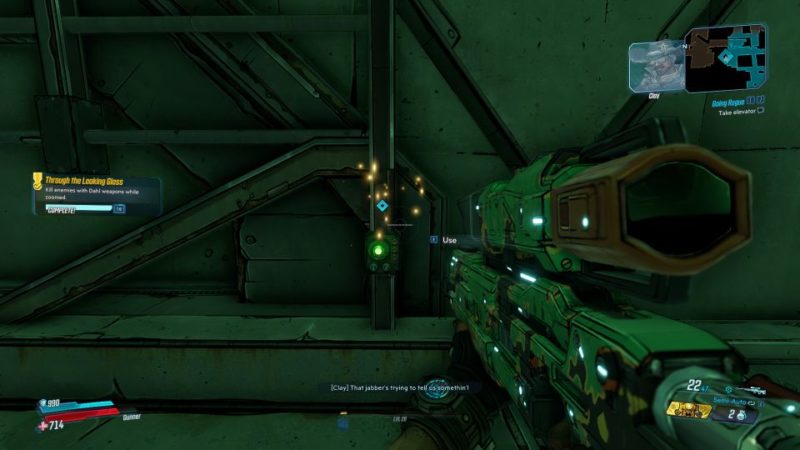
Take elevator
After reaching the destination, the jabber will leave you.
Take the elevator up.
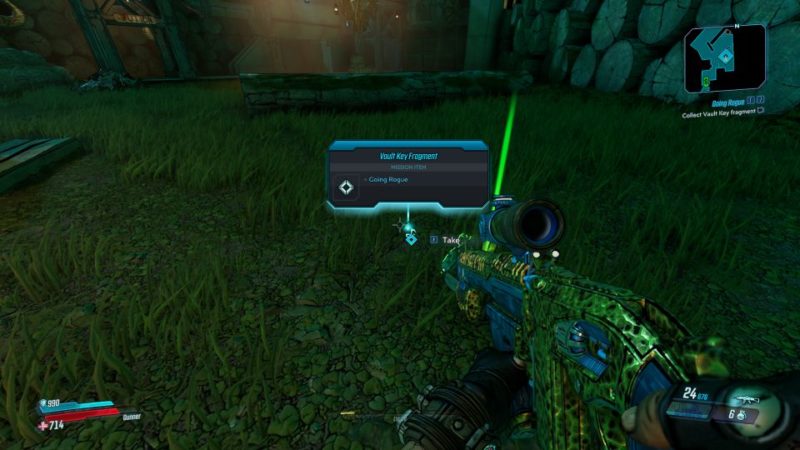
Find key fragment
Walk towards the location in the map to find the key fragment.
Before you walk in, stock up on ammo if needed as a mini boss fight is coming up.

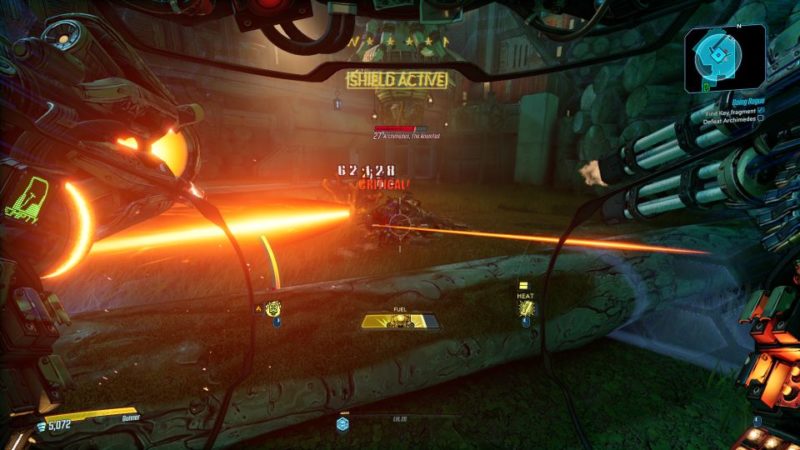
Defeat Archimedes (boss)
Turns out, Archimedes faked his own death and stole the fragment. Kill Archimedes.
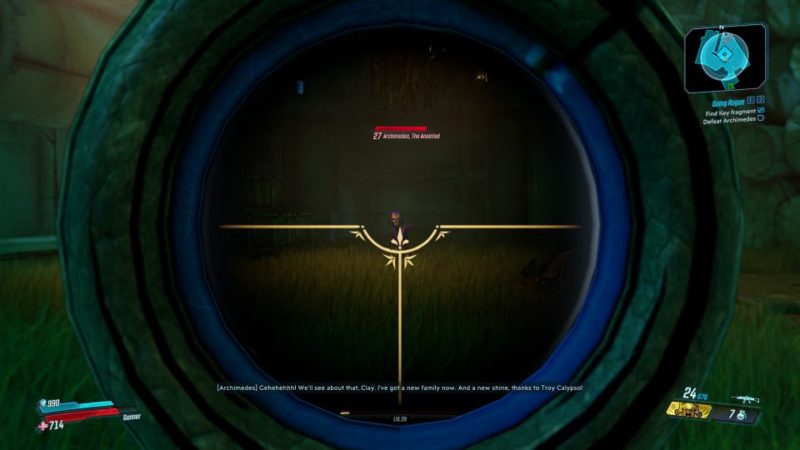
He’s pretty small in size but a little annoying. Archimedes can teleport around and will teleport many times.
Apart from that, he’s actually quite weak. His health bar is pretty small too.
After killing him, pick up the vault key fragment.
Give vault key fragment to Tannis
Head back to the Sanctuary to pass the key fragment to Tannis.
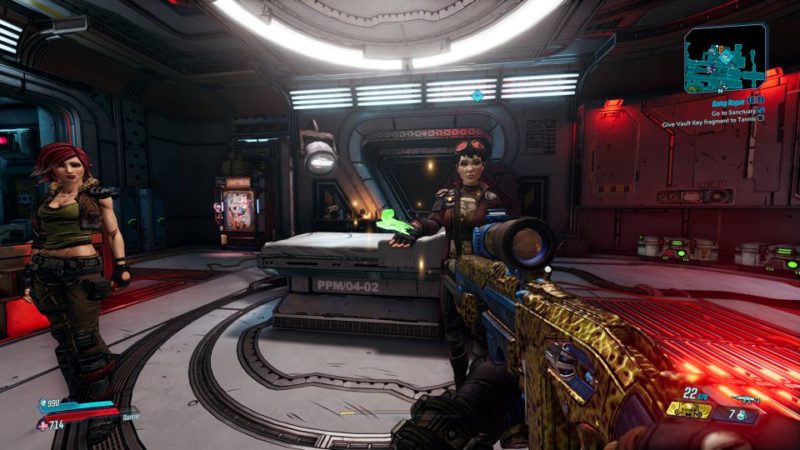
The mission completes here. You will earn cash and get a weapon.

Related articles:
Malevolent Practice: Borderlands 3 Walkthrough And Guide
Sacked: Borderlands 3 Walkthrough And Guide
The Family Jewel: Borderlands 3 Walkthrough And Guide
Rumble In The Jungle: Borderlands 3 Walkthrough
Swamp Bro: Borderlands 3 Walkthrough And Guide