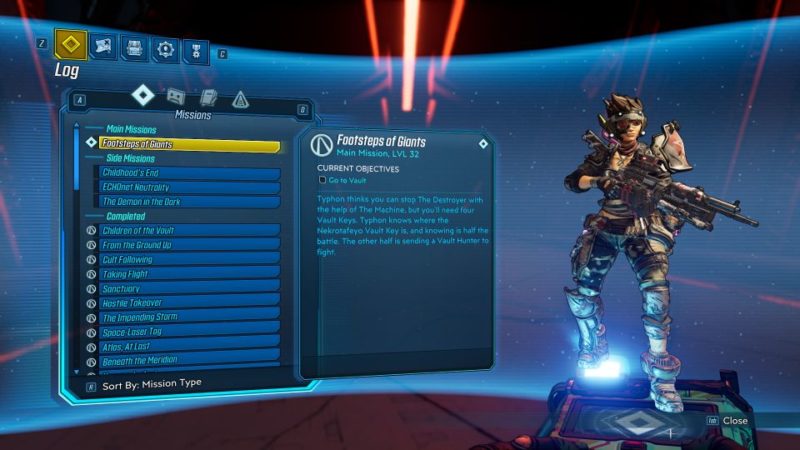
Footsteps of Giants is a main mission in Borderlands 3 on the planet of Nekrotafeyo.
Your task is to open the last vault and get the last vault key to get rid of the Destroyer.
Here’s a walkthrough of Footsteps of Giants in Borderlands 3.
This mission is recommended for level 32 and above.
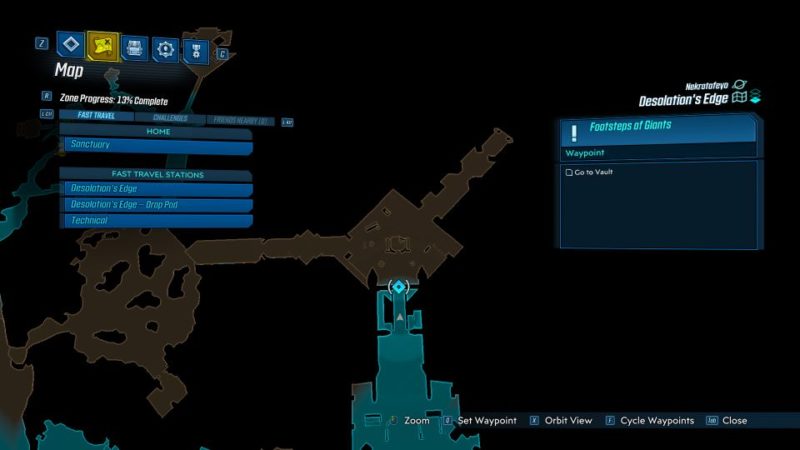
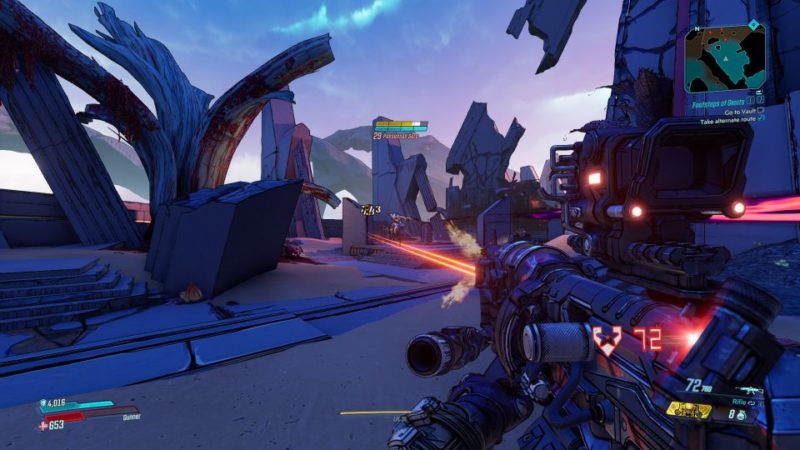
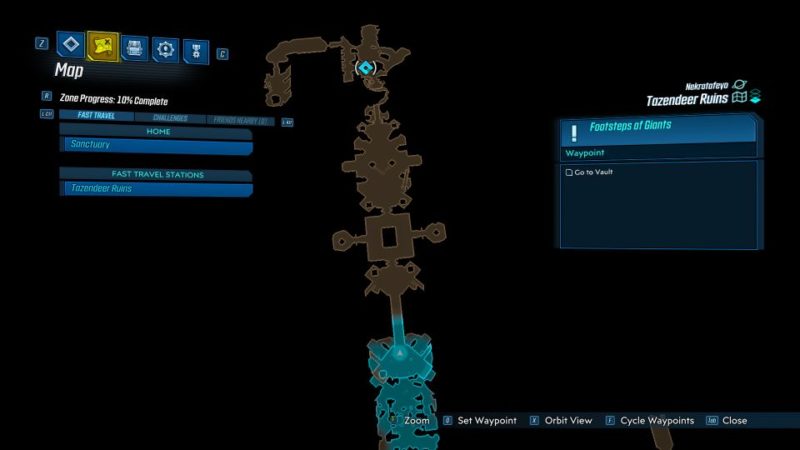
Go to vault
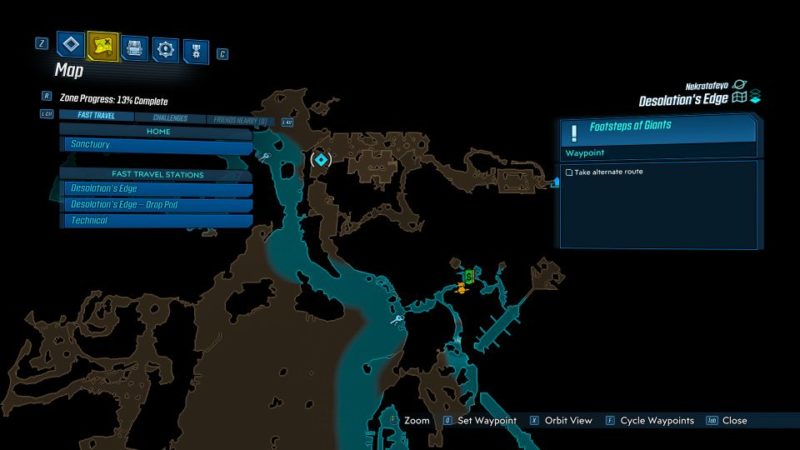
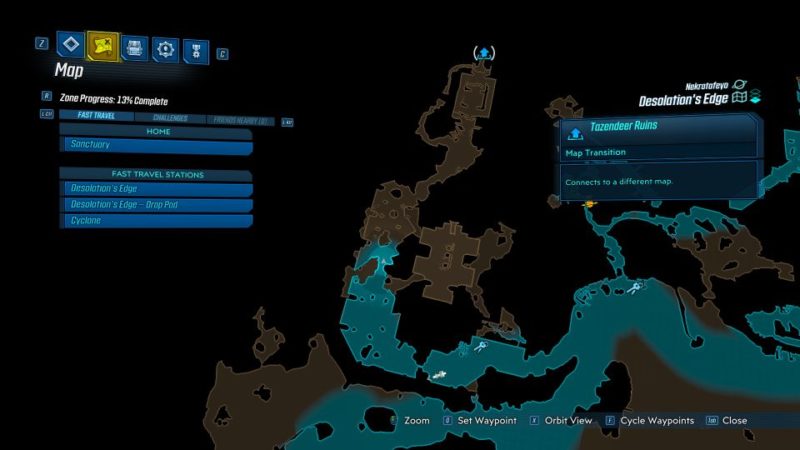
Your main objective is to get to the vault. The location is shown in the map below. It will be updated as you progress.
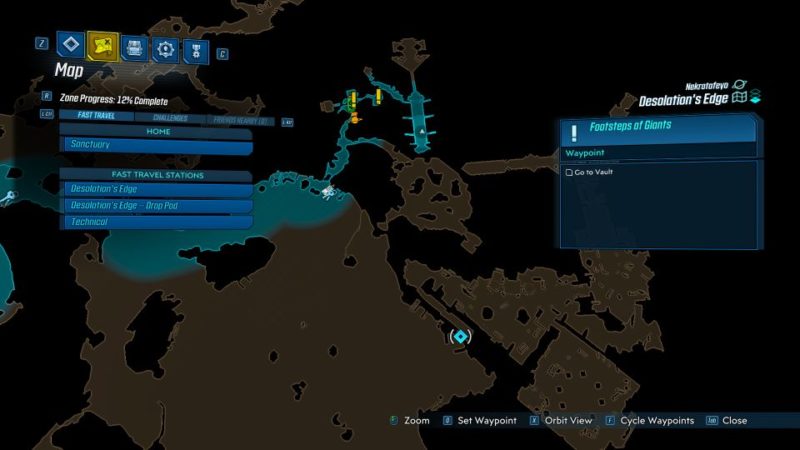
Grab a vehicle and drive there to be quick.
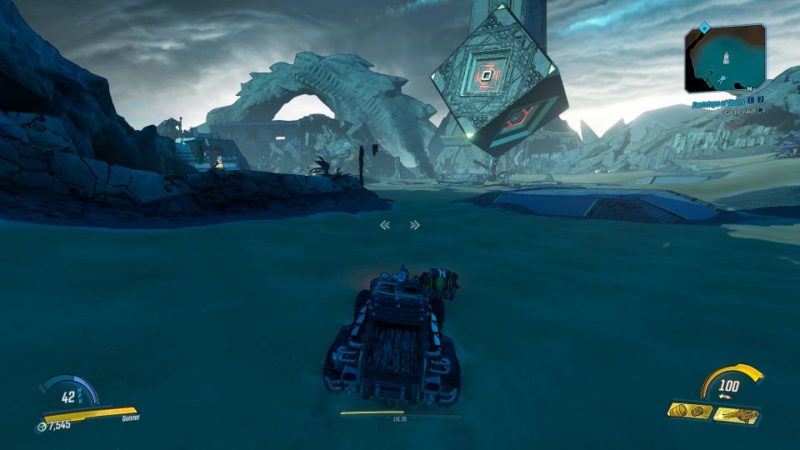
At one point, you’ll have to leave your vehicle and go up.
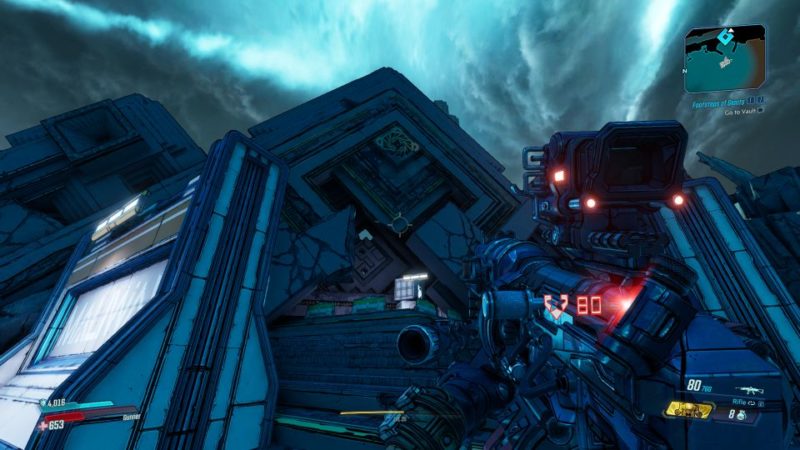
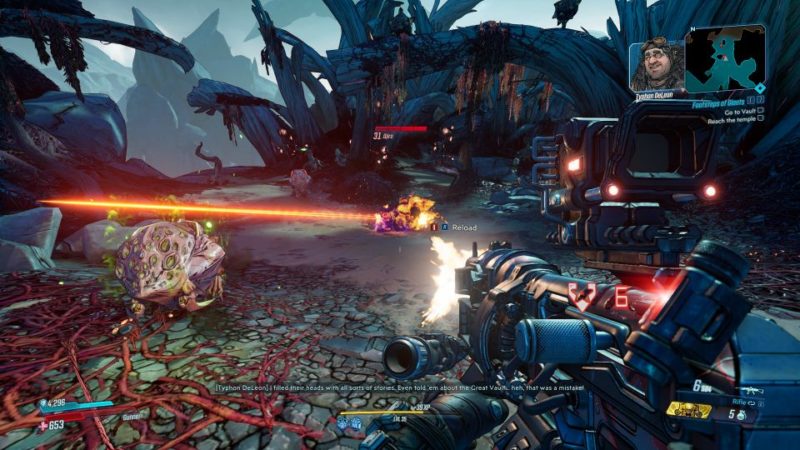
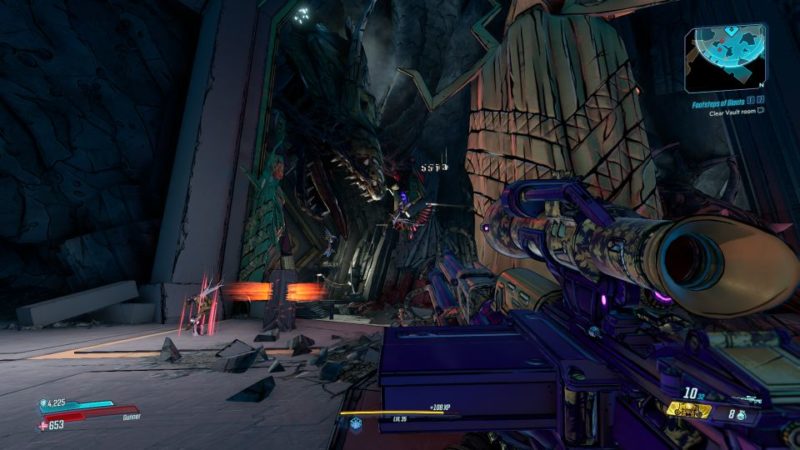
Inside, there’ll be enemies to kill.
Maliwan forces will keep appearing. Take them all out.
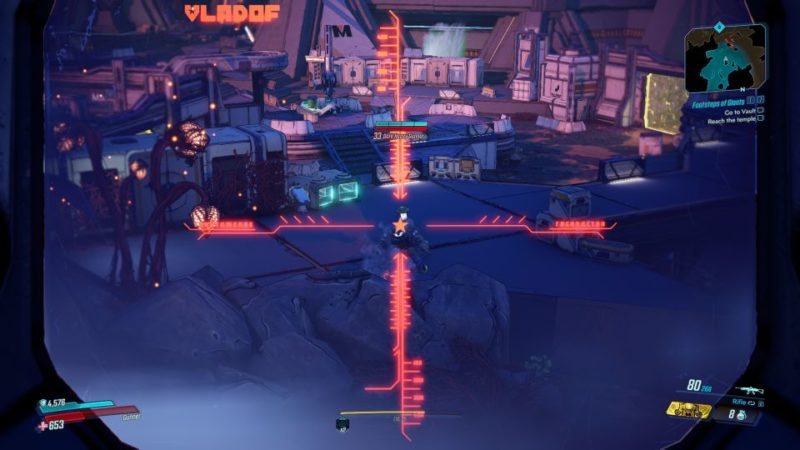
Continue heading to the vault
After clearing the forces, keep going towards the vault.
Defeat elites
There’ll be a few elites here. Take them all out.
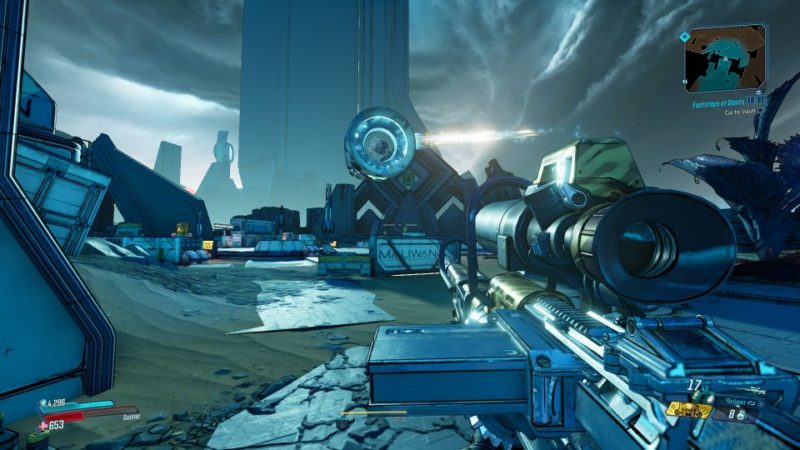
Destroy generator
To get rid of the generator, you need to first find an elevated position.
You will be able to shoot at it from high up.
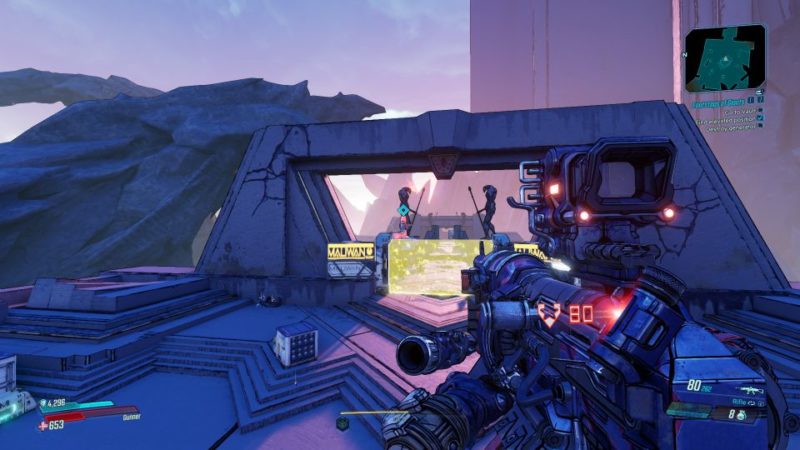
The bridge then gets destroyed by the Maliwan.
Take alternate route
You’ll need to find an alternate route. Follow the marker on the map.
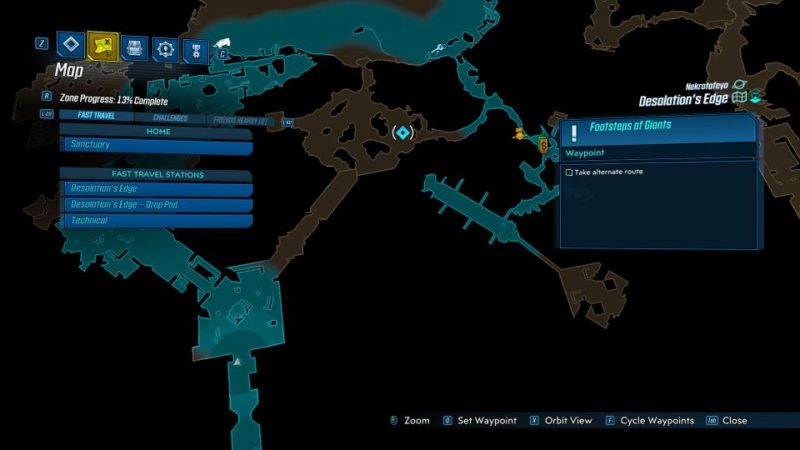
Clear out the enemies or just ignore them and sprint ahead.
The location will be updated as shown below.
In the alternate route, there’ll be more guardians in the area. Kill them as you proceed.
Head to Tazendeer Ruins
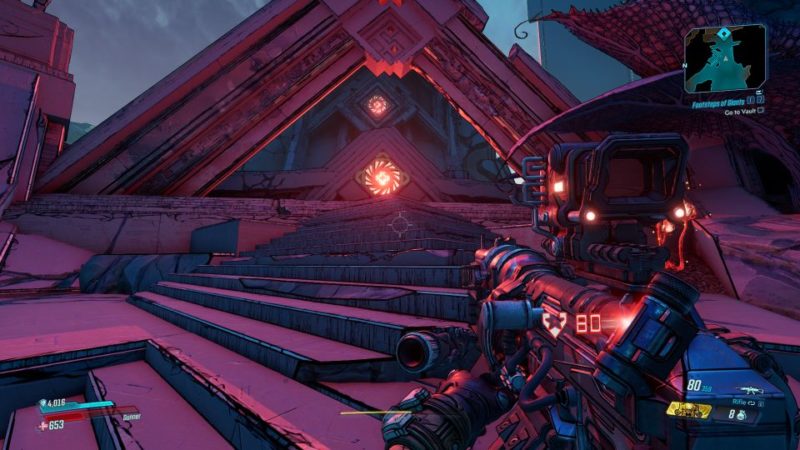
You’ll have to go all the way to Tazendeer Ruins. Kill the enemies along the way.
Keep going until you see this glowing entrance.
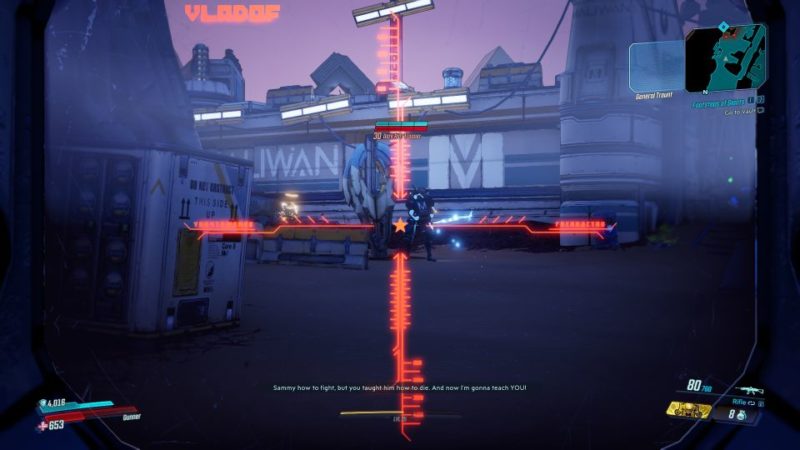
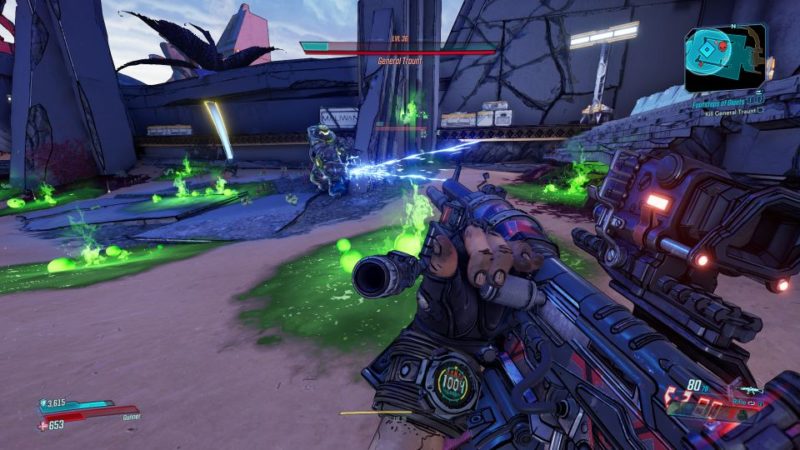
Kill General Traunt
You’ll now meet the brother of Traunt, whom you killed back in Athenas.
This guy uses shock and corrosive elements, unlike the brother who used ice attacks.
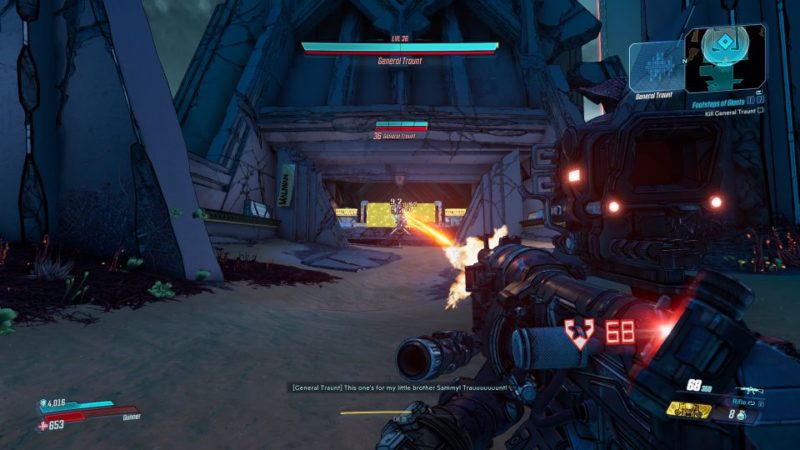
Avoid those electric orbs or wheels as they can really bring down your shield.
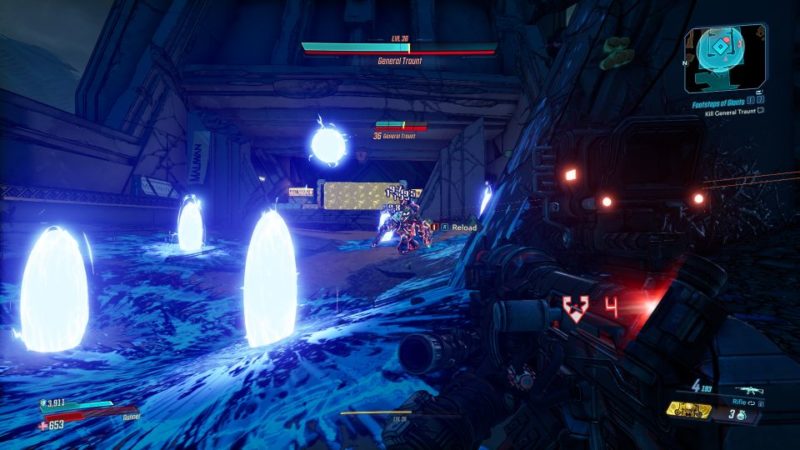
There’s nothing too unique about the fight. Avoid the corrosive energy balls going around the arena.
They will kill you easily. Just dodge and shoot at him until he dies.
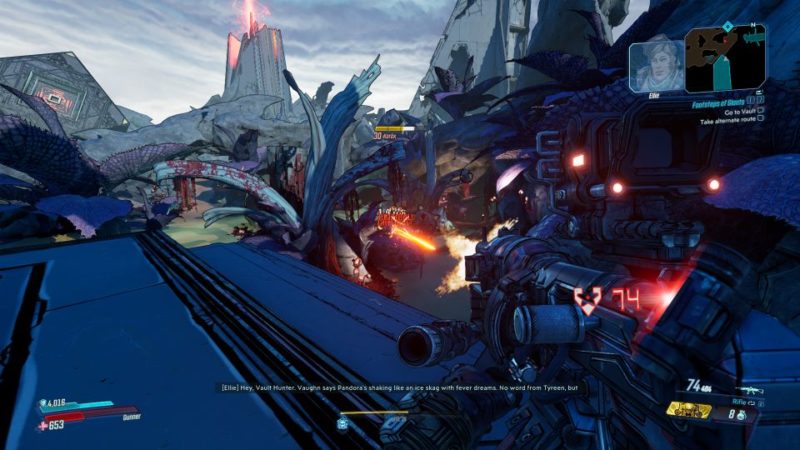
Go to vault
After the battle, continue heading to the vault.
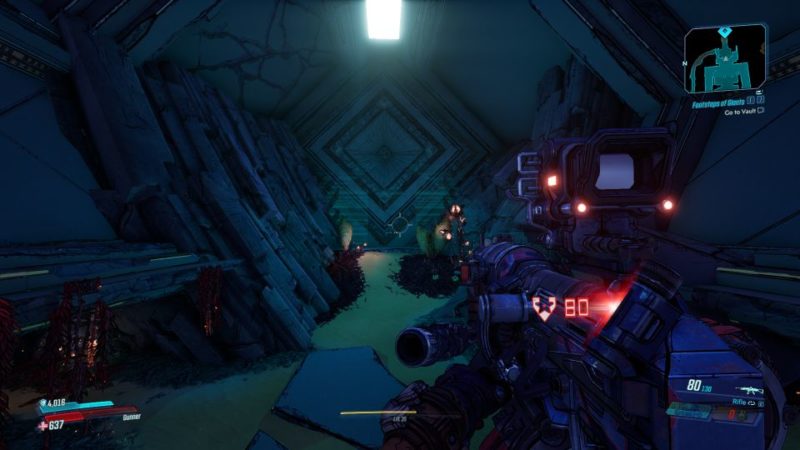
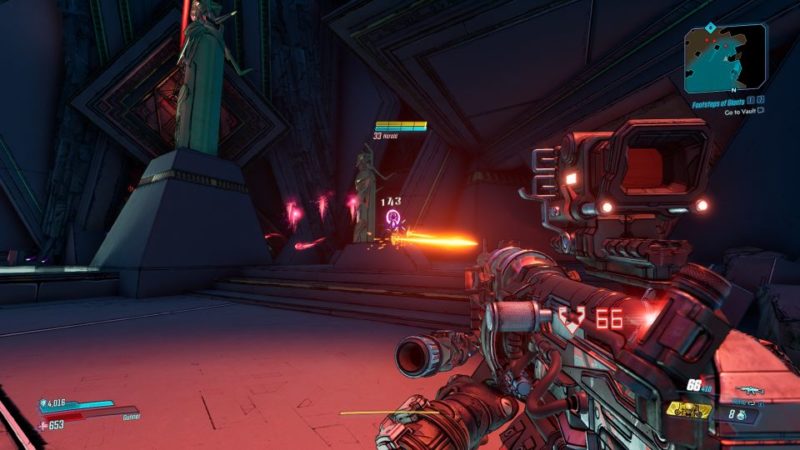
Inside, you’ll meet more guardians.
Reach the temple
Once you’re in Tazendeer Ruins, your aim is to get to the temple, which is pretty far away.

There’ll be obstacles along the way.
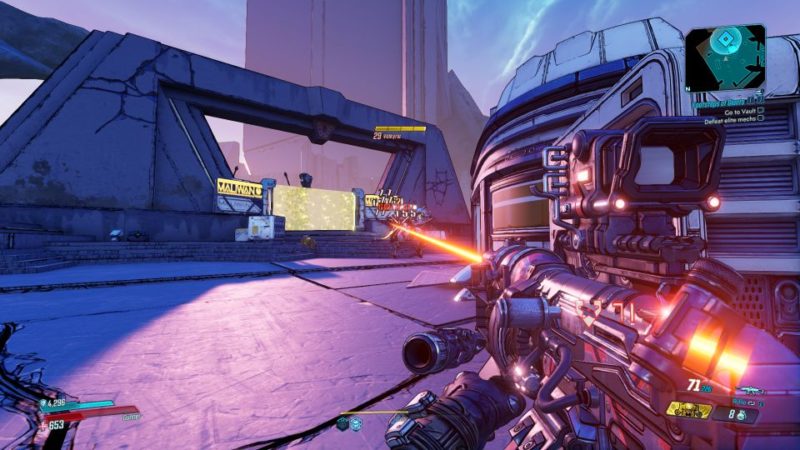
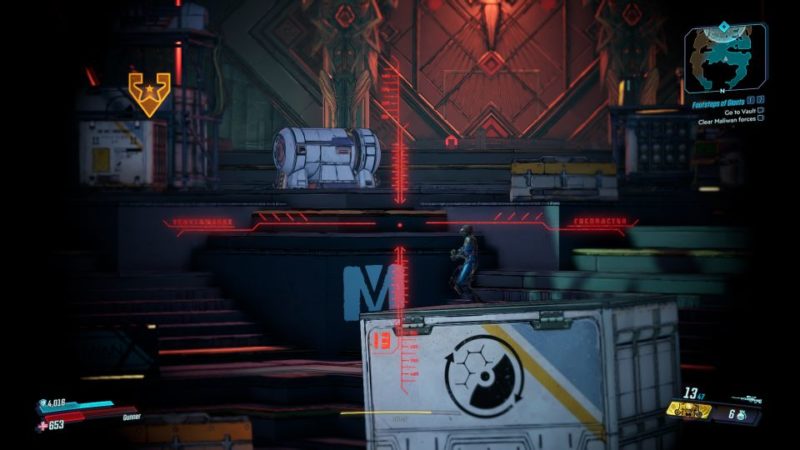
Clear Maliwan forces
You will then stumble upon a campsite for the Maliwan.
Clear out the Maliwan forces.
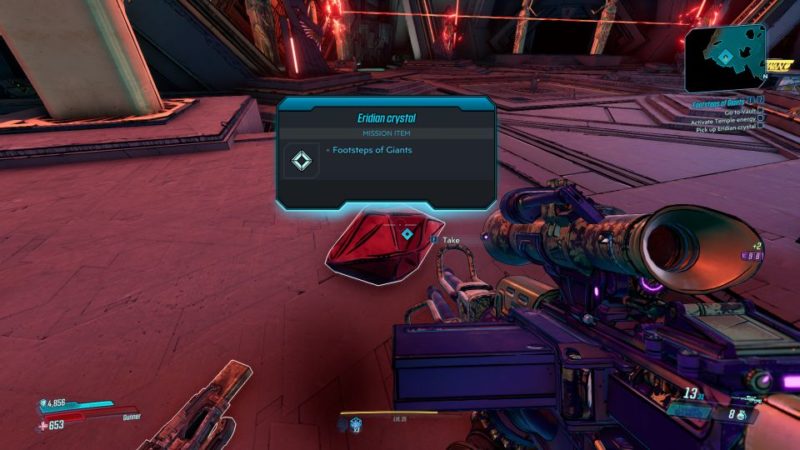
Grab Eridian crystal
To activate the Temple energy, you need to grab the Eridian crystal first.
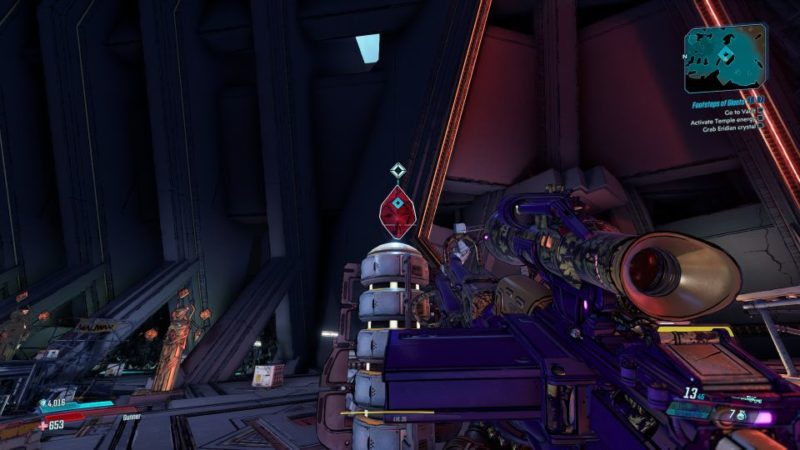
Place it on the statue.

Kill Lieutenant
After placing the crystal, a Lieutenant will appear. Kill him to get the other Eridian crystal.
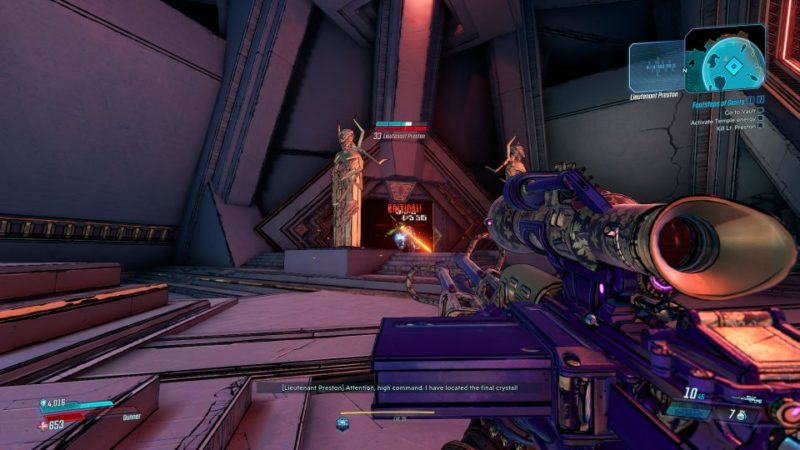
Loot it from his body.
Place the Eridian crystal on the other statue.
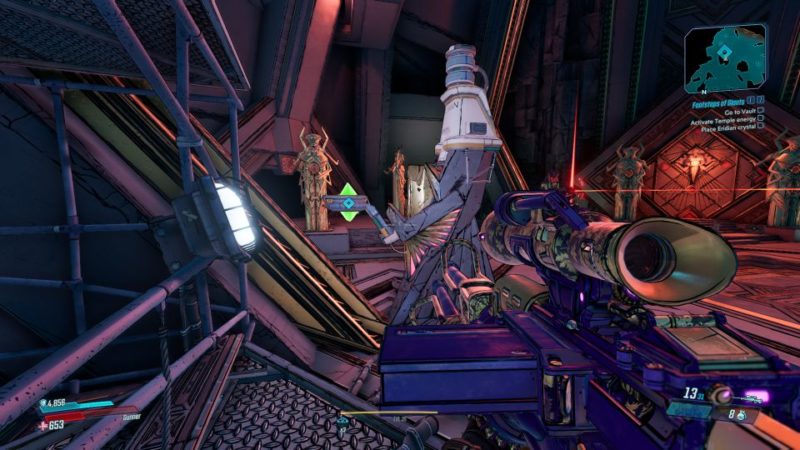
Use keyboard
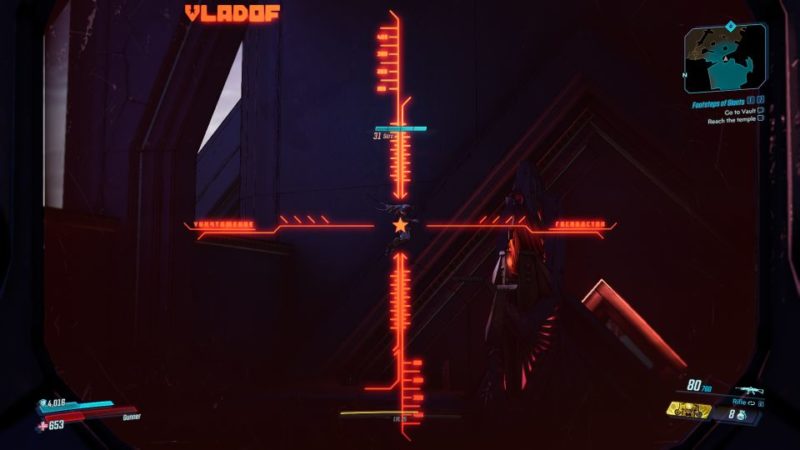
To align the Eridian crystals, use the keyboard to rotate the statue.
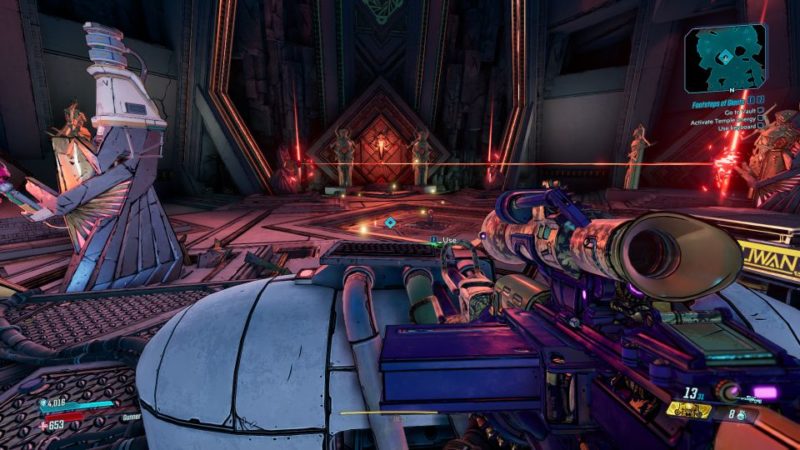
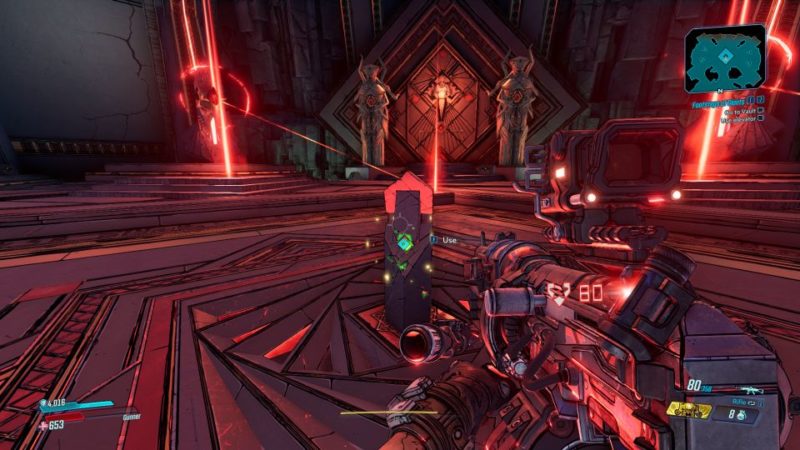
Use elevator
Next, use the console in the middle to activate the elevator.
Head to vault
Continue your journey towards the vault.
As expected, there’ll be tons of guardians here to kill.
Go until the end and jump down through the gap. You will reach the vault room.
Clear vault room
There’ll be guardians here as well. Secure the area.
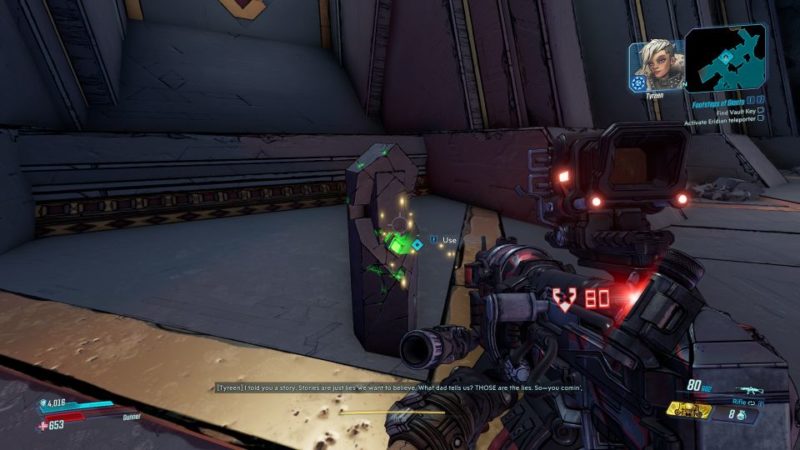
Activate Eridian teleporter
Once the area is secure, use the console to activate the Eridian teleporter to enable Typhon to appear.
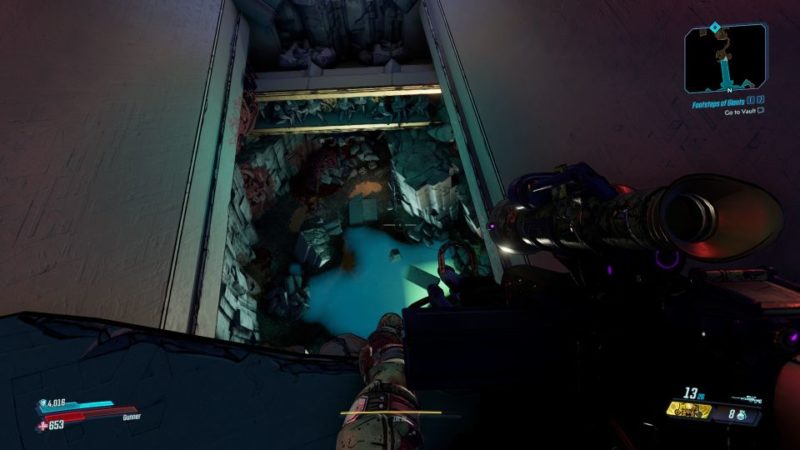
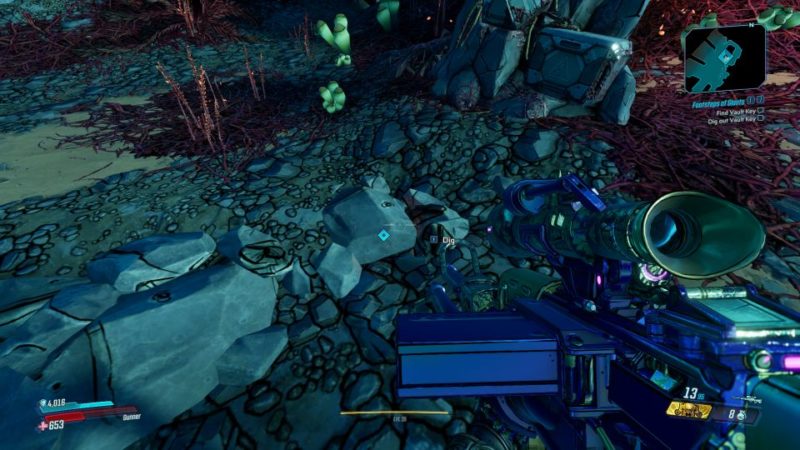
Dig out vault key
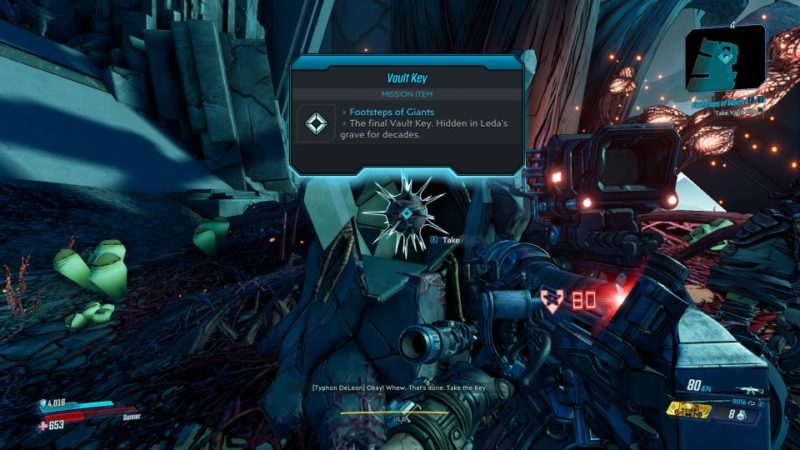
Follow Typhon to the vault key. Dig the grave of Leda for it (although it’s actually in the headstone).
Grab the vault key from the headstone.
Place vault key
Put the vault key at the console.

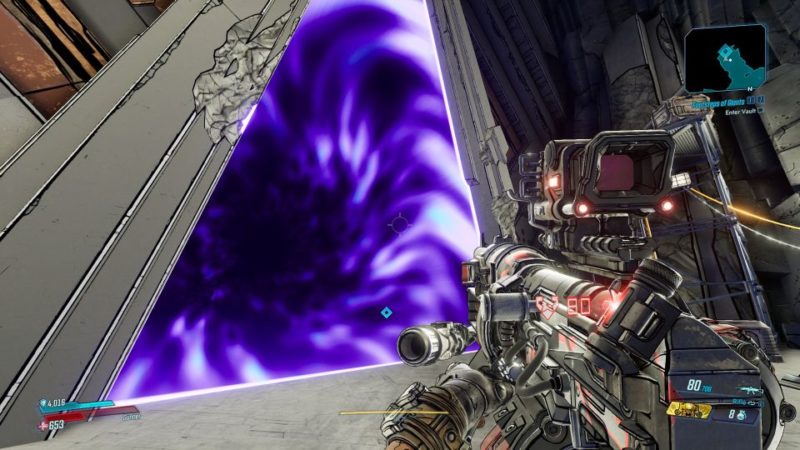
Enter vault
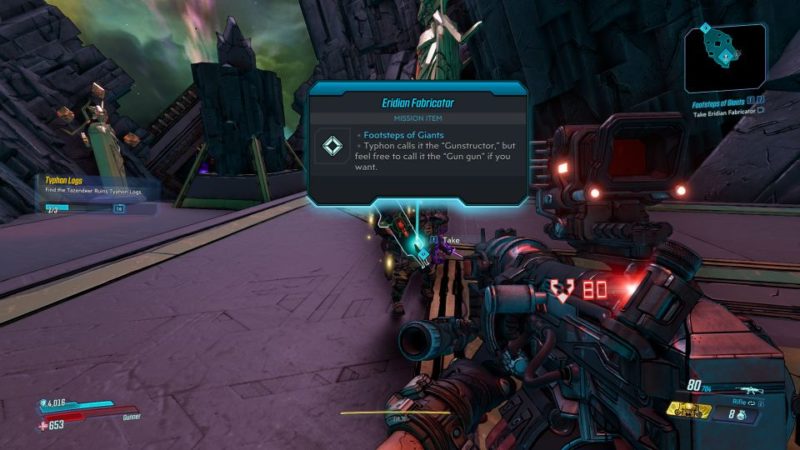
Enter the vault with Typhon Deleon.
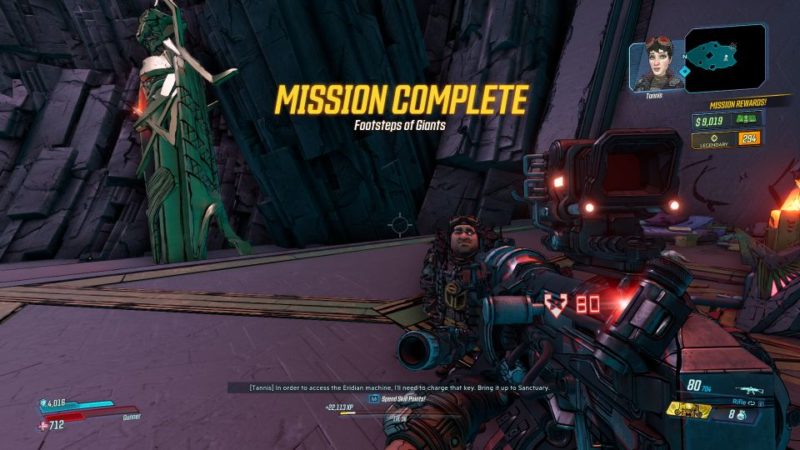
He’ll give you an item – Eridian Fabricator. This weapon enables you to shoot out 10 weapons for the price of 10 Eridium.
The mission completes here. You will earn some cash as reward.
Related articles:
Divine Retribution: Borderlands 3 Walkthrough And Guide
In The Shadow Of Starlight: Borderlands 3 Walkthrough
The First Vault Hunter: Borderlands 3 Walkthrough
The Great Vault: Borderlands 3 Walkthrough And Guide
Angels And Speed Demons: Borderlands 3 Walkthrough
The Feeble And The Furious: Borderlands 3 Walkthrough
Dynasty Dash Pandora: Borderlands 3 Walkthrough