Don’t Get Caught is the start of a series of missions with Skizzo in Days Gone.
Your first task is to follow Skizzo to the Ripper camp and find some det cords.
Here’s a walkthrough of Don’t Get Caught in Days Gone.
Don’t Get Caught
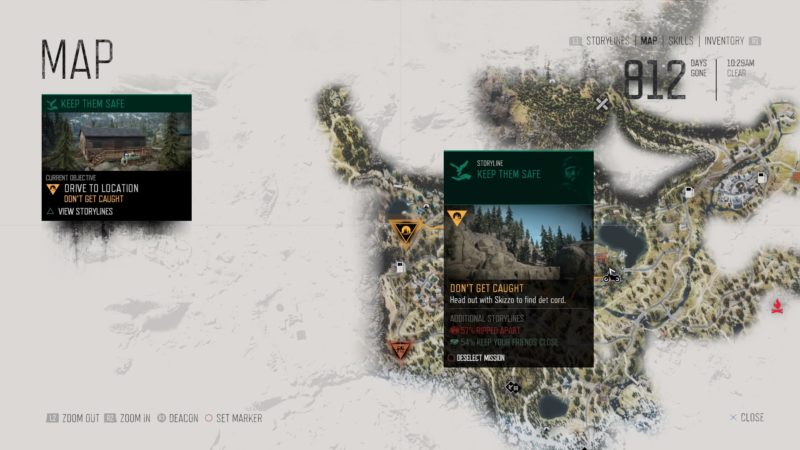
The mission starts with Don’t Get Caught. Meet Skizzo near the Ripper camp. The location is shown in the map below.
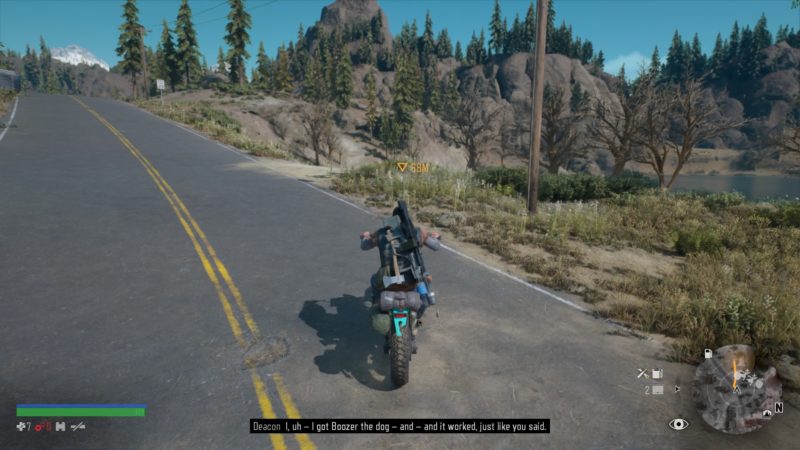
As you get there, a cutscene will load.
Follow Skizzo
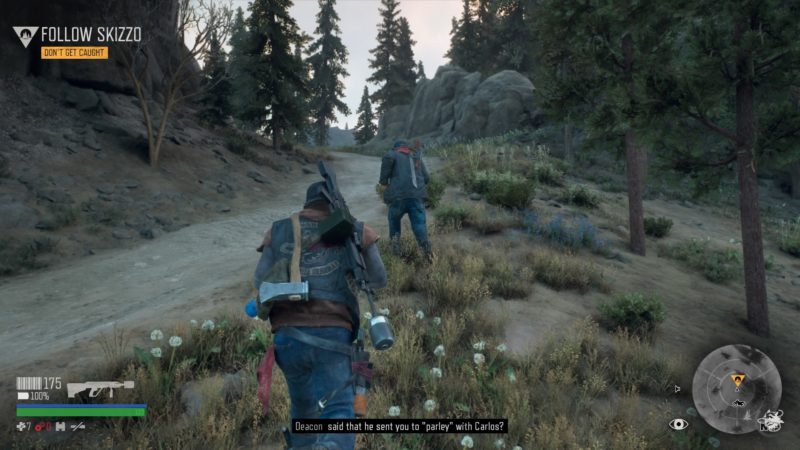
After the cutscene, follow Skizzo through the ‘back door’.
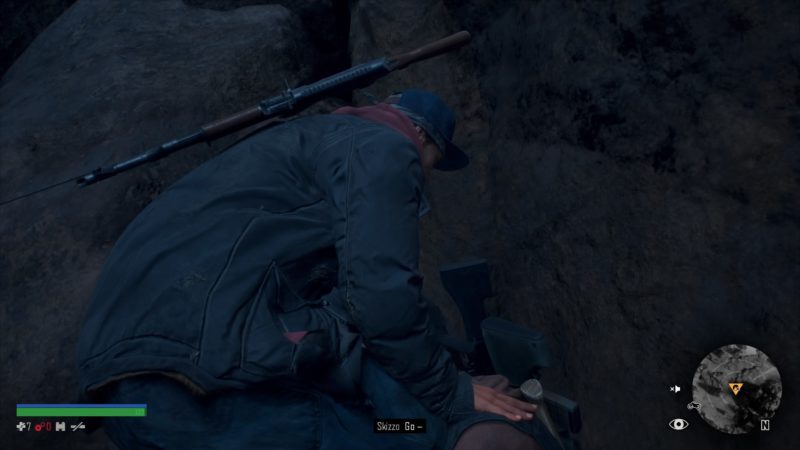
Keep going until you reach a dead end. Boost Skizzo up to the higher rock.
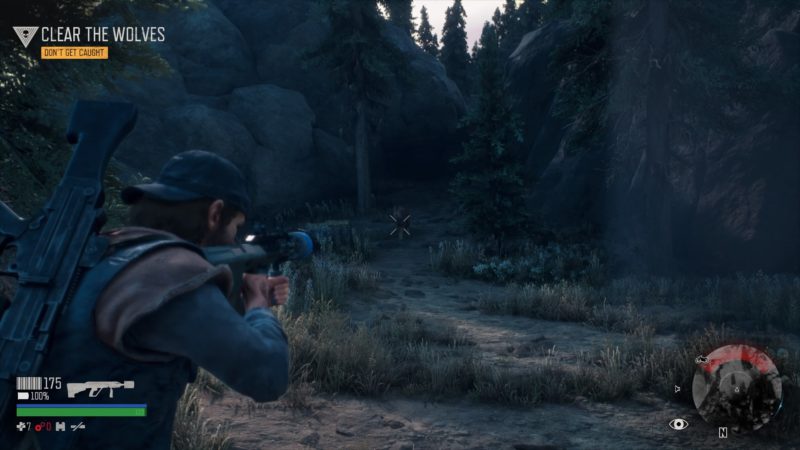
Clear the wolves
After boosting Skizzo up, a pack of wolves will attack you. Kill all four of them.
Follow Skizzo
Subsequently, Skizzo will bring a ladder for you to climb up.
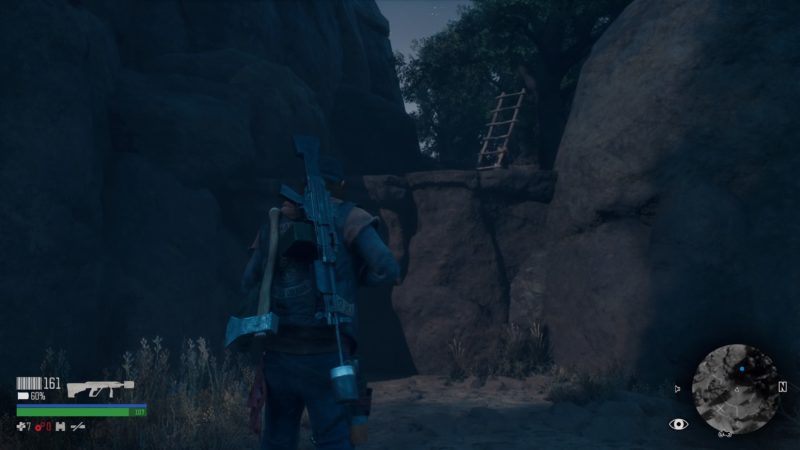
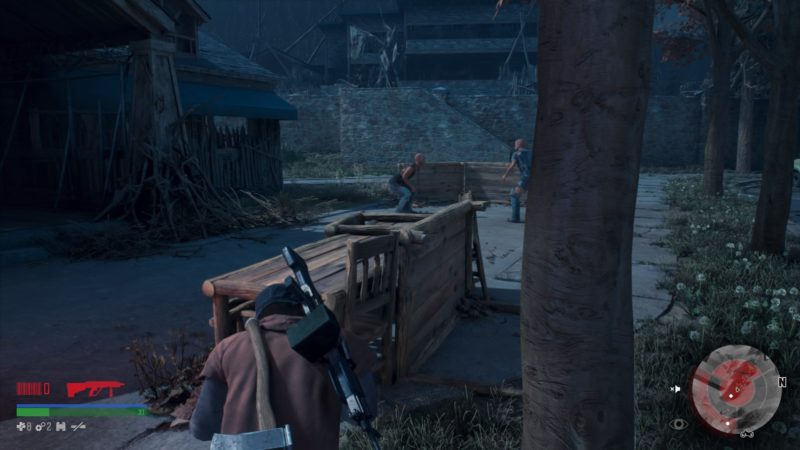
Get up and continue following Skizzo. You will see some Rippers around a bonfire.
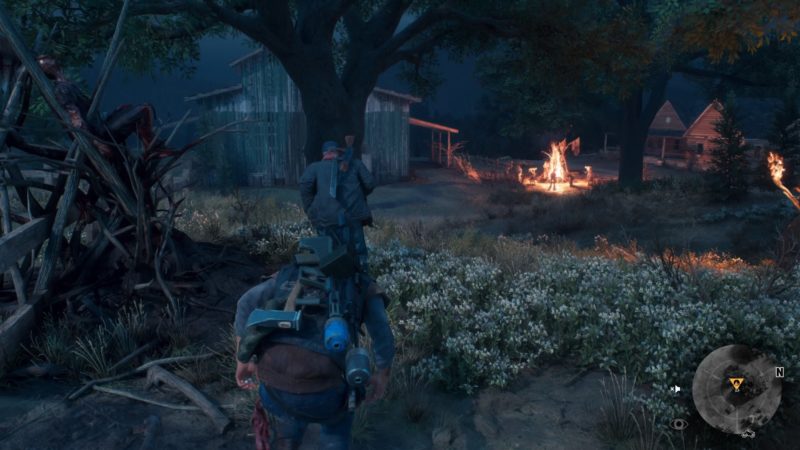
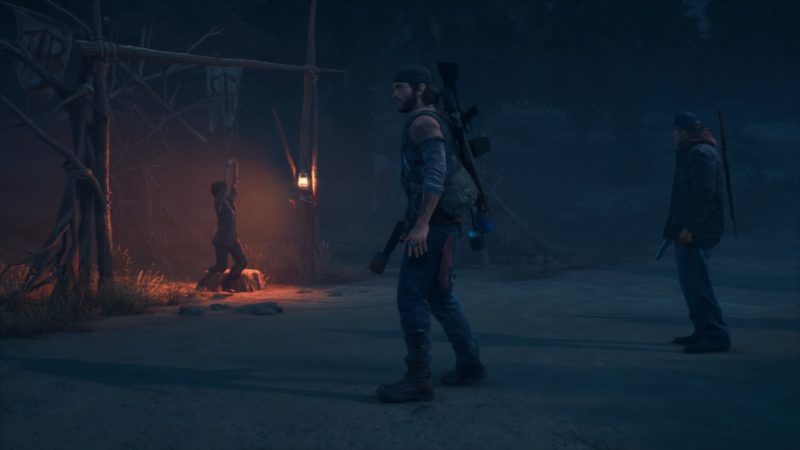
After the cutscene, follow Skizzo towards the building where the det cords are.
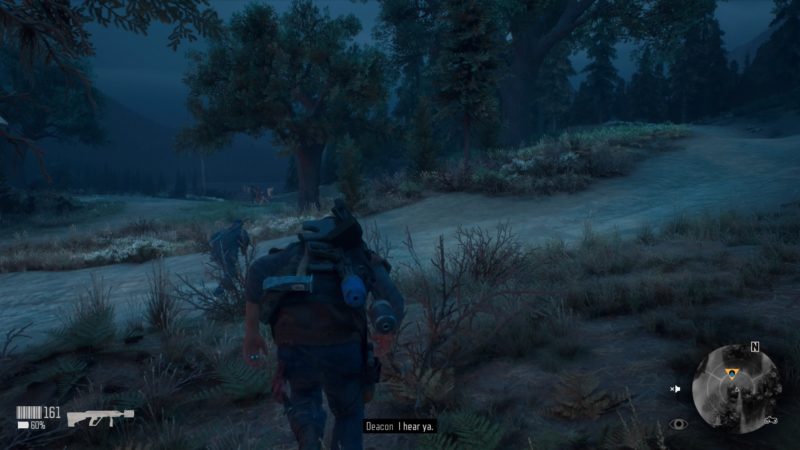
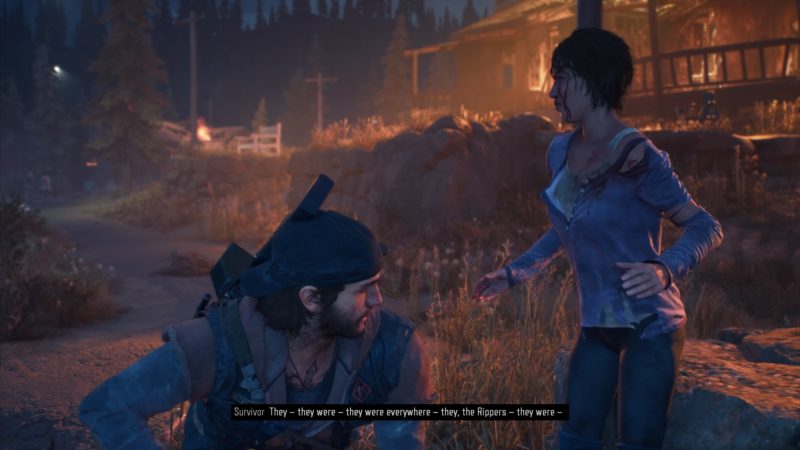
However, on the way, they will meet a lady who’s tied up by Rippers. The Rippers then used air horns to bring the freakers here.
Deacon tried to save her but her legs are broken. He kills her instead, since the freakers would have been a worse way to die.
It Was The Only Way
The mission gets updated again.
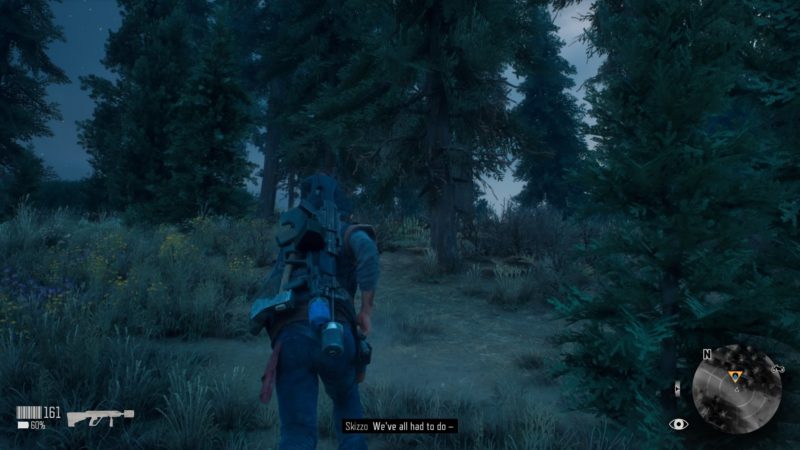
After the cutscene, follow Skizzo again.
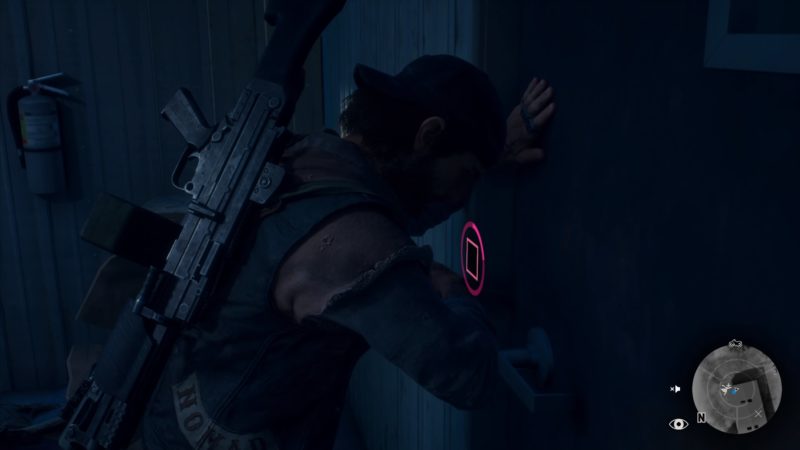
Enter the transportation building
You will then reach the transportation building. Find a way in.
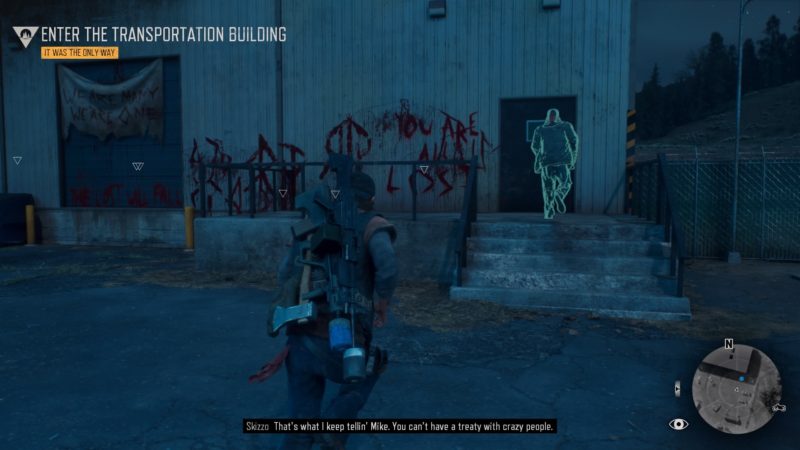
As the door is locked, go towards the left side and there’s another building here.

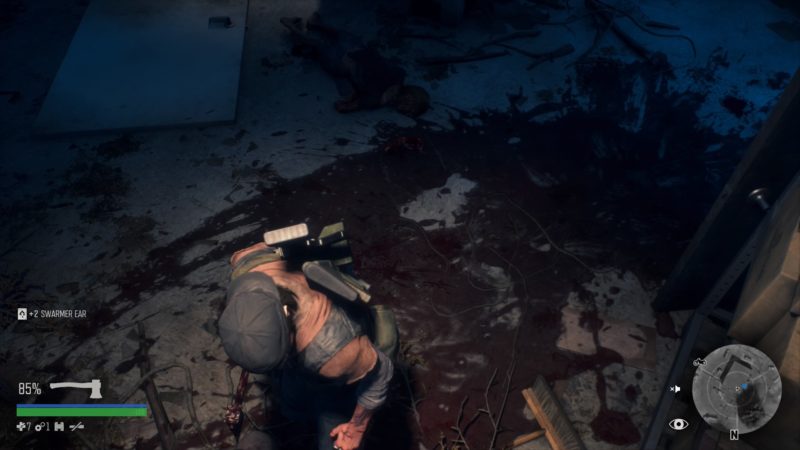
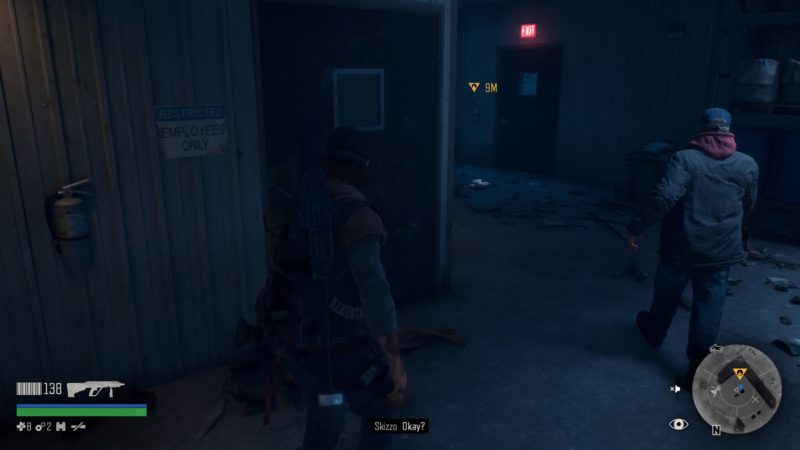
After entering, you’ll see Skizzo shooting some freakers. Help him kill them. Use your melee weapon to be quieter.
Come out of the building and head towards these shutters. Deacon and Skizzo will pull them up.
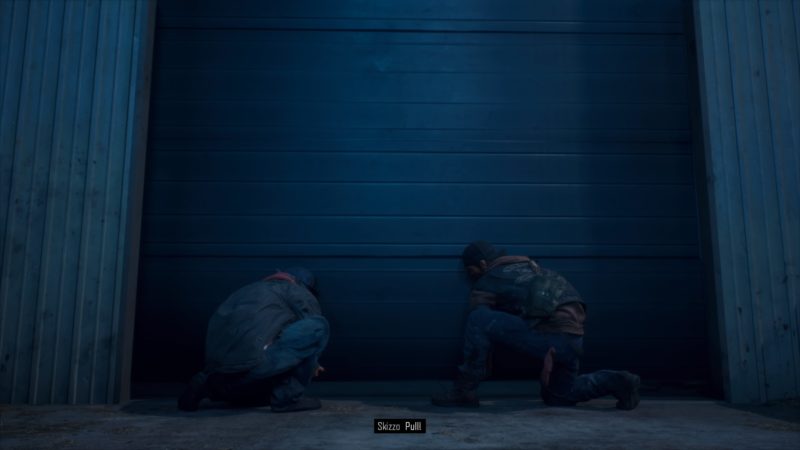
After Deacon goes in, the shutter drops and gets jammed. You’ll find yourself with lots of newts inside the building. Skizzo remains outside.
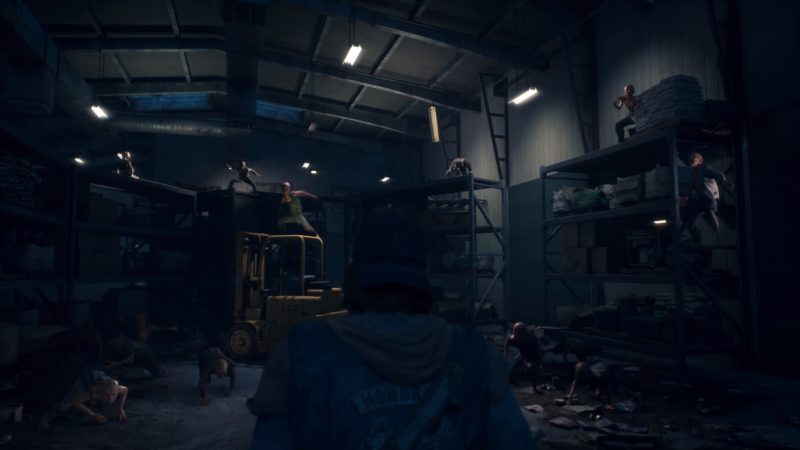
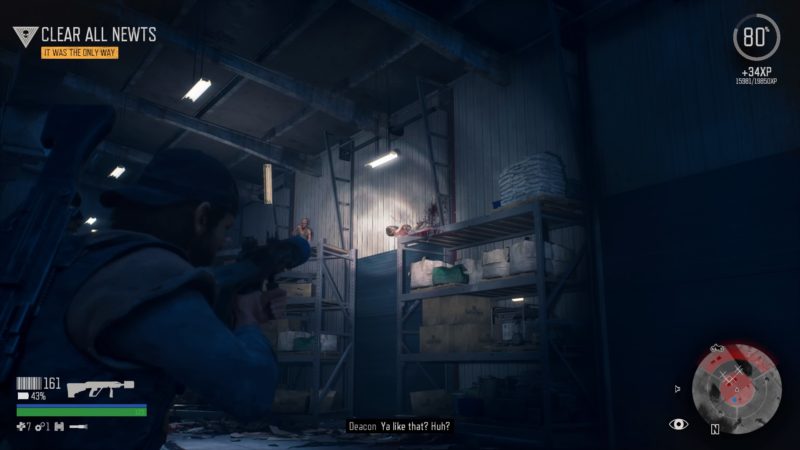
Clear all newts
Use survival vision (if you have the skill) to outline the newts. You’ll know where they’re hiding.
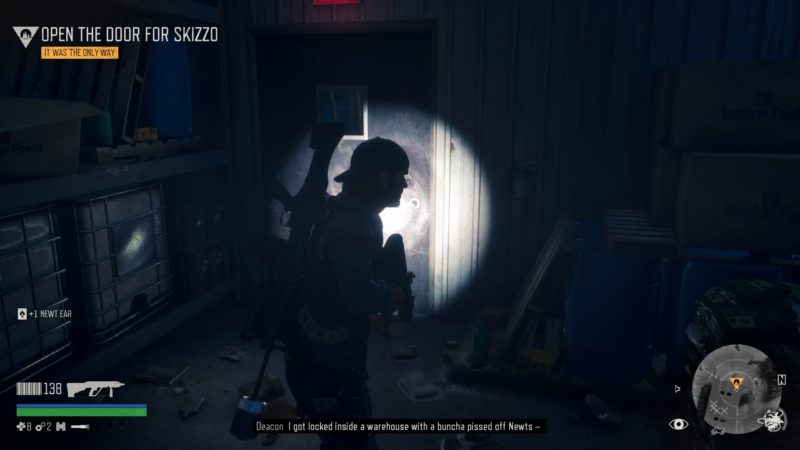
After clearing the newts and going one round in the building, open the door for Skizzo.
Search for the detonator cords
Now, help Skizzo up the platform. The detonator cords are up there.

After grabbing the cords, follow Skizzo to the exit.
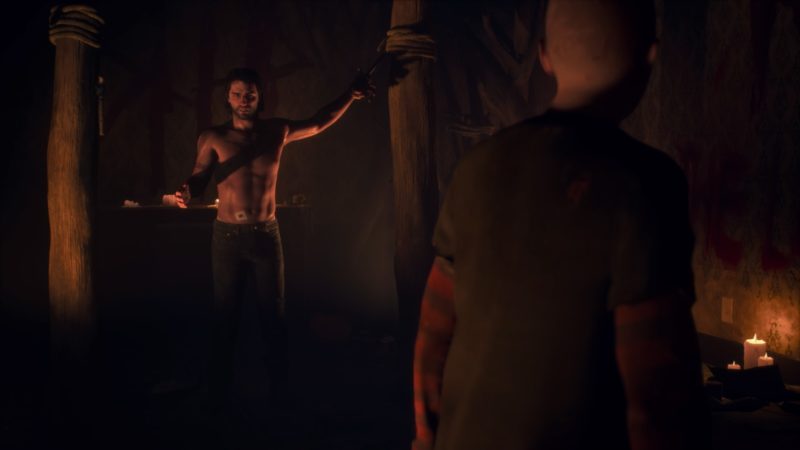
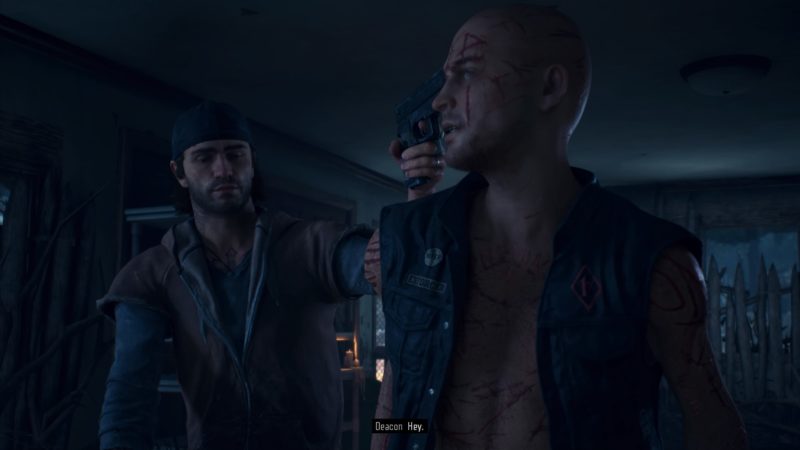
A cutscene will then load. Skizzo knocks you out and a bunch of Rippers come to get you. He had a deal with Carlos all along.
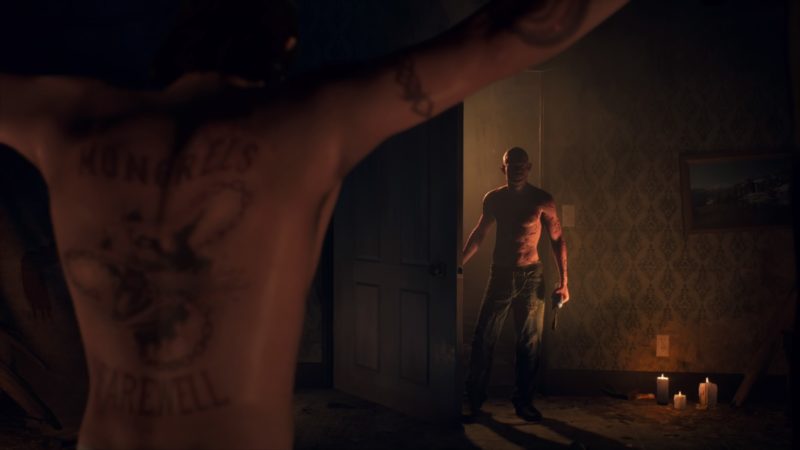
Carlos then burns Deacon’s arms in the cutscene and his name was Jessie in the past.
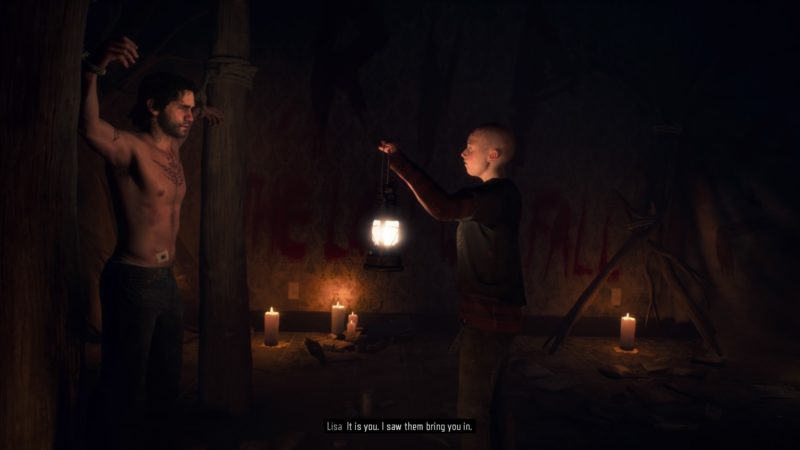
Deacon is then saved by Lisa, who has undergone the Ripper initiation.
I Kept My Name
Once again, the mission is updated.
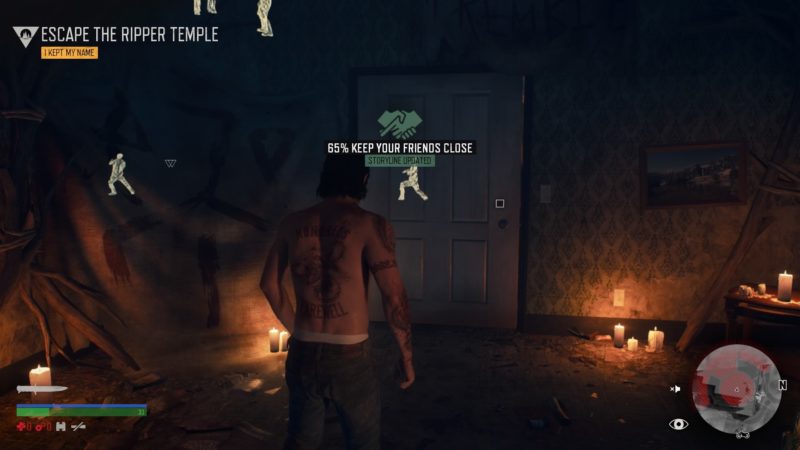
Escape the Ripper temple
As you’re injured and without any ranged weapons, you have to use stealth.
Your task is to get out of this place.
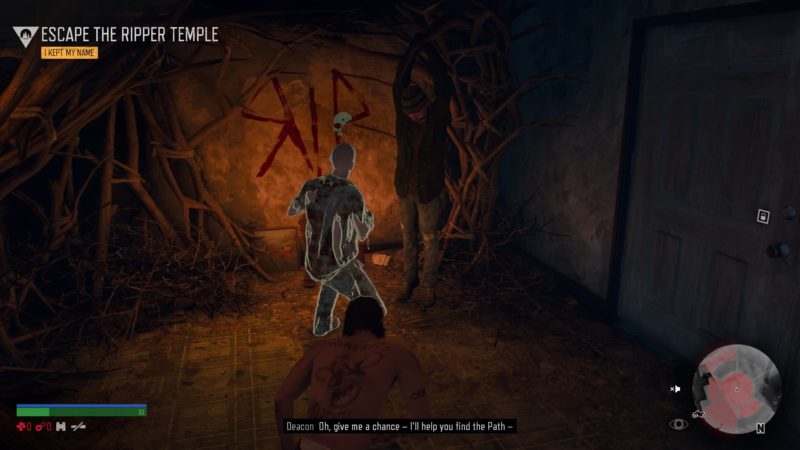
Use survival vision to see the enemies.
Most of the Rippers are not facing you. You can stealth kill them from behind.
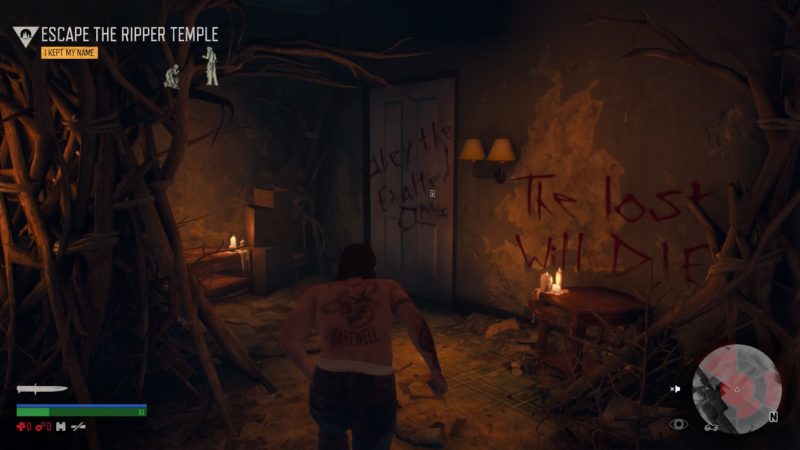
Now, keep going until you reach the stairs going up.
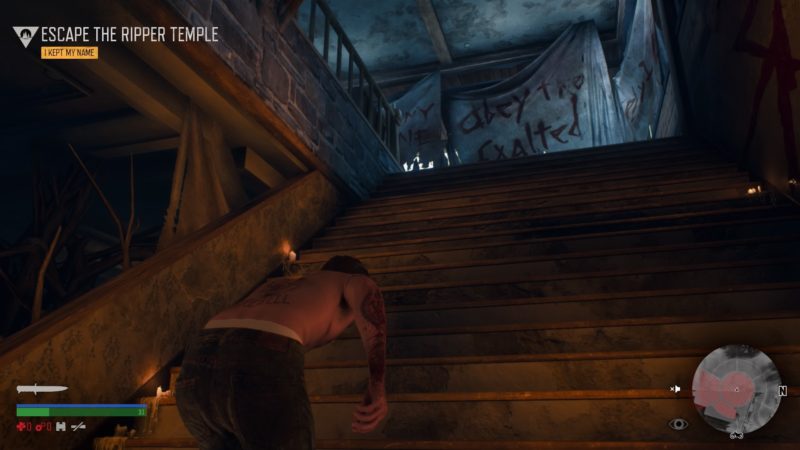
Avoid the Rippers.
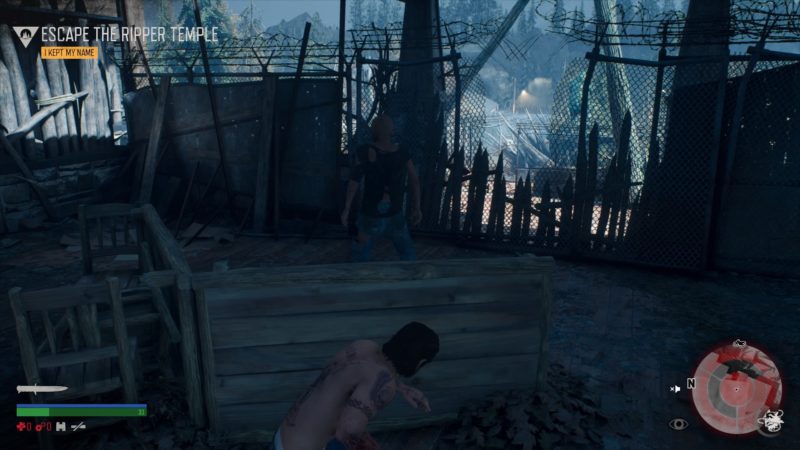
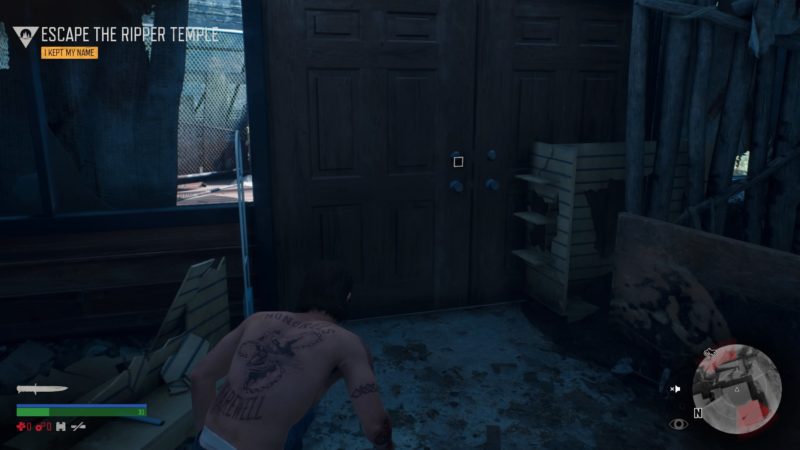
Keep going until you find a door to go out.
There are more Rippers outside, but you can avoid their line of sight.
Find the bonfire
Now, you need to find the bonfire to retrieve your items.
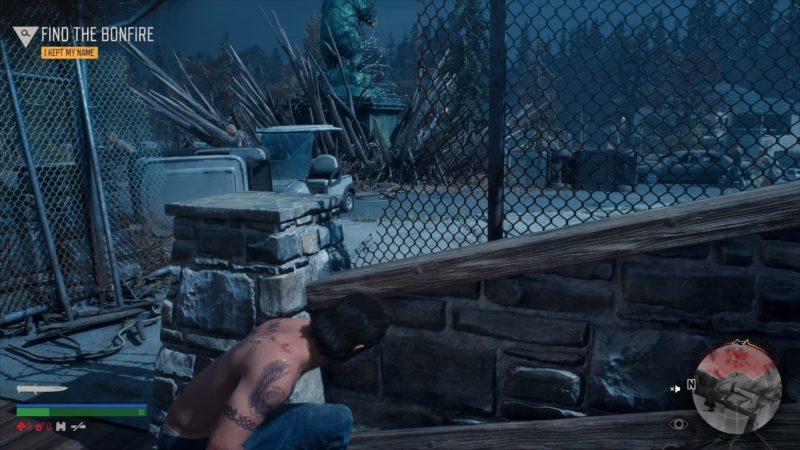
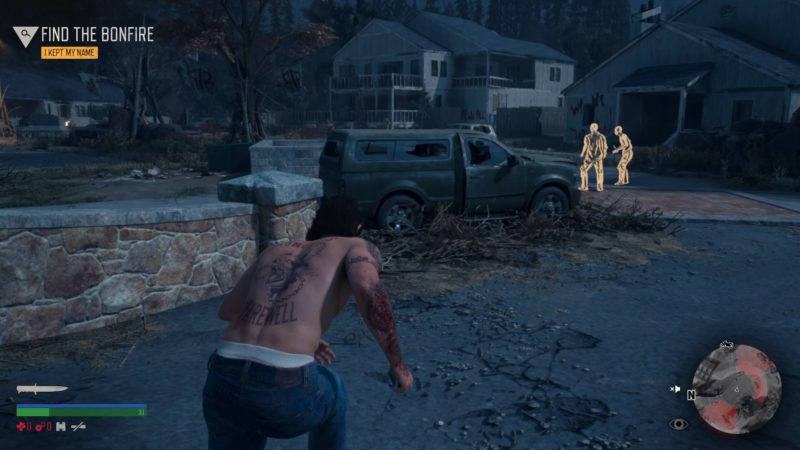
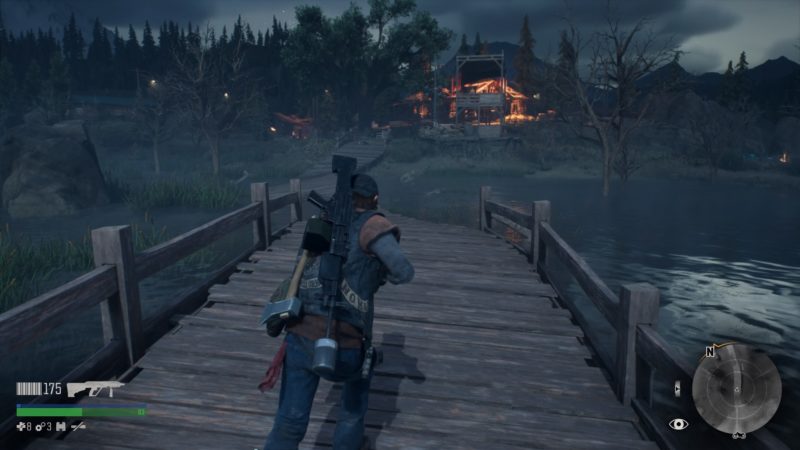
You should see the bonfire from a distance as the fire is pretty large. Just head towards it without getting seen.
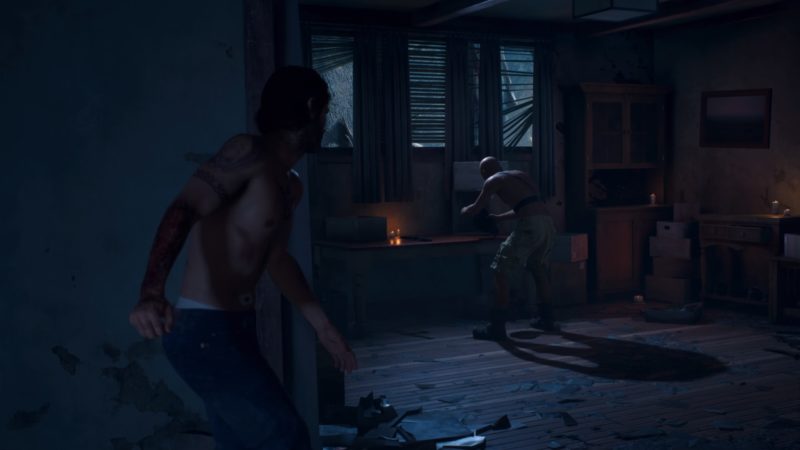
Find your gear
After reaching the bonfire, go to the building on the left. You need to find your gear.

After entering the building, a cutscene will load.
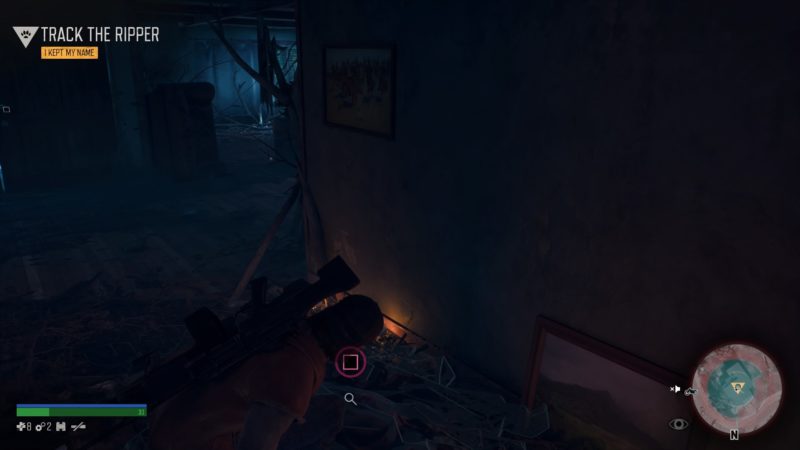
Track the Ripper
You should have your items now, but your jacket was taken.
Find the Ripper who took it. Interact with clues to get footsteps.
Head outside again.
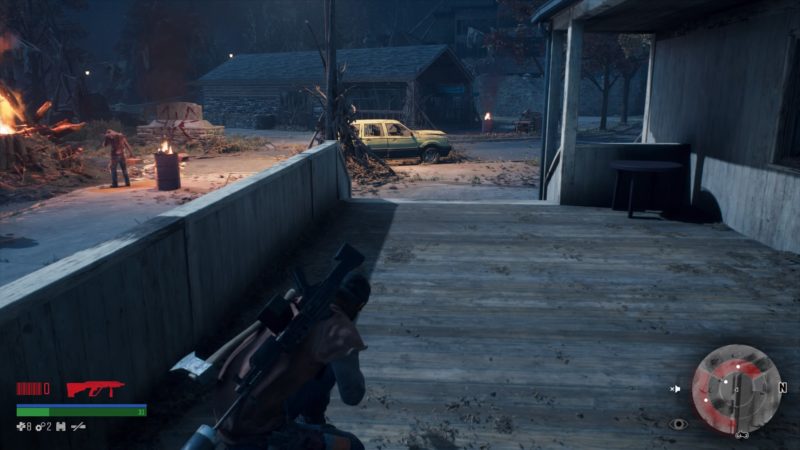
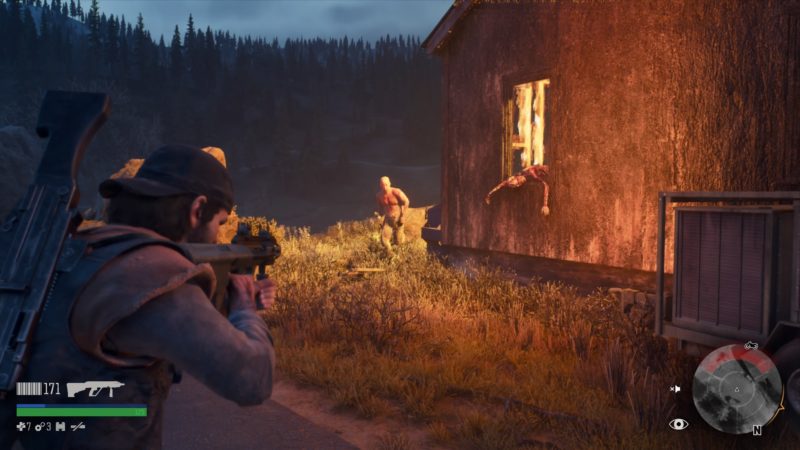
Go to this building where you see two Rippers just outside (image below).
You can enter the building through the front entrance, as there’s a door-sized gap on front.
A cutscene will load again.
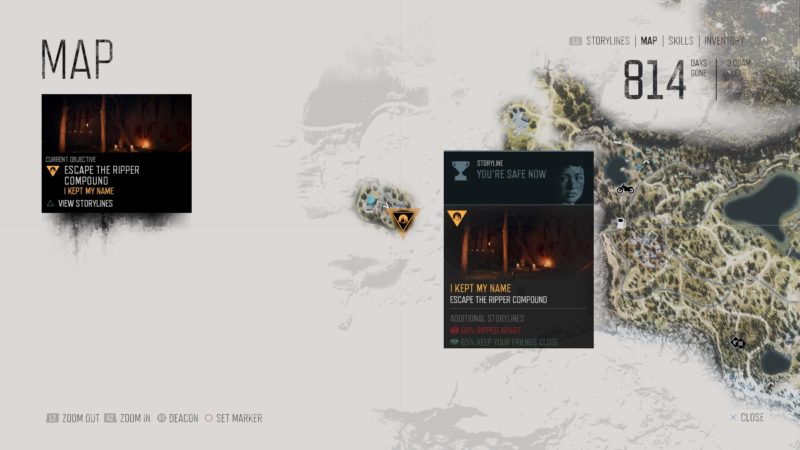
Escape the Ripper compound
Next, you have to escape the compound.
On the way out, your objective gets updated as you see Lisa getting taken away.
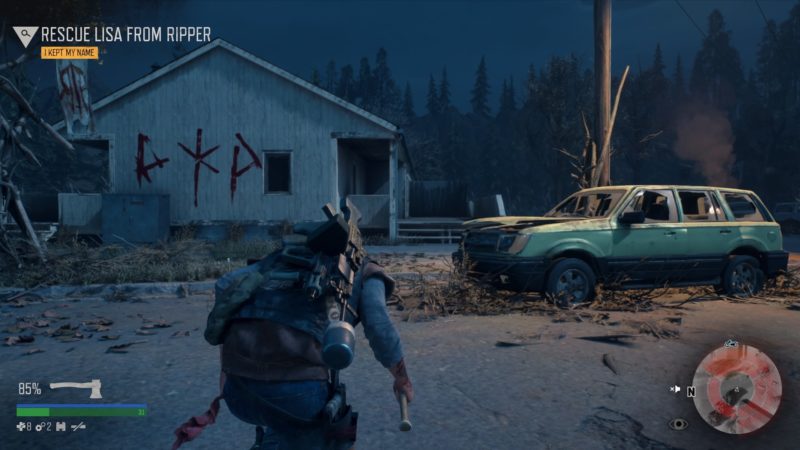
Rescue Lisa
Go to the building where she was taken to and rescue her.
Go through the door.
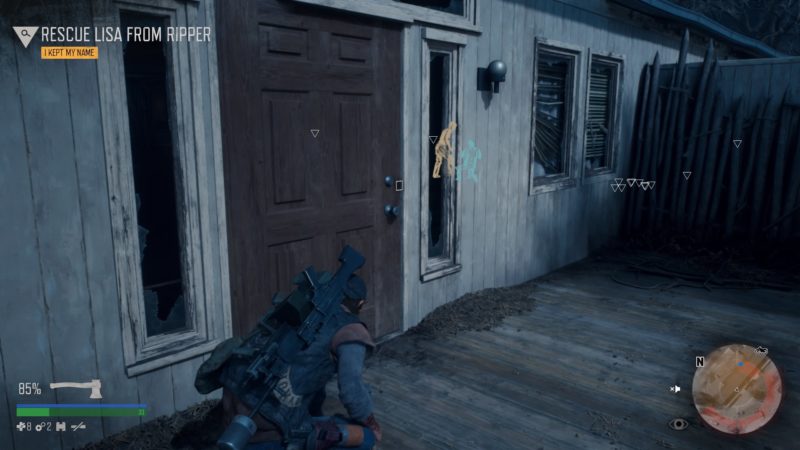
A cutscene will load as you get near them.
Should Have Seen It Coming
The mission gets updated again.
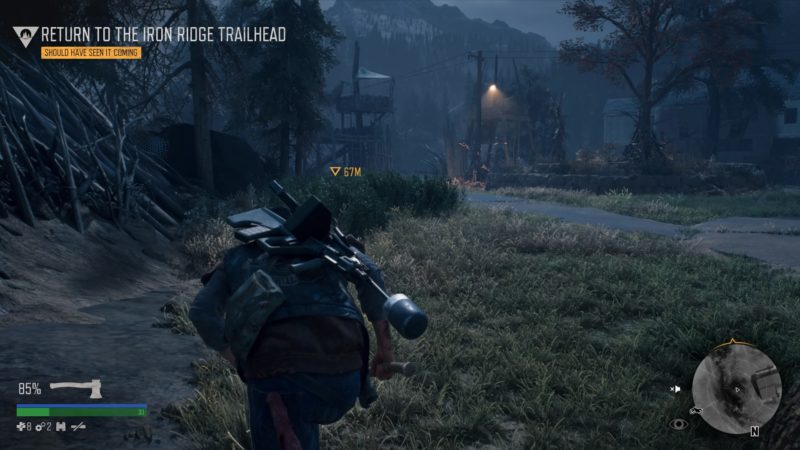
Return to the trailhead
Now, go back to the iron ridge trailhead.
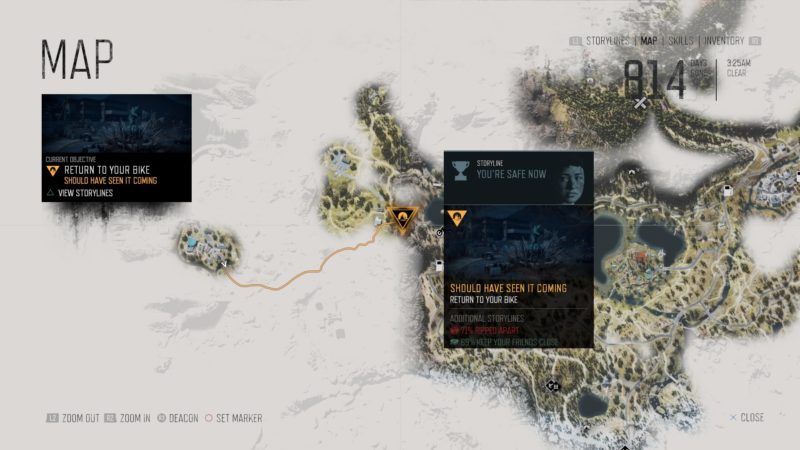
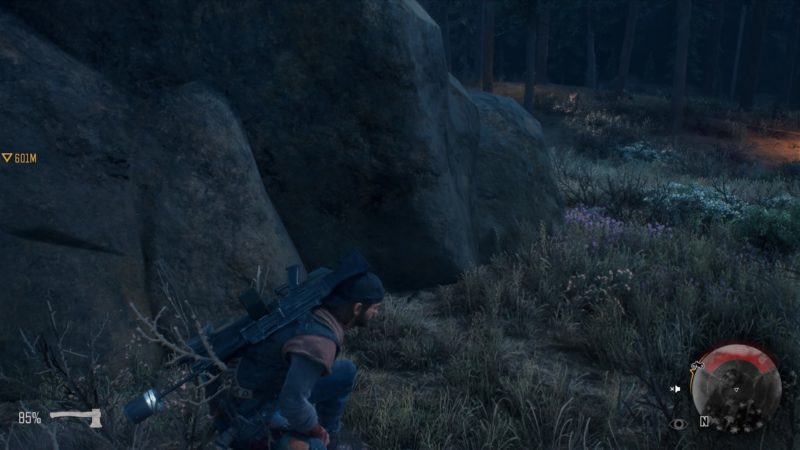
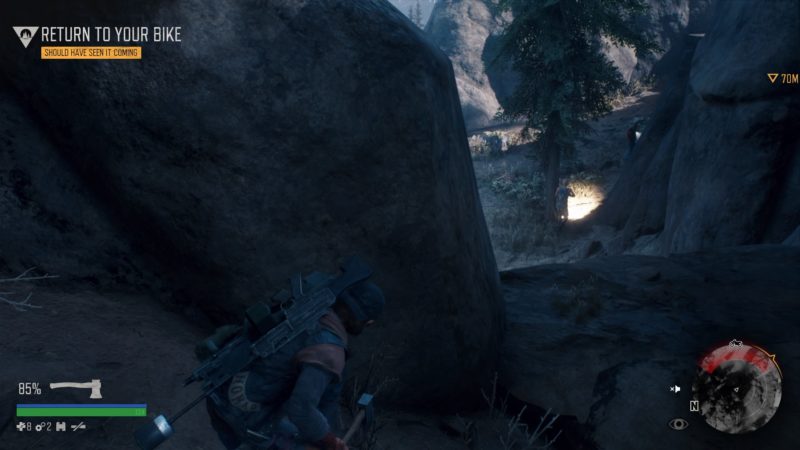
Return to your bike
You then have to look for your bike. It is parked about 800 meters away.
If you have bullets, then it’s much easier. Otherwise, just go stealthily all the way.
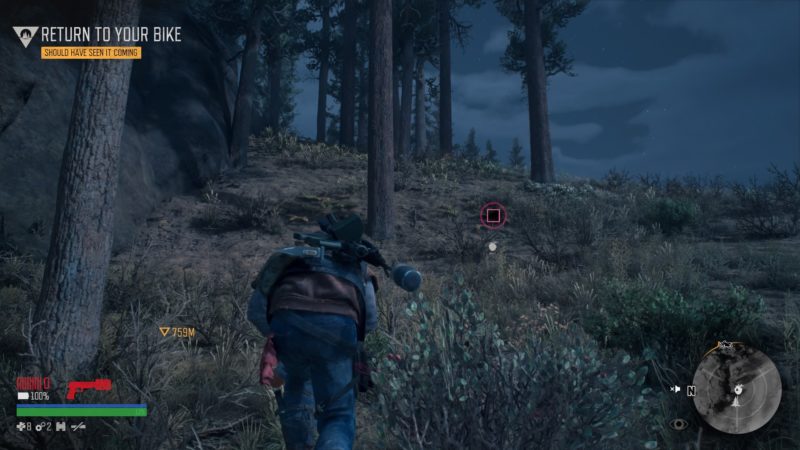
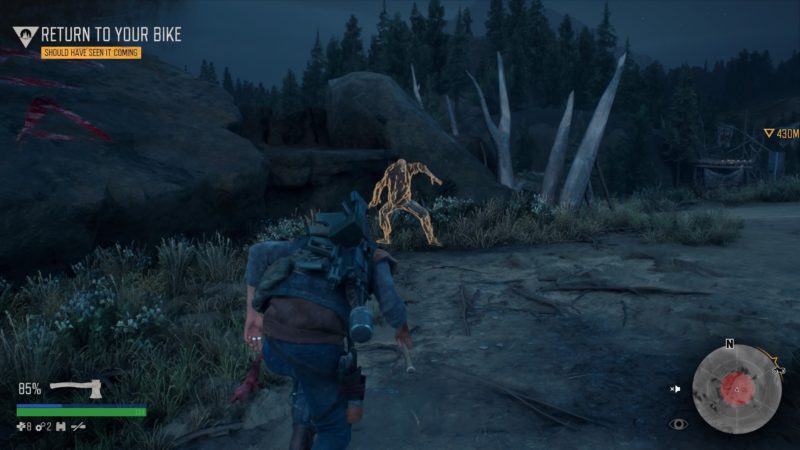
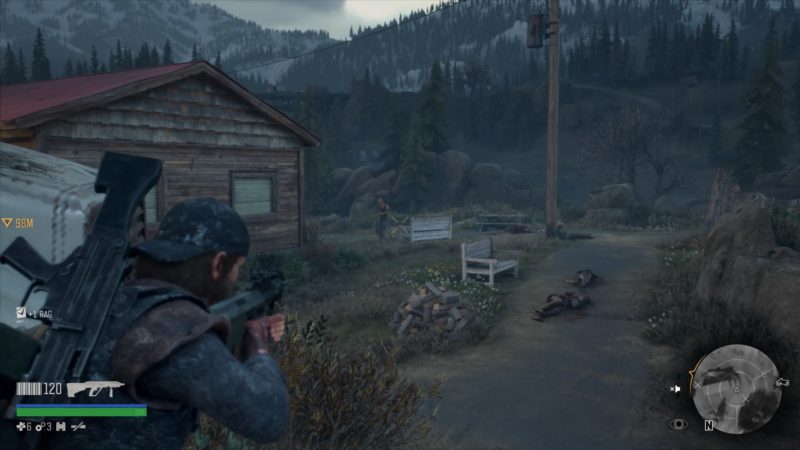
There will be Rippers looking for you, and freakers walking around.
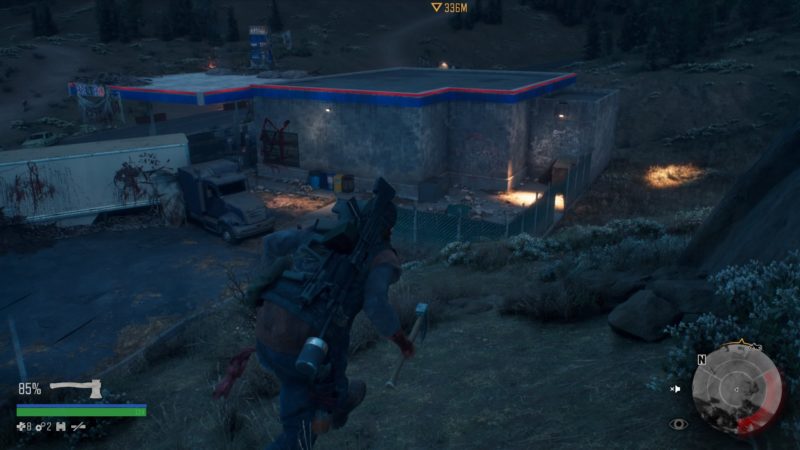
Go past this petrol station. More Rippers are here.
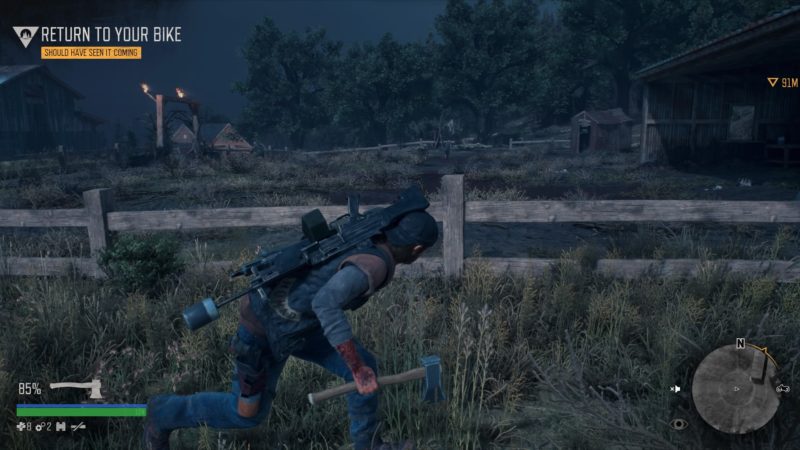
You’ll finally reach where you came from earlier, where the wolves were. Kill one of the Rippers quietly and you’ll get a few bullets.
Use the bullets to kill the rest.

Finally, go to your bike and a cutscene will load.
Riders Sent To Find You
The mission gets updated again, after you get your bike.
You need to head back to Lost Lake camp. On the way, two bikers sent by Iron Mike will accompany you.
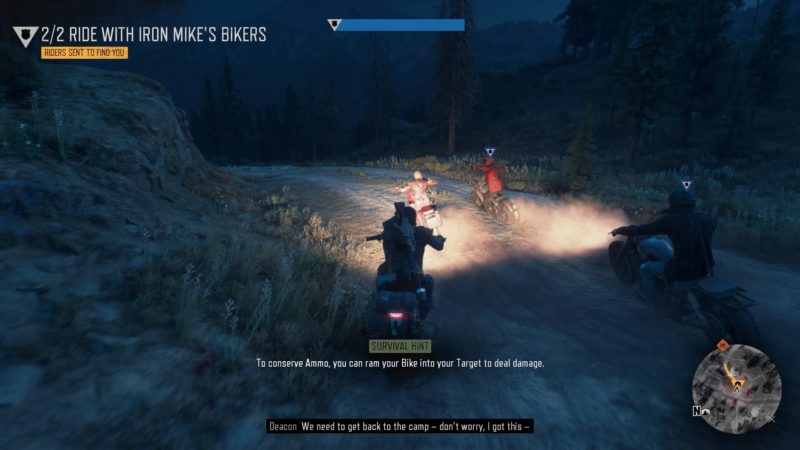
Kill the Rippers who come to attack you guys. Watch out for the HP on the screen above.
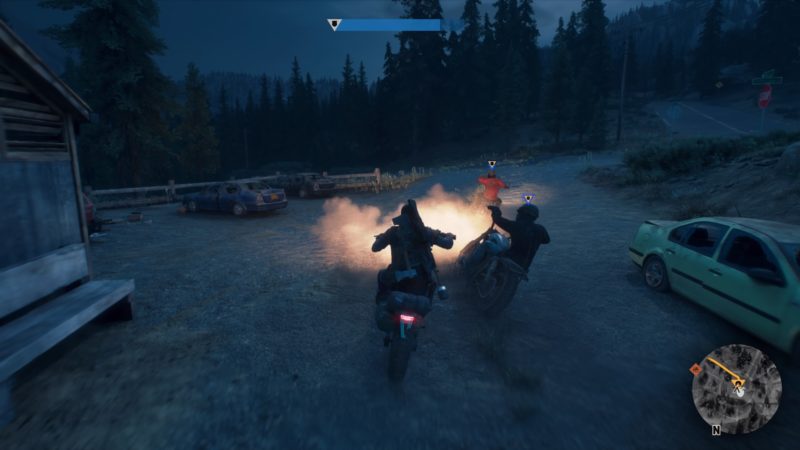
At one point, the riders will go elsewhere. Head towards the Lost Lake camp.
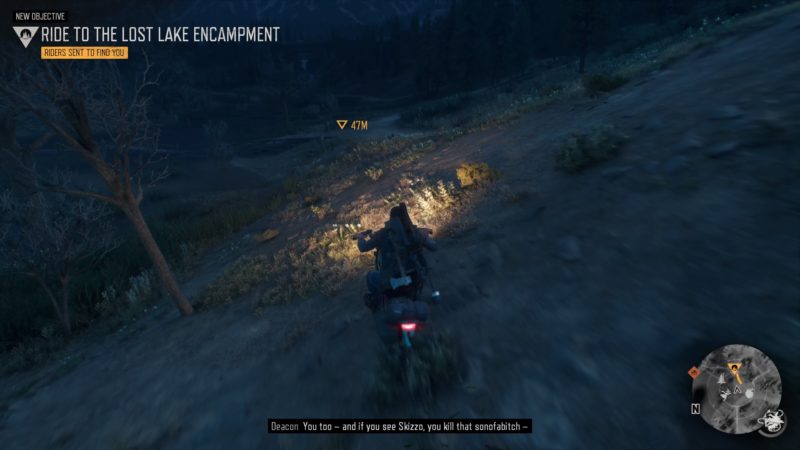
As you arrive, a cutscene will load and Deacon is already in the camp. It’s clearly under attack by the Rippers.
They Will Never Stop
The mission gets updated again. If you have a saddlebag, you can grab some ammo from the motorbike.
Rescue the hostages
Get back to camp and rescue the hostages. Before you can do that, eliminate the Rippers all around the camp area.
Finally, get to this building and kill the Rippers in the compound.
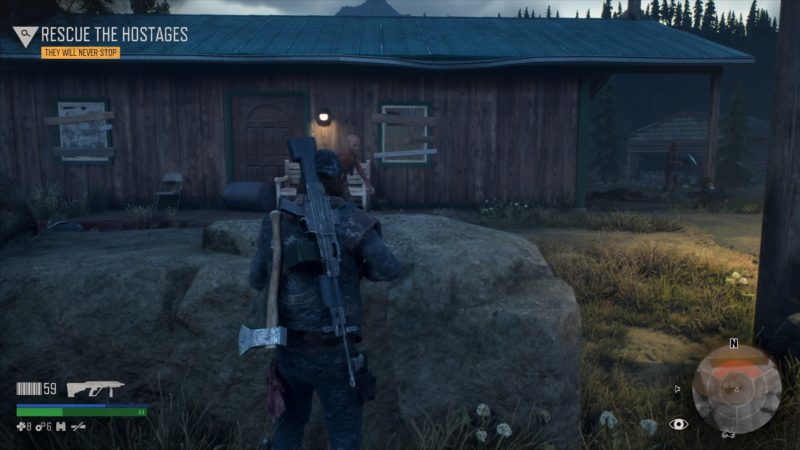
You need to be quick here. After opening the door, use focus immediately to shoot the Ripper.
If the girl dies, you have to restart from the checkpoint.
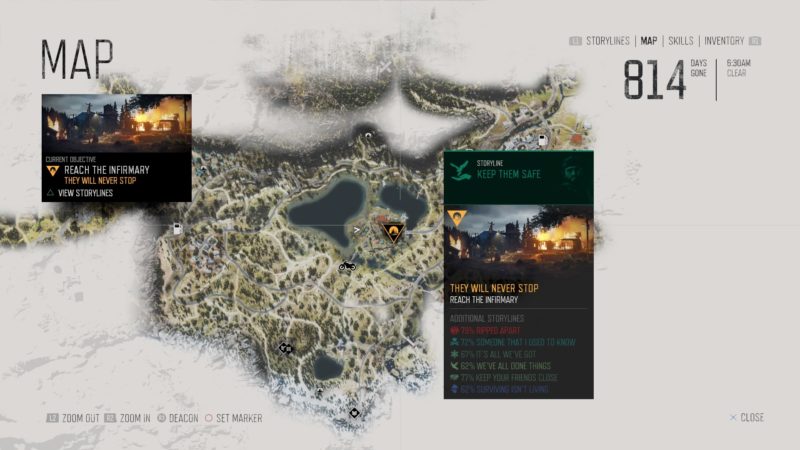
Reach the infirmary
Next, you have to head to the infirmary.
There are Rippers along the way. Watch out for those with machine guns and thick armor.
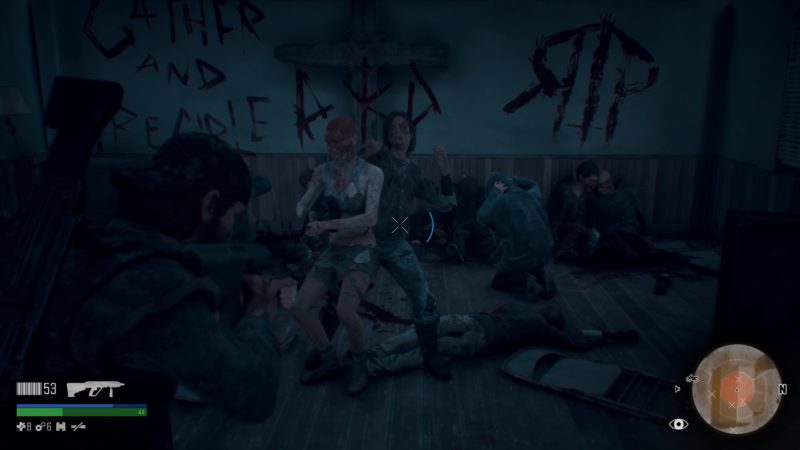
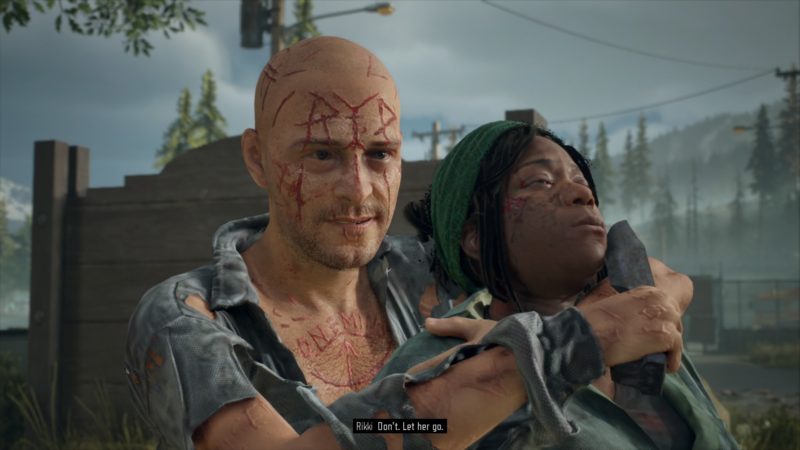
As you reach, a cutscene will load, with Addy being held by a Ripper. A horn then sounds, and everyone ceases fire.
The mission completes after the cutscene.
You will get 6,000 XP in total.

Related articles:
Where Is Jeremy – On Tonight’s Menu: Days Gone Wiki
A Score To Settle: Days Gone Walkthrough
Have It Your Way: Days Gone Walkthrough
Give Me A Couple Days: Days Gone Walkthrough
Drinking Himself To Death: Days Gone Walkthrough