Assassin’s Creed Odyssey recently came up with a new feature that allows you to create your own stories.
These stories are basically quests and you can customize them yourself using provided items.
Here’s how you can create your own story in Assassin’s Creed Odyssey.
Note: This is only to show the most basic example of a story.
Access the Story Creator website
To create your own story, you first need an Ubisoft account. You can use your social media account to create an Ubisoft account as well.
Go to the main AC Odyssey website on your computer and you should find the story creator mode. You can’t use your PS4 to make a story.
You should then see this “Create A Story” section. Click on it.

Login to your account. Just follow the steps provided.

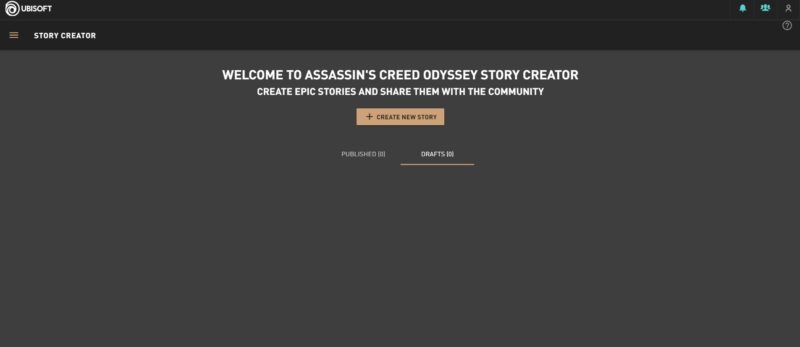
You will then be redirected to the main story creation page. Click on create new story.
Start your story
You will see a “story end” and “story start” at the blank canvas.
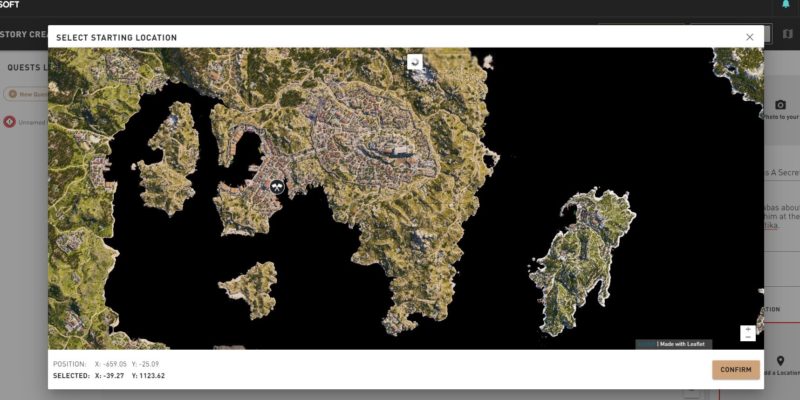
Before you go into the main dialogue writing / decision-making, you should first fill up the relevant parts like the Story Name, Synopsis, Location of Quest and so on.
Check out the “Blocks” and “Assets” at the left side as well.

When selecting the location, you can view the entire map and choose a specific location. Click on confirm when you’re done choosing.
Choose your characters
Next, you can go into the characters. They have provided a list of character templates for you to use. The characters are under the “Assets” part.
Choose those that you intend to use in the story itself.

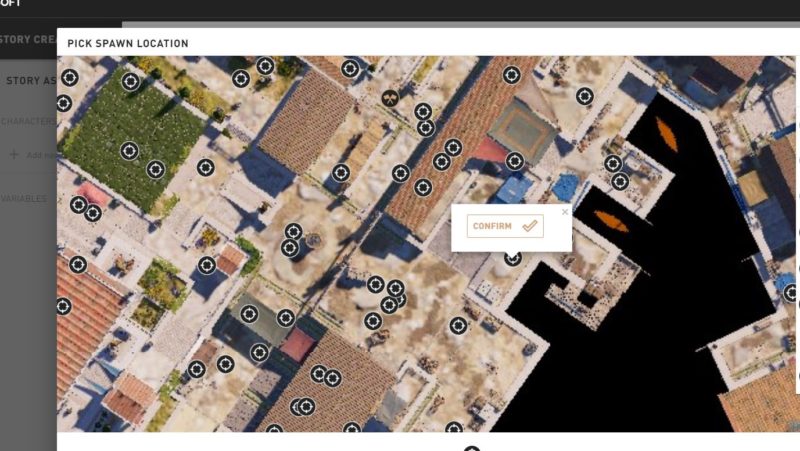
After choosing the character, you need to decide where the character will spawn.
You need to fully zoom into the map and click on the exact location marked as a GPS symbol. There are plenty to choose from.
Create a new quest
Once you’re done with character creation and so on, you can start making a quest.
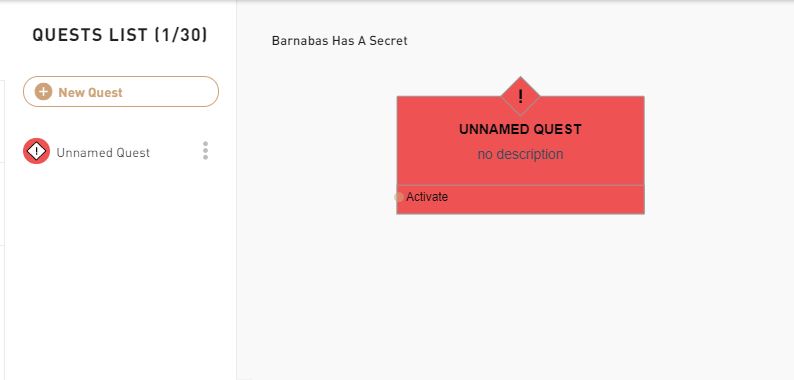
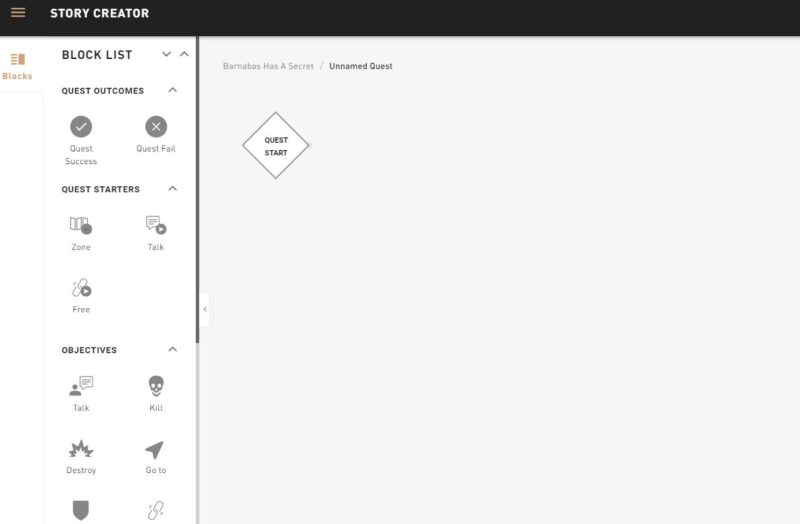
At the left side of the screen, you will see “New Quest”. Click on it to get an Unnamed Quest.
Drag the Unnamed Quest to the blank canvas and you will see this red block.
Double click on the red block and you’ll get a list of blocks, including quest outcomes, starters, objectives and so on.
Whether you use them or not depends on how complex you want the quest to be.
If you want something simple like just a short dialogue to complete the quest, then use the “Talk” block as the quest starter. You can also choose “Zone” and so on to start a quest.
Start with something easy first.
Just drag any of the blocks you need to the black canvas. Double click on the block you choose.
I chose the ‘Talk’ block as the quest starter.
After double clicking on the ‘Talk’ block, you’ll get even more detailed options. You can choose sequence, choice and so on.
I chose sequence, which means I can decide which character will speak and what their dialogue will be.
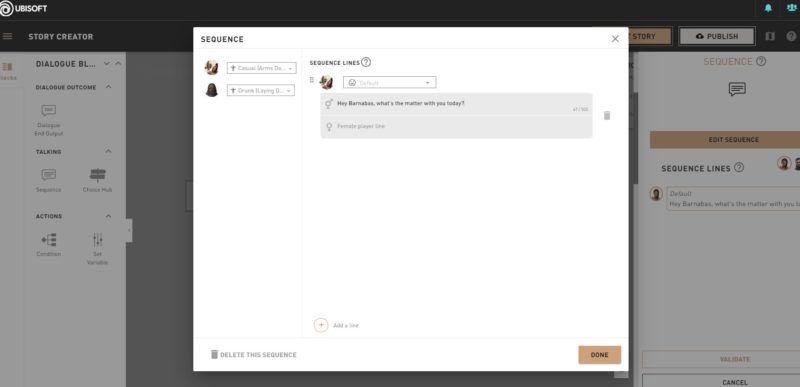
Just keep adding lines to make the dialogue longer. Click on done when you’re okay with the conversation sequences.
Validate the sequence as well.
I also added a Choice Hub for the player to make a decision. It’s a different block that you need to drag into the canvas.
Connect the blocks
After you’re done with the quest starter dialogue, you need to connect the dots between blocks.
Just drag the brown circle on one block to the other block like in the image below.
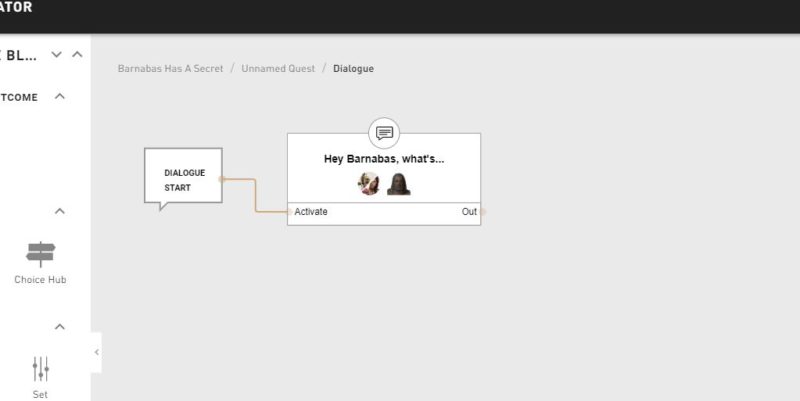
You can’t end the dialogue part with just a sequence dialogue. You need to have an outcome.
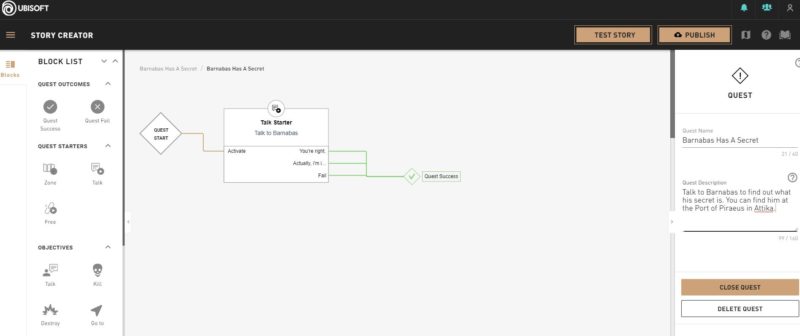
For e.g. I created 3 choices for the player under the Choice Hub and I used a “Dialogue end output” for each of the choice.
It dictates what would happen if you choose any of the choices.
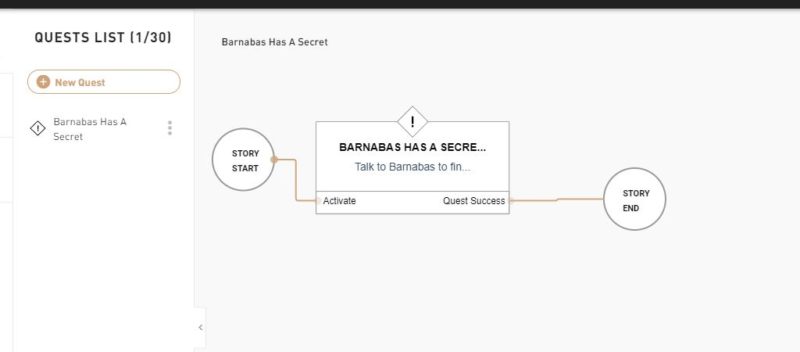
In a nutshell, I connected the lines from ‘Dialogue Start’ to ‘Sequence’ to ‘Choice Hub’ and eventually to ‘Dialogue End Output’.
Decide on quest outcome (success / fail)
After finishing the quest starter part (where you made the dialogue sequences), you have to decide on the outcome.
This is assuming you no longer want to add any more parts to the story (e.g. go somewhere to kill guards / or talk to someone else). You can if you want to, but you still need an outcome at the end.
There are quest success and quest fail blocks.
In the current example, I want to end the quest right after a short conversation. I just choose quest success / failure depending on which dialogue choice the player makes.
In my scenario, I let the player succeed regardless of which choice he or she chooses.
Link the story
Once you’re done with the quest creation, you need to link the “Story Start” up until the “Story End”.
After you’re familiar with the story creation mode, you can link up more different blocks in one story.
For e.g. you can make many dialogue options, objectives to do, people to meet and so on, all in one story.
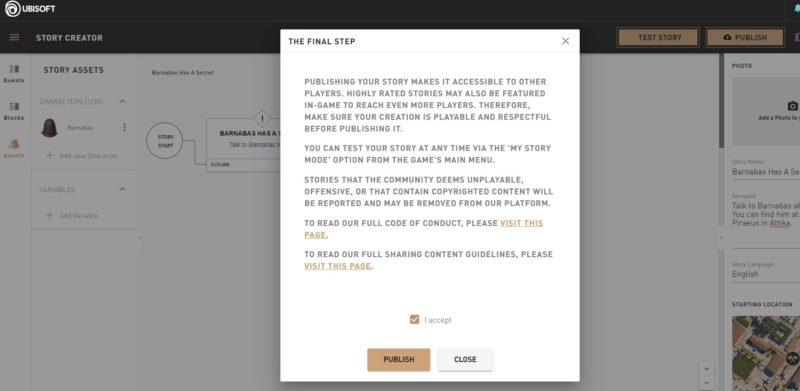
Publish the story
When the story is ready, just hit on “Publish” and you can test the story inside the game itself.
How to test your story
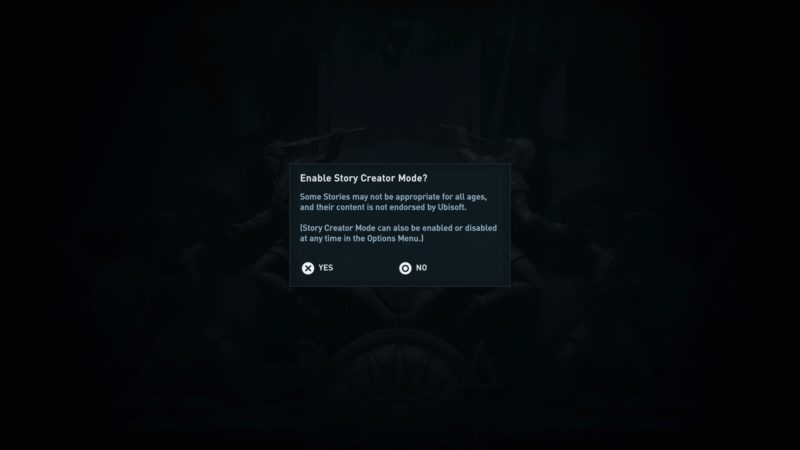
Once you enter Assassin’s Creed Odyssey, you should see a prompt on whether you want to enable Story Creator Mode.
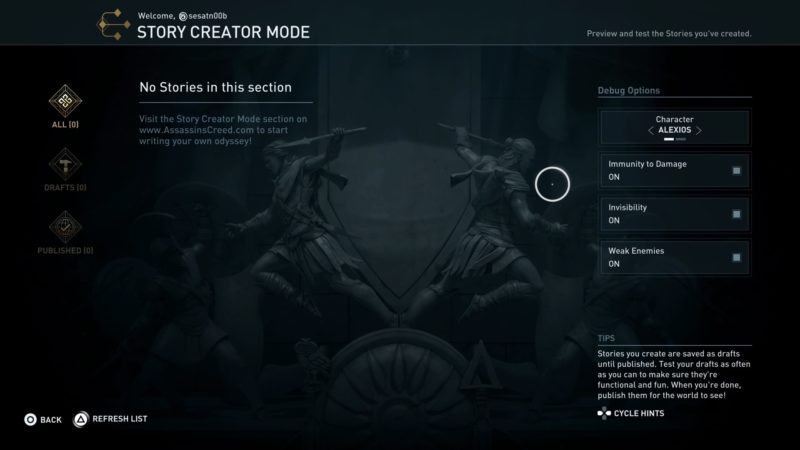
You can find the mode inside the menu as well. Just go to the story creator mode area.
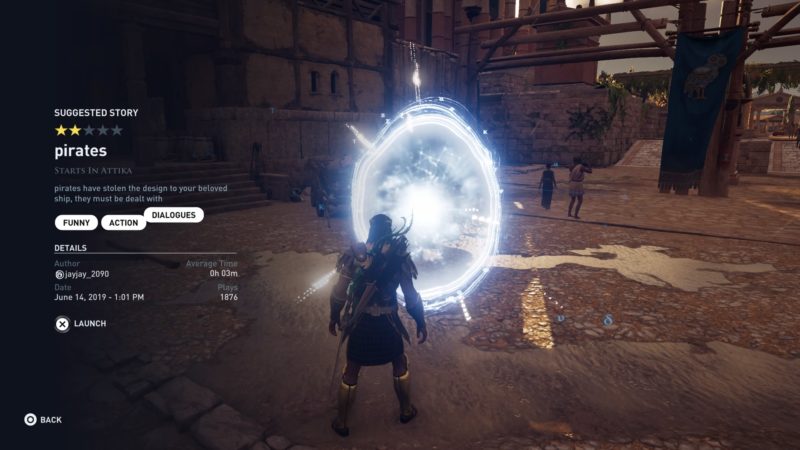
Your story should appear inside if you have made one.
When you go to the location marked as the story starter, you will then see the details of the story, including the name, synopsis and so on.
Launch the story to test the story.
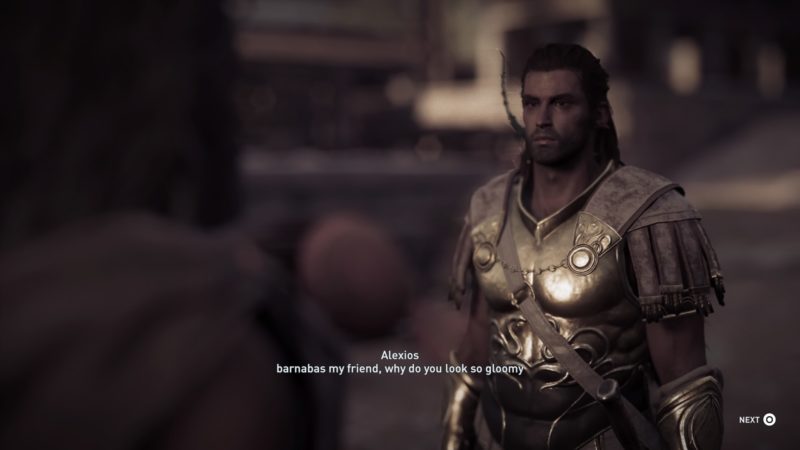
The only downside to creating a story is that you can’t make the characters speak (since you’ll need a voice actor for it).
You will just get the dialogue sequences. P.S.: This story below is not mine.
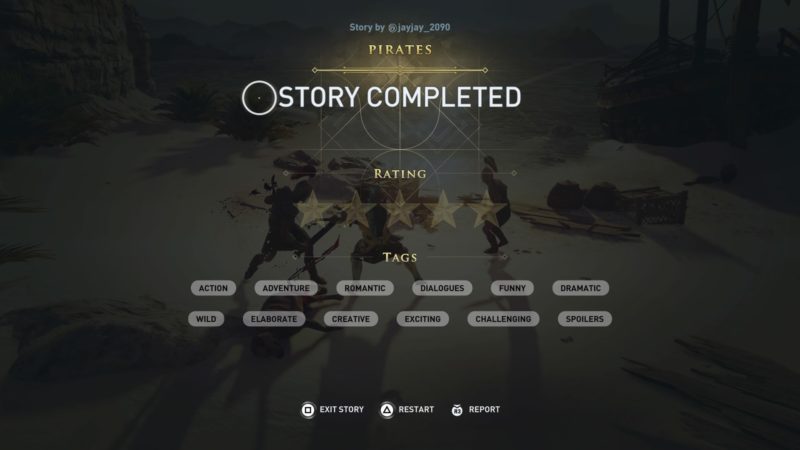
After completing the story, you can rate it and use the relevant tags on whether the story was romantic, wild, challenging and so on.
And that’s pretty much it on how to create your own story in Assassin’s Creed Odyssey.
Practice makes perfect.
Related articles:
How To Start Judgment Of Atlantis – AC Odyssey Guide
AC Odyssey: Blue Eyed Beauty Riddle & Cradle Of Myths Tablet Location
Assassin’s Creed Odyssey: Smoke Signal Riddle Location
Top 10 Shows Like Westworld You Can Watch Today
Moving Forward: Assassin’s Creed Odyssey Walkthrough
Defense Of Samos: Assassin’s Creed Odyssey Walkthrough