Canid’s Cradle is a side quest on Monarch in Obsidian’s The Outer Worlds.
Your task is to retrieve a module and decide if you should give it to Sanjar or Graham.
Here’s a walkthrough of Canid’s Cradle in The Outer Worlds.
This quest begins after you’ve disabled the radio broadcasts for Hiram Blythe.
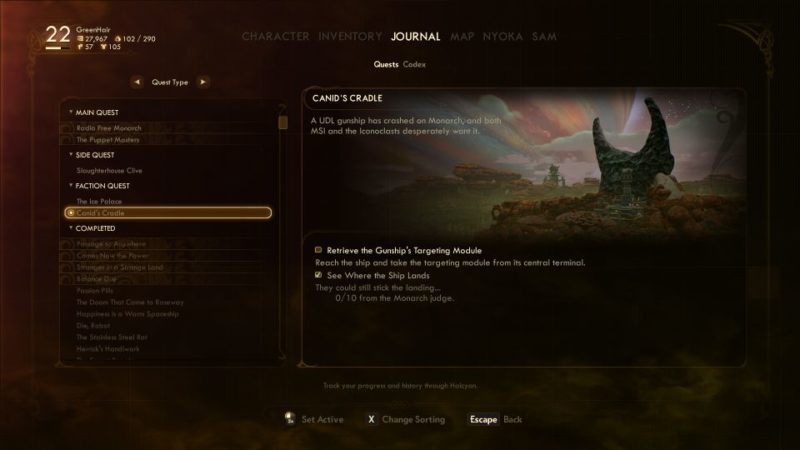
Investigate the fallen ship
Your first objective is to investigate the spaceship that crashed on Monarch. It’s located at the sulfur site, north of Cascadia.
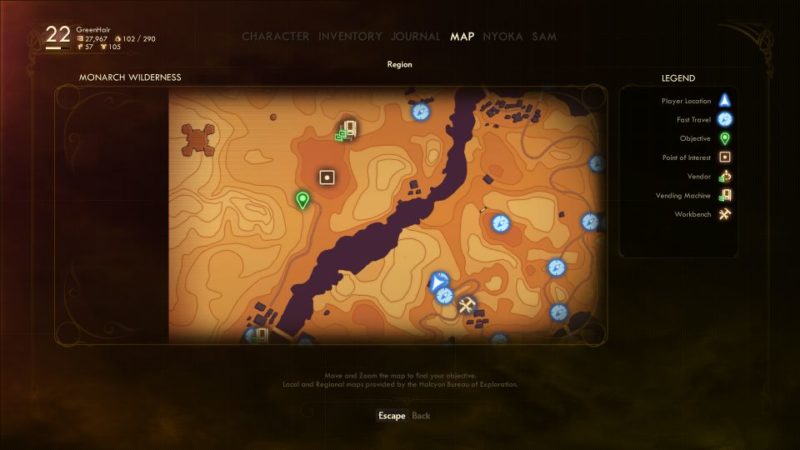
You should see this ship like in the image below.
![]()
Retrieve the canid targeting module
You need to enter the ship to get the module.
To open the door, you require the captain’s key.
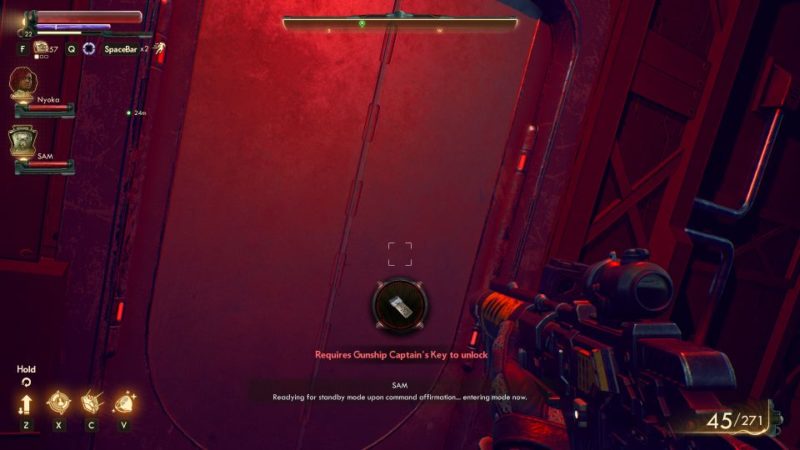
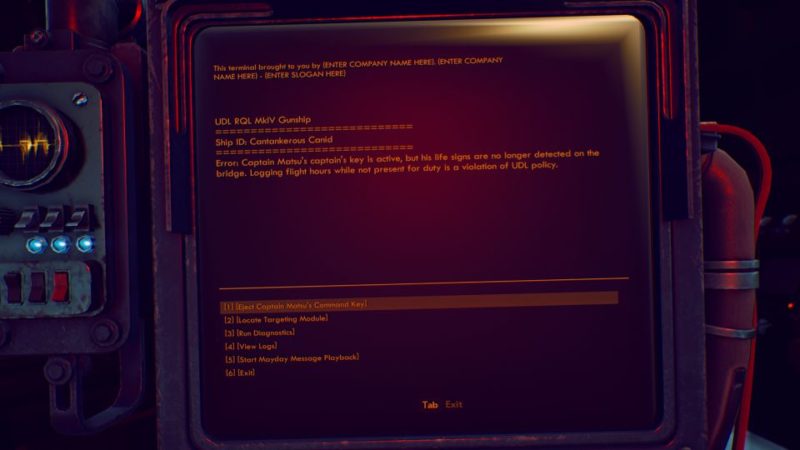
Use the terminal behind to eject the captain’s command key.
You can then use the key to unlock the door.
Keep going until you reach the end of the ship where the targeting module is.
To open the casing, interact with the two switches on the left and right side.
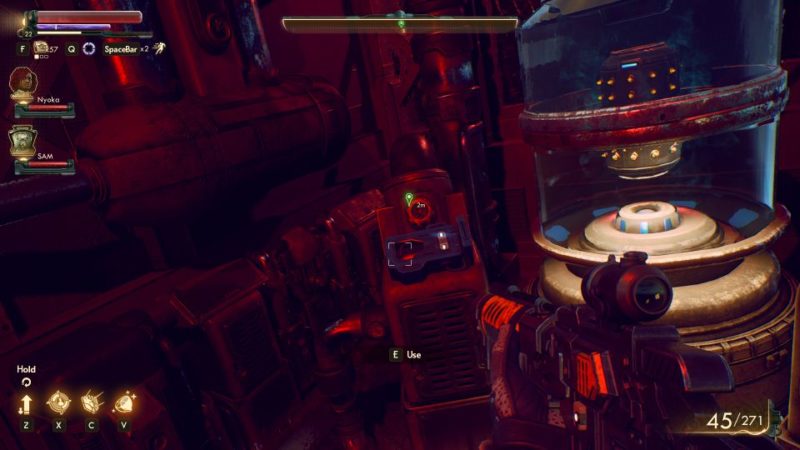
The casing will be lifted up, and you can pick up the targeting module.
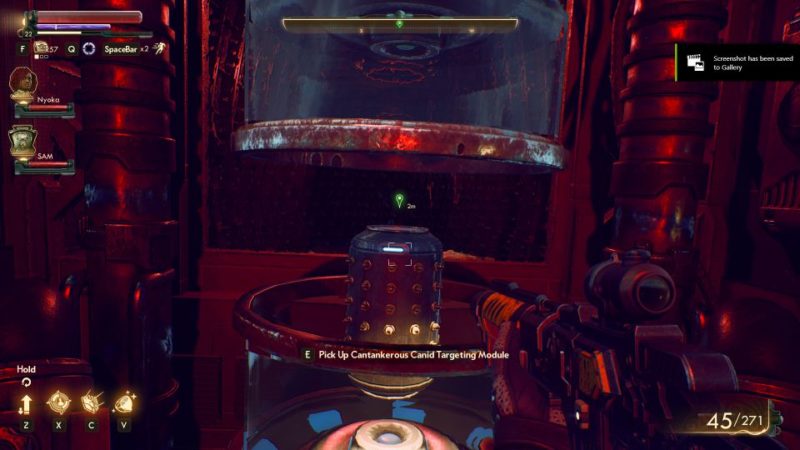
Who to give the module to – Sanjar or Graham?
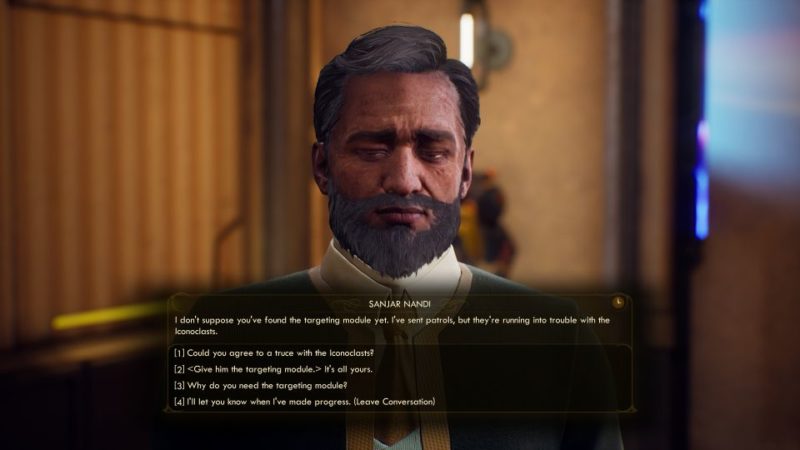
This is where the dilemma begins. You can give to Sanjar of MSI or Graham of Iconoclasts.
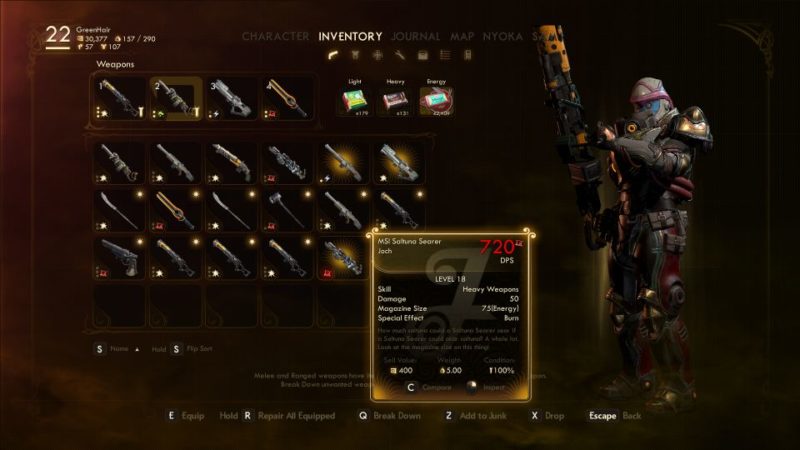
If you give to Sanjar, you will have to defend Stellar Bay by killing the Iconoclasts, including Graham and Zora. You will get a flamethrower as a special reward.
If you give to Graham, you’ll be leading the fight against Stellar Bay.
There is also a third option – make peace between Sanjar and Graham which is only available if you had done certain things in the previous quests.
To make peace, you must have:
- Looked at the executive review of Sanjar during Bolt With His Name.
- Rescued the Van Noys in Pay For The Printer.
- Chose extra food for Zora in The Commuter.
If you had failed to do any of these, the third option is not available. If you did do the 3 things, then talk to Sanjar about getting Zora to partner with him and get rid of Graham. Sanjar will need you to get Zora’s executive review from Cascadia. Once he agrees, talk to Zora about making truce with Sanjar and deliver the news to Sanjar.
Give the module to Sanjar
We had chosen to give the module to Sanjar and defend MSI instead. There’s no ‘right answer’ in this game. It’s all up to you.
Defend Stellar Bay
If you had given the module to Sanjar, you need to head out of Stellar Bay to defeat the Iconoclasts.
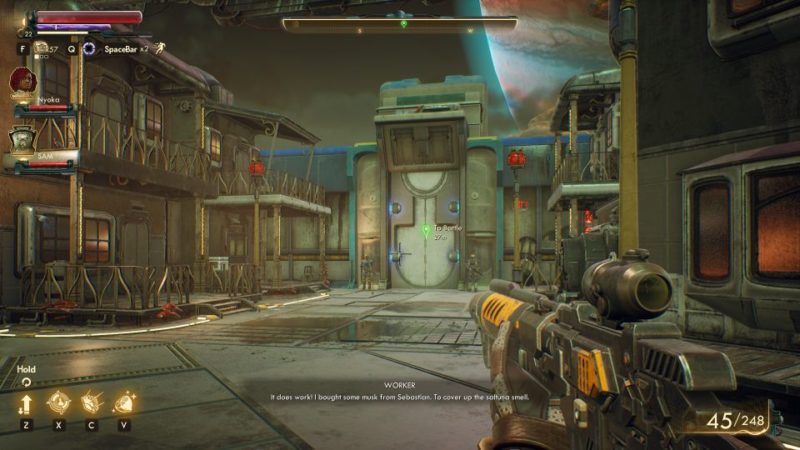
Walk out through the north exit and get rid of the Iconoclasts all the way past the bridge.
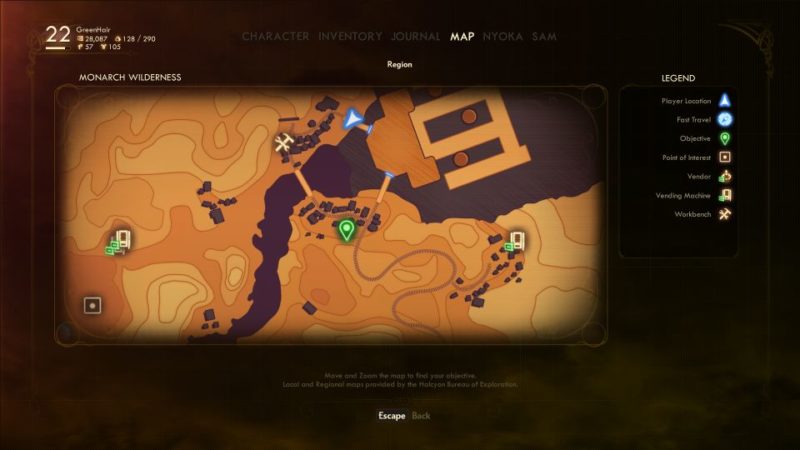
The MSI soldiers will be in the area as well. Defeat the Iconoclast soldiers all the way until you’re near the southern exit of Stellar Bay.
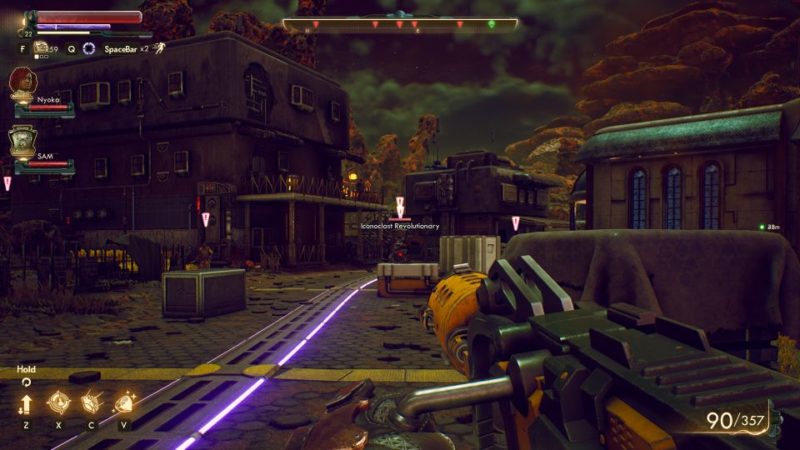
You will finally meet Graham and Zora. Kill them both and you’re done.
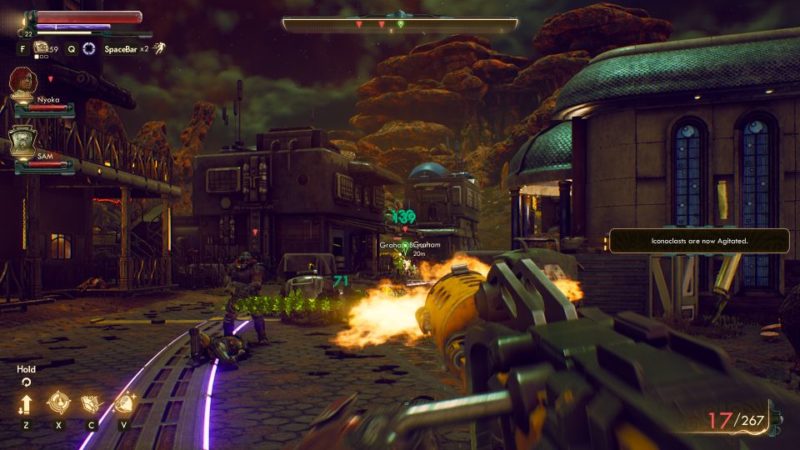
Return to Sanjar
After defeating them, return to Sanjar to complete the quest.
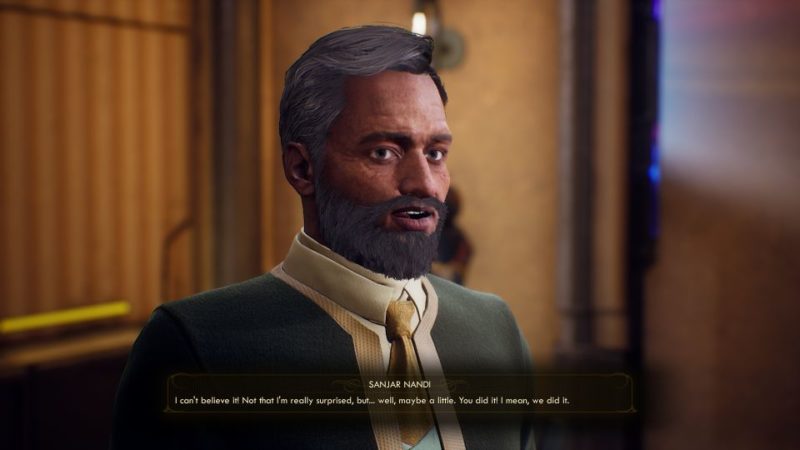
You will get the MSI Saltuna Searer which is a flamethrower.
Related articles:
Slaughterhouse Clive: The Outer Worlds Walkthrough
A Family Matter: The Outer Worlds Walkthrough
Errors Unseen: The Outer Worlds Walkthrough
Flowers For Sebastian: The Outer Worlds Walkthrough
The Stainless Steel Rat: The Outer Worlds Walkthrough
Passage To Anywhere: The Outer Worlds Walkthrough
Star-Crossed Troopers: The Outer Worlds Walkthrough