Ashina Outskirts is the next part you’ll go through in Sekiro: Shadows Die Twice, after the Prologue.
Your task is to get through the area and defeat the Chained Ogre to proceed.
Here’s a walkthrough of Ashina Outskirts in Sekiro: Shadows Die Twice.
Explore the Dilapidated Temple
You will start this chapter at the Dilapidated Temple with a new prosthetic arm.
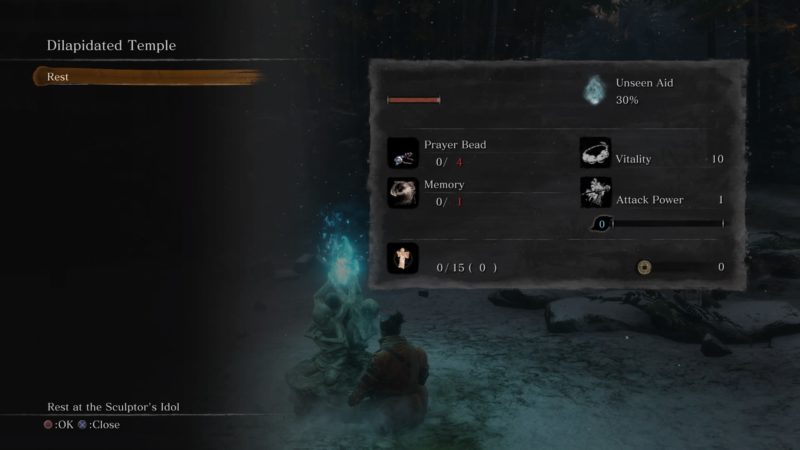
Talk to the man, and also to the lady. She’ll try to find a way to cure the Dragonrot issue which is slowly killing the people.
The more you resurrect, the worse it becomes. Also, you can give Gourd Seeds to her to increase the capacity of your Healing Gourd.
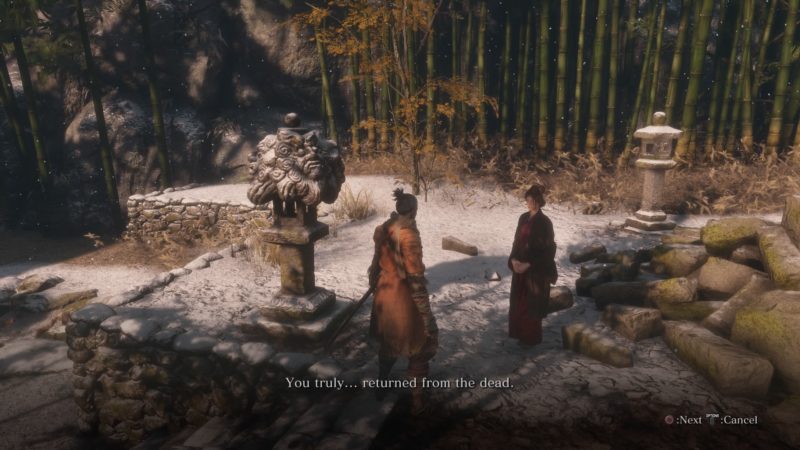
The man in the temple can fix mods to your prosthetic arm. Whenever you have a new Shinobi item, bring it to him to equip it.
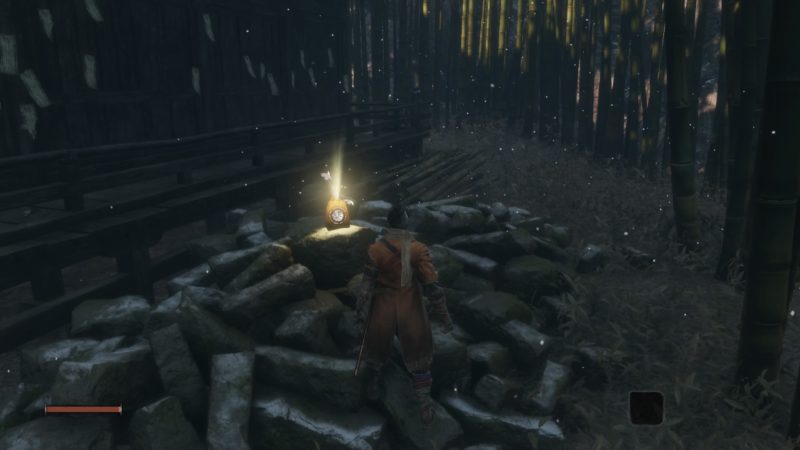
You should also find an item behind the temple.
Move on ahead
To progress further, explore Ashina Outskirts. There’ll be guards all along the way.
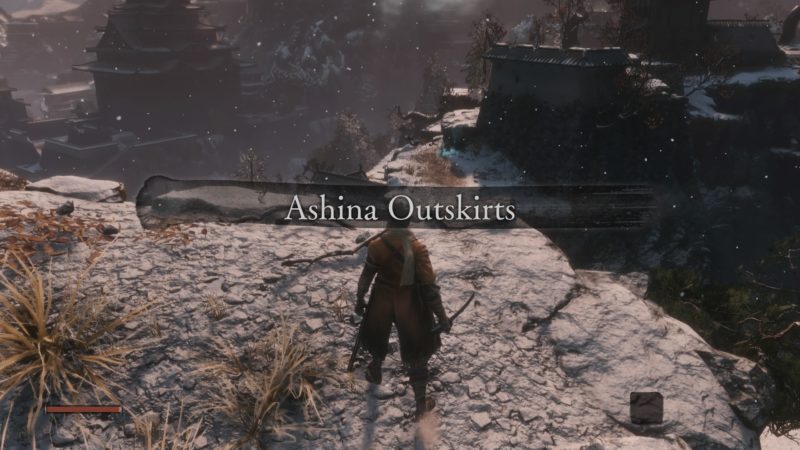
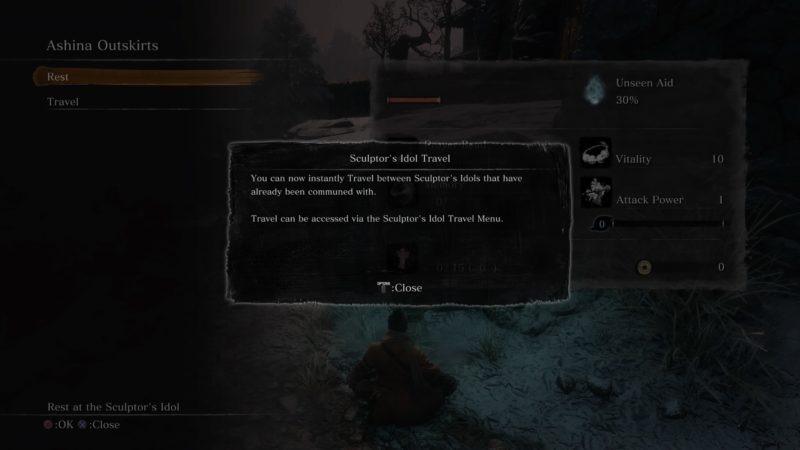
You will then see a Sculptor’s Idol Travel. You have to commune with it, and you can do all sorts of things with it, including fast travel and resting.
If you rest, enemies may spawn again.
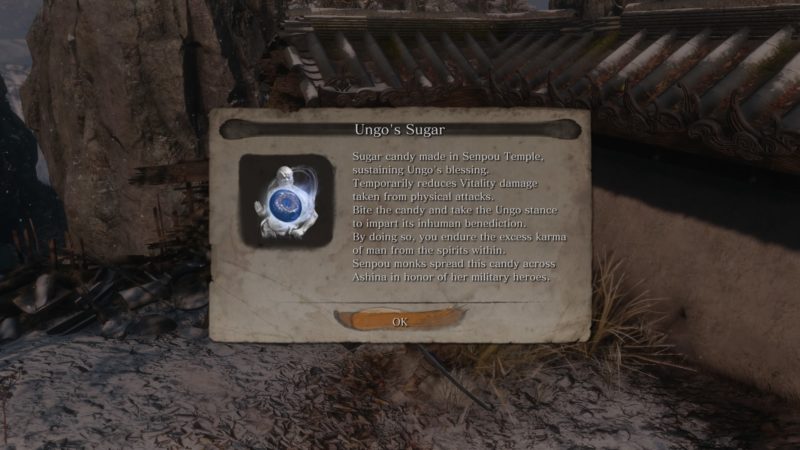
Keep going and you’ll find Ungo’s Sugar nearby. Always explore the back or side of buildings to find items.
You should then come across guards. Kill them all.
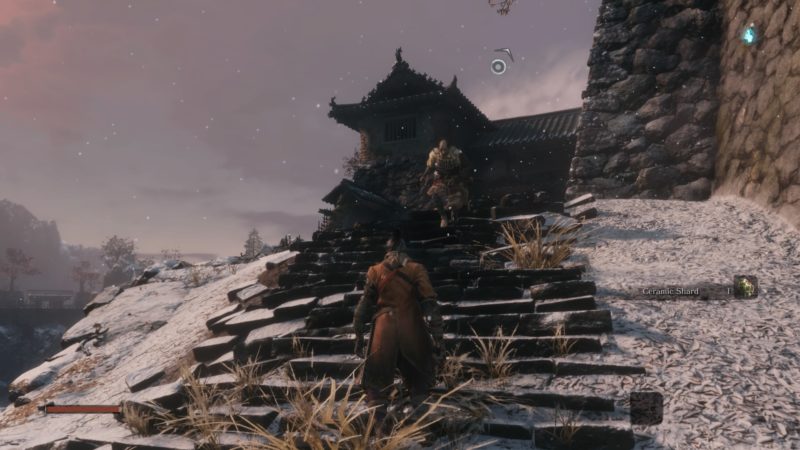
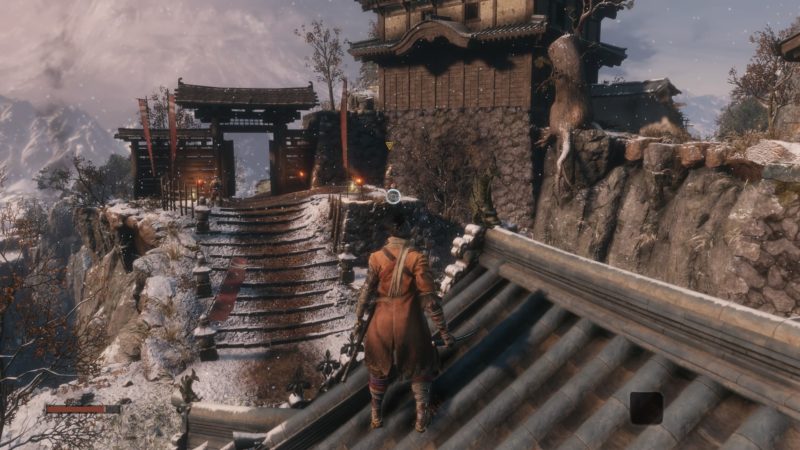
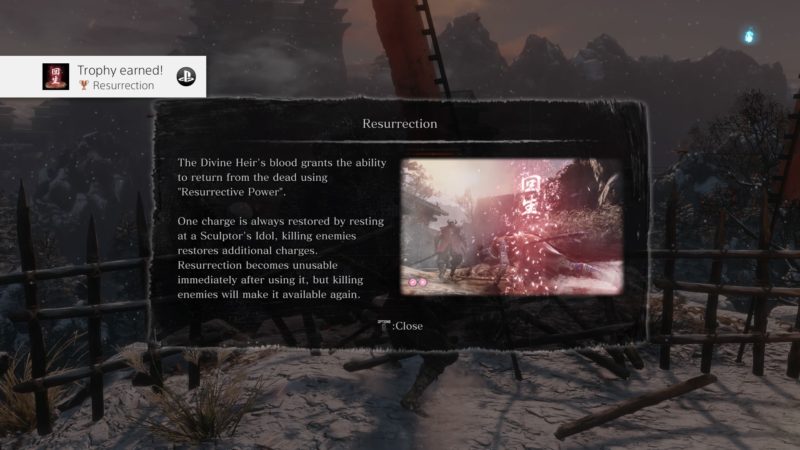
If you die, the game will teach you about resurrection, and the effect it brings.
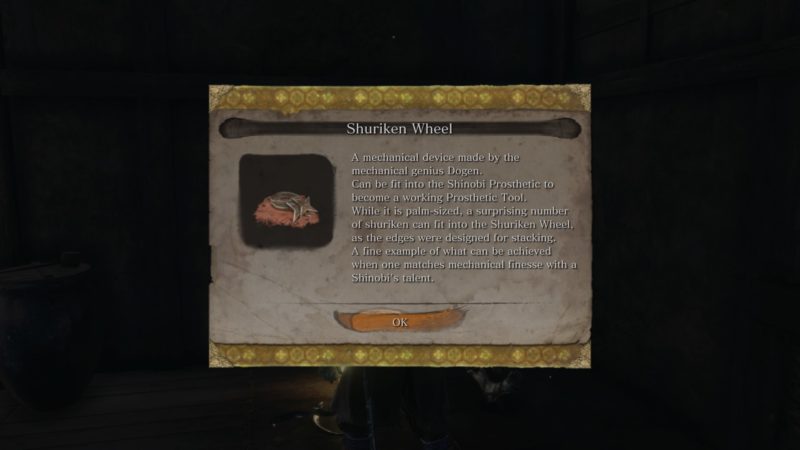
You should find this Shuriken Wheel inside a building, right before the mini boss fight (Naomori Kawarada).
How to defeat General Naomori Kawarada (mini boss)
Go further ahead and you have to face General Naomori Kawarada.
It’s the first big struggle personally.
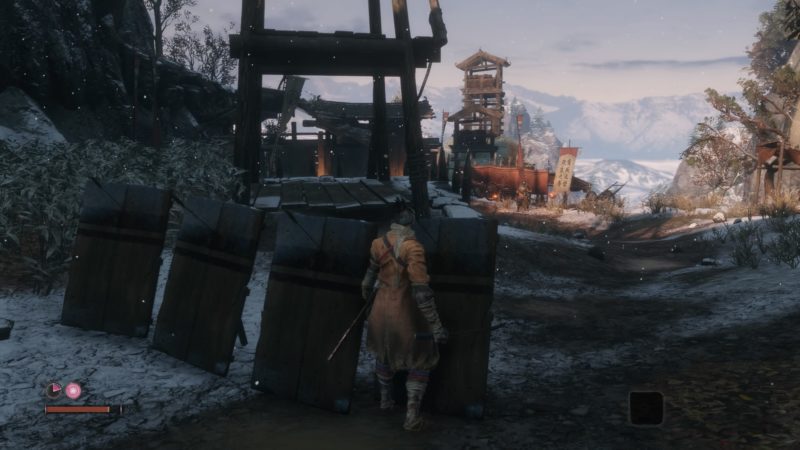
The key to beating him is to get his life down to one bar immediately.
In order to do so, climb up the rocks using your grappling technique.
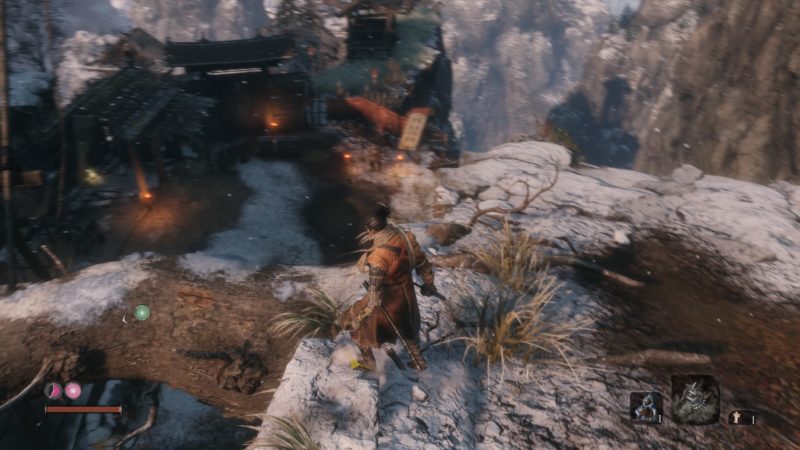
Keep going towards the left and around the area avoiding his gaze.
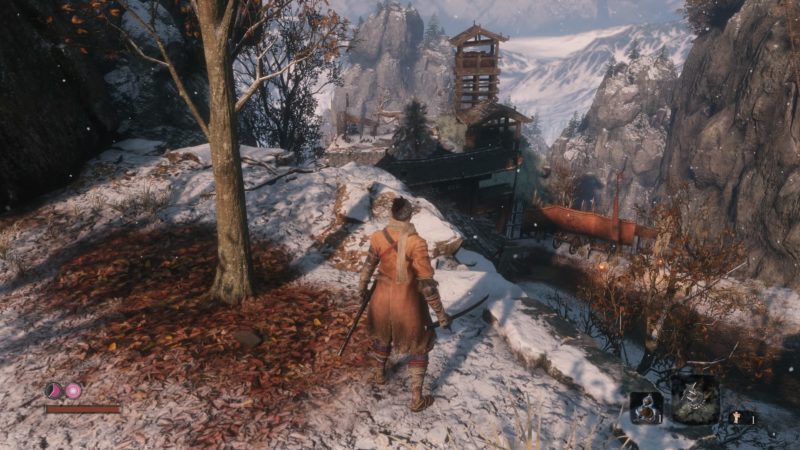
You should finally reach the building which is directly behind him. From above, jump and attack him.
He will immediately lose one life. It’s a major advantage as he’ll be left with one only.
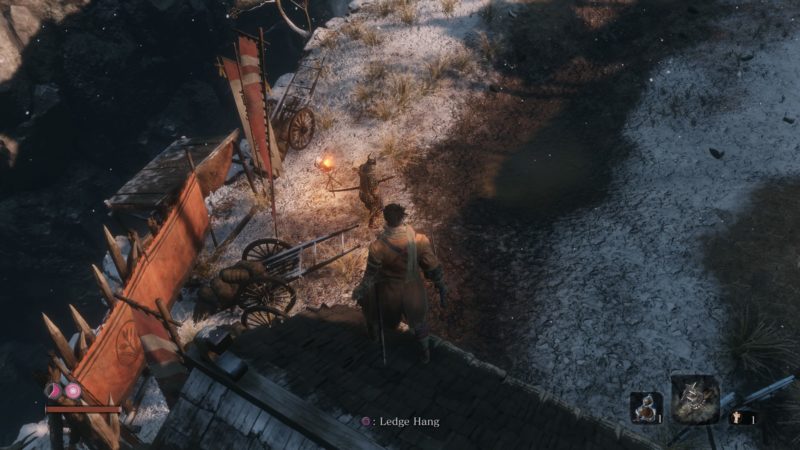
There are a couple of things to watch out for this fight. If the red symbol appears, it’s an unblockable attack.
If he does the sweeping attack, you can jump over it. If you’re skilled enough, you can jump once and jump another time over his head.
This will break his posture for awhile.
For the other unblockable attack, you can just dodge behind.
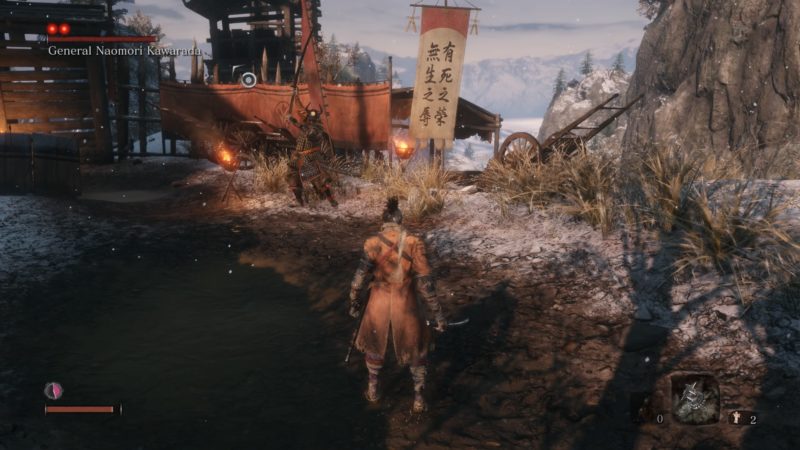
For normal attacks, I typically parry a few times and hit back. You may fail the first few times, but you’ll get the hang of it.
Don’t hit him too many times in a row or you’ll get attacked.
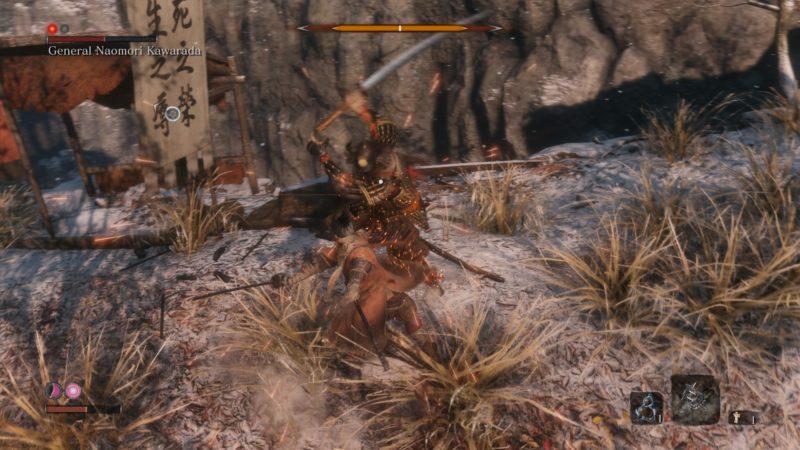
Just remember to parry or block before attempting to hit, dodge his unblockable attacks and you should finally defeat General Naomori Kawarada.
Continue ahead
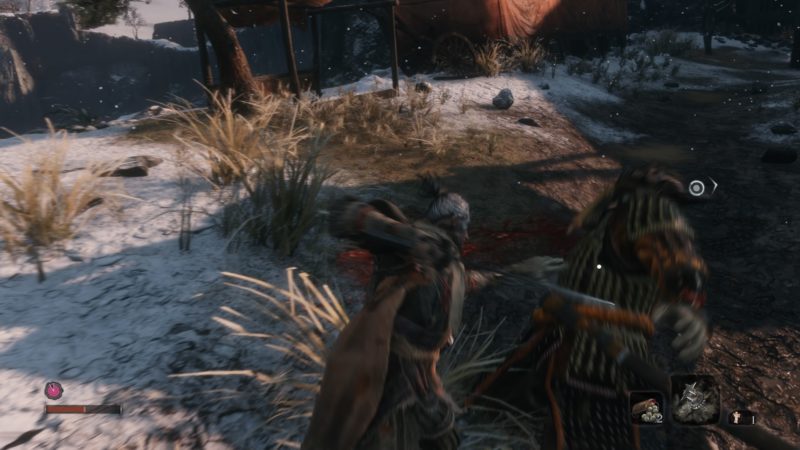
After defeating him go on ahead, and you’ll encounter more guards. Explore the buildings for items.
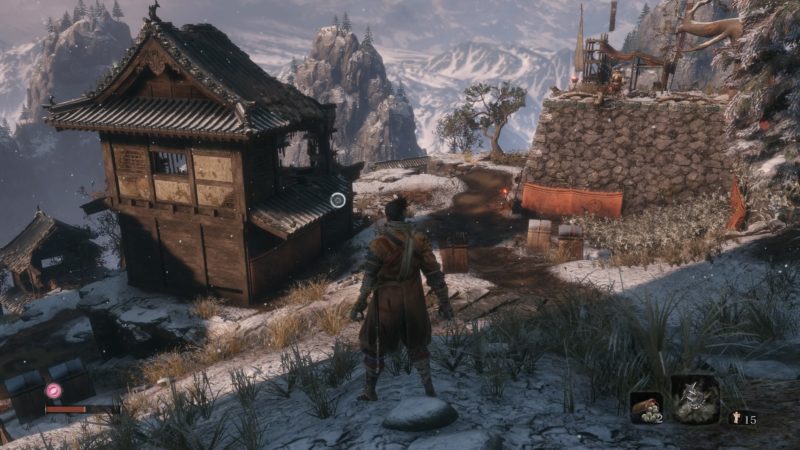
You can grapple towards the tree to get a good view of things. And it’s also great for ambush one hit kills.
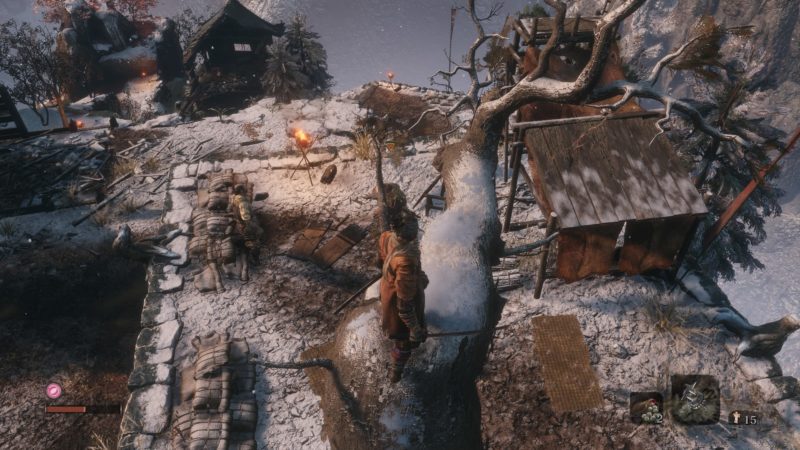
Inside one of the buildings, you’ll get this Mibu Balloon of Wealth.
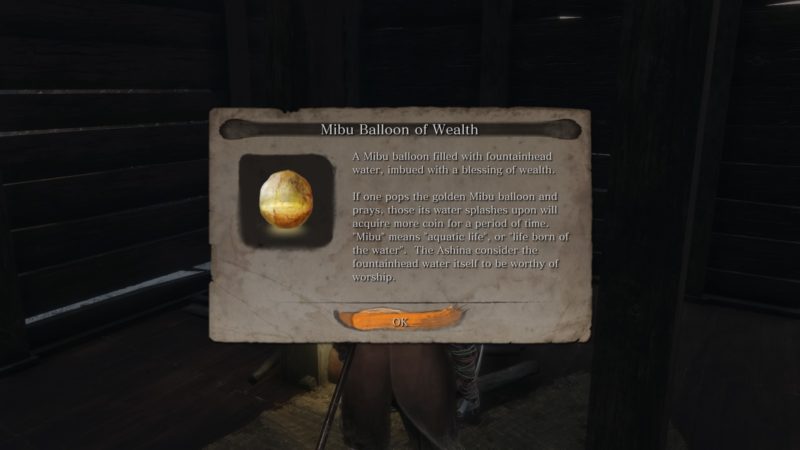
There’s also an old lady in a building.
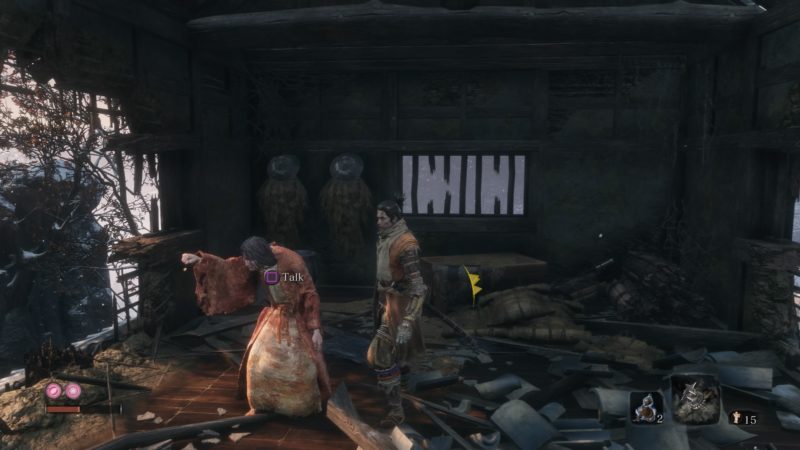
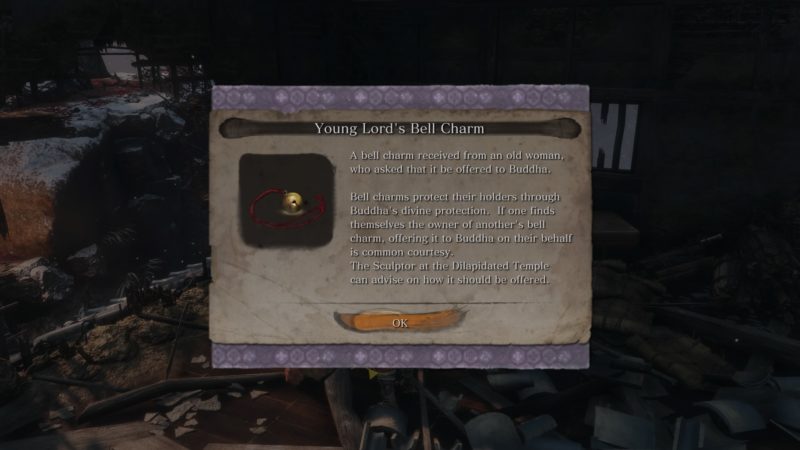
Talk to this senile woman and she’ll give you a Young Lord’s Bell Charm.
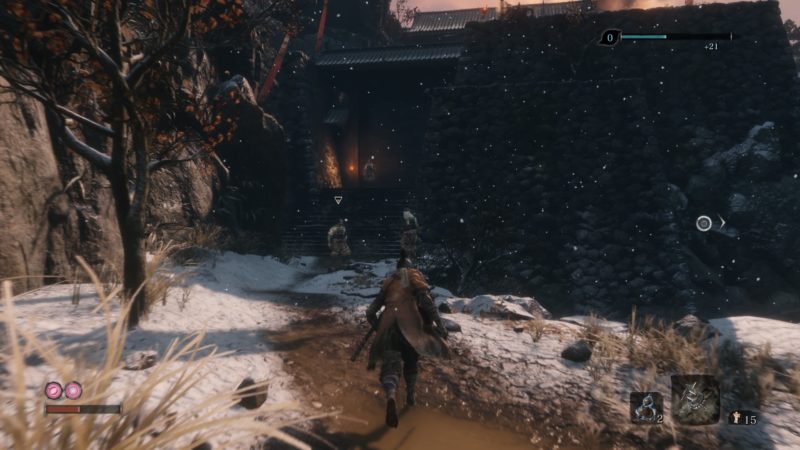
After taking the items, continue until you reach these guards at a huge door. Kill them all.
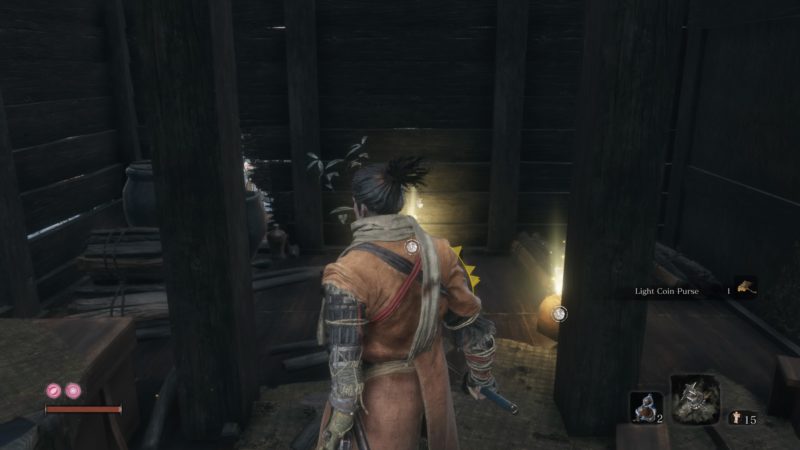
Nearby, there’s also a secret room where you can find a few light coin purses. I can’t really remember where, but the wooden wall could be broken.
You should then reach a fort with some guards and a guy using a cannon.
To avoid them, you can use the grappling technique and get to the right side of the fort.
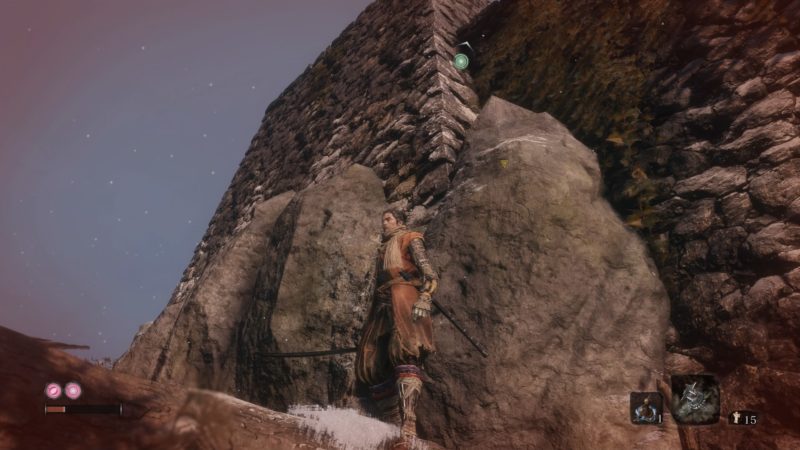
Keep going through the side and you’ll eventually find above all of them. Climb down and you’ll be behind this cannon dude. Stealth kill this guy and clear the other guards below.
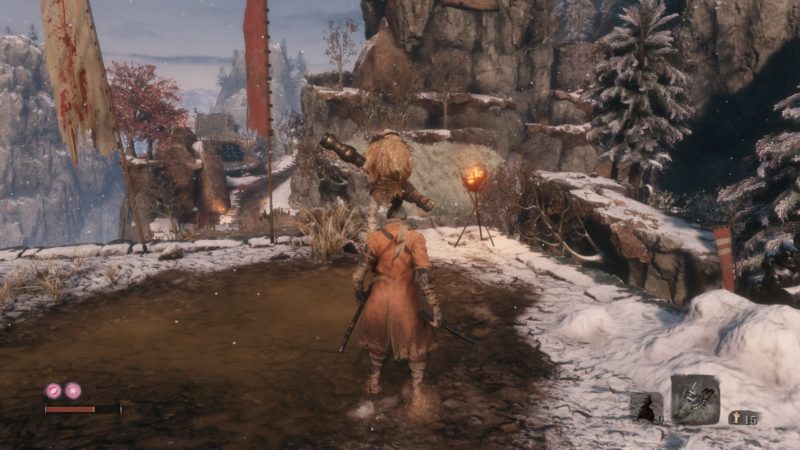
Once you’re done, keep going until you reach this building with some flames.
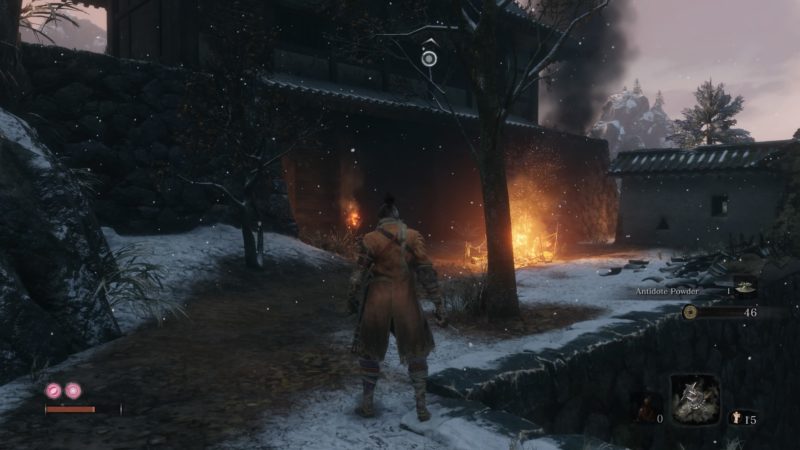
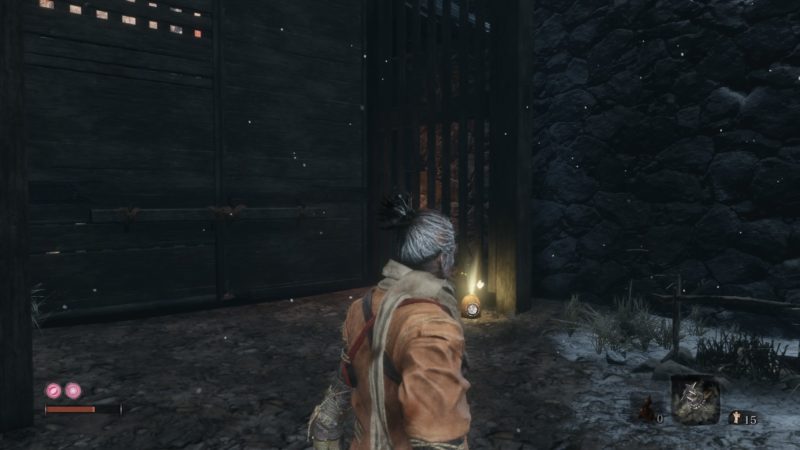
Proceed further until you reach this area. At the other side, there are guards and steps heading upwards.
This is where you’ll face the boss – Chained Ogre.
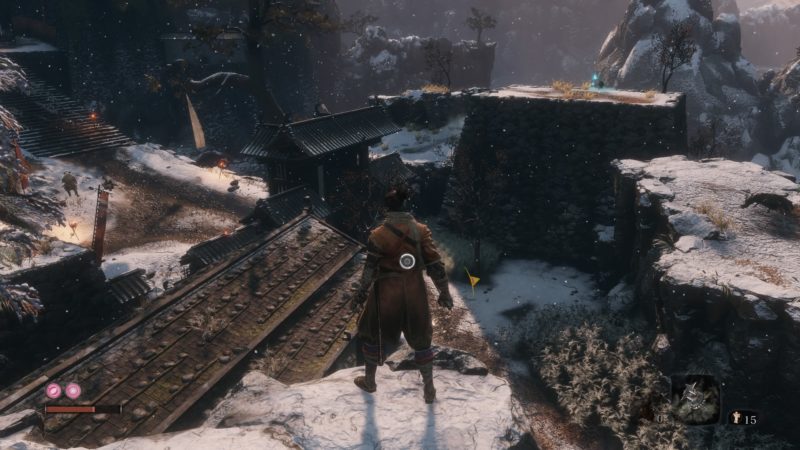
How to defeat the Chained Ogre
Before going after the enemies, find the Sculptor’s Idol nearby and commune with it.
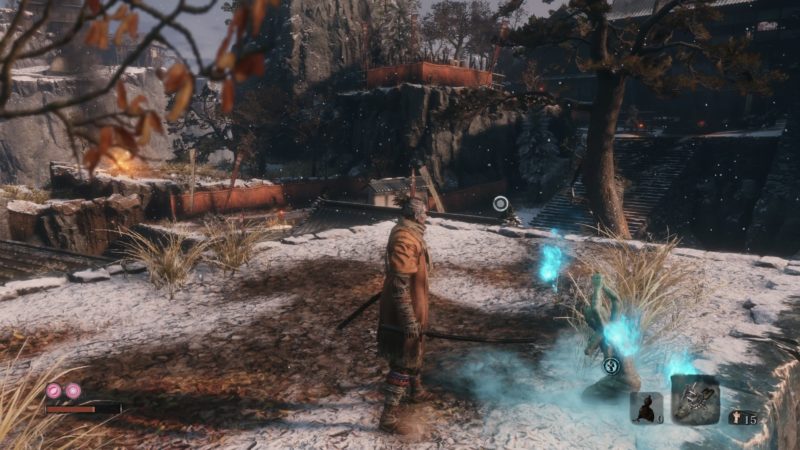
Next, get rid of the two guards below. You can kill one from behind, and the other through normal combat.
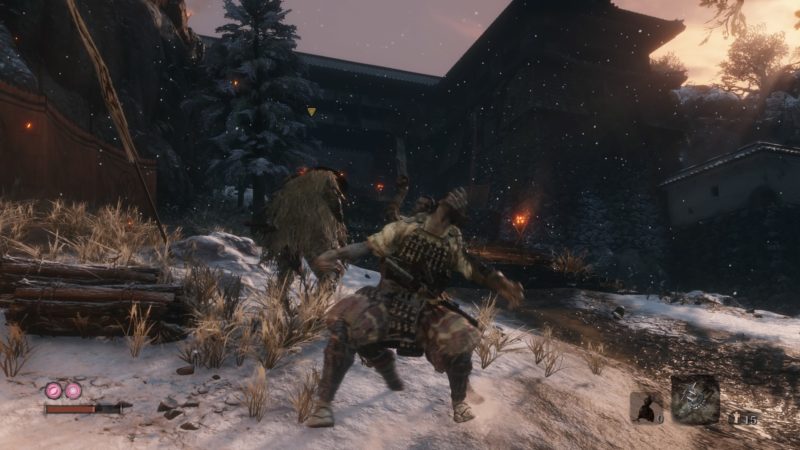
The Chained Ogre will release himself in a few seconds. You can land in a few blows and run away later.
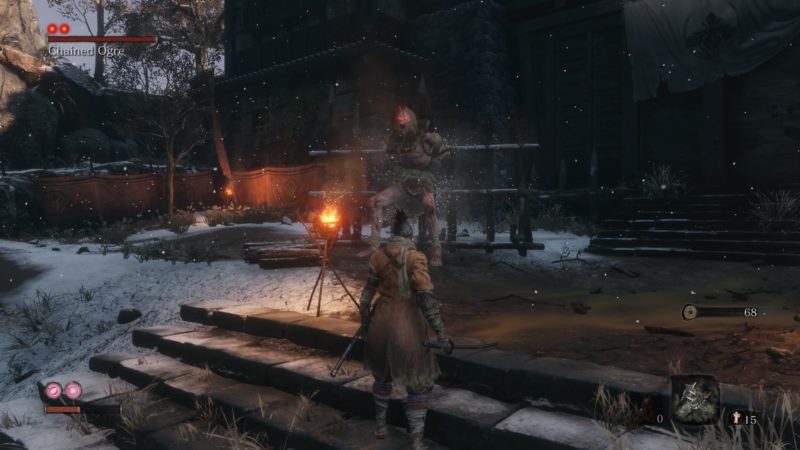
The key to reducing the Chained Ogre’s HP quickly is by ambushing from behind.
Normally after he’s released, he will go after you. But if you manage to hide from him quickly, he will just walk around slowly.
Another way is to not attack him at all, and just run away hiding first.
Now, find a way to stealthily go behind him. When the red dot appears, stab the ogre.
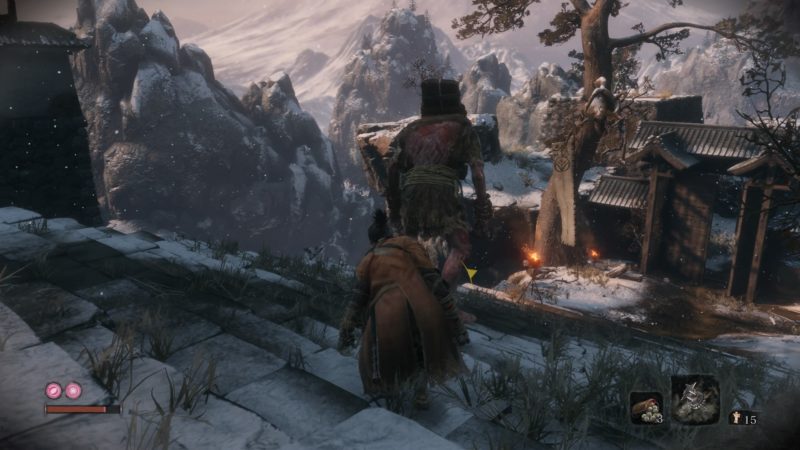
He will now be left with one HP bar.
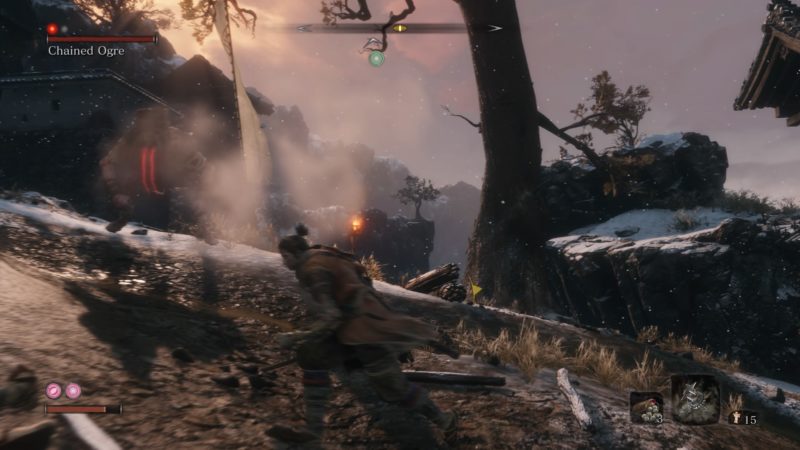
Even with one bar, he’s no joke at all. He has a couple of moves. This ogre can do a flying kick move, a stomping move, body slam or even slamming his fists on the ground.
Either way, you can avoid them by simply dodging in the right direction with the precise timing.
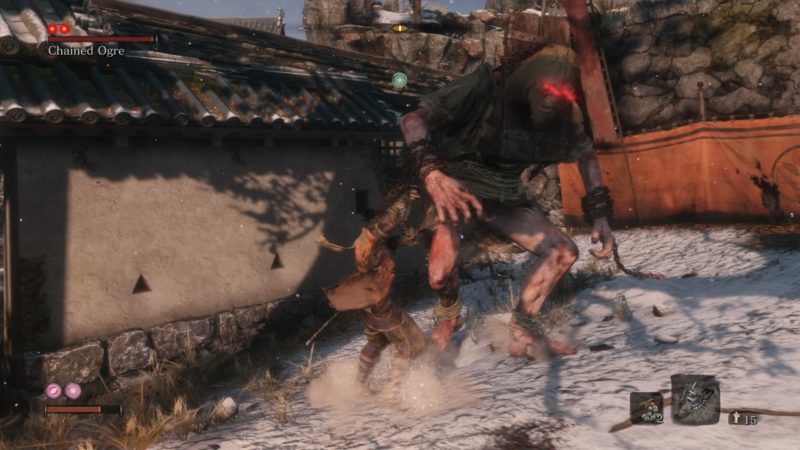
Watch out for his unblockable move. When the red symbol appears, he will attempt to grab you and slam you on the ground.
You can easily dodge the move if you anticipate his movements. To avoid it, you must not over-attack him. Two or three hits is fine per round.
Otherwise, your character may not be able to dodge in time.
Start attacking him after he does an attack move, as he’s a little slow after performing an attack. Sometimes, you’ll also see a green orb over his head.
This means you can grapple to him and attack. But it’s fine if you don’t do it.
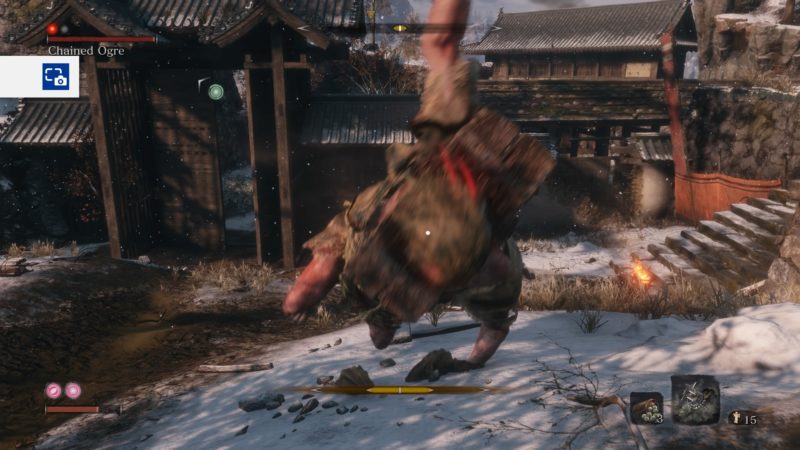
When his HP is at zero, the red dot will appear and you have to finish him quickly.
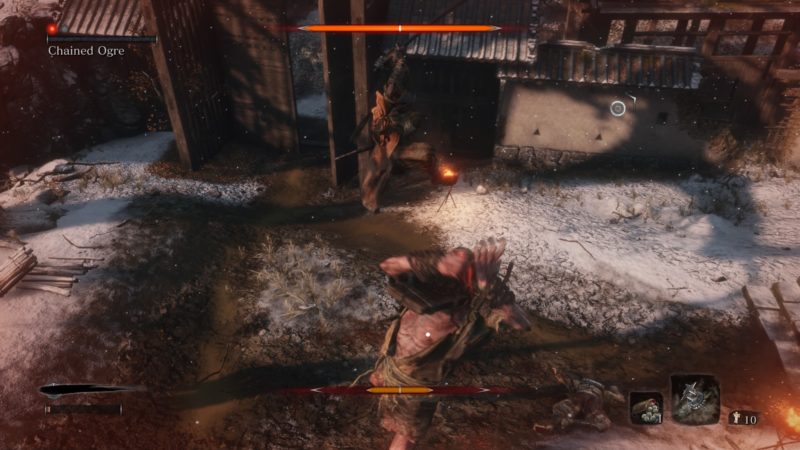
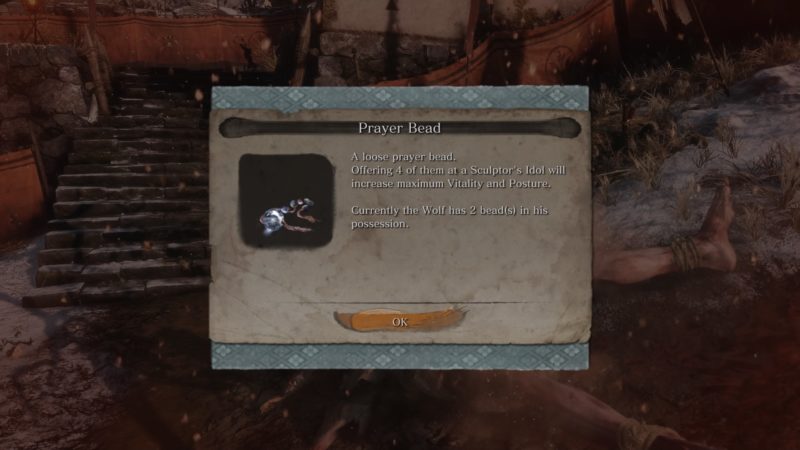
And that’s pretty much it for the Chained Ogre. You will get a Prayer Bead from this fight.
This walkthrough may not be fully done yet.
Related articles:
Ashina Reservoir Walkthrough – Sekiro: Shadows Die Twice